
Pokey
-
Posts
438 -
Joined
Content Type
Profiles
Forums
Store
Articles
Gallery
Events
Library
Everything posted by Pokey
-
For those looking to import parts from the UK, I just purchased a throttle body kit shipped by DHL Express and was levied: 2.5% - HTS 8708.99.81.80 base duty rate 15% - HTS 9903.82.05 aluminum or steel derivative rate under Section 232
-
Sold
-
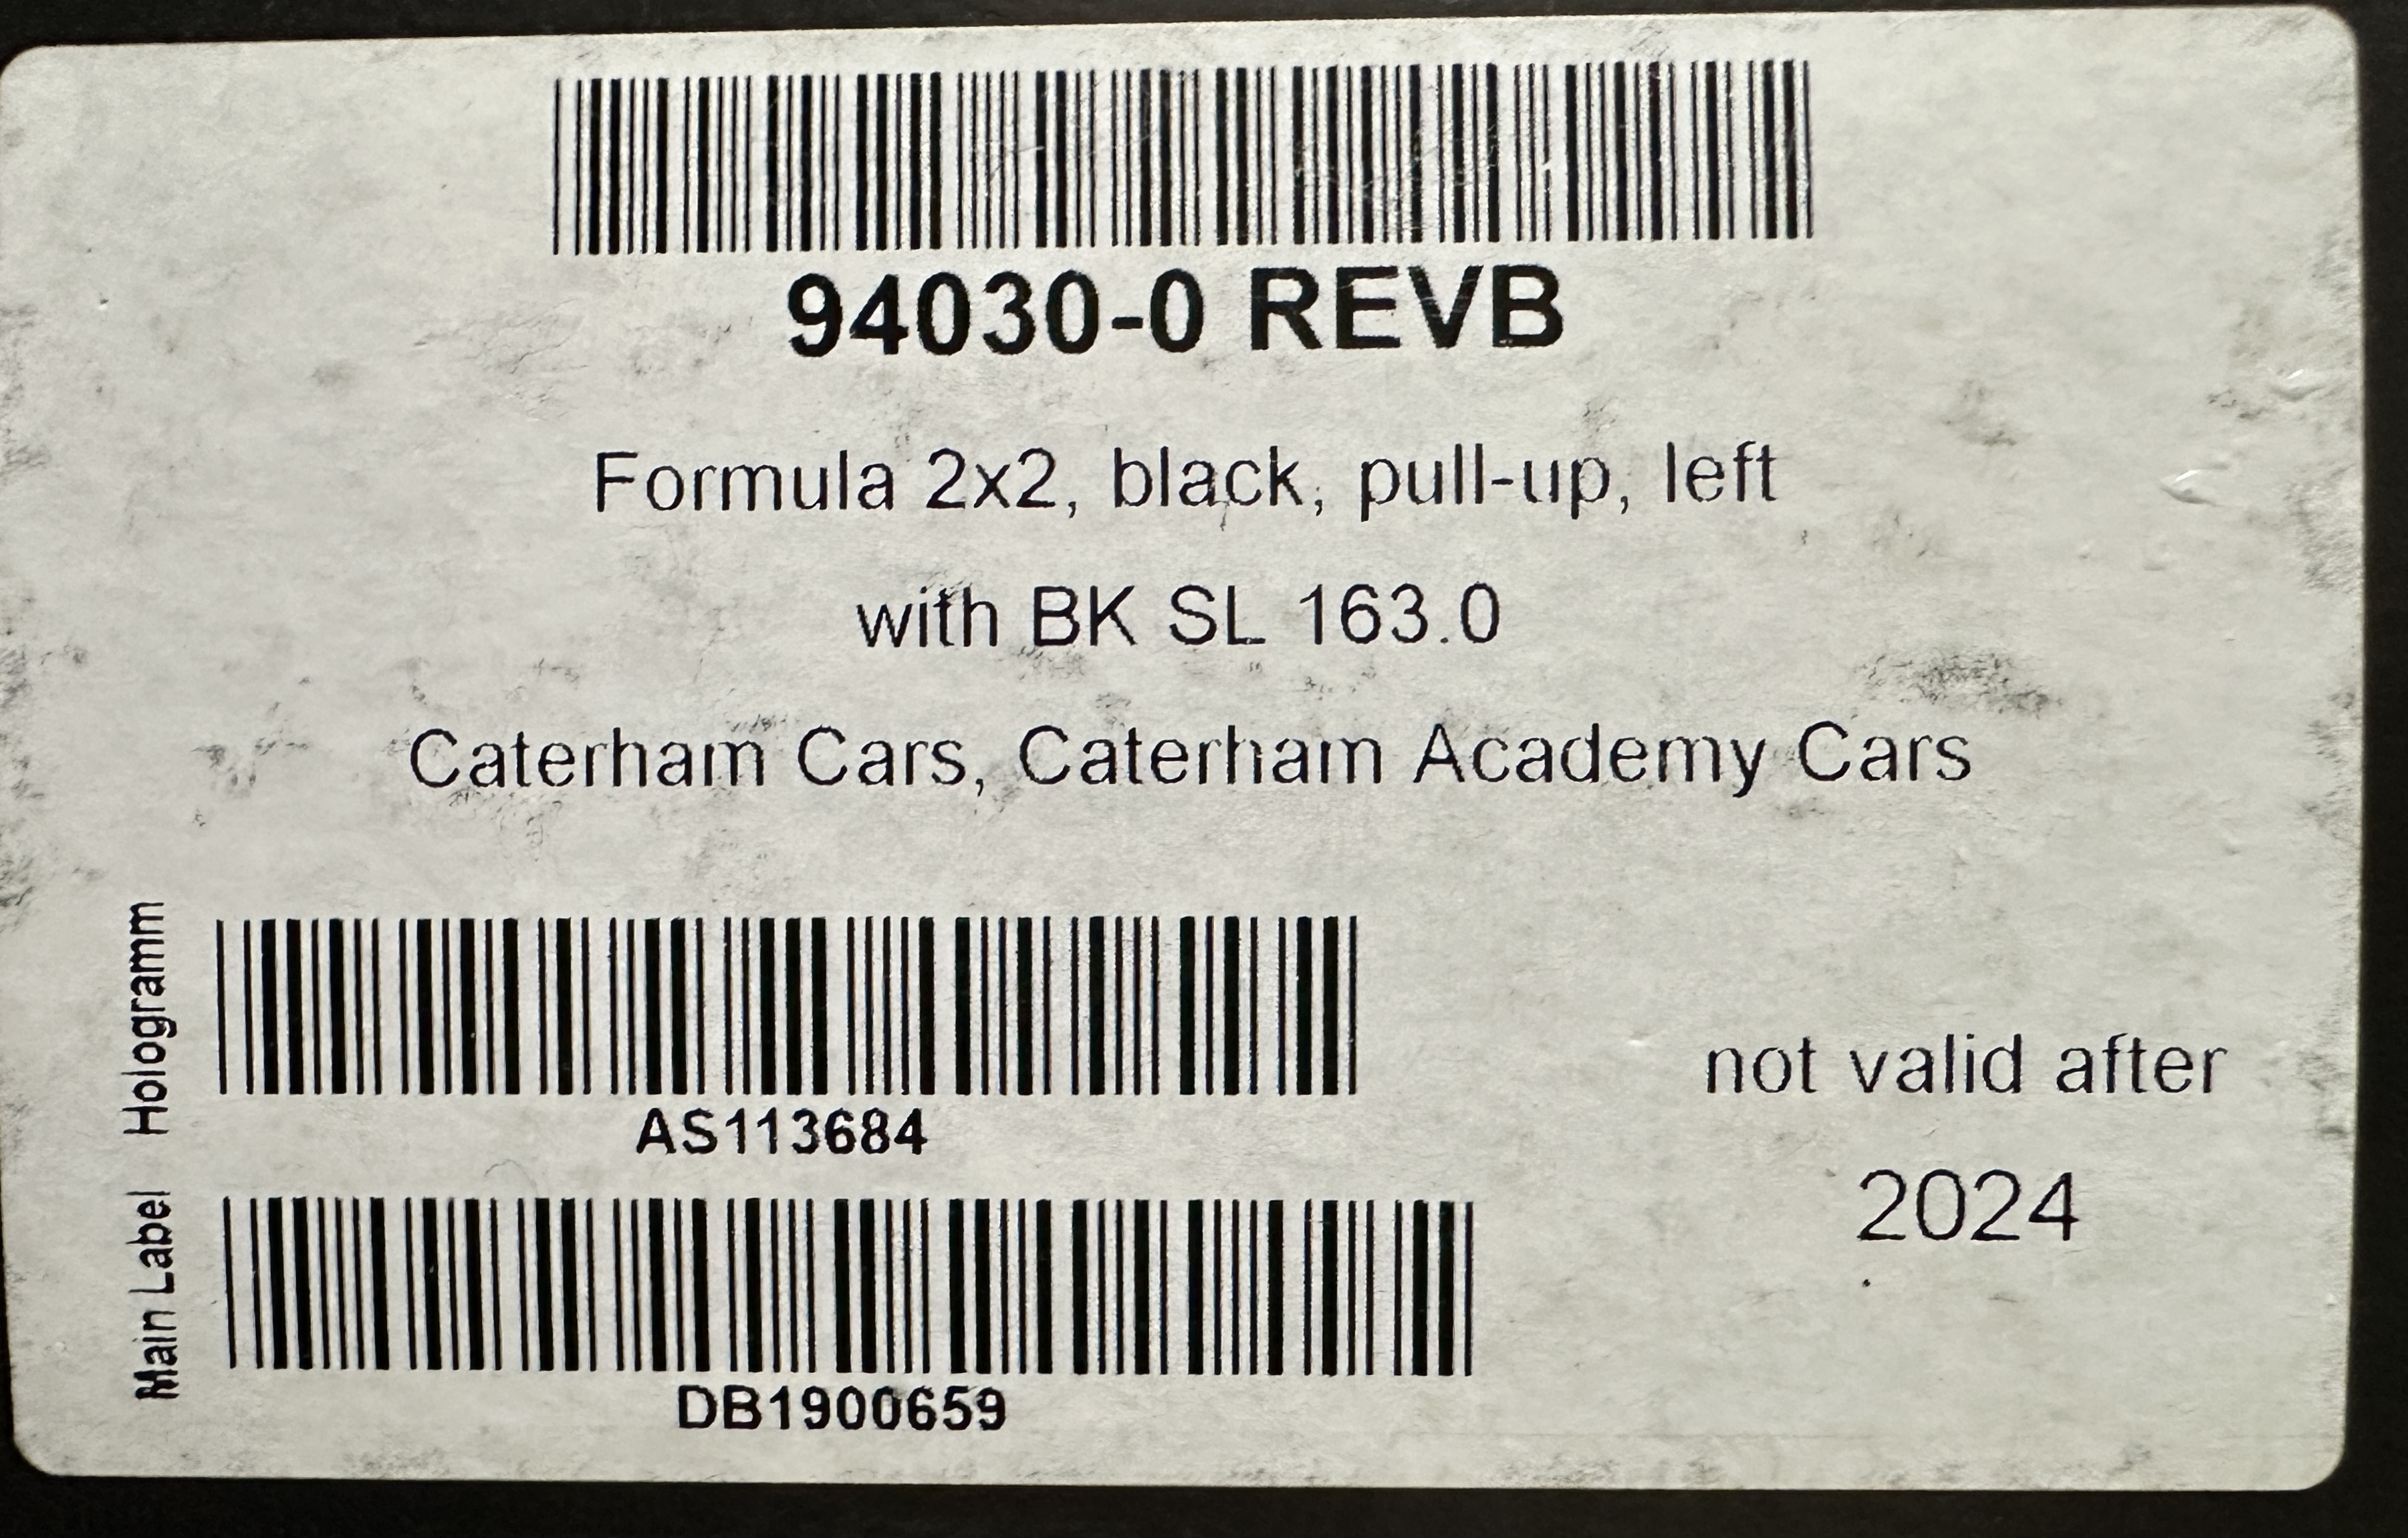
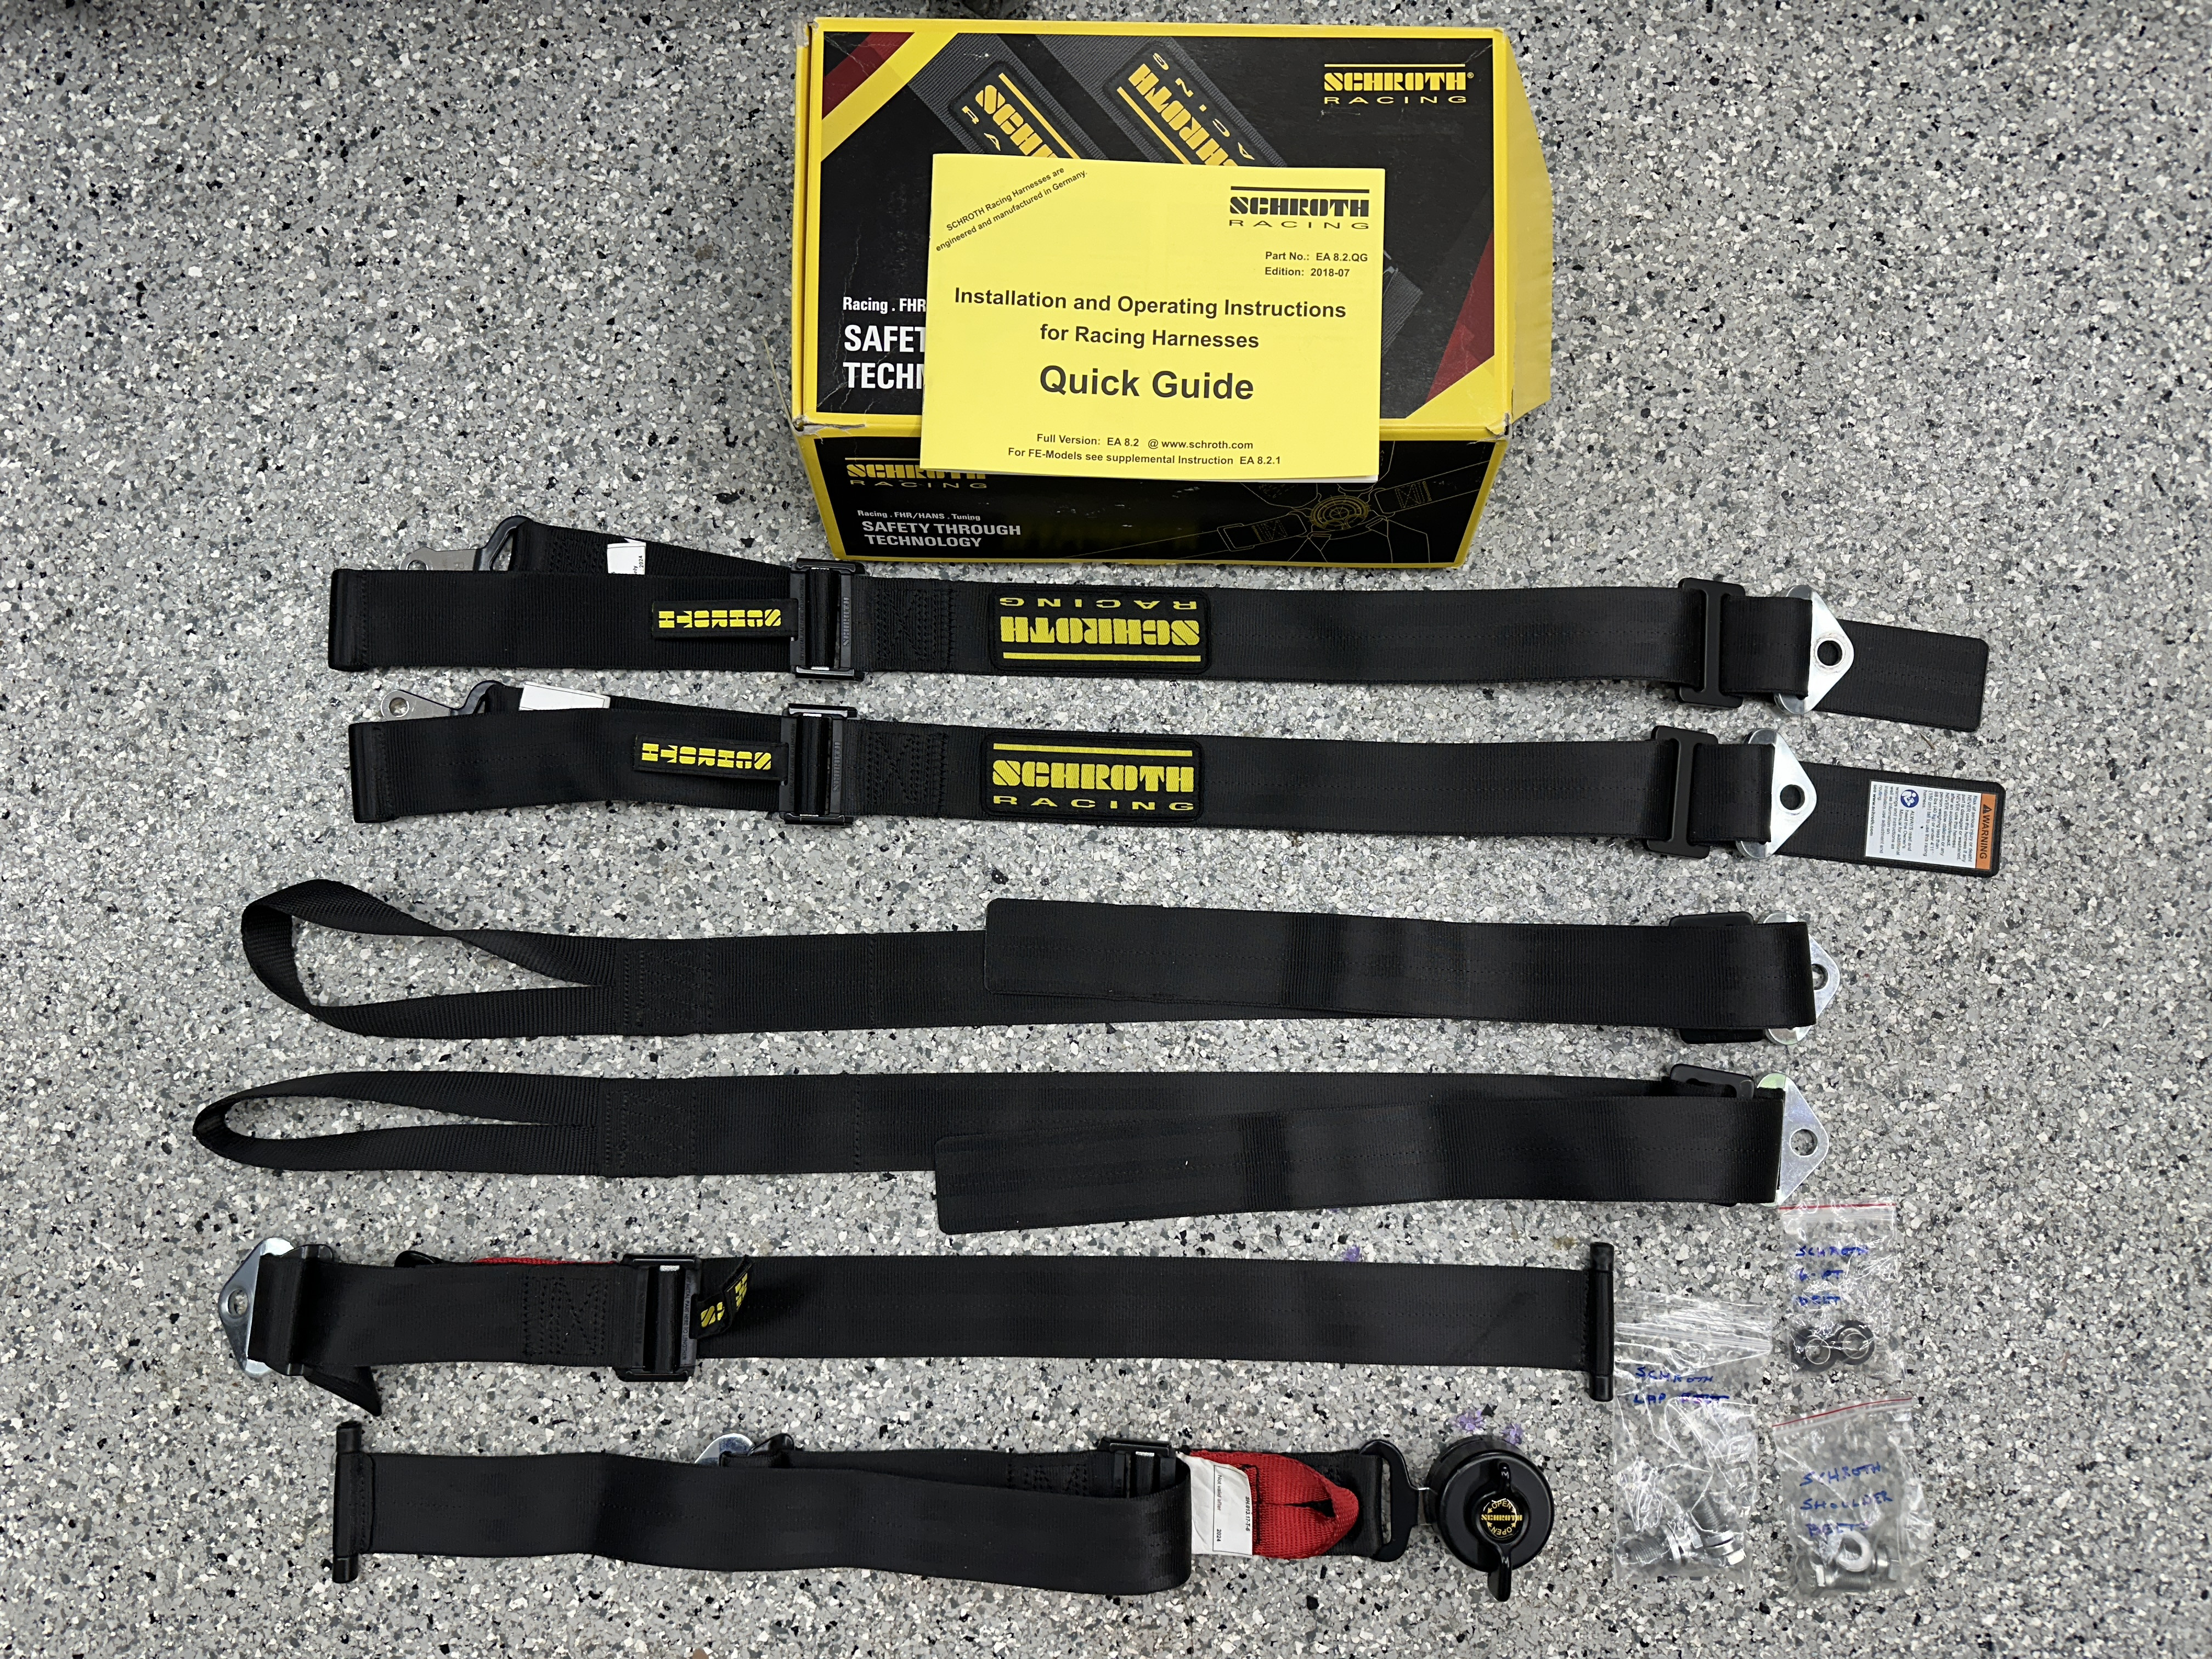
I have for sale a driver's side Schroth Formula 2x2 6-point racing harness purchased from Caterham with a FIA expiration date of 2024. Includes mounting hardware. I used this belt for a handful of track days before removing and putting on a shelf. It is time to purge what I'm not using. Asking $200 and that includes shipping.

-
Driver Safety Gear for Time Trials and USA7s@NJMP
Pokey replied to savagete2860's topic in General Tech
I'm still able to point wearing arm restraints. I imagine my hands aren't as noticeable, but I've never had anyone mention an issue seeing me point. For what it is worth, I like the restraint style that has a single loop to attach to the harness. For the head/neck restraint, there is chatter in the UK about having mounting points added by Arch: https://www.google.com/url?sa=t&source=web&rct=j&url=https%3A%2F%2Fwww.academyracer.co.uk%2Fhans-adjustment-arch-motor-manufacturing-co-ltd%2F&ved=0CAEQ1fkOahcKEwj4qcvUycOVAxUAAAAAHQAAAAAQBw&opi=89978449 Makes sense and I am curious as to whether anyone has ever seen a car in the US modified as such? I'm using a NecksGen and the factory mount points. -
Car has been sold. Thanks again for everyone who commented and/or provided feedback.
-
I'm looking for a replacement for my Schroth Formula with the sub-straps that thread through the lap belt and loop over the shoulder straps. Has anyone tried the T-bar sub-straps made by Schroth, and, if so, any issue with passing through the Tillett hole for that purpose or otherwise? Given the T-bar moves the straps away from center toward the thighs it seems like it might be a nice blend of comfort and convenience.
-
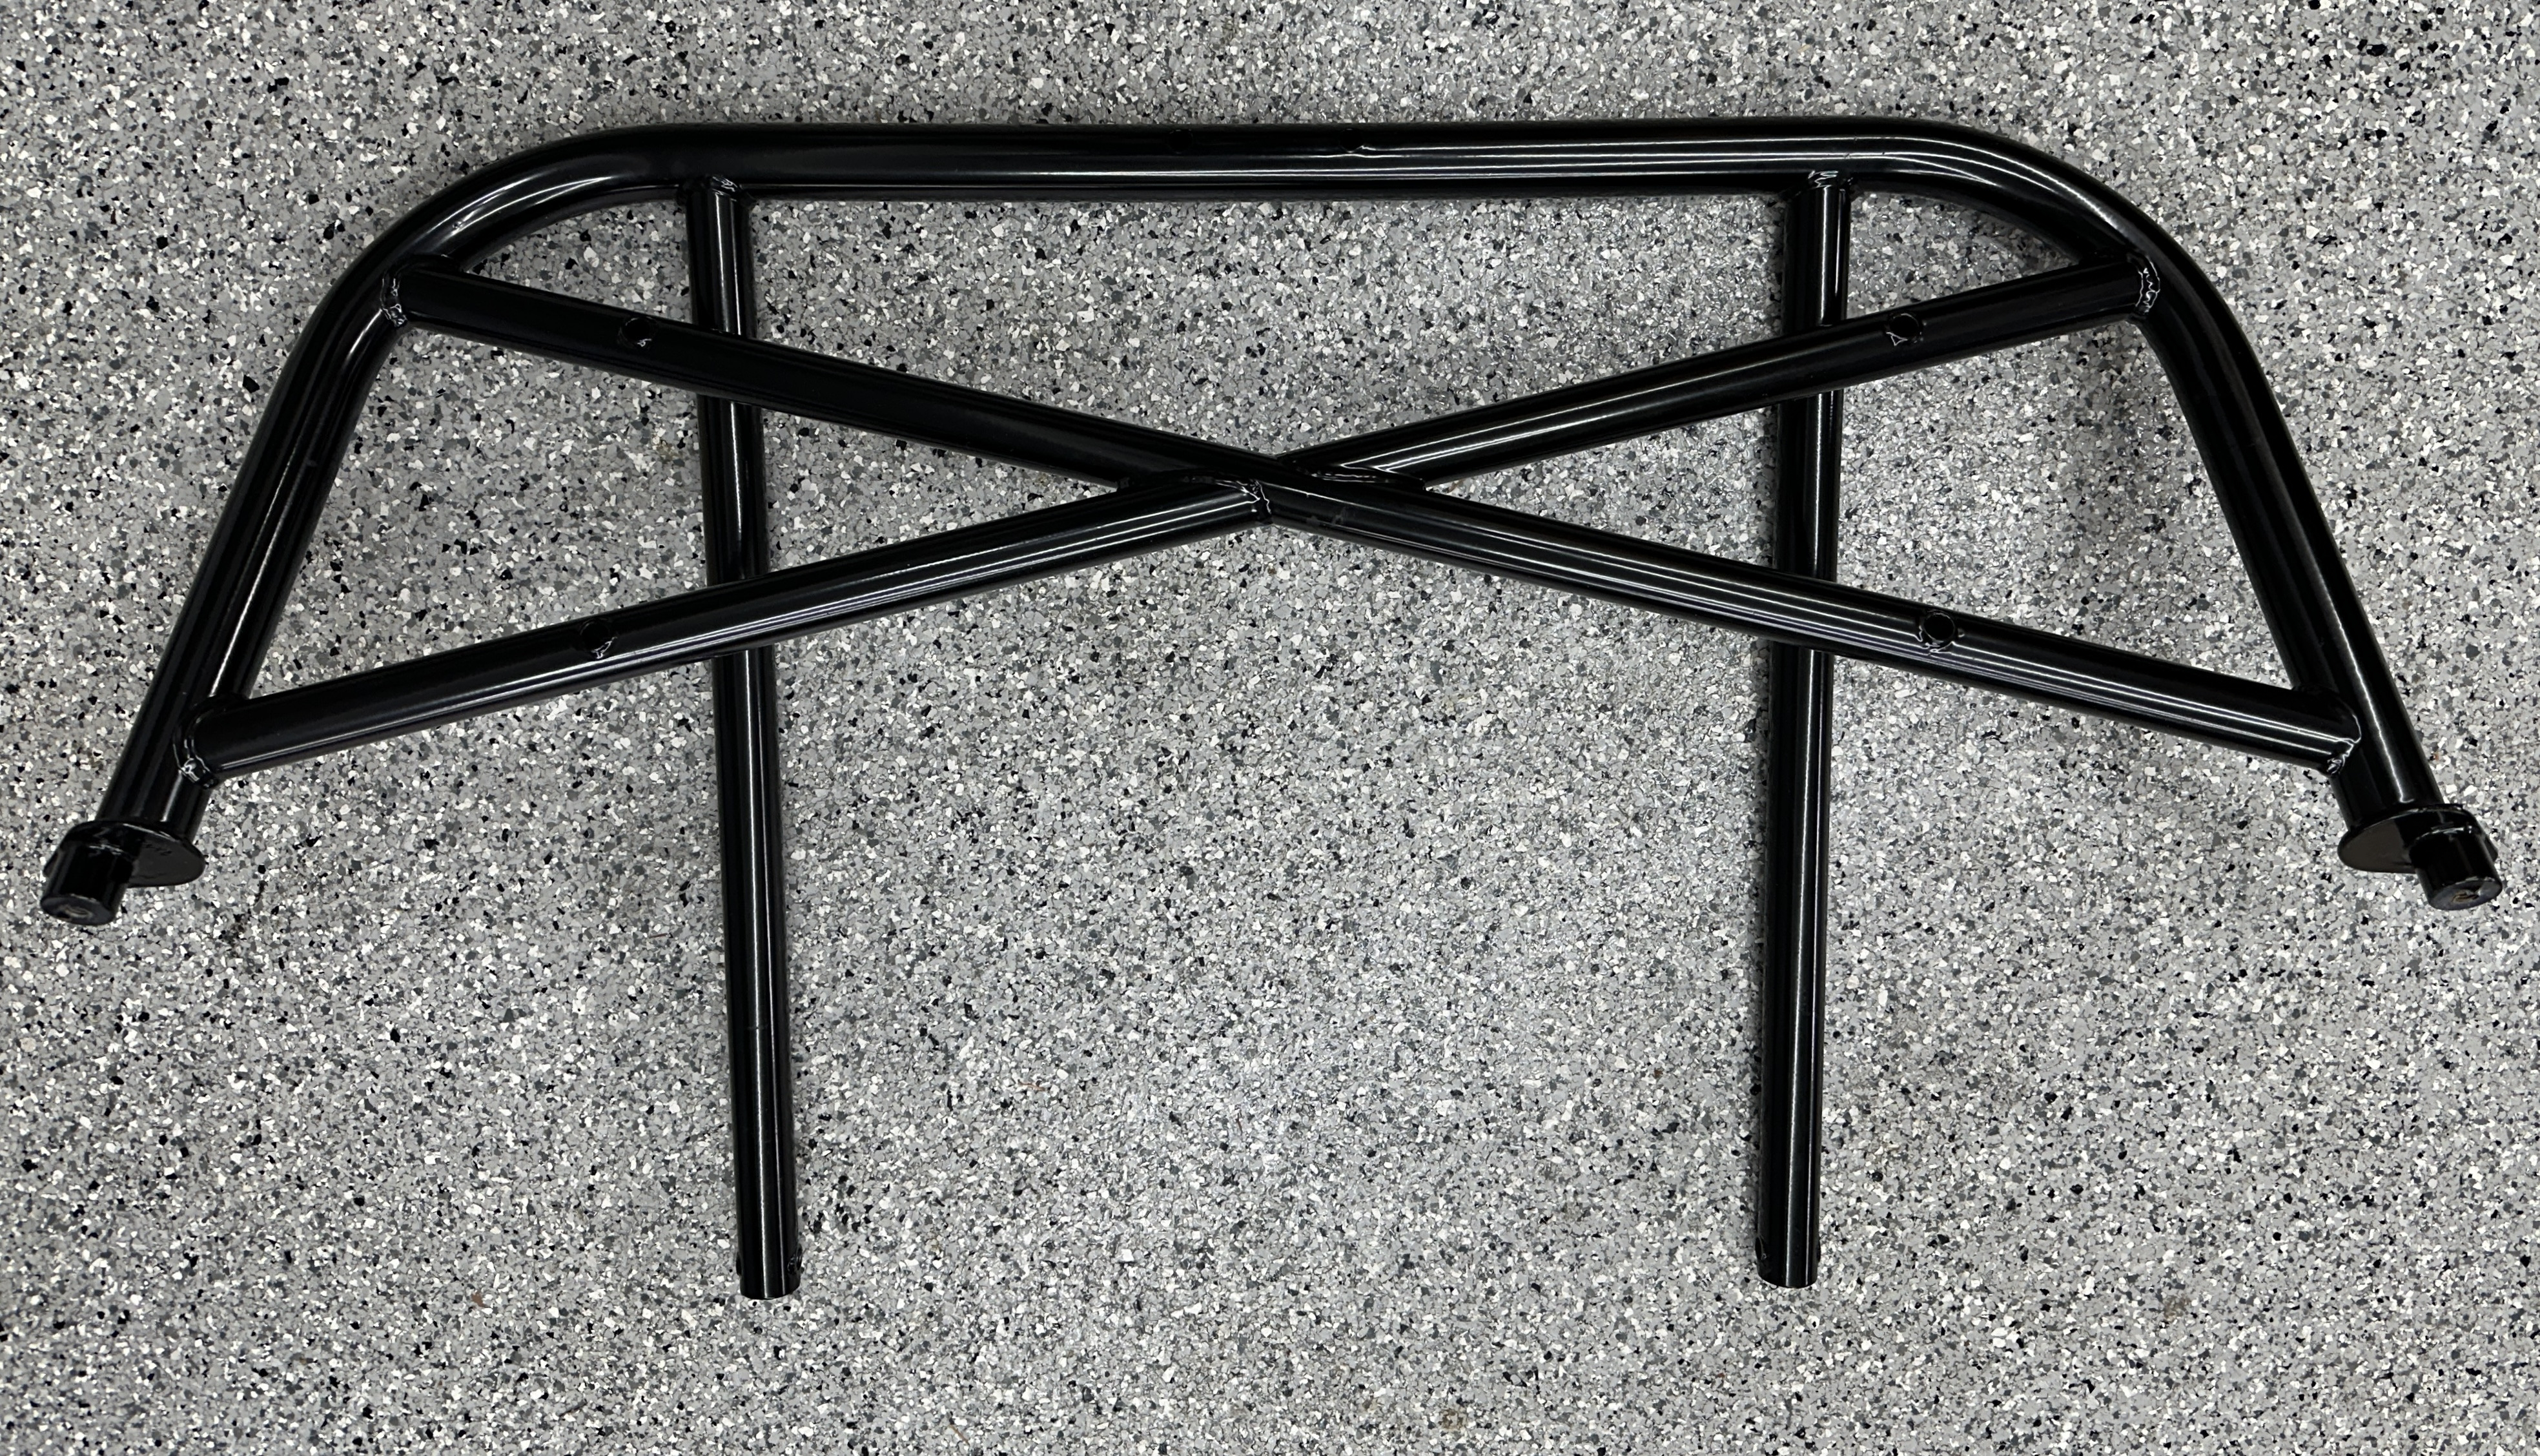
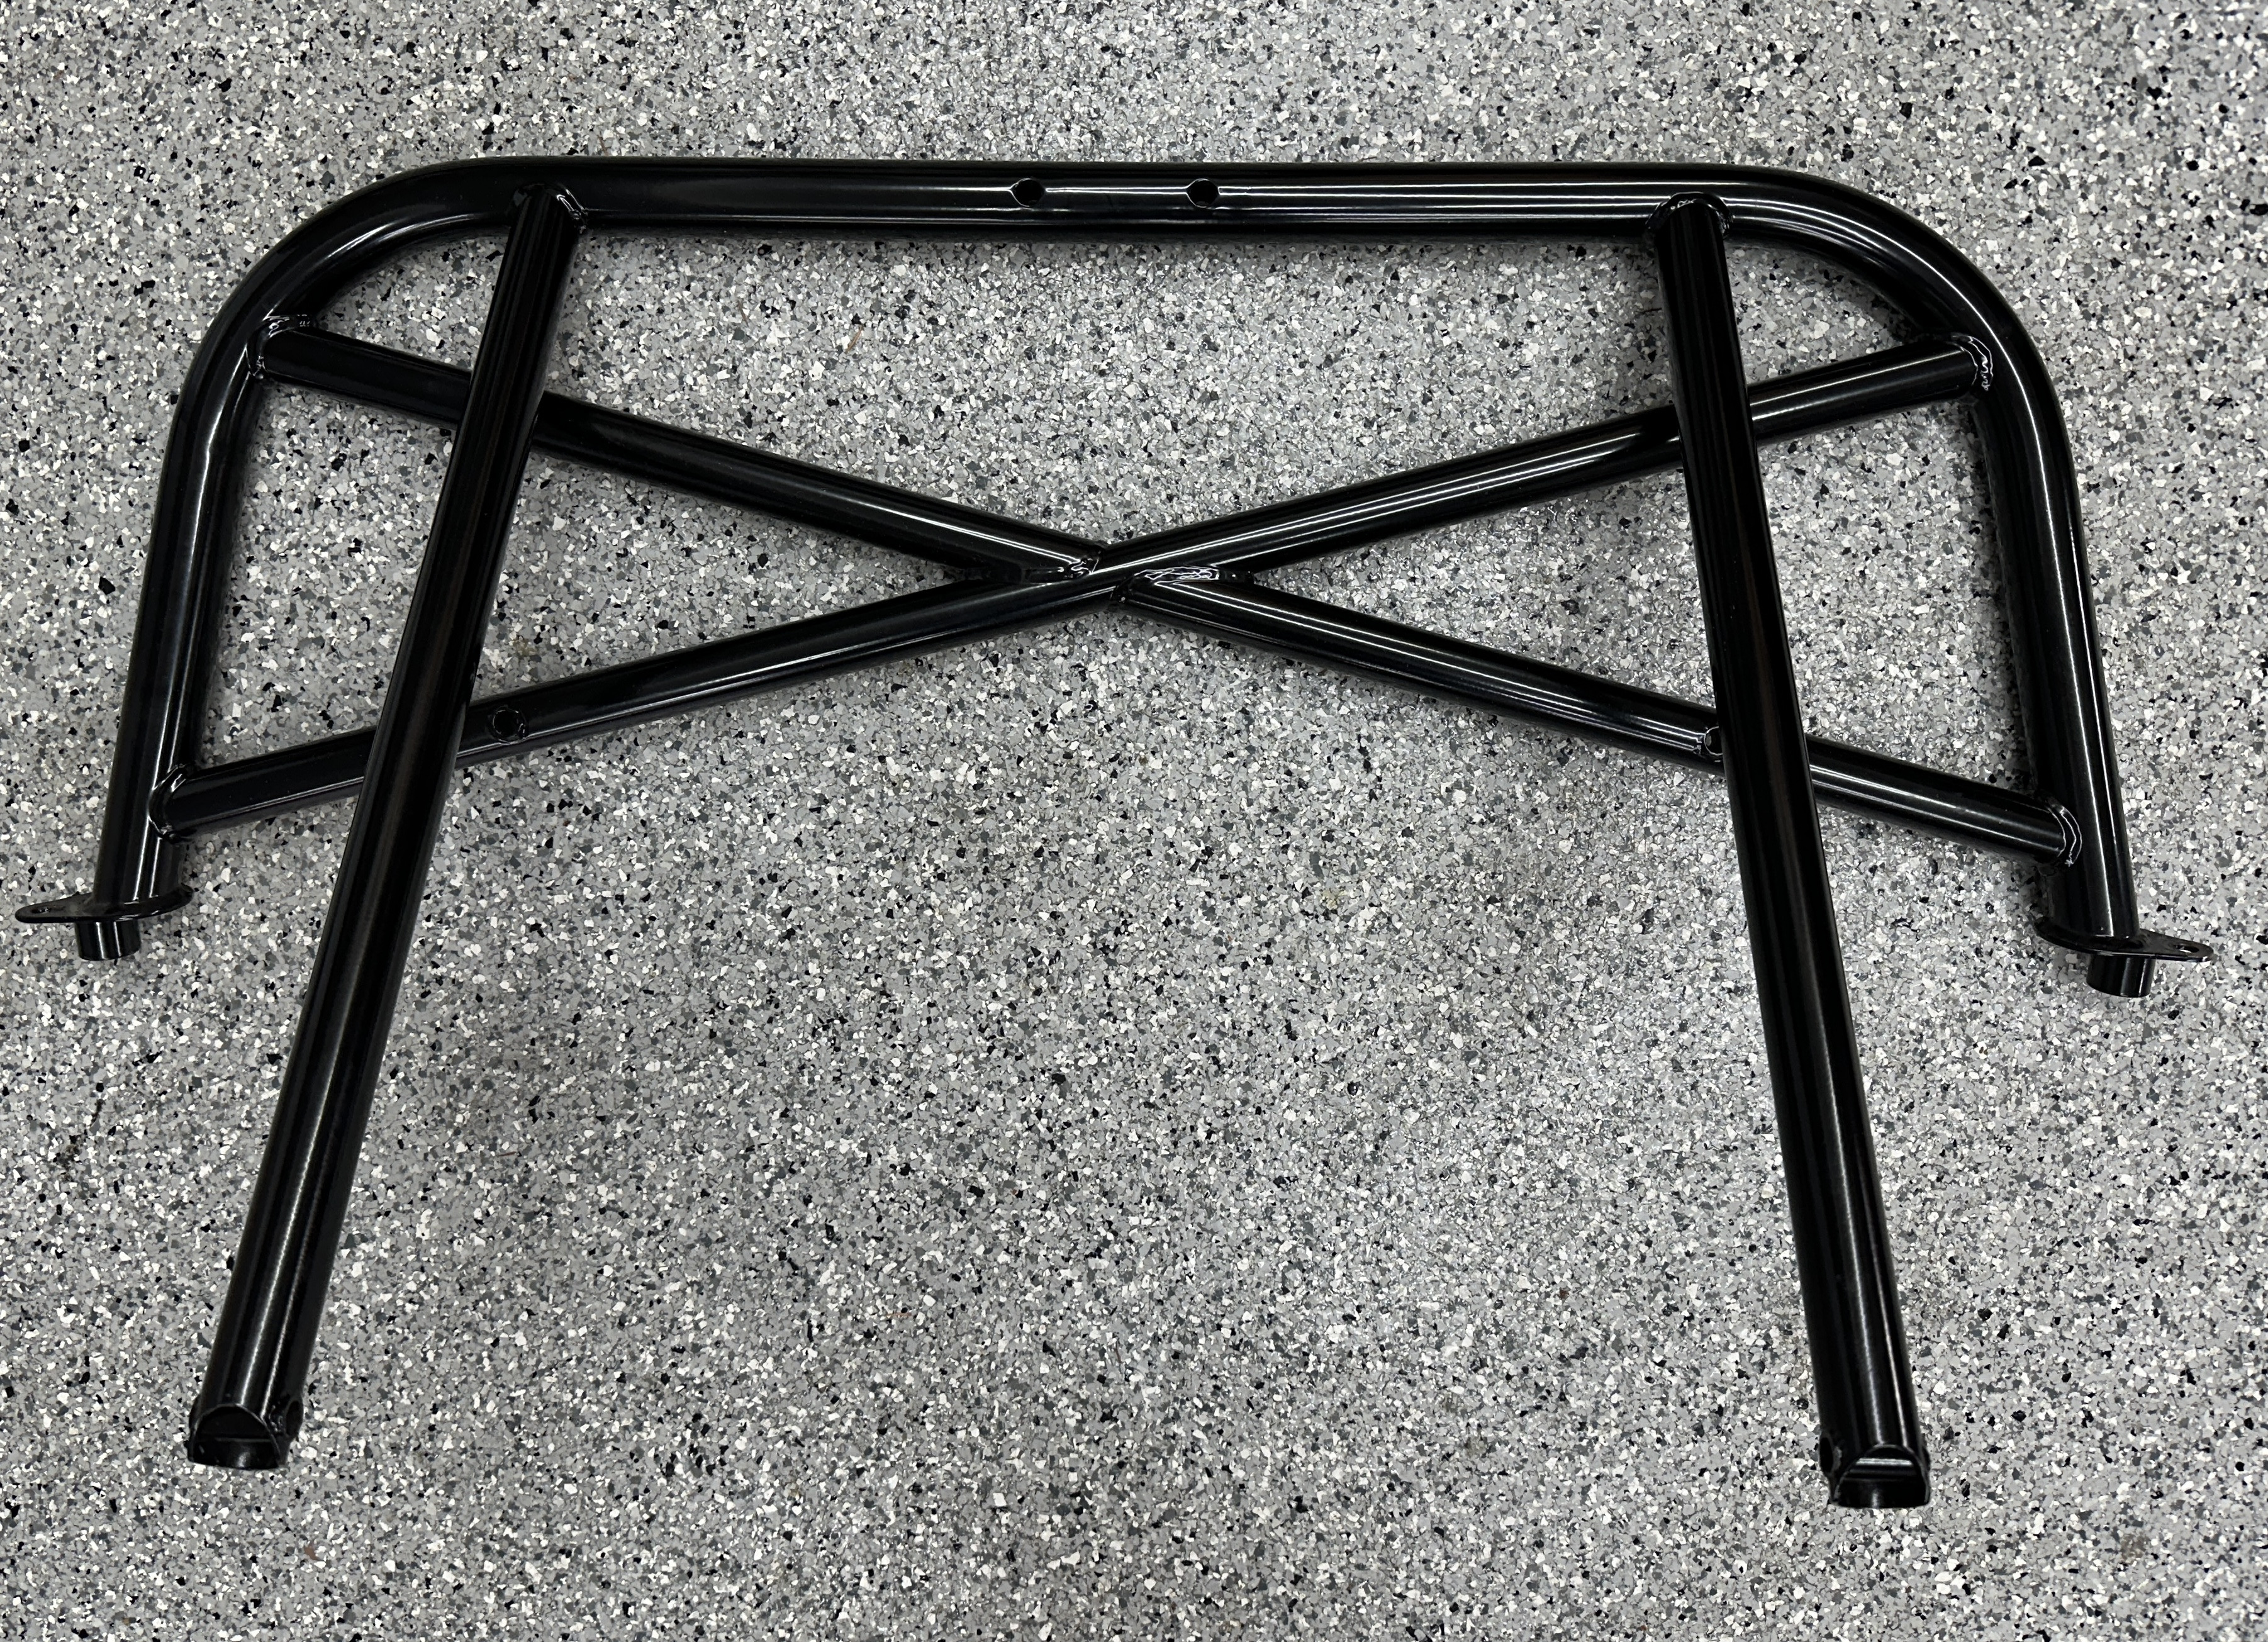
I have the track day roll bar from my 2019 SV available having just swapped it for a cage. Caterham is selling these ex VAT for about $600, plus shipping and tariffs. I'll sell for $300, pick up only. I'm located roughly 20 miles northeast of Seattle.
-
Does anyone have first-hand knowledge of the rigidity of the carbon kevlar seat relative to the GRP/carbon seat that they can share?
-
And now @BruceBe has added a comment on BaT. This community is truly special. If for some reason the car doesn't sell then I'll just tuck it away for now. I was hoping to create space for something new, but that too can wait. I will, however, still have a trailer for sale. It fits the S3 chassis perfectly, and I've also used it for my SV but find getting in and out tight at the ramp door opening so am going to go a little wider, probably a 7.5'. The trailer has been used locally only to haul motorcycles and Caterham's. The L-track runs down the one wall to accommodate stowing bikes at an angle to maximize the number that can be fit. I'll update with a price assuming no BaT sale, so this is just a head's up in case someone is looking for a trailer.
-
My imagination is going wild trying to decipher these "knuckle" messages.
-
@demoray and @Vovchandr, thanks for taking the time to respond. So far the comments and questions have been more than reasonable so easy to respond to, and @Kitcat and the original owner, Mark McClure have both jumped in to help.
-
Lucky buyer, that is a really nice CSR!
-
Oh boy, point well taken @theDreamer. That auction went off the rails early in a completely avoidable fashion. I'd like to think that my nature is one that would avoid such silliness, but will be mindful that even an innocent misstep can get things moving in the wrong direction.
-
Thanks @pethier, appreciate the gut check.
-
Sage advice, thanks @wdb!
-
This is my first time selling on BaT, so if you happen to look at the auction and have any thoughts on how I might improve please do share. The good folks at BaT re-wrote the ad I prepared in an awkward sort of way, and short of correcting factual errors I'm living with what they think is best. However, I do have control over how I respond to questions and comments.
-
This 7 is now live on Bring a Trailer: https://bringatrailer.com/listing/2003-caterham-super-seven/
-
I'm using Bring a Trailer to sell my car, trailer, and other items to make a track-ready package. Per BaT's rules, if you have any interest please look to BaT instead of inquiring through USA7's. I will reply here with a link to the BaT ad once it goes live. For those of you with history of the car or just feel like participating, I would be very grateful if you would comment in the BaT ad with whatever you feel is appropriate. Thanks! Greg
-
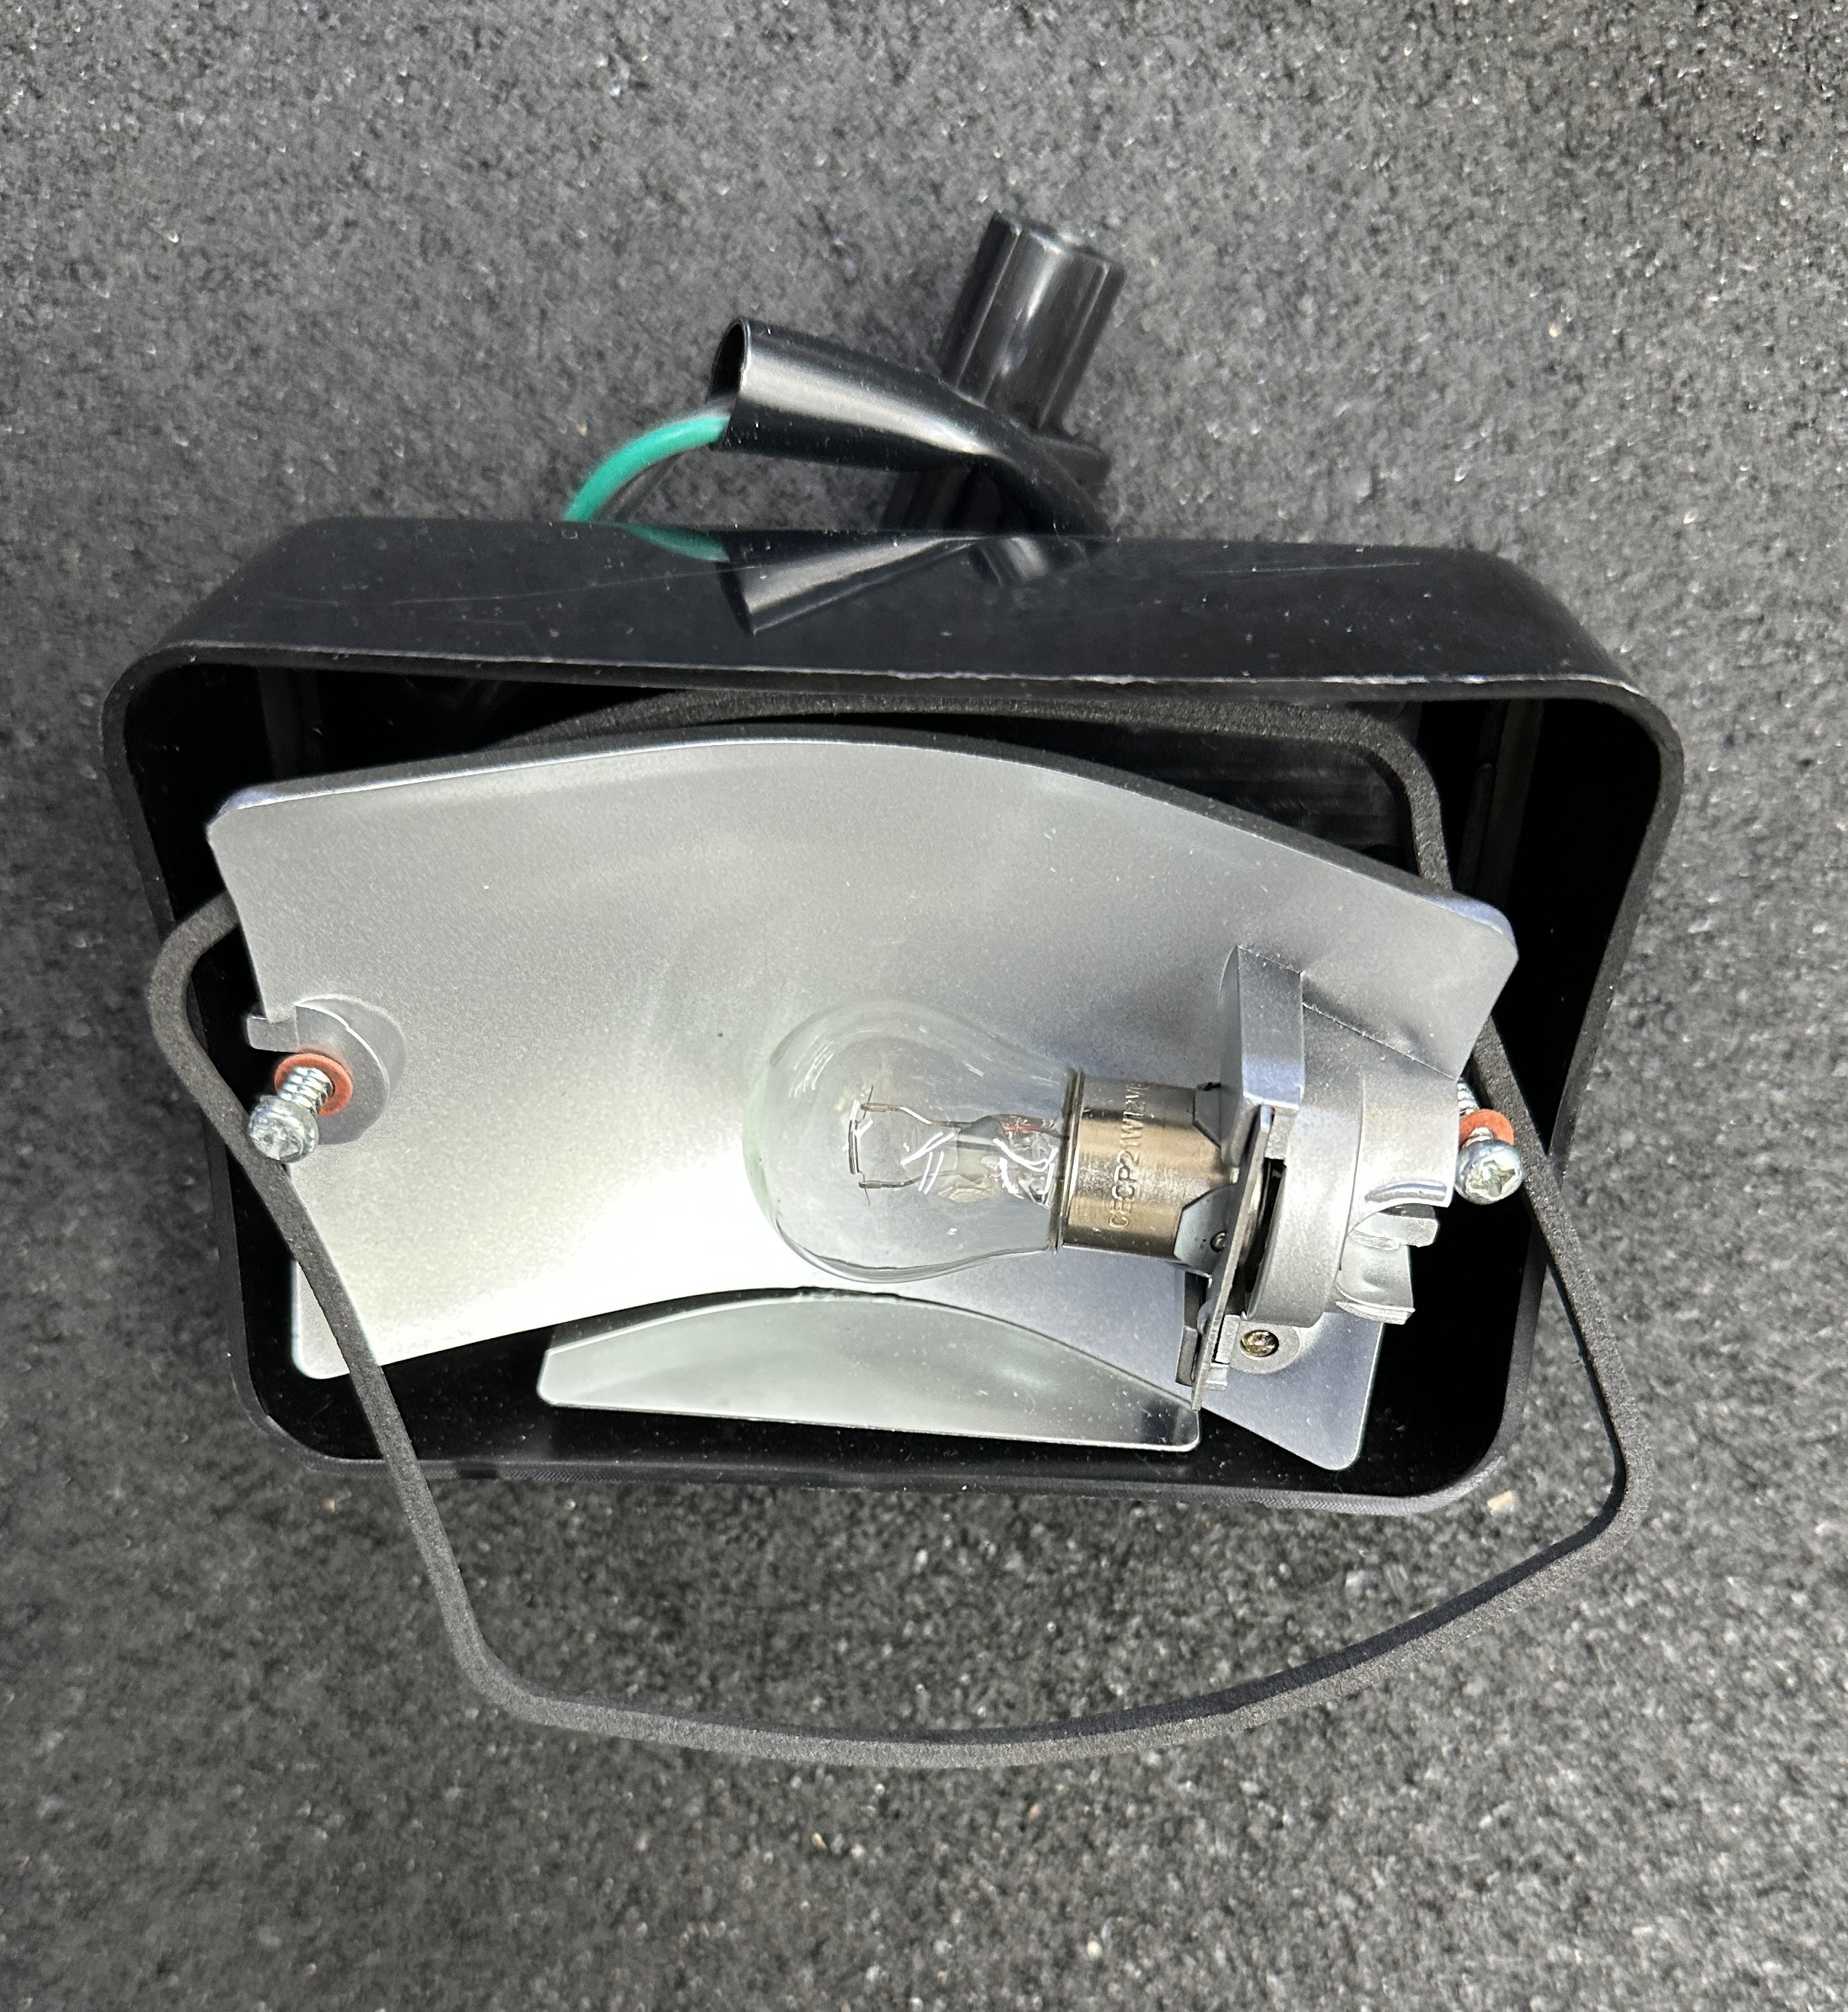
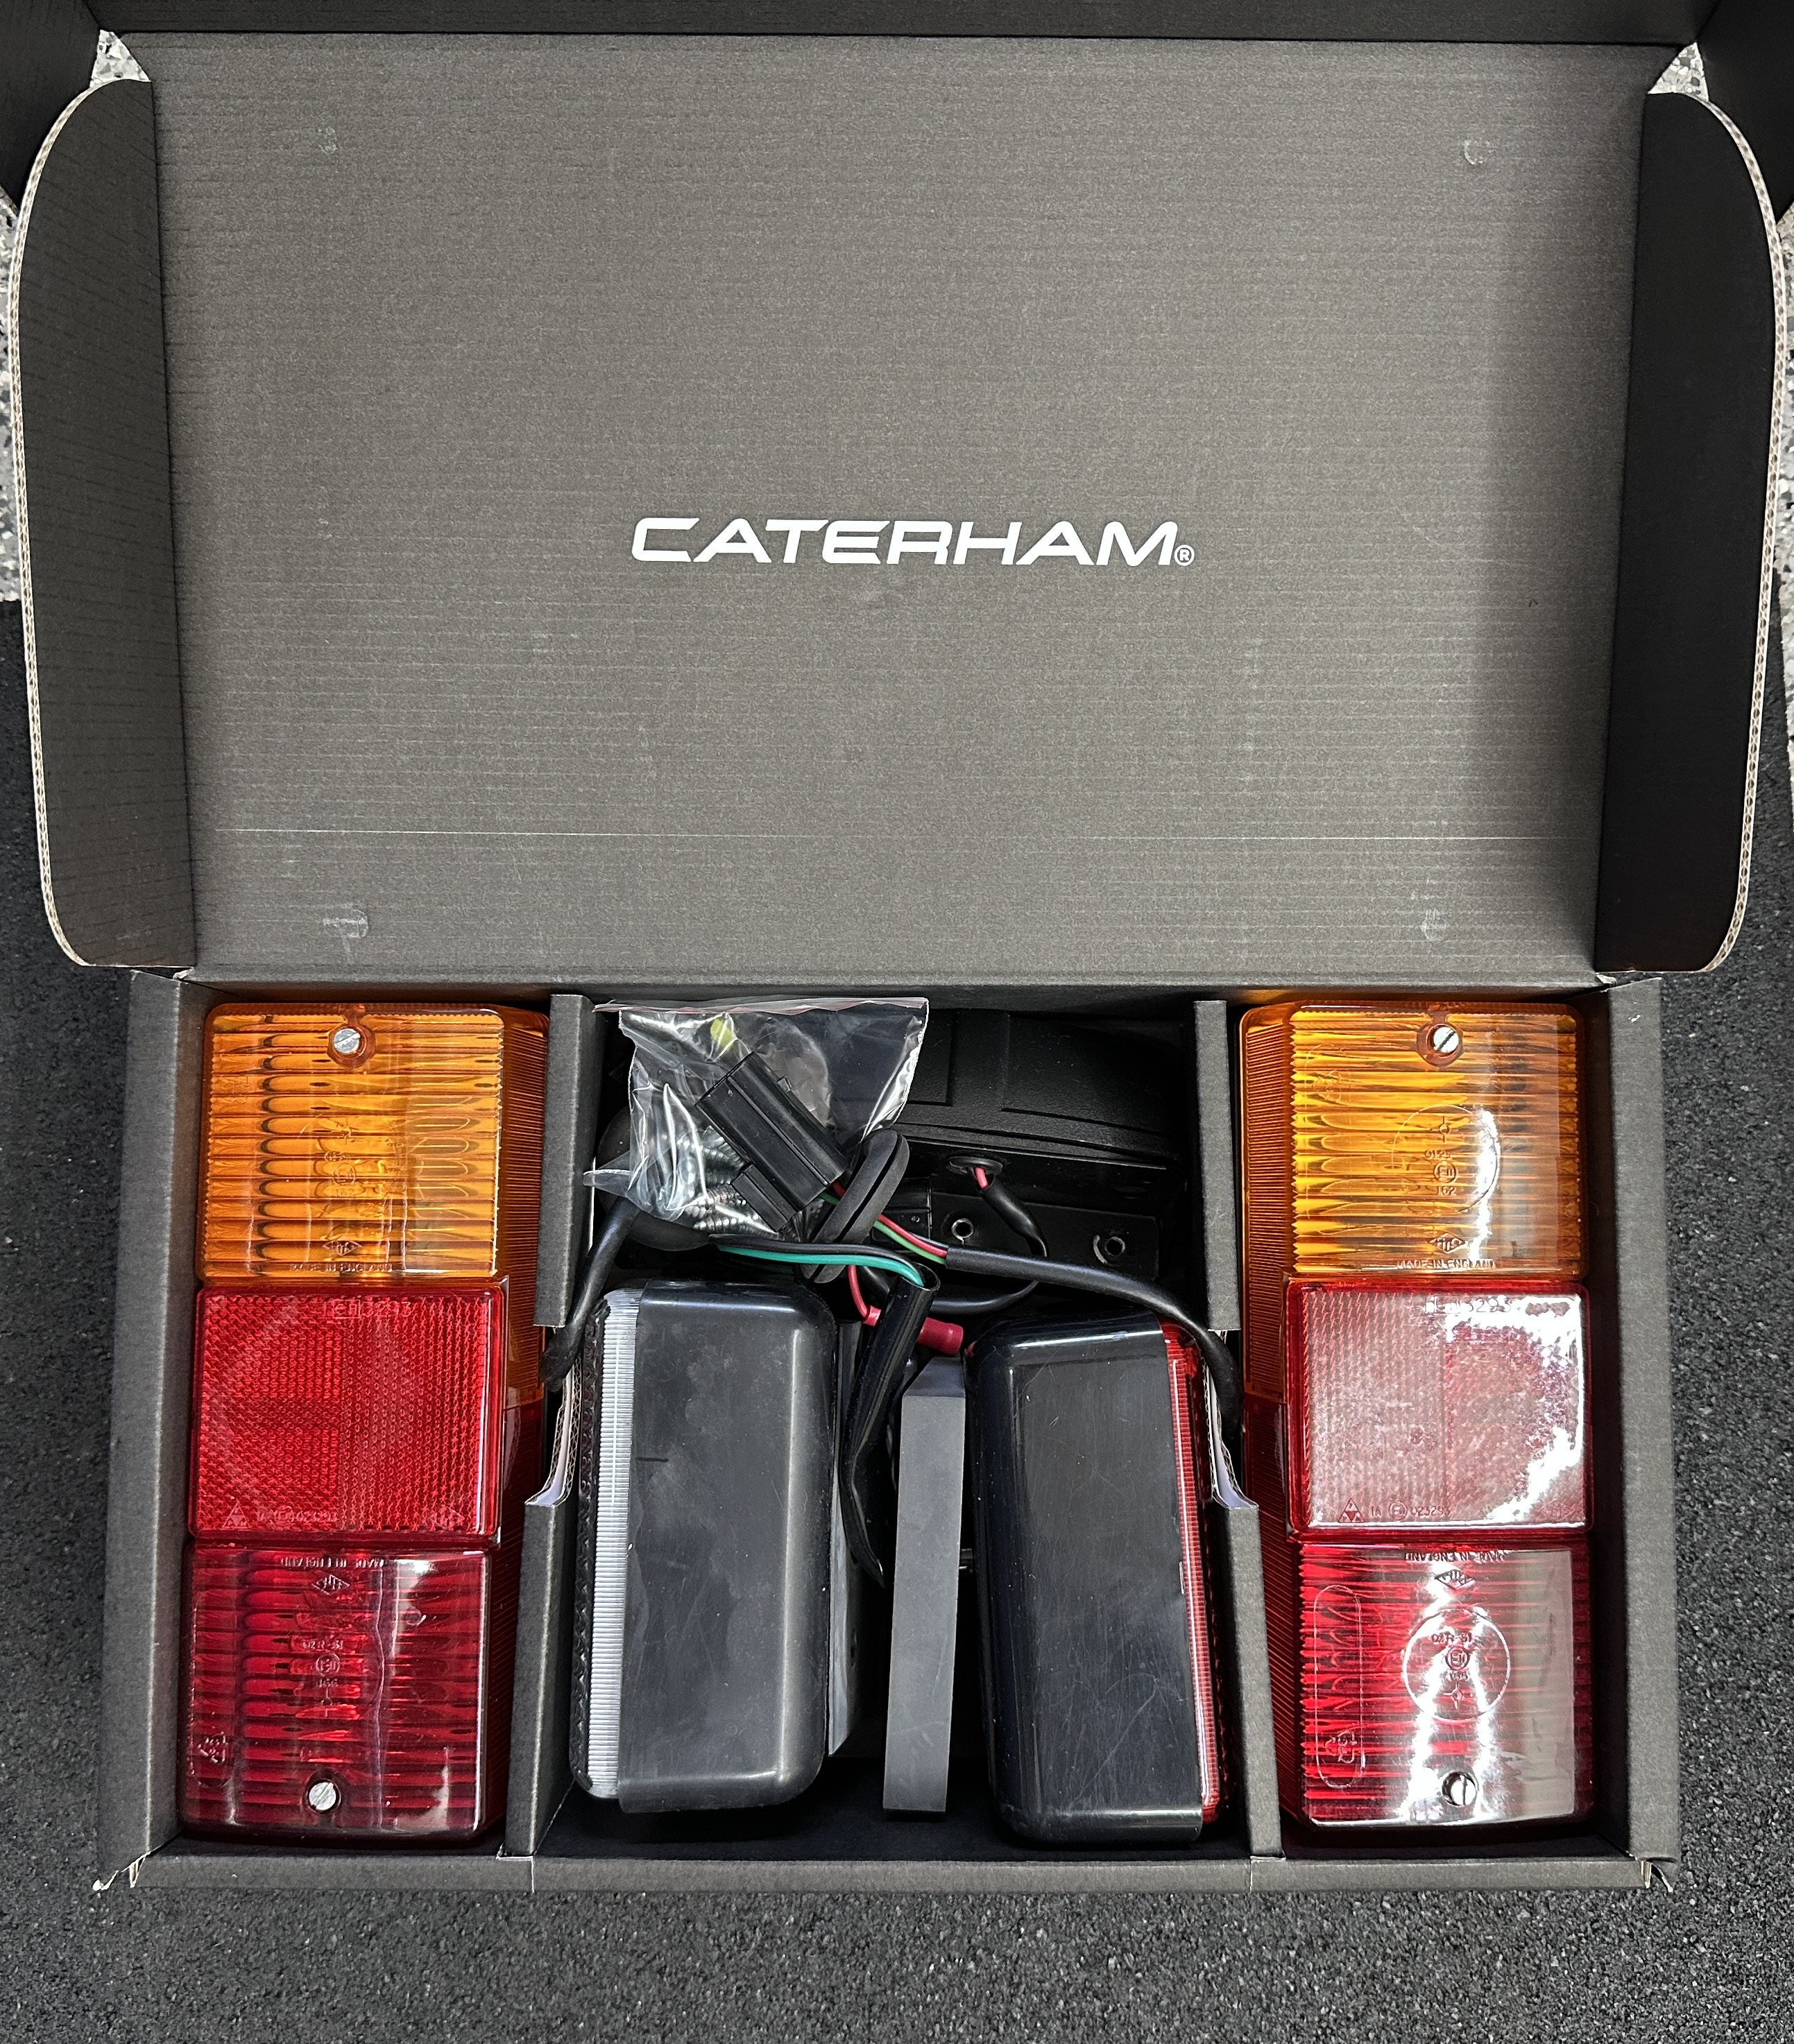
My 2019 kit came with the incandescent rear lights that I subsequently replaced with LED. In addition, I have a spare reverse/running light without the lens. All of this is free if you pay the shipping.
-
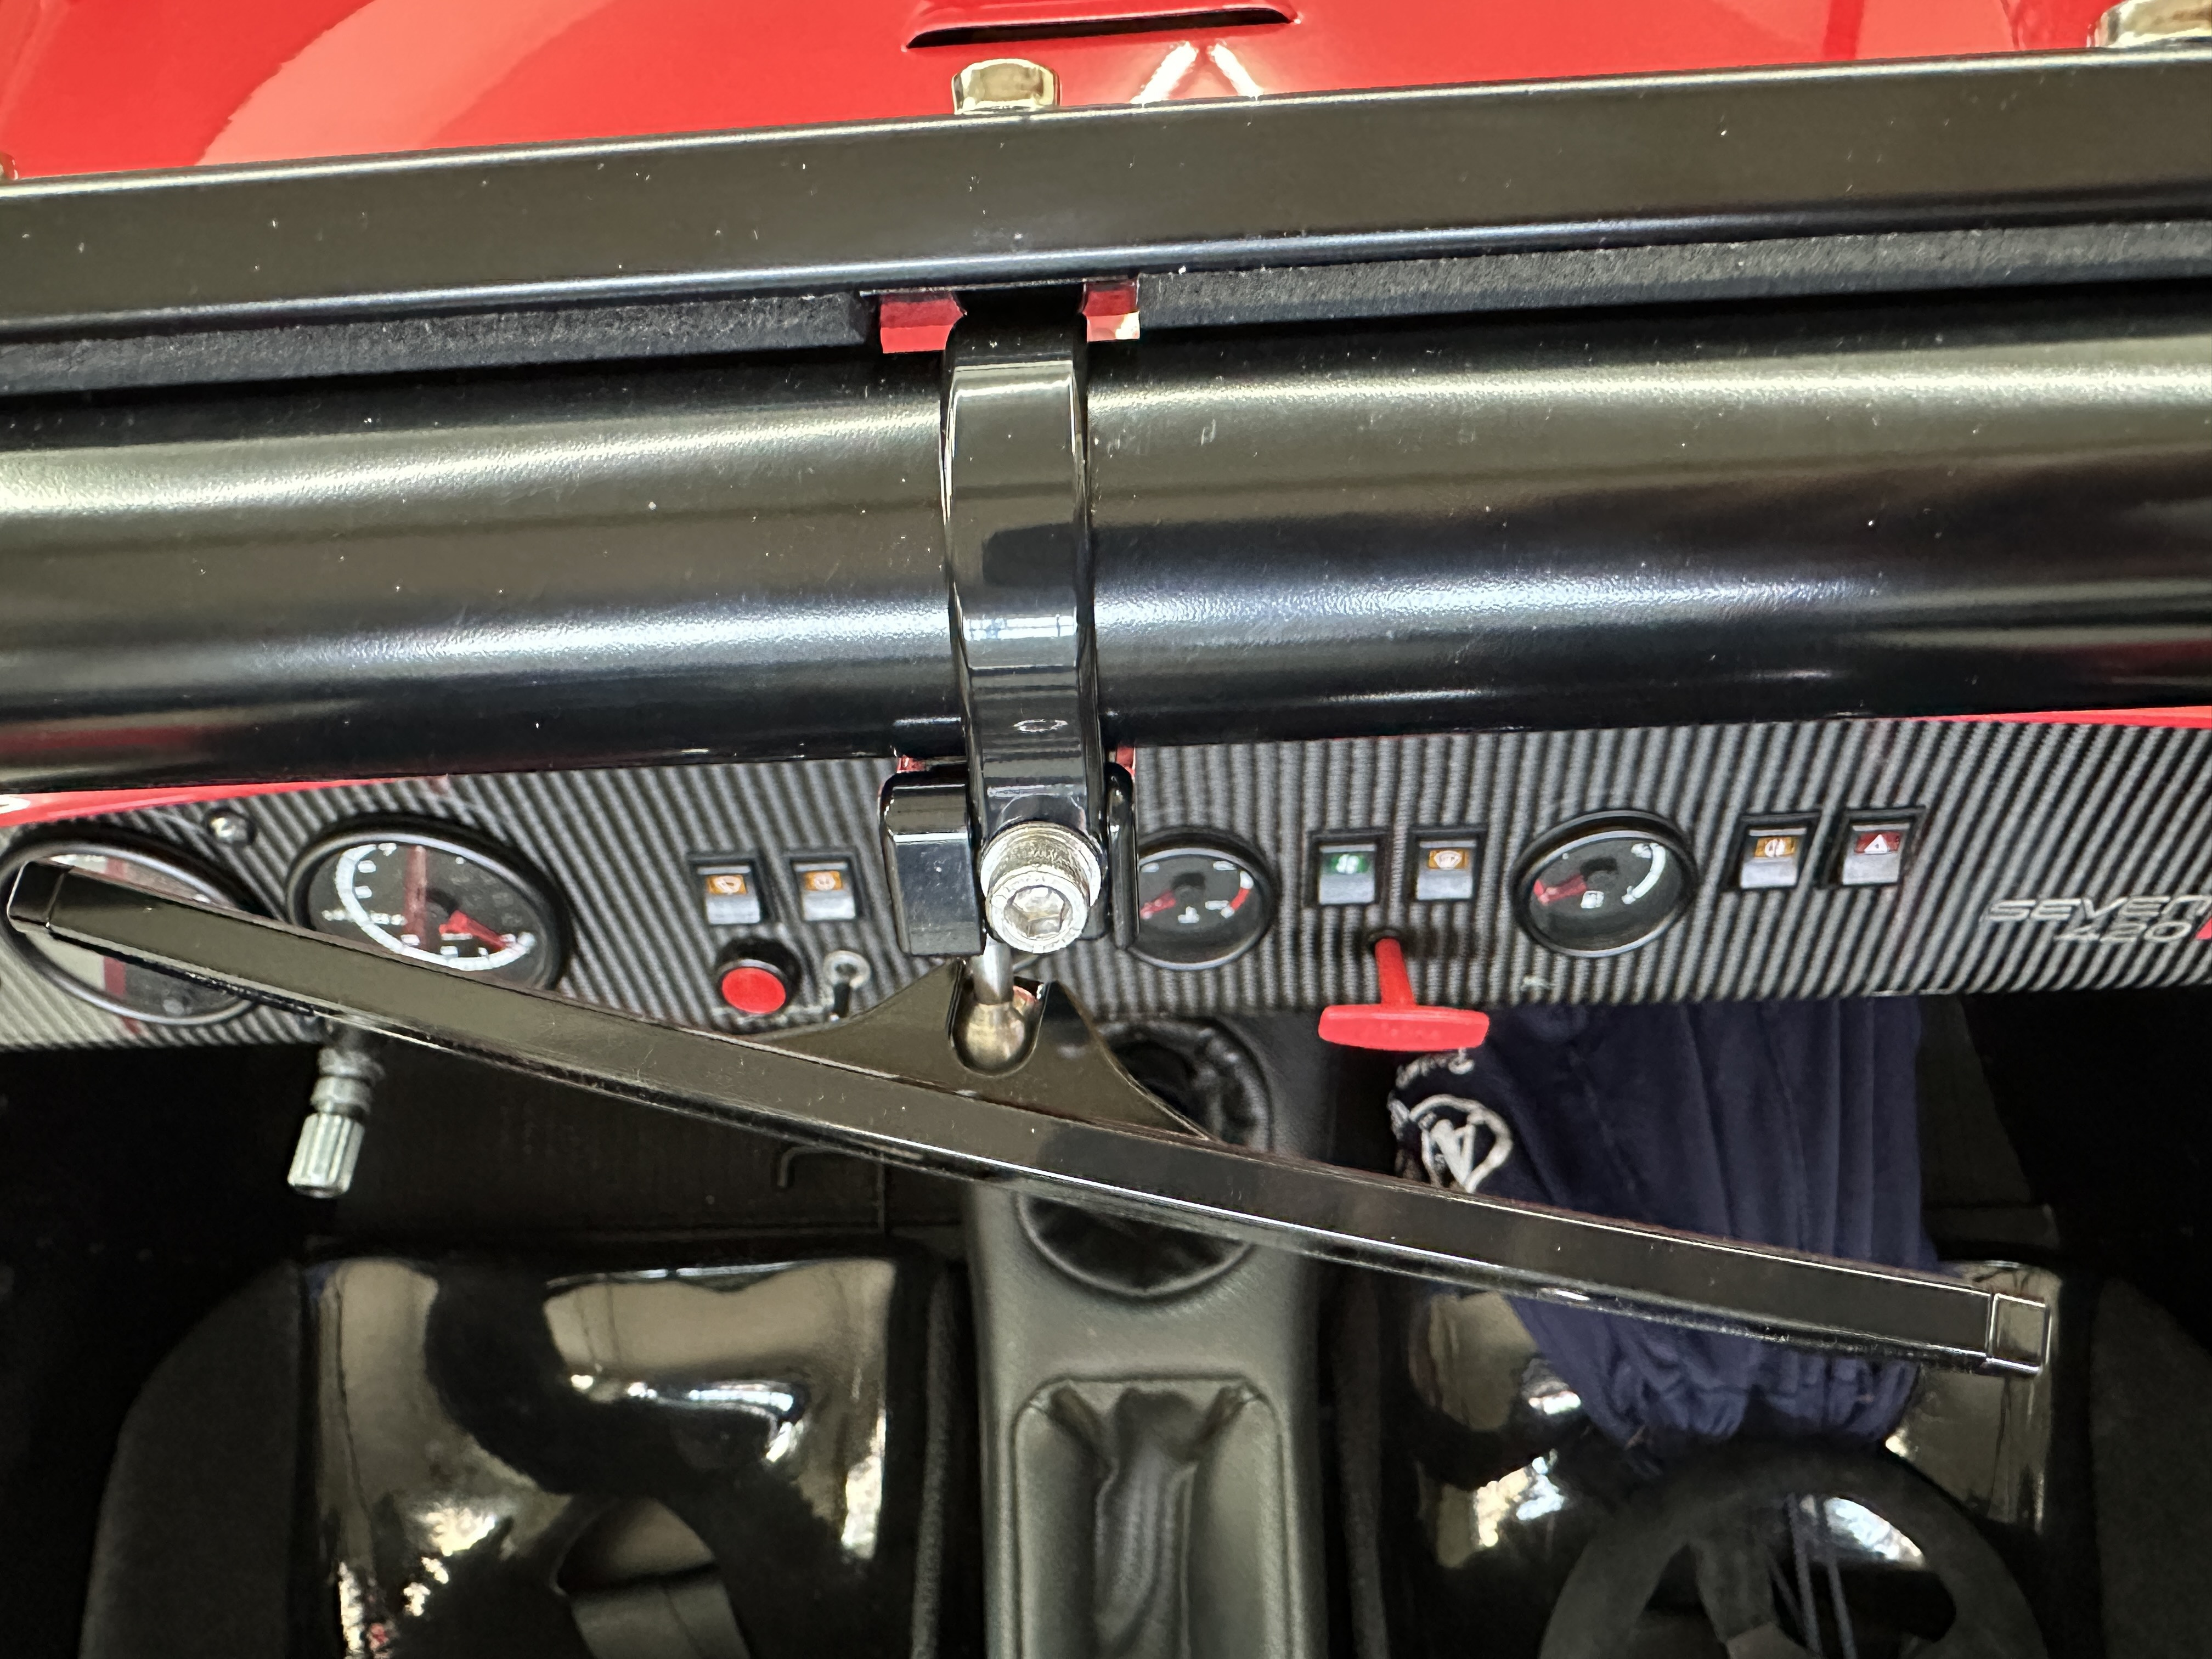
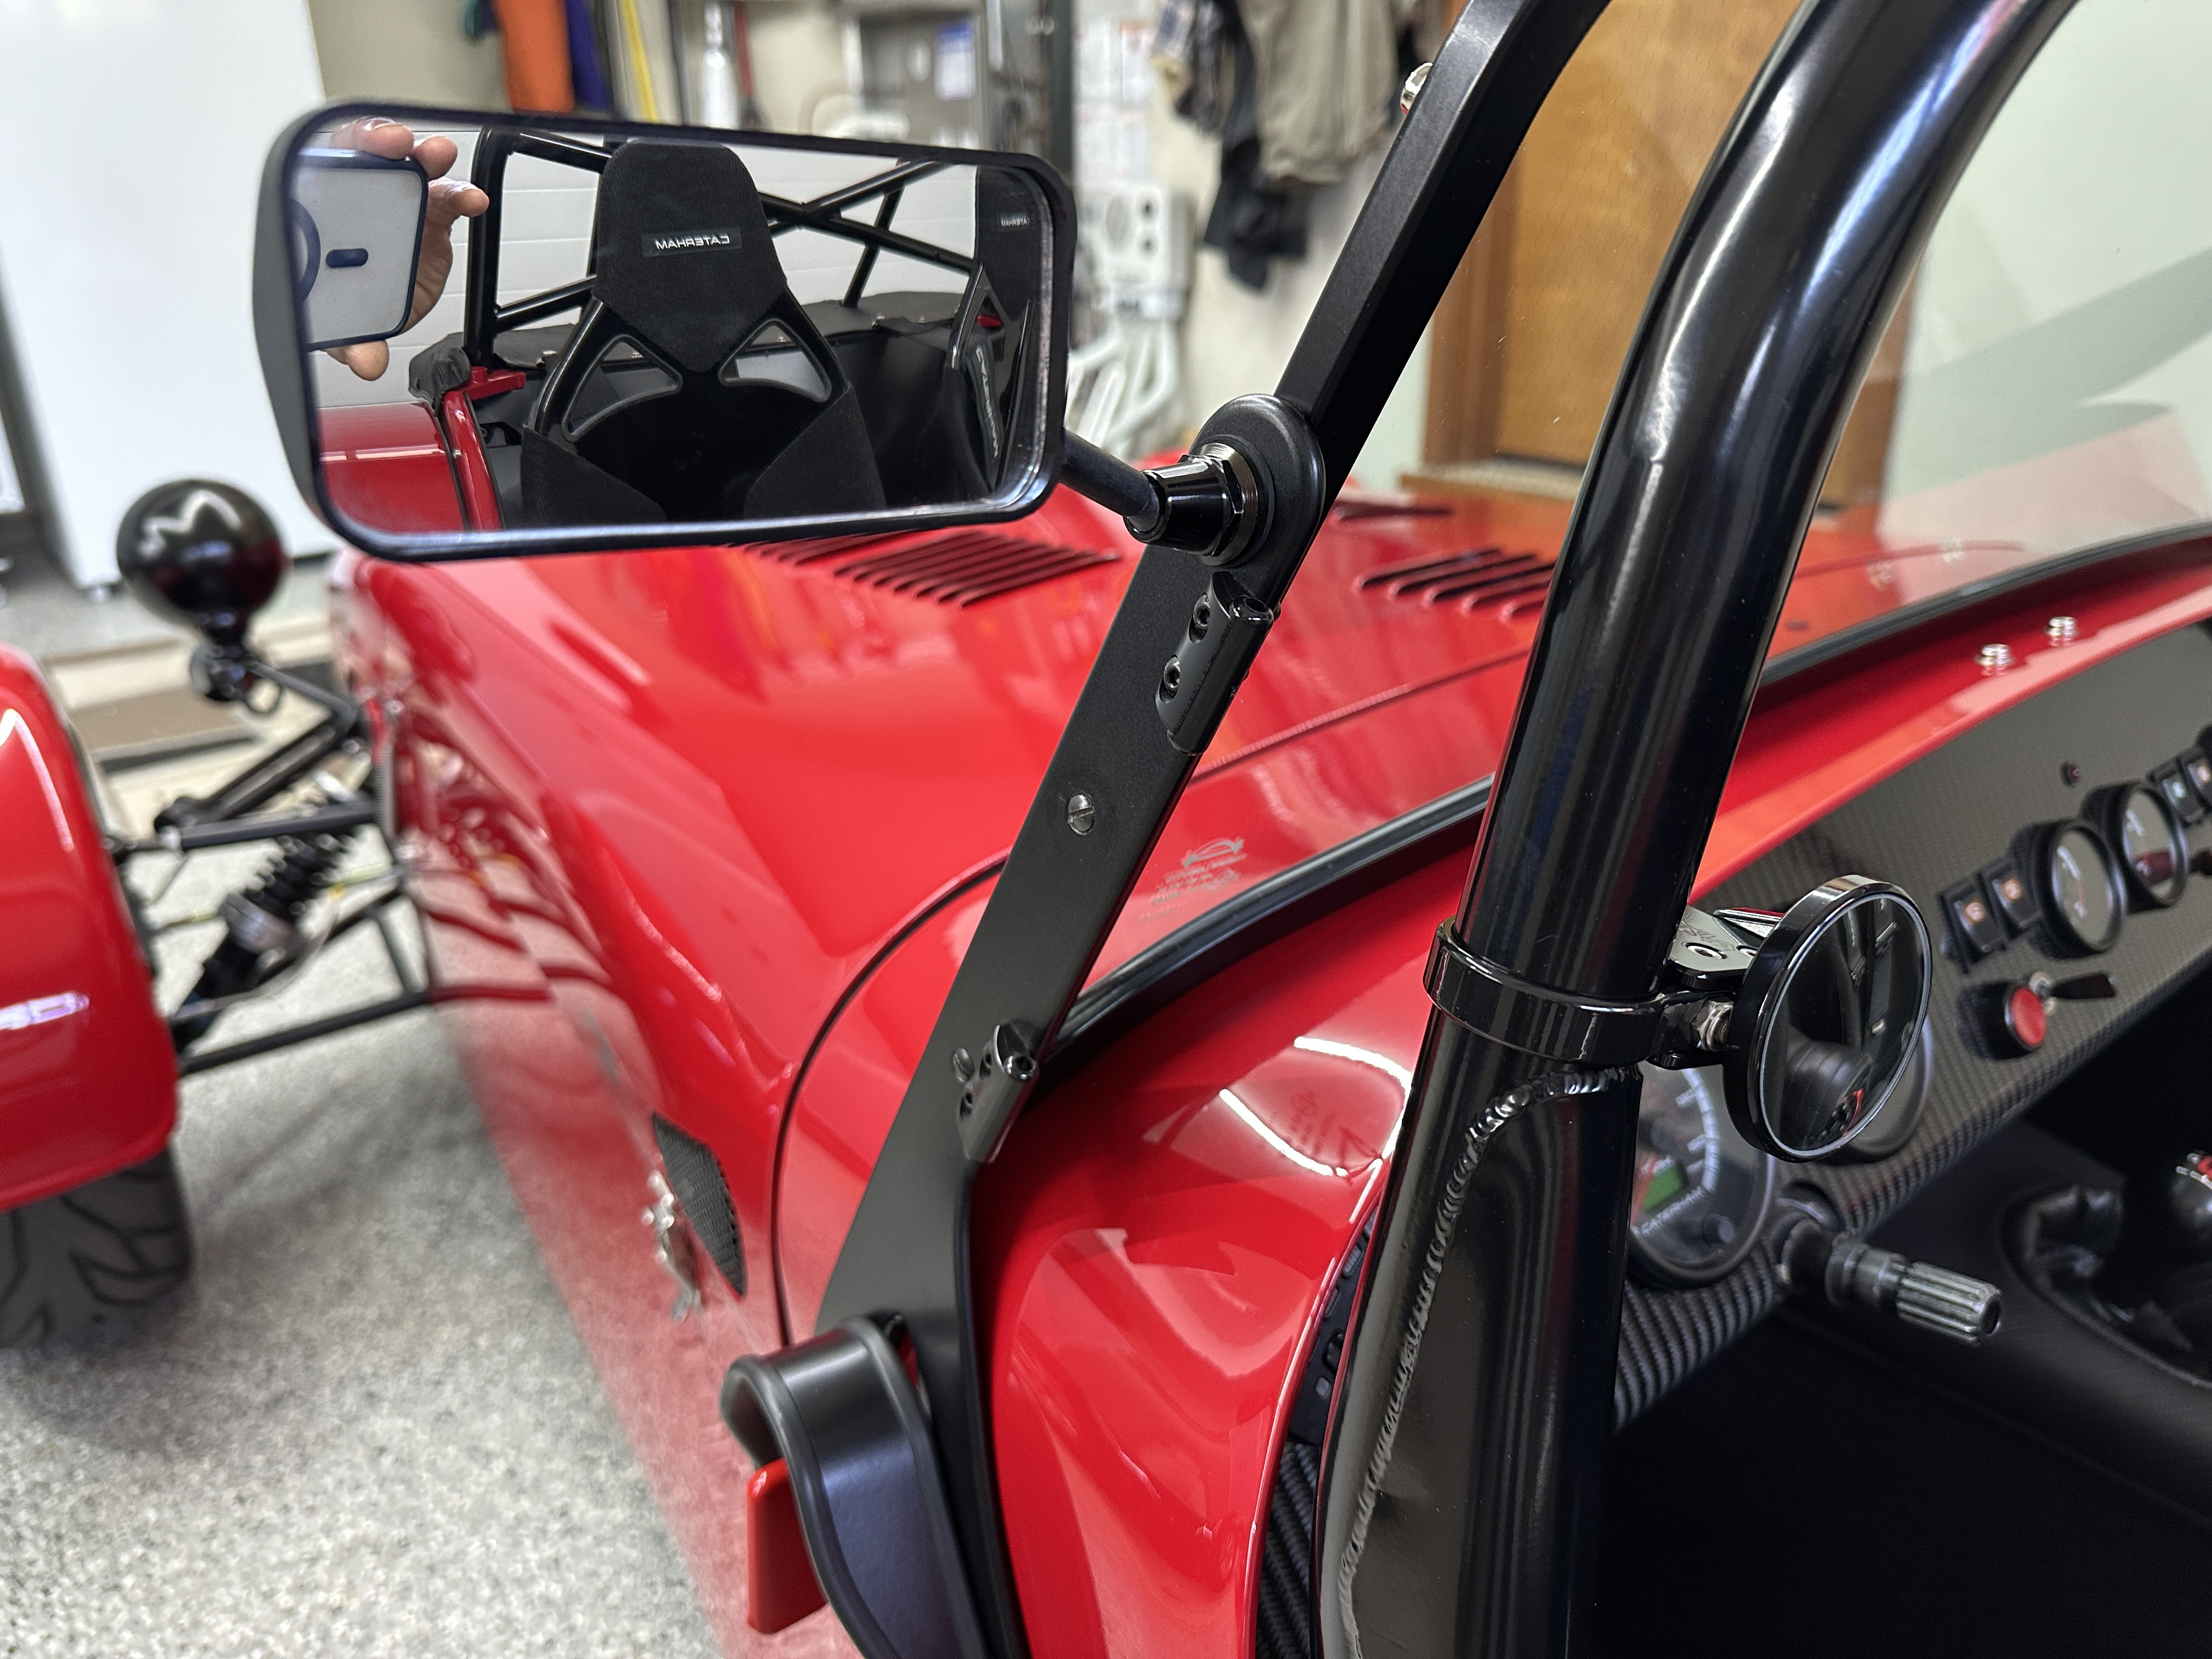
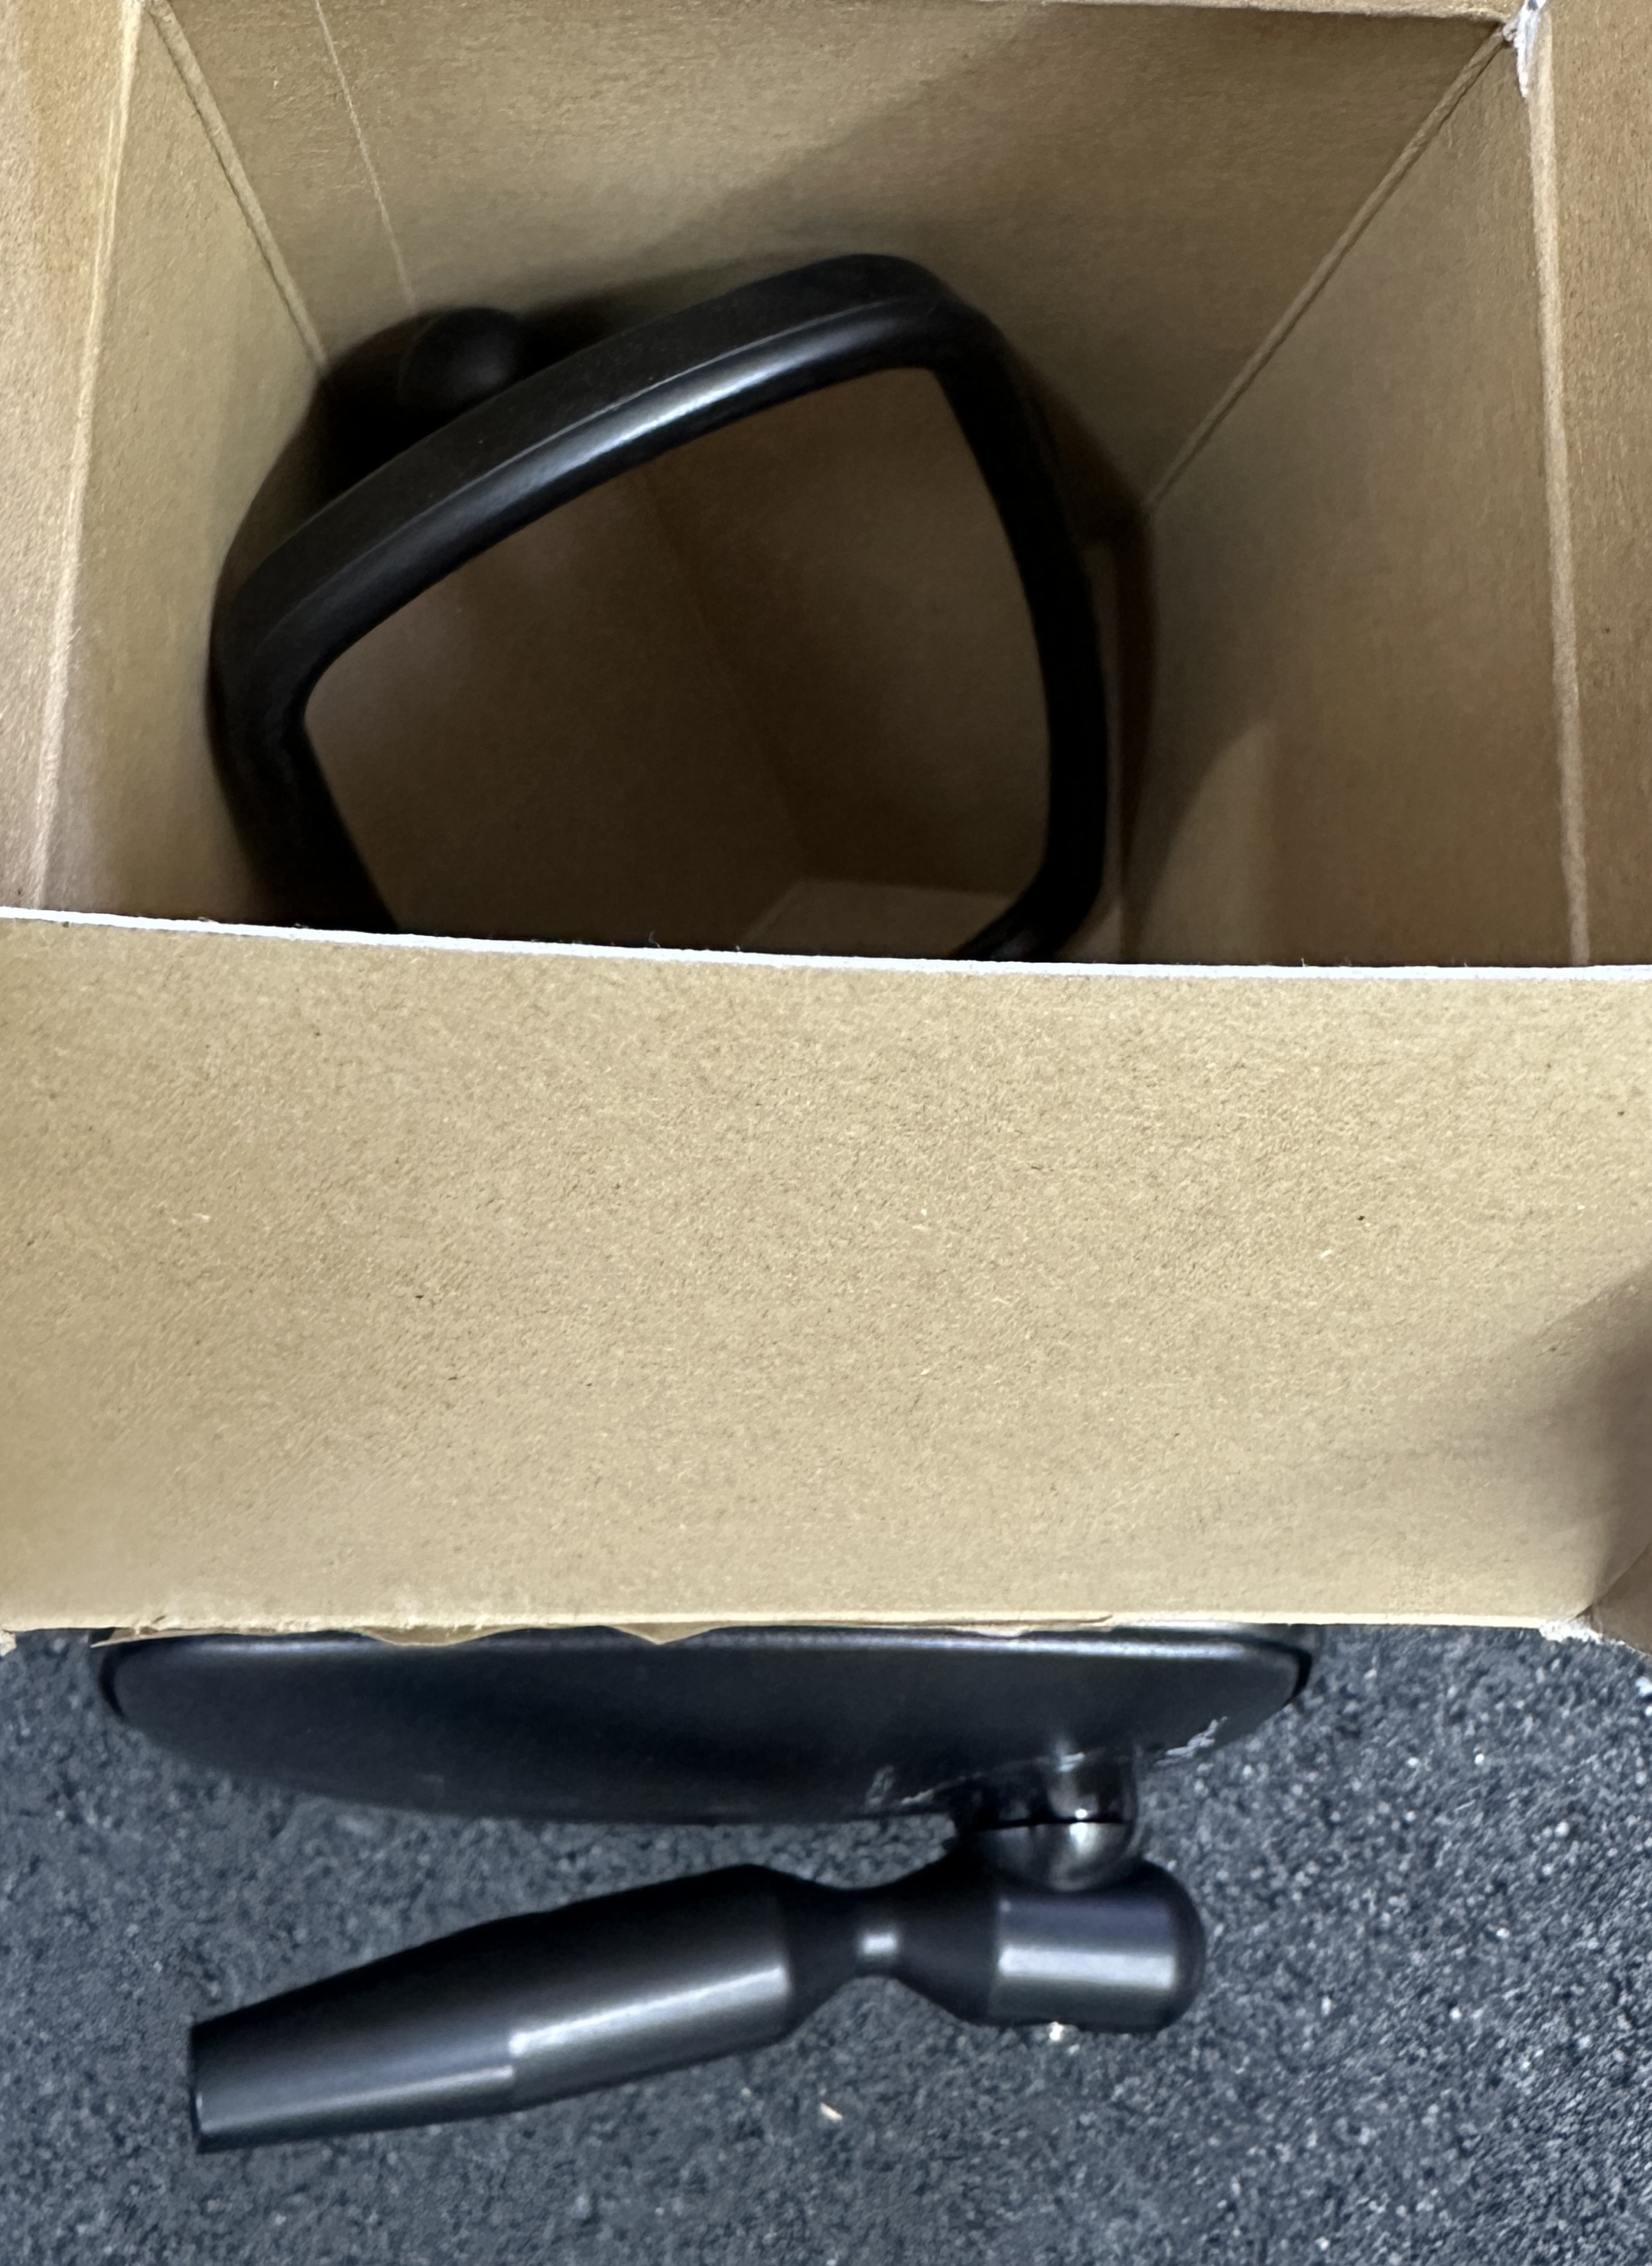
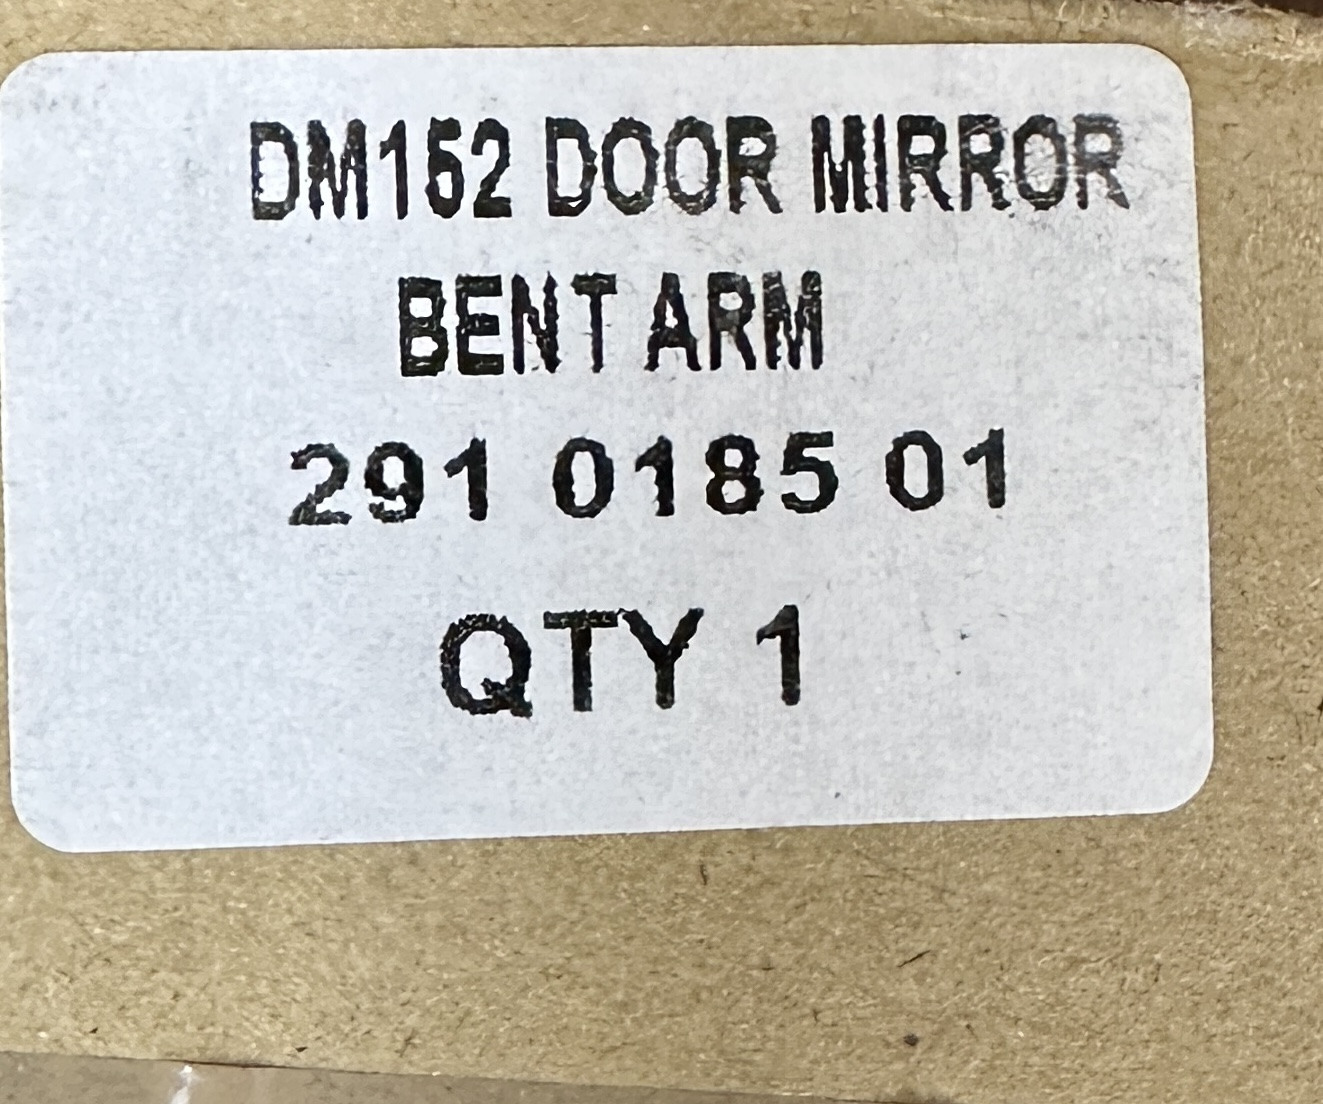
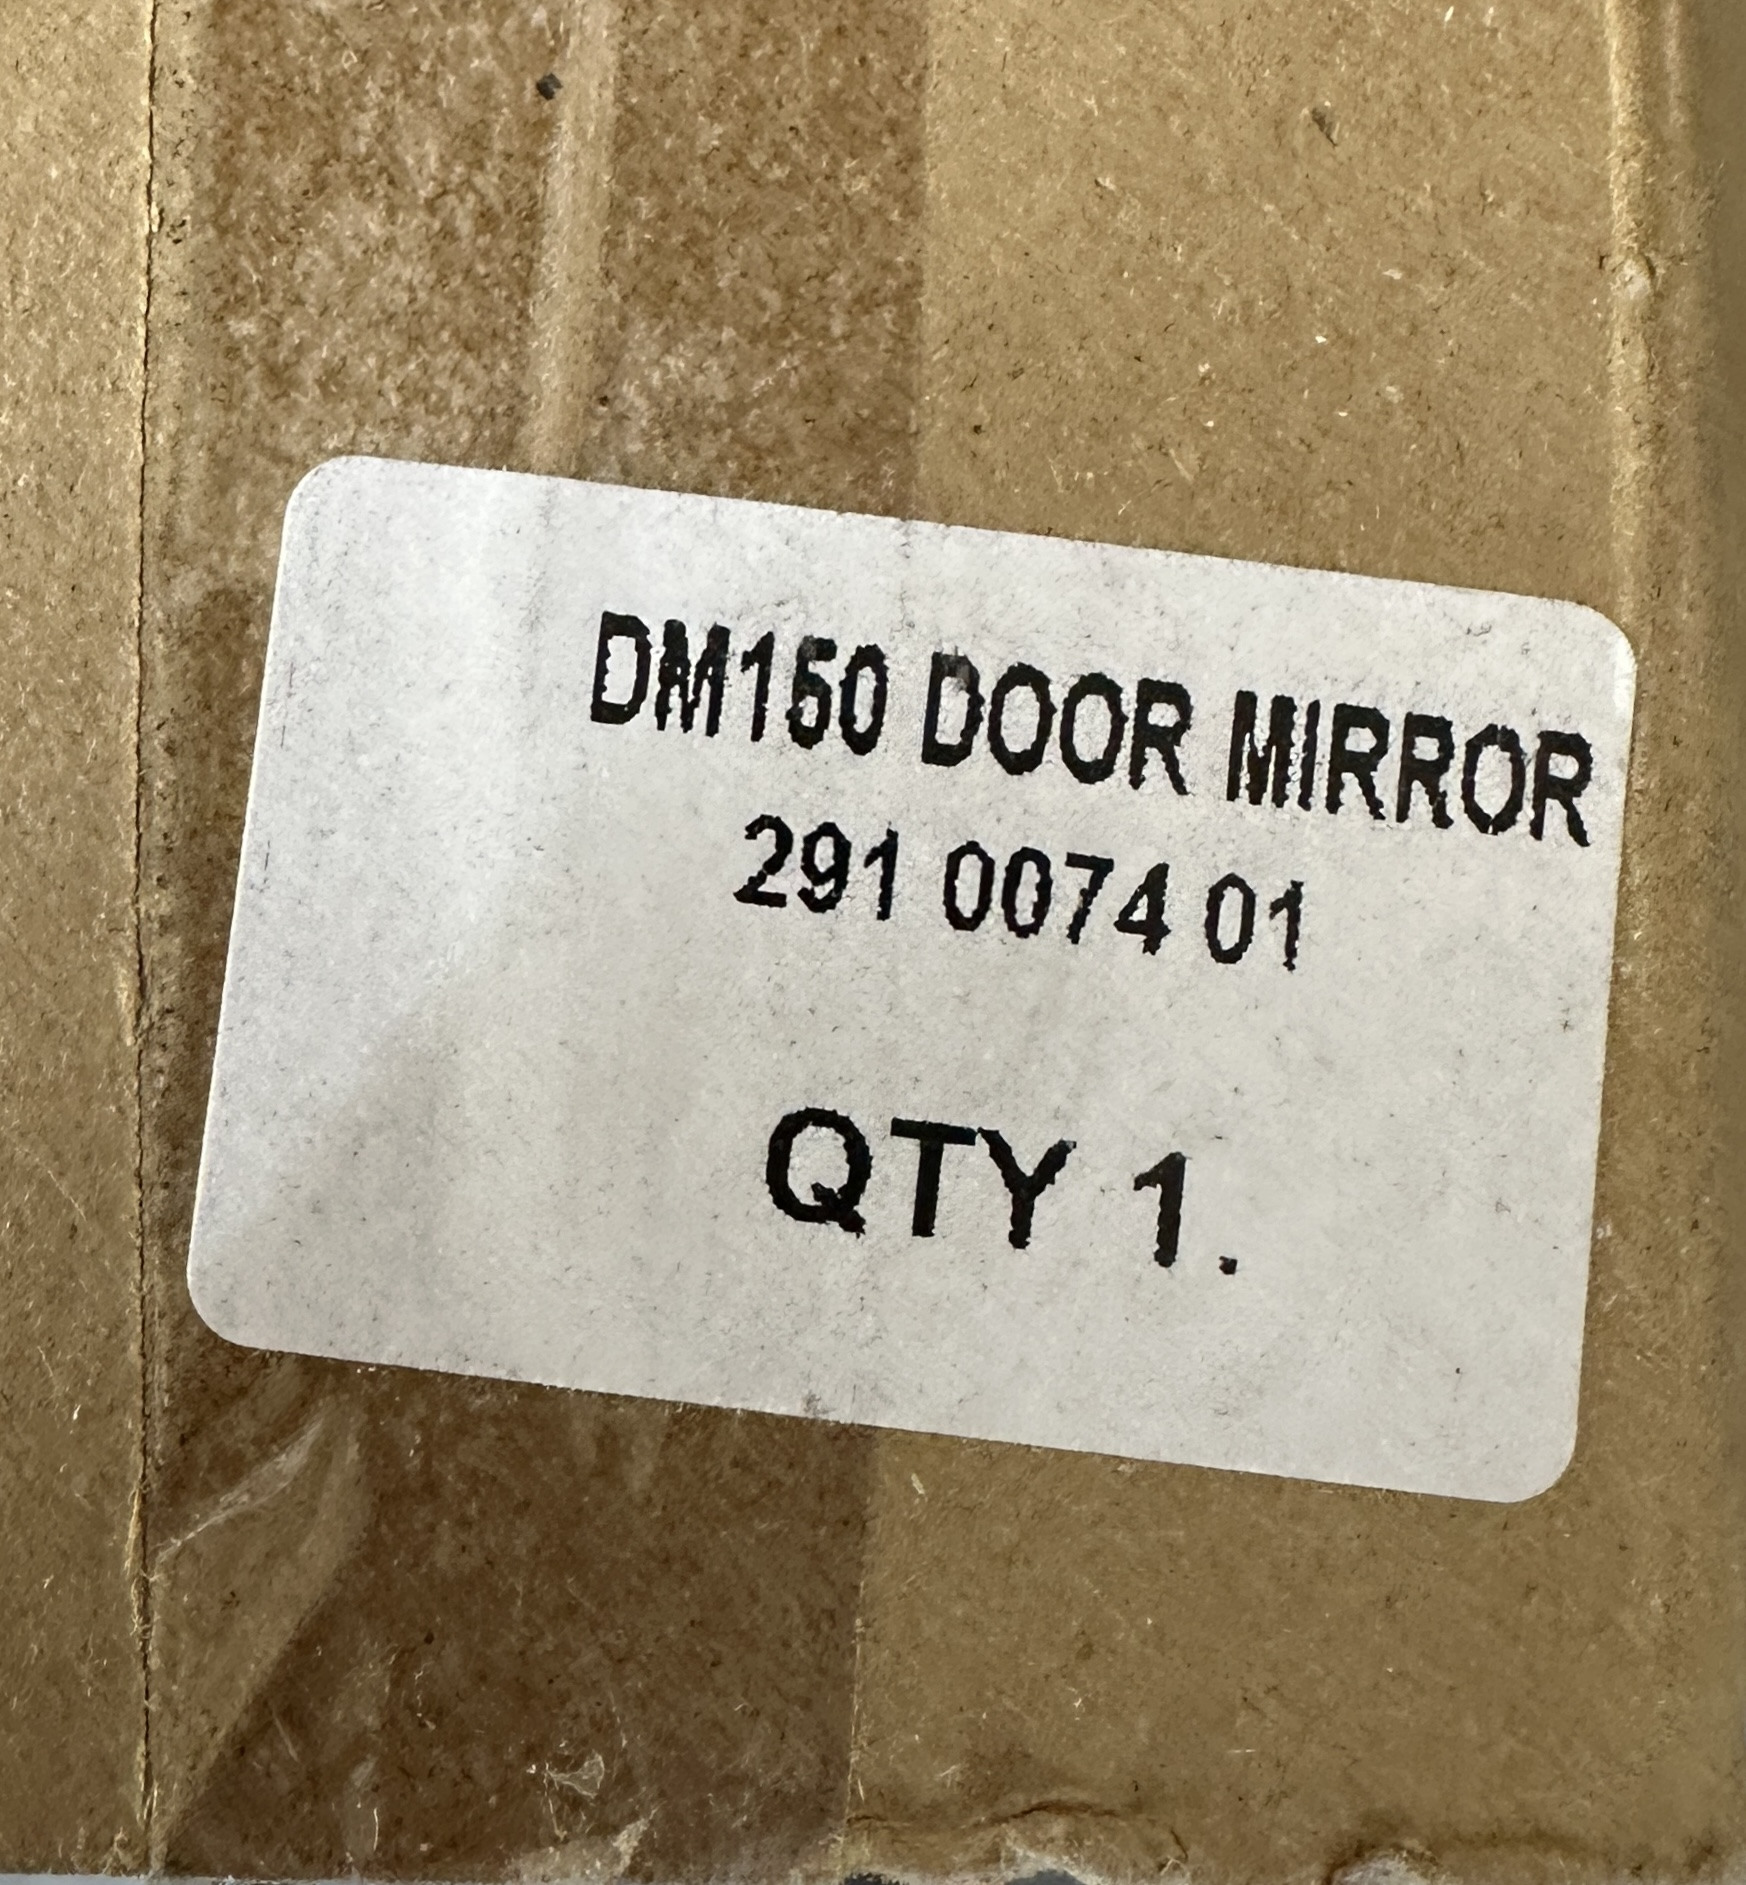
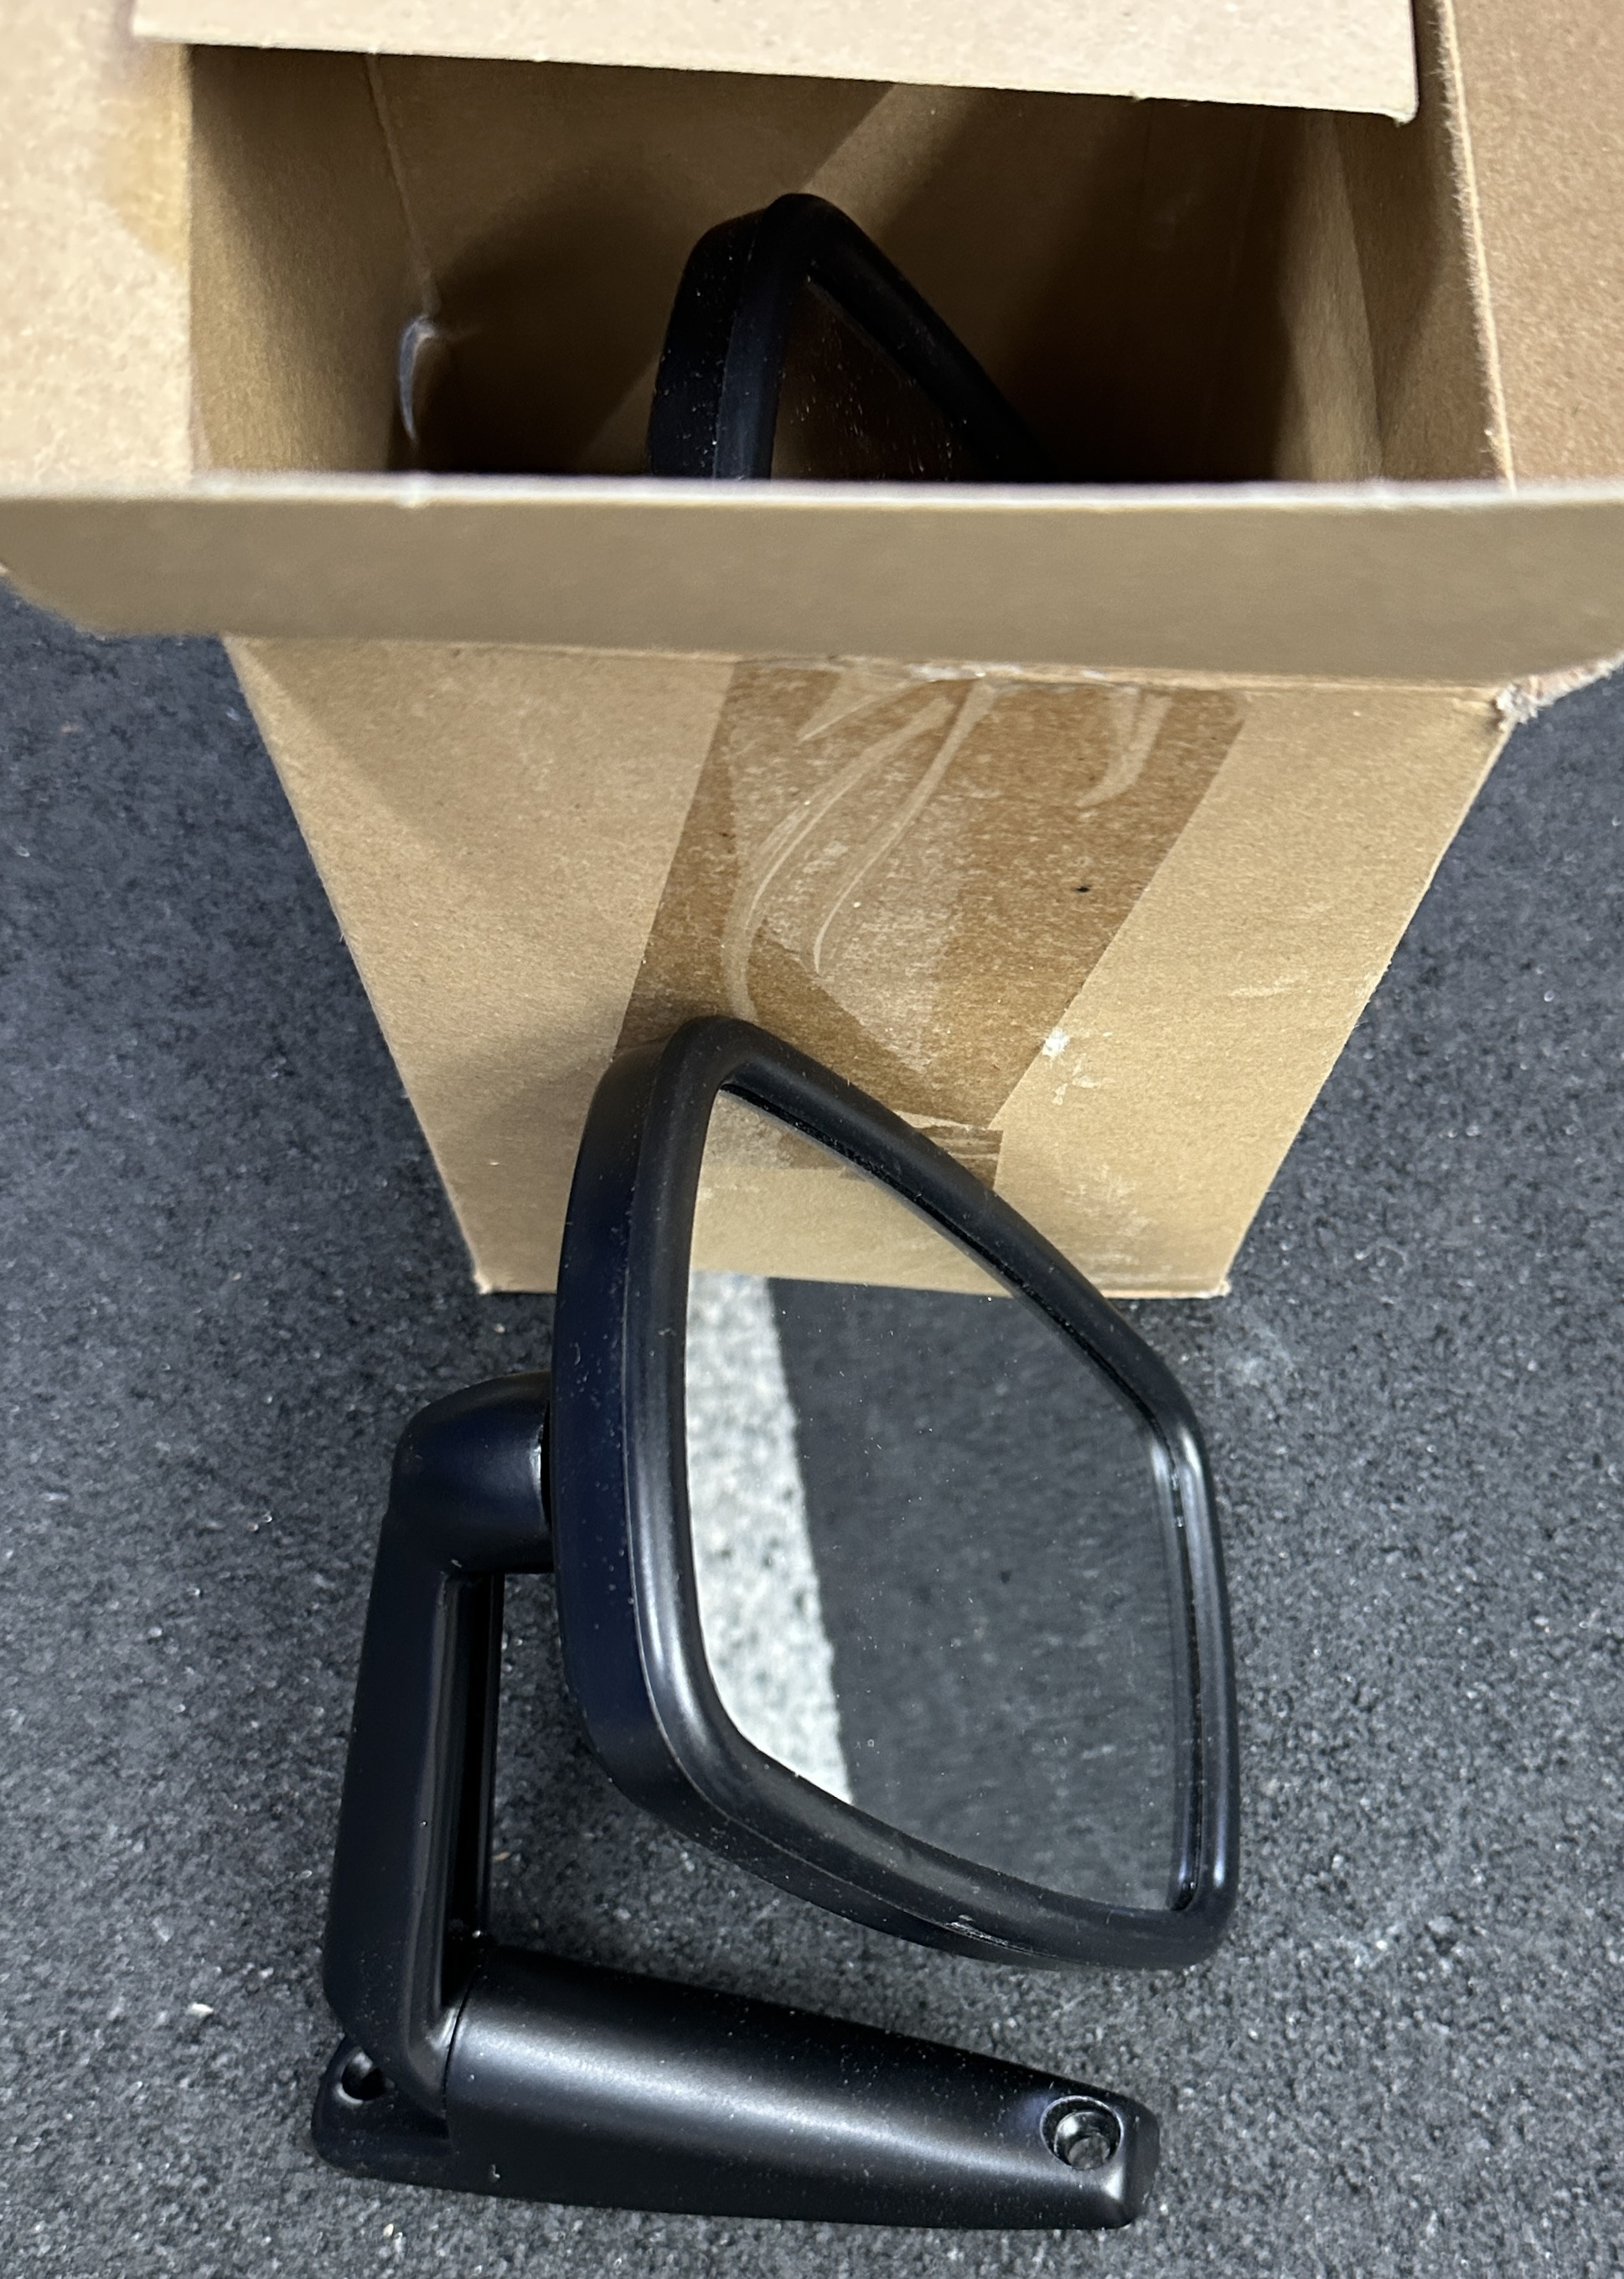
Wing (side view) mirrors are an entirely different rabbit hole. I have mine mounted on the windscreen stanchion, and they have to be in the top screw position to see (most) of the passenger side mirror as the cage tubing gets in the way. And if you mount to the cage then the doors aren't an option, caveat being I'm experimenting with a spot mirror that is small enough not to intrude even though it is mounted inboard. I'm attaching a couple of pictures to give you an idea what I've been trying.
-
I never used the two sets of side view mirrors received with my kit, and I just removed the rear view mirror from my windscreen. Yours for the price of shipping.
-
Mirrors are a perennial topic when it comes to Sevens, but if you decide to replace the factory's windshield mount rear view mirror with something to hang off of the cage let me know. I've been down that rabbit hole for the last couple of weeks and may, just may, have finally settled on a solution.
-
Lookin' good! Just curious, does the windshield touch to cage tubing across the top?
-
Weights for the Track Day Roll Bar and the Track Day Rollcage
Pokey replied to Pokey's topic in General Tech
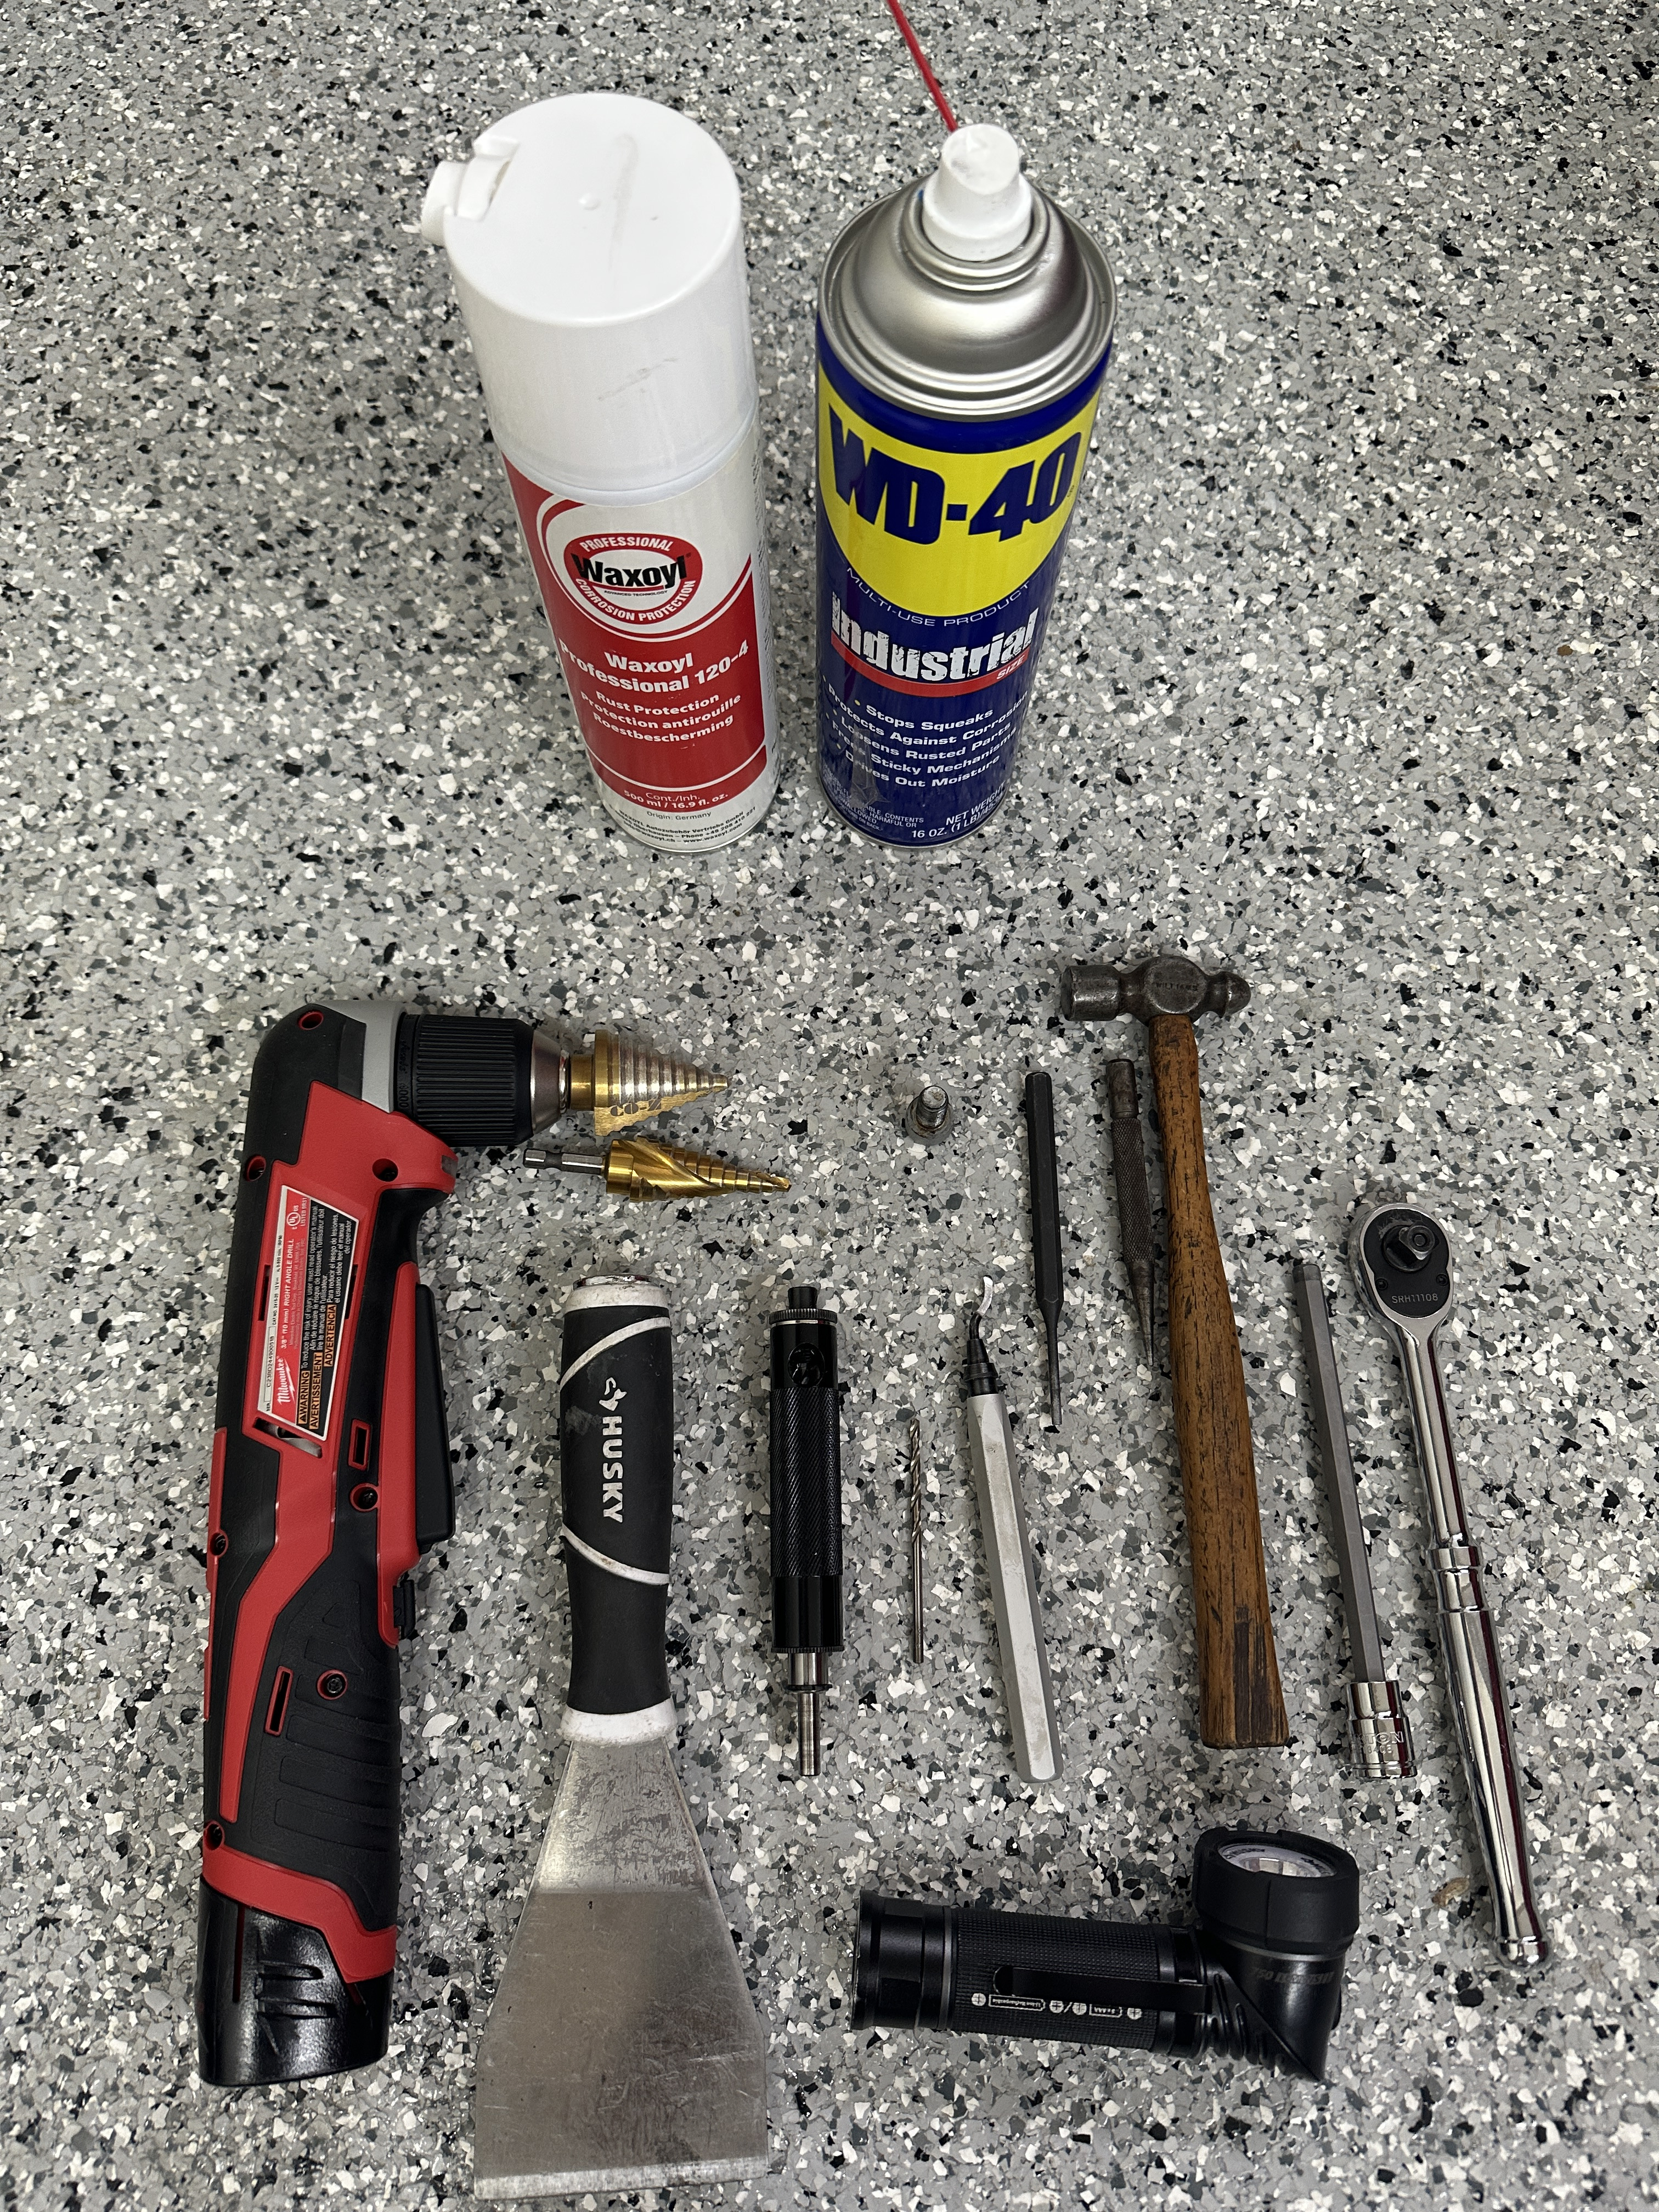
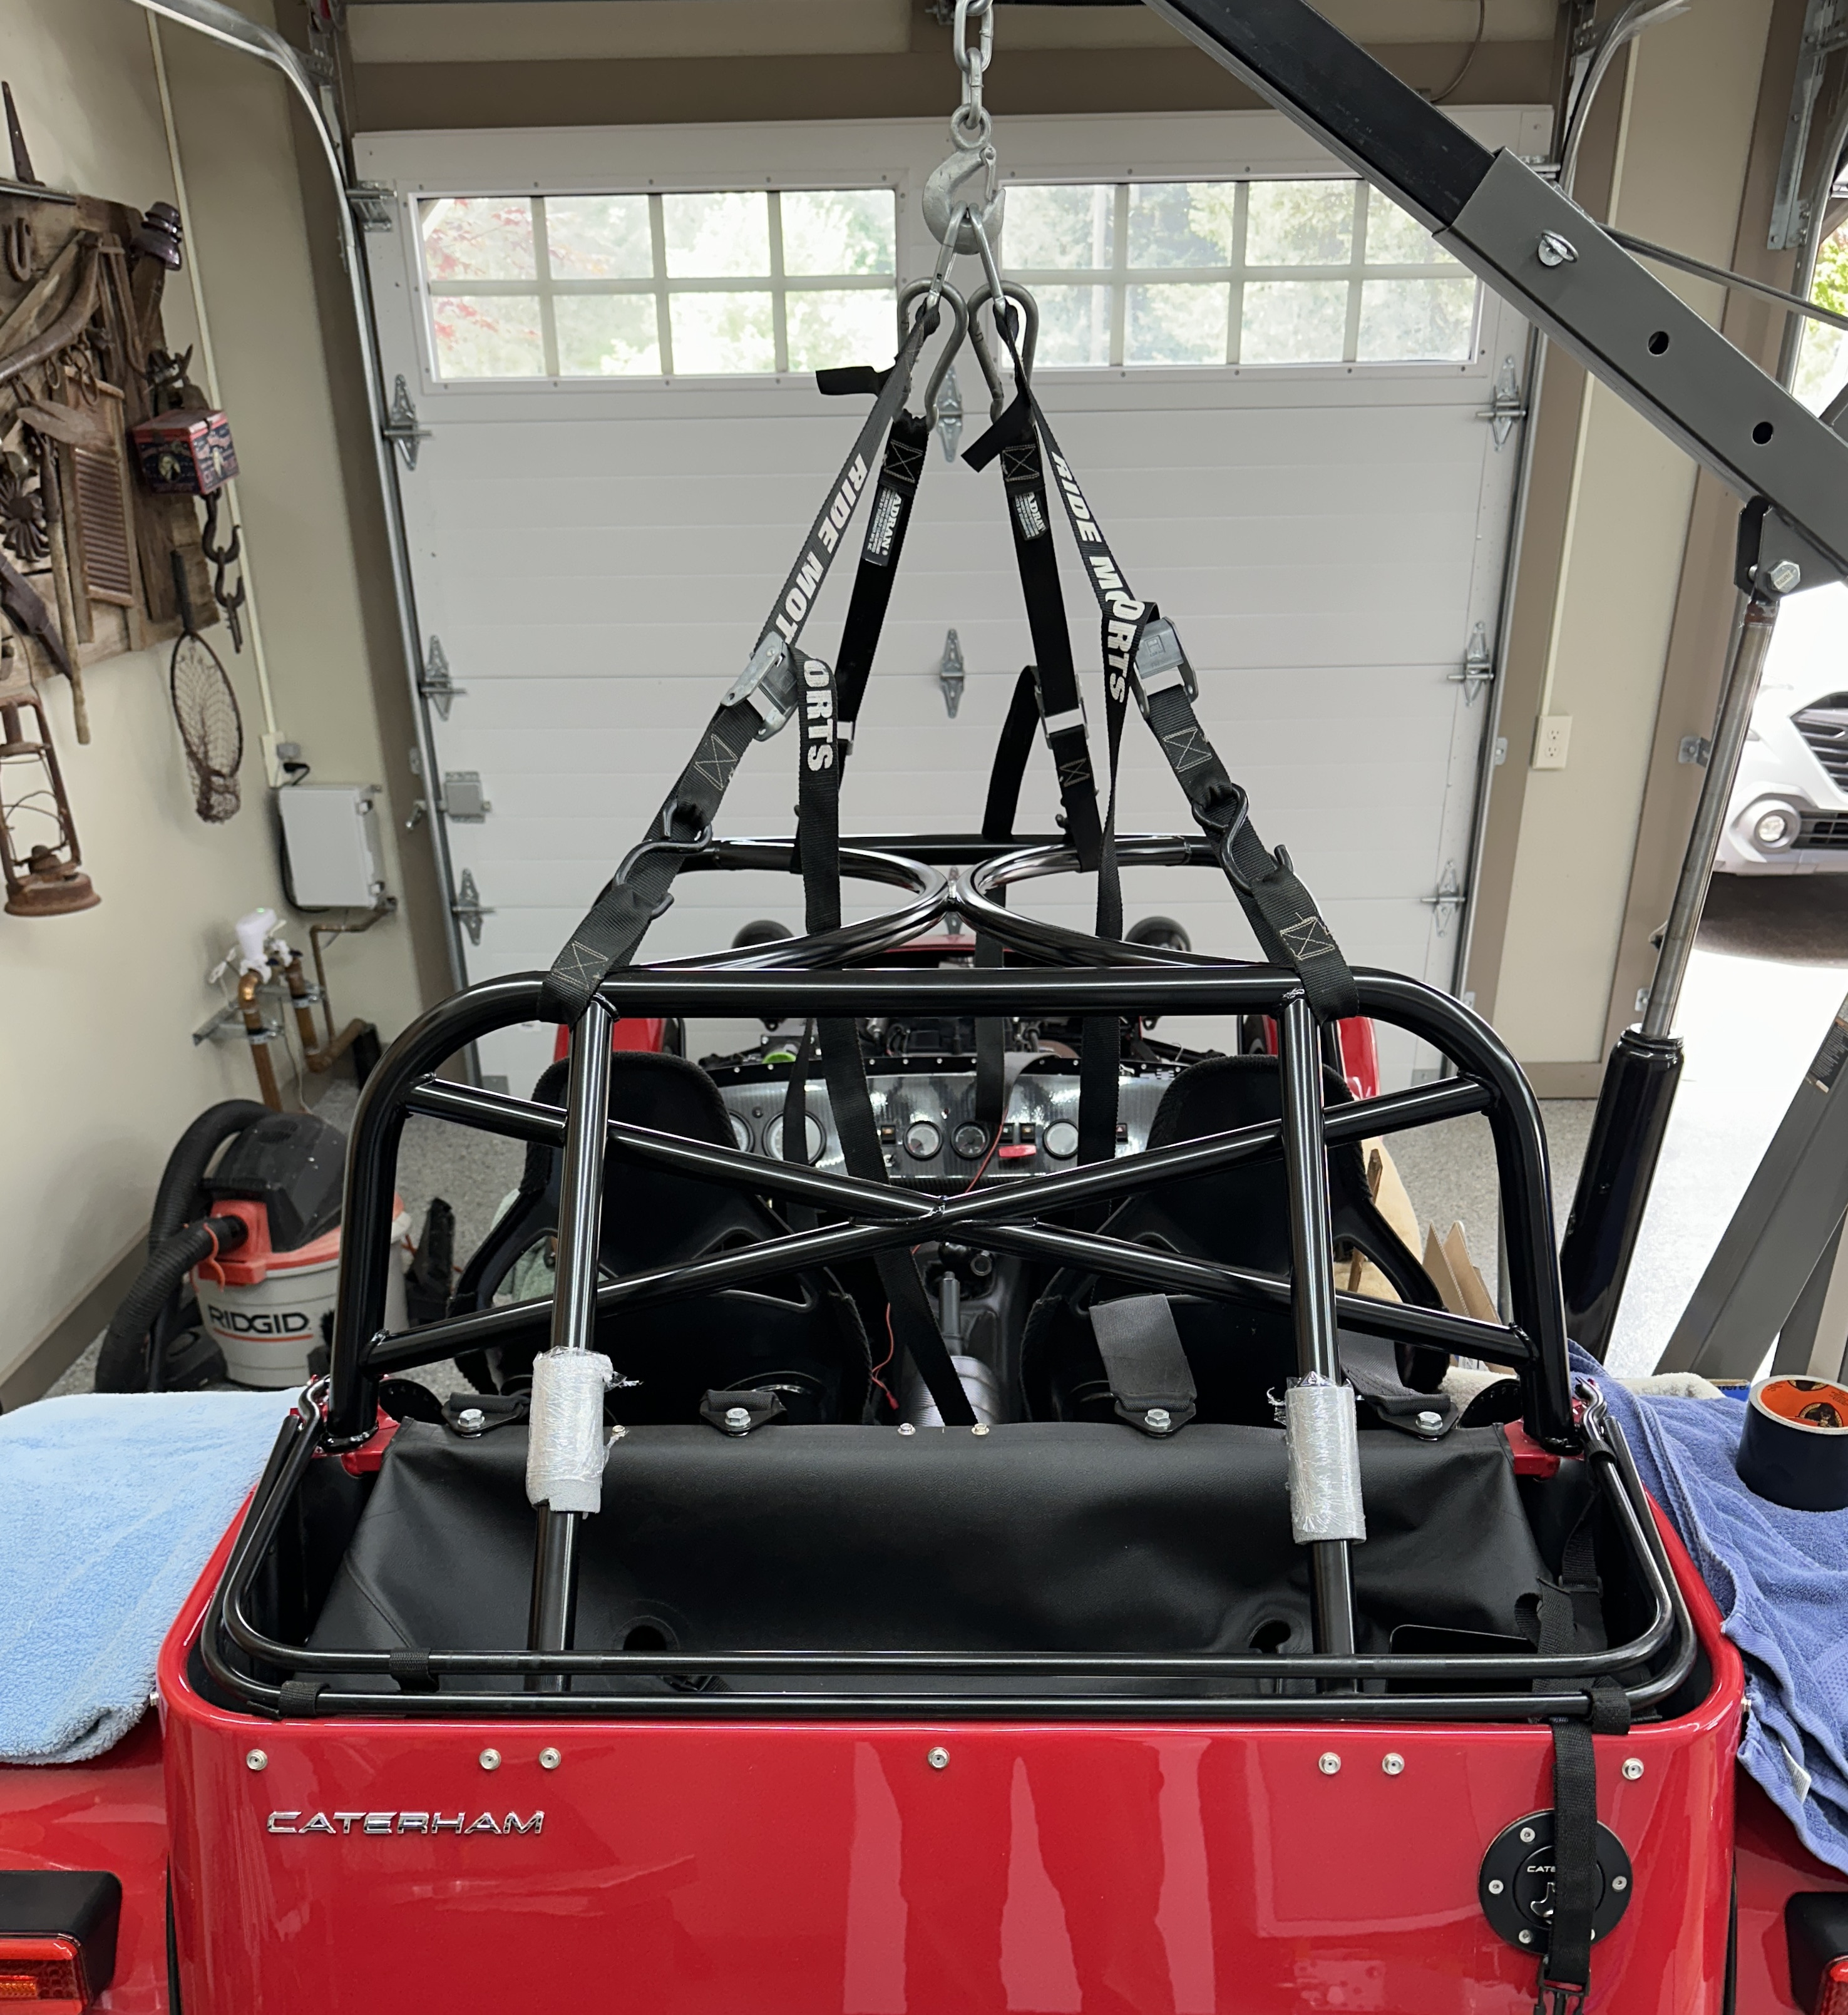
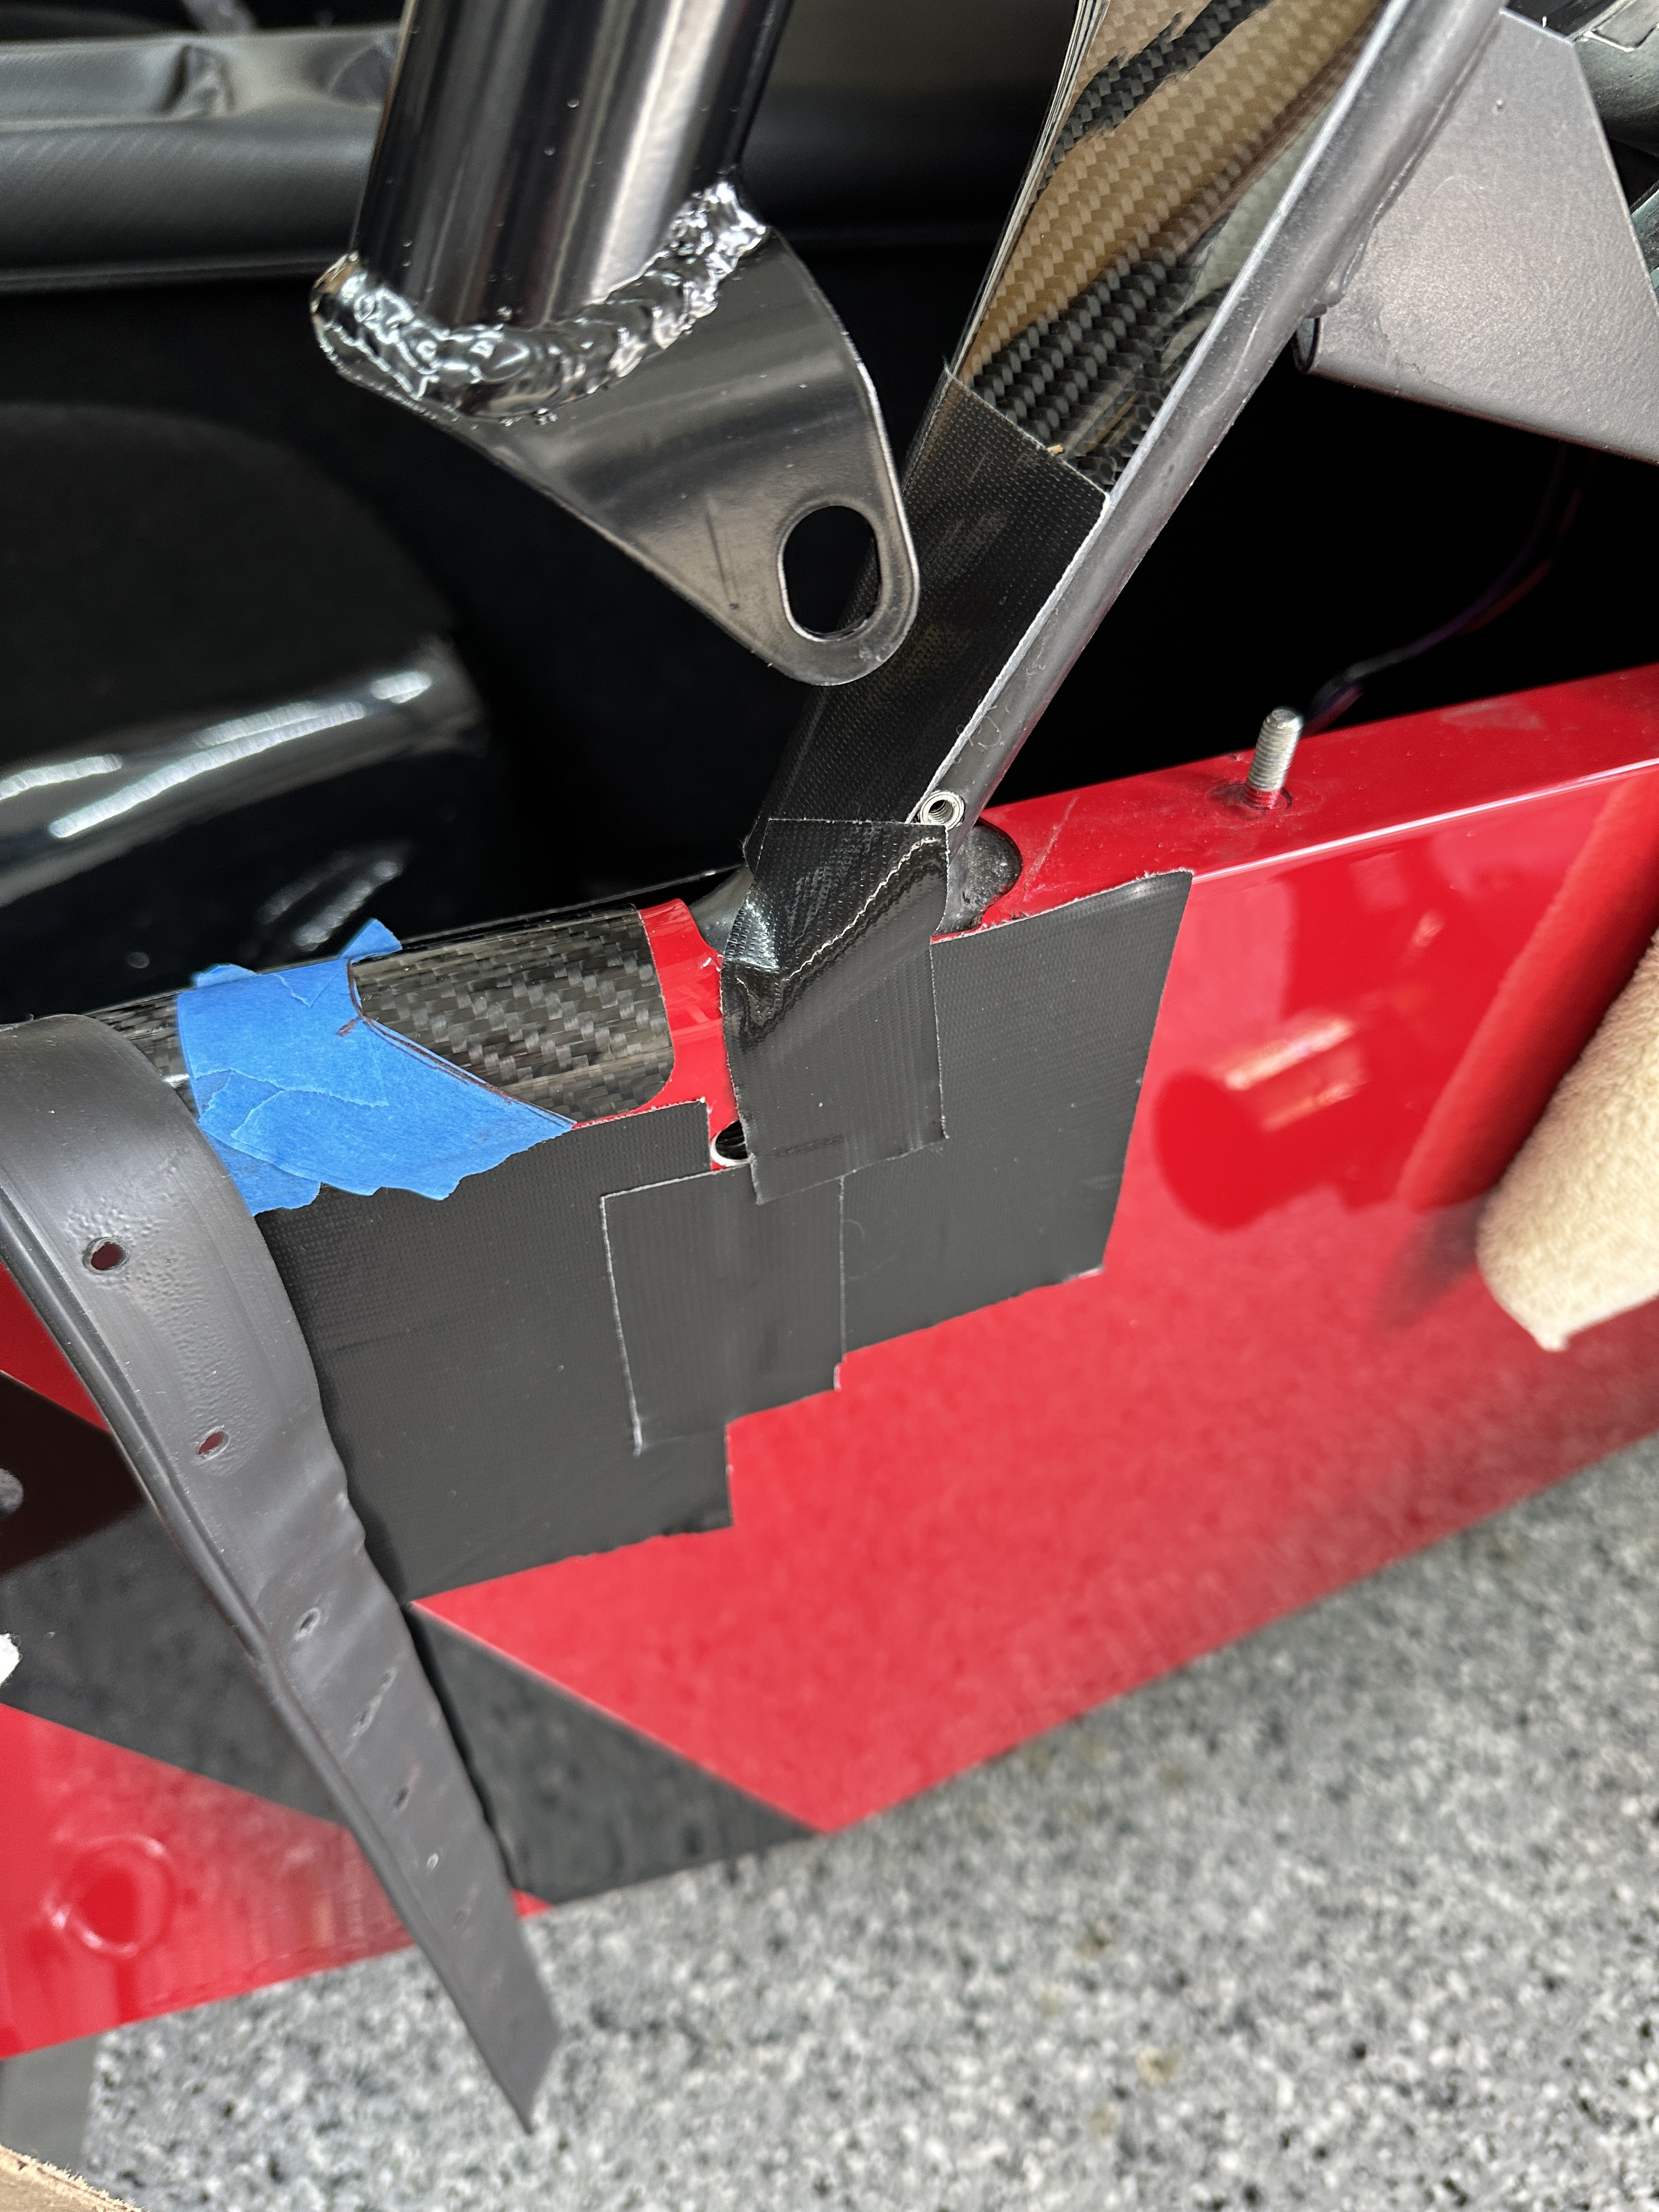
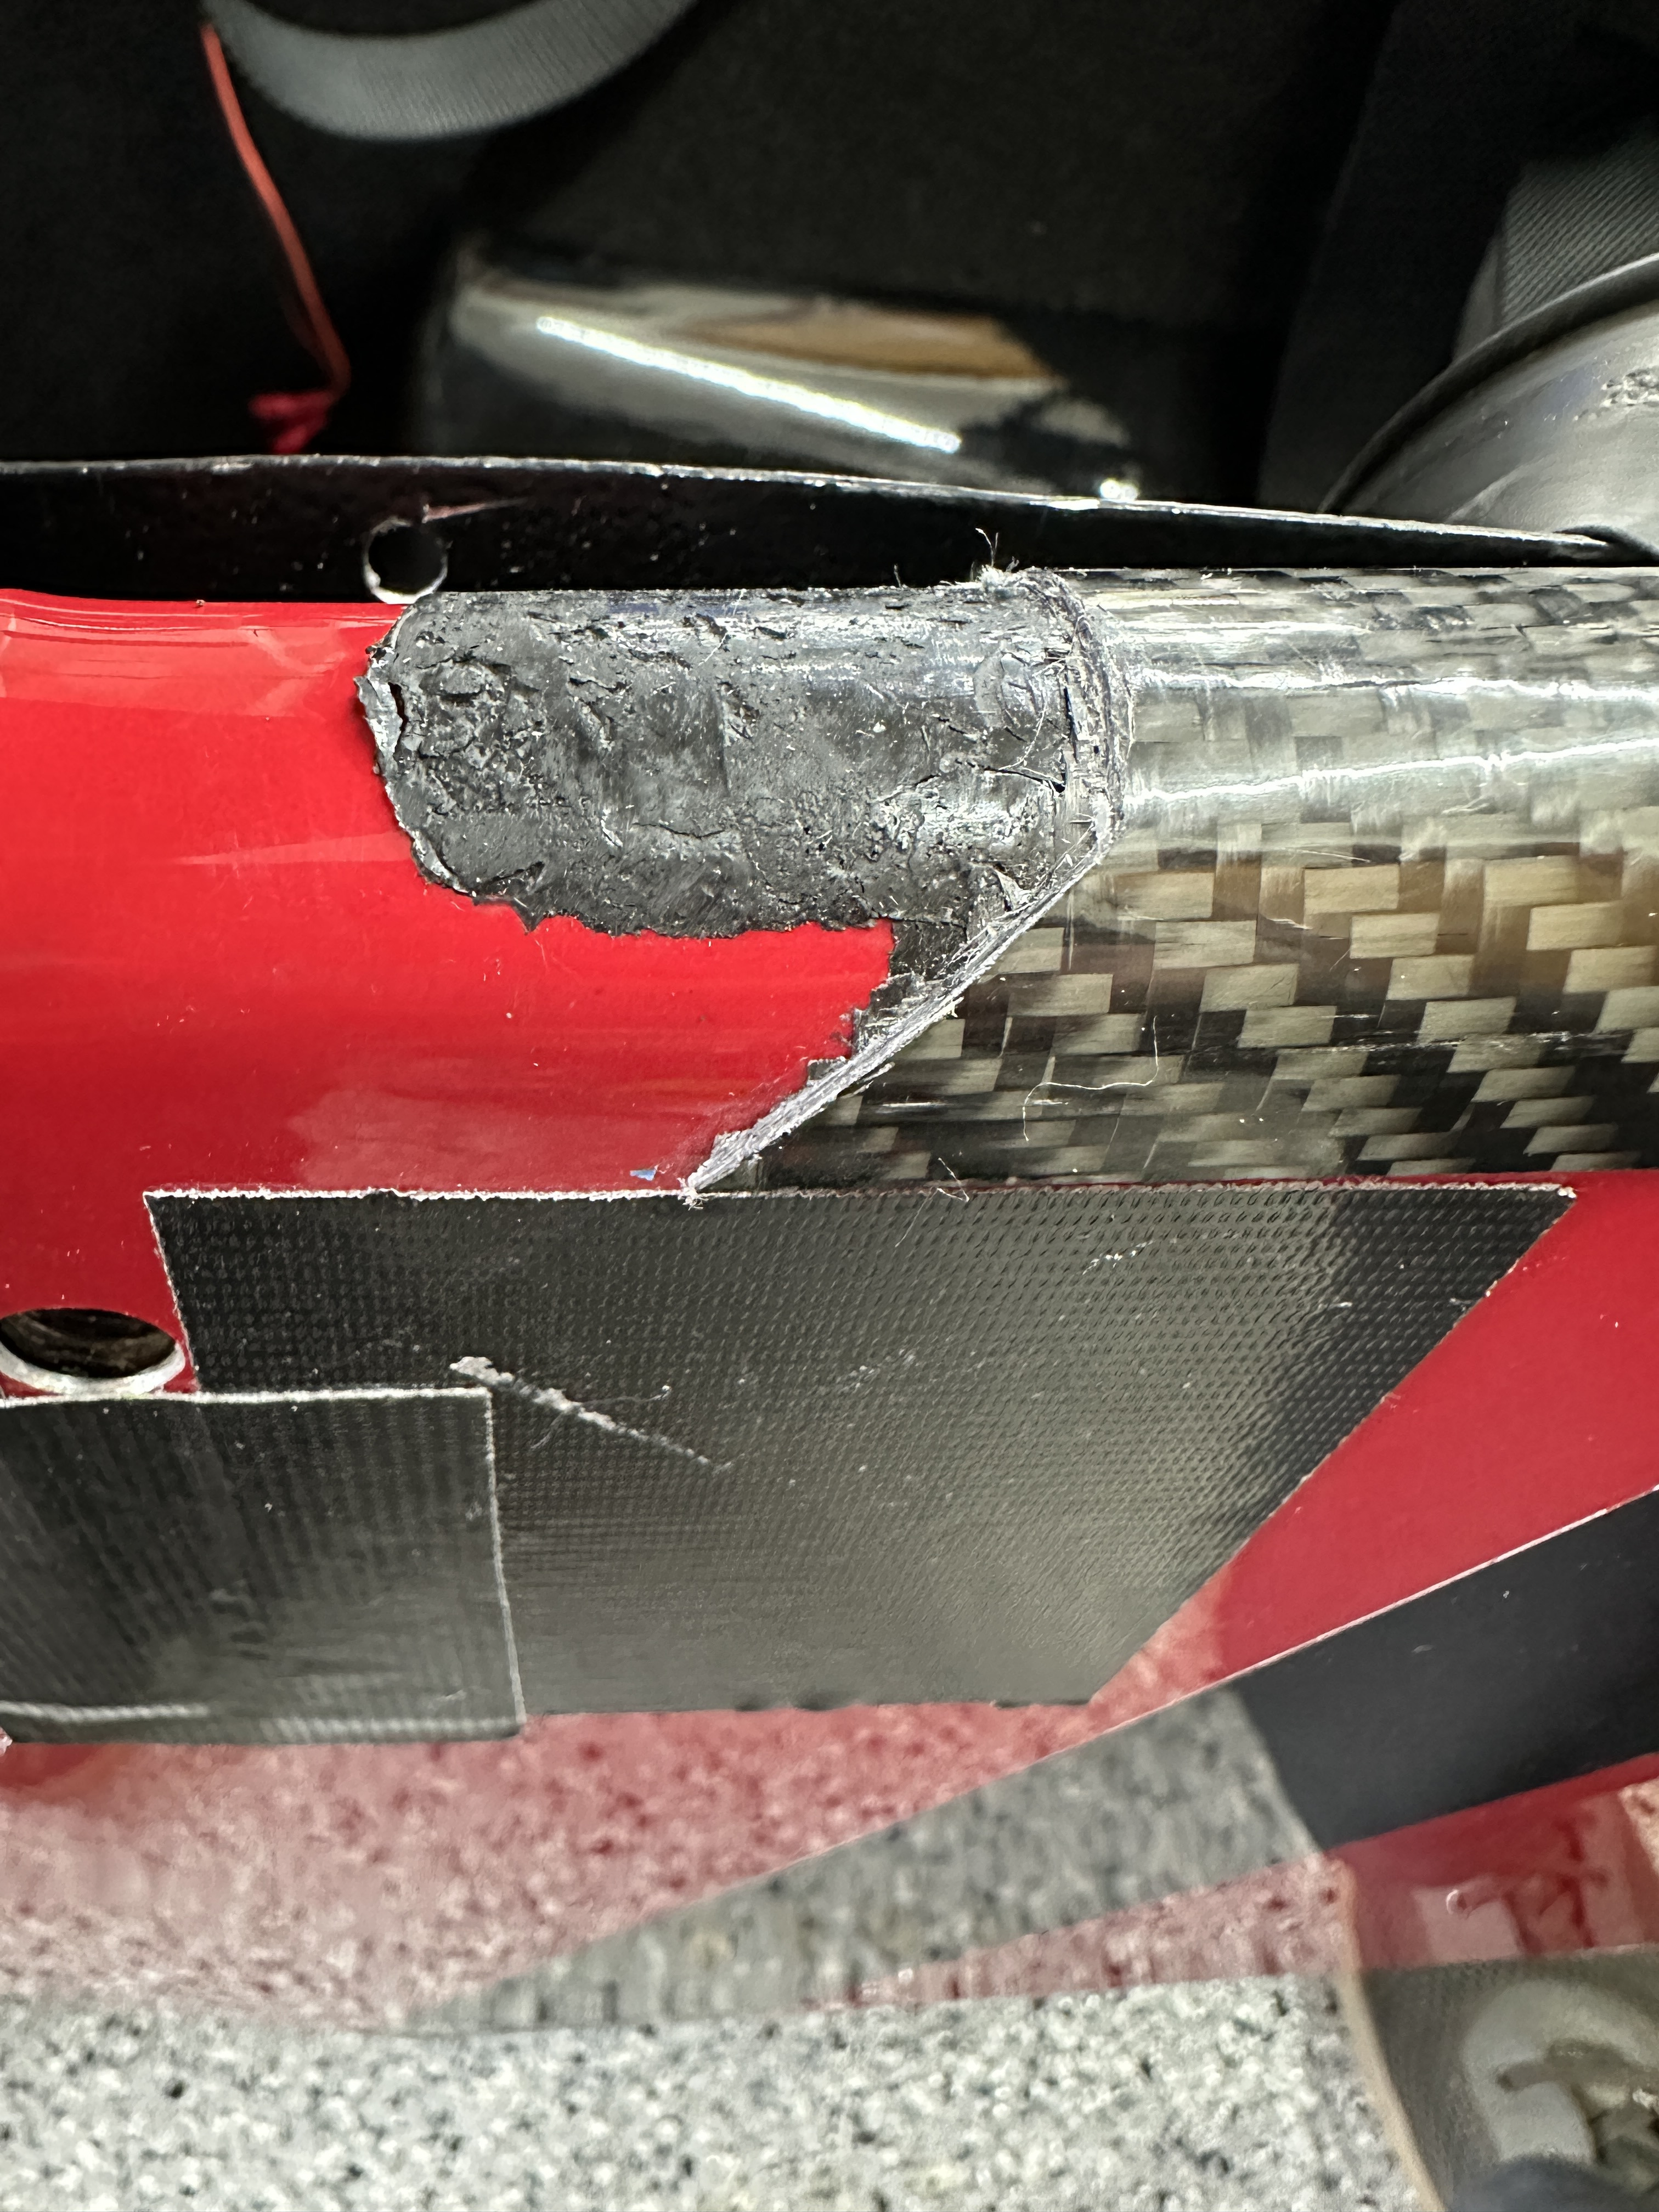
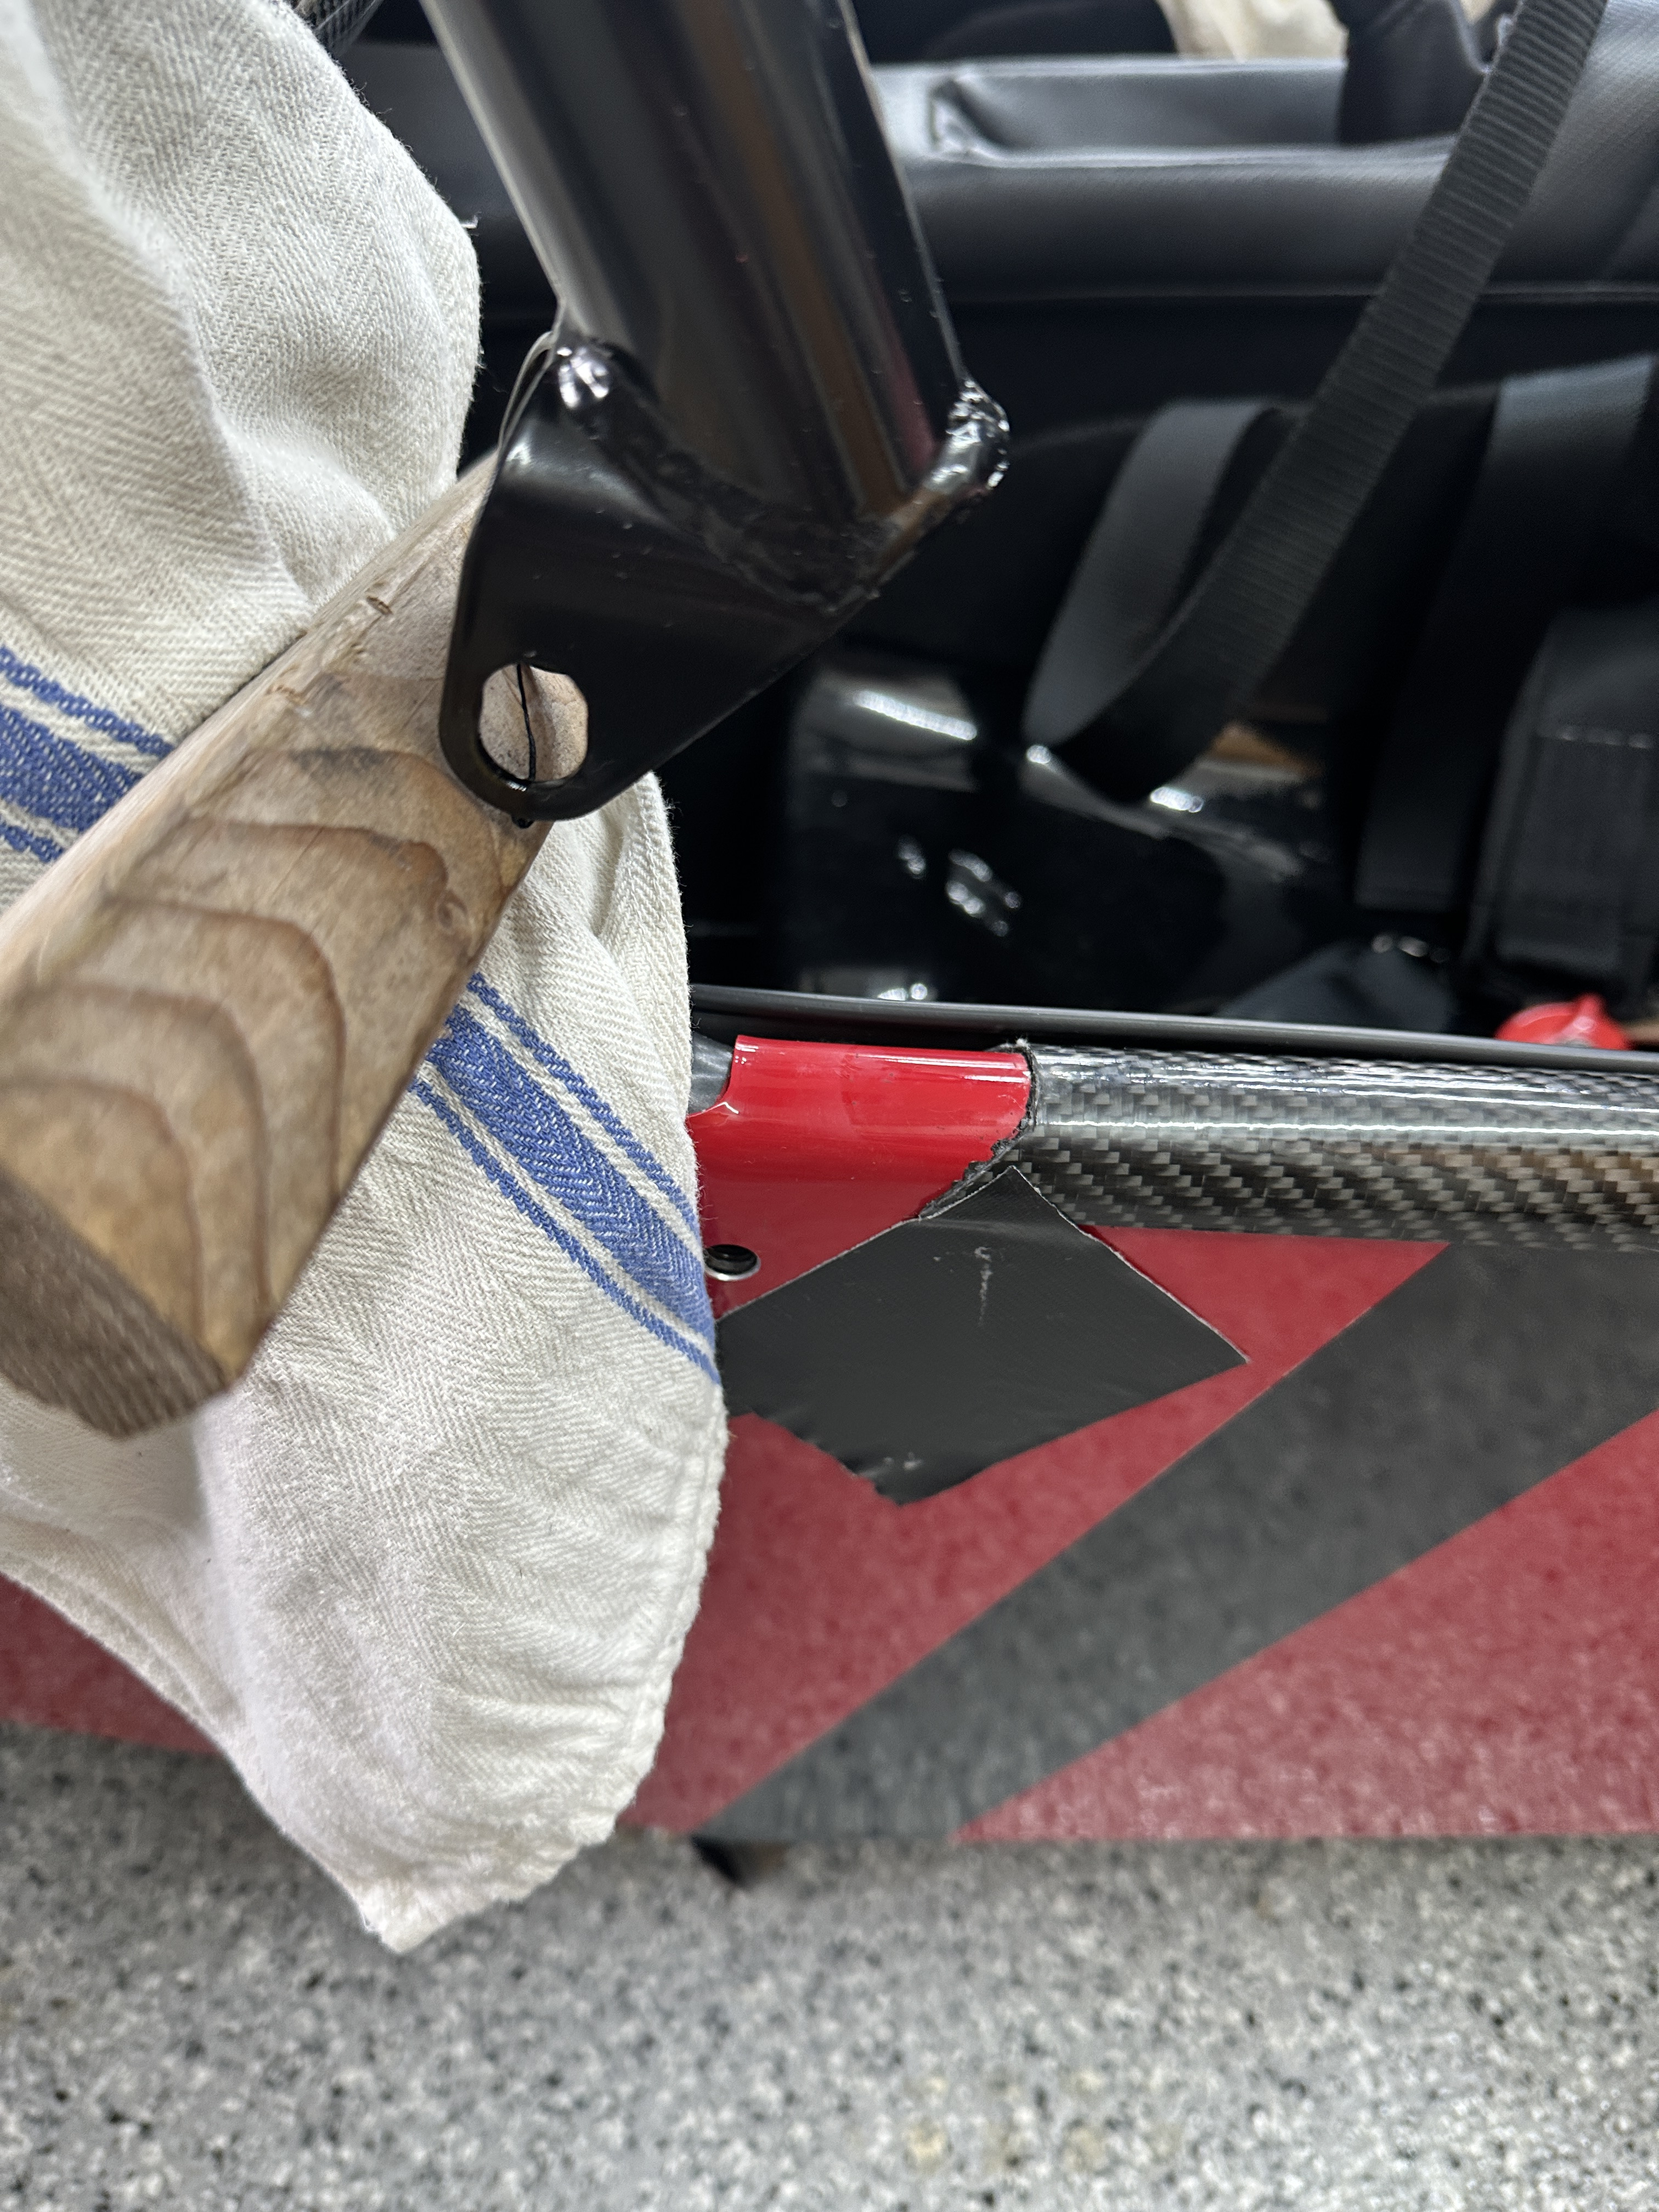
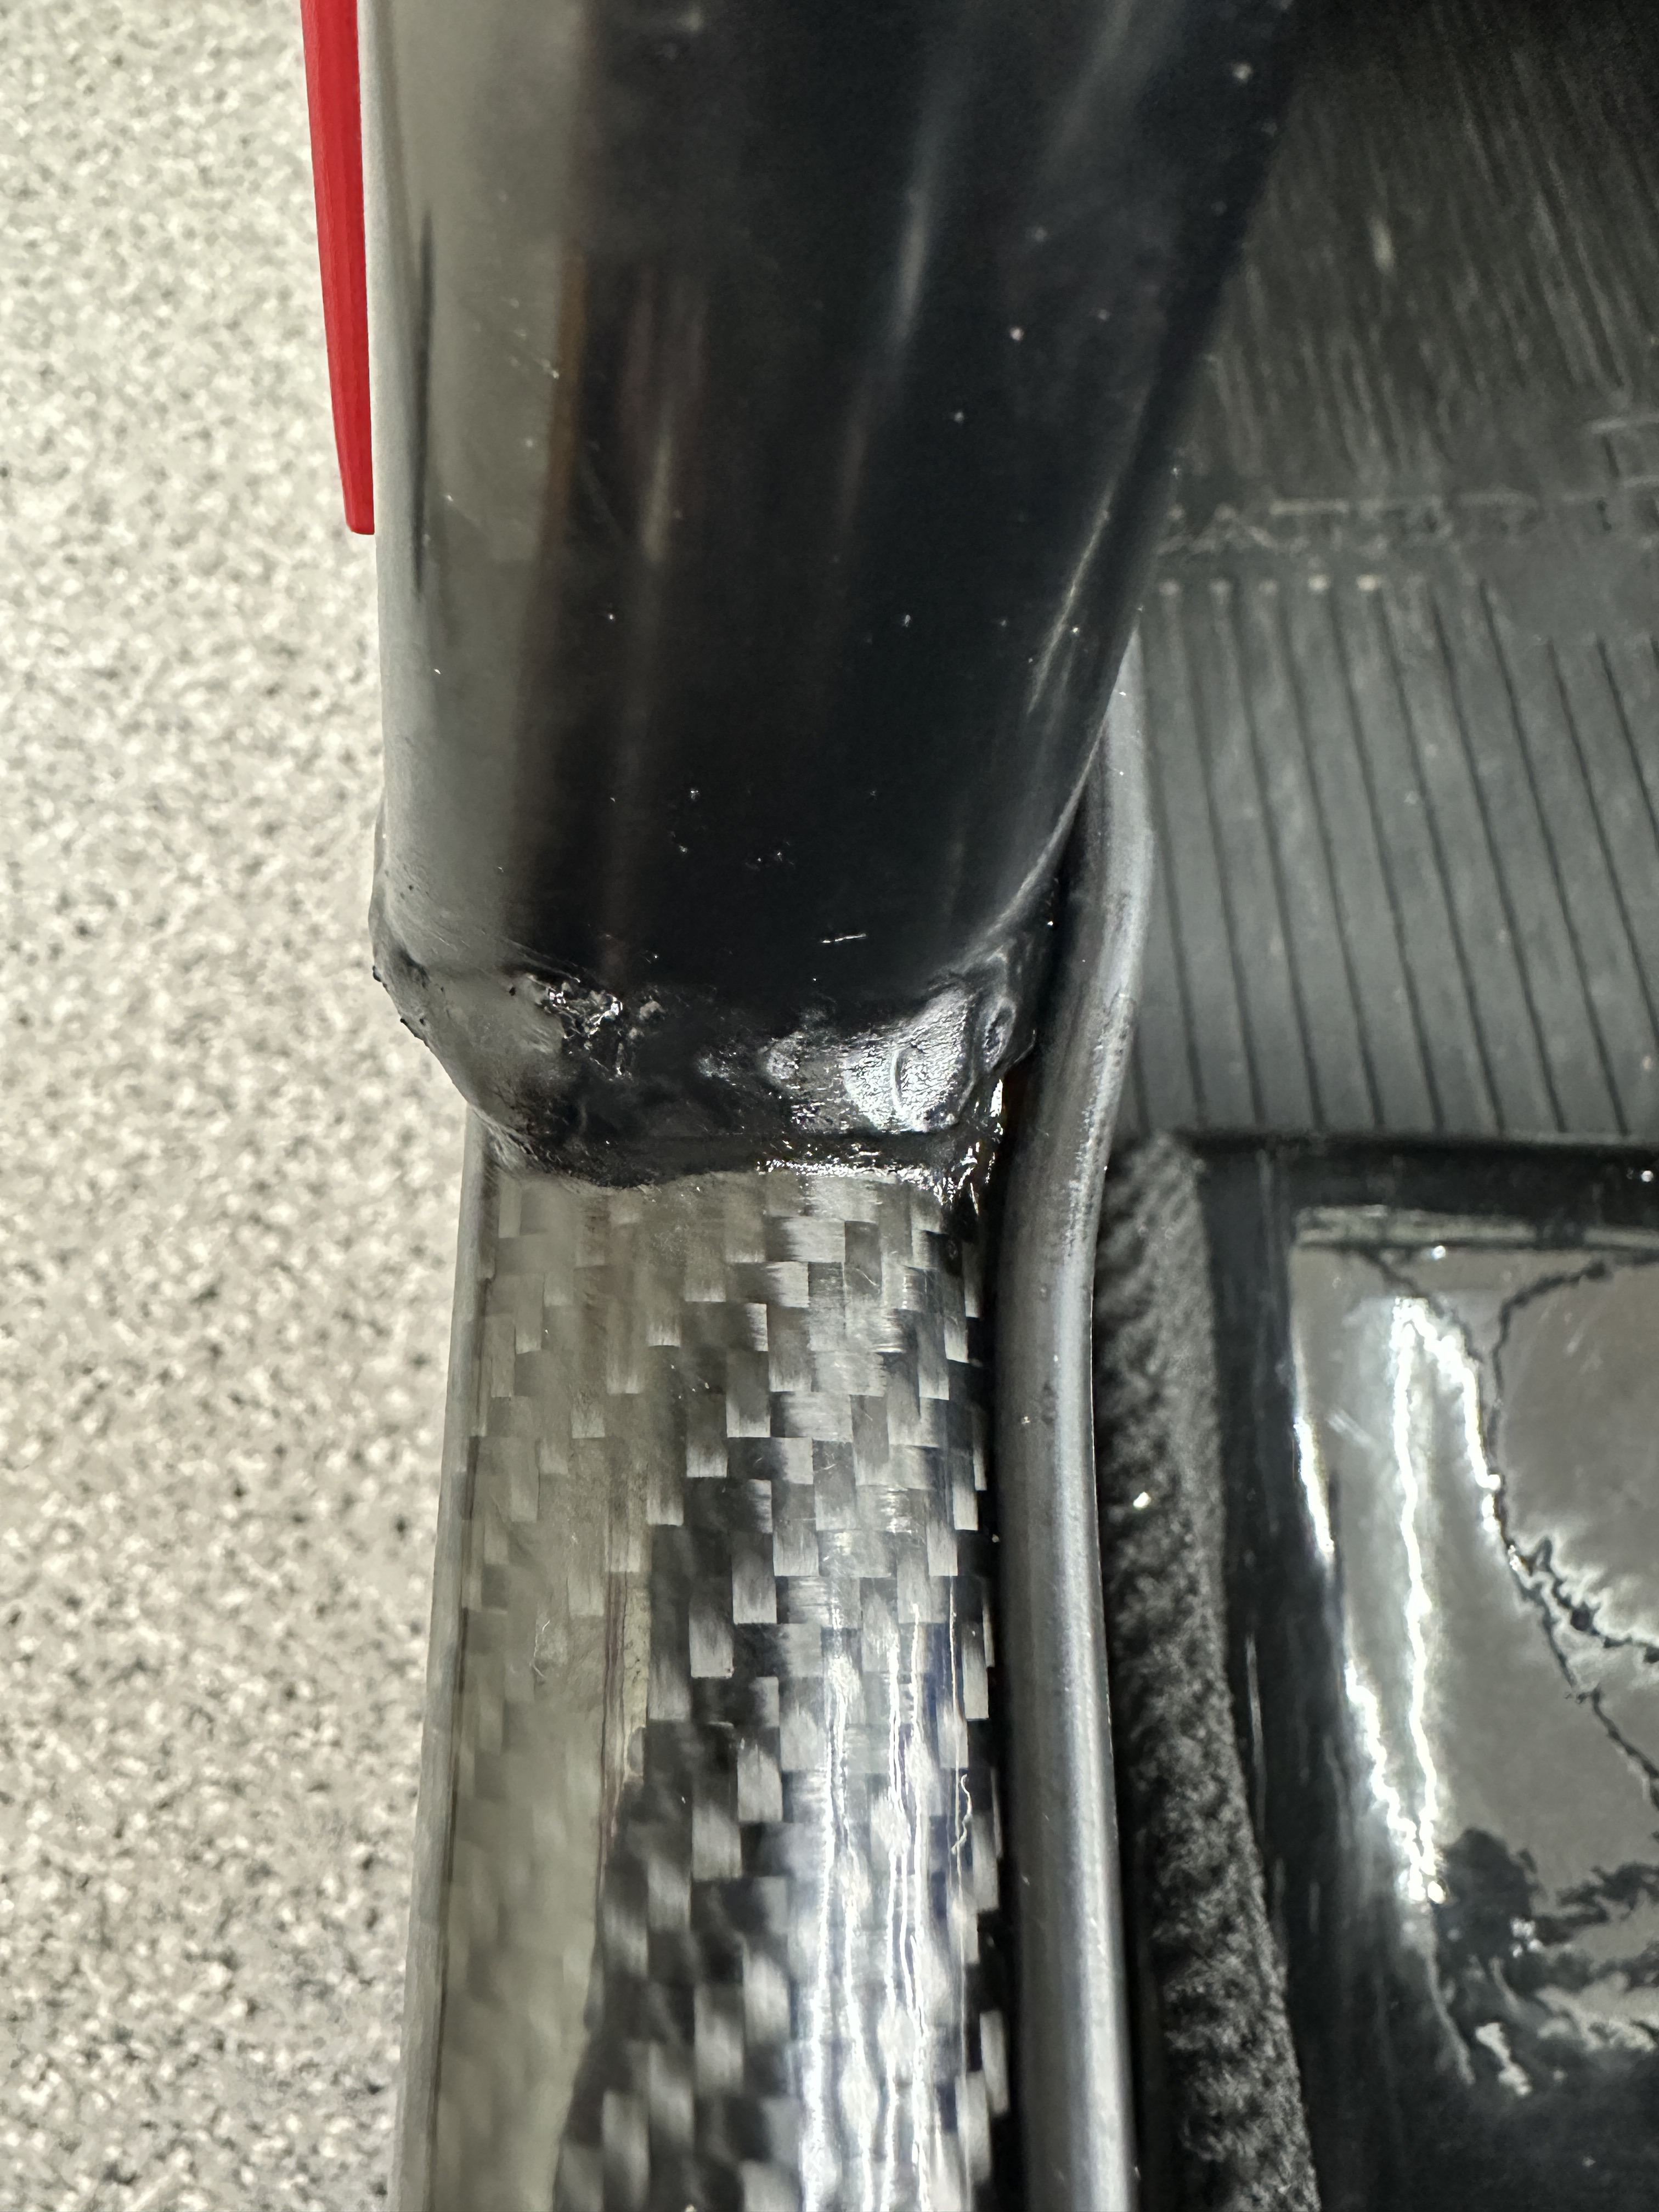
I'll start small and if you want more just ask. Supplies: The (2) M10 x 60mm w/ washer and nuts from your rollover bar The (2) M10 x 20mm caphead bolts from your rollover bar Two (4) M10 x 16mm bolts. I sourced mine from McMaster https://www.mcmaster.com/nav/enter.asp?partnum=98093A610 5/32 x 47 rivets to replace however many you choose to remove from the interior door panel Waxoyl if you are that kind of guy Tape and towels to protect bodywork Black silicone sealant if conturing the sill protectors rather than replacing -or- Catherham's shortened sill protectors for cars outfitted with a cage Tools: See the picture of most of what was involved Rivet gun Assorted socket and box wrenches You might need a ratchet strap to aid in the fit into the rear mounting brackets Something like an engine crane to hold the cage while working (picture) Steps: Put the rear of the car on stands and remove the rear wheels and shocks Remove the rollover bar Remove the sill protectors if replacing with the shortened versions, or loose-fit the cage to mark where to cut the sill protectors I'm assuming you have carbon fiber sill protectors If removing be aware that in addition to the rivets there is a very tough rubber adhesive to overcome There is a very real possibility of breaking the sill protector during the process I had my best success using a box cutter and patiently scoring rather than sawing or grinding (pictures) Gently pry back the door panel to locate the interior chassis boss and locate its position on the panel I estimated the position and used a punch to check alignment, adjusting as needed before making my final punch to drill Drill the door panel, enlarging the hole using step bits, and then debur Run a punch through the hole in the door panel and the interior and exterior chassis bosses to mark where to drill the skin Drill the skin as you did the door panel Install the cage Leave all bolts loose until all are installed, then torque to spec Fit is determined by your chassis and cage so I can't tell you in advance what you might need to do I would fit the two bolts that go up and into the verticals of the cage first, but leave loose The left (driver side) rear chassis bracket needed to have both holes elongated, and even then it took creative work with a ratchet strap to make fit Only one of the four front bolts aligned without modification - the other three bracket holes needed further elongation Be aware that the above steps make it sound like it was a measure twice and cut once operation, whereas in reality placed and lifted the cage dozens of times while aligning If you cut the sill protector in situ then a little black silicone sealant provides a nice optional finish (picture) Note that clearance between the windscreen is minimal, likely contacting in some places I've run foam tape across the top of the windscreen but only time will tell if this is a good solution My plan (hope) is to attach the rearview mirror to the cage to minimize vibration and to allow for easier swaps between the windscreen and aeroscreen, but that clearance is an issue Reinstall the shocks and wheels
-
Here are the weights of Caterham's SV Track Day Roll Bar and Track Day Rollcage measured during a recent swap: 18.2 lb / 8.3 kg for the Roll Bar 26.6 lb / 12.1 kb for the Rollcage Difference between the two is 8.4 lb or 3.8 kg. The swap was straightforward but difficult as the cage's mount points didn't align well with the chassis, and the carbon fiber sill protectors must be shortened or replaced. If there is interest I'll be happy to elaborate, but my advice is only do this if you truly feel you need the cage. I'm selling the dedicated track car so felt replacing the roll bar with a cage made sense for me, but it wasn't long in the process before I was thinking about just keeping the track car.