Squeegee
-
Posts
34 -
Joined
Content Type
Profiles
Forums
Store
Articles
Gallery
Events
Library
Everything posted by Squeegee
-
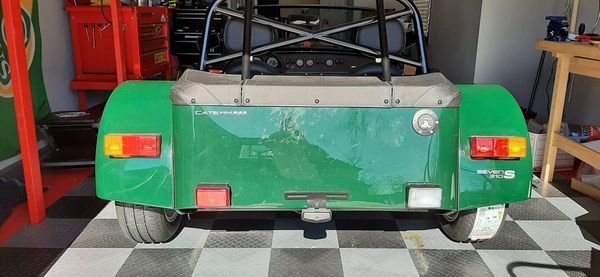
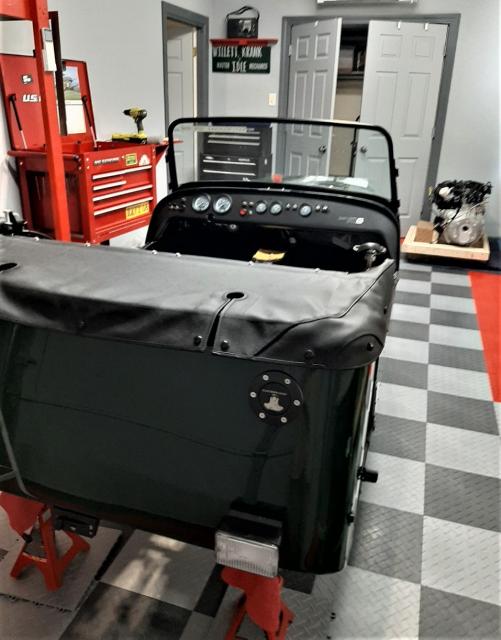
KS, That was my own solution. I had originally ordered the kit with a spare tire carrier, but that never came in, so I went with this. I got a boat trailer license plate bracket, ground off the excess, and mounted it "upside down." Remains to be seen if it actually works.
-
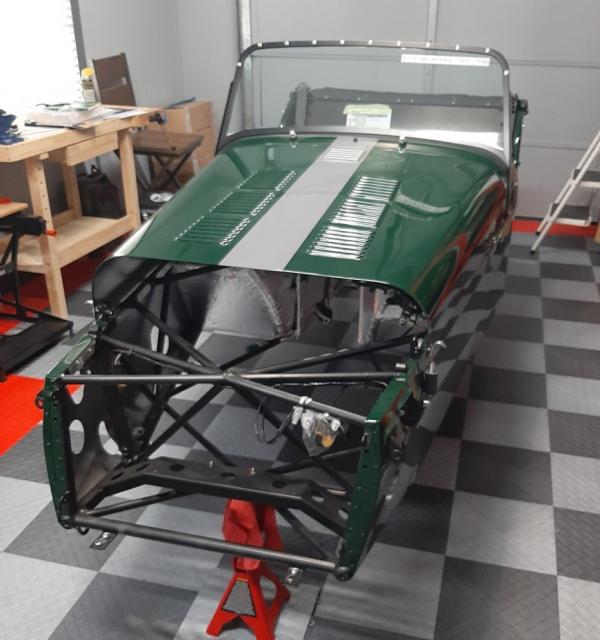
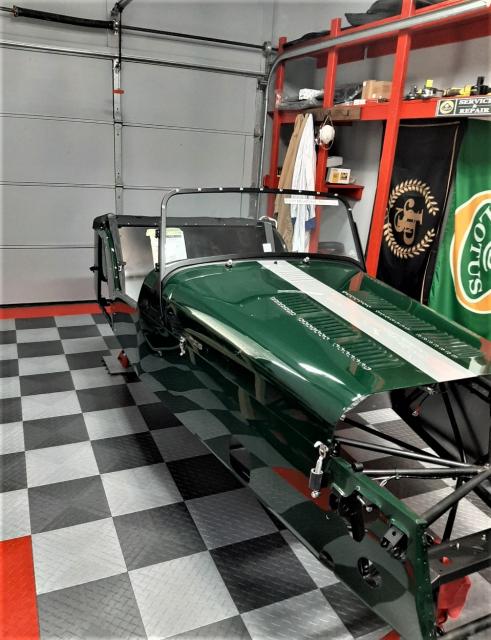
Got it on the ground! Thanks for the advice.

-
I finally got the brakes and clutch bled and have all four wheels on. The tires are currently about seven inches off the garage floor. What is the "Staff College" solution to the problem of getting the car off the jack stands? I have a few ideas, but I would like to hear how other people handles it. Thanks.
-
 Josh has been a great and supportive resource for me. You can't go wrong with any advice he gives you.
 -
Here is the routing I used for the heater cable. It appears mine goes through the firewall at a different point than yours. I did have to shorten the cable. If i recall correctly, I used a tubing cutter on the outer layer and simple wire cutters on inner. Good luck! BTW, I love yoir paint scheme.
-
Questions About Differential install
Squeegee replied to Squeegee's topic in General Sevens Discussion
I got the diff installed! I promised myself that i would get it installed before the end of 2020. By my calculations, I finished in the early morning hours of December 34th, so I guess I met that goal. -
Questions About Differential install
Squeegee replied to Squeegee's topic in General Sevens Discussion
Thanks to both of you. I really appreciate your help. Dave -
I am just coming out of the other end of a few months of family issues that have put me far behind on my build. I am now at the point of installing the diff (I'm just about convinced that "diff" is short for "difficult"). Actually, I have partially installed it several times already, but I just can't get everything to fit. I have few questions for anyone willing to chime in: 1) Top bolt in first or bottom bolts in first? Top bolt first seems logical to me, but some of the build logs have the bottom bolts going in first. 2) What about tolerances. In a test fitting of the top bolt I had four washers (3 mm thickness) on one side and five washers (less that 4 mm thickness) on the other side. Is "close" (less that a millimeter) ever good enough? 3) How severely can I chamfer the bottom bolts to get them into the thread? I am at your mercy. Thanks, Dave
-
I have the engine installed in m my 310S and I am doing the plumbing. Where should the connection between the engine wiring loom and the chassis wiring loom be positioned? Instinctively, I think it should be above the hoses to avoid liquid leaking onto the electrics, but I don't want it just sticking up into space. What are your suggestions (and photos) of 1) where to position it? and 2) how to secure it in the engine compartment? Many Thanks, Dave
-
Sigma Engine - Questions About MAP Sensors
Squeegee replied to Squeegee's topic in General Sevens Discussion
This morning I heard from Josh at Rocky Mountain Caterham re: the MAP sensor. " Hi Dave, Just got the official word back from Caterham on the Sigma MAP sensor: "The map sensor on the current 310 is designed to be left open to atmospheric pressure. This means that the corresponding opening on the inlet manifold should therefore be blanked off with a rubber bung. Regarding the ECU calibration, you are correct in your thinking, as the sigma ECU mapping is TPS based." So, confirmed. Looks like hooking up the vacuum line basically just makes for a more complicated bung! Josh " There you have it, the definitive word. -
Sigma Engine - Questions About MAP Sensors
Squeegee replied to Squeegee's topic in General Sevens Discussion
Thanks -
Sigma Engine - Questions About MAP Sensors
Squeegee replied to Squeegee's topic in General Sevens Discussion
Mark IV, I look forward to seeing the pictures, particularly ones showing the vacuum hose connections.. IB Sevener, Thanks for the pictures and info. It's starting to look to me like double sided tape or velcro picture hangers may be the easiest way to mount the unit. I am really intrigued that your engine seems to be performing with no connection of the MAP sensor to manifold pressure changes. John, My understanding of MAP sensor function rudimentary, to put it mildly. My understanding was that the MAP sensor functions as a constant monitor of air pressure/density in the intake which in turn determines how much oxygen is being fed into the engine. Based upon this, the fuel injection system optimizes the feed fuel to make maximum use of the amount of oxygen available. Like I say, that is just my VERY basic understanding of what the device is designed to accomplish, and I realize I may be completely wrong. BTW, I am at about 350 feet above sea level, so no real compensation for altitude is required. -
Sigma Engine - Questions About MAP Sensors
Squeegee replied to Squeegee's topic in General Sevens Discussion
Thanks Bruce. -
Sigma Engine - Questions About MAP Sensors
Squeegee replied to Squeegee's topic in General Sevens Discussion
Andy, Thanks for the suggestion about the 3M Dual Lock. I may give that a try. In the meantime, if anyone who has a Sigma under the bonnet could just snap me a picture, it would be greatly appreciated. My engine experience is with stove bolt Chevy six-bangers and pre-emissions Triumphs, so anything higher tech than that is a bit mysterious to me. -
I need some advice. Some of you may have seen from my build log that my 310S chassis arrived without a MAP sensor installed on the chassis or included in the parts. Not a problem, Josh at RMC has requested one and it is on its way. I would like a little advice about installing it when it arrives. 1) I know it will be installed on the passenger side foot well. How do I attache it? Do I just drill two holes and use sheet metal screws, or drill two holes and use a nut and bolt arrangement? 2) What kind and size of hose is used for the vacuum side? 3) Where precisely does the hose attach to the manifold? I think I have figured that out, but a confirmation, preferably with pictures would be greatly appreciated. Don't be afraid of insulting my intelligence. Advice like you would give a 3-year-old and LOTS of pictures are probably the best way for me to understand. Thanks in Advance, Dave
-
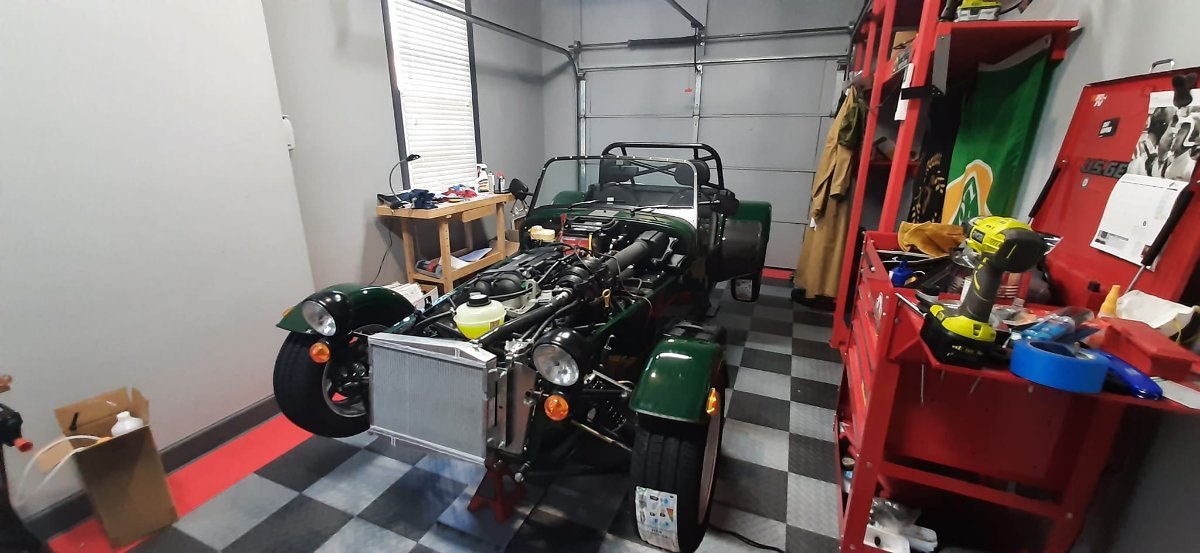
The Engine is IN ! I was little confused about a connector coming off the engine that didn't seem fit the connector it lined up with. Josh at Rocky Mountain Caterham figured it out for me. The receptor I had found was a "vestigial connection" left over from when they used K engines, so it can be taped off and ignored. The green connector coming off the engine goes to the MAP sensor, which Caterham had failed to attach to the chassis or include in the parts. It's on its way from Jolly Olde, so you can all look forward to questions about exactly how I attach that to the chassis and where the hose enters the intake manifold in a couple weeks.
-
It took a little head scratching, but it finally occurred to me that, in order to get the "push-pull" of the heater cable to work properly, all I had to do was install the Heater Control Valve (HCV) upside down (and remember to reverse the hoses when I get to that part of the plumbing). I also have the ARB and the radiator installed).
-
Update: I have the headlights, front brake lines, horn, air box and heater installed. I had some trouble with the front anti-roll bar. Josh from Rocky Mountain Caterham is sending me a replacement for the end ball I trashed. Totally my fault. I didn't clean out the excess powder coat from the sockets. I have plenty of time for for Dremeling while await the replacement. I guess I could install the radiator, but I don't want anything fragile nearby while I'm trying to hoss the ARB into position. This the part of the process that my wife refers to as "Crammin', Jammin', and Damnin'."
-
Thanks for the torque wrench advice. Another update next week.
-
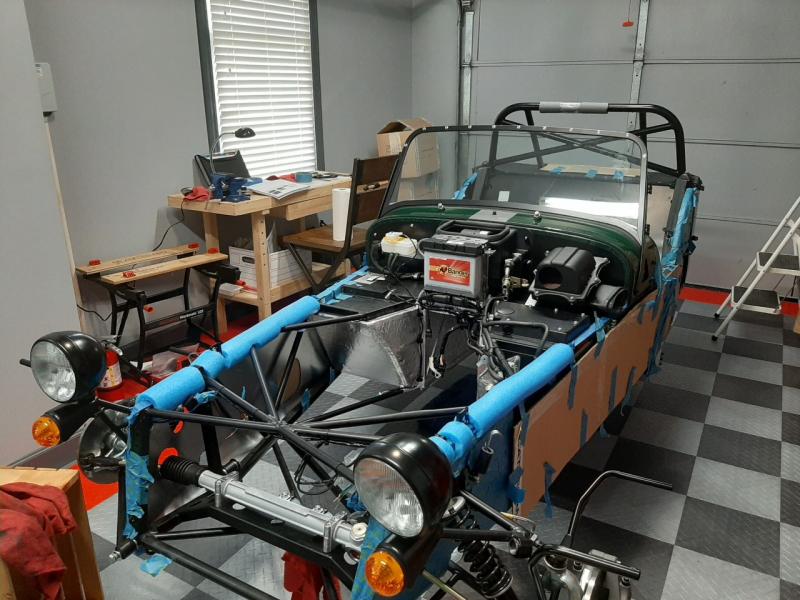
First week of a few hours per day in the books. Wishbones, steering rack, dampers and uprights installed on the front end. The first step was the toughest, getting those four washers in the lower wishbone where there is really only room for three. I ended up inserting the three and holding them in place with a screwdriver while I pounded in, I mean "gently inserted" the fourth. To get the holes to line up I should have used a tapered punch, but I didn't have one. Instead I used the leading edge of drill bits for their taper. I tapped one in, and then moved on to the next larger to get the washers all lined up for the bolt. Not what the folks who made the drill bits had in mind when they made them, but it got the job done. BTW, there are some pretty tight quarters in there. Any suggestions for a small, swivel head torque wrench? The torque wrench I have now is of a size and an age that I think it might have been used to bolt together the Titanic.
-
Croc and Pokey, Thanks for the advice. I have no doubt that there will be more questions in the future. Squeegee
-
I plan to start a build log, but first a question. The page describing the installation of the front wishbones has a "suggestion bubble" that reads, "For now only tighten the nuts/bolts lightly and then torque them up when the car is finished and on the ground. This sets the bushes correctly and ensures the best handling." Is there any advantage to doing things this way, or should I just torque to the prescribed tightness right now and be done with it?
-
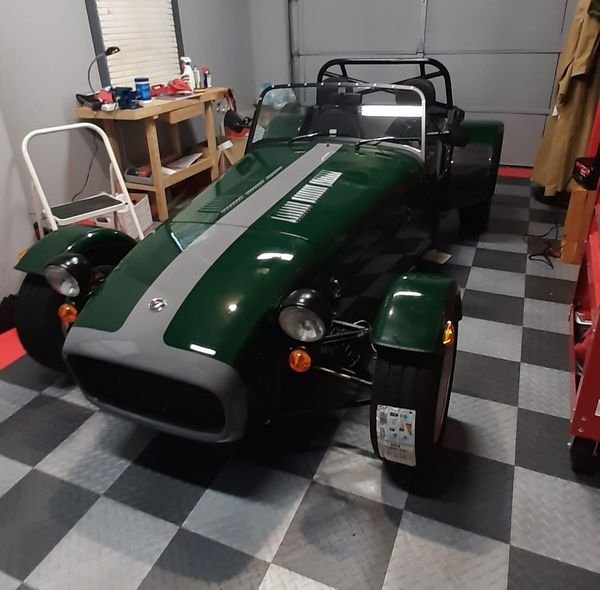
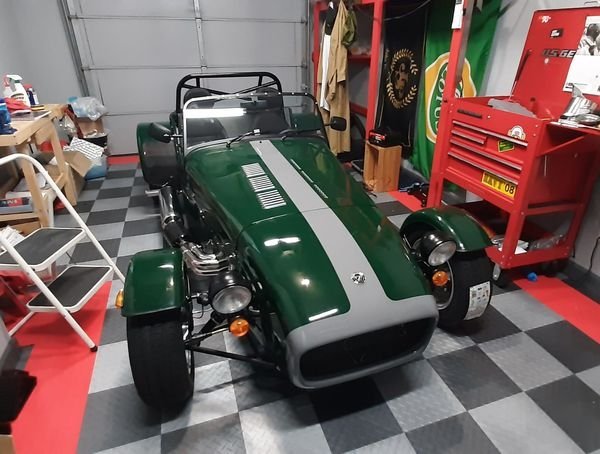
I knew I wanted it to be green (my first rebuild was a green Triumph Spitfire, back in the dim ages of the past), so I knew it was going to be green. While I trying to decide on the stripe color I saw a photo of an RAF de Havilland Mosquito in gray and green camo, and it really grabbed me. Gray with a green stripe would have been even better but, ya know, extra charge for gray paint.
-
In the shop. I'll probably spend the next couple days inventorying the parts. I have reserved the weekend to sit in it with the steering wheel in my hands making "VROOM! VROOM!" noises. Then I'll get sown to work on Monday.