JakeC
-
Posts
21 -
Joined
-
Last visited
Everything posted by JakeC
-
@bball7754 Thank you very much for the detailed photos! When I do my install, I'll post the steps I went through here on the forum. @Vovchandr Thank you as well for the pics. I did some research on the Lift/Pull The dot, and they are pretty interesting, so I will have to decide how best to make use of them. Also it was recommended to me I do a "loose" strap to allow for some occasional bumping of the door like show here: https://caterhamsuperlight106.wordpress.com/2017/04/22/fitted-caterham-half-doors-22042017/ Unfortunately I will be out of town the next 6 weeks or so, but when I get back I will try to jump on it and write up something. Thanks again for the help! Jake
-
Tonneau is not installed for me, nor are there any bits of hardware installed on the half doors. Thanks in advance for the pics!
-
@Vovchandr, good tip, I do manage to have one, as I needed to add a bunch of snaps to the full hood. They didn't seem to come installed on the backside of mine for whatever reason. A tool like that made it a ton easier. I am surprised how much trouble I am having finding install instructions for the door lol. I'll see if I can call up a dealer and see what they say, and if I find out, I'll report back here.
-
Hey Everyone, So I'm finally getting around to installing the half doors on my 2021 SV 420R, and, there are more pieces than I expected I've seen the page for the Tonneau cover install where it shows the front two riveted poppers: However, I'm not entirely sure what to do with the rest. My fittings bag contains: 4 Rivets 4 "normal" poppers (tops and bottoms) 4 "Pull the dot" caps? 4 Hex shaped snaps/poppers (upper right in the pic) 4 Other Parts for a snap/popper? (The upper most in the pic) And a Washer sprayer nozzle (haha, I assume that is a mistake) So I assume the "normal" snaps (smooth black top, and silver/chrome bottoms) go with the rivets and near the front as outlined in the tonneau cover document. However, I am at a loss as to what to do with the rest. The doors are the half doors with the arm rest: Any chance anyone might be able to lend some pointers or some pics of what a properly installed one looks like? I appreciate the help!

-
Test run successful 😀 Everything does seem a little quieter, so that's good. Low speed tight circles aren't as whiny, and definitely less clattering. Lock up still works under hard throttle. I'm calling it a win!
-
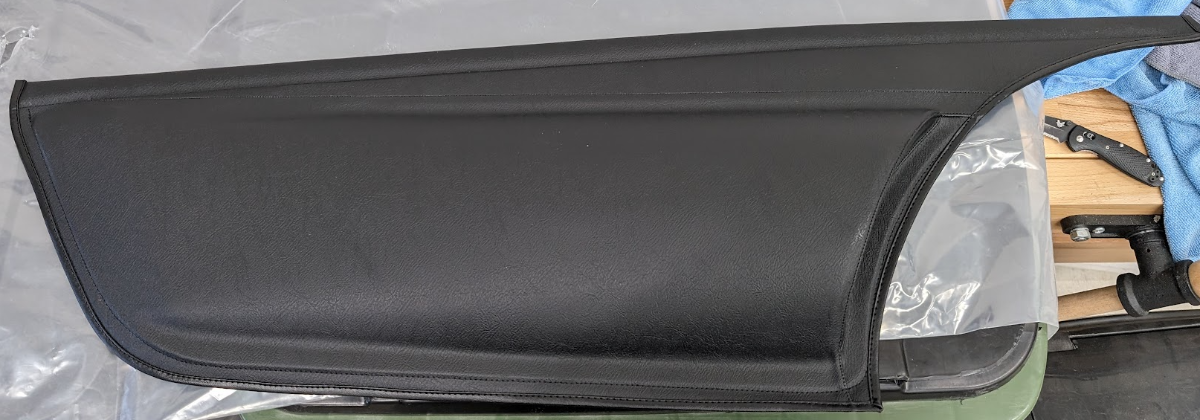
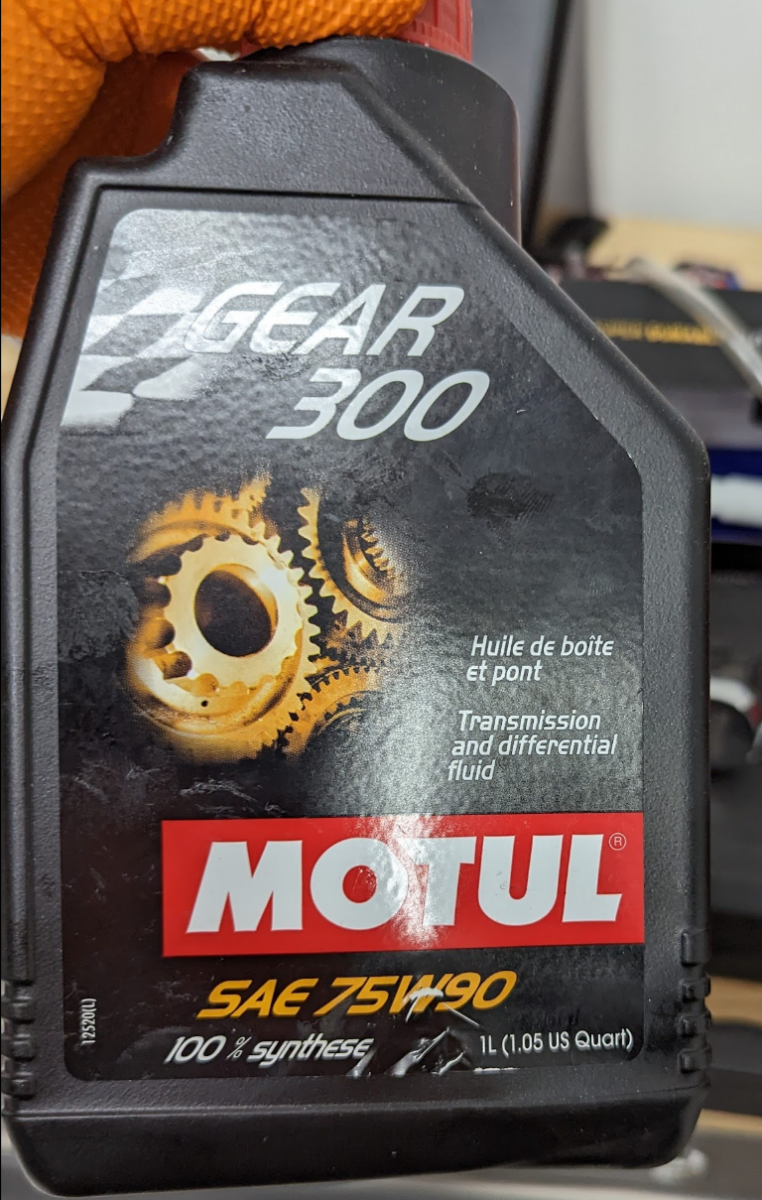
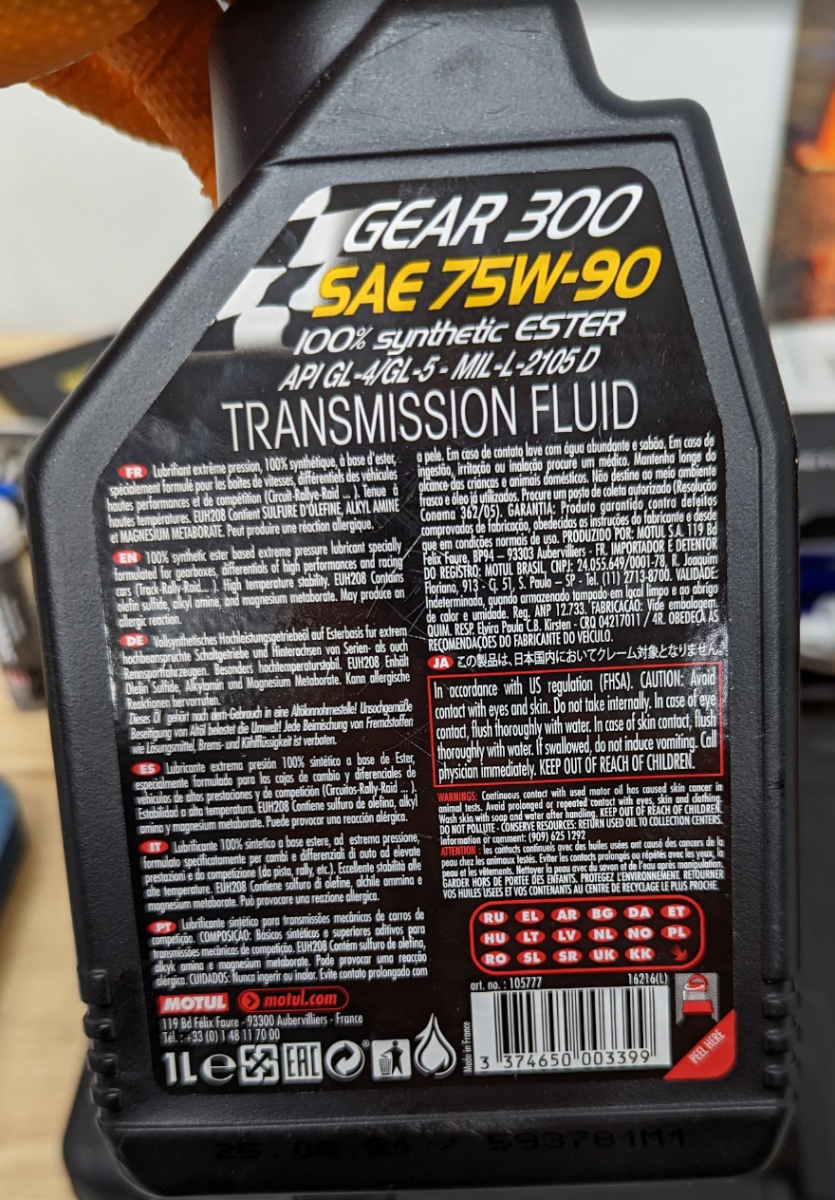
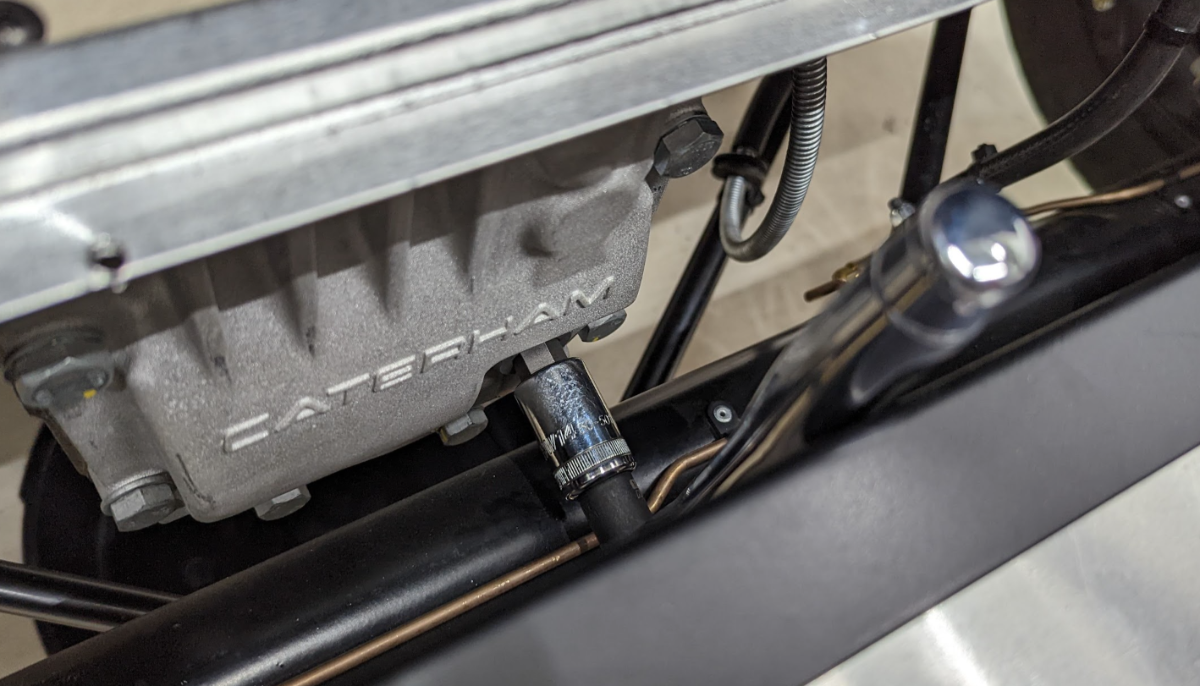
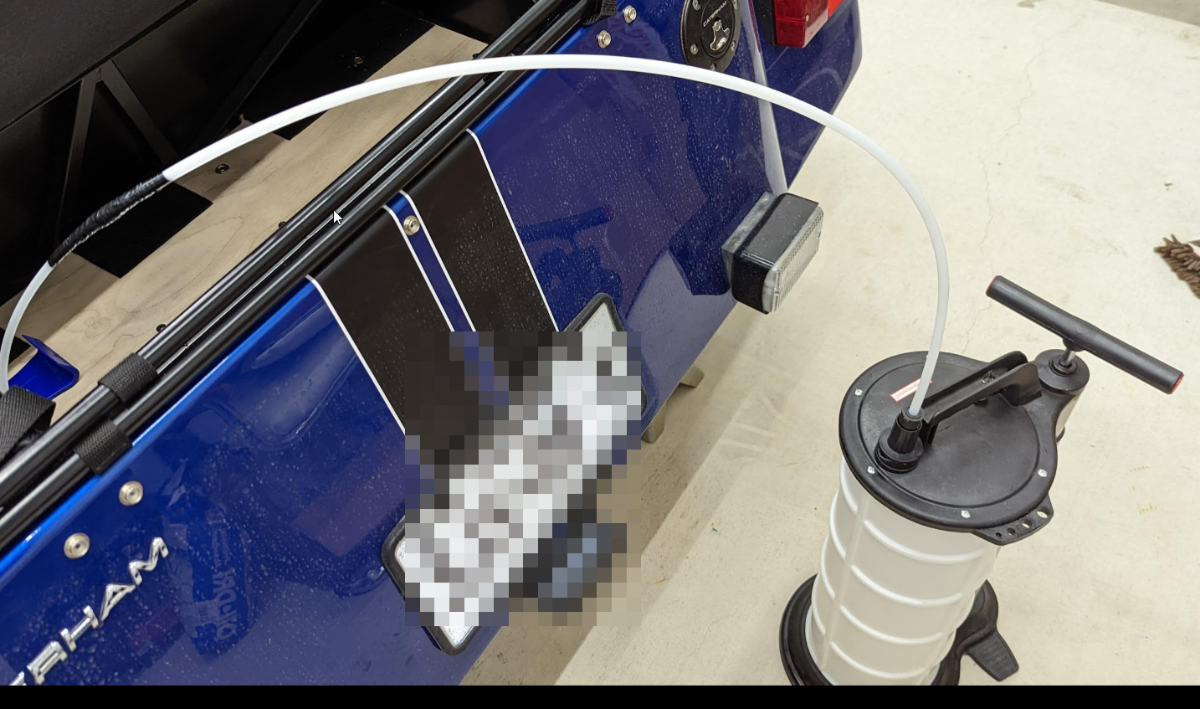
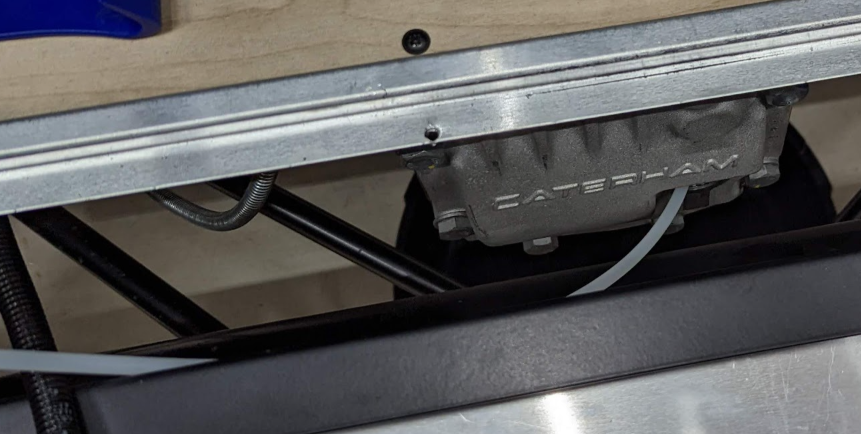
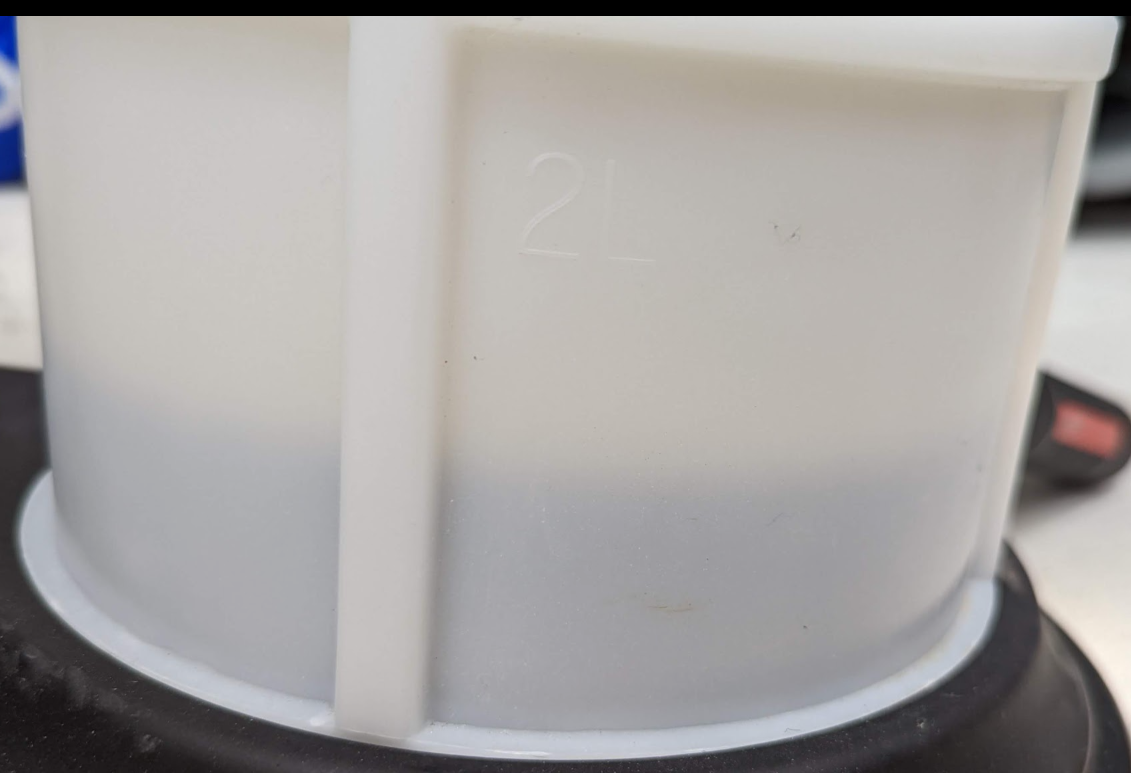
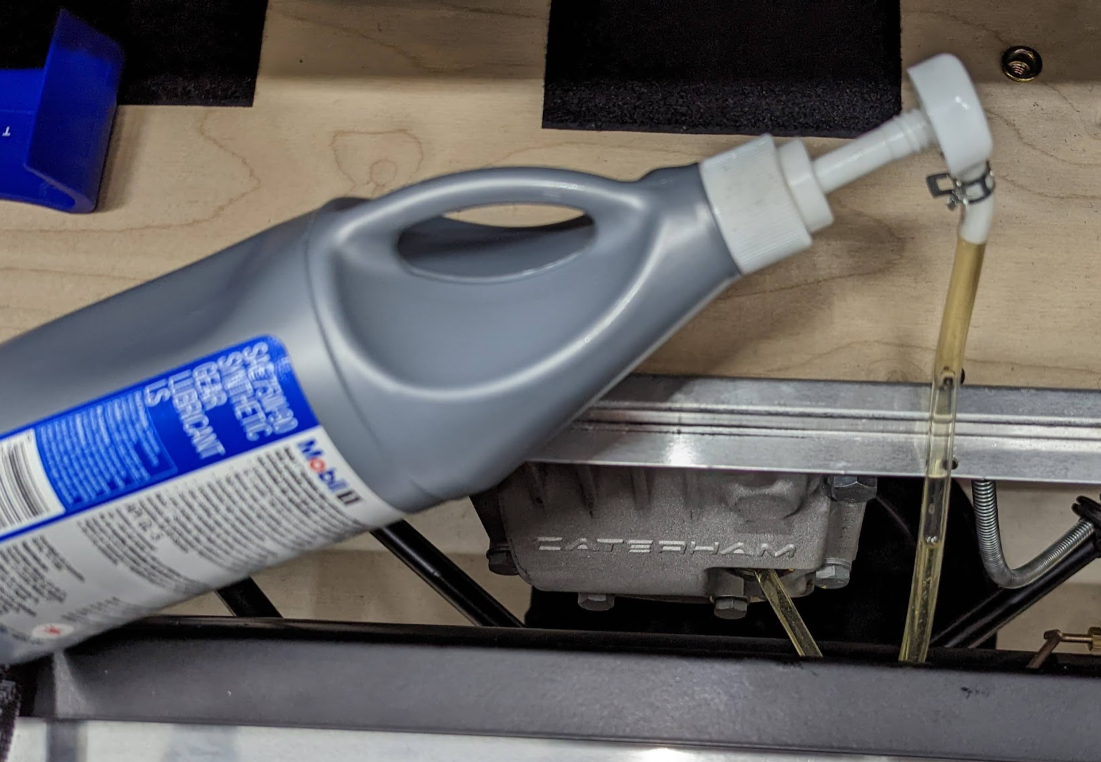
Thanks much for the info @sf4018! I figured I would take some pics of how I changed the diff oil. Haven't run the car yet, but at least it is changed. Old / Incorrect Oil: Notice it is 105777 Old Oil Fresh: Old Oil 600 Miles Might be worth noting that the thickness/consistency seemed the same as when fresh: Fill plug removal 14mm hex (Removed the Boot Floor): Taped some tubes together and connected to suction pump: Tilted the car forward and to the right, and moved the suction tube around dentist style. Managed to get just under 1 liter out, which is about right: New Oil: Hopefully that is good enough.. Used a pump cap to push in the new stuff until it dribbled out of the fill hole (after releveling the car) Will report back after the first drive. I'm just really hoping I didn't do any major damage. Thanks again for all of the assistance!
-
Ah, yeah, that makes sense, thanks much!
-
Thanks so much! Also for completeness I took a quick pic incase anyone else comes looking for it:
-
Sounds good to me thank you. Regarding the link, yeah I saw those stories (and many posts on many forums) a while back which is what had me paranoid about the diff in the first place, hence looking to change the oil and see what the state of things were. However I didn't realize I was using the wrong oil. I am so glad you verified it for me, thank you! A few days ago I did the torque test, and it was 57 foot pounds, of course that is with the non-ls oil in it. So hopefully I didn't damage anything. Thank you for the tips.
-
I guess the remaining question would be is there a torque spec for the fill plug, or anything I need to use as a sealant? Thank you again for the help!
-
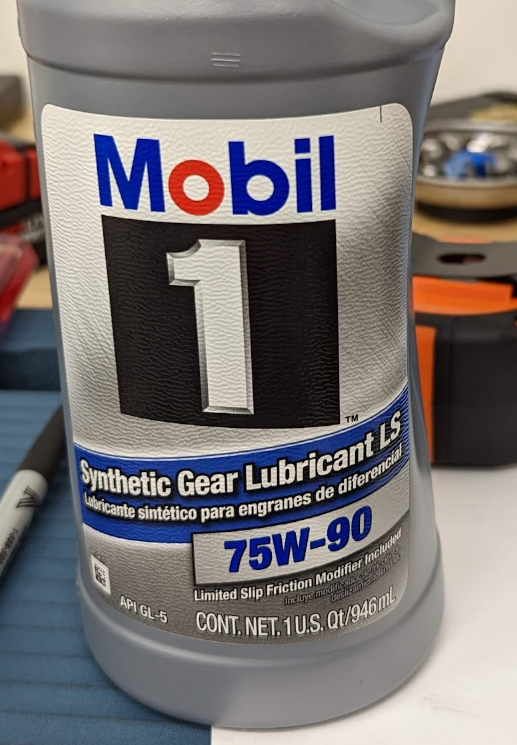
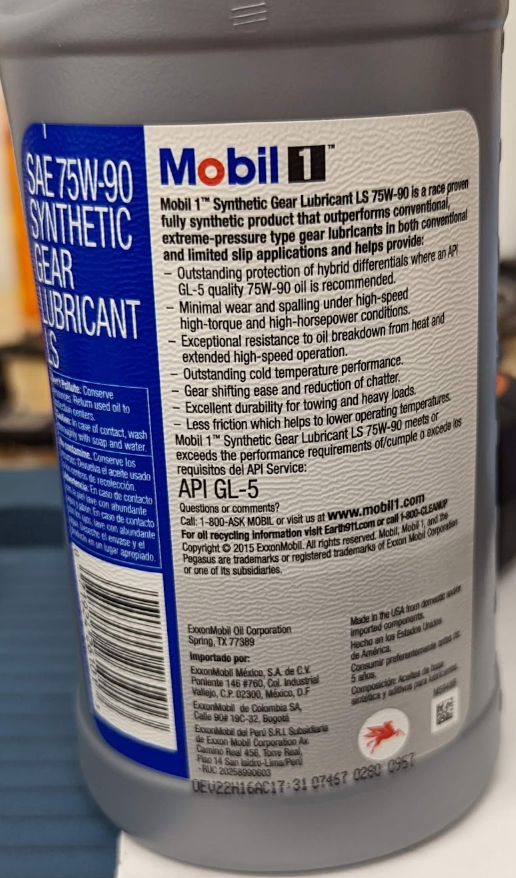
Looks like Mobile1 is the only option I can actually get my hands on, but it is a 75w90 LS Full Synthetic. Hopefully that is good enough.
-
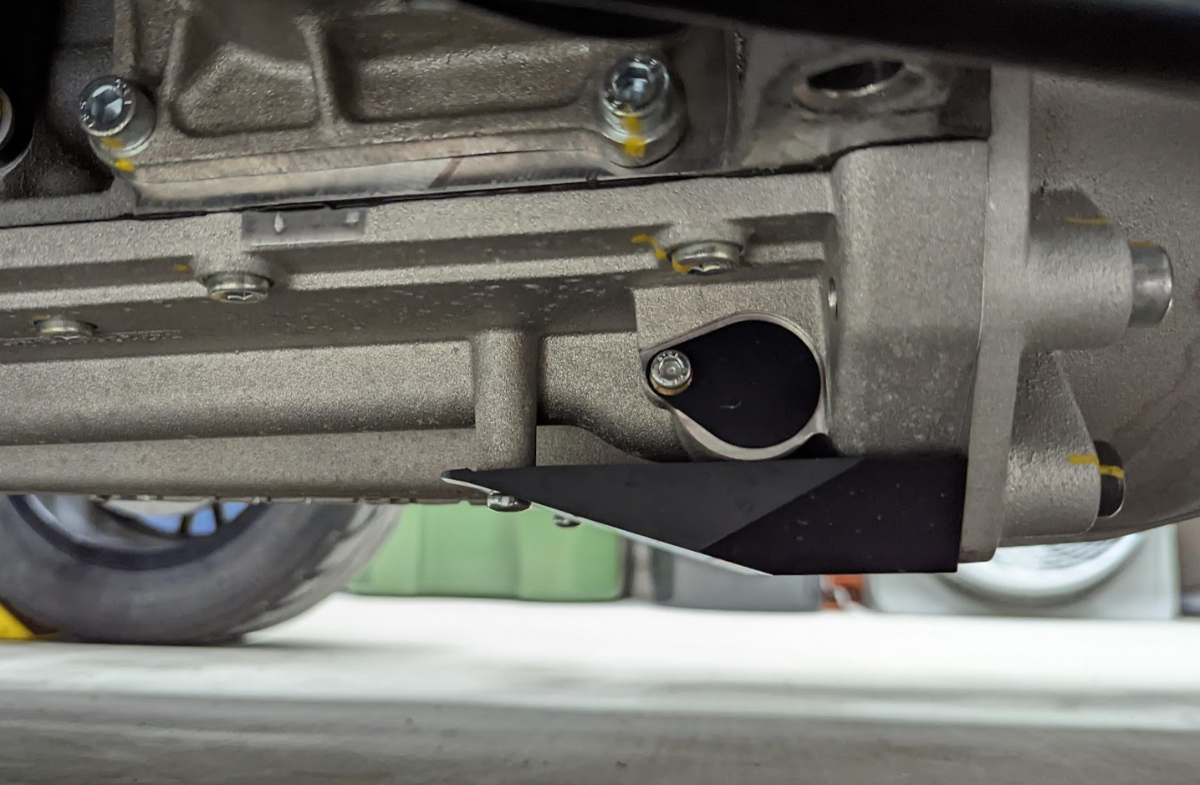
oh Crap! I do not have the LS oil in. That might explain why it is so very noisy. Guess I will swap that out. Hopefully I didn't do any damage And I can't seem to find any of that either... Thank you for the Finger filter location, I thought that was just a blanking plate. Thank you for the info!
-
Hey all, I will be coming up on my first oil change (at 600miles, manual says first change is at 1000), and while reading up, I keep seeing reference to a "Finger Filter". I have a 2021 420R, Duratec. Where might I find the finger filter for draining and cleaning? Also I was looking to change the diff oil at the same time. I have the Titan unit, and I had put in Motul 300 75w90 during assembly, but now I can't find that oil anywhere. Is there a known good alternative I can use? Thanks for the help!
-
Woohoo! That did it! Properly working turn signals. I think that is the last wiring fix on the car, and I think the last issue on the car all together. On to paperwork and inspection. Thank you all very much and especially @MV8 for your time and knowledge!
-
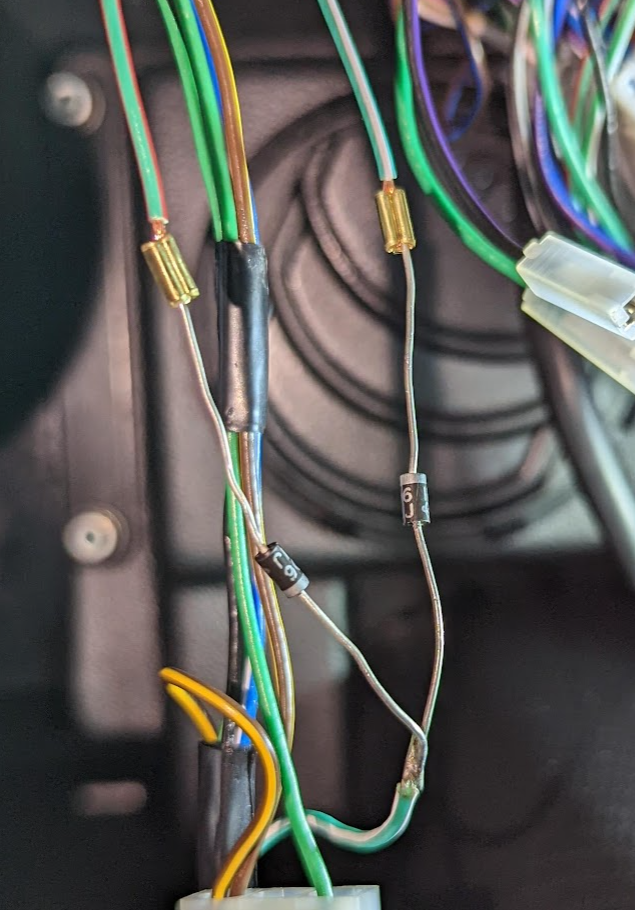
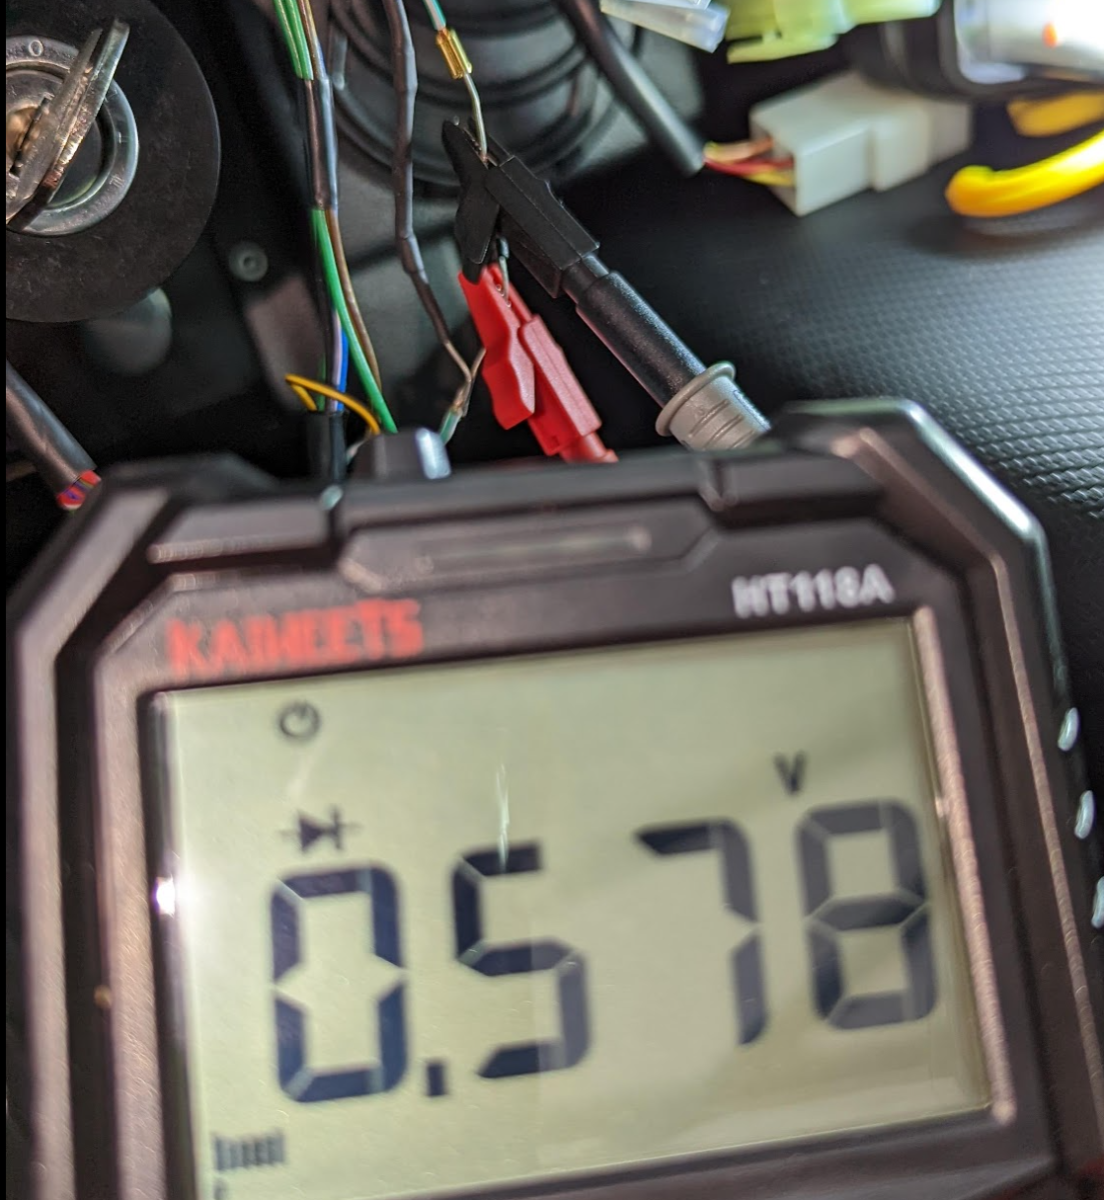
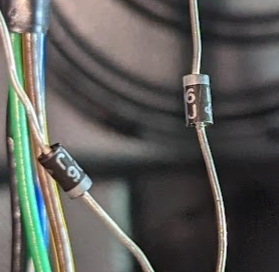
Allllrighty then. @MV8at first I tried what you suggested, and in continuity mode, I got nothing. Then I verified that I had continuity from the switch connector to before the diodes, and I do on both GW and GR. Next I stripped the heat shrink off of everything: You were right on with the connectors as being the second lump. I switched the meter to Diode test mode, and I get a forward voltage drop of 0.57'ish no matter which way I place the probes in terms of polarity. This is the same for both diodes. Note that I tested while the Diodes were connected to each other with the GW wire. I have not unsoldered them as of yet. Now I did notice that they are not "facing" the same direction: Wouldn't they need to be wired in the same direction? And if so, wouldn't that make the one on the right (GW wire) backwards? If that makes sense, I would be happy to try reversing it. Any chance anyone can confirm this logic? Thank you all and especially @MV8 for all of the time spent helping me out!
-
Had a hot minute to test continuity from the GW and GR switch plugs to the GW wire connector after the diodes, no continuity for either. Attached one probe to the switch white plastic female spade connector with the pair of GW wires and the other probe to the female connector pin where the GW wire goes in, set the multimeter to continuity, no beep. touched the two probe ends together just to make sure the MM was good, and got a beep. Not sure if I SHOULD have continuity there with the car off or not, but that is what I had time to test at lunch.
-
Thanks again @MV8. I used insulation piercing probes with the multimeter in the Diode check position. I also tried continuity and there didn't seem to be any. Now, I'm not sure if I hit the wires on both ends or not as it is tough to tell the difference between a failed open diode and a non-connection with the probe. I will try again. What I didn't think to try that you mentioned was just testing through the switch connector and the connector running to the tac. I presume it is a direct connection from one of the two wires in each pair to the tac, so I should be able to check continuity from the switch connector to before the diode, and then after the diode. I will try that next, and try to visually verify that the probes are getting to the wires, though it might be easier for me to strip the heat shrink off to actually see the wires. Will report back, thank again very much for your time!
-
Ok, so tried to test the diodes, and it looks like there are two of them on the GW and two of them on the GR wires. On on the multi meter it was OL for each wire no matter the polarity. What I didn't do was pull the diodes out and test them, I just punctured the wires on the way in and the GW wire on the way out. I think I am going to have to strip off the heat shrink and see if I can get directly to the leads to test them, and maybe have to cut them out to test. I also re-tried the switch wiring suggestion that Caterham had sent originally, GN on the outside and GR in the middle. The behavior was the same for the left side (all corners blinked) and no indicators on the right. Next I tried pulling out the GW wire from the connector that goes from the diodes to the tac: No change in the turn signal behavior, just the tac indicator did not light up this time, so I think the tac and tac wiring can be ruled out as the issue. Regarding the relays, the one with the tape is the flasher relay: Not sure which one is the hazard relay, but I also found this one under the dash: One last thing to note is that (with everything put back to stock) pushing the switch to the left blinks all four corners AND the tac indicator. Pushing the switch to the right, blinks the right side indicators, and NOT the tac indicator. I'm not sure when the tac indicator is supposed to flash. I think I might pull split the double wires on the switch side next, and see what happens.
-
@MV8 aaah crap, I copy and pasted the email images to the post. My bad! I will fix that up tonight. I am about to go out and test the diodes, and will report back. I can take pics of the relays as well. Thank you for the additional info, that makes a lot of sense, I will see if I can trace the wires as you described. Sounds like the tac doesn't make any decisions about what turns on or not, so I could try pulling those wires out of the ts switch to test. So I assume the indicator on the tac should flash with either turn signal correct, and not just hazards? Thanks again everyone for the help! Jake
-
Hi @sf4018, thank you! and yes I have looked at the 2015 wire diagram, unfortunately it does not have that connector on it. And that connector is fairly zip tied up with the wire bundle that goes down to the trans tunnel, so its fairly hard to get to. However I have not looked at the tac connector. It slipped my mind while I was under there. I will pull the rubber boot off and see if things line up. @horizenjoband @wemtd that is very interesting, thank you for the ideas! They are not LEDs but it could be possible that one of the diodes are faulty. I didn't really consider that, but I will see if i can check them. As a quick sanity check, is the double arrow light on the tac supposed to blink with the turn signals or not? Additionally, should it blink when the 4 ways are on? Thanks again to everyone for the suggestions!
-
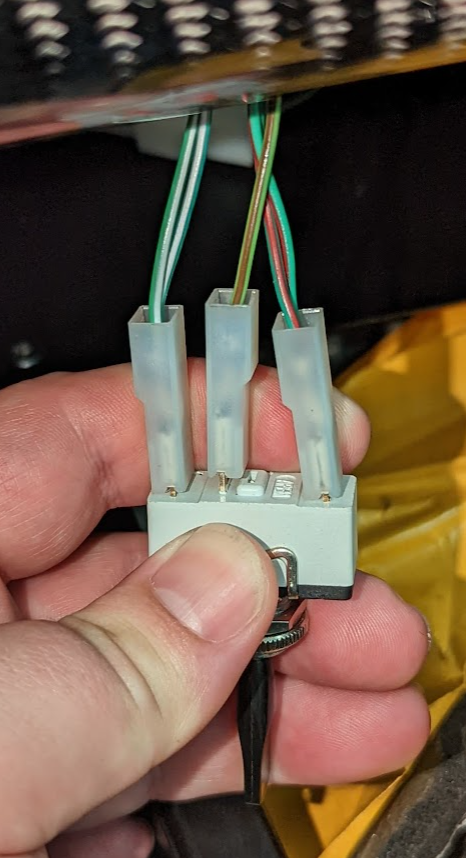
Hi all! Long time listener firs time caller here TLDR Version: Four way flasher button works as expected Pushing the indicator switch to the right works as expected Pushing the indicator switch to the left, flashes all four corners (no double arrow on the tac, flash switch does not light up) Swapping the GR and GW wires on the switch reverses the side that has the issue. unplugging a specific black connector allows the turn signals to work properly, although most of the rest of the dash then does not. Looking for a diagram or pics of the wiring of the connector. Long Version: I have just finished assembling my 420R, and as far as I can everything works with the exception of the turn signals. I have been trying to get support from my dealer and Caterham, but its tough getting anyone to respond or take the issue seriously, so I have been trying to work out the issue myself as it is preventing me from starting the process to getting the car titled and on the road. The issue is that pushing the indicator switch to the left side turns on all 4 indicators, pushing to the right, works as expected, right side indicators only. Swapping the GR and GW wires on the switch reverses the side with the issue. Left Side (not correct) Video: https://photos.app.goo.gl/tHKqnWB3kcGjiqT39 Right Side (Correct) Video: https://photos.app.goo.gl/m4JnVbMWbEcUoiwd6 I received 2 responses from my dealer before he had a family emergency (and I don't want to bug him anymore), and have not heard back from my attempts to contact Caterham directly. First they sent me a picture of the switch, but from all of my research, I think their switch is wired incorrectly. They sent: My switch looks like: Next the said "From the dash switch, this wire runs into the smaller of the two dash control module connectors (GR 14)." Then: "The wire then exits the dash control module through the larger of the two connectors (GR 99)." My wiring to the modules matches those diagrams: The last message was for me to verify that I did have the 420R subloom installed. and based on what they described, I do: S Gauges: R Gauges: Diodes on GR and GW: Connector: Soooo, that was the last I heard. I did some playing around and if I disconnect this one specific connector, the turn signals work as expected, however, most of the rest of the dash does not (as kind of expected) I cannot seem to find a diagram for that connector anywhere. So I would be eternally grateful if someone might share a picture of their working connector, or somehow has managed to get a hold of the pin out for it. Thank you so much, and if anyone has any diagnostic suggestions, or other ideas, I am all ears. Thanks again! Jake