
CarYenta
-
Posts
95 -
Joined
-
Last visited
-

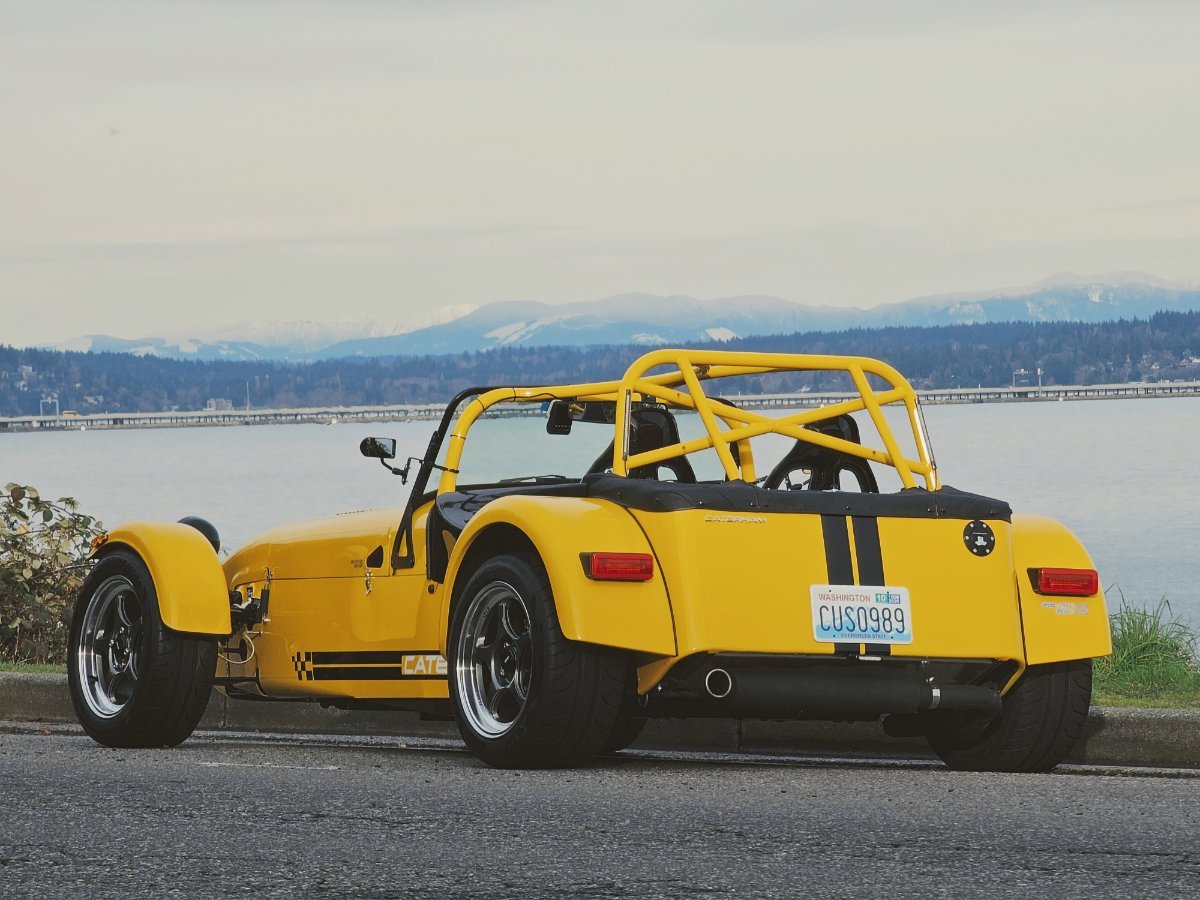
2025 Caterham 620R fully loaded. Just landed with practically no miles
CarYenta replied to Deman USA's topic in Cars For Sale
Look, you can now buy a poster of your own car on ebay! haha https://ebay.us/m/UInT9m
-
Which bushings are you changing to? Powerflex looks like the go-to? All bushing points? Do you have to take each suspension part off and stick it in a press or can you do these while on the car? I am always looking for ways to make more squeaks lol.
-
That's why I bought this car, it's always interesting! Yes, I will spend 99% of the time driving not on a track. I'm wondering if some of the handling imprecision out of the box is the lack of a watts linkage? I would think since the car is so light the bushings wouldn't make as much a difference as they would on a heavier order car like an e36 m3. I stuck my bathroom scale under a front wheel without a coilover on it, and there clearly is bushing force limiting movement. Lowering the car from the air down onto the scale, it progressively went up to 100 lb (with the wheel on) before it was at what looked like a full compression position. Dead lifting the unsprung wheel by hand, it felt stiff and with resistance to movement.
-
Took two Bilsteins off the car. Talk about the absolute easiest car to remove suspension from! Wow that was easy. Now that I know the wrench sizes and where the bolts are, it would literally take under 5 minutes per corner. Loosen rear lugs (don't really have to remove rear wheels but is easier) Jack up car Remove rear wheels 6 mm allen wrench, short for front upper 6 mm allen socket for front lower 8 mm allen socket behind the upper seat rear carpet 19 mm socket with breaker bar and then a short extension on impact Shocks come out easy without any sudden jumping.
-
On my GT3 I had a DSC module that via laptop made the pasm dampers into 6-way adjustable plus lateral g-force, brake pressure, acceleration, steering angle lol. Talk about a rabbit hole, I spent a long long time working that system to get something I was happy with (more than 100 iterations) for both normal mode and sport mode, but it made a really really big difference even without changing the actual dampers or spring rates themselves. It ended up being that there simply wasn't enough compression stroke to make it a comfortable ride over city streets, but on the highway, it went from a pogo stick to smooth as butter.
-
I thought about getting the adjustable race Caterham suspension which is 250/250 I think, also thought about the nitrons and Penske's and other tried and tested suspensions. Then thought, if I'm spending a bunch of money, cry once and spend a little extra to make it perfect. The MCS should have a wild amount of adjustability, so I can play with a bunch of different spring rates over time to really get what I want without sacrificing damping and having to buy yet another damper set. Why not just get Penske 3 ways 8300? I like MCS techonolgy more and don't have to pay tariffs since it's not coming from England even though Penske is a US brand.
-
It's pretty dark in there even after unbuttoning. The S shocks are really under damped. Around town and back roads they are fine, but over 60-70 mph the car has no body control whatsoever and is all over the place. Very jittery, bouncy, no good. Exactly like my ND3 Miata was with the club shocks before getting Xidas. Except I got 1-way Xidas which was a mistake as I want less high speed compression generally or more rebound. The standard spring rates for S shocks are 170 lb/in linear front and 140-250 lb/in progressive. Currently, the front seems to have a lot more droop than compression travel, so I think a tad more compression travel would be nice to have. I see 250 lb/in an being popular. For rear, probably 150 to 200 lb/in depending. However, I need to know how much spring rate comes from the shock gas pressure, so MCS will shock dyno these when I send them over. What that means is that the springs rates we choose for the MCS will not directly translate to the bilstein shocks (probably). Question: What is the lb/in that the bilstein compressed gas gives? Could it be upwards of 200 lb/in? Front of car height change full droop to ride height 2.5" Shock stroke associated full droop to ride height 1.5" Motion ratio = 2.5/1.5 = 1.66 350 lb f at front wheel X lb f at spring at 1.5" stroke F wheel * d wheel = F spring * d spring F spring = 350 lb * 2.5 inch / 1.5 inch = 583 lb on the spring at ride height Travel of 1.5 inches = 388 lb/in But the quoted spring rate is 170 lb/in, leaving 218 lb/in on the table. Did I measure something wrong?? That seems like a lot. For the rear, 1.75" full droop to ride height and about 410 lb without me in it means the effective ride height spring rate is 234 lb/in which is much higher than the spring range also.
-
Did some measuring for my MCS special projects guy in prep for them designing remote 3-ways: Please tell me if something looks off! This is for the stock sport suspension at the ride heights 150 mm front 165 mm rear. Motion Ratio Front: Measuring chassis height / shock stroke when lowering car back onto the ground after the tire was squished came back consistently at 1.66:1 (3" chassis change for 2" stroke) Measuring the wheel movement while compressing it in the air with a jack under the tire was inconsistent as the chassis was moving up and down and pivoting on a jack stand and there's some camber change. Even trying to control for that, that was from 1.5-2.0 I think that's measuring the same thing. Rear: For the back, being a de Dion, it's 1:1 but I guess varies with severe bump angle. Total Droop Wheel Travel from Ride Height Front: Full droop front change to ride height is 2.5". Rear: Full droop rear change to ride height is 1.75". Total Compression Stroke Travel from Ride Height Front: Ride height to full compression is 0.5" stroke (0.5" silver visible). From full droop to full compression is 2" stroke. Rear: Ride height to full compression is 1.25" stroke (1.25" silver visible). From full droop to full compression is 2.6" stroke. Weight For weight, the internet gives 610 kg for S3 620S, but this is an SV so + 25 kg = 1400 lb minimum. I'm guessing that's with fluids, I don't think it's the kerb weight with a driver? Then I have maybe 30 lb of junk in the trunk, about 40 lb extra? roll bar since mine is a track day cage, and then a fire system etc. is maybe +100 = 1500 lb without me. With my untrusty bathroom scale that maxes out at 400 lb and is likely ultra inaccurate at the max range, and about 50 highway miles less than a full gas tank I got: 340 lb front corner without me in it 410 lb rear corner without me in it - went to 400 and errored out but was slowing, looked like it would go to about 410 lb based on the rate and the jack being nearly entirely unloaded. Since I sit on the rear axle and am 150 lb, it's probably like 10-20/80-90 fr/rear adding me, so maybe 360 lb front corner with me 465 lb rear corner with me Is 1650 lb total, full fluids and me in it which seems to check out. 43.5% fr/56.5% r Super scientific. Wow. Next is take off some shocks, do unsprung weighing with my really nice scale and ship a front and rear to Georgia.
-
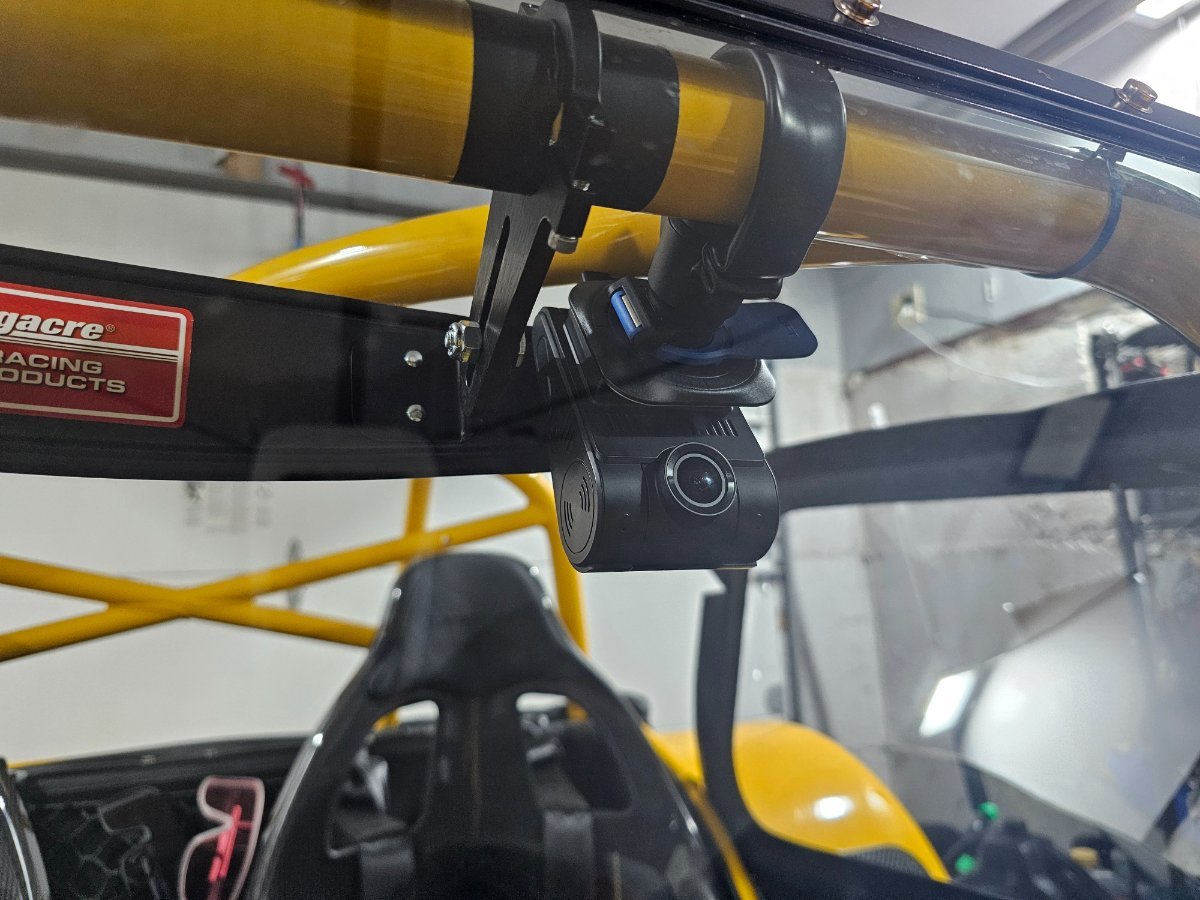
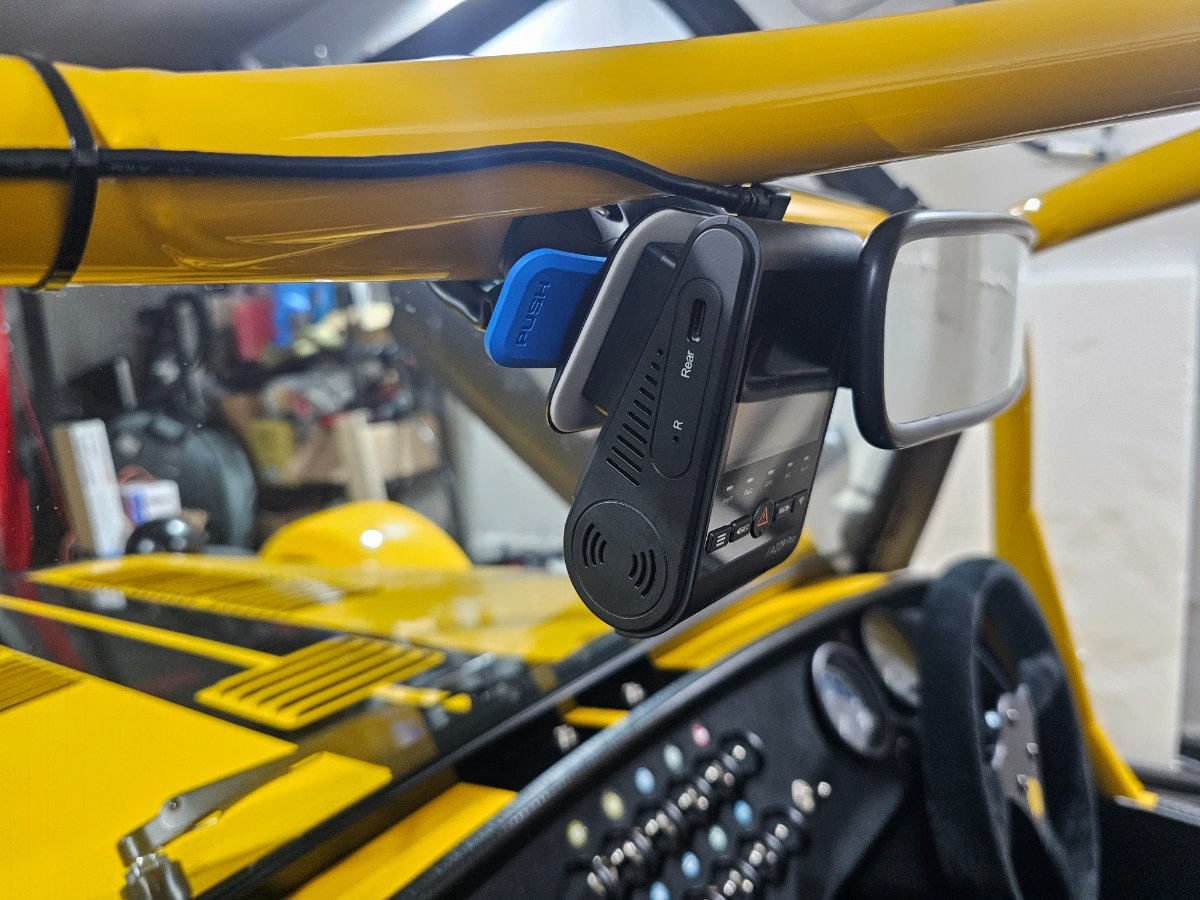
Yep A229 has a dock. Has great 4k. I had the A229 left over from the GT3 so figured I'd try to repurpose it for this car. I've been plugging it into the cigarette lighter each time I turn on the car which also has a USB going off of it to power my phone. Not the easiest solution, but this car is never easy I don't have a rear camera as I'm only concerned with people trying to insurance fraud me saying I hit them. So if they hit me from the back, I can show video that I wasn't backing up. If I was backing up, well I shouldn't have been haha Recently got a usb-c card reader so I can pop the card out of the camera and read from the phone much much more rapidly than waiting for a wifi transfer and the terrible viofo app. Wow! That is a clean install. Since I have mine on the roll bar I can still aero screen..
-
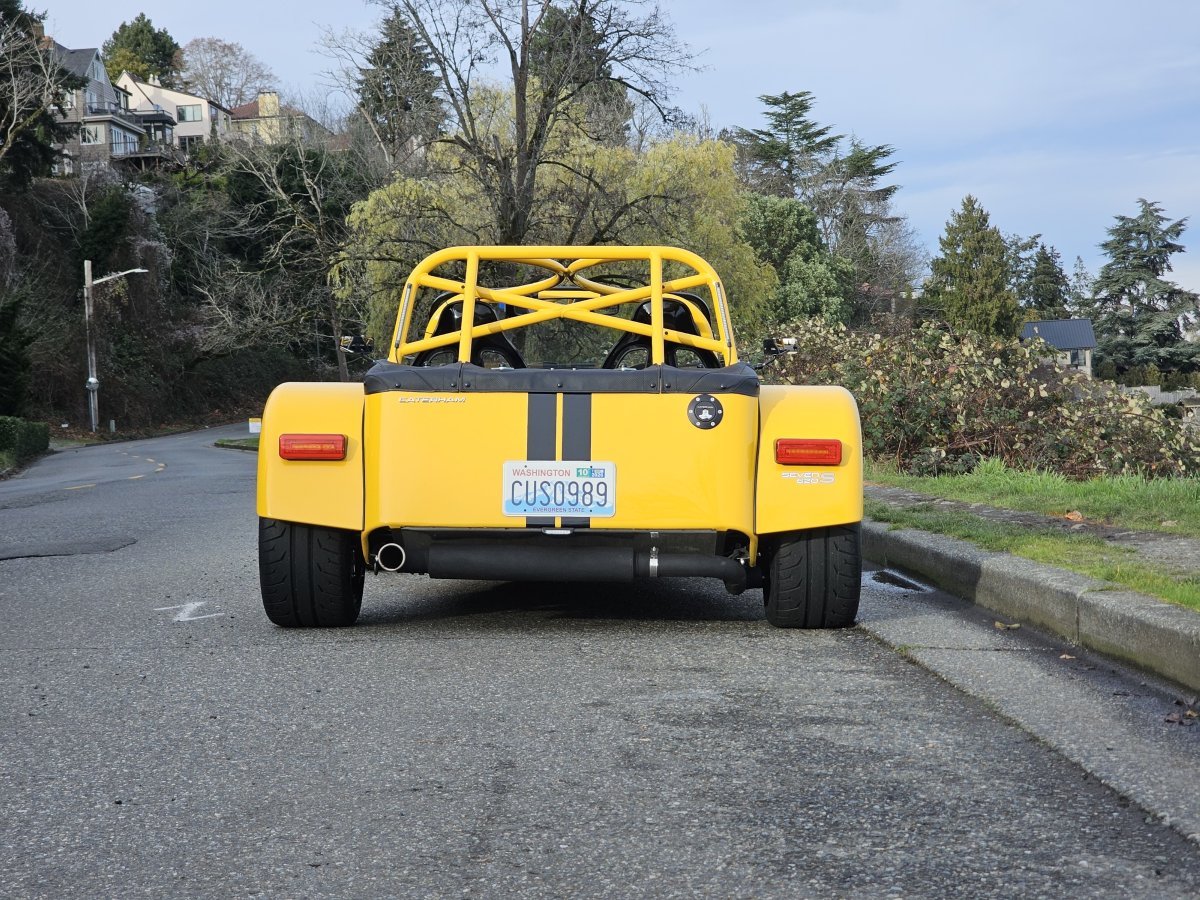
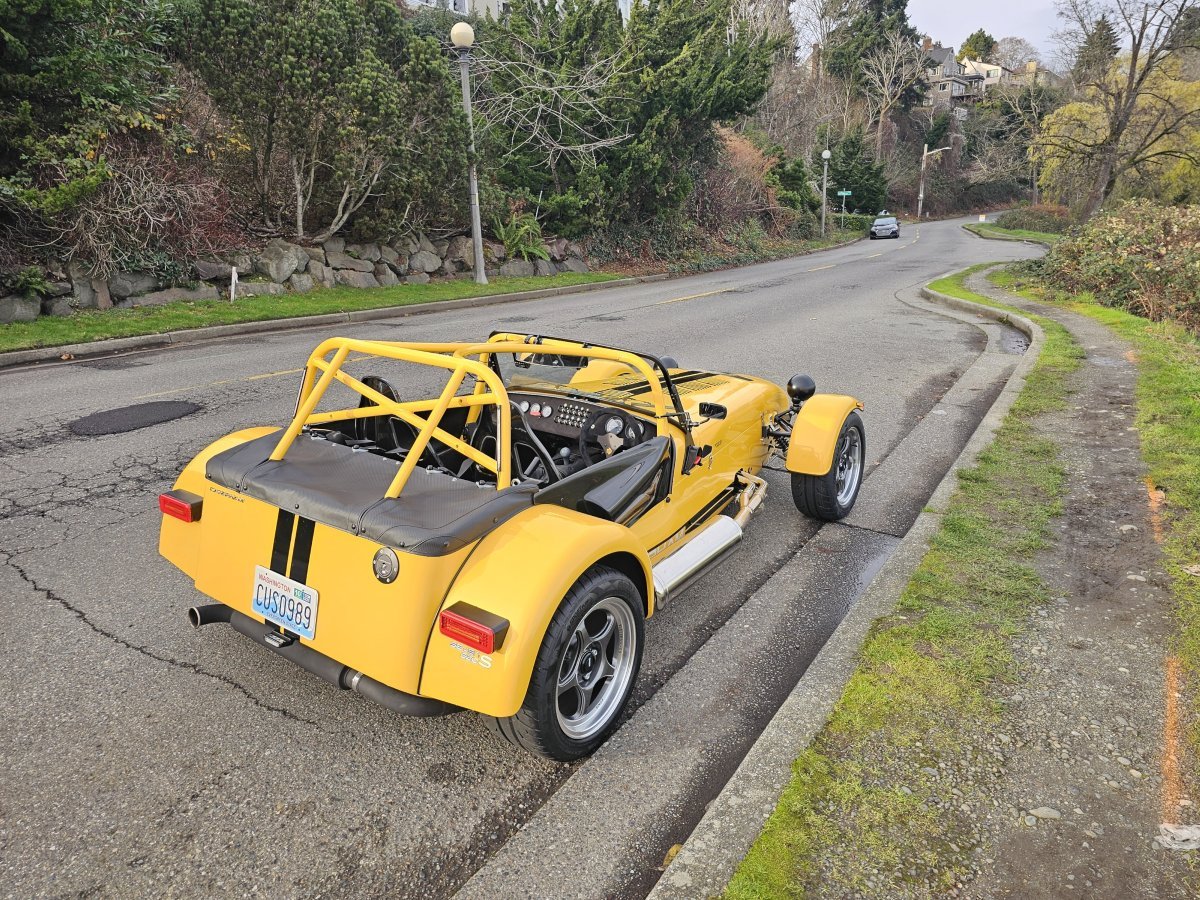
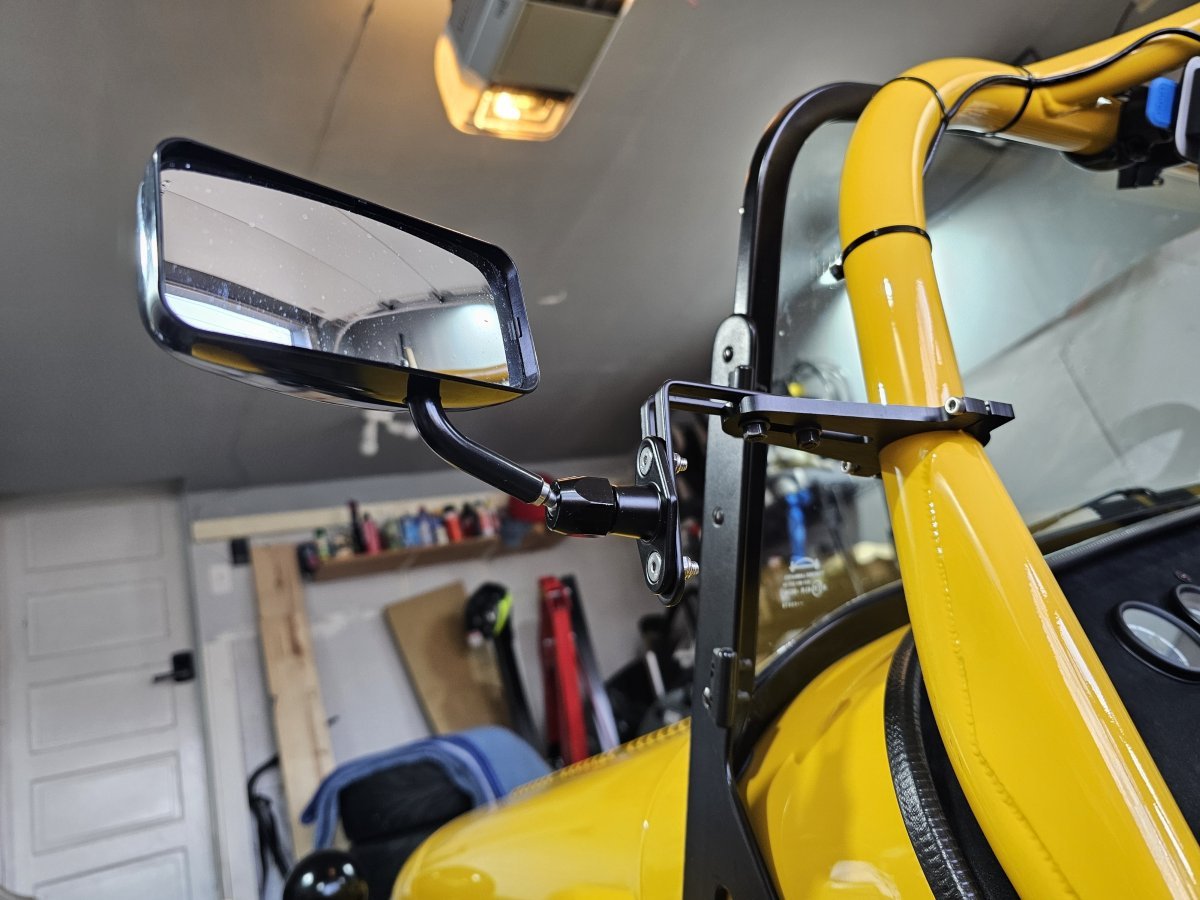
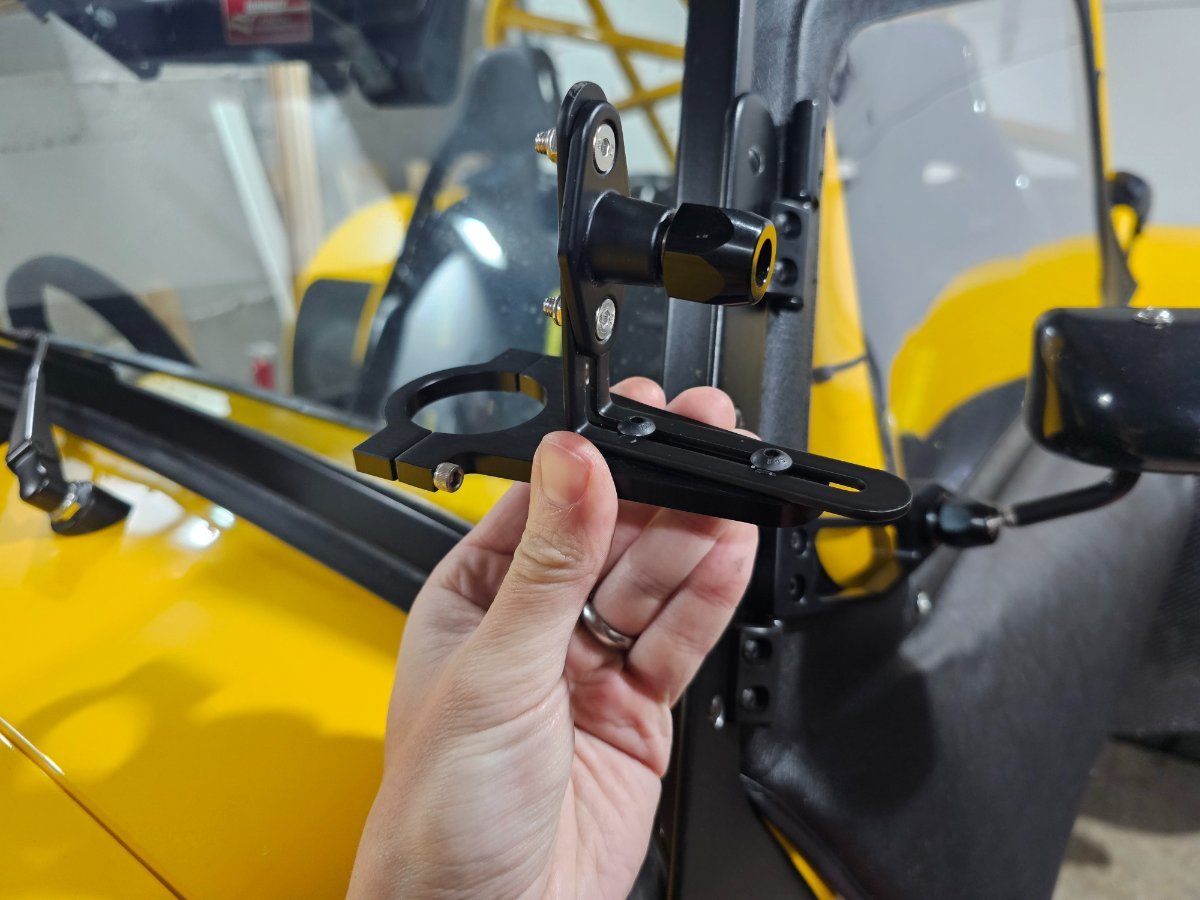
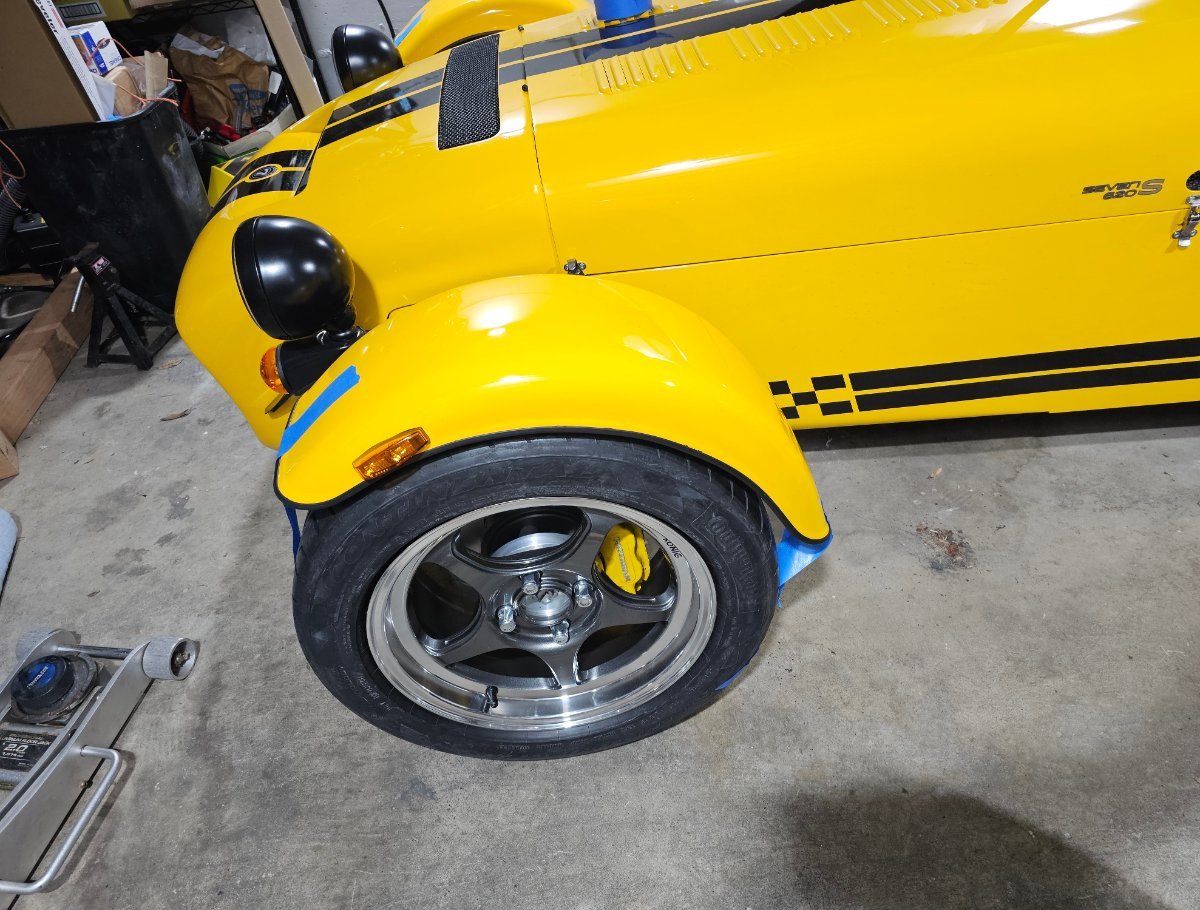
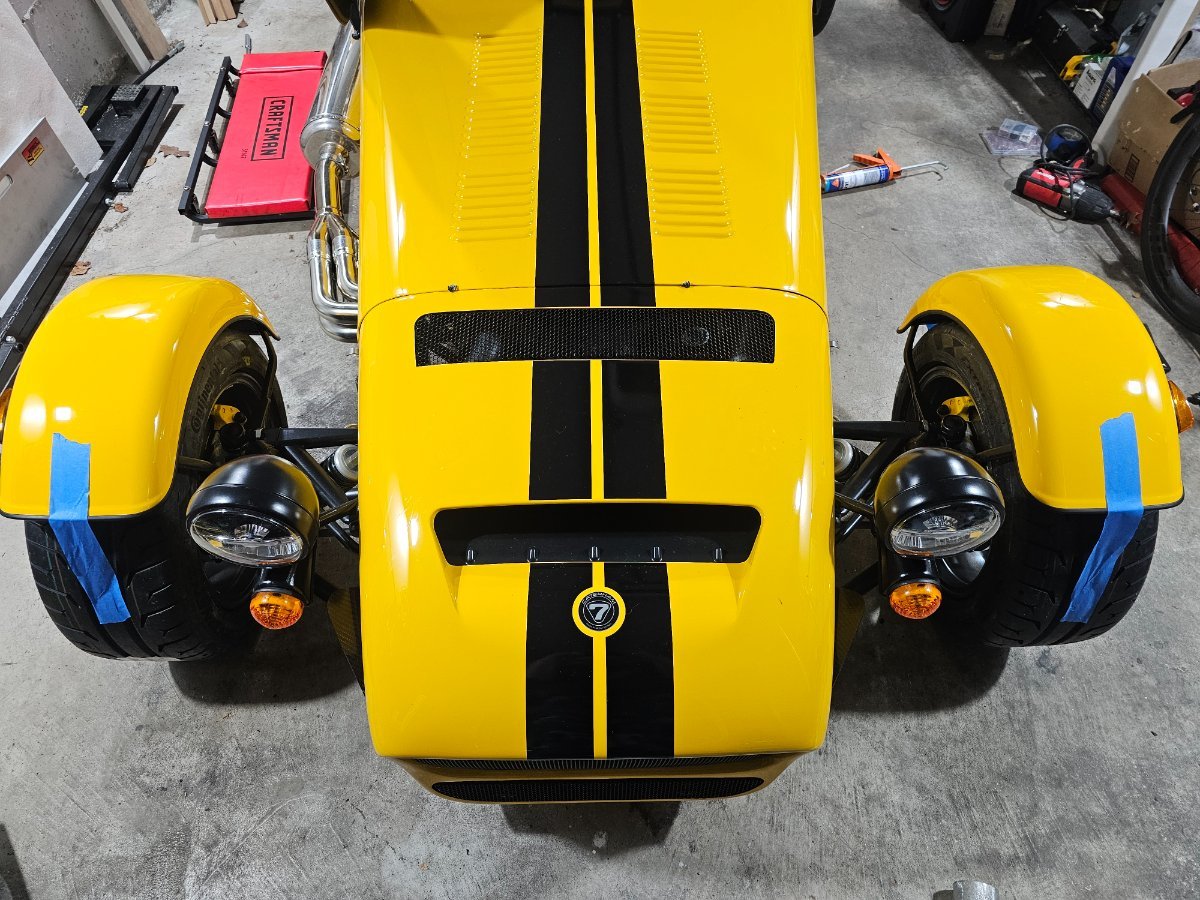
Car is now PPF'd on the front cone and hood and sides (thanks Seattle Clear Bra!). Since then, it has been raining, and raining, and more raining, but finally found a day to do a little low speed drive around Lake Washington and sit behind slow drivers. The amount of public support for this car is hilarious. I had more than 10 people come talk to me about it. A car with three little kids U-turned and they all came running out staring haha. The mild dampness showed the supreme capability of these wider tires. Tons of traction. I also tried out the roll bar Spa mirror mounts I Macgyvered together with the extra DPR fixings they graciously sent me when I ordered their door brackets. The distance they are away from the car on the normal doors with the DPR mounts I find it very hard to back up in a straight line into a parking spot, and hard to judge rear fender distance to things next to me. In normal cars, the mirrors stick out to the same width as the car or further, and so you get great perspective for backing up. Not so in the 7. So, for the roll bar mount contraptions I made up, I flipped around the L bracket to get more distance. Much easier now! To minimize time spent converting between rain-mode full doors with DPR mounts and sunny day half-doors with cage mounts, I ordered a second set of Spa mirrors, the GT / Le Mans style this time which are a little taller by about 3/4 inch and wider by about 1-1/2 I believe. I also have a set of coilovers being custom designed for the car by MCS. To-do is measure the motion ratios and then remove the bilsteins to find the un-sprung weights.
-
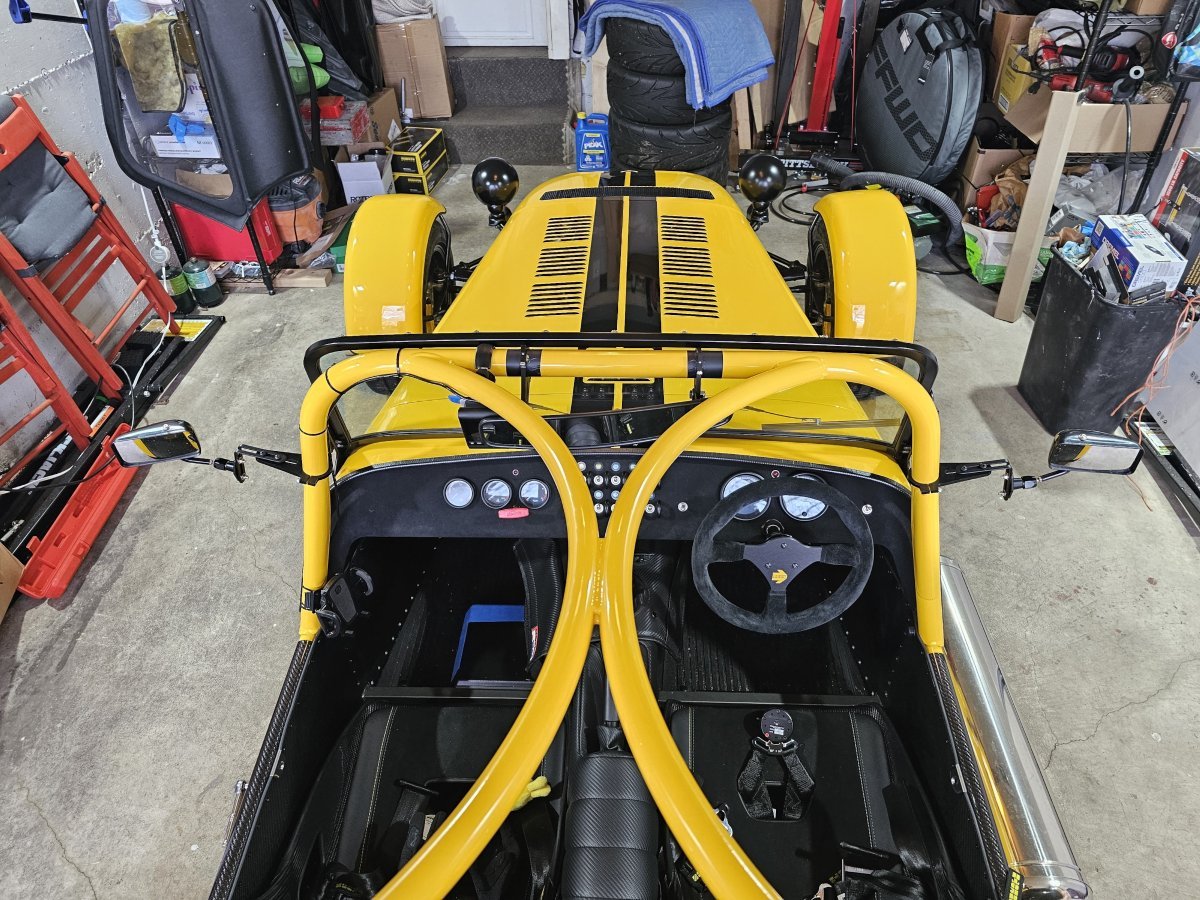
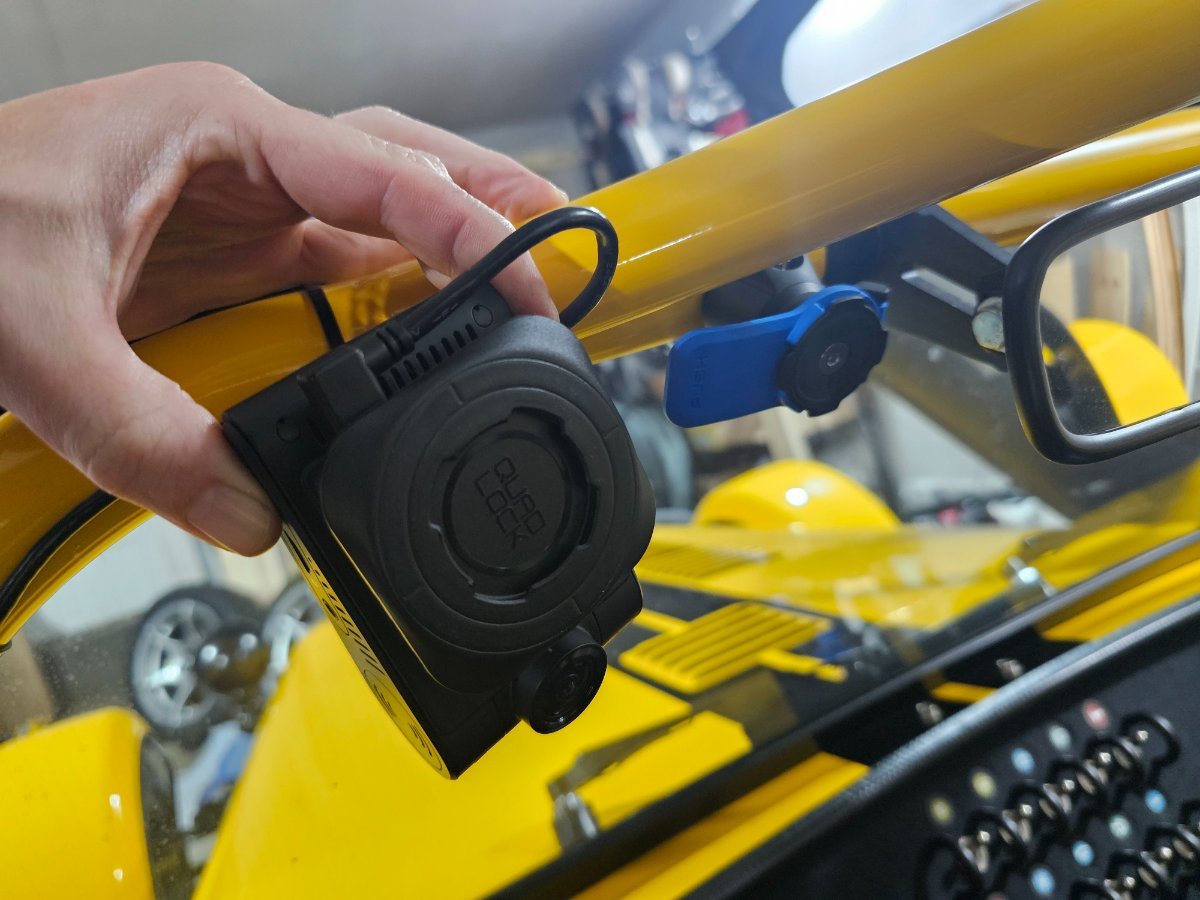
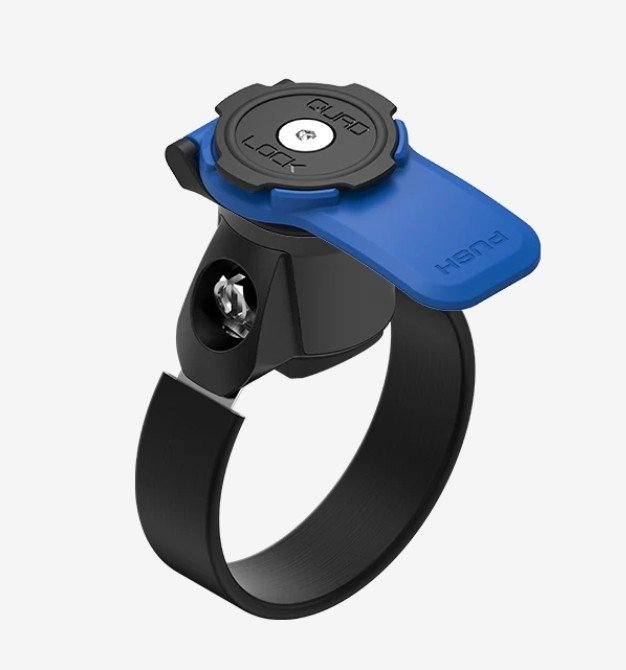
Dash cam mount for my viofo a229 pro installed. Used a quad lock system on the bar so that it can remain there when running the aero screen. https://www.quadlockcase.com/collections/build-your-own?selected=eyJoZWFkIjoiUUxQLTM2MC1MSCIsImJhc2UiOiJRTFAtMzYwLUhDQiJ9 plus a standard quad lock flat face mount. Also have the 1.5" roll cage mount mirror brackets put together with some DPR block nut conversion mounts. The L bracket can be 180 turned to have the mirrors stick out quite far if need be. Also got a phone mount: https://amzn.to/4rHrL0E Next up is applying the ppf from Premier Paint Guard.
-
Haha I probably should make a lessons learned guide once I have the car where I want it to be. I aligned my headlights perfectly at night, and then they worked themselves loose on the drive home and became lazy eyes oops! We don't talk about Fanny 😂
-
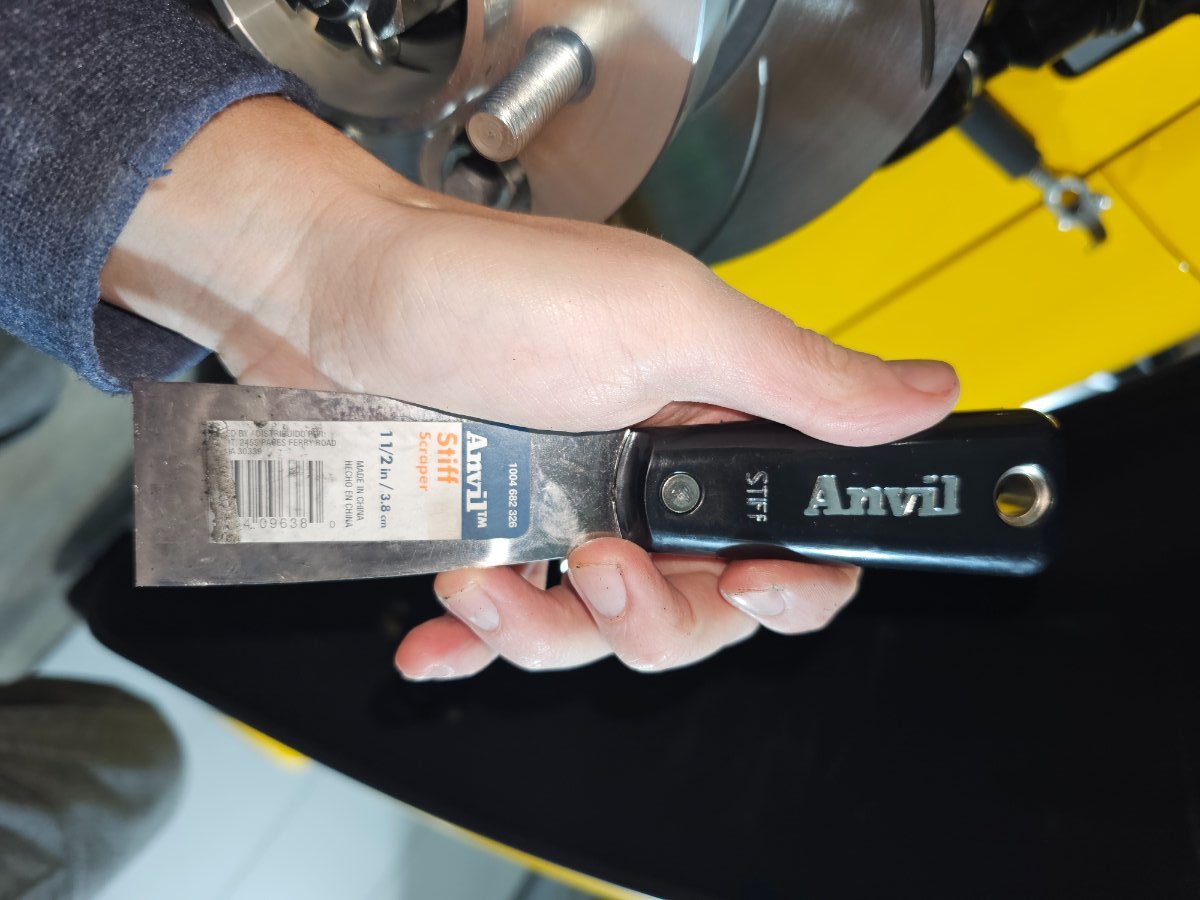
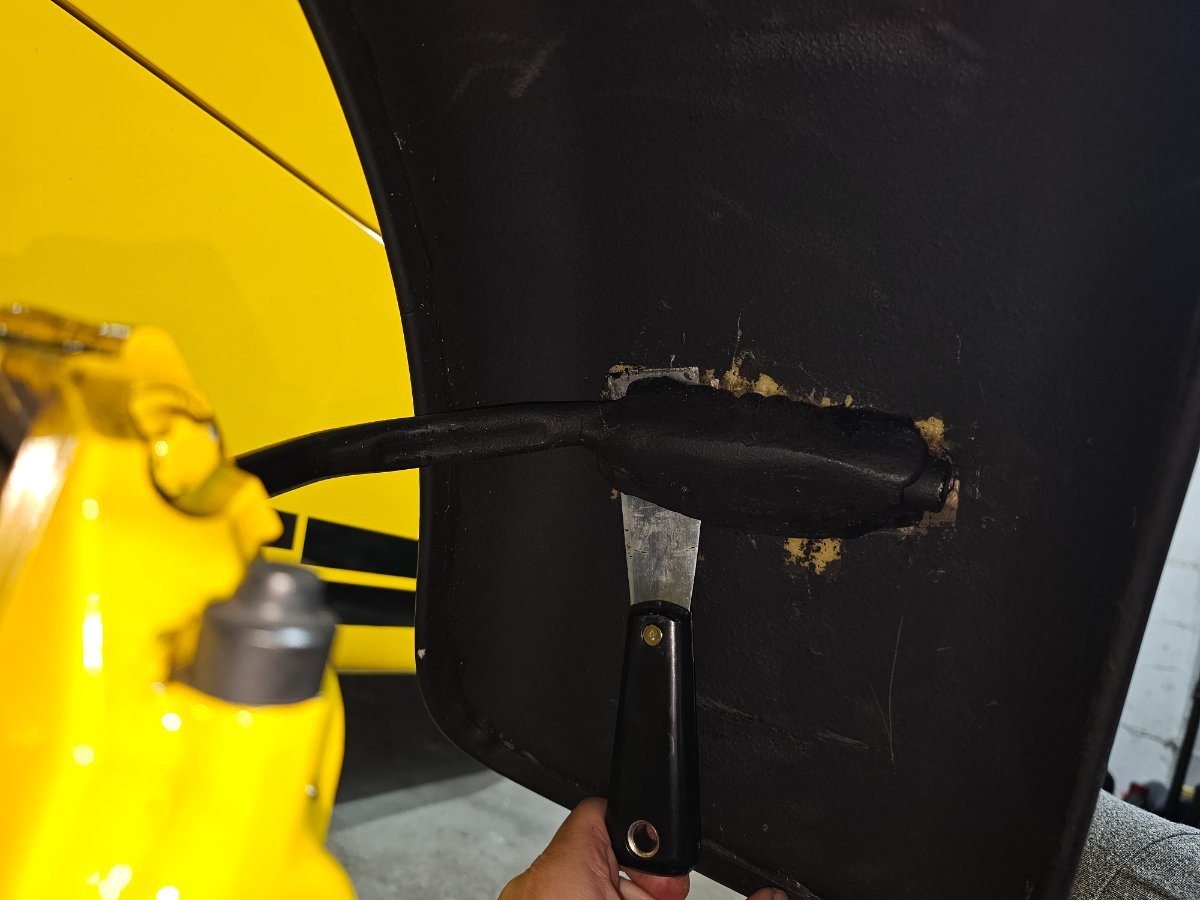
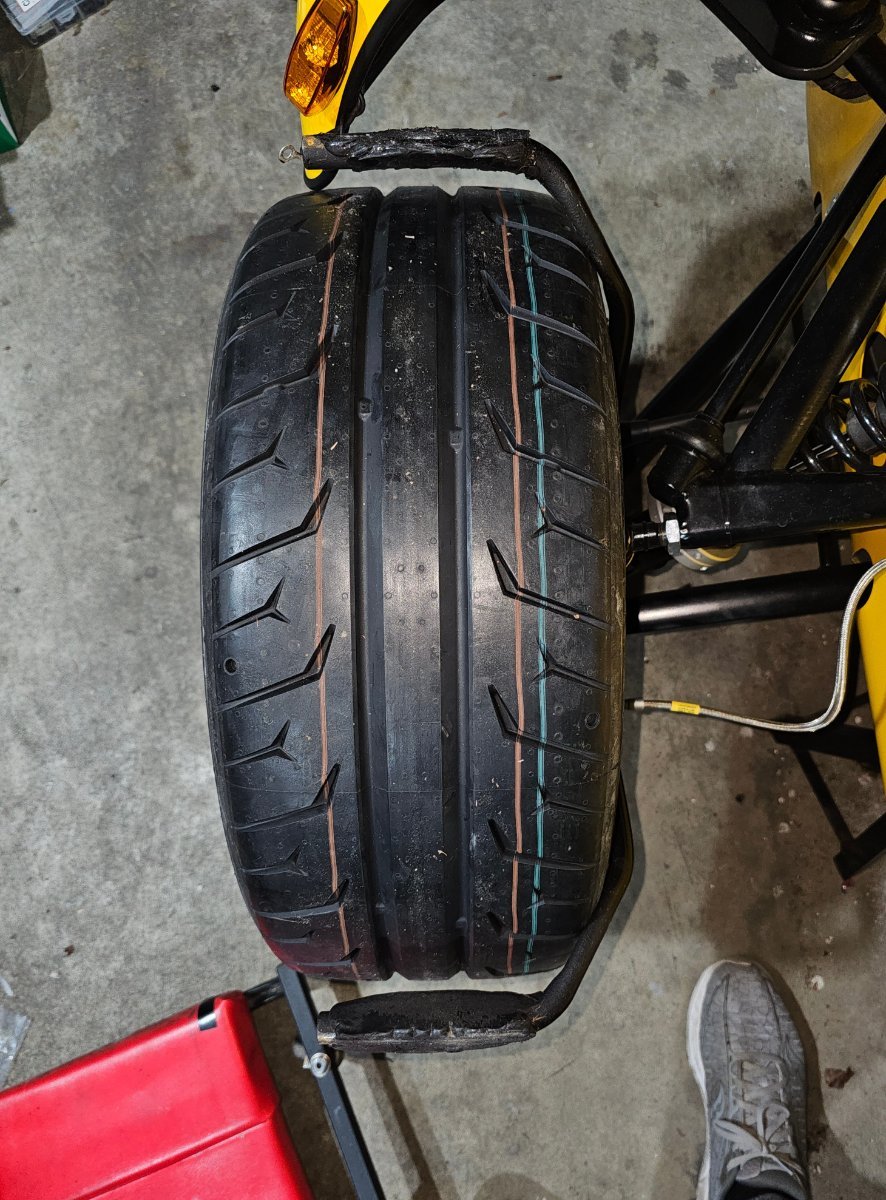
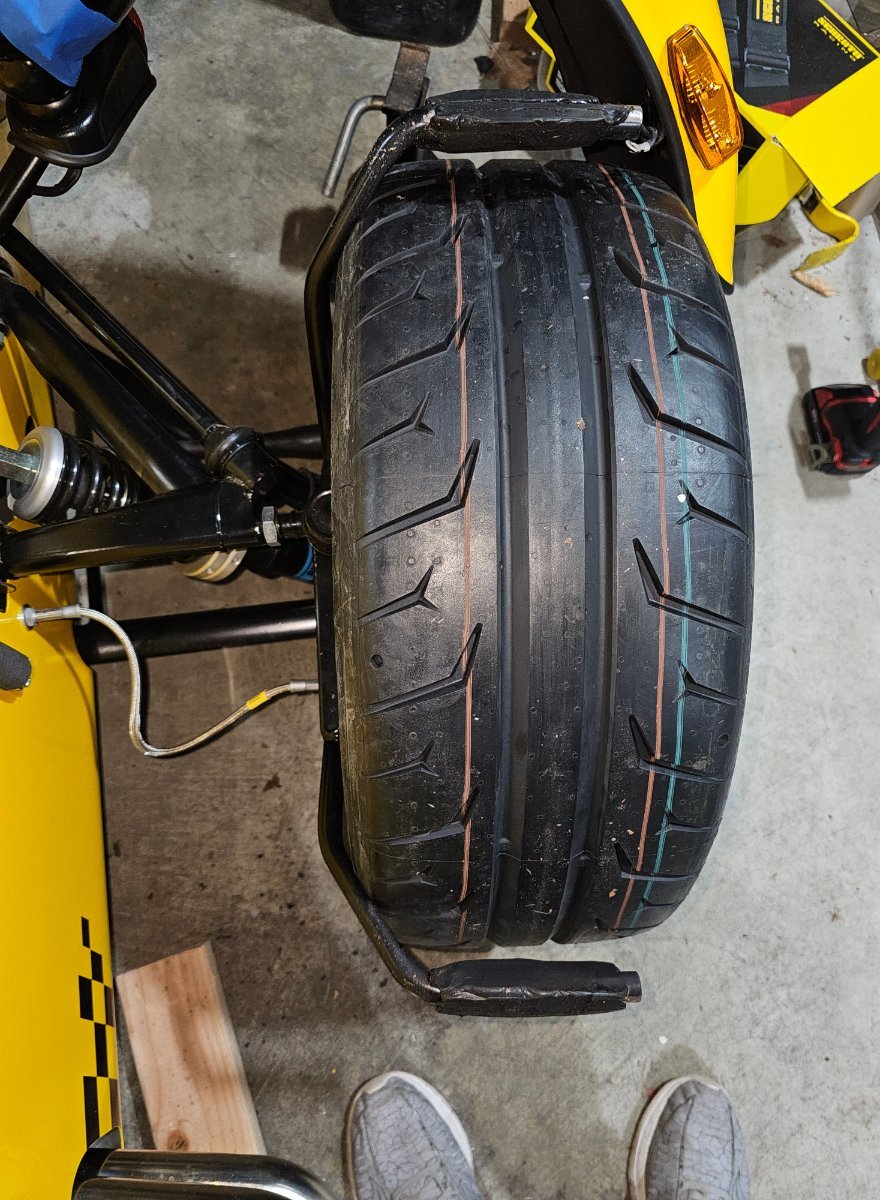
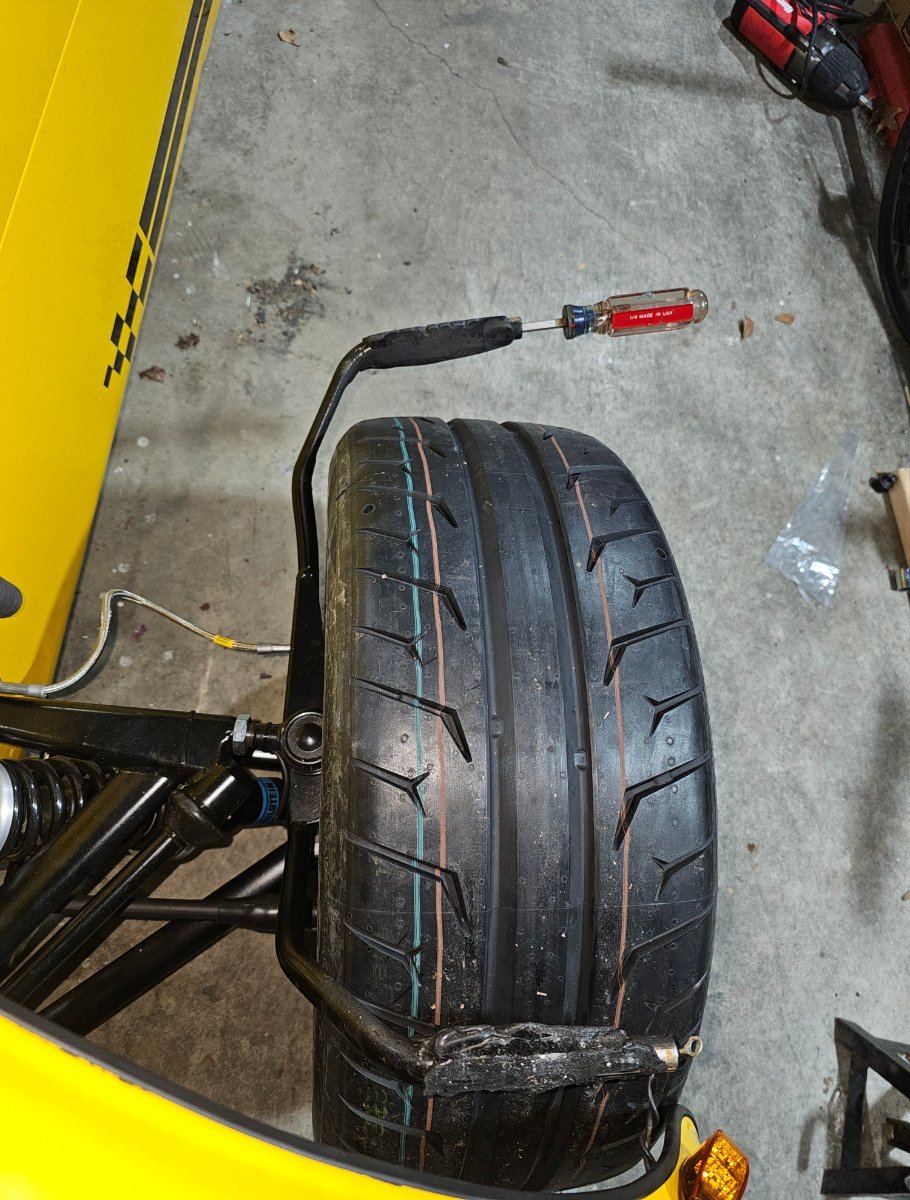
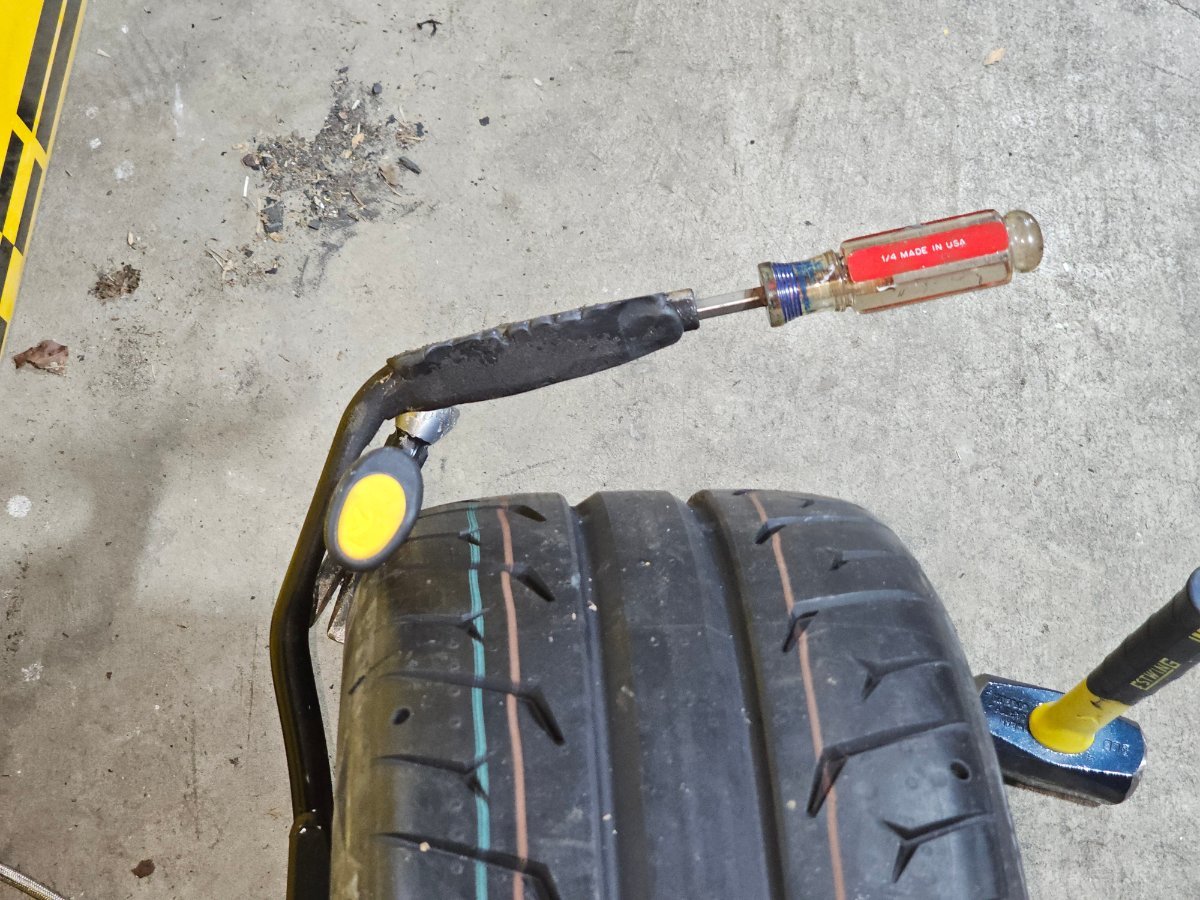
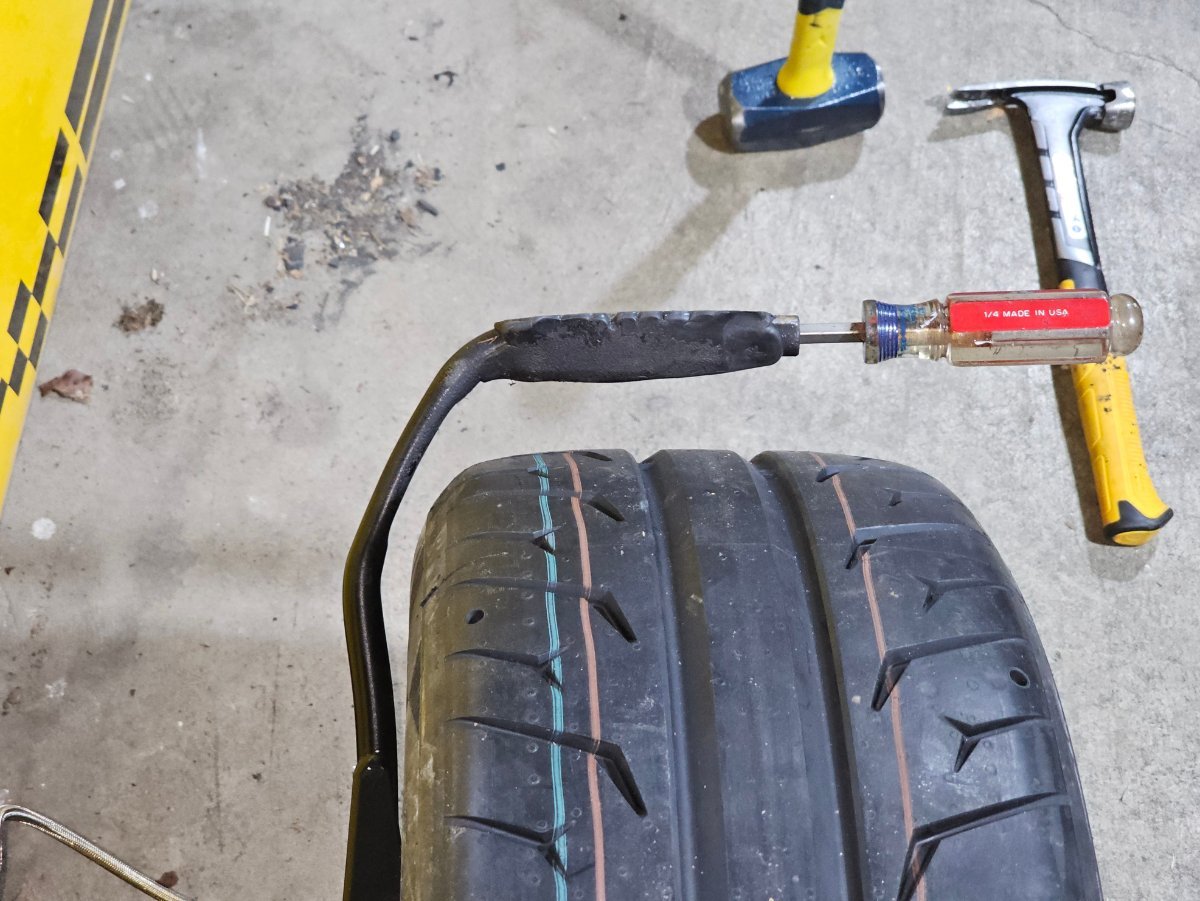
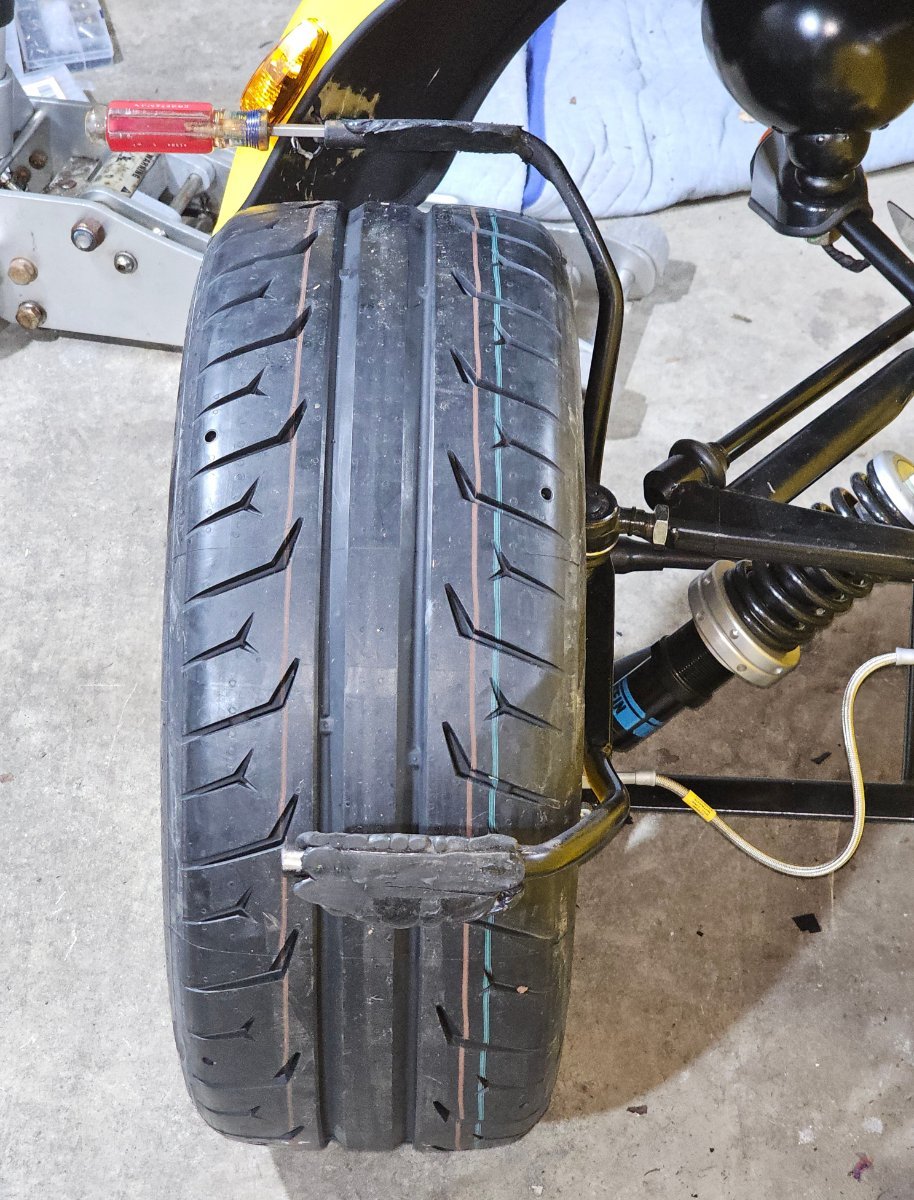
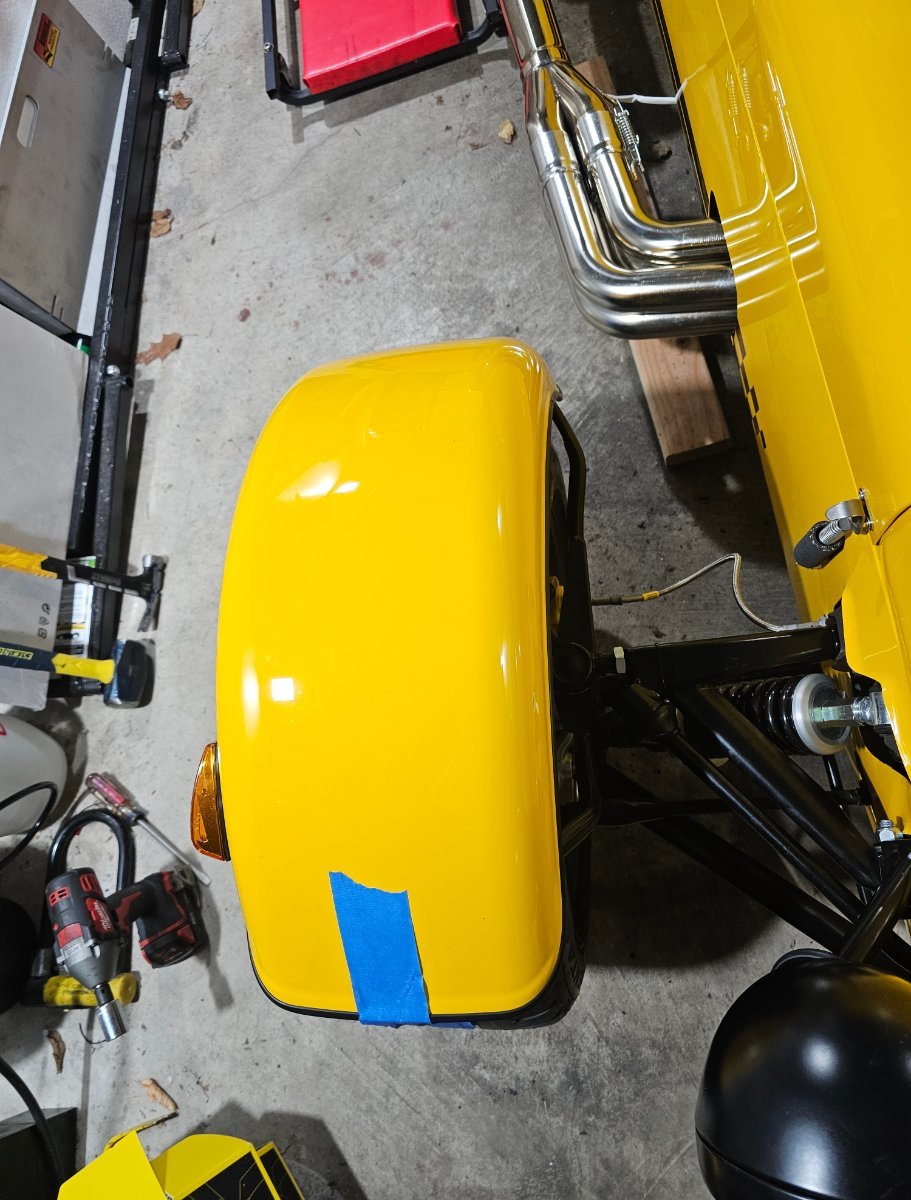
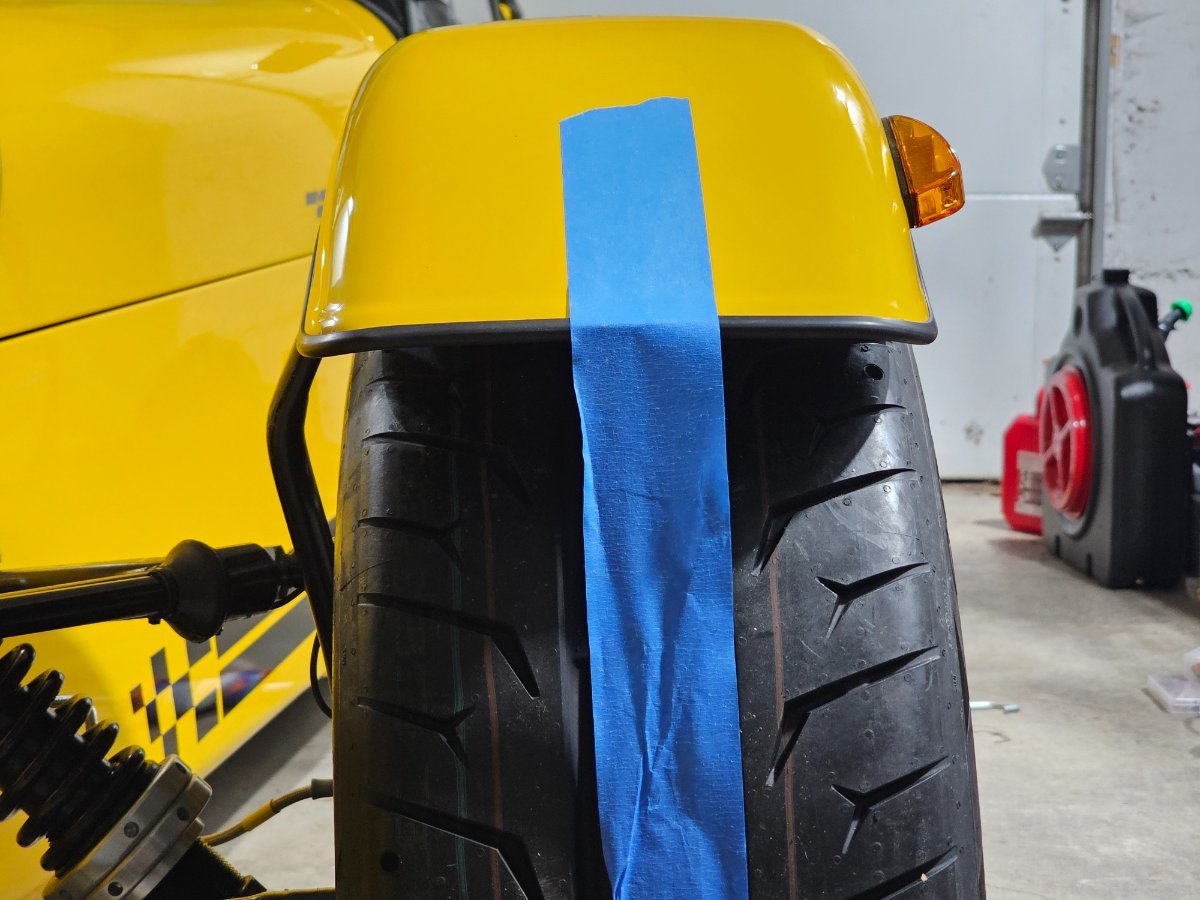
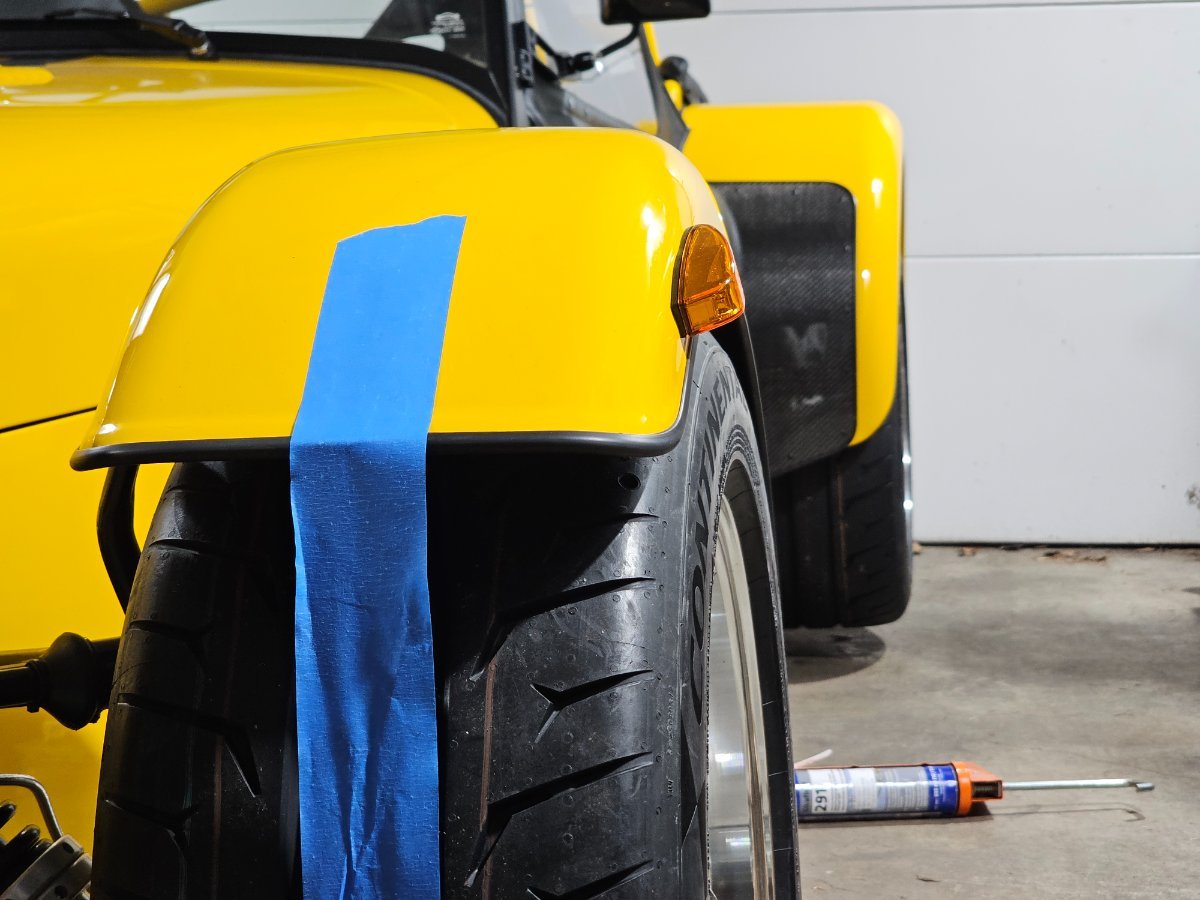
Had no fishing wire, razor wire, nor 007 watch-wire on hand. Tried a variety of tools, in the end this puddy knife made short work of the rubber adhesive from the factory. 5 minutes a side pushing / rocking side to side half a width of the puddy knife at a time to get under the adhesive. No knife required. Lots of contact Other side too Time to bend, didn't need more leverage than a thick screwdriver. Bend back down with a spacer, hit it with a hammer while pushing if needed for the rear stays since it's hard to lean on it. Bingo Do for the other 3 Added two bead layers extra Sikaflex 291 on top to make the stays a tad taller to clear the inside of the wing. Thought about cutting some holes to get it lower, but I think it's fine. Once those dried, I added another layer to adhere to the wings and slapped them on. Bing bango Bob's your cousin? I'll add a bunch more from the underside once this dries in place I made the wings slightly more inboard to help reduce side of car debris /things going into my face since the sidewall will stick out just a tad when perfectly centered. Still covers outer tread
-
I think that is the way to go, adding a washer/spacer on the knuckle connections doesn't seem like the greatest idea. Elongating the upper mount hole might work but then isn't centered. 15" I'll keep an eye on that for sure. I thought about this and decided bending would be faster, cheaper, and closer to the OEM scrub radius.
-
Maybe I finally get to buy a welder?? Or does someone sell wing stays for taller tires? I think it's the 50 profile that's killing me, 205/50 circumference is larger than 195/50 oops.