Timberline
-
Posts
63 -
Joined
-
Last visited
Content Type
Profiles
Forums
Store
Articles
Gallery
Events
Library
Everything posted by Timberline
-

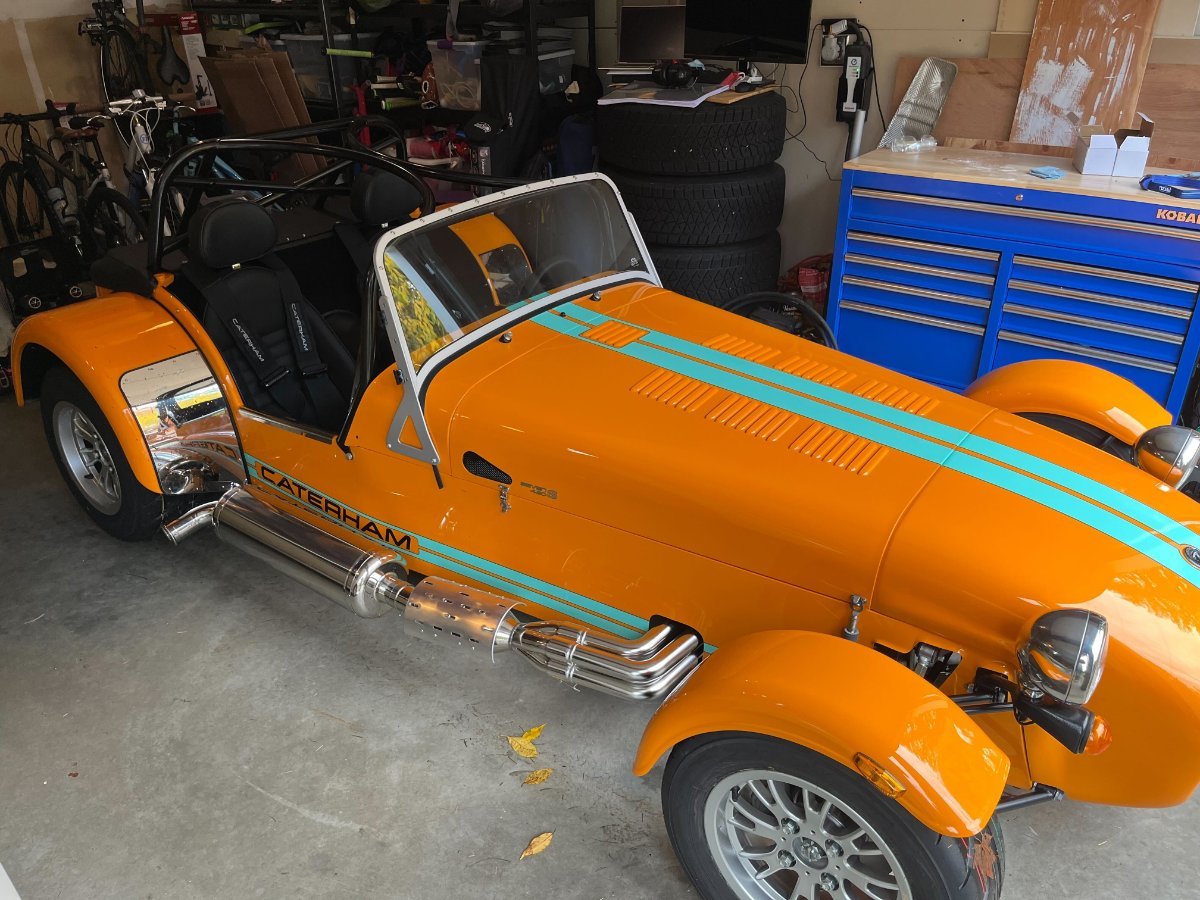
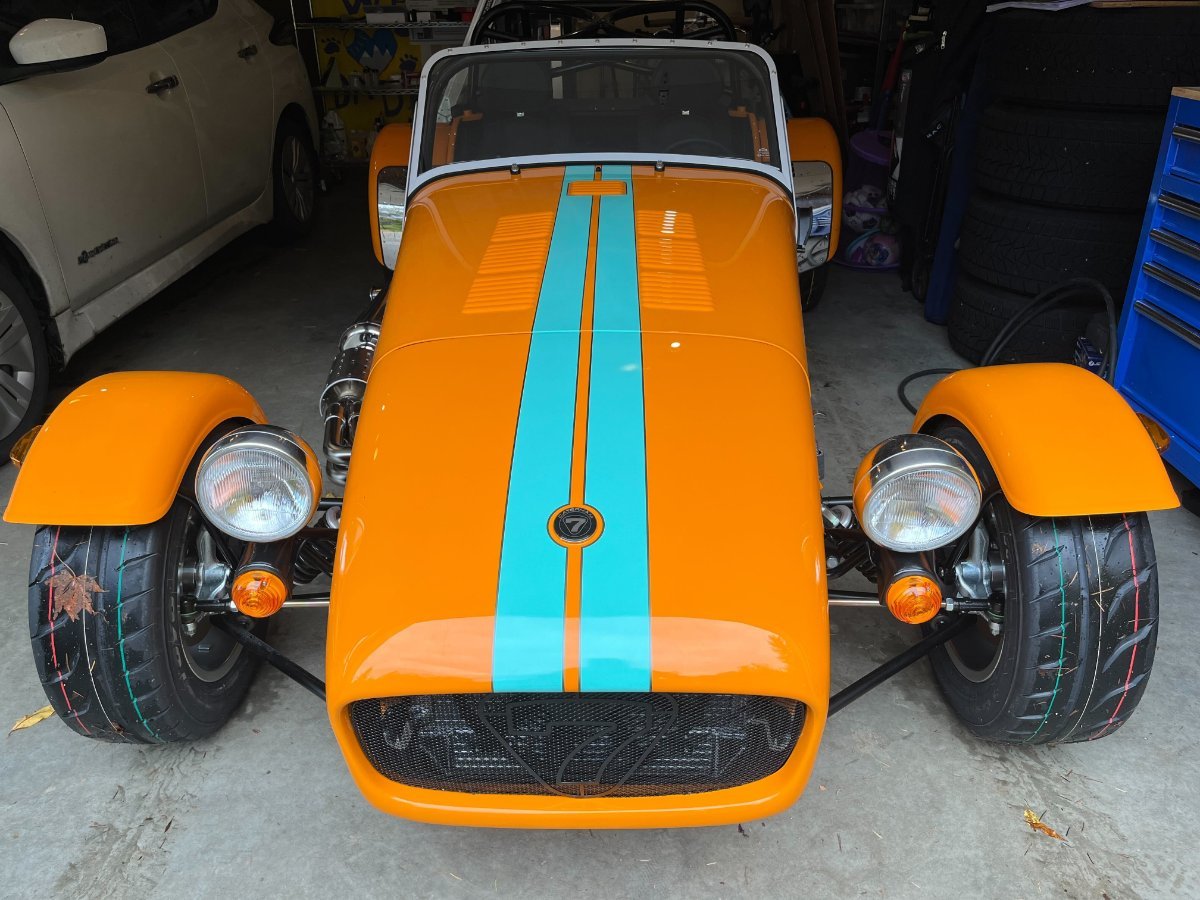
420S Rainy Season Build in Western Washington
Timberline replied to Timberline's topic in Build Threads
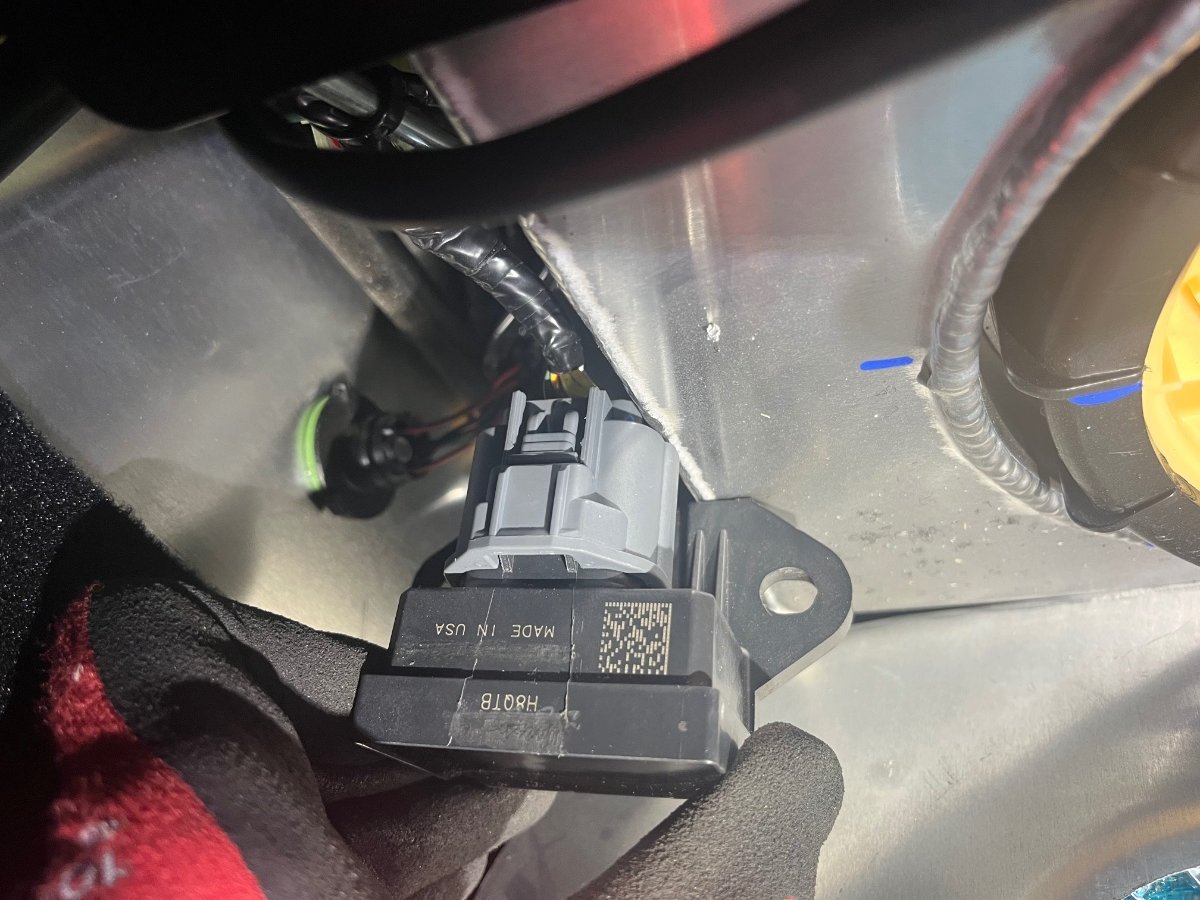
Quick question: what are these two connectors supposed to be used? I believe one is for the oil tank temp sensor which is currently not being used. They are harnessed really close, one is black, the other is double black/tan.
-
Sounds about right. The shapes are not the same as fabricated. Putting a big taper on the bolt and/or using pin punches are the tools for the job. That and a big mallet
-
The frame seems like a way for Caterham to fit different diffs and not change the chassis. It’s the same three big bolts in the frame as in the chassis, so I just copied the published torque values for both steps.
-
Just remembered though. If you are taking the frame off the diff, consider the washer shimming. I already had my shimming measured and figured out. I still think it’s a good idea to lift the assembly, figure out the shims, lower it, disassemble, then install the frame first. Because you are only messing with internal shims holding the light frame and not the heavy diff.
-
I had a little bit of drama with the diff, but it was totally on me. The two front bolts go into threaded inserts and I cross threaded one. Then I just kept after it and destroyed the bolt. I was so excited when I caught all the washers successfully. With how stupid I was being, it could have been a lot worse. Knowing that, no matter how wonky the fit is (and mine was really off) get the front bolts in straight first. The aft bolt takes a nut so you can beat the snot out of it and put a big taper on the threads to help with alignment and washer catching. Another option is to take the frame off of the diff and install that to the chassis first. It really made my installation easier. You should take the frame off anyways if you are wanting to paint all the bare surfaces. I did the floor jack method to support the diff. With the weight taken by the jack, it’s easy to position with someone else on the jack.
-
420S Rainy Season Build in Western Washington
Timberline replied to Timberline's topic in Build Threads
All I know of Caterham driving is 40 degree mist and showers. -
420S Rainy Season Build in Western Washington
Timberline replied to Timberline's topic in Build Threads
Just got the Caterham titled and licensed!!! Took the inaugural trip with plates to drive the kid to swim practice Driving to vehicle inspection, I had my first minor breakdown! Stopped for gas and car wouldn't start. No tick over, but the battery was charged fine. Turns out, I lost the nut off the starter signal wire. Holding it in place for starting got me on my way. Shout out to the civilian for pushing the starter button for me. @CatManDo Still haven't taken apart the connectors. Hopefully I get some time this week and will let you know what I find. -
420S Rainy Season Build in Western Washington
Timberline replied to Timberline's topic in Build Threads
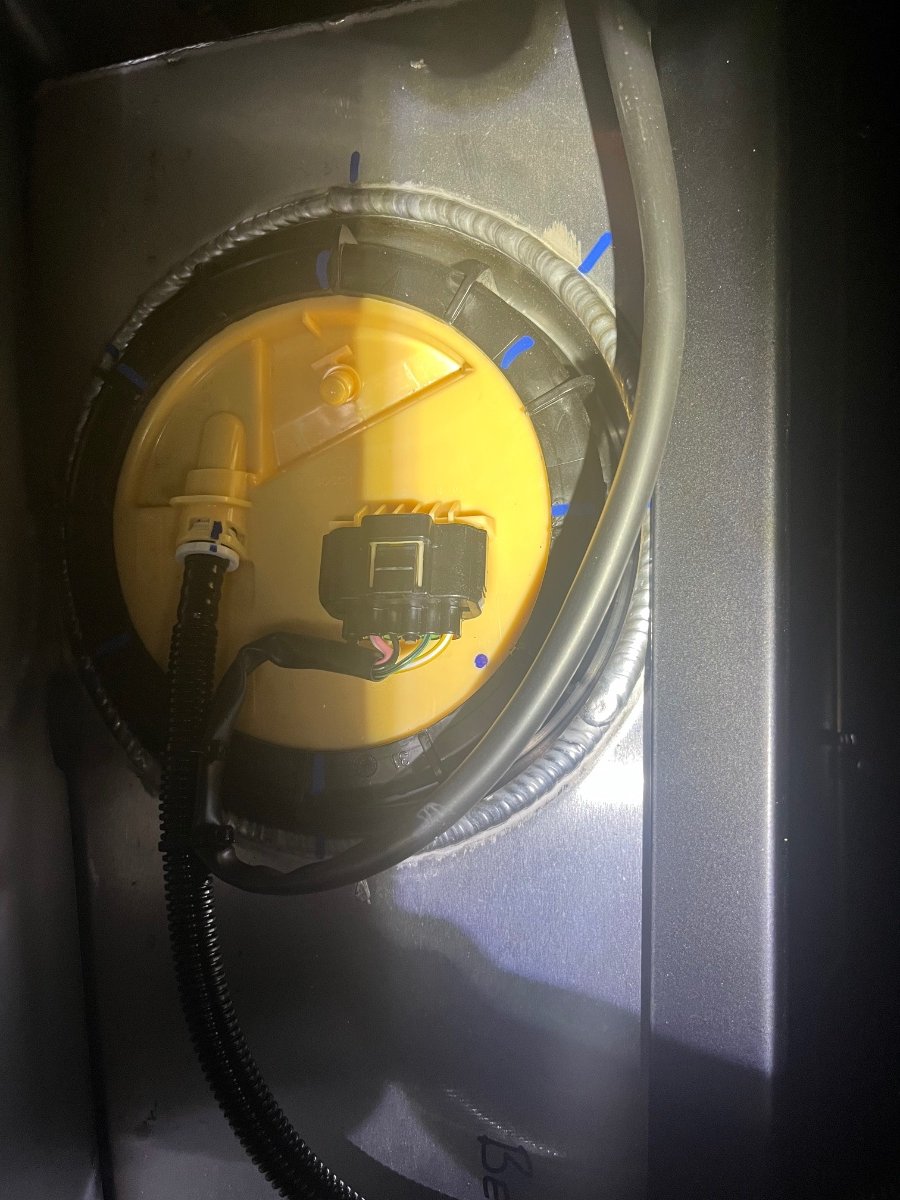
@CatManDo With the ignition off, checking at the dash between green/black and ground, I am seeing 0 V and actually getting 470 Ohms (tank is full now, so that might be right). With the ignition on, I am seeing 0.001 V (its repeatable positive and negative flipping the leads) and am seeing the 1.3 Mohms one way and no resistance with the leads flipped. I undid the zip ties at the back of the car to loosen the harnesses and connector at the tank. Struggling to get the connector apart because it's got a locking tooth on 3 sides So, no readings, but all the wires and colors are correct. -
420S Rainy Season Build in Western Washington
Timberline replied to Timberline's topic in Build Threads
So, I checked the green/black to ground at the gauge and got a massive resistance of 1.2 Mohms. When I checked it at the track it was the expected 220 ohms for a partially full tank. I think the wire got mixed up somewhere. Any stops along the way? I know it goes into a mystery unit back by the tank (fuel pump relay?) -
420S Rainy Season Build in Western Washington
Timberline replied to Timberline's topic in Build Threads
Anyone know what the signal wire is supposed to show at the gauge? Also, I've got four wires at the gauge. 12V and ground are obvious. Trying to figure out what the other two are supposed to be. Not getting any obvious resistance or voltage on them. -
420S Rainy Season Build in Western Washington
Timberline replied to Timberline's topic in Build Threads
Thanks for the wires! It’s so odd how they skipped pins. Six pin connector and they use 2,3,5,6. Anyways, got resistance of 220 ohms and lifted one side of the car and got 225 ohms. Mostly just a check for the float to be working. Working from there to the dash, where should I chase it next? -
420S Rainy Season Build in Western Washington
Timberline replied to Timberline's topic in Build Threads
Finally got around to taking the back apart to gain access to the fuel tank. Fuel gage does tick over now, but still no signal. The loom was not what I expected. Where should I check for the sensor resistance? Also, is there a way to completely remove the aft boot floor with the roll cage on? I have it most the way out and am super close to just cutting it in half to get it out. And lastly, I am getting engine oscillations at low rpm (about 200 rpm every couple seconds). Adjusting the idle higher makes it better, but then idle is too high. I really don’t know what I am doing. How do you adjust the throttle cable correctly on this car?
-
420S Rainy Season Build in Western Washington
Timberline replied to Timberline's topic in Build Threads
Small question for a rainy day: has anyone else had to trim their windshield wipers? Both of mine are about 1/2 inch too long and hit the top and side of the windshield trim. I am planning on trimming them, but would like some reassurance. -
420S Rainy Season Build in Western Washington
Timberline replied to Timberline's topic in Build Threads
Literal blood, sweat, and tears -
420S Rainy Season Build in Western Washington
Timberline replied to Timberline's topic in Build Threads
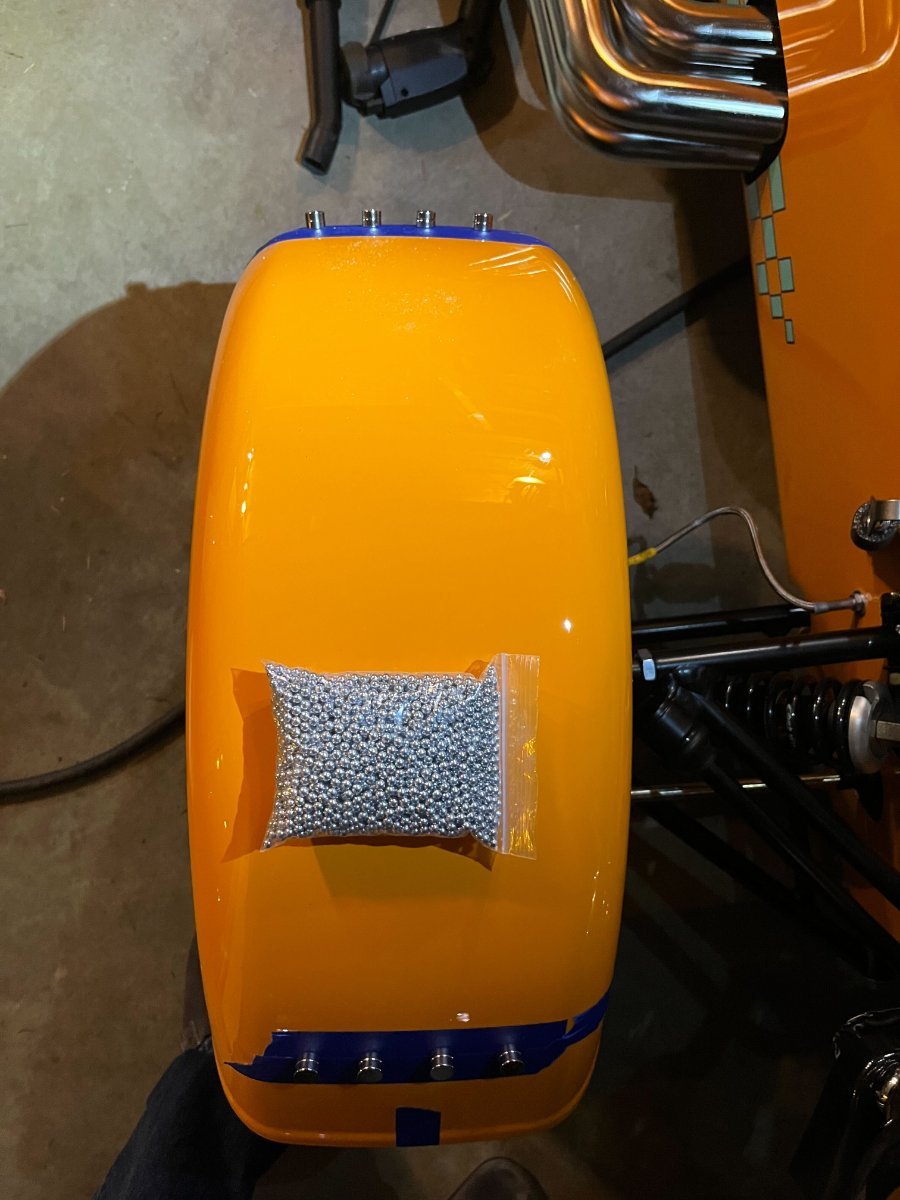
Nope. Borrowed the magnets from a friend. Though I did shatter one... maybe I should find them a replacement... Lots of caution was needed as they could do damage. I did all the magnet handling on the other side of garage and stuck stacks to a shelf. That was when I broke one. Snapped my fingers a bunch of times too but I think it was worth it for the bond clamp up. -
420S Rainy Season Build in Western Washington
Timberline replied to Timberline's topic in Build Threads
Next thing I need to look at is steering connection and direction. I did a couple turn adjustment after my first drive to get the wheels closer to neutral, nothing fancy. I was happy with the shake down drives after that. However, this last drive, I started to notice steering center drift. I ended the drive with center on the steering wheel moving about 10 degrees to the side. Everything still feels connected, but I am very concerned and need to fix this before driving again. Any ideas on this would be much appreciated. -
420S Rainy Season Build in Western Washington
Timberline replied to Timberline's topic in Build Threads
I wanted to share my bond process as maybe it'll help out another builder. I did go with the M3 08115, there is no substitute for a dedicated 2 part adhesive. Good bonds are ones that have constant clamping force applied during cure, so I went with a different securing method: A couple pounds of shot over the wheel center was a feel good (a lot like the tape method), but the rare earth magnets directly over the wing stays were great. They applied a bunch of clamp up right where it was needed. This method really frees up other options because you can do it on the ground or can remove the wheels (taking care about wheel center). One thing I didn't like after getting too far into the process was cure temperature. It was 40s and 50s during the cure. Technically its okay by 3M, but I did hit all the adhesive with a heat gun initially and after 12/24 hours. If they fail, I'll just blame it on the temps, definitely not my methods... I was able to drive around with the magnets in place after 24 hours. Note: the sound of one sliding over and snapping to another while driving was a horrible sound!
-
420S Rainy Season Build in Western Washington
Timberline replied to Timberline's topic in Build Threads
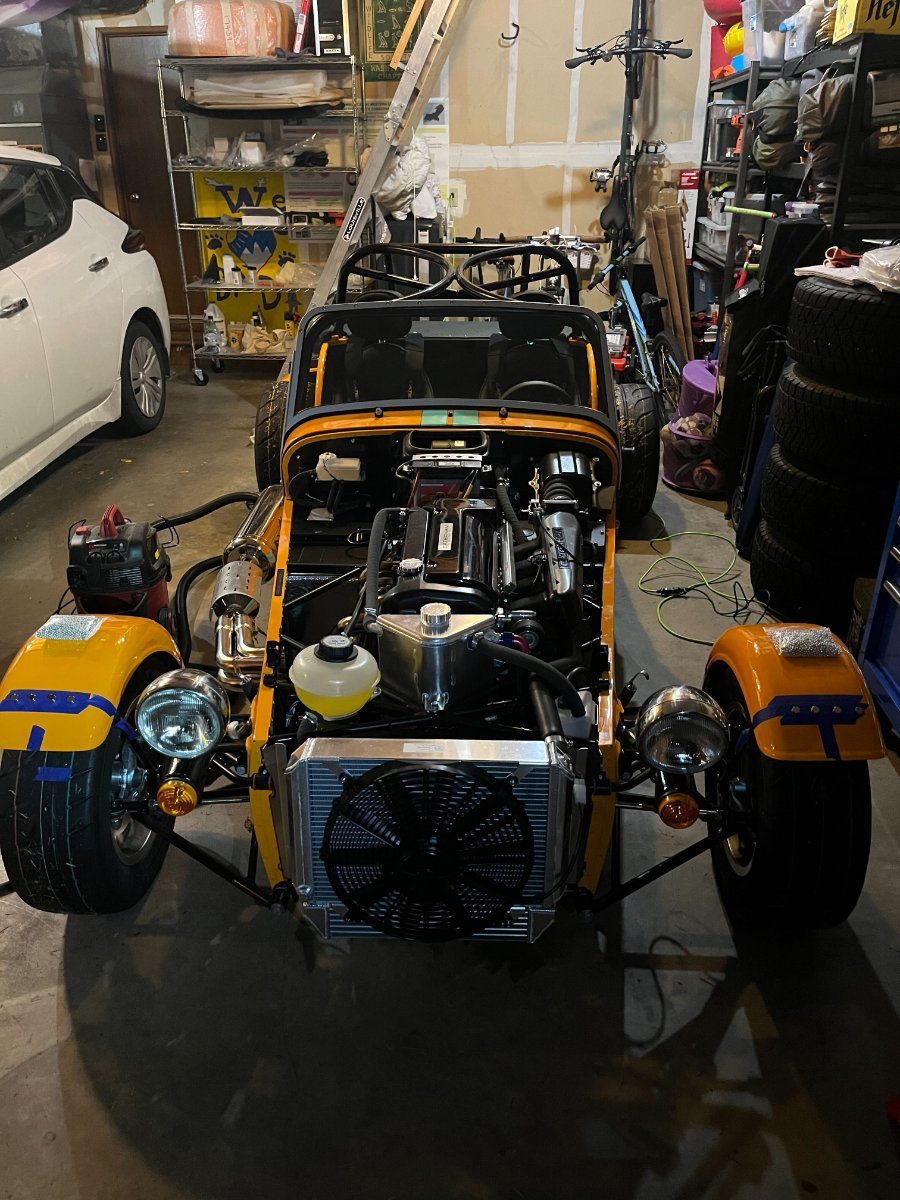
Catch up post on the build. Went out for another shakedown drive with all lights and fenders. Many fewer rocks in the seats this time!
-
420S Rainy Season Build in Western Washington
Timberline replied to Timberline's topic in Build Threads
Thanks! I threw 8-9 gallons in for the engine start, so I can rule out a couple of those. Will start tracking the wires and looking for signal. -
420S Rainy Season Build in Western Washington
Timberline replied to Timberline's topic in Build Threads
Chugging along! Went for another drive today around the block with the front wings installed. Odometer ticked over to 000001. Celebrated the occasion by putting on the nose cone. Made a couple minor scratches to the paint. That is amazingly easy to do, thankfully they are in covered places. I've been ignoring this issue, but my fuel gauge doesn't come on, shows nothing. Is there a connector I am supposed to connect somewhere for this...? -
420S Rainy Season Build in Western Washington
Timberline replied to Timberline's topic in Build Threads
The build guide gives no indication for orientation either. In fact, the build guide rarely touches any of the harnessing, routing, or connectors. I wonder what they provide their builders for instructions…? -
420S Rainy Season Build in Western Washington
Timberline replied to Timberline's topic in Build Threads
Thankfully, flipping the fan over is a 10 minute job (with no nose installed). I did take a minute to deburr the cutout edges and add a wrap of electrical tape to the wires. After all that, I like it better on that side -
420S Rainy Season Build in Western Washington
Timberline replied to Timberline's topic in Build Threads
I misspoke. “Optional” was the word I was looking for. Can’t argue with a working solution -
420S Rainy Season Build in Western Washington
Timberline replied to Timberline's topic in Build Threads
@CBuff your pictures were so awesome getting me situated and routed. I followed your fan orientation, but think it may be upside down. Following @JohnCh advise, flipping the fan over puts the connector driver side. Connection and routing is shorter and feels way better just did it tonight! -
420S Rainy Season Build in Western Washington
Timberline replied to Timberline's topic in Build Threads
Another question because I am not mentally prepared for this. What adhesive did you all use for the front wings? Something states side.