
CarYenta
-
Posts
113 -
Joined
-
Last visited
Content Type
Profiles
Forums
Store
Articles
Gallery
Events
Library
Everything posted by CarYenta
-
I'll never know for sure, but I had been playing so much with the suspension I think I left something loose, the car snap oversteered faster than I could ever imagine and I couldn't catch it. Either way it's entirely my fault, not the concrete wall's fault. Wasn't even speeding! Frame is bent, cracked front and rear, all cross beams have a bend in them. Drivetrain, cooling, supercharger, interior is perfect other than the LSD probably. Bruce quoted a new frame. Hagerty Fixed Price has me covered, thank goodness! I've spent so long on this car I can't fathom putting it back together again and then crashing 600 more miles down the road. If I lived by the caterham factory, that would be a different story.
-
I am! Took about 2 months to recover the bruised ribs but made it out. The Schroth belts were ace and I didn't hit my head on the roll cage, thank you lowered floors.
-
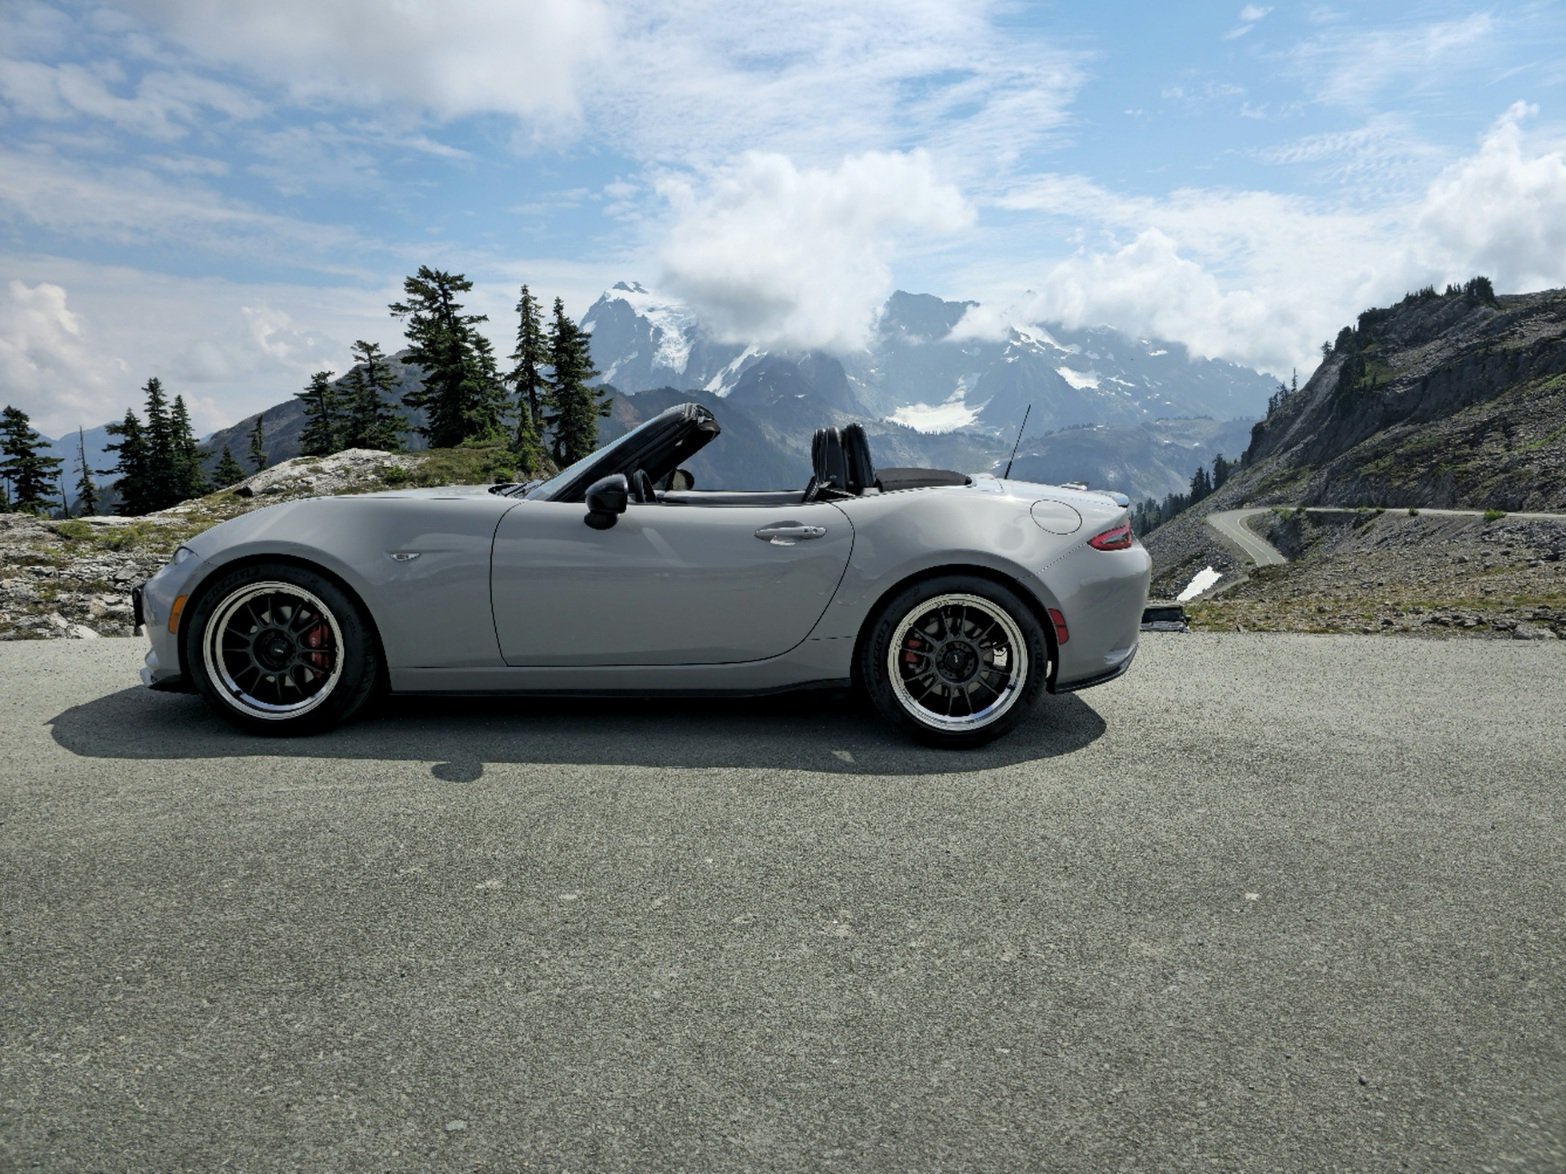
Welp, this is sadly the end of my Caterham road, 650 miles in. If anyone wants to buy my brand new with box, never installed MCS custom 3-ways with long enough reservoir dry breaks to reach the cabin interior, let me know! I have schematics, details, and contacts at MCS who invested a lot of time to get it right. I am most bummed about not being able to try those out. Will post all the aftermarket things on marketplace in the near future. Watch copart for a great deal. Back to my Miata

-
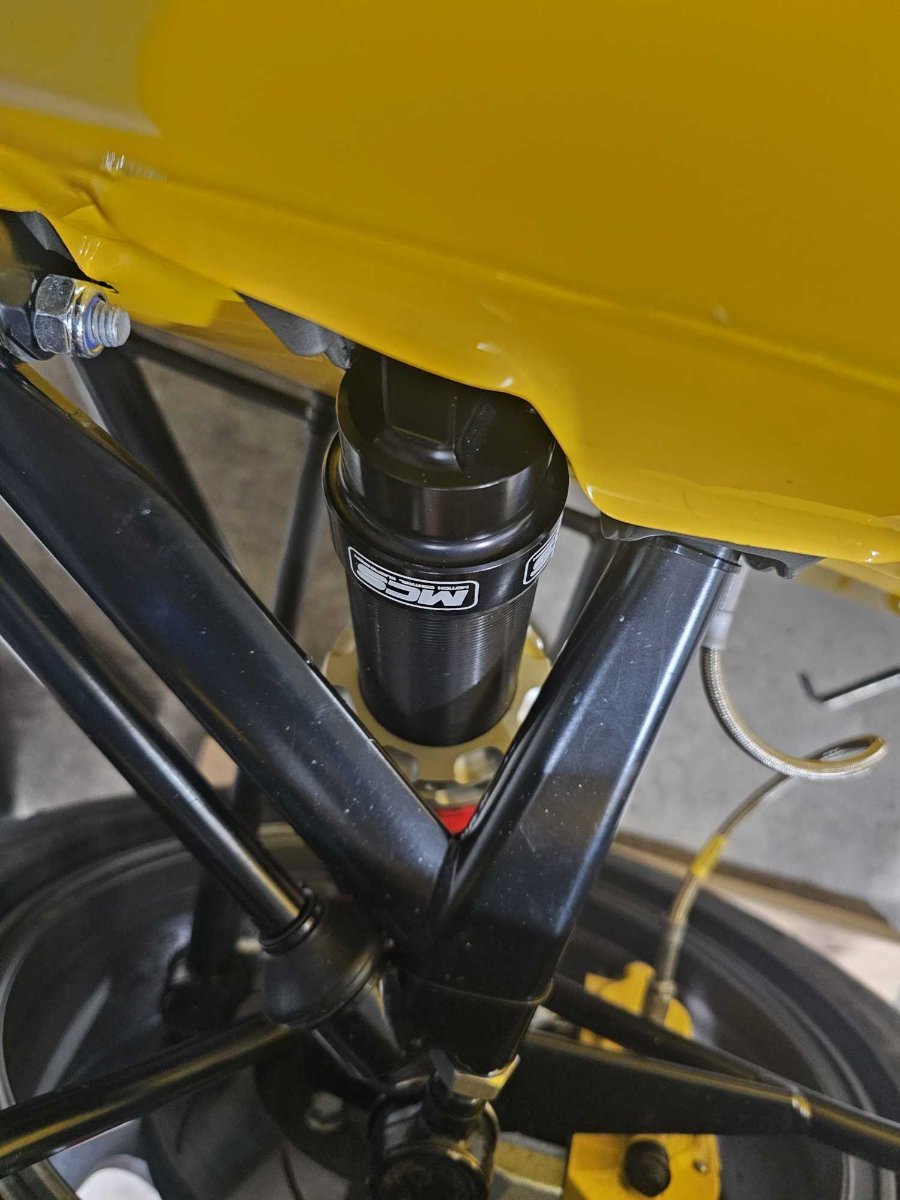
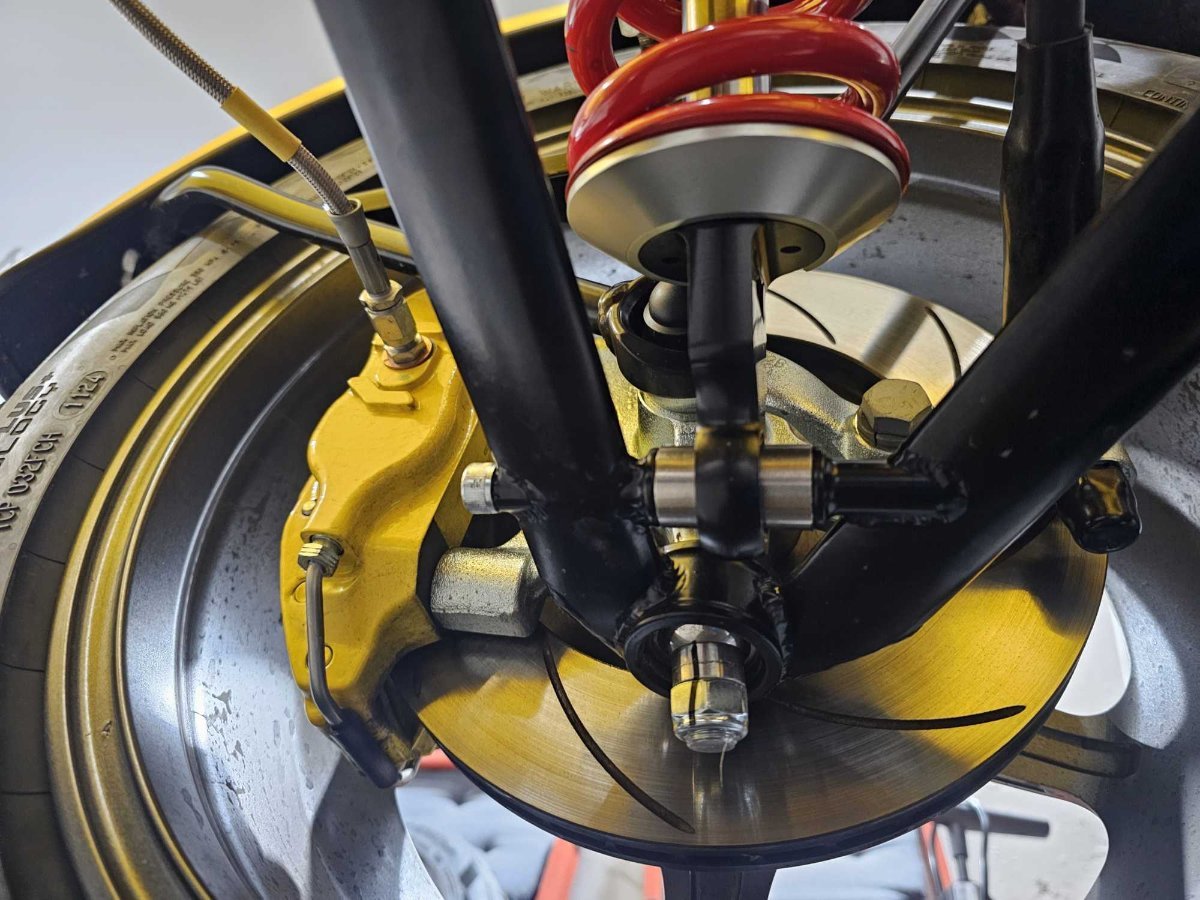
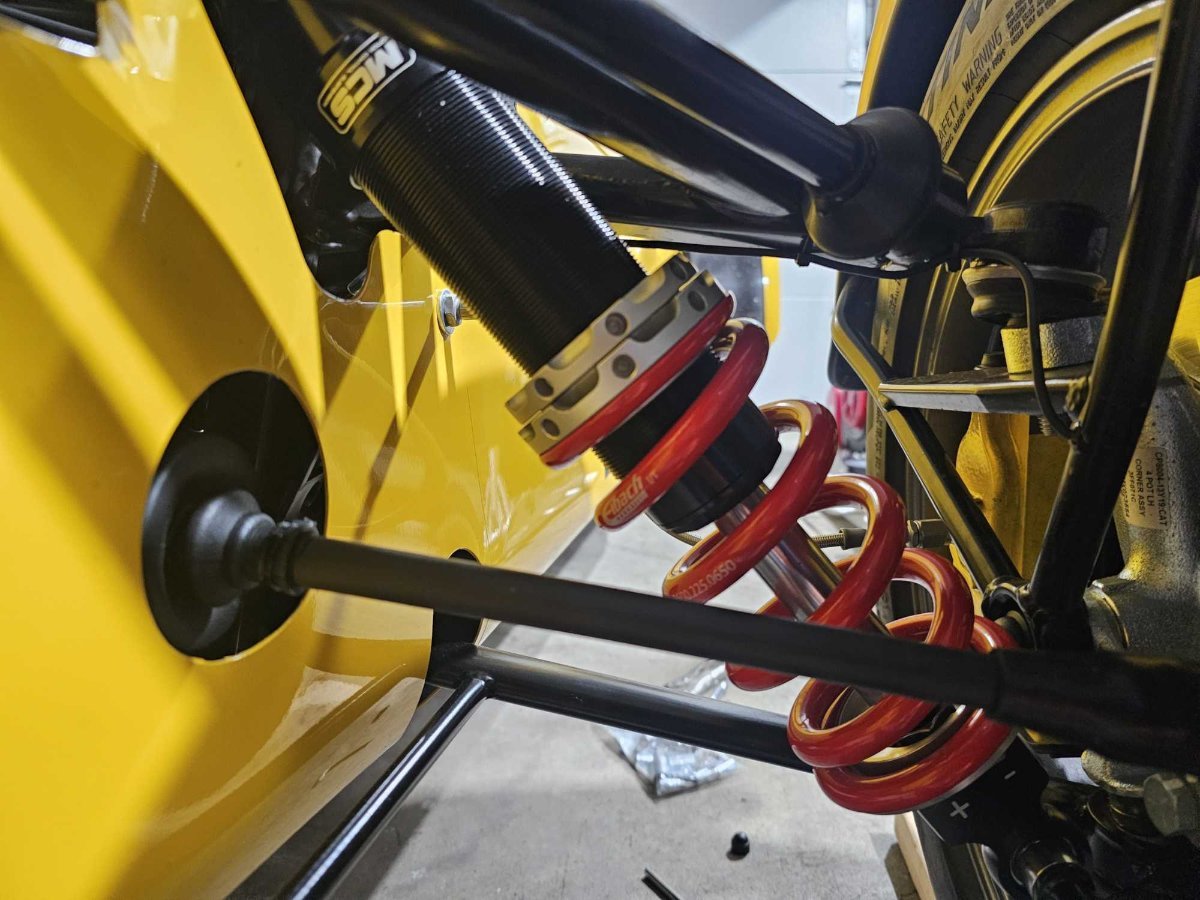
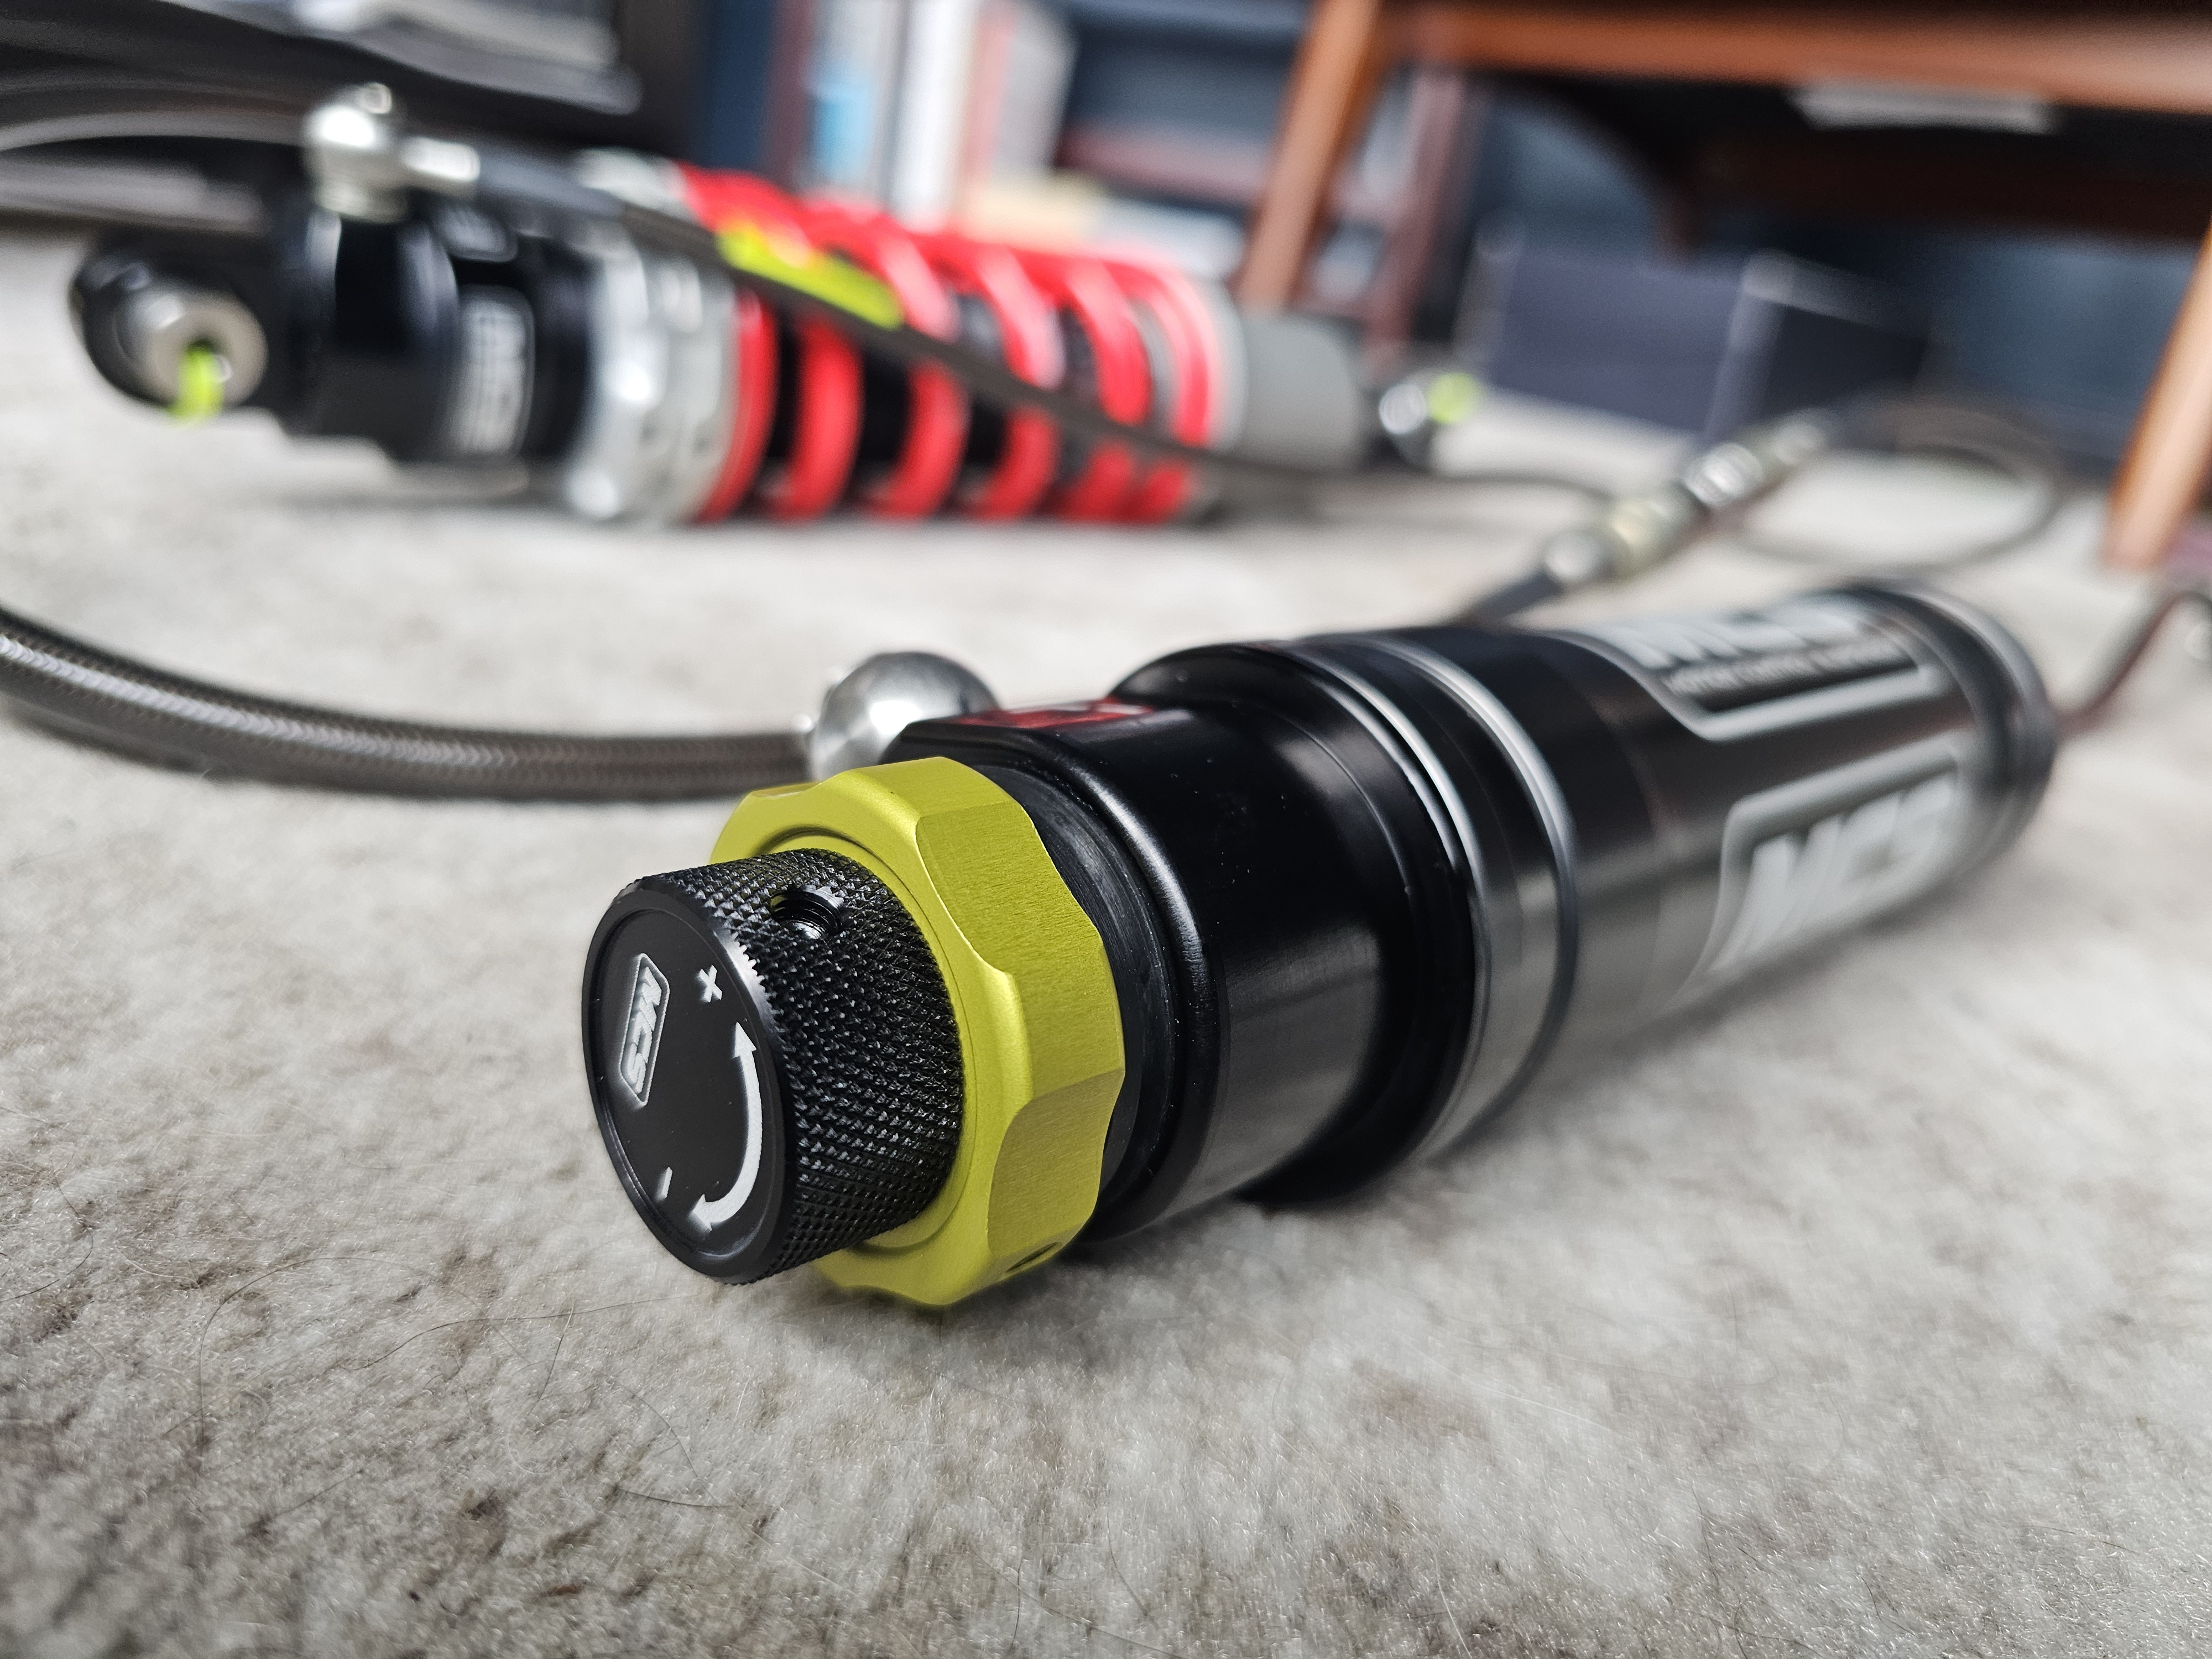
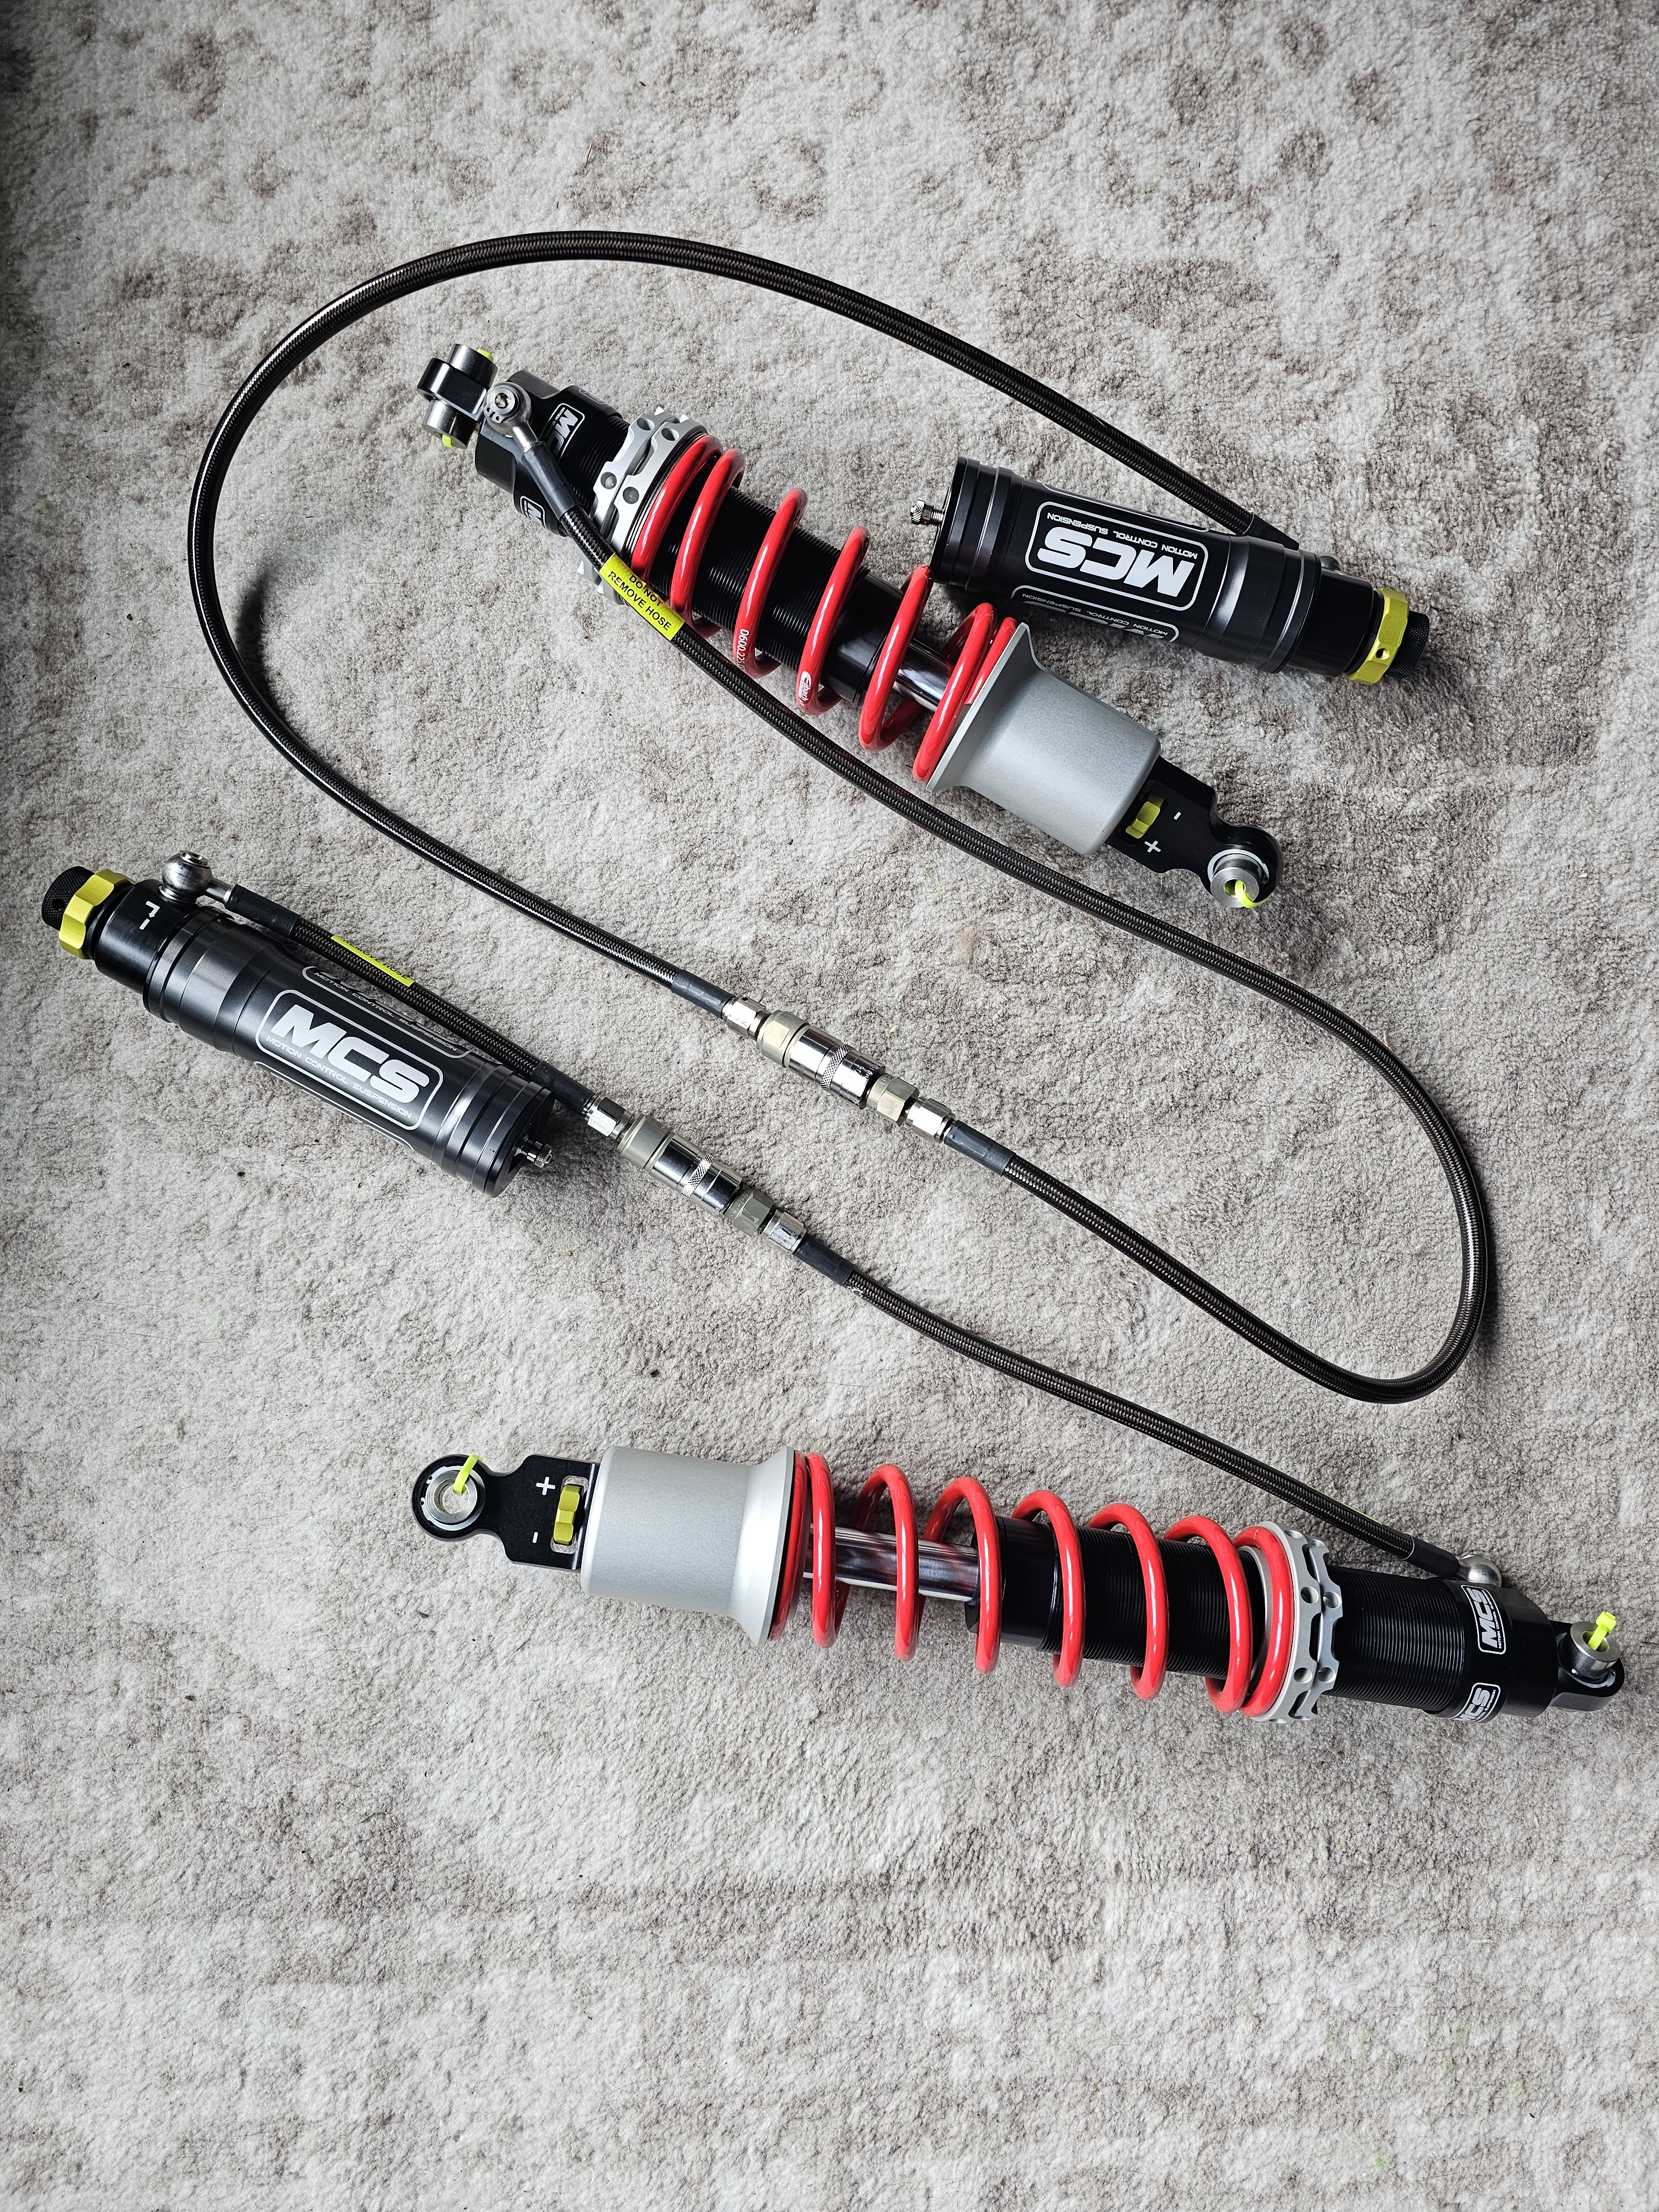
MCS has arrived! They're beautiful. The knobs are so high quality I feel like I should stretch before twisting them lol. Unfortunately, the car had an off so I cannot install them until that is sorted out. More on that later 😭 Here's a front and a rear
-
Drove the car around more with the new camber. It's a bigger difference than I initially realized, there is way way more front end grip! Steering is heavier since there's more contact patch I presume, but the grip is huge.
-
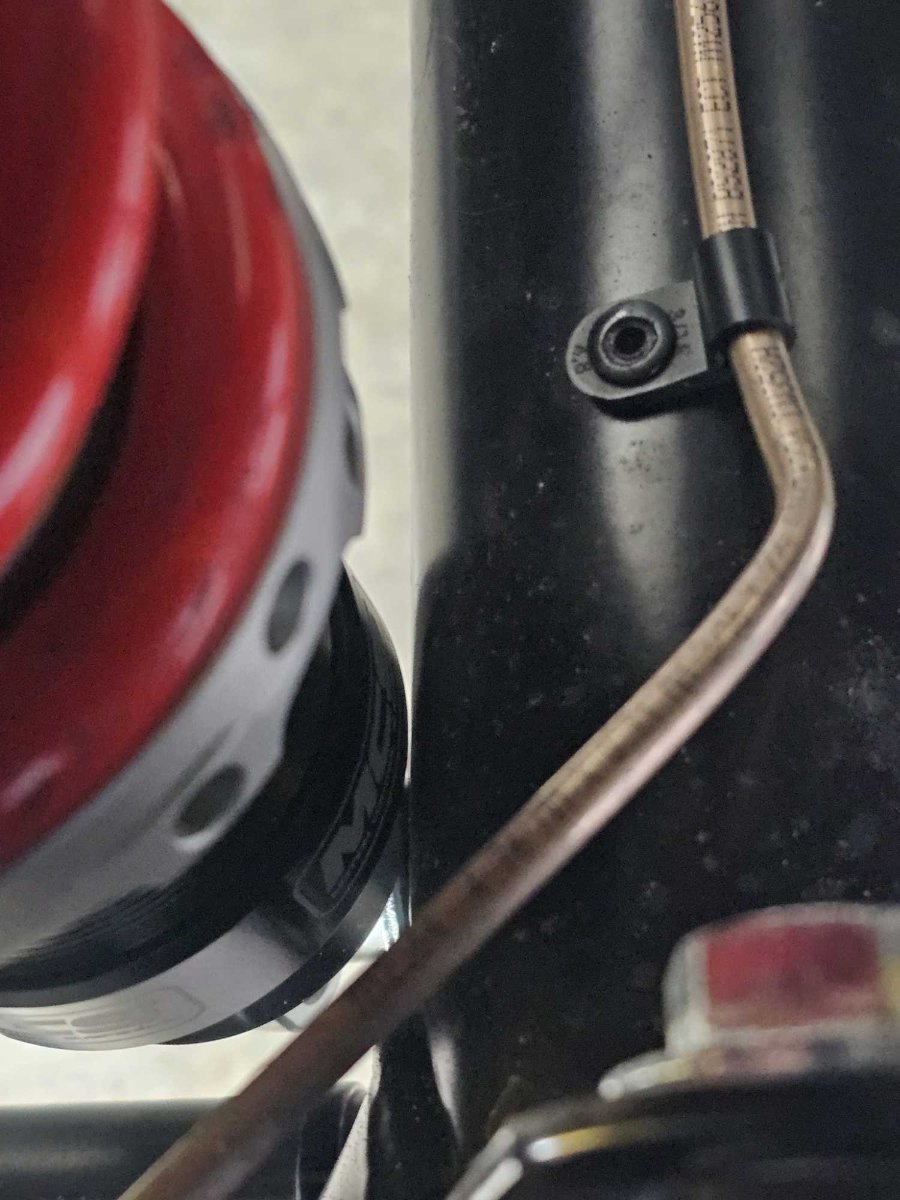
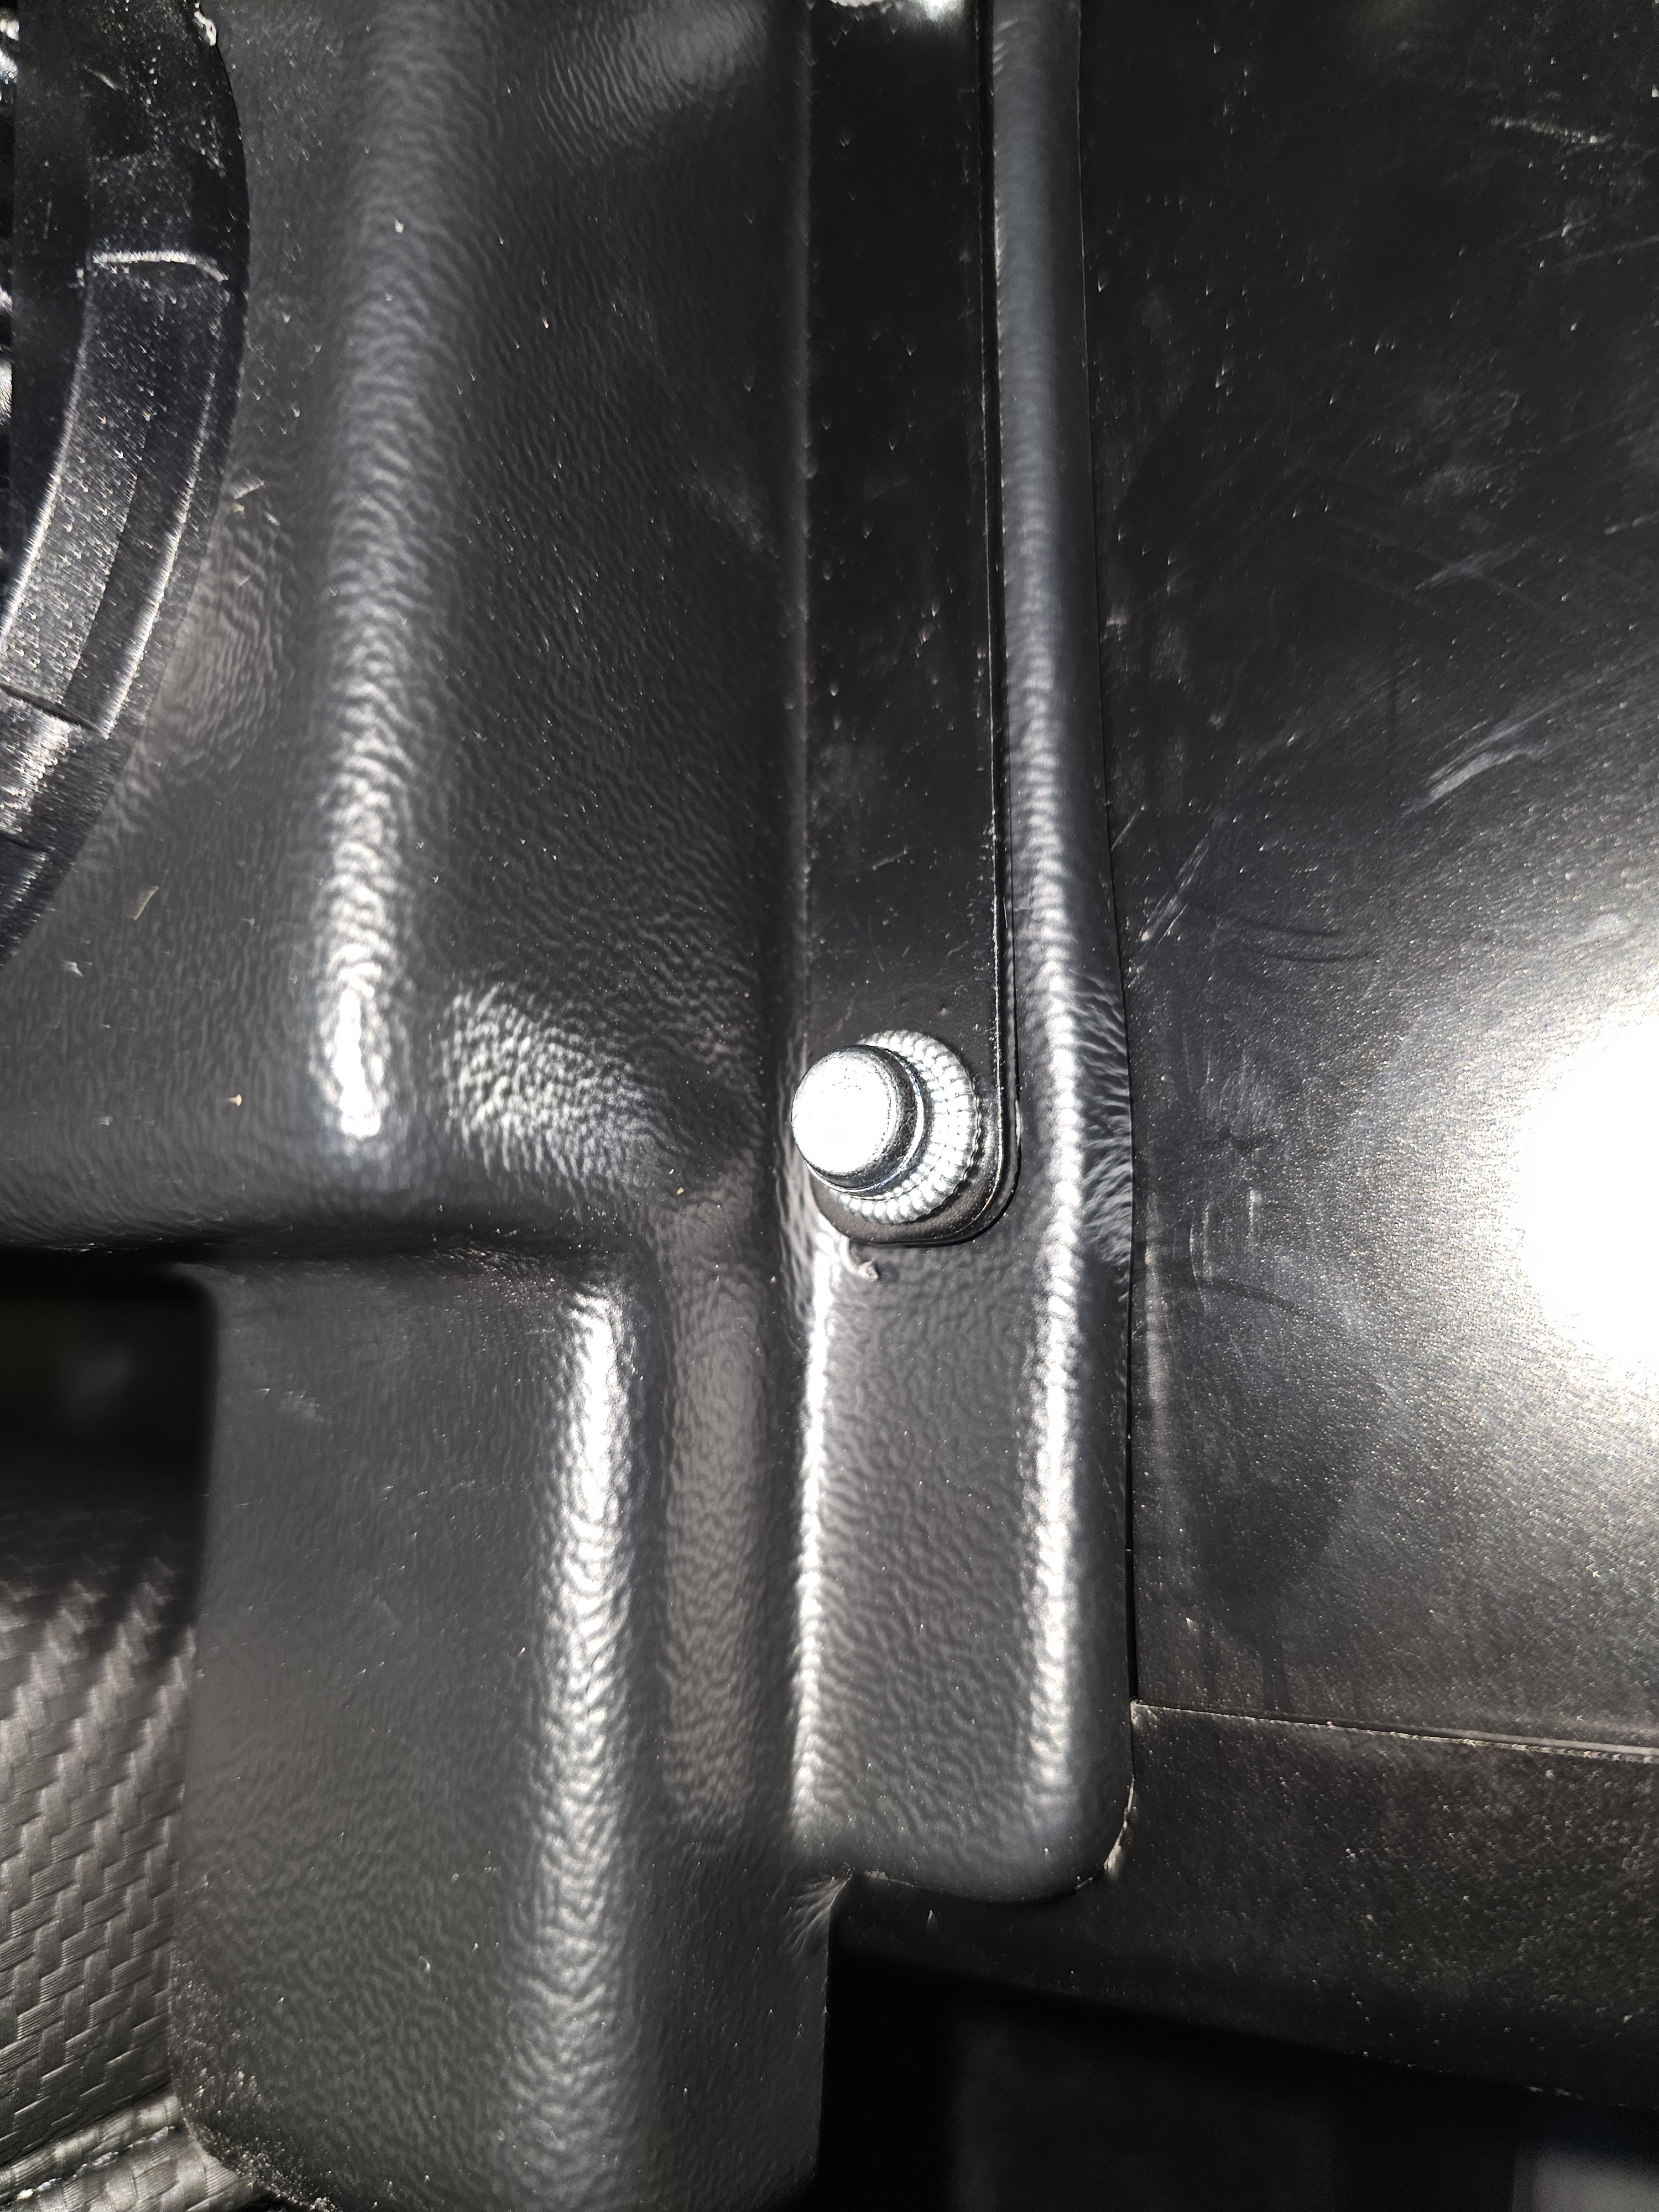
Oh wow thank you! I'm glad I asked, I didn't realize that was sticking out in the engine bay right there, was already installed in my roller so haven't futzed with it yet.
-
20260329_105043_exported_stabilized_1774827969703~2.mp4 Test drive to get the alignment straight and ended up being snowed upon by flowers With -2-2.25 degrees front camber instead of -4, the car still corners great but if you come in hot where you'd expect understeer, the dynamic is now grippier progressive and less sudden loss of everything. The car wants to turn a bit less, however. It feels more stable on the highway which I prefer. With the MCS 250 lb springs this should be about correct I think. Far less crazy looking now^^ Now if only I could find where this ridiculous rattle is coming from. It seems nearest to the heater core. Unfortunately the heater core is riveted in with some fancy type of maybe rivet. Are these required to be drilled out to remove I assume? Can regular old rivets go in their place?
-
Got it, wow! Wish I had those this morning.
-
Oh neat! Removable bolt is nice. Maybe I don't understand fully still, the rose joint part (this is the tapered part I assume you described?) still needs to be broken away from the upright?
-
I don't understand, those appear to also require removal from the upper wishbone and need to be rotated 360 degrees just the same to move inward or outward? Maybe you mean to say the thread pitch is 1/2 that of stock? I like that the upper portion has a place to keep the spherical bearing from rotating, that would save some putzing with an open end wrench and allow a socket to tighten. Does Bruce stock these?
-

New Sales Model - Caterham in the USA
CarYenta replied to BruceBe's topic in General Sevens Discussion
$4500 is an incredible deal if you don't want to wrench it yourself. I spent several hundreds of hours faffing around getting mine up and running. There's a lot of specific 620 things that aren't in the manual. -
New Sales Model - Caterham in the USA
CarYenta replied to BruceBe's topic in General Sevens Discussion
That might be for tax? Fear not, Bruce will know! Mine was shipped in a shared container with another, so engine + car in one box. I paid about $8335 for shipping plus $733 in tax. -
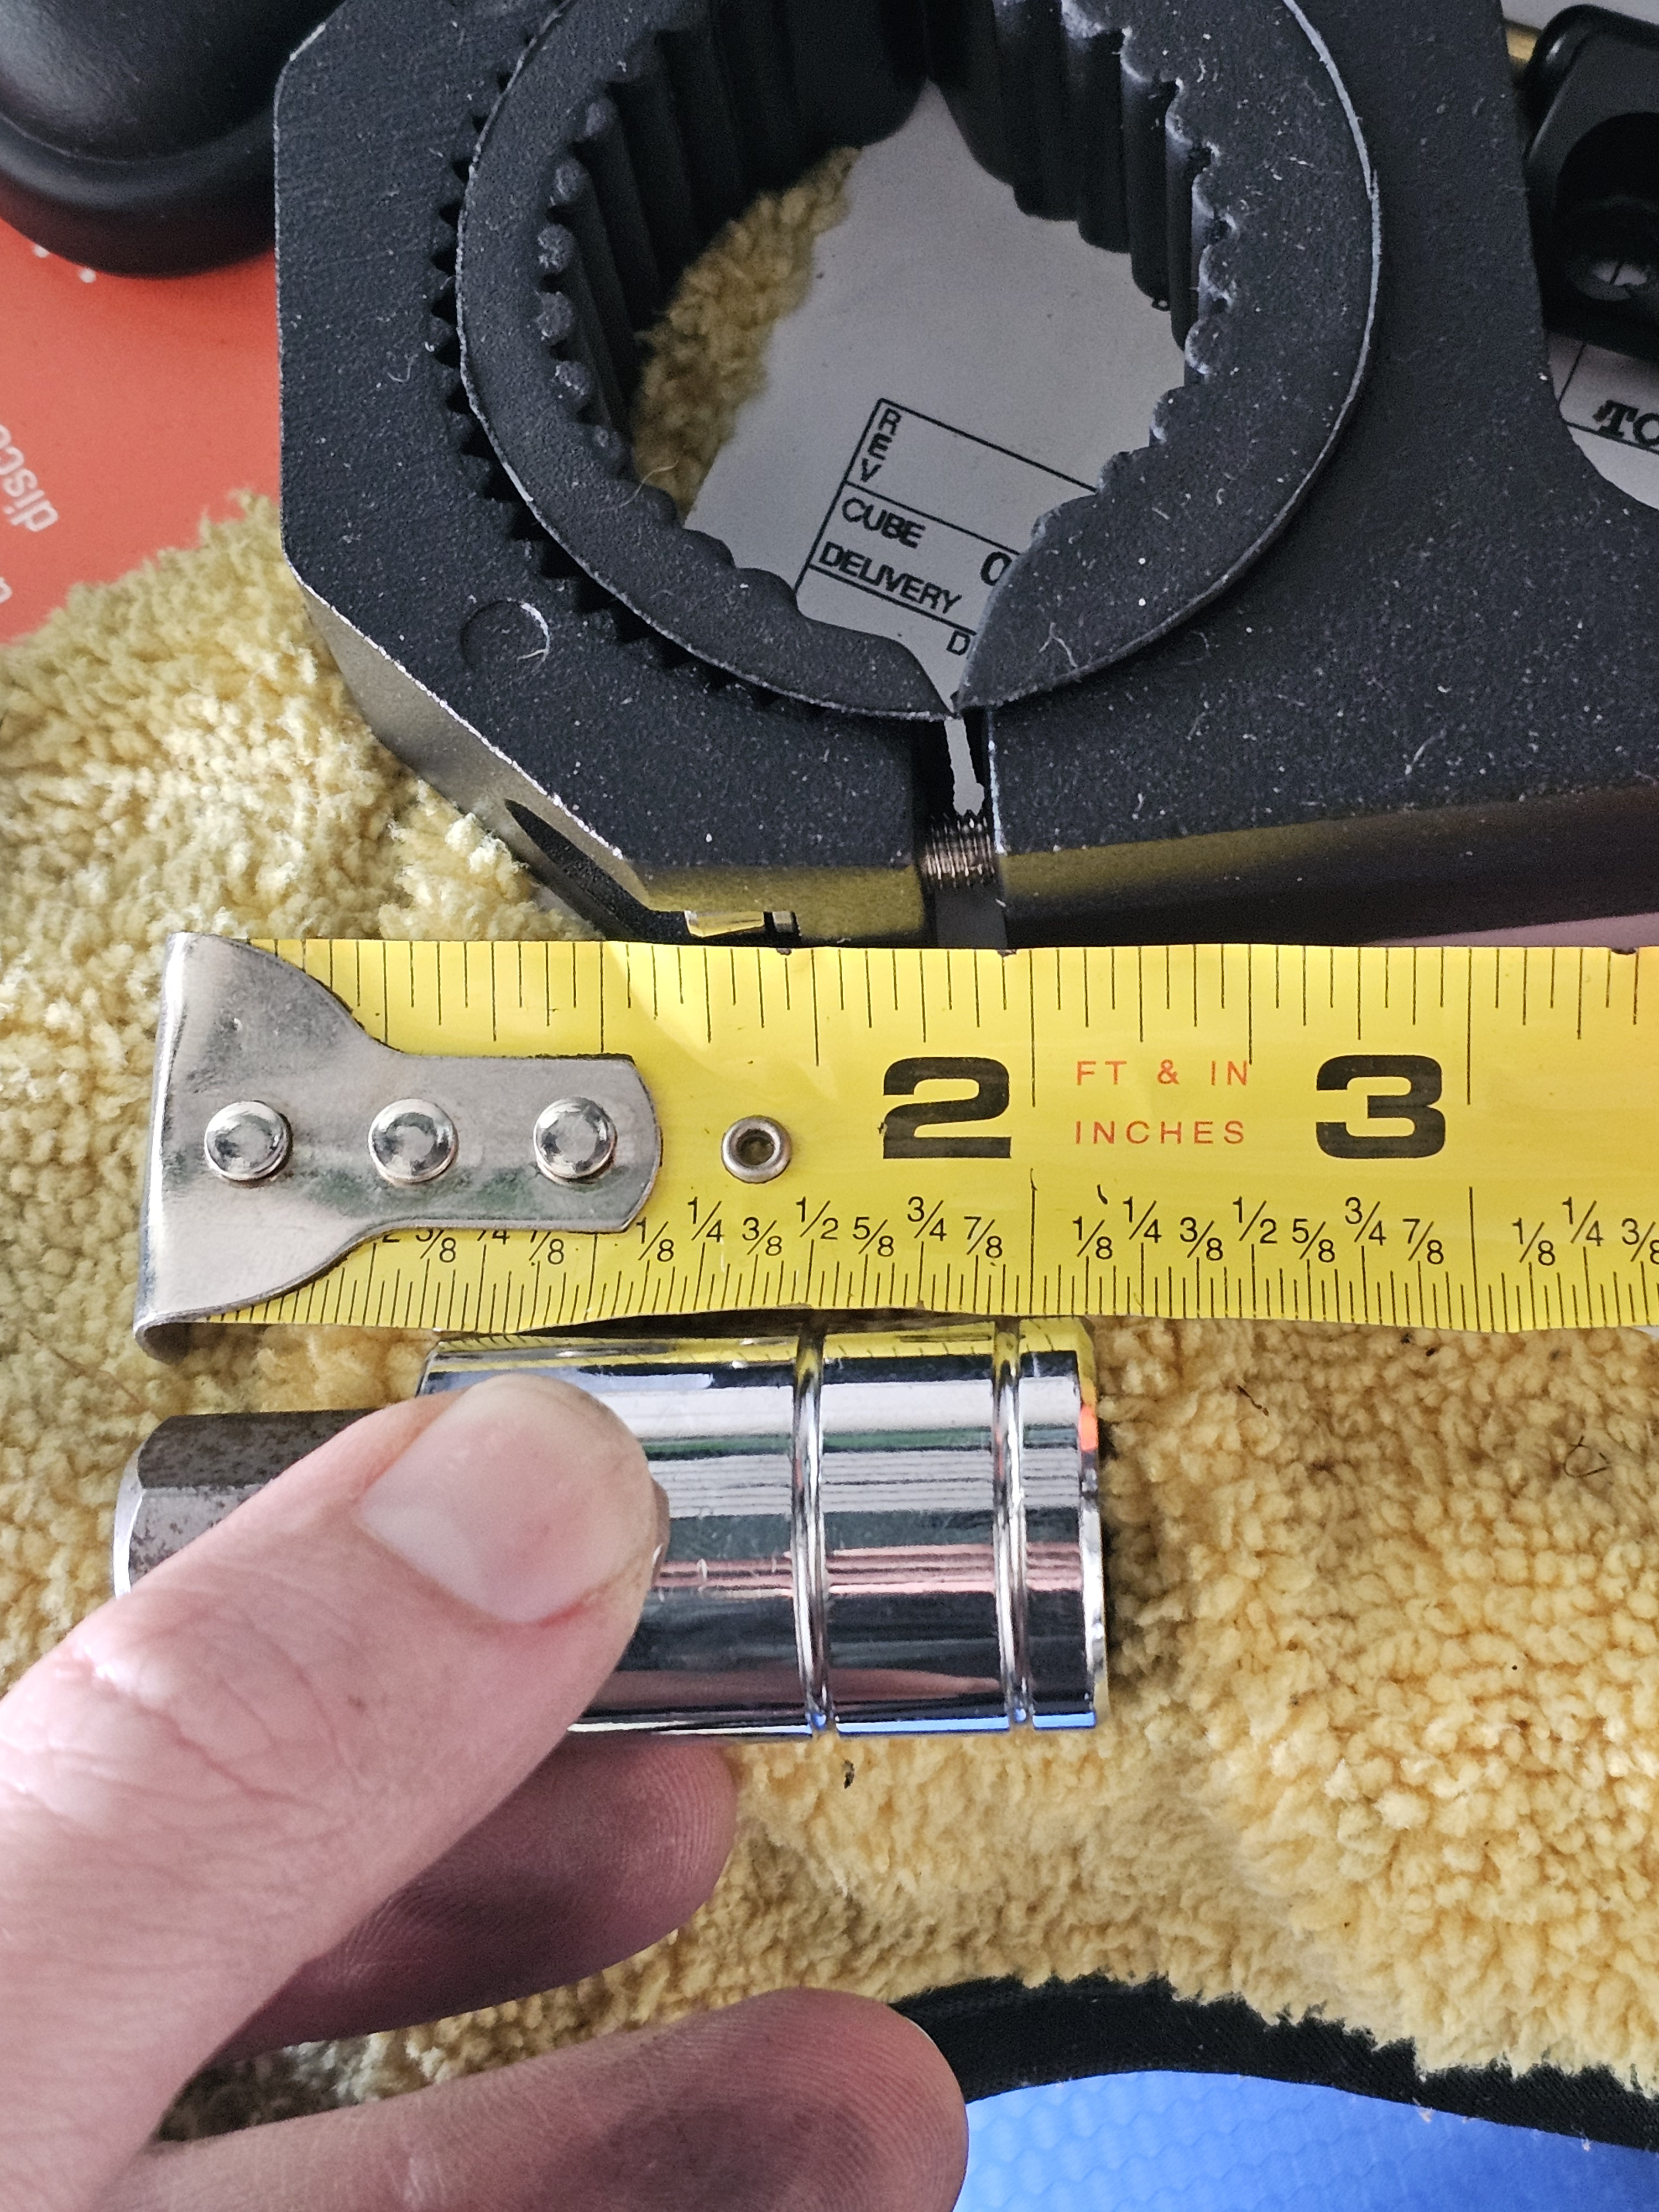
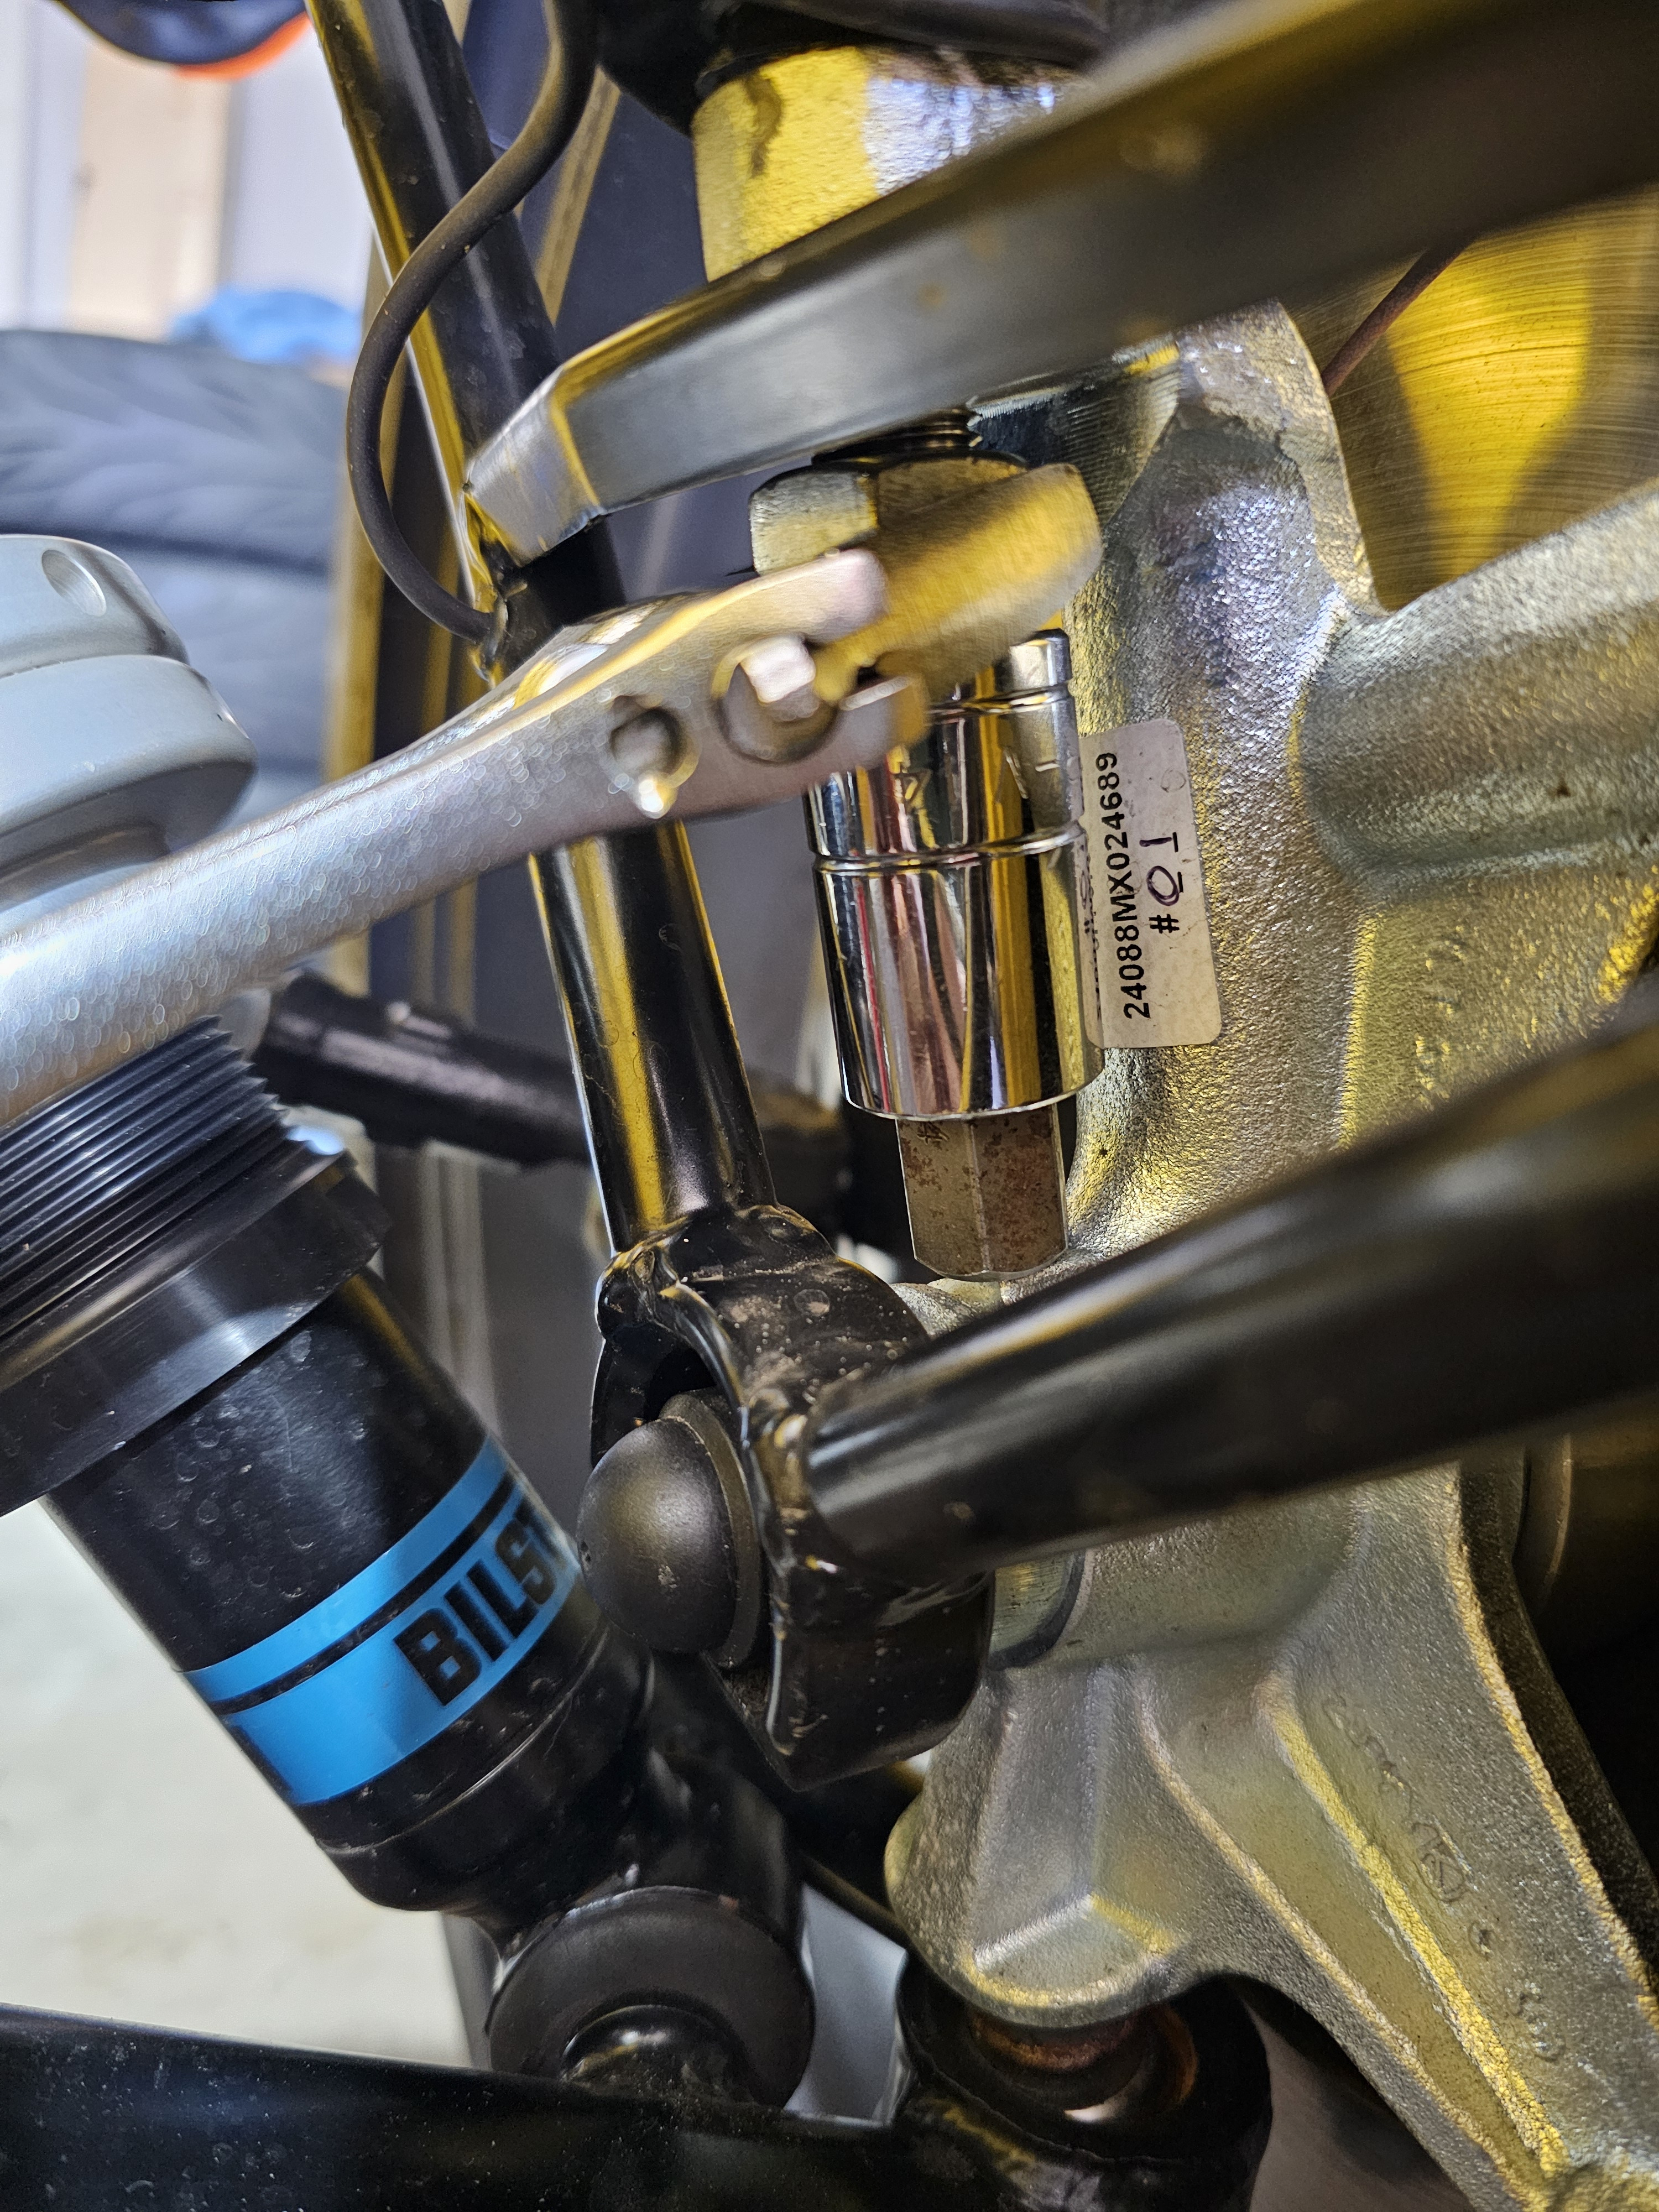
Decided to reduce the ridiculous front camber today. Measured to be -4 degrees approximately each side. "This won't take long", I thought. I then looked at how the upper wishbone track end works to adjust camber and went, "oh nooooo no no no no no. No no no. Why????" Existential screams in the garage. "Ok, I've done many ball joints before, this car is new, should just fall right out". Several hours later after I gave up with my engine hoist idea (don't ask), I decided to read through many cryptic descriptions of ball joint removal on caterhams and other cars for inspiration beyond the hammer. Here's what I came up with (something it seems everyone else also comes up with) 1) Put nut back on the end of the ball joint to be about flush with the stud. 2) Wedge something in there which just barely barely fits 3) loosen nut to push down on the thing wedged in there 4) wonder if the wedged thing will fly off straight into your face and go find safety glasses 5) wonder how hard you should twist the nut before it deforms 6) hit the side of the track end again for good measure 7) decide to crank harder 8) clap to yourself when it pops off since you're so brilliant as a mechanic 9) record the other side so the Internet can high five you 10) find out your arm is shakier than Zimbabwean currency when reviewing the footage ^^ wedge was a hex socket, 2-1/8" long. I gave the camber track ends 6 complete turns each side. Unloaded (no weight of me in car), the drivers side (right hand drive) has about 2/16" extra distance between upper tire side wall (about 20 inches high off the ground from vertical) compared to the passenger side. When loaded with my weight, the driver side loses 1/16" and the passenger side gains 1/16" so the camber is equalized. Each 360 degrees of the track end changes about 1/32" of length. The final front camber is now about -2.15 degrees according to napkin math which should feel pretty different I'm guessing. Toe went from zero to about 1-3/32 toe in from the camber adjustment. Set it back to 1/32" toe in when weighted. Before and after:
-
New Sales Model - Caterham in the USA
CarYenta replied to BruceBe's topic in General Sevens Discussion
That makes it around 110k pre-tax for the 620S SV I put together last year. Having the built-in shipping and tariffs is very nice to eliminate unknowns, but I'm more into it being spicy. Nonetheless, given prices of things these days, that's pretty reasonable in my opinion for a new car. Porsche prices went up about $20k-50k in the 911 range, so this seems to track with market rates. I like the new colors and tartan designs on the leather seats. -
It is outboard front suspension for both S and R 620. CSR are the only ones with inboard front and IRS.
-
MCS engineering order is confirmed! The front coilovers will be upright, the rear will be inverted. This allows for the greatest amount of height adjustment without running into the upper A-arm. They say helper and tender springs not necessary unless I decide to slam it one day, in which case helpers can be added then. Currently not planning to stance it haha. Front springs 250 lb/in, rear 150 lb/in. It's a rather neat upper spring perch design where one can slide the perch off the side after removing preload, and if the top shock bolt is disconnected from the car, you can slide off and on a new spring rapidly without any other bolts or fiddly bits, so that can make spring rate changes really fast. I ordered the longest dry-break reservoir lines they sell, 900 mm + 900 mm for the fronts to try and get the canisters inside the cabin footwells. The rear ordered 350 mm + 250 mm each. I'll probably mount on the rear roll cage. Ideally I'll be able to adjust all 4 corners without hopping out of the car, we'll see about that Am excited to get rid of these jittery, bouncy Bilsteins, it really makes highway driving unpleasant!
-
Meteor Motorsports isn't shipping to the US and I want one. Can't find any alternatives! I have a composite one, but I'm too short to see the fenders so it's less than ideal. Thanks!
-
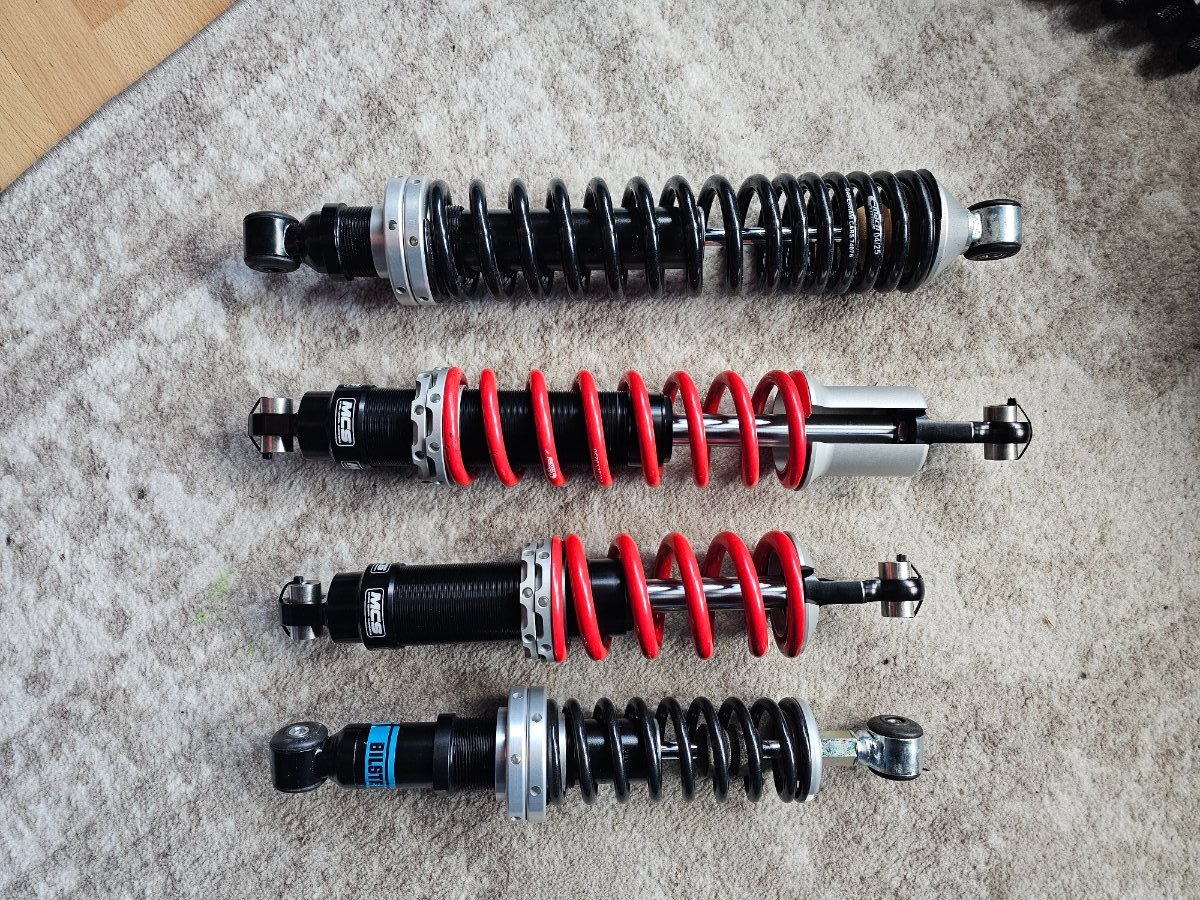
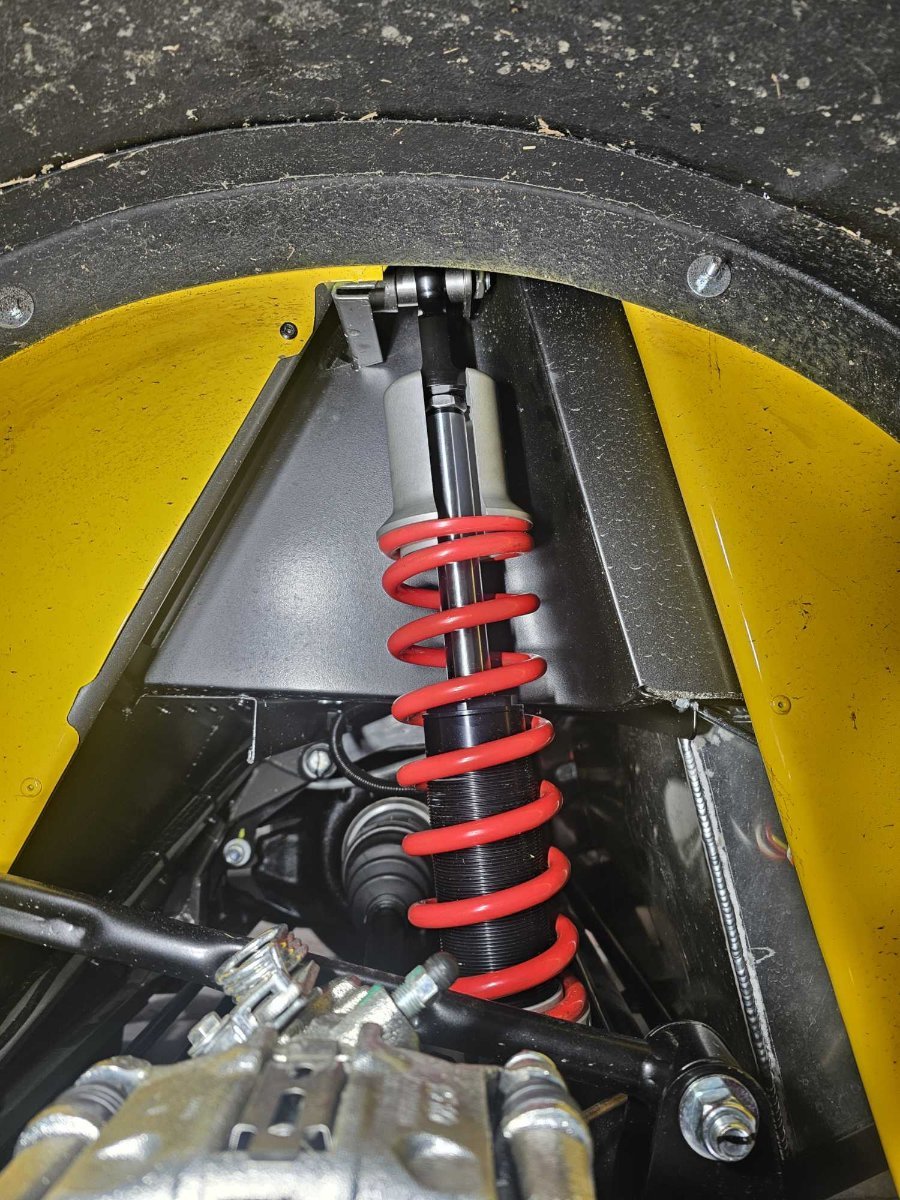
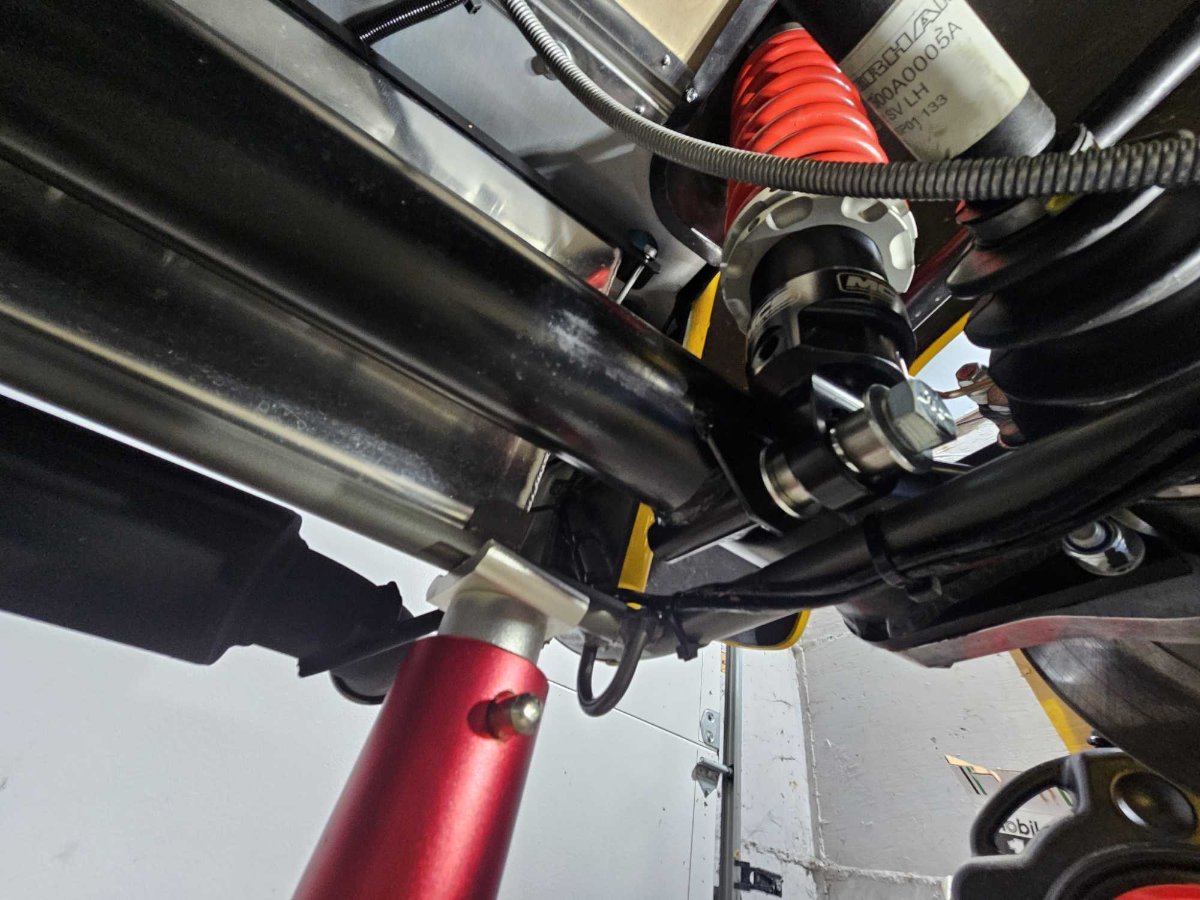
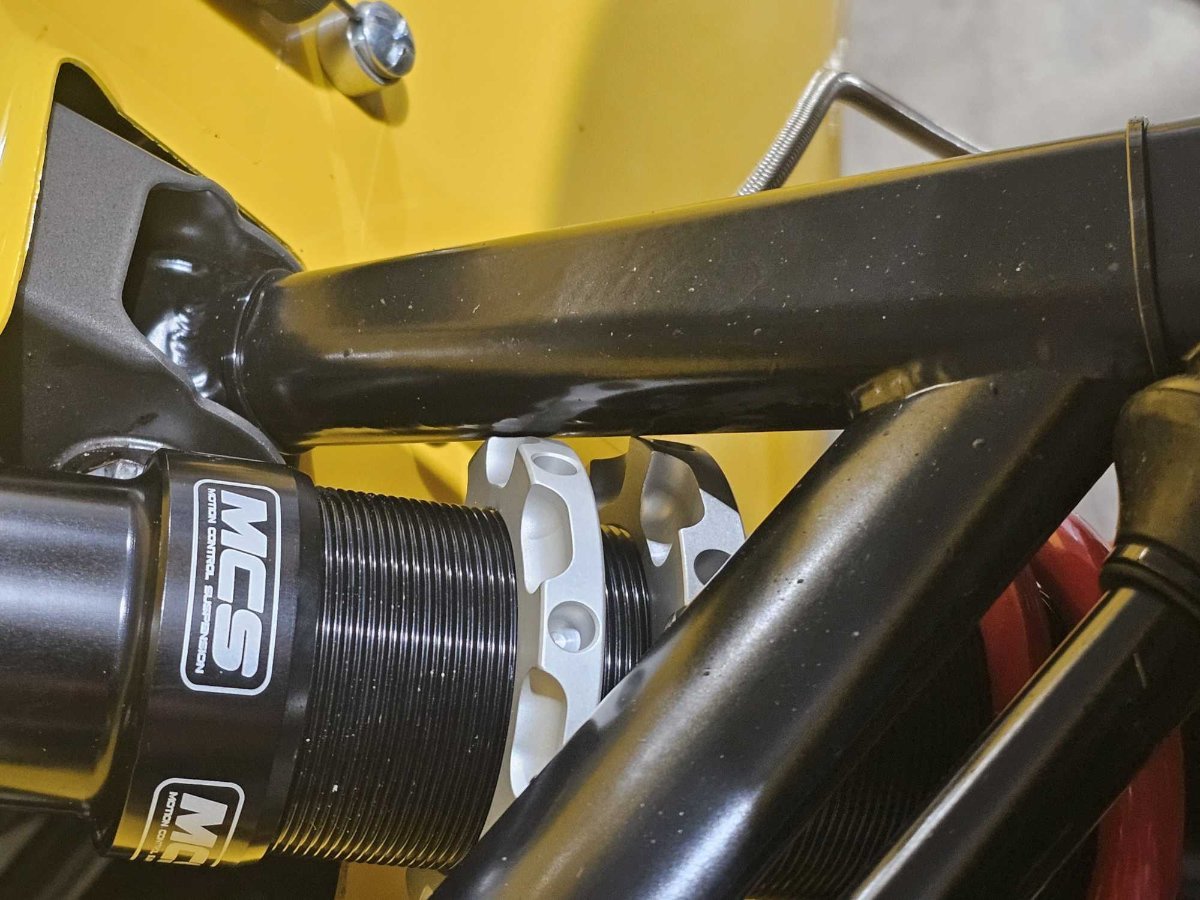
First test fit with some mockup MCS components, just to see if it fits, these are random spring rates, no adjustment knobs, no helper springs, no remote canisters etc. They feel like they weight about 50% less. Front spring is quite large at 2.25" ID and set to fit inverted. Rear also at 2.25" ID. They were able to perfectly match the shock lengths eye to eye and made two piece bushings which are the exact width of the insert points for perfect fit. There is very limited clearance at the de dion tube to shock body with the single stock washer on either side of the bushing. Will see what they think about that. Front at full droop For the front, the spring perch lock rings would interfere with the upper wishbone if something like -2" ride height. Will see what they say if this will interfere for helper springs though.
-
2025 Caterham 620R fully loaded. Just landed with practically no miles
CarYenta replied to Deman USA's topic in Cars For Sale
Look, you can now buy a poster of your own car on ebay! haha https://ebay.us/m/UInT9m
-
Which bushings are you changing to? Powerflex looks like the go-to? All bushing points? Do you have to take each suspension part off and stick it in a press or can you do these while on the car? I am always looking for ways to make more squeaks lol.
-
That's why I bought this car, it's always interesting! Yes, I will spend 99% of the time driving not on a track. I'm wondering if some of the handling imprecision out of the box is the lack of a watts linkage? I would think since the car is so light the bushings wouldn't make as much a difference as they would on a heavier order car like an e36 m3. I stuck my bathroom scale under a front wheel without a coilover on it, and there clearly is bushing force limiting movement. Lowering the car from the air down onto the scale, it progressively went up to 100 lb (with the wheel on) before it was at what looked like a full compression position. Dead lifting the unsprung wheel by hand, it felt stiff and with resistance to movement.
-
Took two Bilsteins off the car. Talk about the absolute easiest car to remove suspension from! Wow that was easy. Now that I know the wrench sizes and where the bolts are, it would literally take under 5 minutes per corner. Loosen rear lugs (don't really have to remove rear wheels but is easier) Jack up car Remove rear wheels 6 mm allen wrench, short for front upper 6 mm allen socket for front lower 8 mm allen socket behind the upper seat rear carpet 19 mm socket with breaker bar and then a short extension on impact Shocks come out easy without any sudden jumping.
-
On my GT3 I had a DSC module that via laptop made the pasm dampers into 6-way adjustable plus lateral g-force, brake pressure, acceleration, steering angle lol. Talk about a rabbit hole, I spent a long long time working that system to get something I was happy with (more than 100 iterations) for both normal mode and sport mode, but it made a really really big difference even without changing the actual dampers or spring rates themselves. It ended up being that there simply wasn't enough compression stroke to make it a comfortable ride over city streets, but on the highway, it went from a pogo stick to smooth as butter.
-
I thought about getting the adjustable race Caterham suspension which is 250/250 I think, also thought about the nitrons and Penske's and other tried and tested suspensions. Then thought, if I'm spending a bunch of money, cry once and spend a little extra to make it perfect. The MCS should have a wild amount of adjustability, so I can play with a bunch of different spring rates over time to really get what I want without sacrificing damping and having to buy yet another damper set. Why not just get Penske 3 ways 8300? I like MCS techonolgy more and don't have to pay tariffs since it's not coming from England even though Penske is a US brand.
-
It's pretty dark in there even after unbuttoning. The S shocks are really under damped. Around town and back roads they are fine, but over 60-70 mph the car has no body control whatsoever and is all over the place. Very jittery, bouncy, no good. Exactly like my ND3 Miata was with the club shocks before getting Xidas. Except I got 1-way Xidas which was a mistake as I want less high speed compression generally or more rebound. The standard spring rates for S shocks are 170 lb/in linear front and 140-250 lb/in progressive. Currently, the front seems to have a lot more droop than compression travel, so I think a tad more compression travel would be nice to have. I see 250 lb/in an being popular. For rear, probably 150 to 200 lb/in depending. However, I need to know how much spring rate comes from the shock gas pressure, so MCS will shock dyno these when I send them over. What that means is that the springs rates we choose for the MCS will not directly translate to the bilstein shocks (probably). Question: What is the lb/in that the bilstein compressed gas gives? Could it be upwards of 200 lb/in? Front of car height change full droop to ride height 2.5" Shock stroke associated full droop to ride height 1.5" Motion ratio = 2.5/1.5 = 1.66 350 lb f at front wheel X lb f at spring at 1.5" stroke F wheel * d wheel = F spring * d spring F spring = 350 lb * 2.5 inch / 1.5 inch = 583 lb on the spring at ride height Travel of 1.5 inches = 388 lb/in But the quoted spring rate is 170 lb/in, leaving 218 lb/in on the table. Did I measure something wrong?? That seems like a lot. For the rear, 1.75" full droop to ride height and about 410 lb without me in it means the effective ride height spring rate is 234 lb/in which is much higher than the spring range also.


.gif.28354cc38bcc3fde561d3ba3db2b372b.gif)