
CarYenta
-
Posts
86 -
Joined
-
Last visited
Content Type
Profiles
Forums
Store
Articles
Gallery
Events
Library
Everything posted by CarYenta
-
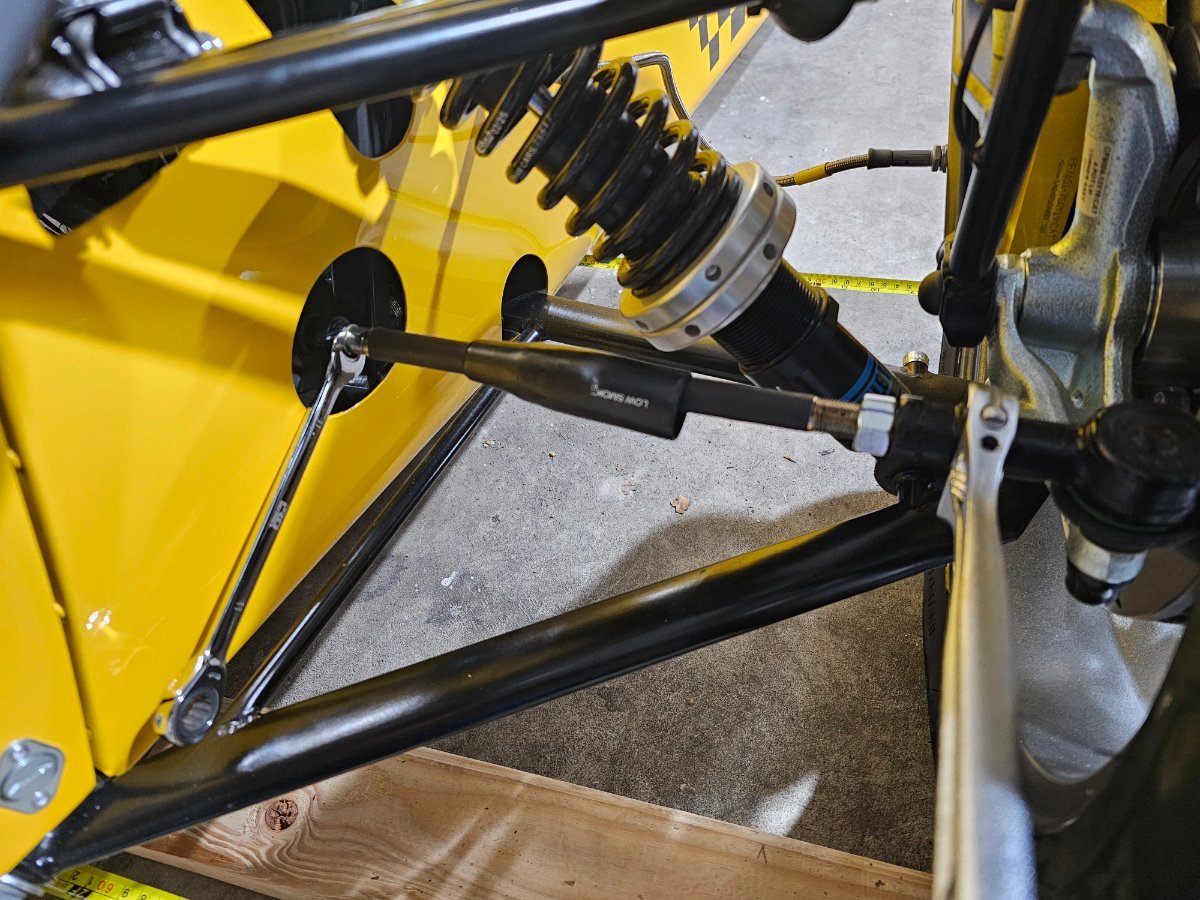
Changed the front toe to zero, decided to keep the rest of the alignment as-is to 1) learn what the behaviors are first and 2) I imagine the bushings will settle somewhat, changing the alignment anyways. For anyone like me wondering where the heck the flats are on the tie rods after loosening the lock nut, they are hidden under the inner rod corrugated rubber boot, so remove the zip tie, push it back a bit, and there are 11 mm flats. Every 1/4 turn changed my total toe by around 1/16".

-
Looking at tire options, it seems like I should probably just run 15". I see several combinations of 205/50-15 and either 225/45 or 225/50 and also three 245/40. Am initially thinking 15x7 et13 for 205/50 15x9 et25 for 245/40 with continental extreme contacts in mind for summer, then converting my 15x6.5 into the winter set with a wetter tire option.
-
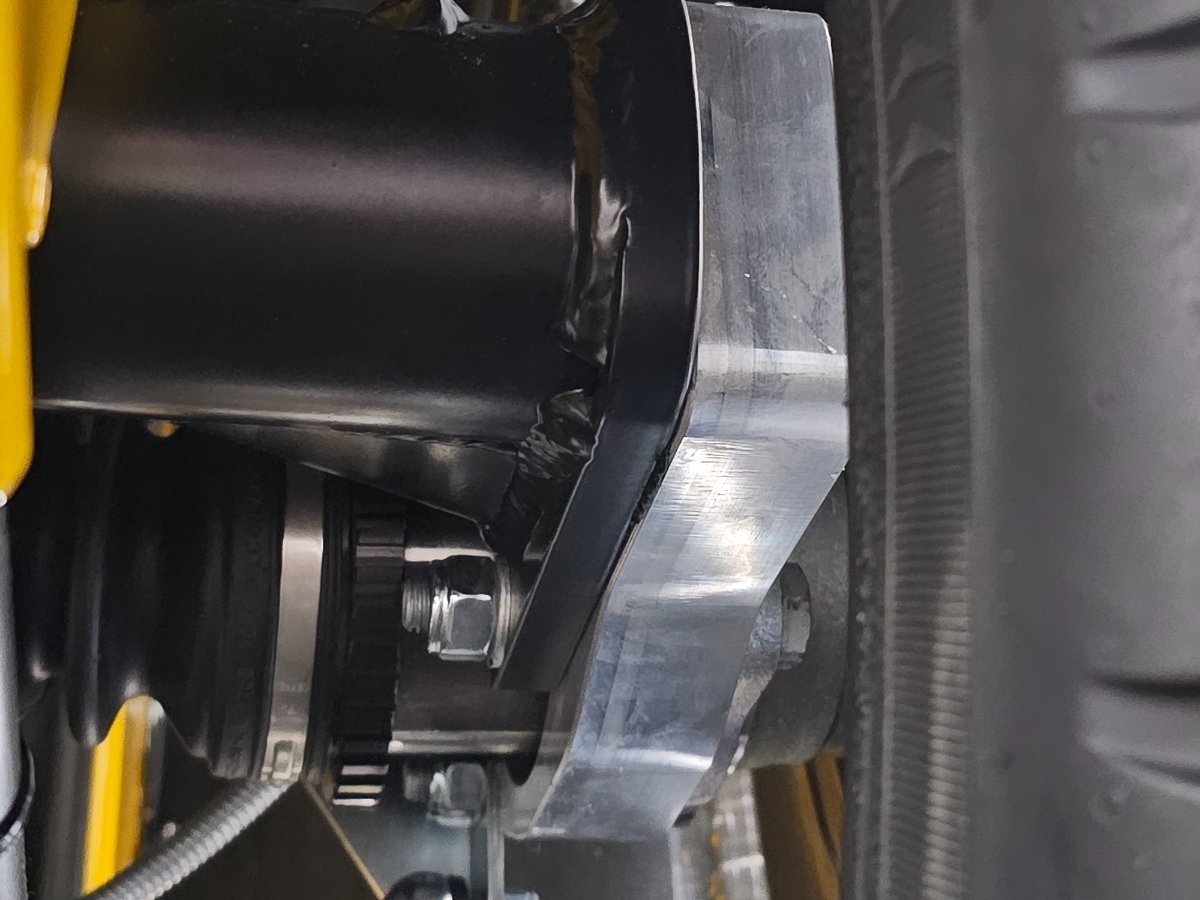
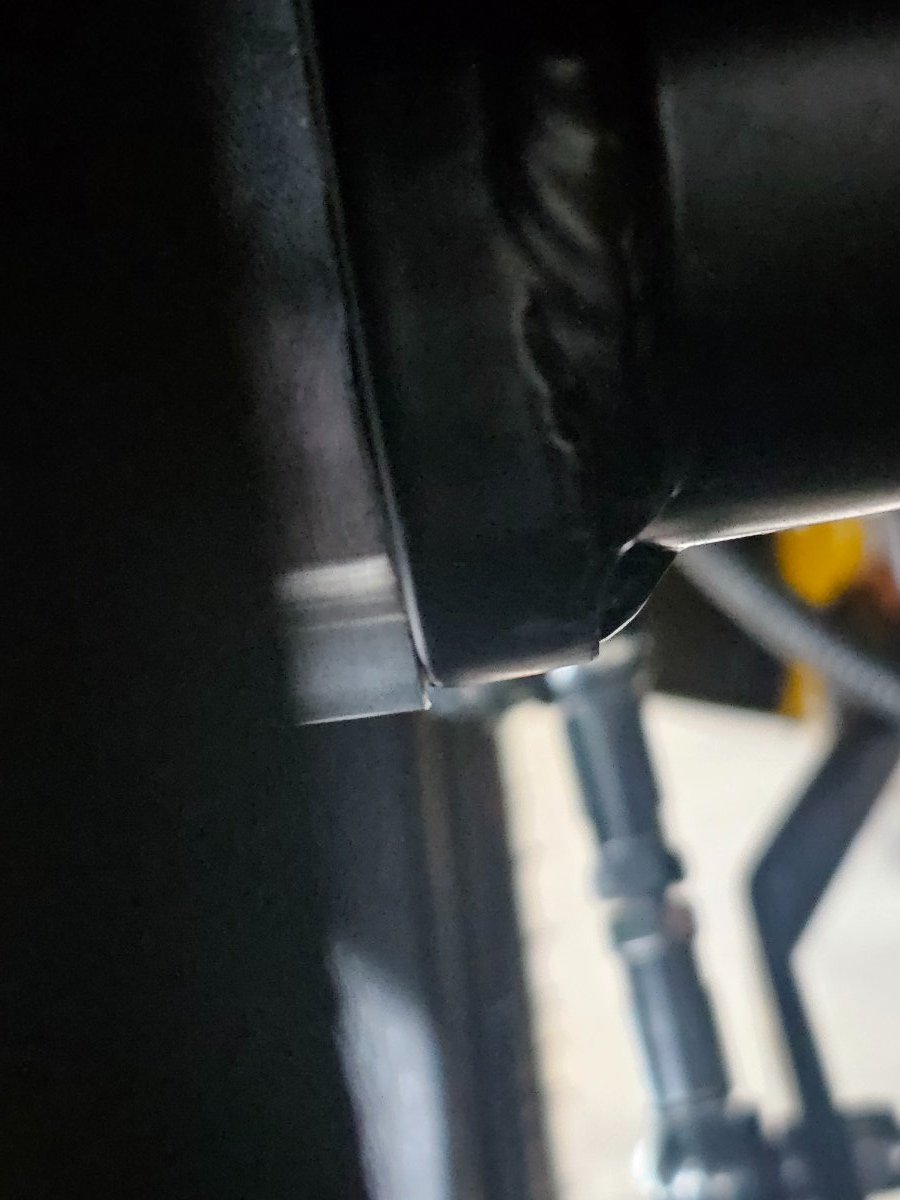
Welllll waddyaknow, there's a sneaky shim in each side.
-
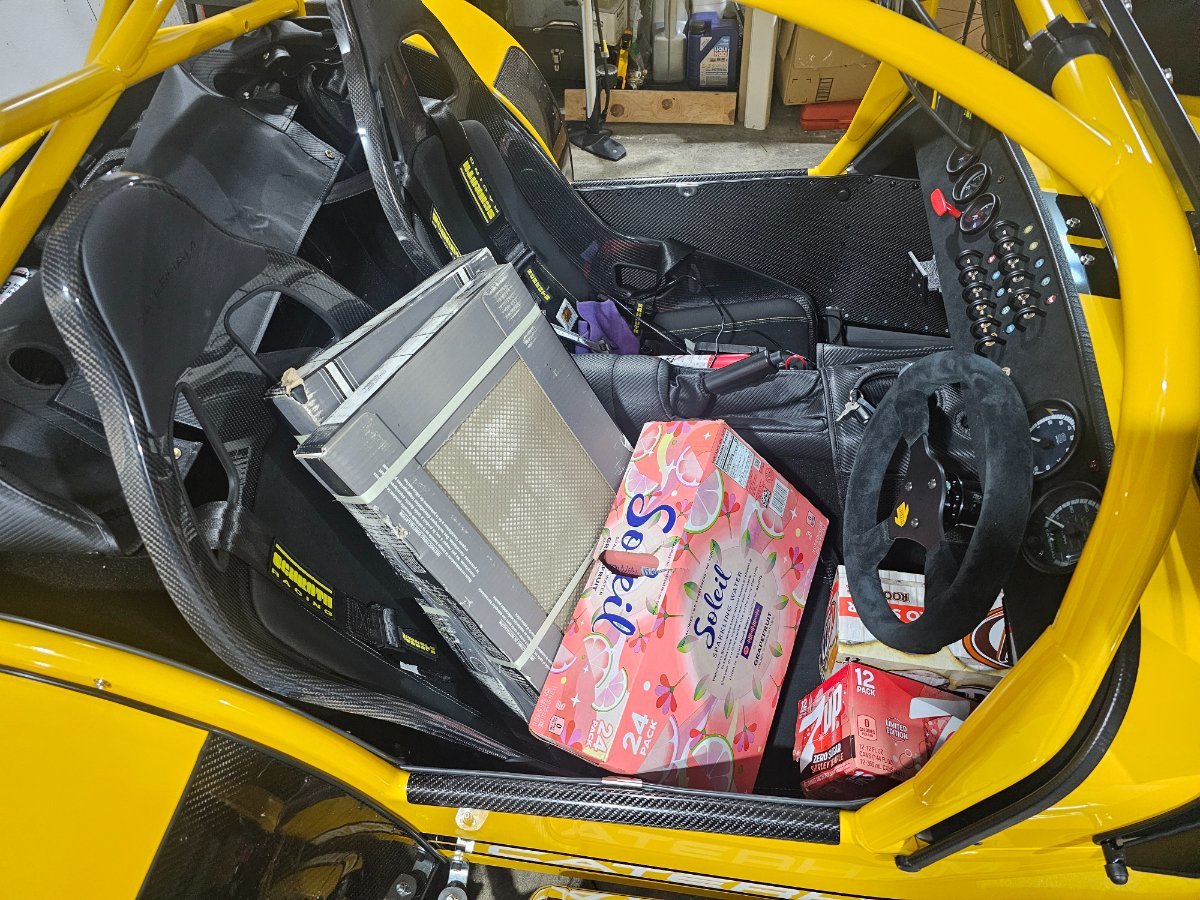
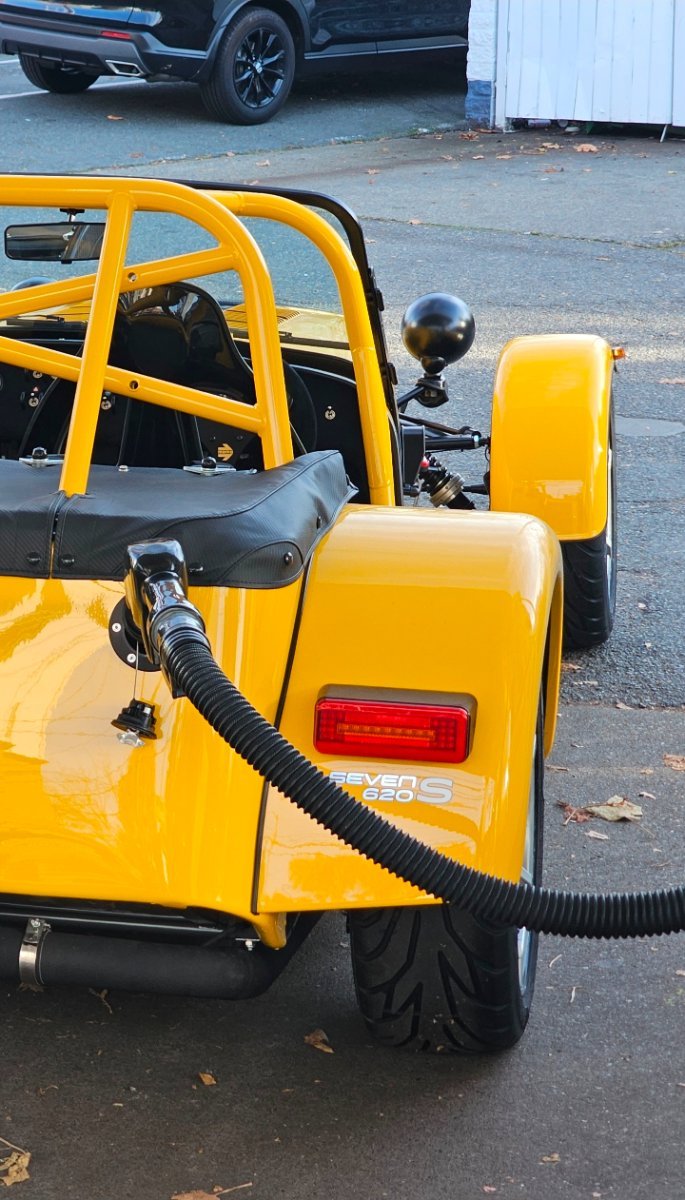
Also received some dpr mirror mounts which apparently donates to this forum for each order, sounds like there's a back story somewhere. Oh and my amazing ballast, looks just like me.
-
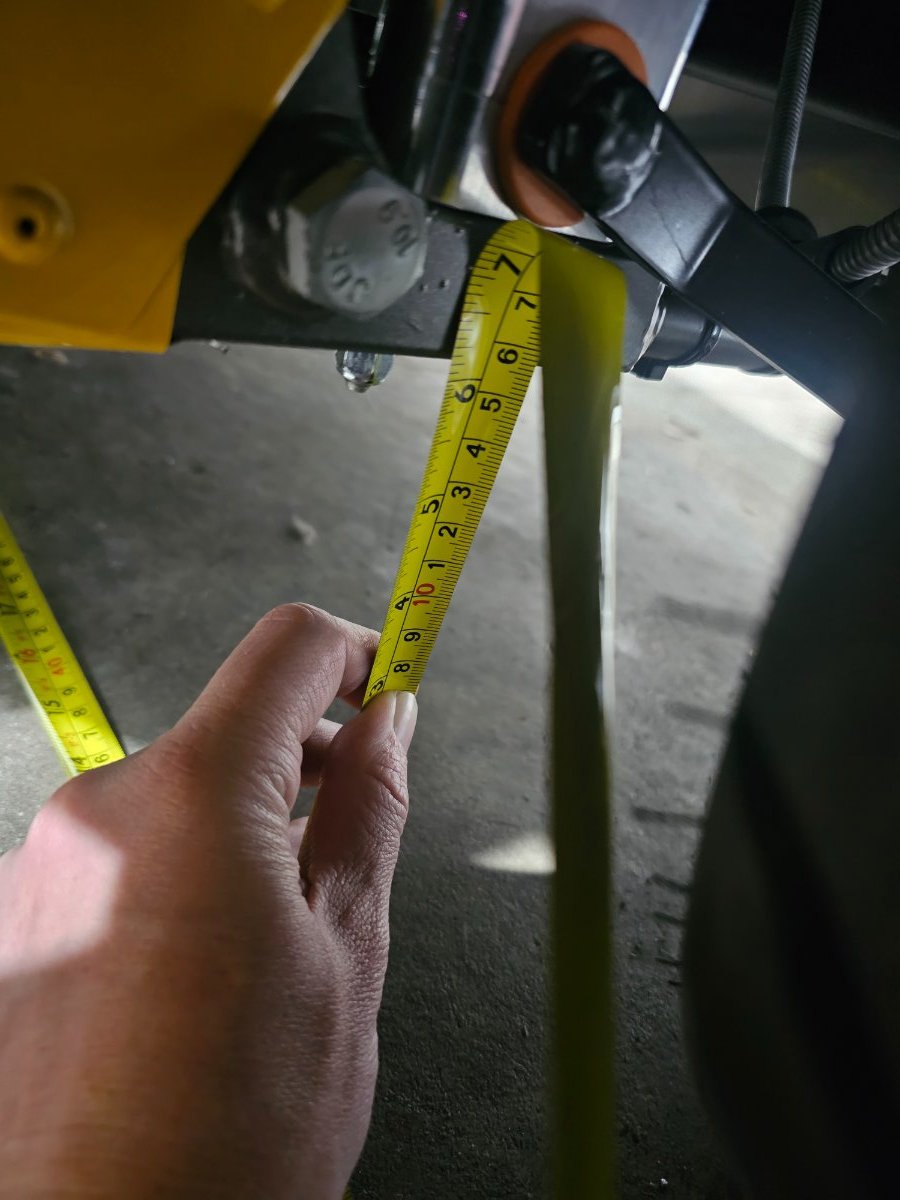
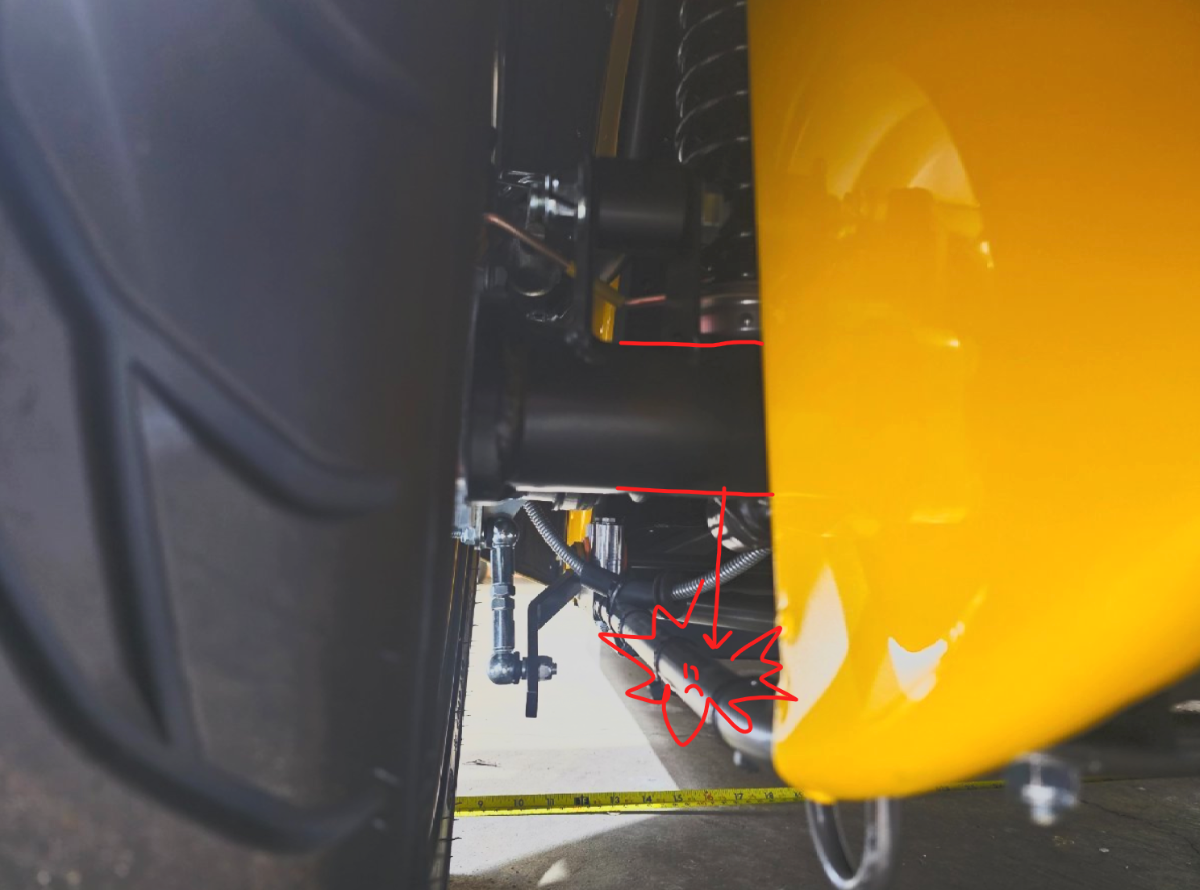
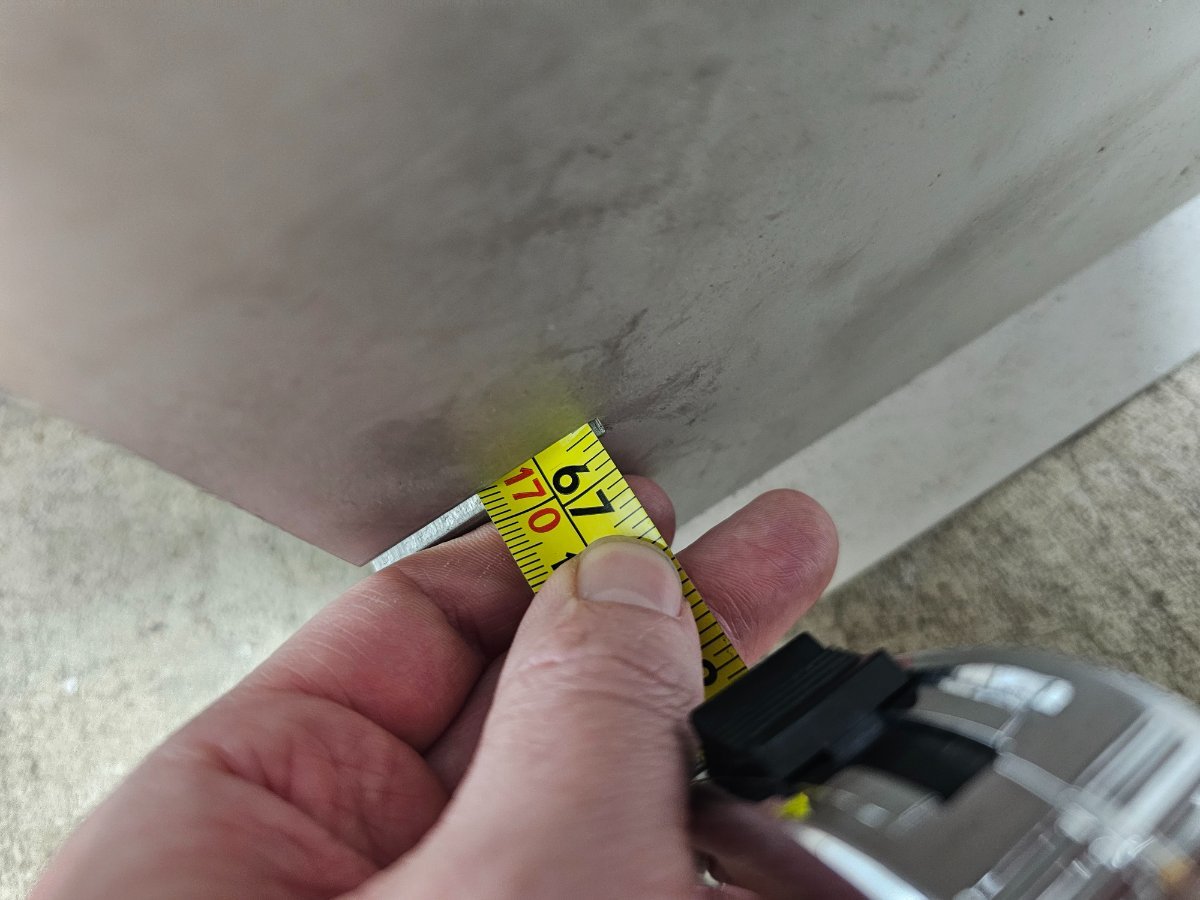
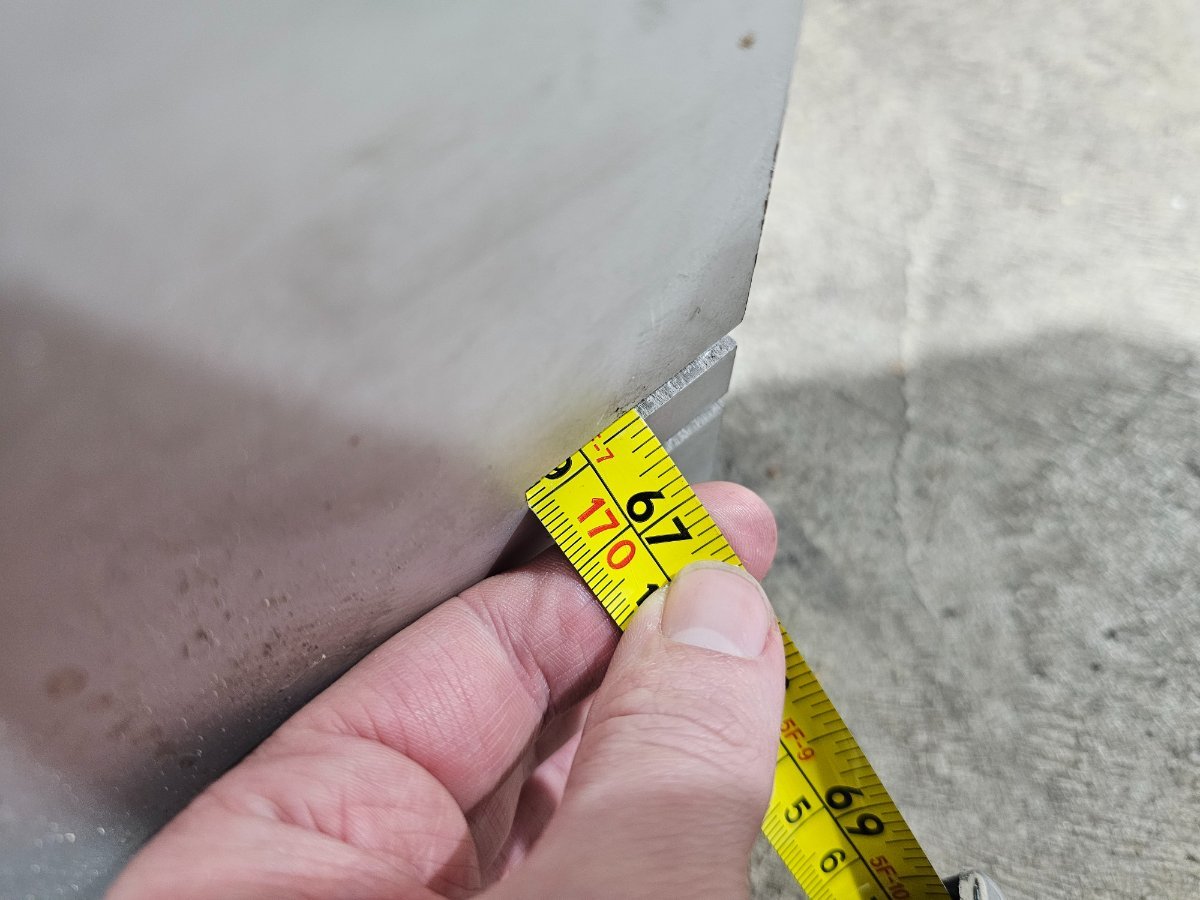
Update, I went to resettle the car after adding driver ballast, and that's when I noticed a 2x4 sitting further out on one side of my wheel chalks. My tape measure was hitting that and bowing out, creating an artificially long rear measure DOH! After measuring without anything in the way, there is between 1/32" toe-in and zero toe in the rear. Tape measures only go to 1/16", so that's good enough for me. Front toe with ballast is now 5/16" toe-out. With my ballast, ride height currently from factory is: FL - 150 mm - rear lower wishbone, lowest part of frame rail (the curve of the bodywork makes it kind of vague to read from the outside. FR - 150 mm RL - 155 mm - at the A frame connection point of the lower frame rail at the front of the rear wheel RR - 150 mm Caterham guideline is 150 to 190 mm front and 15 mm higher in the rear. I'm not sure I can go much higher in the rear without contacting the dedion tube and frame rail. I will raise the car and see what I can get to. Front: Easier to do this when not taking a picture Rear: DeDion vs frame rail: Sitting on ground. How much droop will there be when raised? Will report back.
-
Do you have a recommended rear toe and camber value? For front suspension, miatas are double wishbone too, so wouldn't it be similar up there? De dion is a mystery to me!
-
Out of the box, it seems to drive straight luckily. I don't have a method to determine thrust angle, but it feels straight and the steering wheel is straight. Are you saying to shim the rear to reduce the 1/4" toe in, since under load they toe-in even more? I have the S suspension = nice and soft so am assuming lots of camber will help. I run -2.0 degrees camber on my miata front and back with xida touring and it's about perfect. But, I have big tires and low power on the miata, so I assume I want the 620 rear camber to be less, like -1 to -1.5 but will keep the front camber large to start just for simplicity and move as desired.
-
My rear toe-in measured via toe plates and tape measures is currently 1/4" total toe in across about 22 inches (toe plate width). With an isosceles trapezoid calculator I get 0.33 degrees each (0° 20' each) or 0.66 degrees total toe in (0° 40' total toe in). This seems kind of high compared to other cars I've had. Do people shim this out to get closer to 1/8-1/16" toe-in? Or do de dion just like to scrub tires? This is a 98% road car. 66.5" across front of rear wheels 66.75" across rear of rear wheels Front wheels came from the factory at 3/16" toe out. Am planning to set to zero to 1/16" toe-in front. Haven't measured the camber yet but the front looks like >3 degrees. Would bring to about 2.5 I think if it seems like I'm never using the outer edge of the tire.
-
Nice! I saw a gap and didn't attempt any screw removal. After cutting and seeing 5 absolutely tiny wires, my face was 😬
-
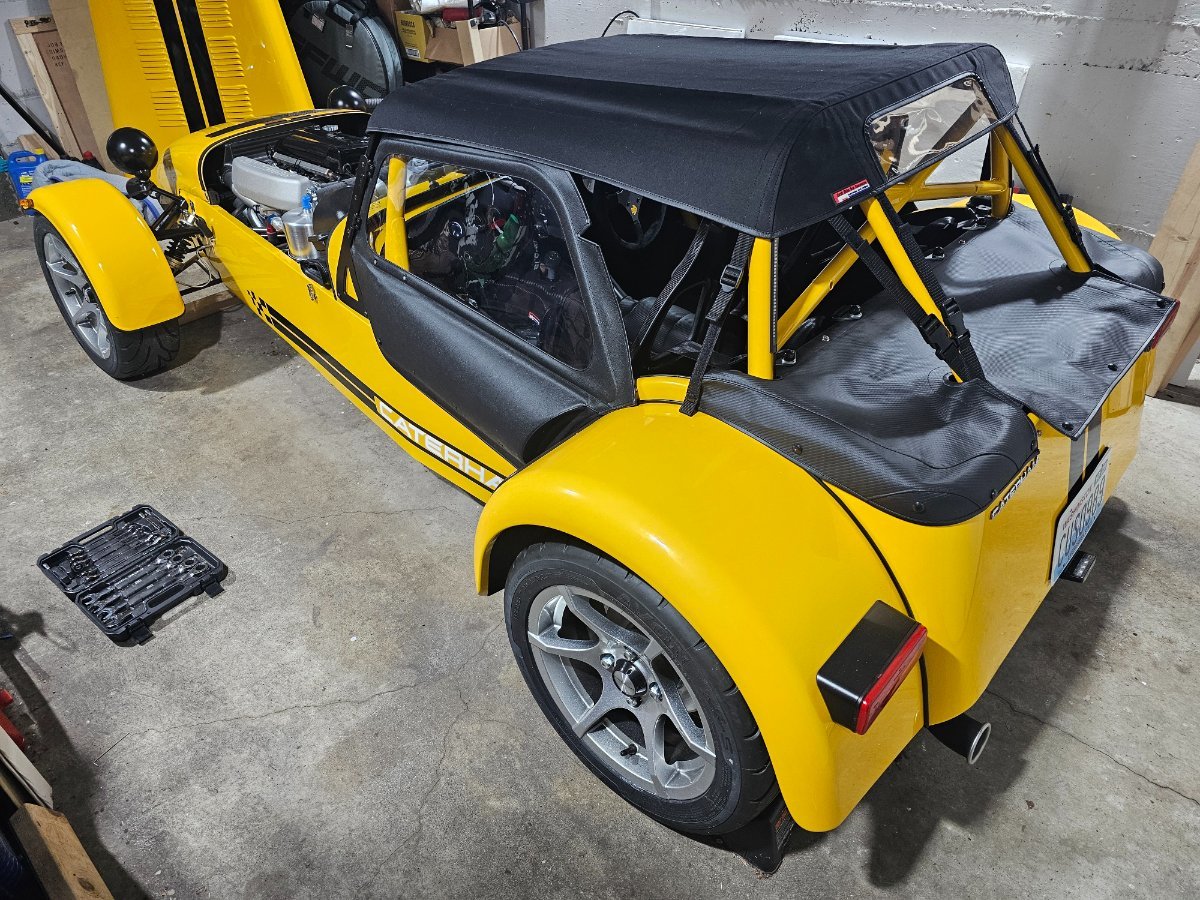
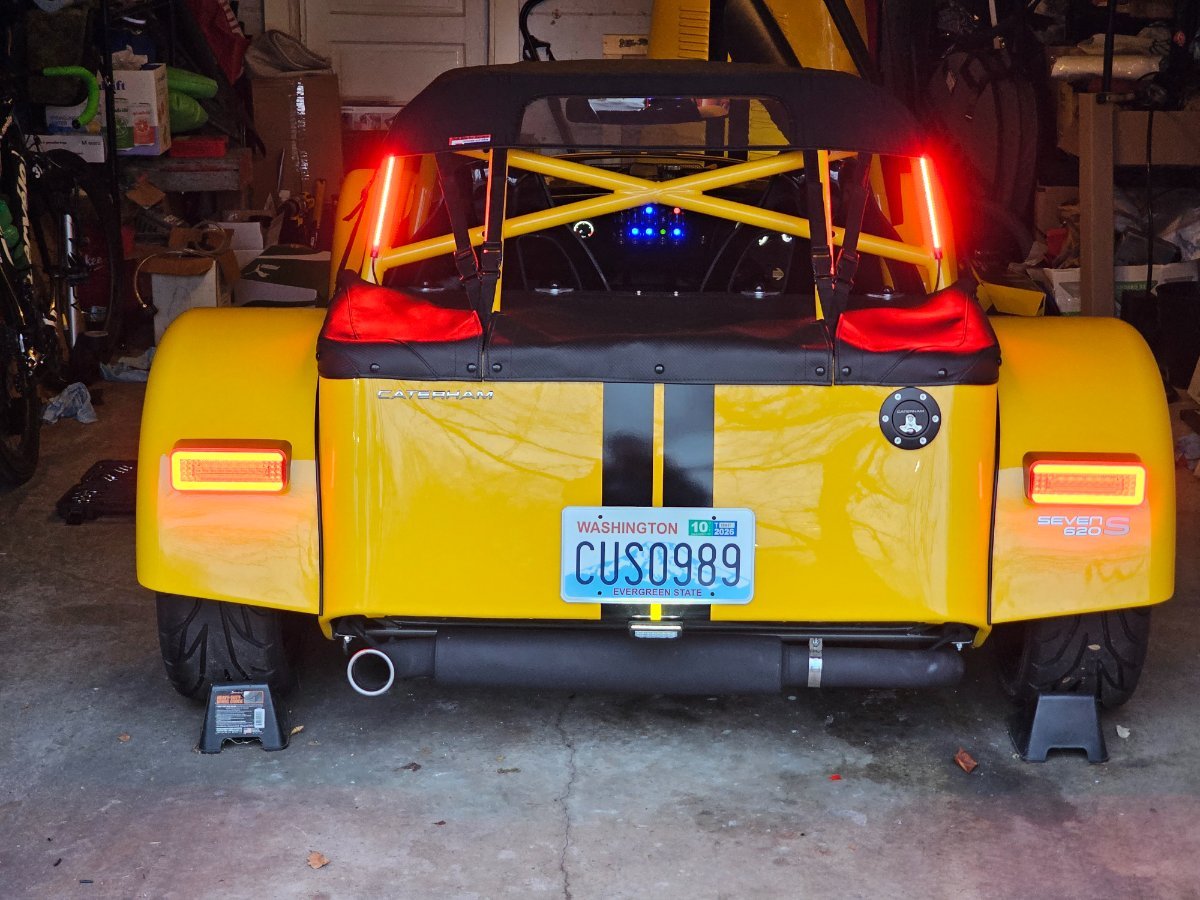
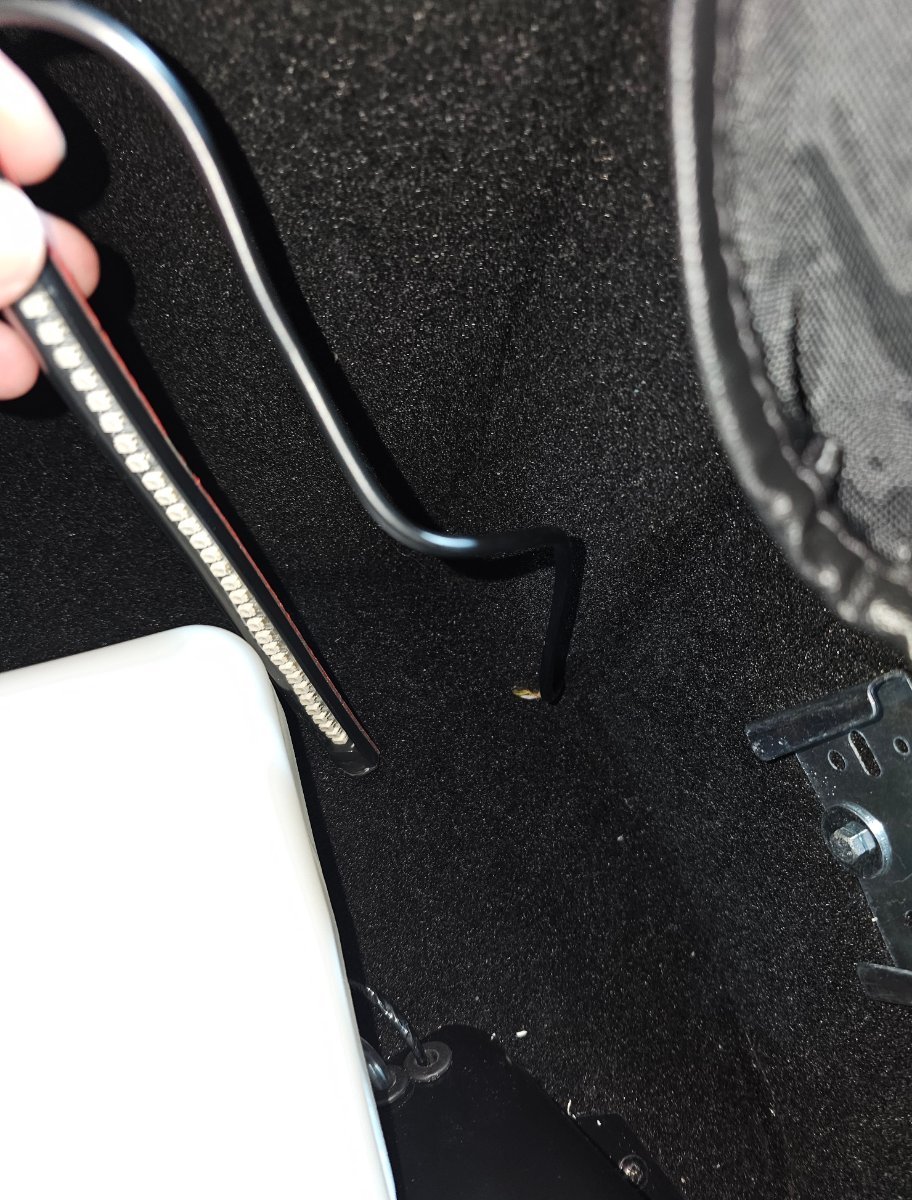
Soft bits for sevens half hood installed: The side straps are not long enough to utilize the velcro as a hold-down. This seems like not how it is supposed to be. Otherwise, fits great. CaterLED tail lights installed: Driving lights on only Driving lights off, 4 ways on: Blinkers are slightly less visible than I would have hoped when the driving lights are on as the red and yellow are on at the same time. Instead of removing the boot floor which seems rather difficult since I have a liner and fire system and gas filler to remove, I just cut the cable and ran it though a side gap and resoldered, then installed the connectors. Right hand side of boot shown. The same gap exists on the left hand side. Is only as fast as your soldering skill 😂 The little lightly-colored thing next to the cable at the threshold of the boot floor is just a fuzzy.
-
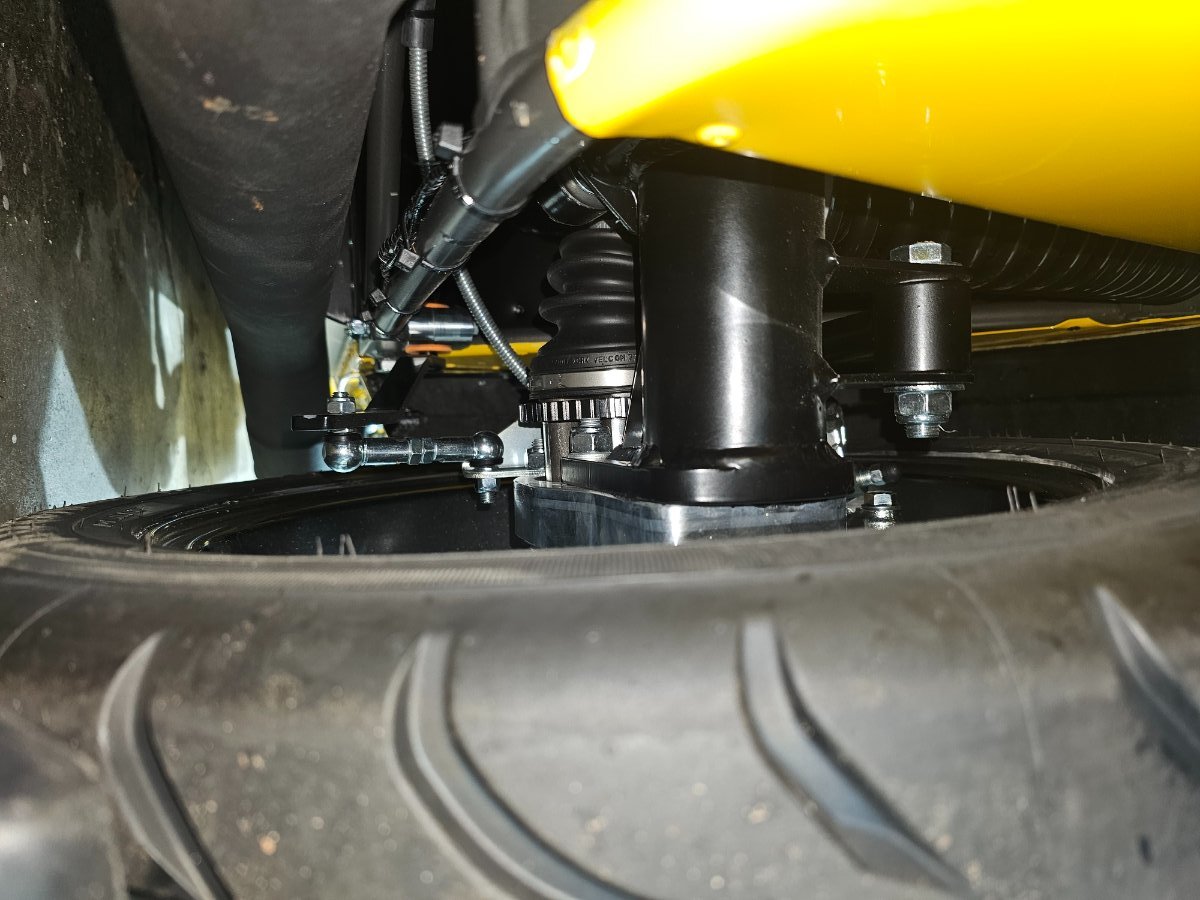
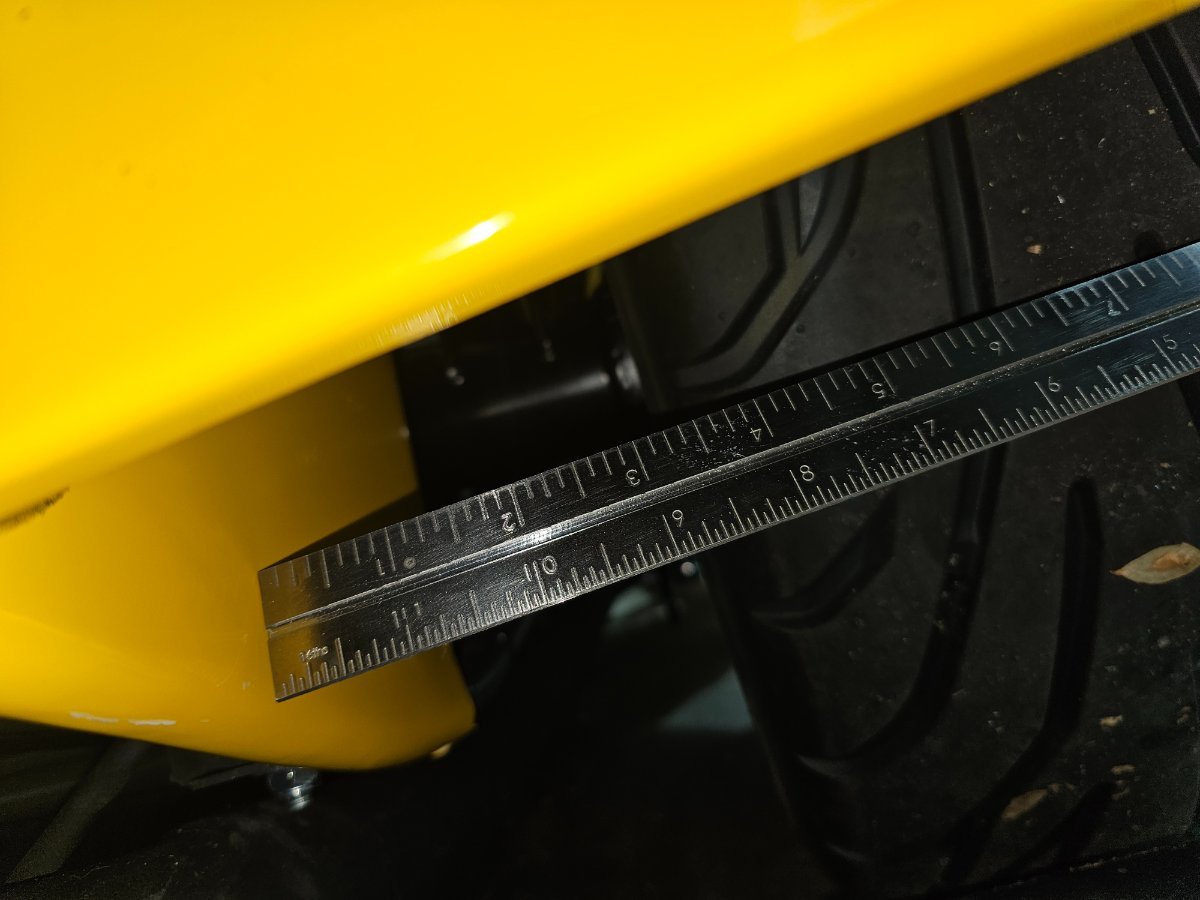
True, the lightest cars I've had were my old NA miata which I ran 225's on and then my current nd3 miata with 245's, and this is 1000 lb lighter but +130 extra hp. On the NA, I had 15x6 with all seasons when I bought it, then went to 15x7.5 wheels for 205/50 direzza ZII tires, and the lack of grip compared to my prior car (E36 M3 on 245/40 17x8.5 direzza Z*) made canyon driving feel slow, nervous and outright dangerous even with a good alignment. I then got 15x9 with 225/45 r-s4 and it was a real game changer. Much much more grip and confidence even though it was a track tire and not an autocross tire that works better cold. With the ND3, I just went straight to 17x9 with 245/40 PS4S as I like it big, and really liked PS4S on my GT3 compared to the cup2 it had for wet performance and sandy roads. Many miata people disagree with me, but I love grip at all moments, and I imagine the caterham would be similar? Lots of sandy leafy dirty bumpy off camber PNW streets. Why is the max 15x6.5 but for 13" is 13x8? I'd assume there would be even more tire bulge on a 13 with larger tire profile? I just measured in my wheel well very roughly and there is ~3-3.5" clearance paint to tire, and ~2.5" clearance tire to the trailing arm (not sure the correct name for it), and 0.5" on the outside. It seems like a correct offset 15x8 would fit and allow tire flex just the same as a 13x8, assuming the sway bar/drop link doesn't interfere. Am I not noticing what would be the rubbing issue on the inside? De dion is new to me. Since I currently have 195/50-15 it seems like that would have probably a similar contact patch as a 205 in 13"? So would ideally have larger than that in the rear. Having now browsed the tire selections for 13", I'm pretty set on a 15" option since, while still measly in options, there are so many more tires to choose from than 13". BUT If it's way cheaper to get apollo's in 13x6 and 13x8 than a custom 15x7 and 15x8/8.5/9 (I'd have to measure more carefully) I might end up doing that. It seems tricky to find wheels that aren't seemingly made from lead.
-
I really like the 13" apollos. Except like you say they probably only have summer tires and I already have brand new 15" avons 😭 Do you think that wider than 13x6 and 13x8 wheels would fit? Anyone know the widest 15" wheel and tire sizes that fit?
-
What if I don't like how CSR wheels look 😬 I guess I'm less worried about what wheels there are as I can get them custom made, but am more worried first about max tire sizes in useful tire models so that I can choose an appropriate wheel size, ideally a 13".
-
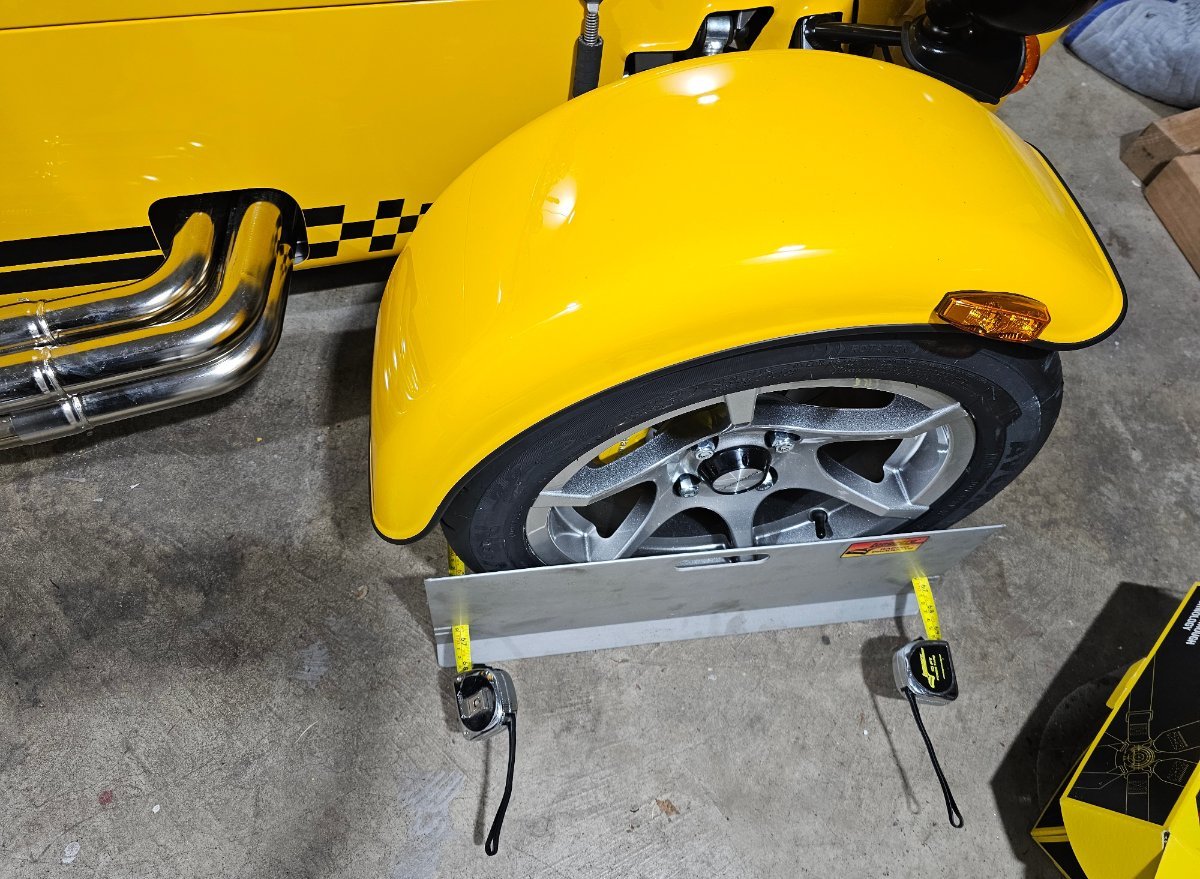
One thing that is very obvious is the rear wheels on these 15x6.5" orcus are TINY looking. I like the idea of 13" wheels, but I don't like how there are (as far as I know) no tires which I wouldn't immediately hydroplane on. I run 17x9 245/40 PS4S on my nd3 miata in the summer and 215/45 crossclimate2 on the oem 17x7.5. I get the feeling the avon zzs are probably fine for summer use, but is there a PNW winter tire out there for 13" or actually even 15"?
-
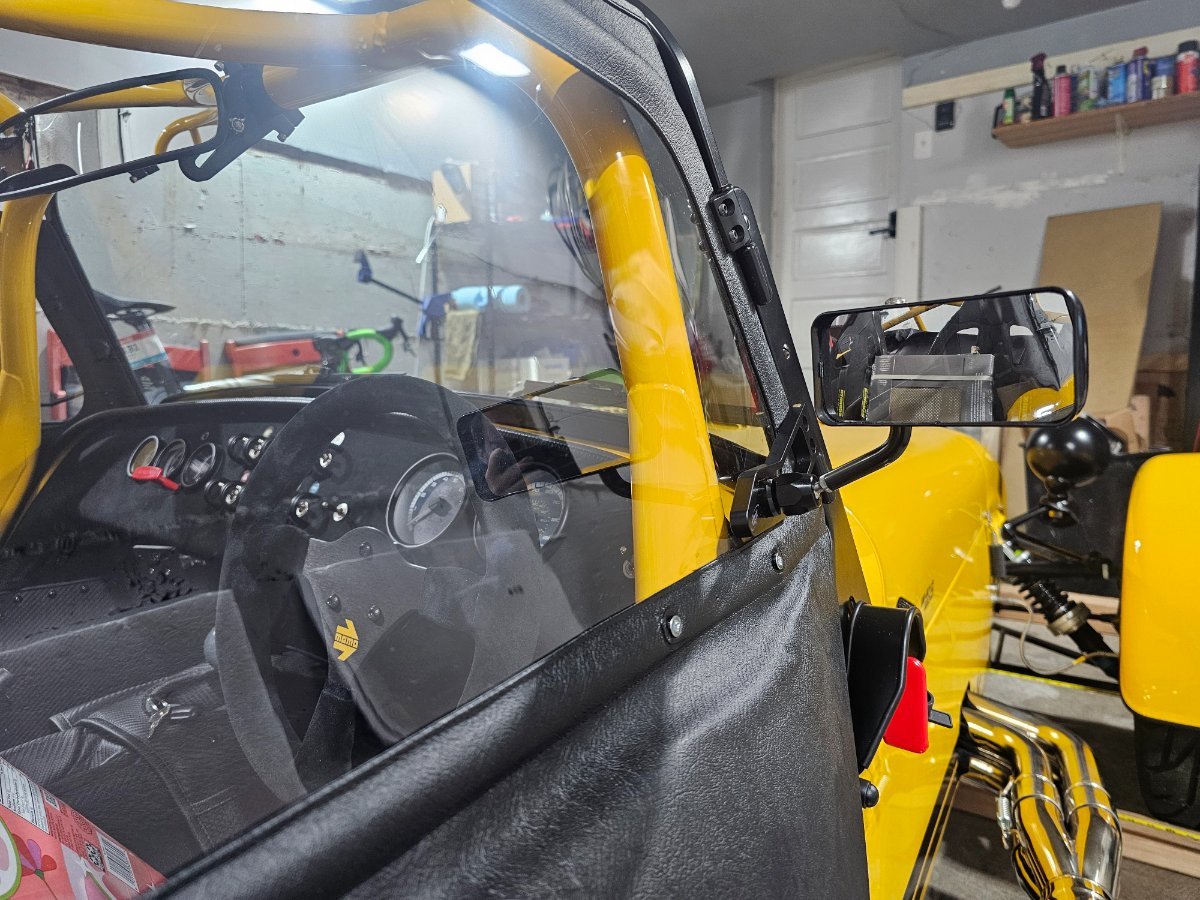
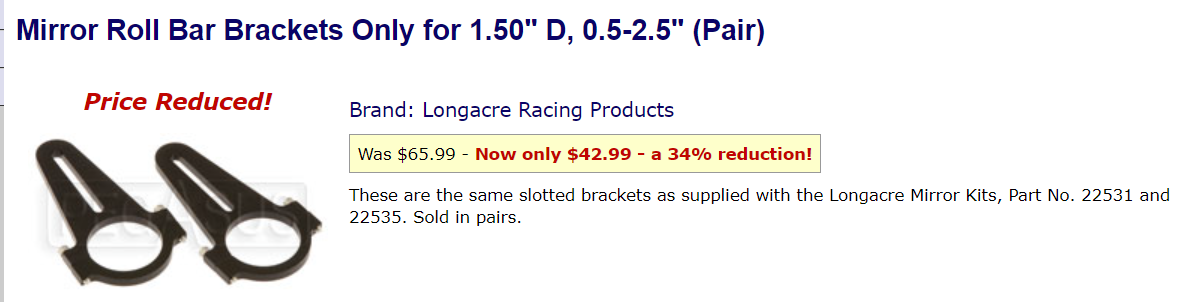
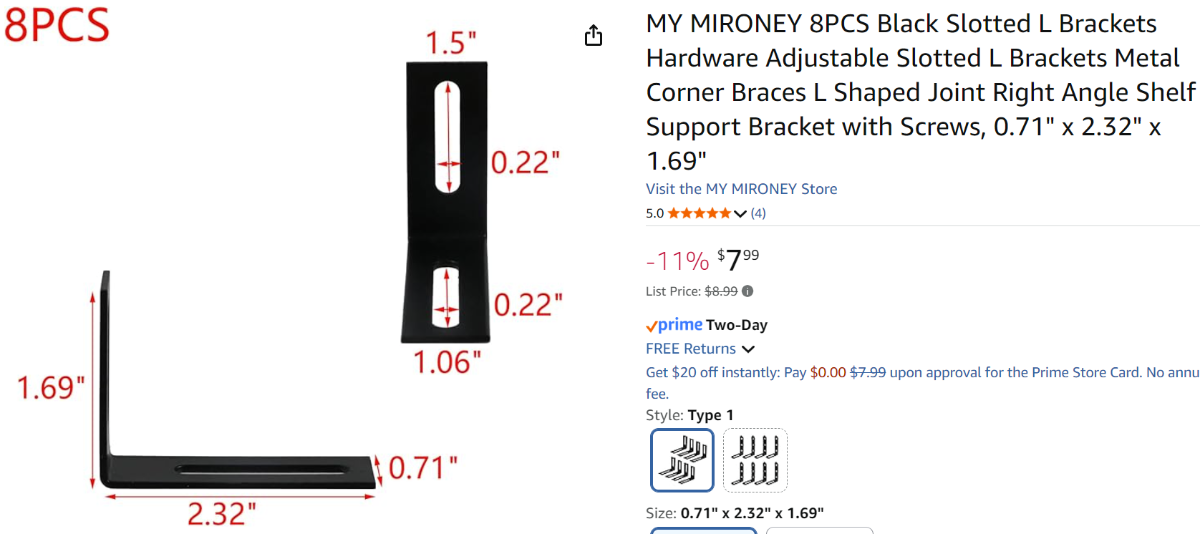
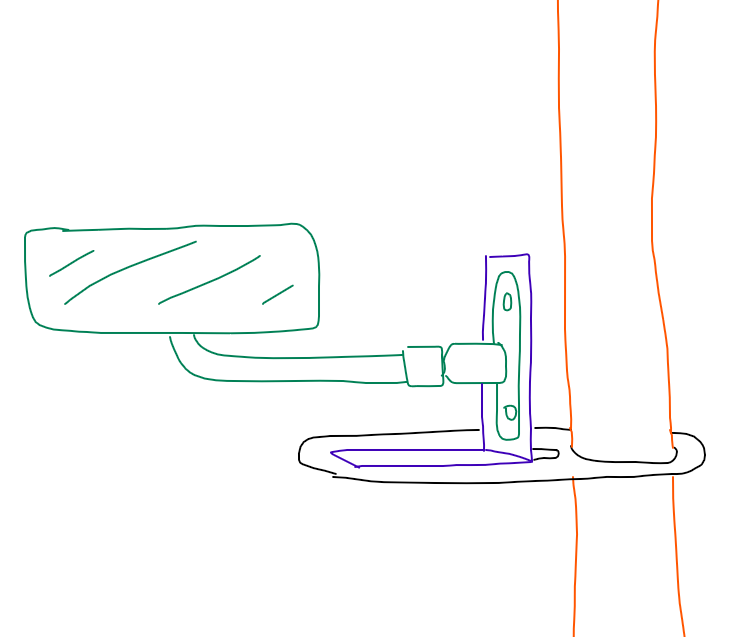
They came with the 14" longacre mirror set from Pegasus - they can be purchased separately as well, they are these: https://www.pegasusautoracing.com/productdetails.asp?RecID=259 I bought a second pair so I can mount my SPA mirrors plus L brackets to orient it 90 degrees: I might need to slot out the 1.5" a little longer we'll see. I'm hoping I can adjust the rear nut without removing the mirror this way.
-
Thanks! This is good info. Build support got back to me and said that at the beginning of 2025 (my car was built Jan 2025) they moved to on updated MBE ECU. They are "now becoming aware" that there was a batch of these which "struggle to come awake on ignition cycle and that could be overcome via power cycle" as was shown. They are going to send out a warranty replacement to Beachman. "You can continue to use this technique to overcome the problem until your replacement ECU arrives. It's caused by a tolerance issue with one of the ECU chips. Once the ECU is awake, it will perform perfectly." Whew! Well there we go. Thanks for everyone's help in this! Y'all are super knowledgeable. In other news, longacre mirror is in and bracket mirror mounts are on their way for the spa. The front frame and rear frame of the track day roll cage are 38 mm (1.5") and the curved bars and rear cross bars are 32 mm (1.25"). I also have some Westermann half doors to install, but this particular cage makes that really difficult to fit. I think I will have to make a big cut into the door. Anyone have a photo of westermann doors with this track day roll cage? I've only seen it with the FIA cage where it seems to fit easily.
-
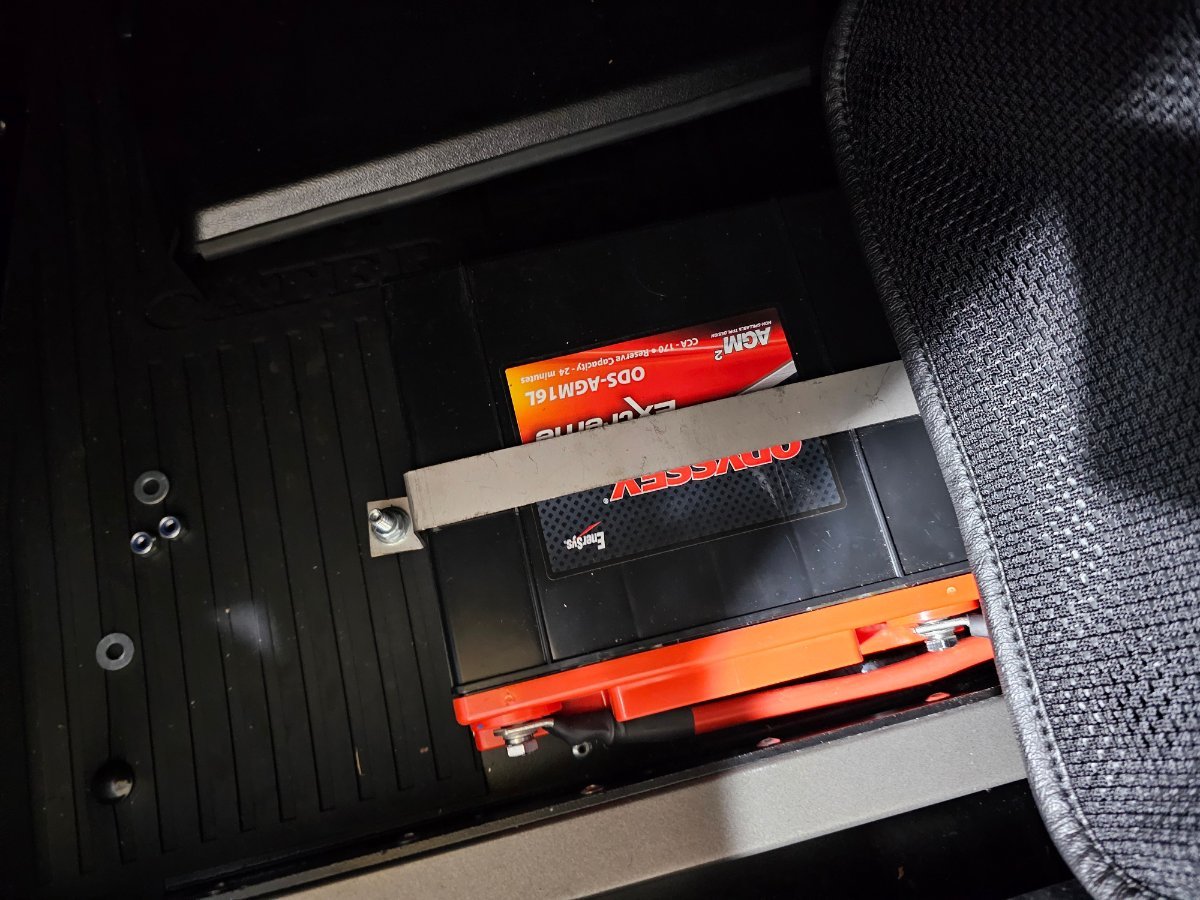
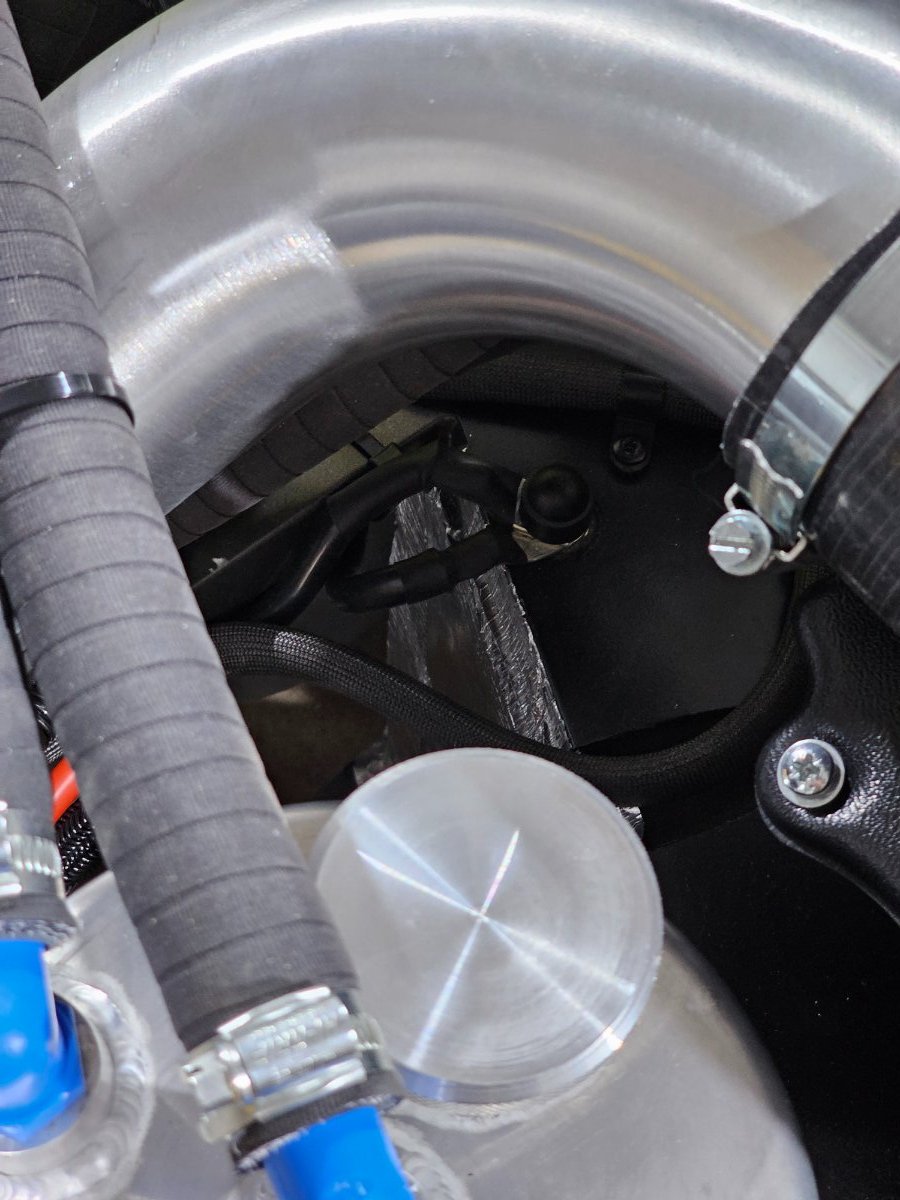
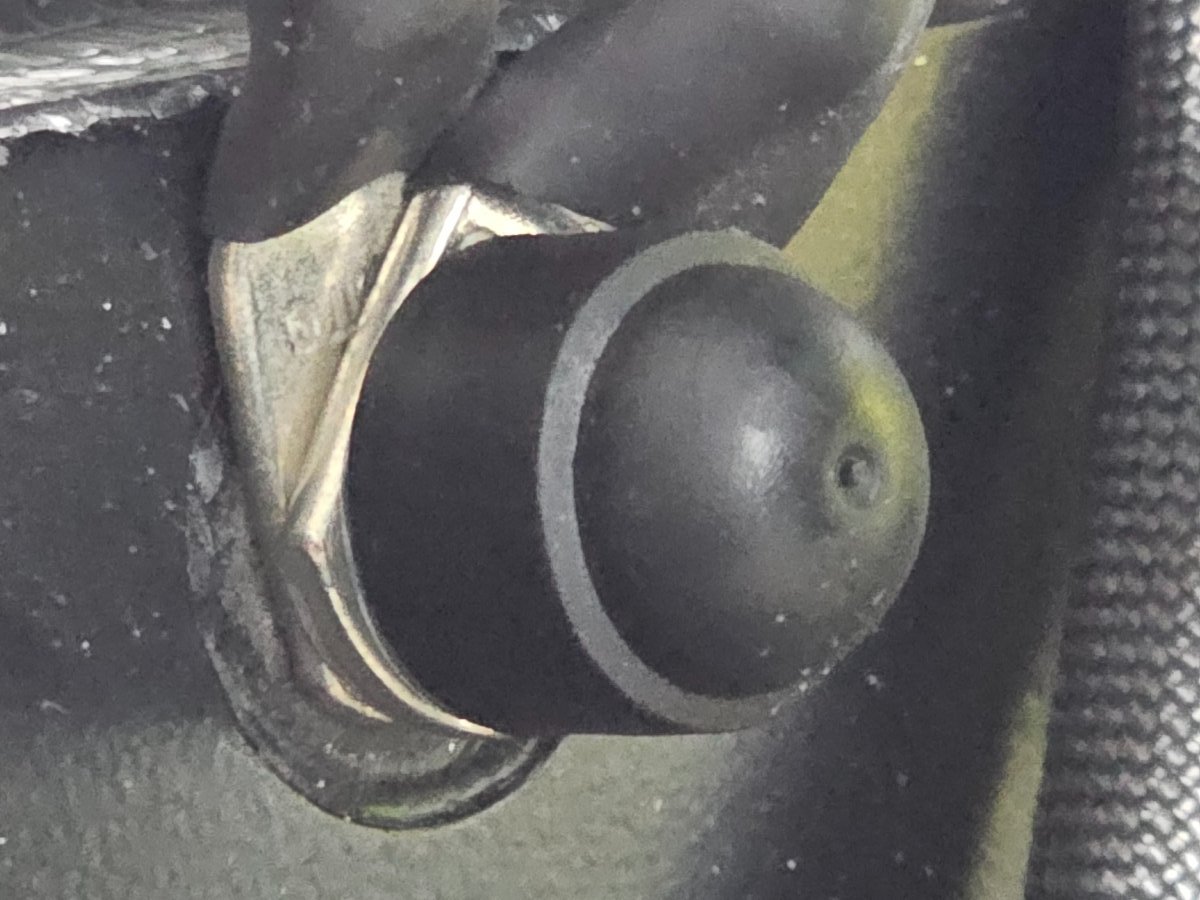
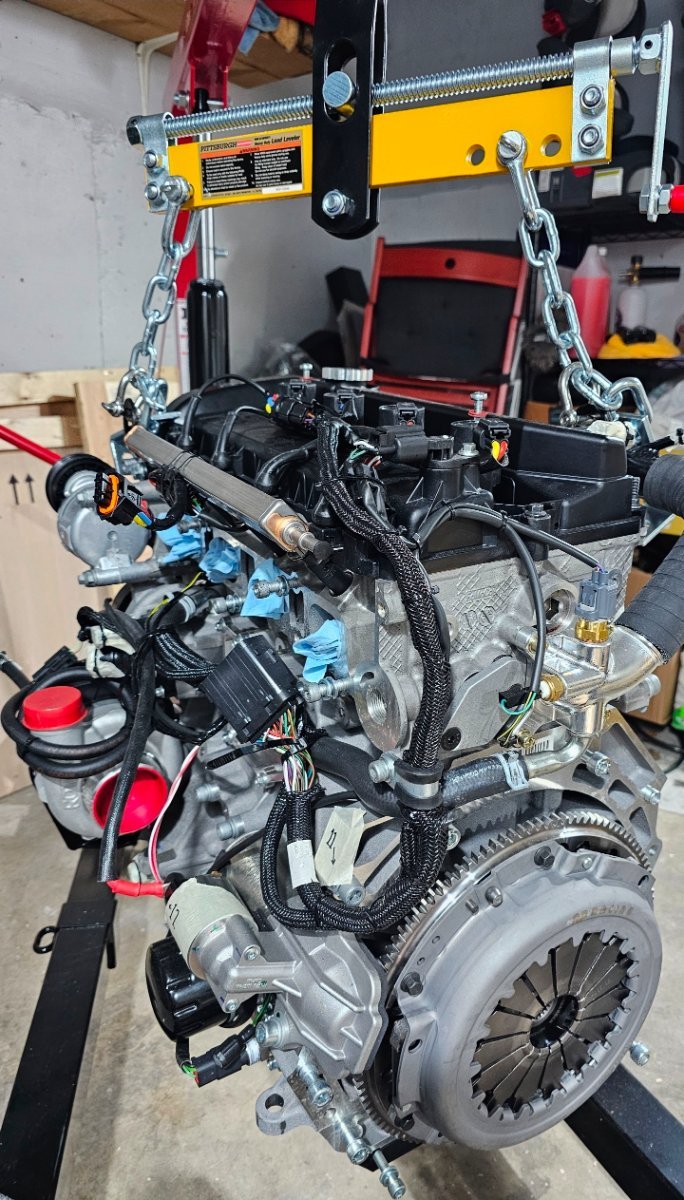
Update - Caterham cars build assistance asked me to try, when the car won't start, to leave the key in RUN, switch off the FIA switch, switch the FIA switch back on and then try cranking. I did as such - FIA switch was off after having been off over night and recently after a fresh charge the night prior, I then turned FIA switch to on, key into cylinder and key turned to RUN, and everything initialized other than the shift light as per usual. Car did not start as per usual. With the key set to RUN still, I then switched off the FIA switch, then within 5 seconds turned the FIA switch back on, and the red shift light initialized immediately! Sure enough, the car started right away. Sent them this info, will see what they say and will report back. For anyone wondering, I have a black ground battery cable running from passenger seat battery to the chassis below the coolant tank, and a second black cable goes to the engine block. This cable then goes to #11 bolt on the block above the starter motor:
-
This has occurred since first start of the engine, no changes have been made since. There is spark and fuel eventually at least as it will eventually run, and rather smoothly now at that. I agree a question is, is there initially spark and fuel? I haven't checked that - I can smell fuel odors during cranking from the exhaust, but I can't smell spark I will check the spark and report back asap. For fuel injectors, I only know how to hear them while the engine is running with the old screwdriver stethoscope. During cranking, does one pull a spark plug and use their nose? I also sent an email to build support to see if they can define what this light in question is for.
-
Here's a new one, now the speedometer is resetting when I start cranking. What?? Plugging in the battery overnight again. https://youtu.be/CWvv53Uh0D0?si=XPpGfzV81u-INIFd
-
The red light between tach and speedo does not illuminate with a freshly charged battery. After cranking many times and letting sit, upon key in RUN the light appears dimly lit. At crank start, it goes bright red once and remains dimly lit. Here you can watch me try to start it for 12 minutes yesterday (sorry for the fat thumb at the beginning) https://youtu.be/KSHvOY9m6UA?si=pViO6Nx3fvYqQh4m&t=36 And here is 10 minutes directly after where it started immediately https://m.youtube.com/watch?v=q3HjbjqVsdg
-
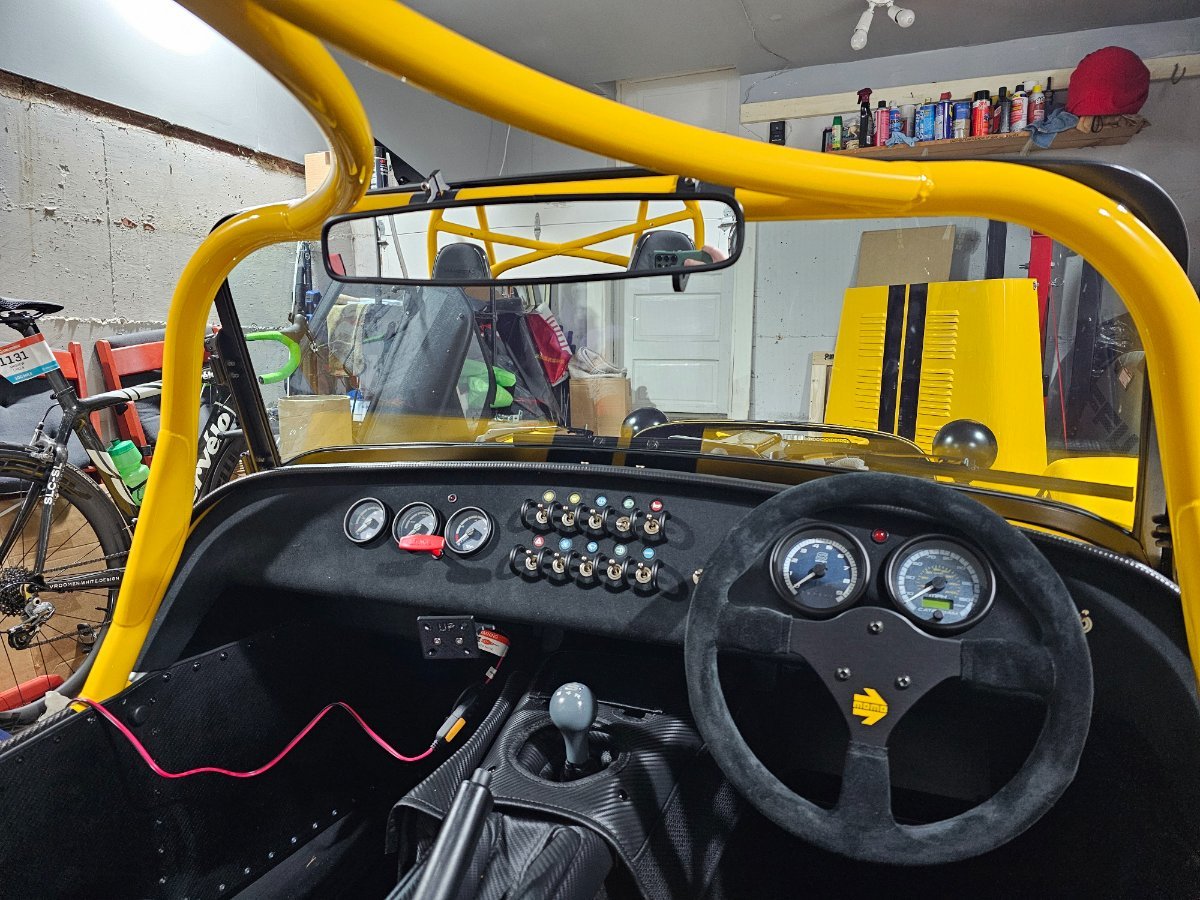
My immobilizer light (which was initially popped back into the dash wiring so I couldn't see it, and earlier comments by myself were confused on this) sits right above the three gauges of gas temp oil. If I remove the immobilizer fob from the key chain, the car doesn't crank, so the immobilizer seems to work properly.
-
Thanks for the help! I didn't know leaving the key in run could be harmful other than draining the battery, I will keep that in mind. I think maybe it was misread that I left the key in the run position for that 10 minutes, but I left it "key in but NOT on run". I probably shouldn't have written it that way oops. After cranking over and over the very first time, I could start to hear the cranking slowing down, then waited 10 minutes for one last hurrah prior to giving up (upon which it started). My charger showed up the next day so I left it plugged in overnight to step 7 on the ctek. Following day, some thing. So it's not a battery charge issue I don't think. All electronics work with the key in run, and a few work when not in run like hazards (at least I think I recall them working key out). So my guesses are either I'm soaking the engine with gasoline quite a bit cranking, then after 10 minutes of waiting it creates the perfect firing conditions and that red light is a red herring, or something is wired incorrectly and maybe that red light is trying to tell me something. What happens with the computer during those 10 minutes of waiting? Is something resetting? Why does that light not turn on during all my cranking attempts initially, but does after waiting? Something must be different with the computer and it seems that may be related.
-
Car didn't start again today. Tried starting it a dozen times over 12 minutes with zero firing. I then waited 10 minutes exactly with the key in but not on run. Turning the key to run, the light bulb between the tach and speedo illuminated. This has illuminated every time the car has successfully started from cold. And sure enough, the car started! I also noticed that about 250 rpm registered prior to firing noises were heard. Should there always be an RPM indication when cranking even if the car isn't firing? For the first 12 minutes of trying to start, the tachometer didn't move at all (checked on video).
-
Hi Croc, Yes, I bought new via Beachman Racing. I talked to Bruce today on the phone and we're looking into getting the PGM ecu kit. He made a good point to try and get it working normally before adding new variables into the mix. Since it has started from cold, I'm hoping things will fix the self a little and it will start from cold faster. Just last night it started quite rapidly compared to earlier, so I think the 7 miles of driving I've put on it (or the extra 10 gallons of fuel) have done something beneficial. I'll probably end up getting a communication cable anyhow to be able to look at data now and then. For overcooling, I thought that was fixed via the new black plastic thermostat with bypass line compared to the old metal no-bypass thermostat?
-
My ECU has written on it "30L279B", and looking at the Caterham parts page, the URL says 9M4 https://caterhamparts.co.uk/ecu/8146-ecu-9m4-duratec.html, so I'd assume it's an MBE branded ECU. Is there a cheaper ebay version of this cable?