hyper7
-
Posts
130 -
Joined
-
Last visited
Content Type
Profiles
Forums
Store
Articles
Gallery
Events
Library
Everything posted by hyper7
-

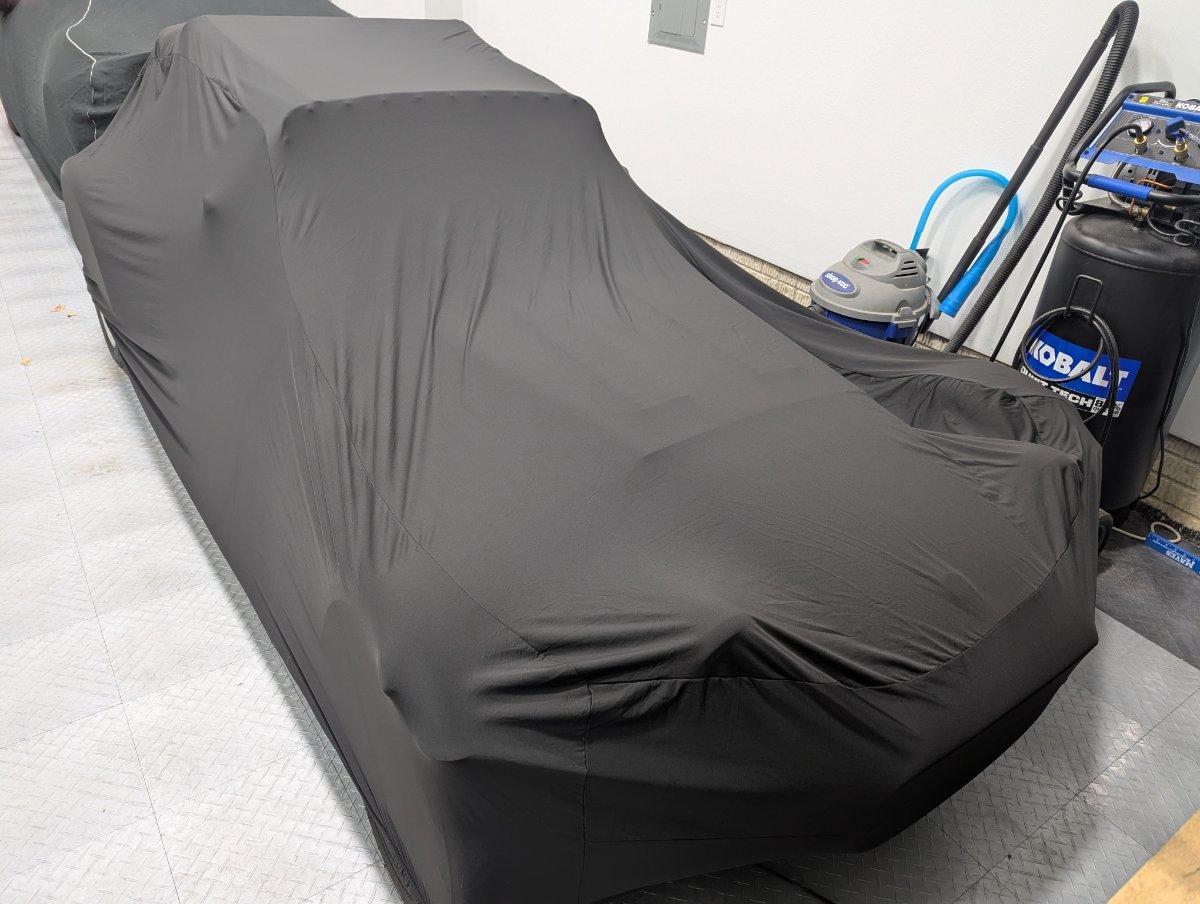
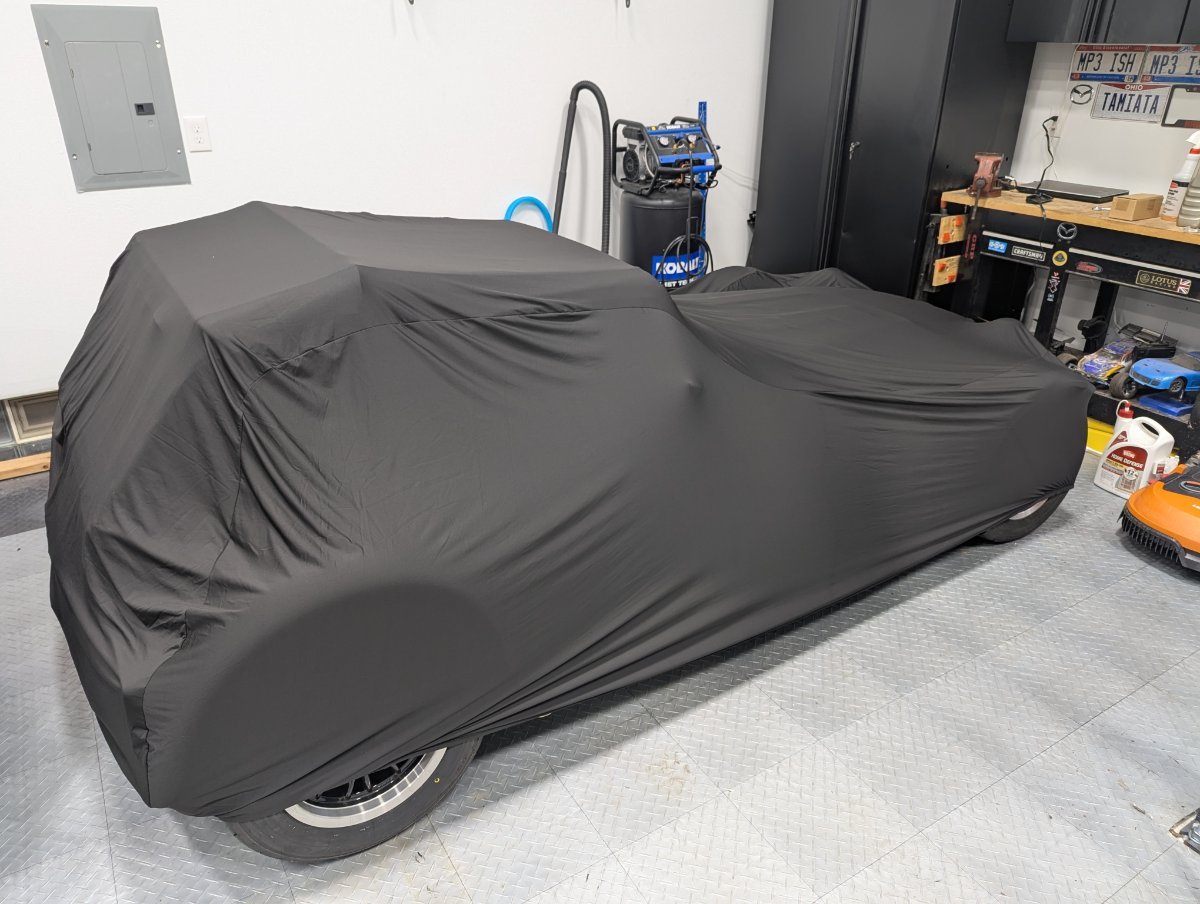
Classic Additions car cover for caterham - SOLD
hyper7 replied to hyper7's topic in Parts For Sale / Wanted
Listing is live on ebay, but will still give a lower price to anyone on the board. https://www.ebay.com/itm/116416683983 -
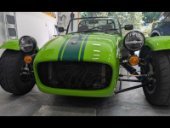
I bought this cover for my recently completed Caterham SV...but after sending my parents a picture of it tucked away for the year, they informed me that had purchased the "official" cover from Caterham for me. I'm looking to sell the one I bought at a discount, even though it's brand new and only been on the car for a week. No reason to keep two covers, and this is a win win for me to get a little cash back, and someone else to save a few bucks. Their site is showing it listed at £145 - but I only paid £115 (plus 64 shipping). Current conversation to USD says £115 is about $150 - so I'd be happy to take $125 shipped to anywhere in the US/Canada. Like I said, I don't really care to make all my money back, just trying to help out the community and regain a little of my expenses.

-
Yup. Just used some tin snips to chop off the ends.
-
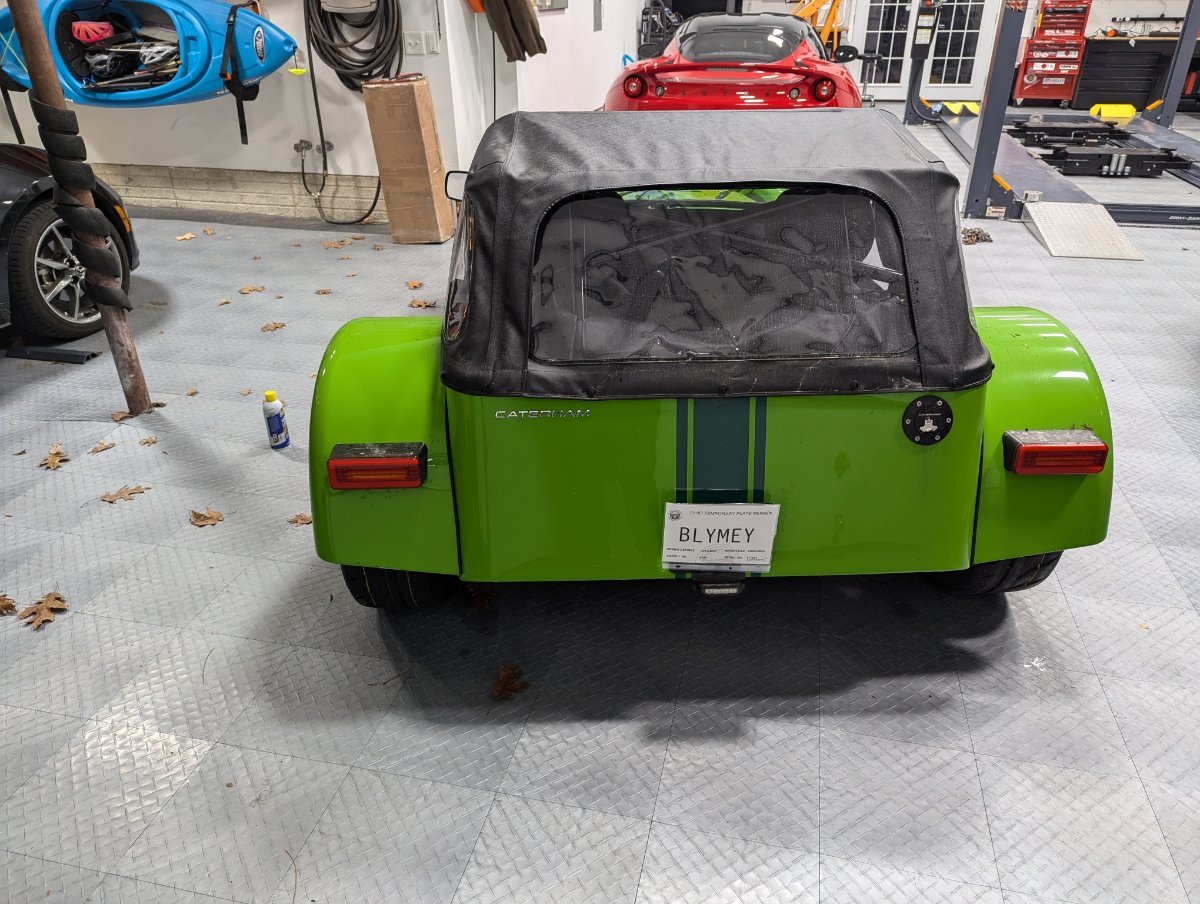
Road legal! See my other thread for details on registration in Ohio...
-
Yep! Temps are on the car, real plates will be here in a week or so.
-
Vin was assigned (matches the chassis number) and took inspection form and statement of origin, and receipts from dealer to the title bureau - they charged me tax (over $4,000 🫤) and gave me a title - now I'm next door getting plates to be totally legal.
-
At the inspection currently, items checked Headlights High/low Turn signal Wipers (thanks again @Mark IV) Wiper fluid Brake lights Reverse lights Horn Now he said he needs about 30 minutes to register it.
-
My rear hub took a chunk out of my shin...twice...before I had the rear wings on mine. Part of the fun
-
That might be worth it. My tracking number says it left the UK yesterday,but not clue what that means for when it will show up.
-
Lol ok. I'll update the post once I know more
-
So did they check for function of things like headlights/wipers etc? Or didn't really care?
-
Amazing what happens when you plug the submarine connector back in Apparently it got disconnected somewhere along the line.
-
It moves up from the bottom of the gauge to the blue "cold" section, but never goes higher. My obd reader reports the temp at 200+. I'll run it again with the heater open and see if it does anything different today.
-
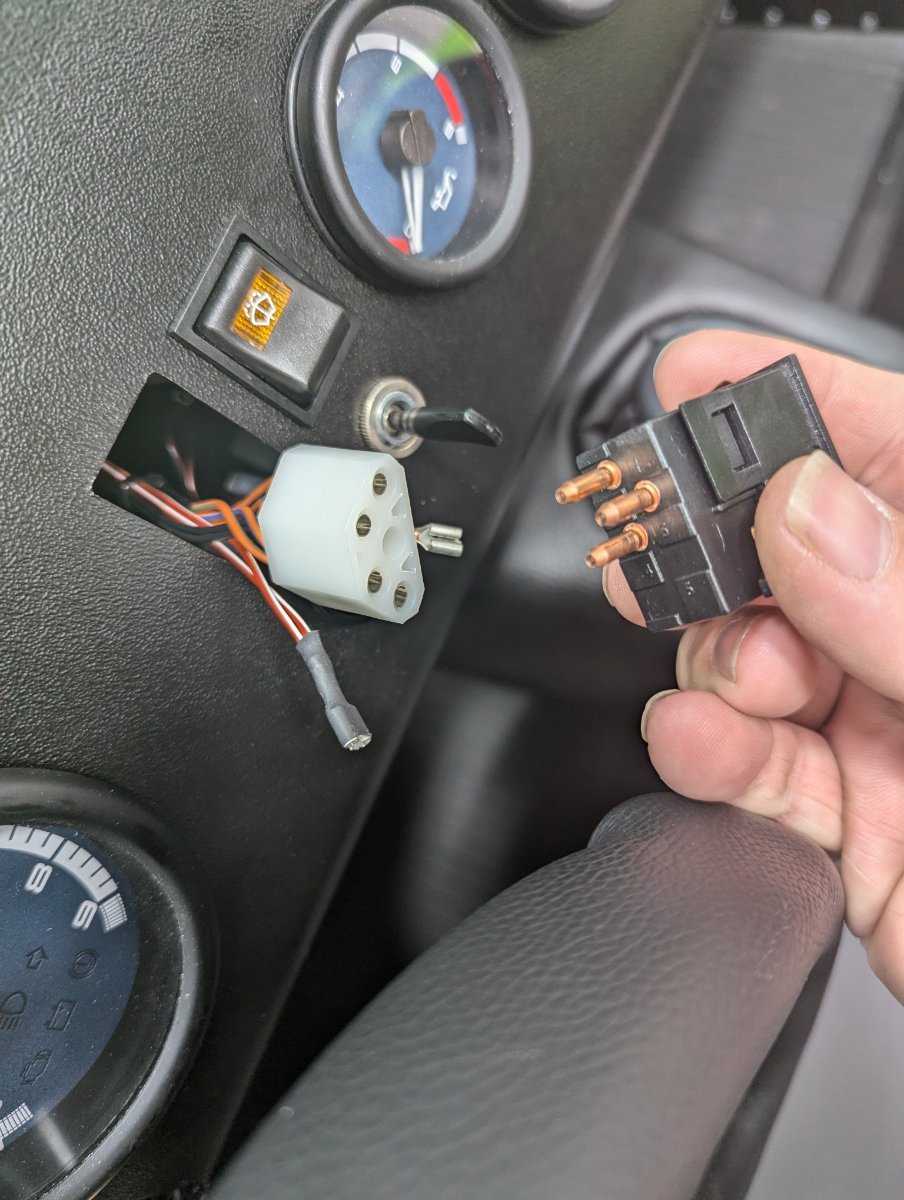
The closest inspection place is almost an hour away..not like I can just swing past. I found another site that has them in stock for like $20, so I bit the bullet and ordered one anyway. Rain is possible for next Thursday anyway, so id actually rather have a switch regardless of requirements.
-
pulled is "open" correct? if so, i'll try that out and make sure its good.
-
The heater switch has less pins and in different spots.
-
just drove it around the block again, brakes feel a little better, but still not as bitey as i expected, but maybe i'm just used to my "modern" cars. also getting a weird pulsing sound after letting off the brakes, so i guess i've gotta put it back in the air again. oh, and my temperature gauge never went above the "blue" section....so i'm wondering if something else is messed up. i had the nose cone off and was running it for a while, and saw the fan kick on, and my obd connector showed the temp up in the low 200s (F).
-
I think I've got the handbrake set up well now. I found someone else's post with some steps that seems to have helpd: disconnect the handbrake (ie spin the adjustment nuts all the way loose) Take the calipers off both sides back the pistons in on the calipers with a retraction tool put it back together pump the brakes a few times to move the pistons back to the correct spot tighten the handbrake cable adjuster until it won't go any further pull up the handbrake, see if it rolls (it did not) drop the handbrake, make sure it DOES roll (it did) I also went ahead and bled again since i had everything off, only a couple small bubbles...but hopefully that was enough to cause the squish. gorgeous out right now, so will probably spin around the block before the sun goes down in an hour. I noticed my coolant level was low after my short drives, but i'm guessing its just air burping its way out. also topped off the oil, since it also seemed low. So the REAL question i have....anyone know what vehicle the wiper switch comes from? i'm pretty sure the switch was finally shipped, but since I'm STILL waiting on the bushing since september, i'm not confident it will show up before my inspection on the 14th...would be willing to spend a little to make sure i get it, but i'm having no luck tracking it down from sources other than caterham or another UK site (https://www.mksportscars.com/) - anyone know of somewhere else I can find it somewhat quickly?
-
I went out and checked mine too after your last post, and mine is sitting right on top, on the passenger side too. I think I'll flip my fan too, that makes sense.
-
I tried using loctite power grab at first, but it literally peeled off. Don't make my mistake. Panel adhesive 08115 - also make sure to get the correct gun. You need the 200ml gun (assuming you can only find 200ml like me) the gun is expensive, but 100% necessary. Again, I tried to skimp and do it by hand, but it was just a mess and I bought the "right" gun off Amazon.
-
Thanks - my kit was shipped without a wiper switch, as they were backordered at the time of delivery. I've been told one is on the way...but i'm guessing i'll have to reschedule if it doesnt get here before the appointment
-
Small update on the needed paperwork - I received the Manufacturer's Statement of Origin yesterday from my dealer (not sure why I didn't have that at delivery, but whatever) - THAT is the main thing you'll need. It must be signed and notarized, but that should act as the "existing" title that the Highway Patrol will need to verify.
-
Since the web is a little less than helpful on this topic, I've decided to record my process and any issues I encounter here so that future readers can find a better answer than Ohio's vague websites. So far heres what I know: To get your car titled/registered in Ohio, it will be titled as a "Salvage/Self-Assembled" vehicle. This is where the first problem comes up - the Ohio DMV site redirects you to the Highway Patrol website, which both lump salvage and self assembly as the same thing (which obviously, they are NOT). I laugh every time I read this: "Before it can be titled" immediately followed with "3. Ohio title with current owner name".....how can I have an Ohio title, if its not able to be titled yet?! Anyway, moving on.... Go to the DMV and ask to buy a "salvage/self assembly inspection". They may not know what you mean, but someone eventually will (took 3 clerks on my visit). This piece of paper will act as your Temporary tag to allow you to drive TO and FROM the inspection appointment...but not anywhere else. So you'll have to do the initial test drives "illegally" without actual tags. Once you have that, you can schedule an inspection at one of like 10 places around the state....and of course none are close to me. What I've heard they are looking for at the inspection (My appointment is November 12th, so I'll update after it) is really just a NOTARIZED bill(s) of sale that includes motor, transmission, differential, and chassis information, and then your drivers license. Edit: received a notarized manufacturer statement of origin, which is essentially a pre-title They specifically say its NOT for safety, but i'm guessing if things were falling off they'd probably deny it... Edit to add items checked Headlights High/low Turn signal Wipers (thanks again @Mark IV) Wiper fluid Brake lights Reverse lights Horn
-
Sounds like you're getting closer! My daughter (15) helped with holding like 1 bolt, and that was all I could get out of her...