captain pabst
-
Posts
28 -
Joined
-
Last visited
Content Type
Profiles
Forums
Store
Articles
Gallery
Events
Library
Everything posted by captain pabst
-
CATERHAM RACE REAR CALIPER KIT 2 POT
captain pabst replied to ratchet's topic in Parts For Sale / Wanted
Are these still available? -
My friend who works on a tugboat sent me this picture. Hopefully who ever imported it is on here and gets a picture of their car in transit. Photo taken of Port Dundalk 13 near Baltimore, MD

-
I was getting a bit with the fronts but as I picked up pace I was instructed to drop in from the corner
-
Just posting up here that I'll be attending the Colonial Cup Challenge Track day 8/28/2025 with my 420r. It would be great if some other Caterham's could make it out. I'll be in intermediate. https://kerbz.app/event/ccc-track-day-8-28-20205-1746847043
-
I made it to my first track day with the Caterham the other week. Shenandoah at Summit Point It was very rewarding. I was within a second of my Porsche GT4 on the same track. My top speed was at least 10 miles an hour slower on the main straight. so pretty interesting. I had no issues with Motion sickness which is my main hold up. My next track day will be 8/28/2025 at Summit Point Main for the Colonial Challenge Cup. Would be great if some other Caterhams could make it! https://kerbz.app/event/ccc-track-day-8-28-20205-1746847043
-
for the rears you can always put tires on the fronts (easier when the car is done) and jack the rear up until the calipers are more close to level / bleeder being the high poitn ( i did this as my car was "done" but was looking for a bit better bleed on the brakes)
-
So some research on the front adapters (with the 4 pot calipers in the front) say they need to be annealed if leaking (this is obviously really messy now that there is fluid in the system) another thing to try is to tighten loosen and tighten a few times making it seat better. Yes this actually worked for me, but i wished i had annealed mine before putting them in place Have you bled both valves on the front brakes? there is an inside and an outside for each caliper. my drivers front had a lot of air on the inside bleeder. I used a power bleeder and the old school way second and felt the brakes were done after pumping and cracking bleeders. Good luck! hope you finish up soon.
-
Will catch up to you next time.
-
Demoray where in MD are you?
-
I'm on R888R's so not welcome
-
Date Saved, thanks
-
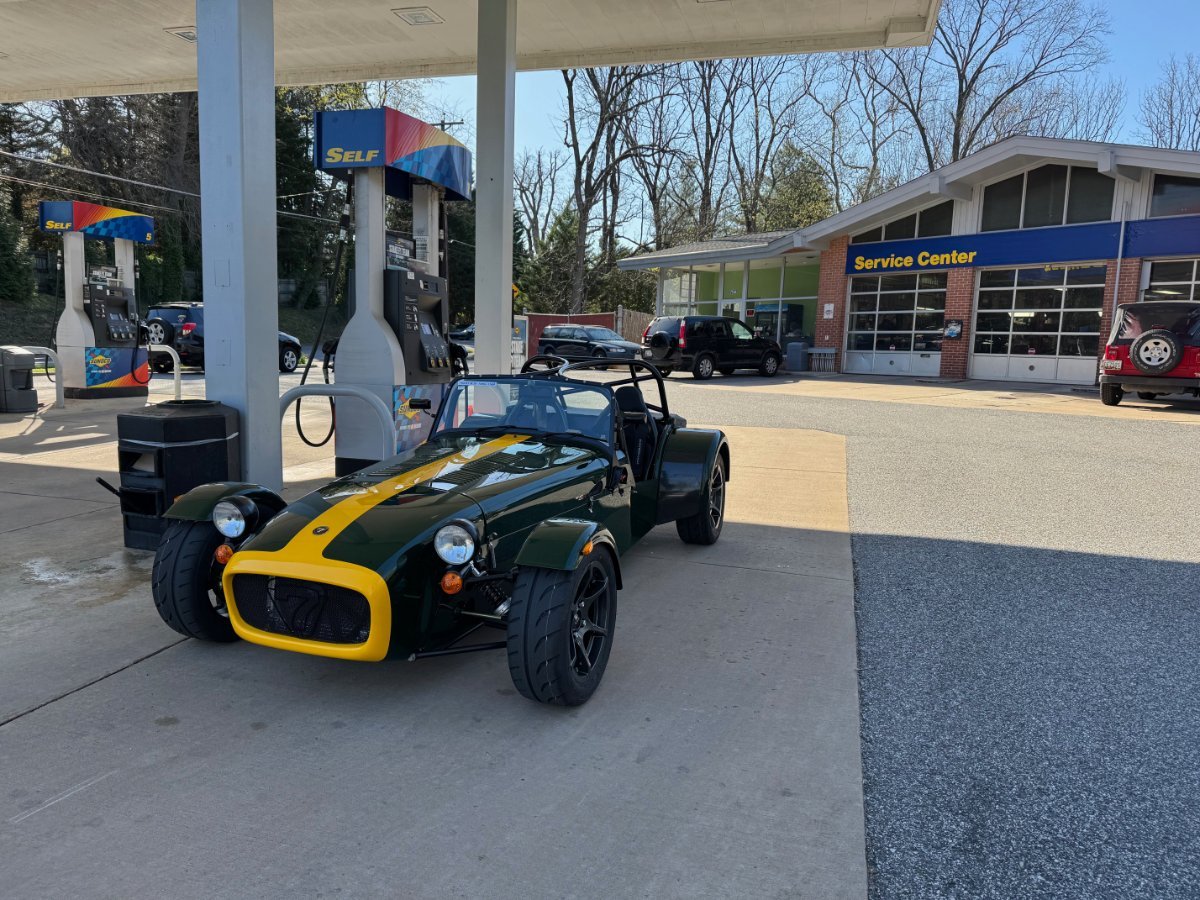
Welp. Its all done... I have about 180 miles on it so far. It's a blast. I'll be taking it to a Porsche Club Autocross this weekend.
-
The red cage needed to be removed. Then I had a very thin Tweezer for vinyl that I was able to disengage the clip, then pushed it out from the front using a piece of Tig filler wire. Put it all back together and it started right up.
-
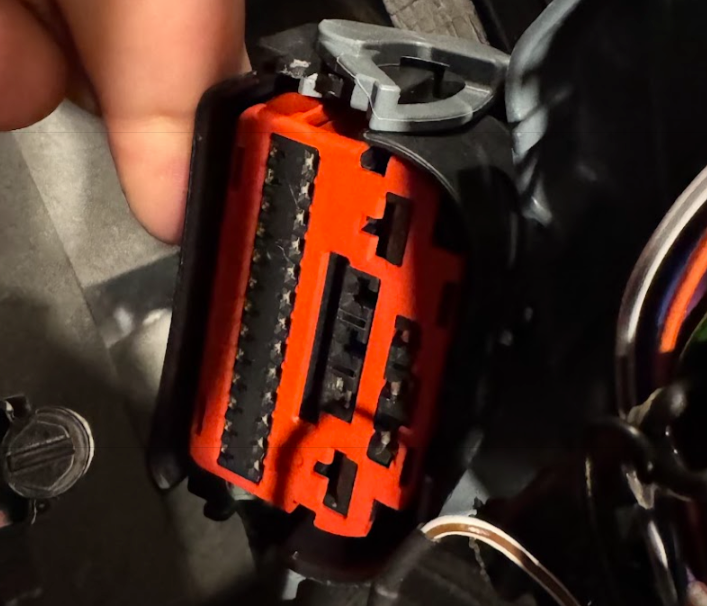
Anyone Know about de-pining the Body side of the Engine harness? I've got a no start and it appears the culprit is in this connecter. Pin numbers are for reference and probably not the actual connector because I'm not sure of the numbering on this connector. But It goes Red-5 White-6 black-7 on the engine side and then on the body harness it goes to White-5 Red-6 Black-7 (Red and White have switched positions). Leading to Crank Signal being at ECU pin 7 instead of 12 (which is supposed to be a power ground), and Crank Return is at Pin 11 (correct) and Power Ground is at pin 11 instead of 7.
-
Indeed, I have driven all of the tracks at Summit, but not every layout. Only been on track there with a Porsche GT4.
-
Looks good keep up the updates.
-
My missing parts including roll cage and pick list are en route. I hope it has everything. Seeing some other threads where there was 1 missing radiator mount and I have the same issue. Probably best to be the lowest number in a group of cars coming over instead of the highest like mine was.
-
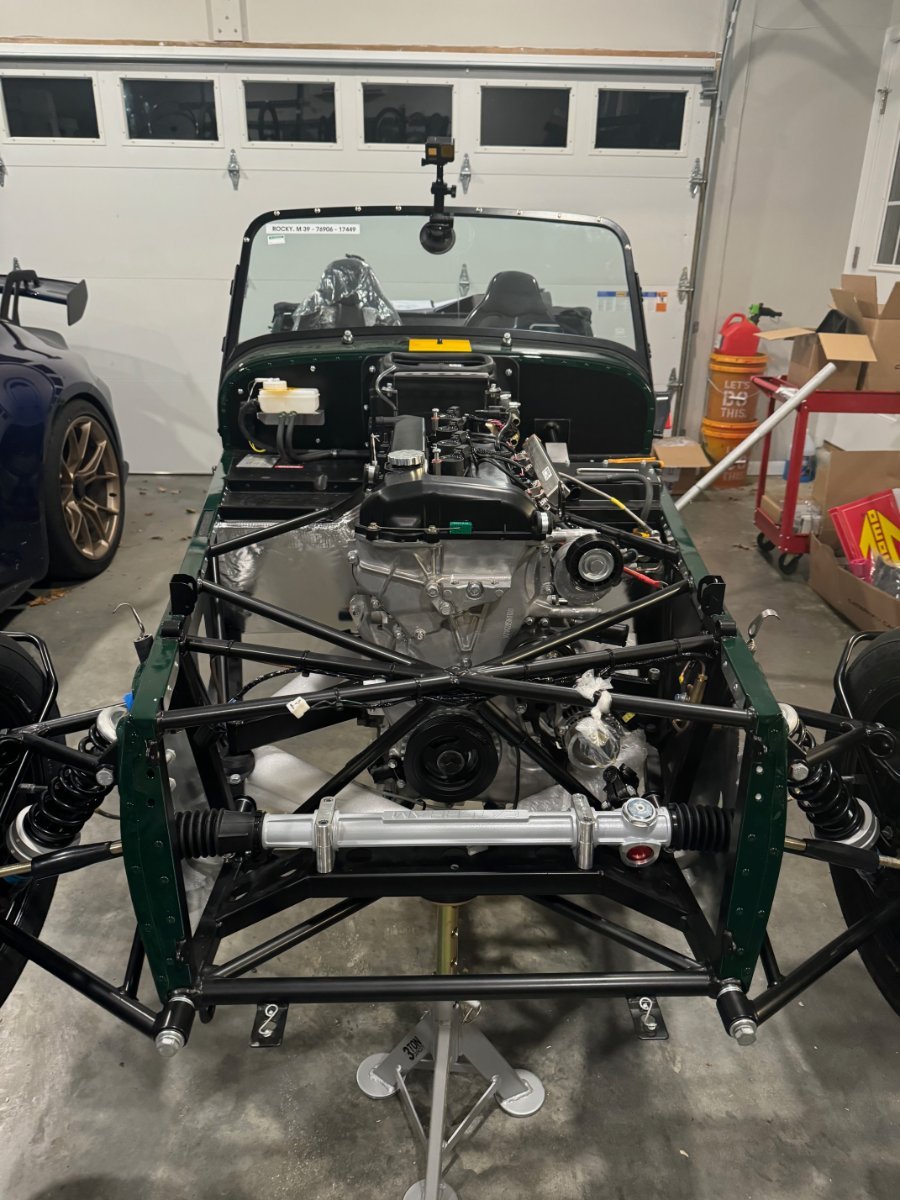
Engine went in. Amazing how little space there is in the transmission tunnel. I wish I leveled everything better before starting. Took a little over an hour.
-
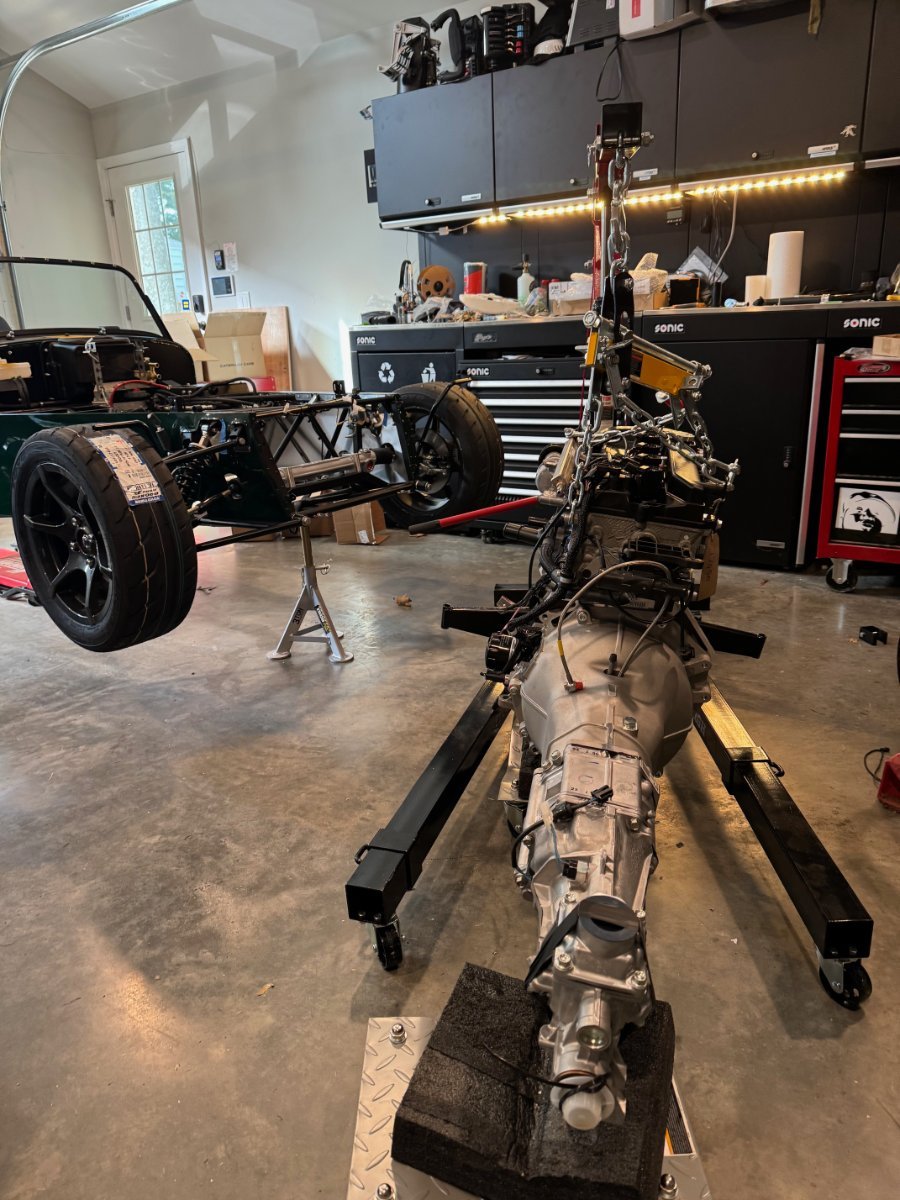
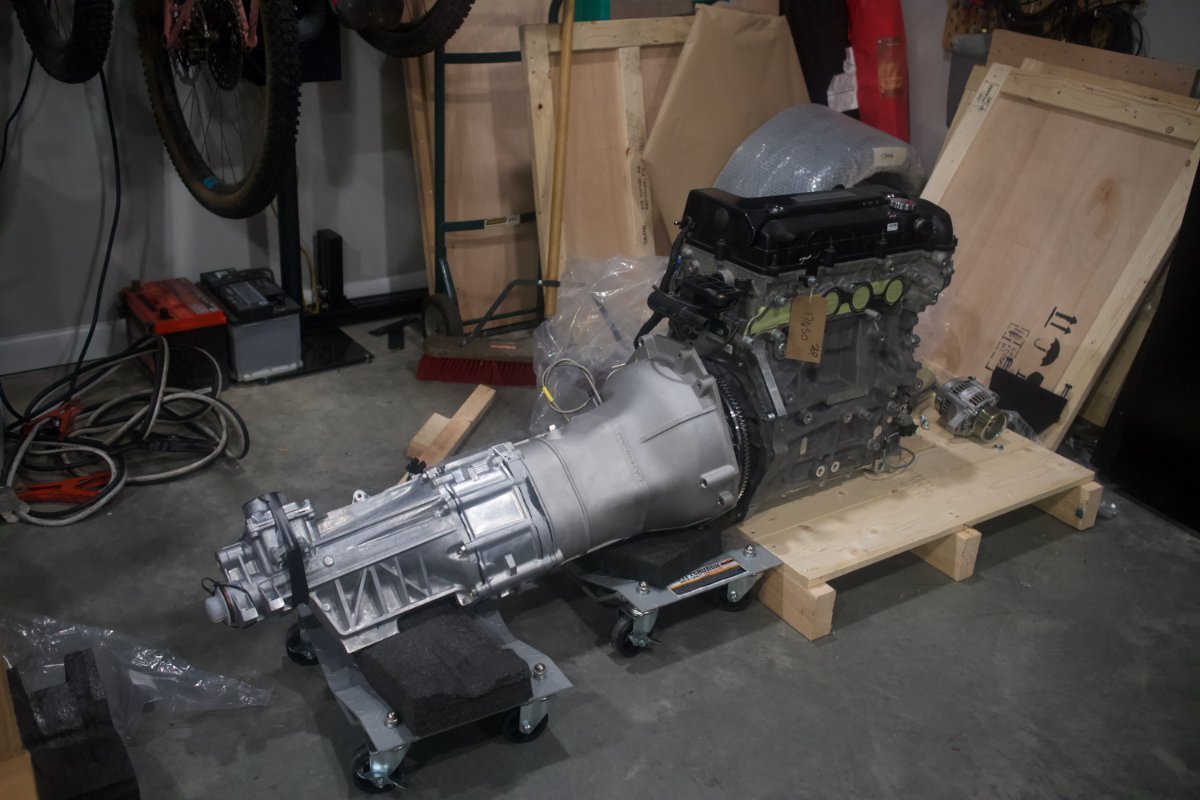
Engine is waiting some free time to be dropped in.
-
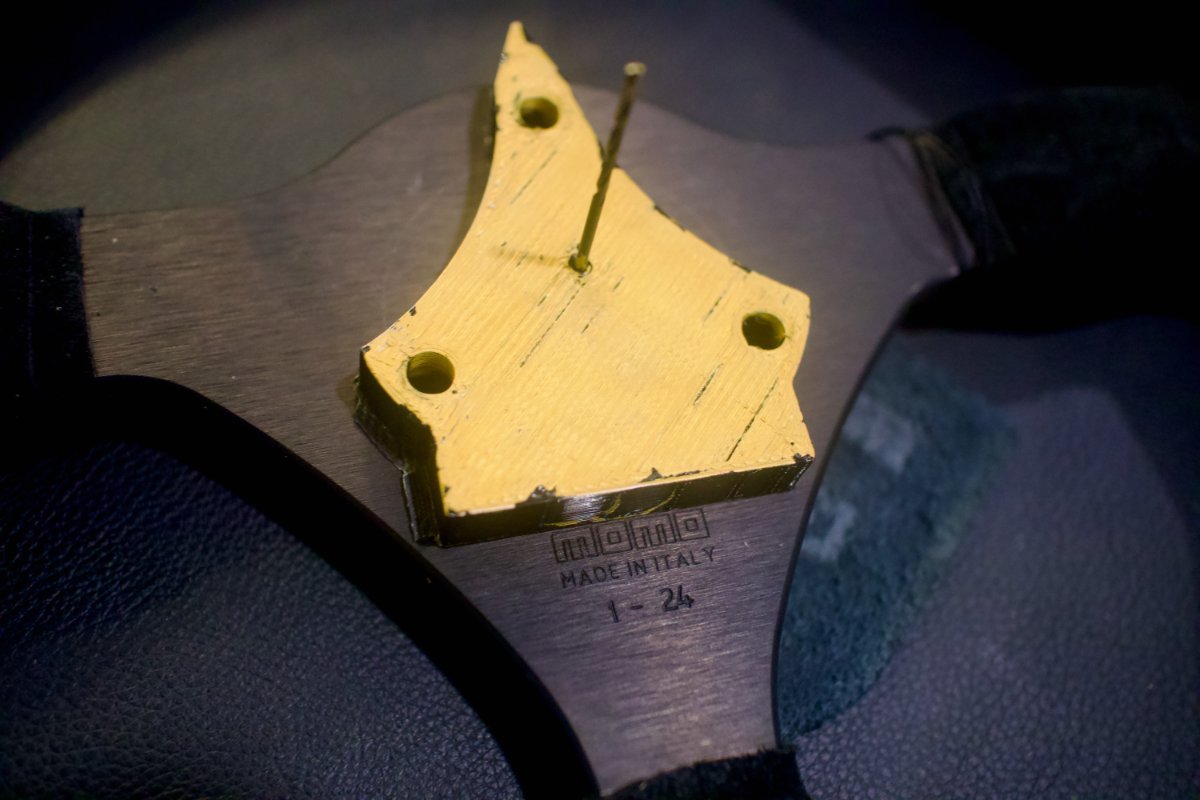
So one thing I find to be daunting is the drilling of the steering wheel. I have come up with the following 3d model that should take some of the guess work out of it. Feel free to use it as you please. The hole at the center is 2mm and I used a small drill bit here to center on the divot in the back of the wheel. The holes for the drill bit are modeled as 6mm. I measured my bolts as 5.8mm This is designed around the felt wheel. The thinking being there is a pointer at 12 o'clock and then a flat on the bottom to align with the text of the wheel (assuming it is square). the gold is from my kid and the paint pens... steeringdrill11mmextension.stl
-
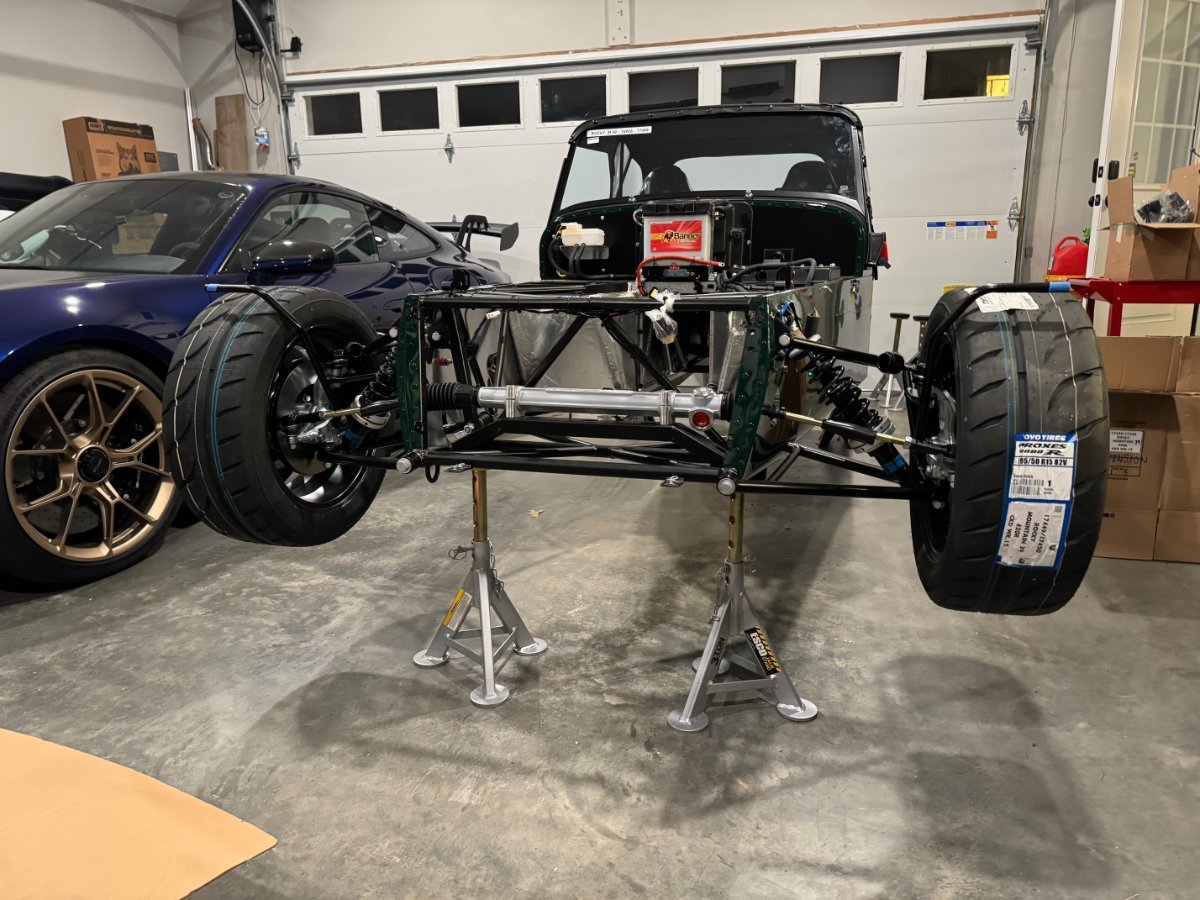
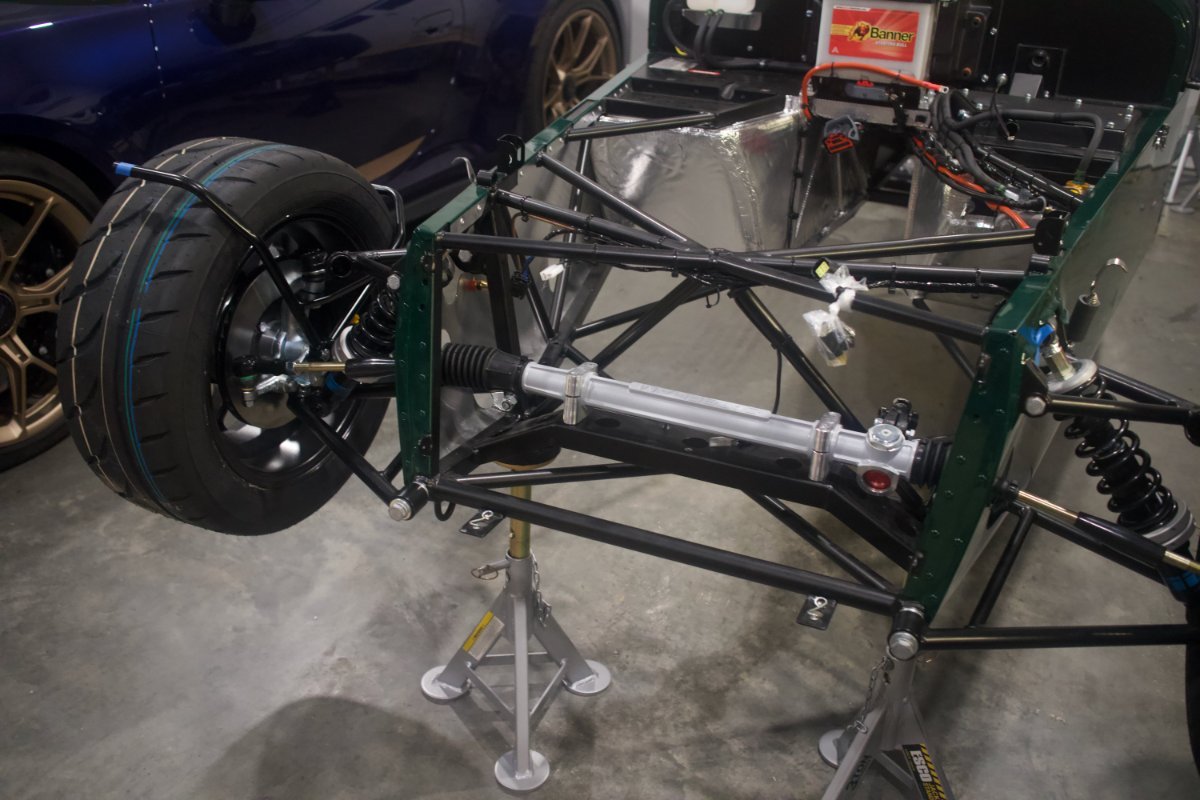
I've made some progress, Front suspension is on. We put the wheels on for fun ( I have a 5 year old ) I did the suspension while everything was very low to the ground and put it on jack stands after. Engine and Tranny are ready to be bolted together. Seats are just placed in the interior. Having a lot of fun so far ( even amongst the looking for the correct hardware for each step)
-
Optioned but not included at all. I have quite a few missing things, including a missing pick list which could explain a lot, but makes reconciling what is and isn't there even harder.
-
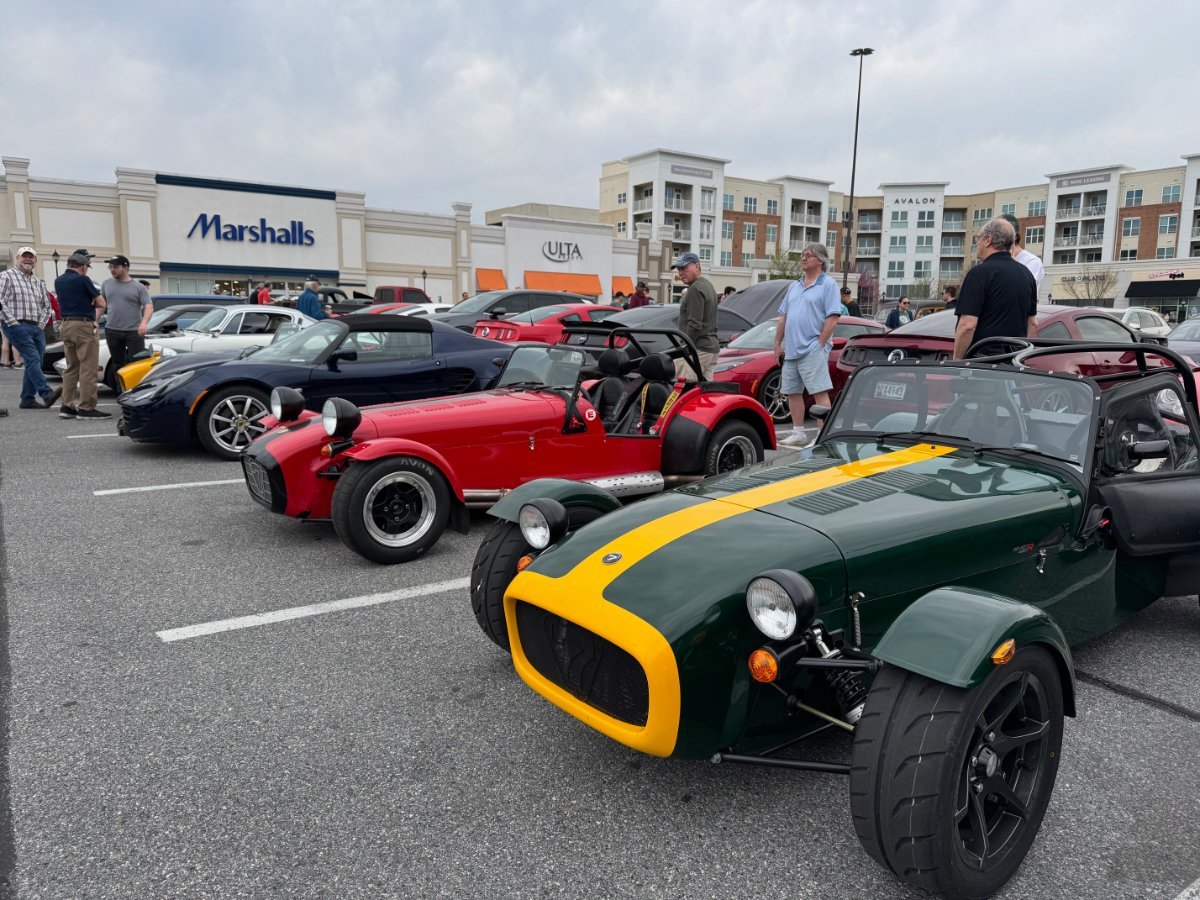
Oh man that color! looks great. Hope to meetup at some point
-
Summit, I haven't been this year but look forward to the build on this and going from there. Glad you guys got it unloaded so quick. I got about 5 minutes notice before he showed up so I was extremely short handed.
-
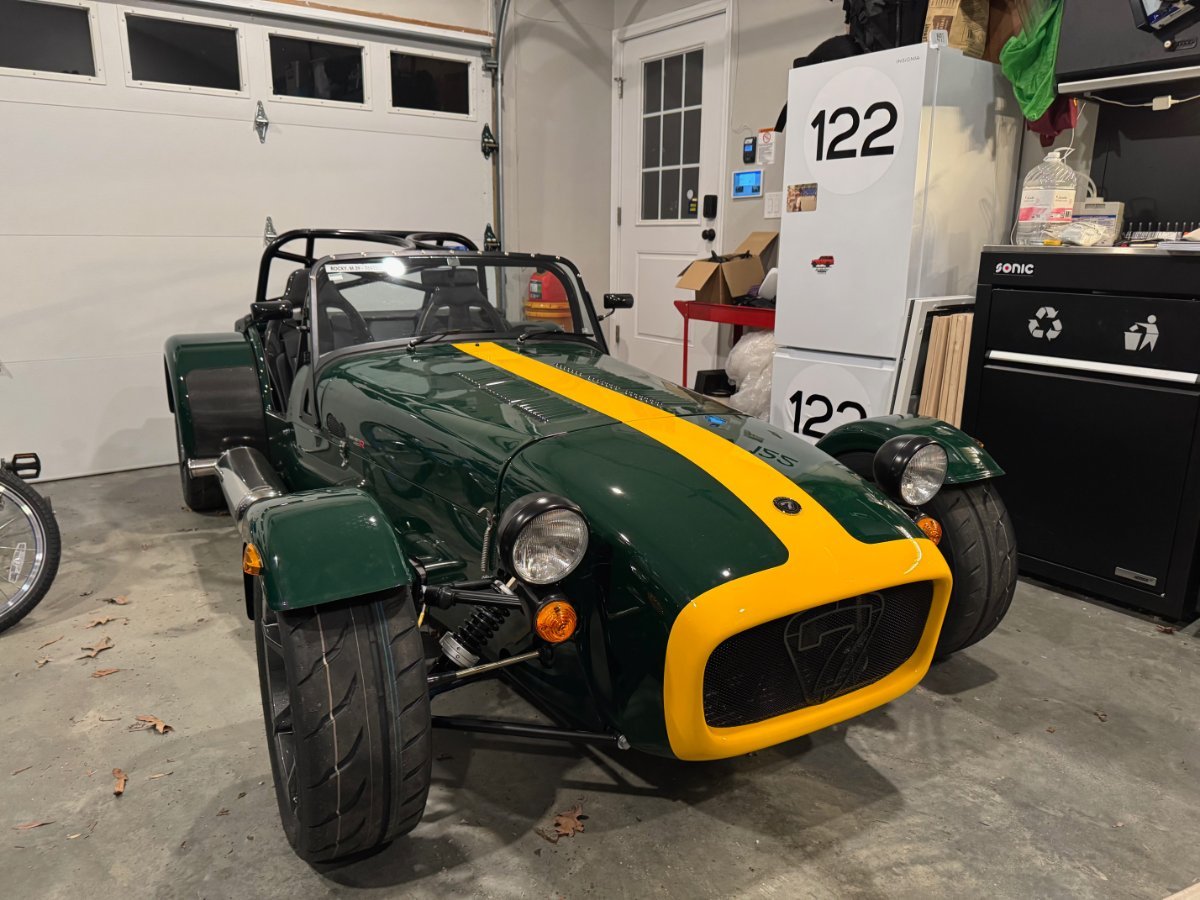
Thanks! its Series V with lowered floors Heat! Carbon seats 4 piston brakes track day cage shift lights map pockets