E55
Registered User-
Posts
15 -
Joined
Personal Information
-
Location
Sacramento, CA
-
Se7en
S3 1700 X-flow
Recent Profile Visitors
1,510 profile views
-
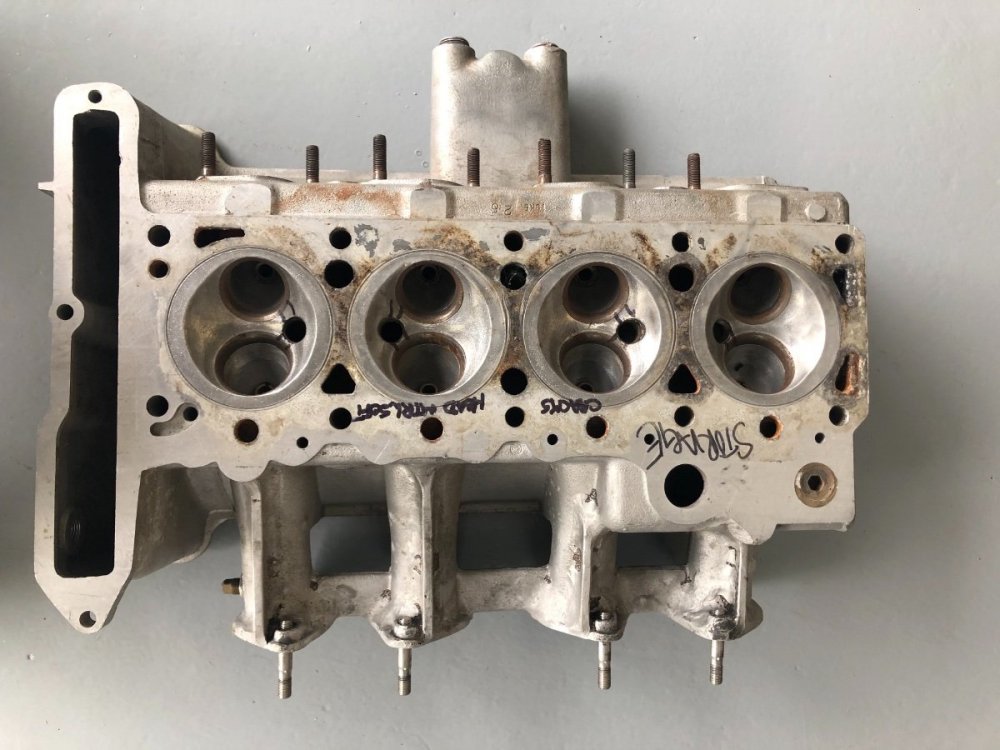
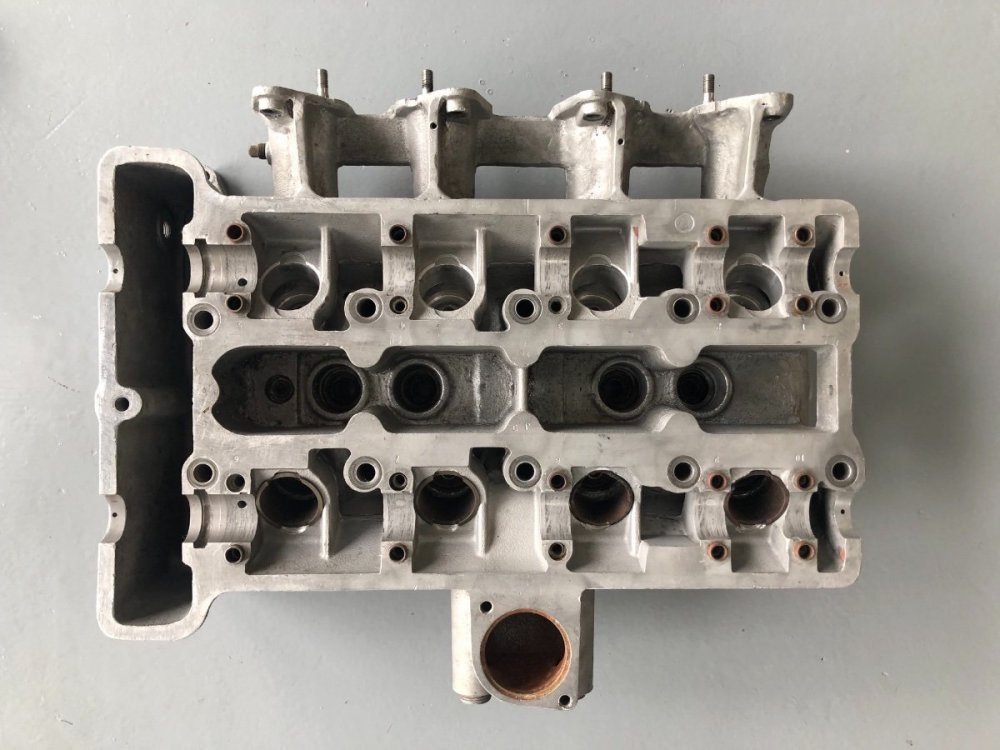
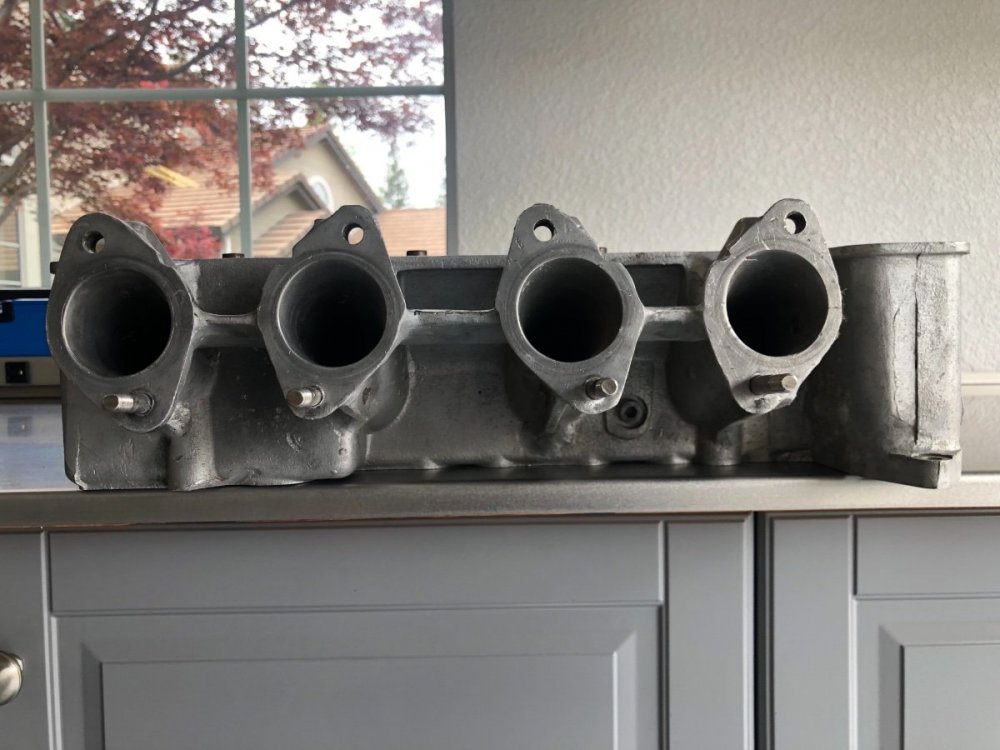
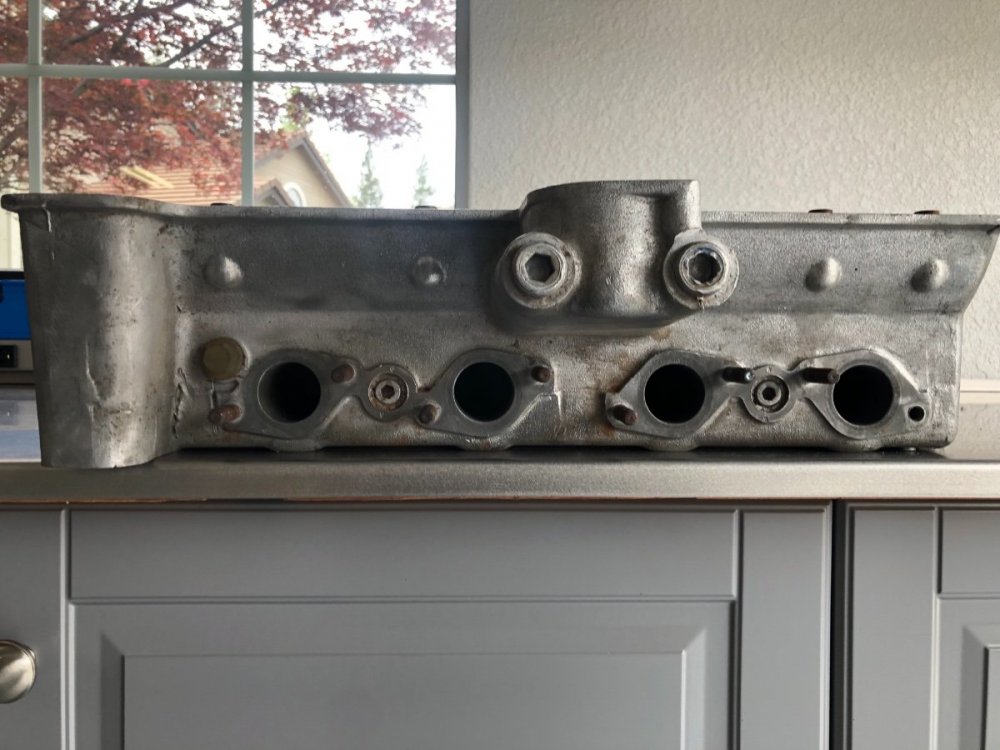
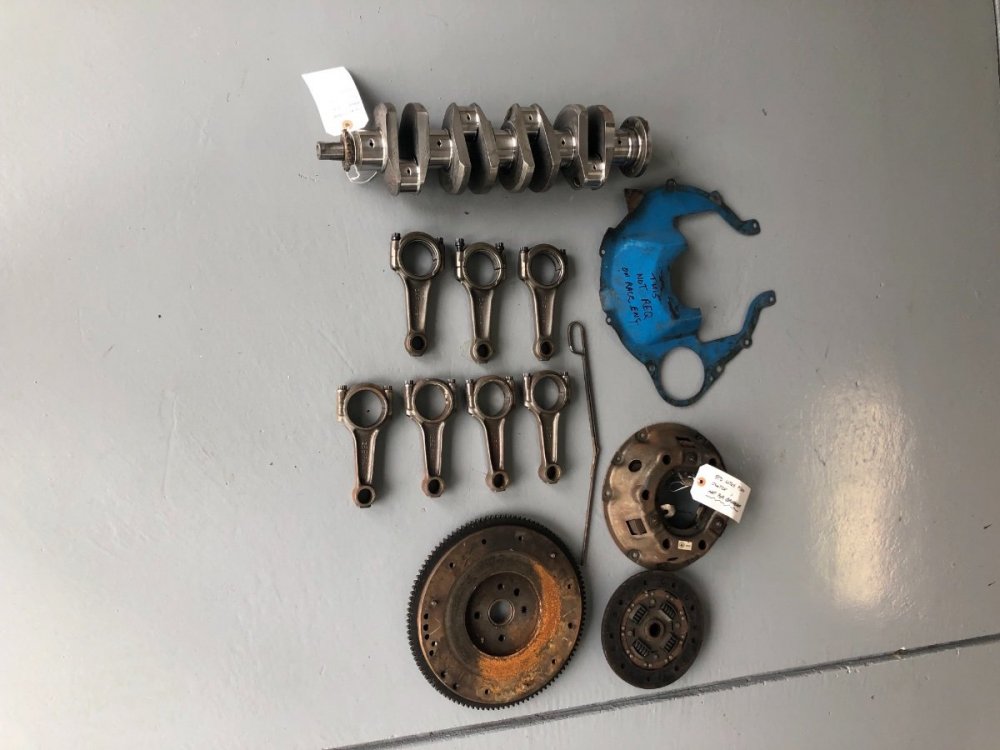
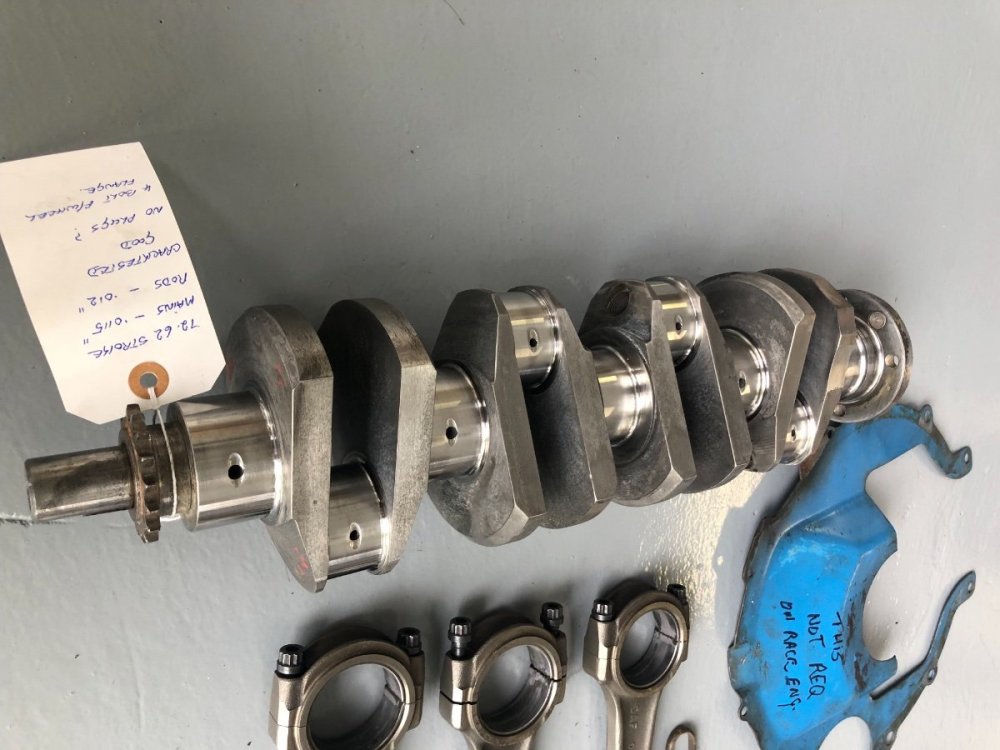
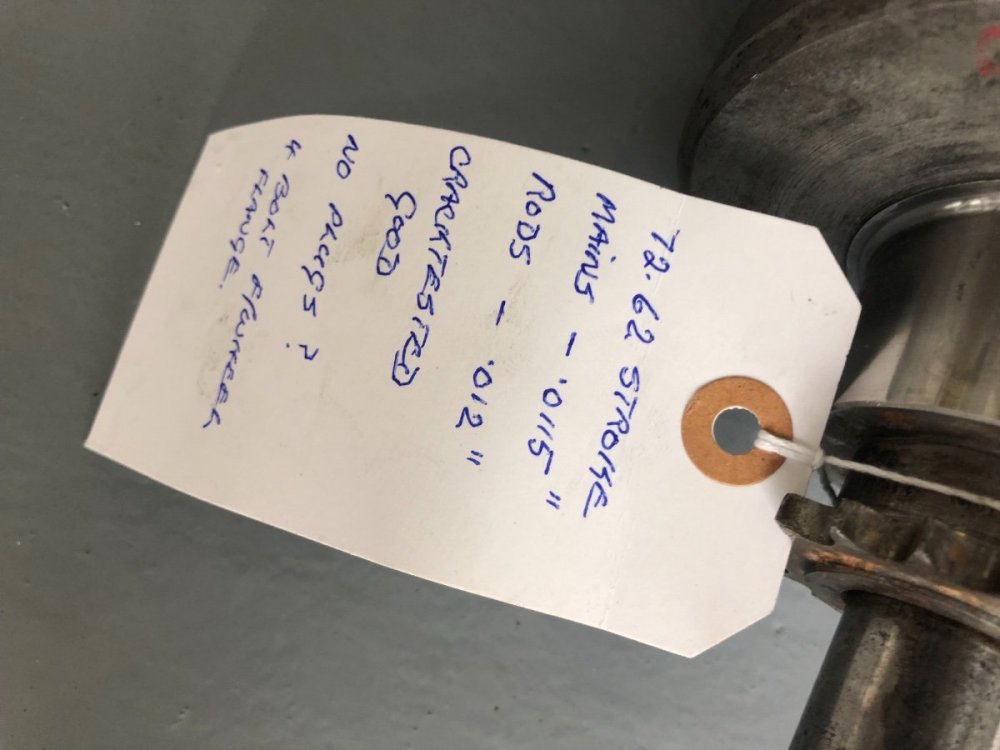
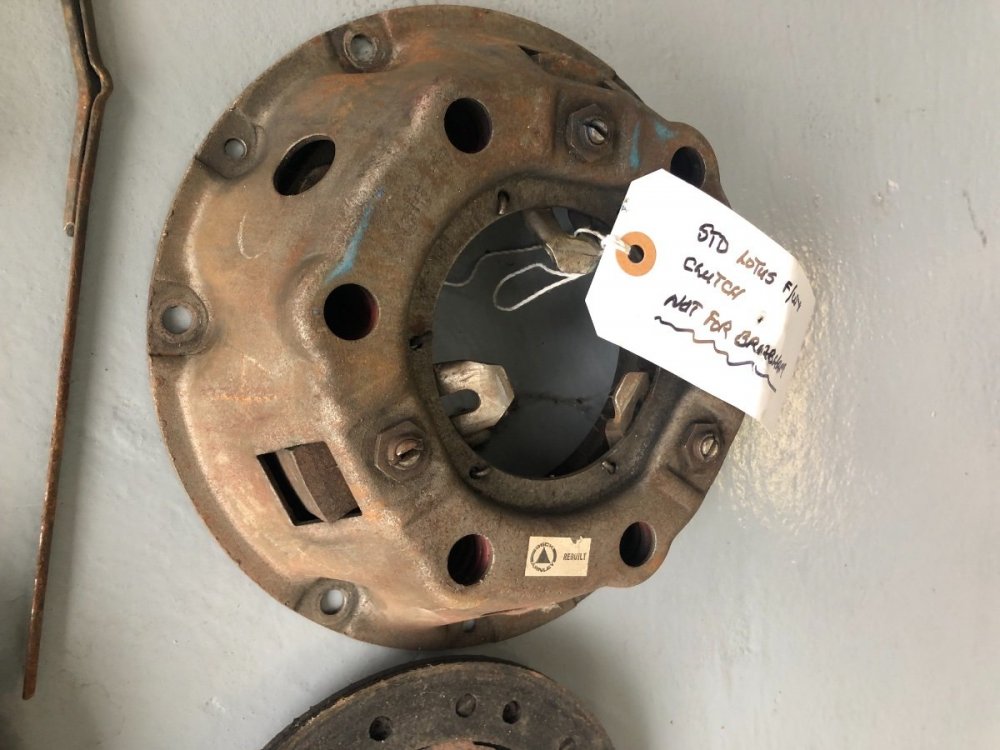
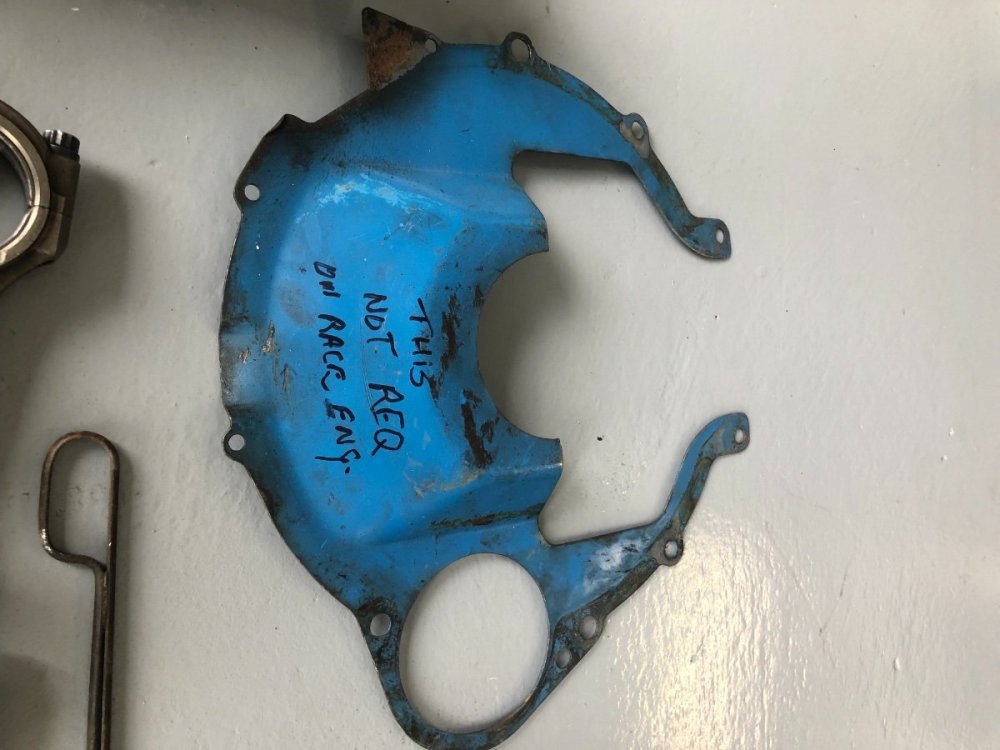
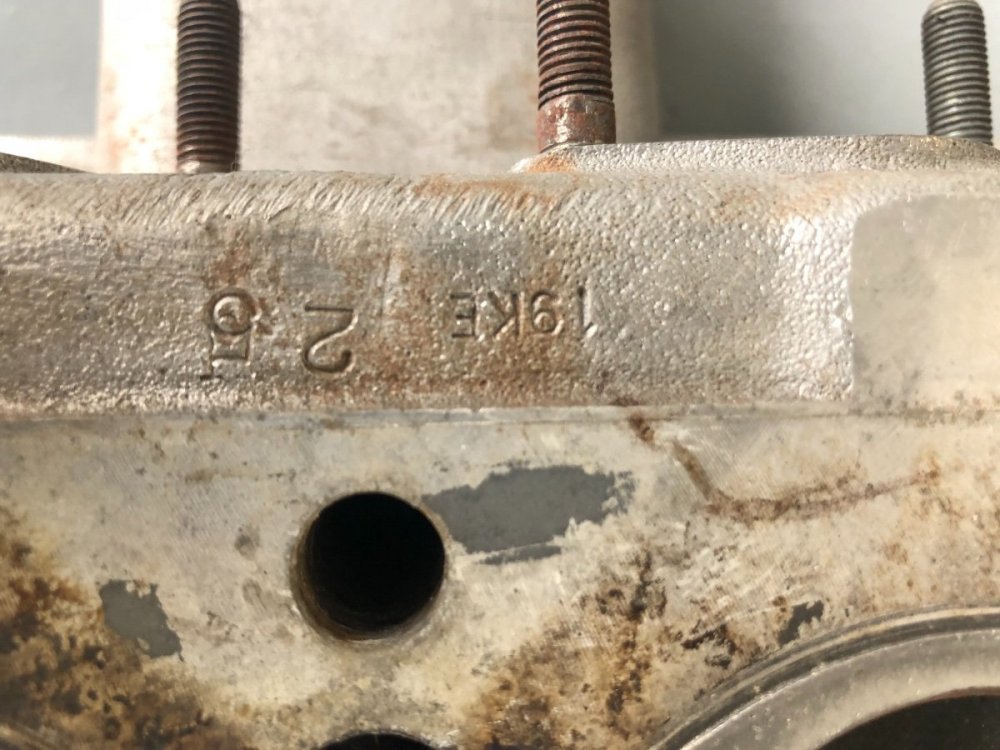
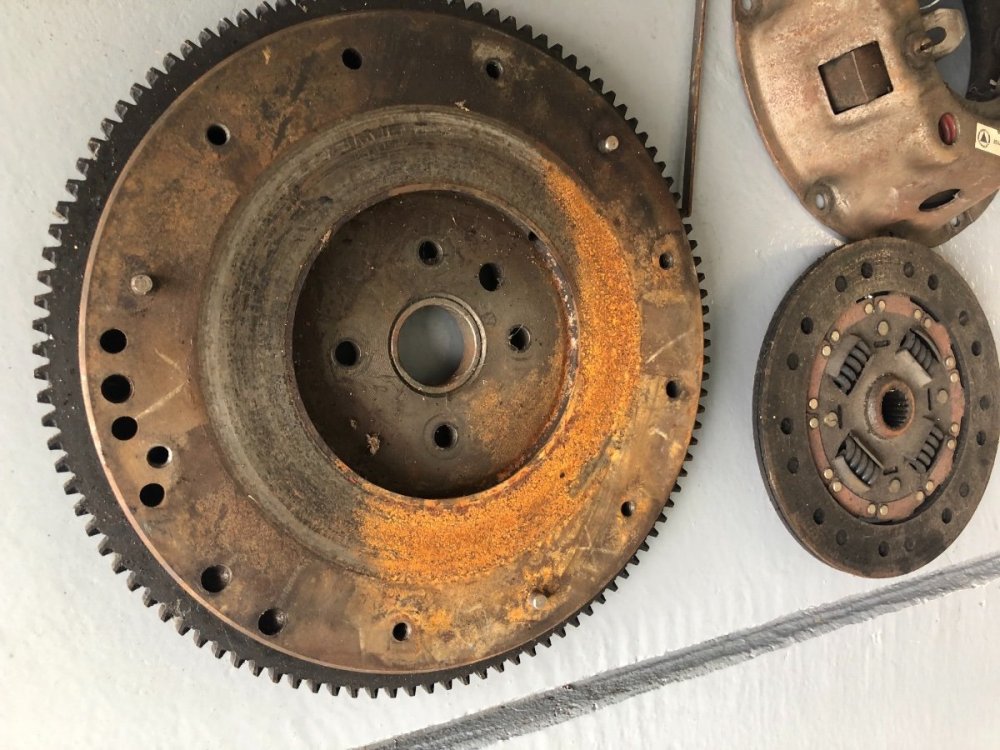
I’m posting these parts for a friend, see pics and if you have any interest let me know and I will send you his contact info so you can make an offer on what you need. Parts can be picked up near Roseville, CA or Monterey.
-
Thanks everyone for your replies on this topic! My 7 had been sitting for 10 years when I got it and lots of lingering issues so now my goal is to get the car to a much higher level cosmetically and functionally so I can enjoy it regularly. I will probably start a new thread with more details about the car soon. I have been curious about those rivet removal tools which seems like a way to easily repeat the precise drilling of the rivet head to minimize collateral damage.. Probably a worthwhile investment! Also, I began watching the Lotus Show series on youtube, it is really great! I wonder if the owner is a forum member here. It really helps to understand about the varied experiences with rebuilding these cars. Thank you all again!
-
@FerrinoThanks for that link to the Caterham rebuild. My skins are in good shape, just some minor body work and cosmetic things to be done. I was thinking it should be very doable to remove the skins and all aluminum to inspect the chassis, powder coat then re-rivet most if not all of the original aluminum back on using the same rivet holes.
-
@11BudliteThanks for those links. The articles from GGLC are really great. Always so much to consider!
-
@TMRL7Thank you for all that Info. Your end result is a very beautiful product. i will have to look into Clecos.. luckily I have some friends with lots of riveting experience who are eager to help if there are any others out there with body removal and reattachment experience please feel free to chime in. Thanks!
-
@TMRL7thanks for making that video and sharing it. Where did you acquire the new body if you don’t mind me asking? Is the seam on your new panels something that you welded up? Did you have to fit/ fabricate the metal around the top of the frame or only around the bottom edges? Thanks for expanding on all of this. The body on my car is all one piece. I think the front sides will be fairly simple because there will be a lot of flex to remove them. It seems like just around the back bottom tube I will have to do some gentle bending to pop it off then the same way back on. Of course the more hands the better.
-
I’m hoping to find some 7 builders out there that may have some insight about removing/replacing the rivets and body from their S3. I am debating between the idea of painting the aluminum body while it is on the frame versus while it is detached from the frame then rivet the finished body back on. My plan is to powder coat the frame and all suspension bits, etc, so I would be removing the body anyway in order to do this. On my S3 it appears the most difficult area may be the very back where the body is rolled around the top tube and apparently hand fitted/ rolled around the bottom horizontal tube. If you have any experience with this I would really appreciate your comment. Thank you!
-
I have only driven the car a handful of times so I am unsure. It was parked for a long time and needed a major refresh. I got it started and couldn't help but drive it a bit but then began tearing into it and decided to replumb the brakes because it was a real mess and stuff was leaking. I am just trying to be proactive but based on what you say I may be better off not installing any specialized valves and see how the brakes perform after logging some miles.
-
They were the first place I checked. Smallest bore is 1.00” for their tandem M/C.
-
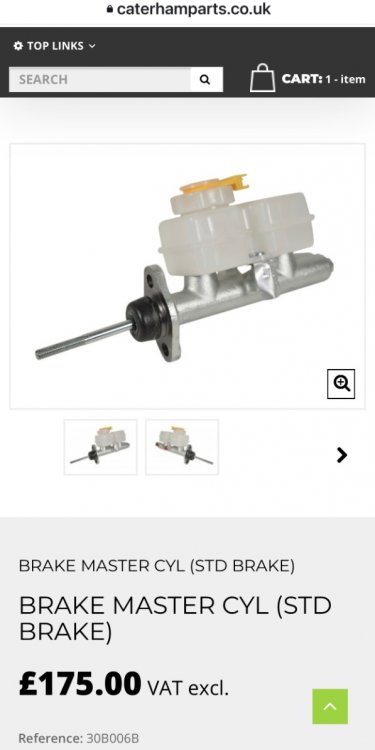
Thanks for all the comments! I have read some posts around the web of others using the .7" bore in place of the .625" so I figured I would give it a shot. However, admittedly I did not run the actual calculations. Also so far I have been unable to find a suitable replacement reservoir. I will go ahead and buy the unit from Caterham with the matching bore size. While I have your attention, what are your thoughts on proportioning valves etc? What is the simplest way to account for the 9" drum brakes on the rear and Girling 14LF calipers up front?
-
I’m looking to upgrade my 7 to dual circuit brakes and trying to decide which master cylinder to buy. I currently have a old Girling .625” that’s leaking. Caterham sells a standard .625” bore tandem MC for about $250+ but I can buy a .70” bore tandem MC from a Triumph Spitfire locally for about $65. Has anyone used the Spitfire unit who can provide some feedback or perhaps there’s another model I’m overlooking? It appears to be designed to originally mount at an angle hence the slanted reservoir. Does this matter? https://apaindustries.com/parts/5930 Thanks!
-
Thank you for all your hard work maintaining this forum. Will I still be able to use the Tapatalk app to view the forum? Thanks again!
-
Sorry to bump this old thread. Whotoo, could you post a couple pics of your carbs mounted to the manifold with the linkage installed? I’m curious about which pieces you used to connect the throttle shafts and how much you cut out of the manifold. I also have a 1700 Kent and I recently tried to install a similar linkage but ran into the same issue. My linkage appears to be a generic version of the Mangoletsi but virtually identical in function. Also upon looking up new intake manifolds from Burton I can see they are designed with that middle section missing between the carbs. Thank you!
-
That is such a great review of your car on YouTube! May I ask what size idle jets you switched to? Thanks!

