JohnCh
-
Posts
3,423 -
Joined
-
Last visited
4 Followers



-
@dsscats bought it a few months ago.
-

Raceline Zetec Sump (and topside oil extractor woes)
JohnCh replied to Slonie's topic in General Tech
Raceline can be incredibly slow responding to email. I'd call the tech line which goes directly to Peter (the sales number goes to Chris). It might take a few attempts, but he's very helpful when you get a hold of him. Since you are in CA, I suggest calling no later than 7am your time to increase your odds of reaching him. -
Raceline Zetec Sump (and topside oil extractor woes)
JohnCh replied to Slonie's topic in General Tech
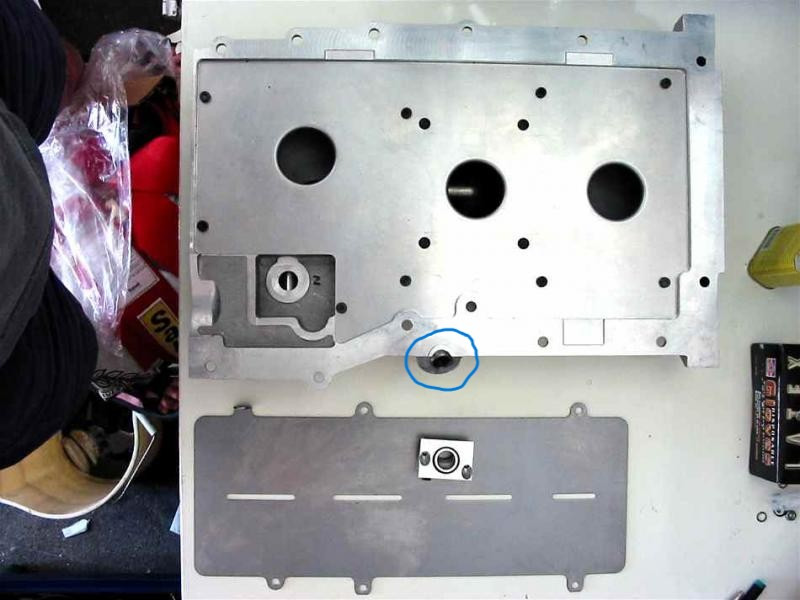
The Raceline sump for the Duratec positions the dipstick tube so that it enters the sump beneath the windage trays. Circled in blue below.
-
Congratulations! At some point, I'd love to hear your thoughts on how it compares to your old car given all the differences (chassis, engine, gearbox, wheel size, etc.)
-
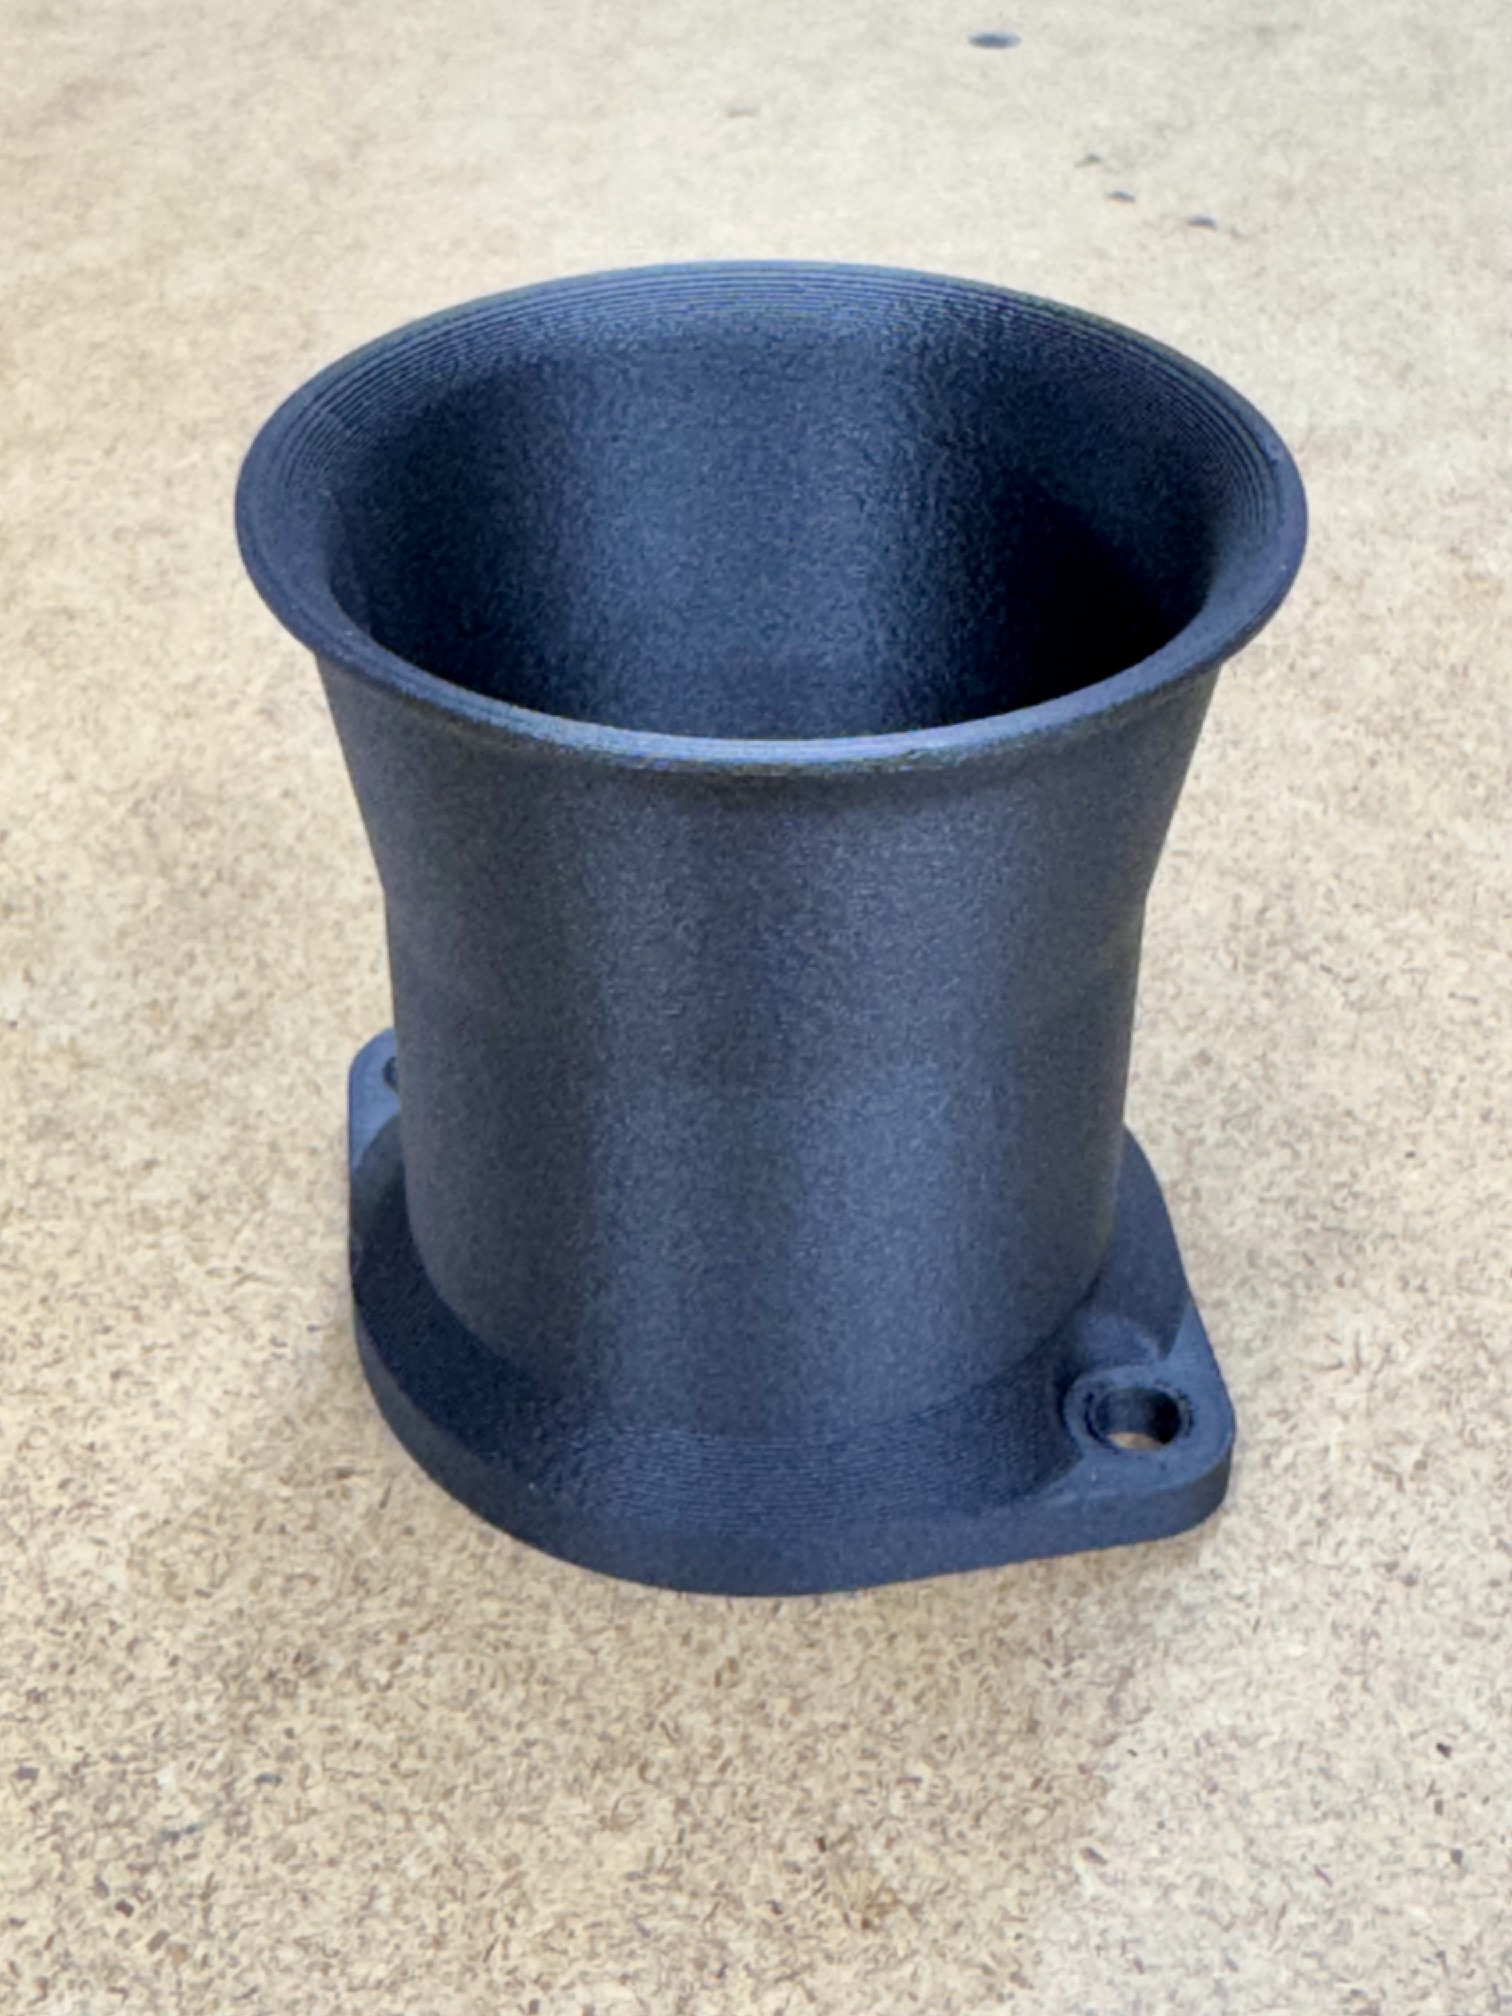
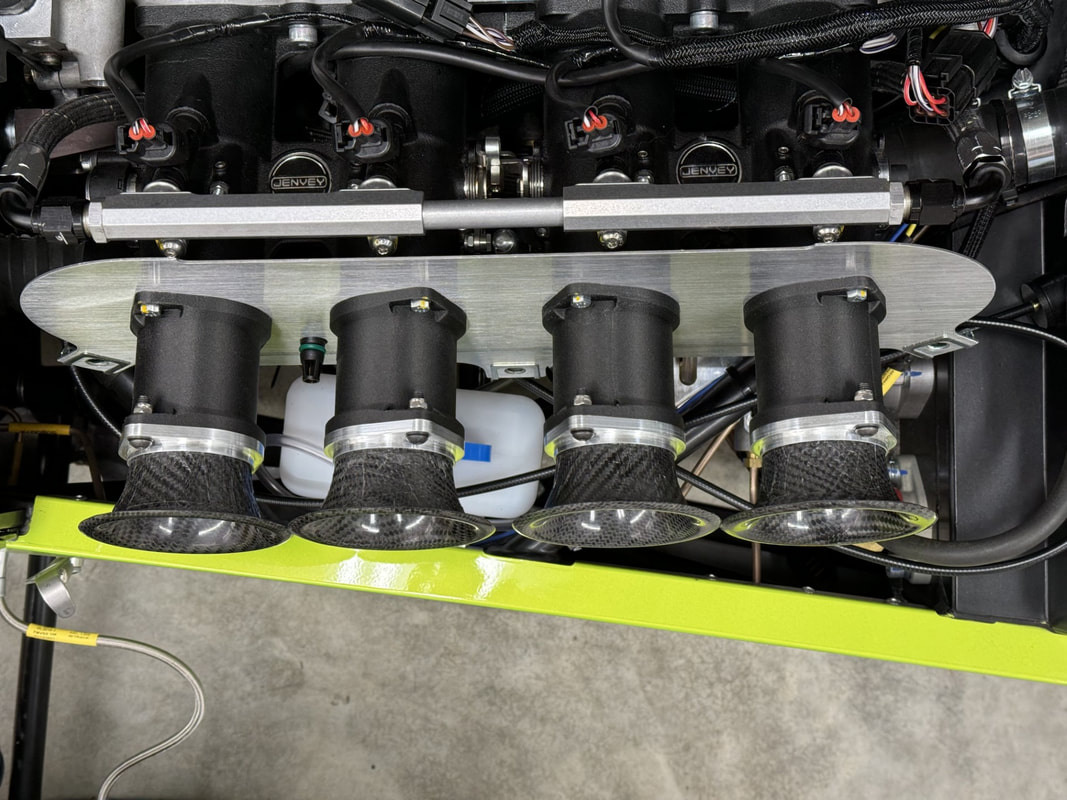
The original extensions were PA12-CF, but I've switched to PET-CF. I want to maximize airflow and ensure the base is perfectly flat, so don't want to introduce the variability that comes with printing it in a different orientation. The new design should be fine, but if not, I'll go with the external ribs.
-
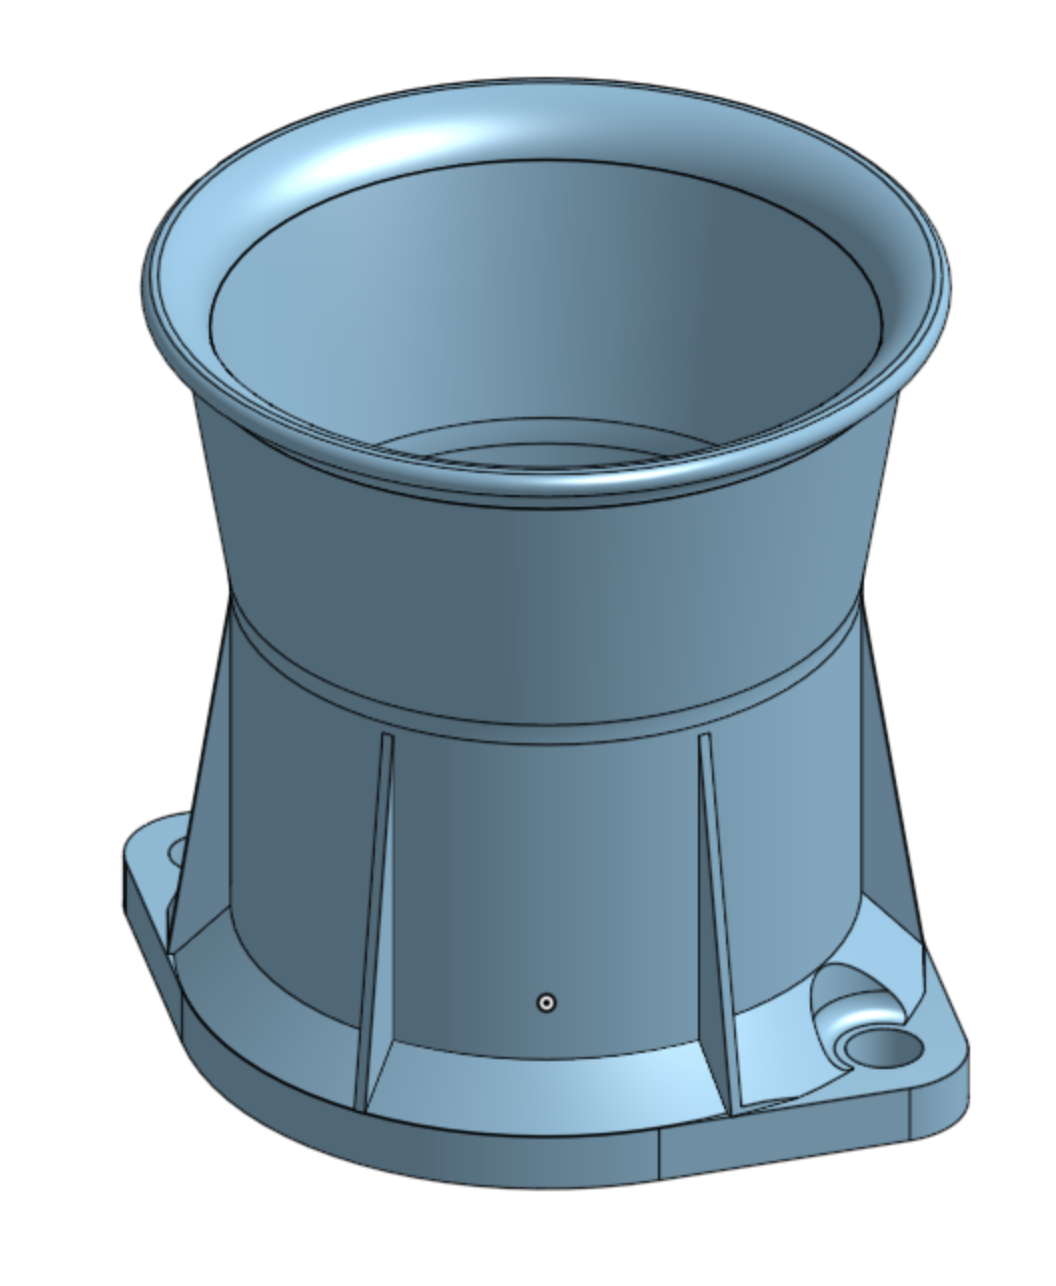
Looks good! One thing to know is that without a thick chamfer, the layer lines may start to separate from vibration where the base transitions to the tube. Even though I included these on the extensions I made for the Caterham, I failed to add a fillet in the small area cut out for the bolts. That was enough of a stress riser that two of them began to separate at that location after about 3800 miles. I don't have a picture of the revised parts I printed, but I took a similar approach with these airhorns I did for the Elan. If those don't hold up, I'll print the version I subsequently designed which adds ribs around the circumference. Not printed yet, but here is a screenshot from CAD.
-
weather equipment for the race roll cage
JohnCh replied to Fabe's topic in General Sevens Discussion
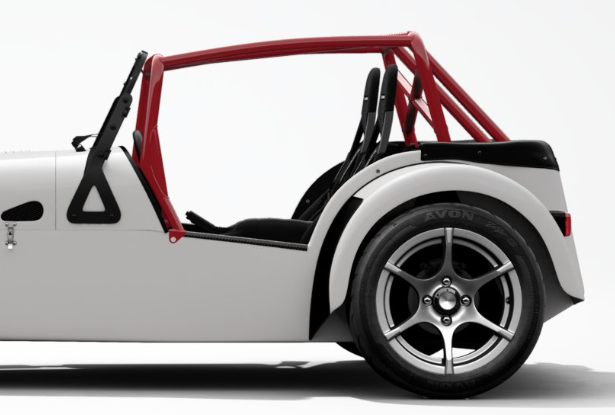
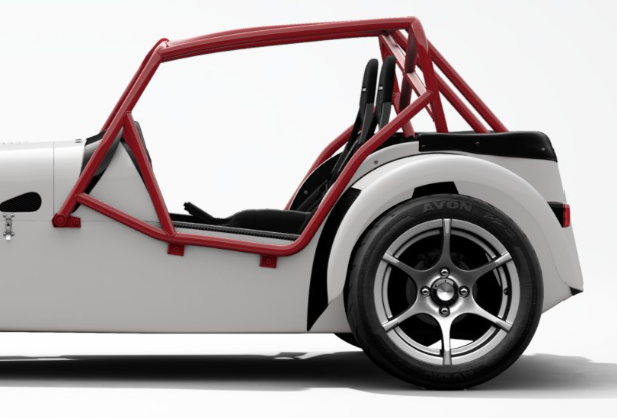
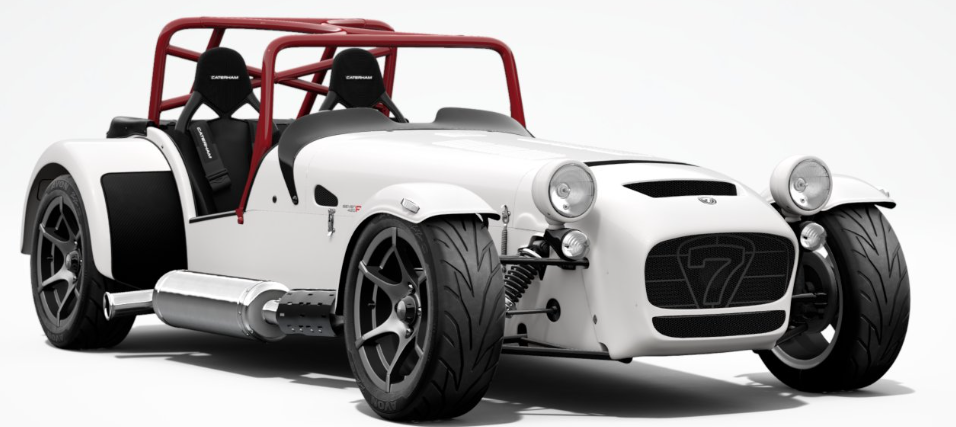
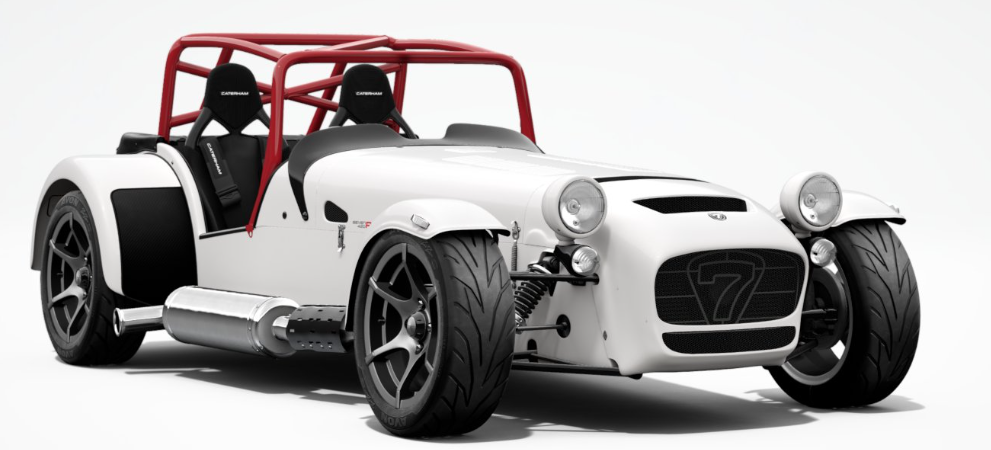
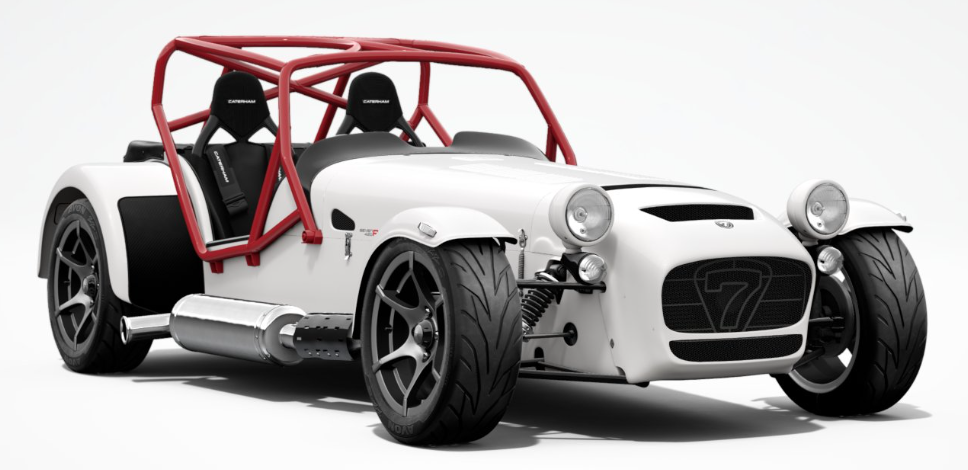
Going through the configurator, it looks like Caterham has made some changes to the cage options. The current Race cage looks like a combination of option 2 above and your FIA race cage -- i.e. it has the same curved and straight bars on the top as the FIA race cage, but the forward hoop of option 2. Trackday cage Sport cage Race cage According to the configurator, you can't option the windscreen with the Race cage, and looking at the photos, that makes sense, as it appears the forward hoop will occupy space needed by the windscreen stanchions. Sport cage with windscreen Trackday cage with wind deflector Your dealer should be able to give you a definitive answer.
-
I can't imagine your frustration, particularly after all you had gone through with your build. Hopefully winter doesn't come early in Ottawa, and you can pile on some miles.
-
I merged the threads to keep this to a single build thread.
-
It can be difficult to reach Ken at Dave Bean these days. A few other US sources who may have the parts are: https://rockymountaincaterham.com/ https://www.beachmanracing.com/ https://www.rdent.com/
-
ProClip sells a very similar mount for the Elise that works very well. No vibration, seconds to remove and install, and doesn't leave a mark: https://www.proclipusa.com/products/855407-proclip-center-mount-lotus-elise-2012-20xx-lotus-exige-2012-20xx
-
I agree with @Scott_. It sounds like a ground issue. I'd start by measuring voltage drop for each turn signal bulb assembly and see if one is an outlier.
-
Caterham switched from the K-series to the Duratec ~2004. The Duratec version is commonly referred to as the R400D, although I don't know if that was the official model name from Caterham. My understanding is that the cams are the same in both versions, but the 420 uses the later, better flowing high-port head, vs. the standard Duratec head in the 400D. Hopefully someone can confirm or correct those statements.
-
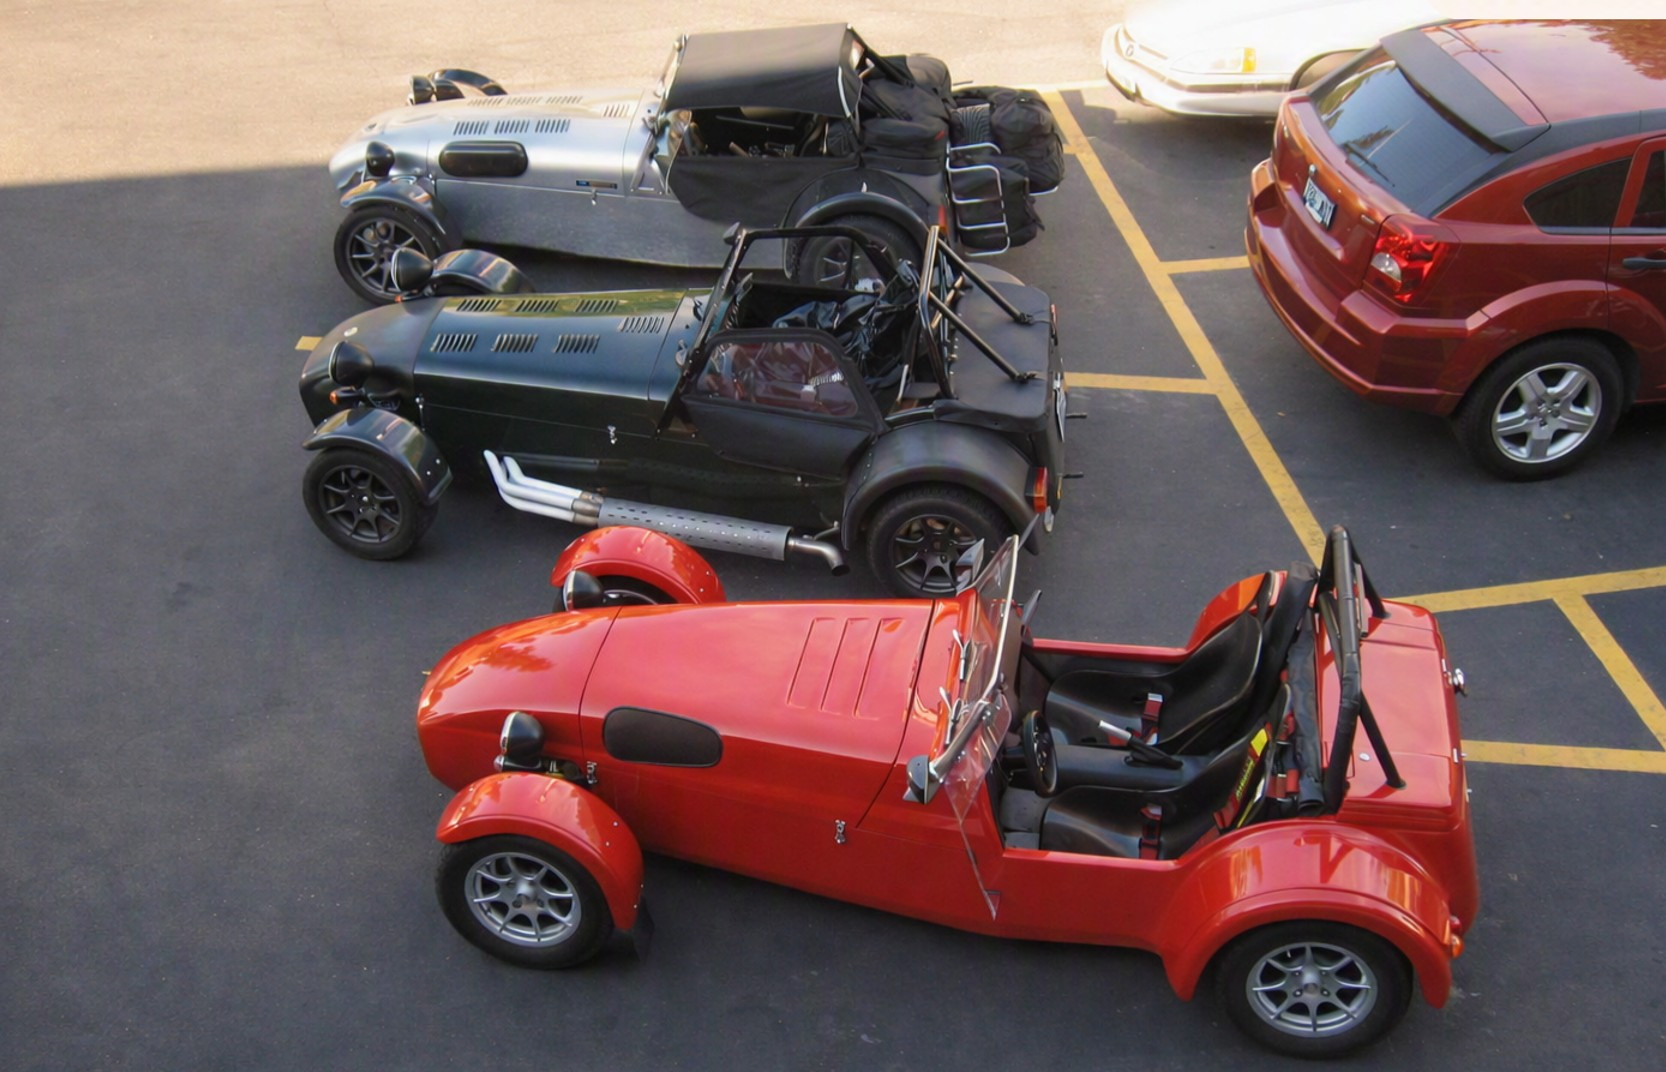
Breaking the rules here since (1) I didn't take the photo today and (2) it's my old car, now under @3739Davis's stewardship, but this picture landed in today's OneDrive "Memories from this day" email and it made me smile as I reminisced about the trip. This was taken in the hotel parking lot in Winthrop, WA on the way back from Monterey Car Week 2010. After the festivities concluded in CA, we headed north via back roads for 5 days until Winthrop, after which @Alaskossie continued on to AK in his recently acquired SV (Denver to Anchorage via LA and Monterey), while @Hudson and I headed south to my home in the Seattle area. Monterey was great, but the road trip was better. -John
- 476 replies
-
- 11
-

-

-
Thread title changed and thread moved to the Build Threads forum per @Darcy's request.