Dwight
-
Posts
43 -
Joined
Content Type
Profiles
Forums
Store
Articles
Gallery
Events
Library
Everything posted by Dwight
-
What mirrors for use with Brooklands Aeroscreens
Dwight replied to Sevins7's topic in General Sevens Discussion
I also remount my stock windshield every year for state inspection, which, in PA, includes installing a new inspection and emissions sticker to the windshield. I then replace the windshield with the Brooklands configuration as soon as I get home. And, of course, I temporarily re-install the windshield if I’m participating in some event during which there’s rainy weather so I can use the hood (top) and doors. I guess, technically, not having a visible inspection and emission stickers is illegal, but I’ve never had a policeman question it. I have a photo under my seat which shows the stickers on the windshield (which is back in my garage) in case I’m questioned. I don’t know how much that may appease the police, but I’ve never had to show it. My 7 is a 2001, so it’s twenty years old. In PA, cars over twenty-five years old can apply for vintage plates and be exempt from annual inspection. So, after that…no worries, but five years to go. Regarding the bolts and nuts used on the screen and mirrors, I don’t remember the specific size, but I know I took the screen pedestal to the hardware store and just found some stainless steel countersunk socket head bolts that fit along with washers, lock washers and acorn nuts. And, if you don’t already have it, you’ll need a tool to countersink the holes on the bottom of the “hoop”. Have fun. -
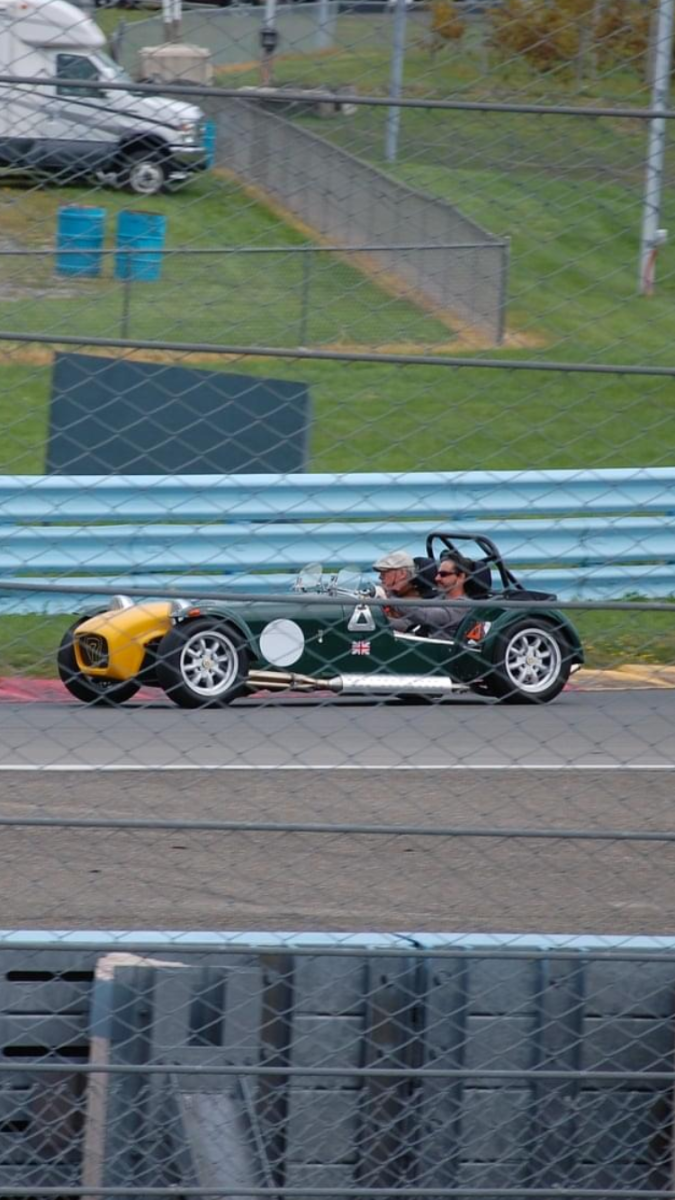
Actually, both my son and I have raced on this track in SCCA racing for many years. We have raced on many other tracks as well, but the Glen remains my favorite track. As for my son, I think his favorite is VIR where he held the FV lap record for several years.
-
What mirrors for use with Brooklands Aeroscreens
Dwight replied to Sevins7's topic in General Sevens Discussion
Yes, I used those existing holes as you observed. On the underside of the hoop I countersunk the screws for the screens and mirrors so as not to damage the scuttle. And, as you note, used chrome acorn nuts on the top side. The nuts were a bit too wide to fit flat into the holes on the screen and side mirror so I had to fabricate a spacer of about 1/8 inch cut from small aluminum tubing. Also, if you haven’t installed the “Easy Swap Retaining Channel”, which can be obtained from Caterham, you’ll want to do so. It provides a more secure fastening and allows very easy swap from the Brooklands hoop to the stock windshield — only four bolts needed (two on each side). And in the future you won’t have to remove the kick panels for access. The captive nuts on the retaining channel are M8x1.25. I suggest getting some nice chrome button head bolts with hex drive for that application. Good luck. -
What mirrors for use with Brooklands Aeroscreens
Dwight replied to Sevins7's topic in General Sevens Discussion
Today I found the center mirror on the internet by just going to google and searching for “Halcyon 770 Interior Rear View Mirror”. This is not a Moss Motors site, although I thought I had obtained mine through MM, however, that was several years ago. It seems you have found the side mirrors on the MM site, and, as I had mentioned, they are reproductions of early Jaguar mirrors and can be mounted on either side by merely reversing the attachment of the mirror to the stem. if you have questions regarding my process for mounting the “hoop” as well as the screens and mirrors, please let me know. -
What mirrors for use with Brooklands Aeroscreens
Dwight replied to Sevins7's topic in General Sevens Discussion
For a true vintage look, you can get a traditional center mirror as used on many early British cars, such as Sprites; and for the side mirror(s), a Jaguar mirror has a nice stem which raises the actual mirror portion to a usable height and it can be reversed to use on either side if you want. Both can be obtained from Moss Motors: center mirror Halcyon #770, side mirror xks.com #223-310.
-
My son and I were at this year’s (2021) “Laps @ Lunch” during the U.S. Vintage Grand Prix. The folks from Superperformance were great hosts.
-
OK, no takers at $250, although $350+ invested. How about $175 and I’ll pay shipping. They’re only taking up space in my garage.
-
I, too, installed LED bulbs in the vintage Wingard tail lights and vintage beehive turn signals. The LEDs are cooler, thereby, minimizing damage to the assembly; take less energy; have a longer life span; and, very importantly, have greater visibility. Indeed, a win-win proposition.
-
Here’s what I did with my taillights. I removed the ugly rectangular trailer lights and replaced them with Wingard lights which provide running and brake lights and mounted separate stock beehive lights for the turn signals.
-
For the purpose of reviewing a schematic diagram for bearing maintenance, etc., what front hub/brake assembly would a 2001 S3 model have used? Dwight
-
Thanks so much for your knowledgeable responses. I’ve decided to just reinstall the plug with the oil at the level of the plug opening. I’ve got to tell you, however, it was a “bear” getting the plug back in with the very limited clearance. It required further extensive grinding of a 10mm hex key to facilitate the process, but it’s done. Thanks again.
-
I recently wanted to check the fluid level of my Sierra 5 speed, and after considerable effort with a modified hex wrench I was able to open the fill plug. My understanding was that the proper level should be such that it comes up to the opening of the fill hole. However, upon removing the plug, a substantial amount of fluid came out. Does this mean the trans was overfilled? Can someone with some experience in this regard please provide some guidance. Thanks so much. Dwight
-
Best of both worlds: get rid of ugly utility trailer type stock tail lights and get attractive LED running, brake, and turn signals. Covers existing fender/wing holes. Cost new over $350 not including gasket and hardware. Will sell for $250.
-
F For everyone who’s been following this post, I’ve discovered the problem. Demon Tweeks shows only one stanchion on their website and in their catalogue, but I’ve discovered that there are two different configurations: one for use with the wiper posts (which I need) and one without. The one offered by DT is the one for use without the posts. I’ve explained this to DT and I’m hopeful they’ll refund my purchase and also cover return postage fees. ‘Will let everyone know.
-
Thanks for your response. It’s very helpful to interact with someone with the same item. I considered the “backwards” option and it would seem to fit in that configuration but the windshield wiper posts would have to be removed and I do not want to do that. Does yours allow you to keep the posts? My intention as previously noted is to be able to switch from the stanchion with the Brooklands screens to the stock windscreen.
-
Very nice workmanship on your project, but it really has no relevance to my application. The intent with my car is not to have any fasteners through the scuttle and to be able to swap back and forth the “stock” windscreen with the Brooklands screens using just the four (two on each side) stock mountings. Thanks anyway.
-
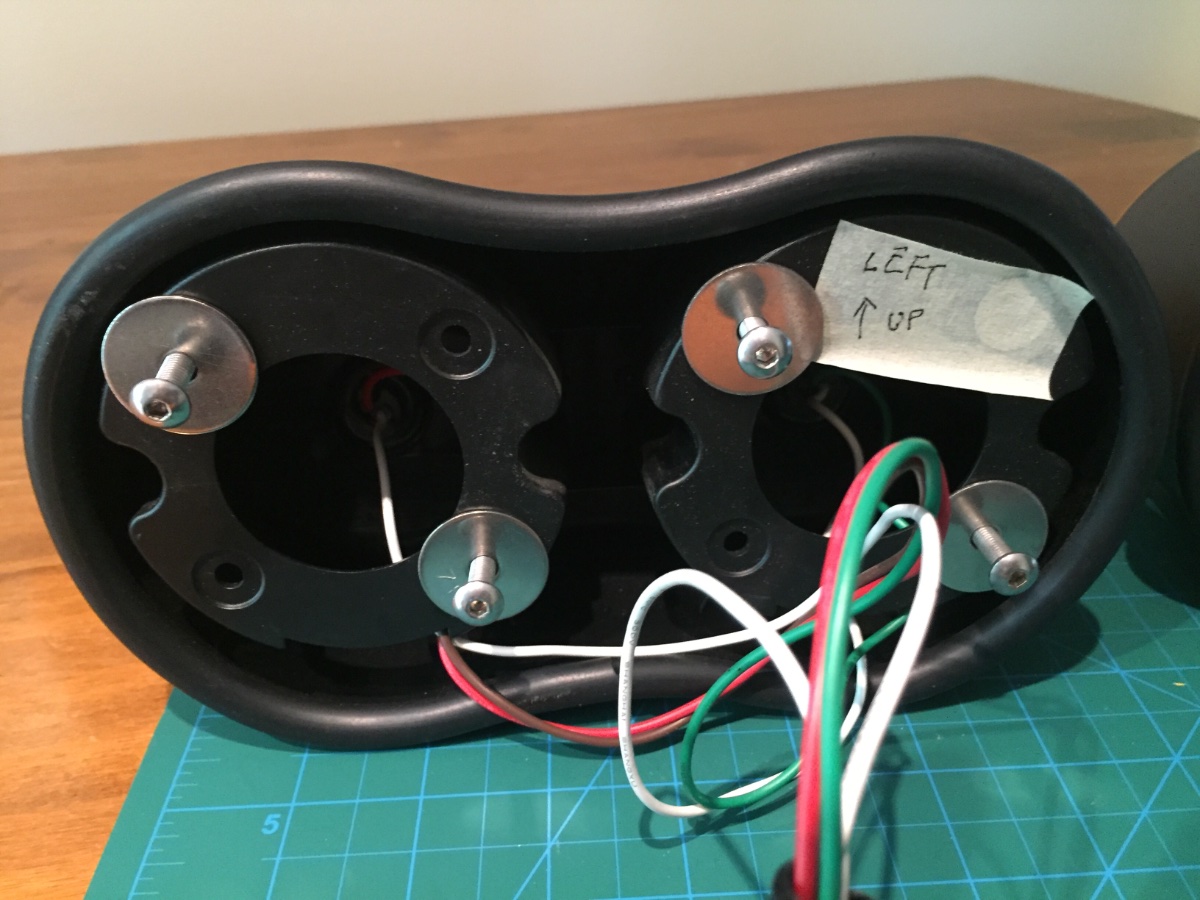
I do not have photos, but I will try to determine how to post some. However, the explanation should be clear. The situation is that, in the new stanchion, the width of the section with the rear holes is too narrow for the scuttle and the front hole width is too wide—just the opposite of what it should be. By width, I am referring to side-to-side, left to right. It may be able to be re-bent, but it would seem to take considerable effort and I’m reluctant to try anything that may ruin the stanchion.
-
I recently received a new stanchion and Brooklands screens from Demon Tweeks. As it turns out, the stanchion’s base on each side is angled incorrectly, i.e. it does not conform to the scuttle. The rear mounting hole location is considerably narrower than the front mounting hole, contrary to the form of the scuttle. Has anyone else had this experience and should I attempt to bend the stanchion to conform to the scuttle. I’m reluctant to try to reshape the stanchion as it may distort its overall shape. I’ve tried to contact Demon Tweeks for some guidance, but i’ve not received a helpful response as yet. Any thoughts?