DanM
-
Posts
353 -
Joined
-
Last visited
Content Type
Profiles
Forums
Store
Articles
Gallery
Events
Library
Everything posted by DanM
-

Best location for Heat and Sound Protection (Westfield Miata)
DanM replied to DanM's topic in General Tech
Thanks everyone for your insight. It’s really appreciated. Does anyone have any feedback re: Interference? From the uk forum Ive heard that if I put dynamat or similar on the outside of the tunnel it may restrict the seat adjustment. Are there any other areas that people have heard of or experienced? -
Best location for Heat and Sound Protection (Westfield Miata)
DanM replied to DanM's topic in General Tech
Looks like an interesting product. I got the Kool Mat from Breeze automotive. They supply a lot of stuff for the cobra community (Factory 5, etc.). -
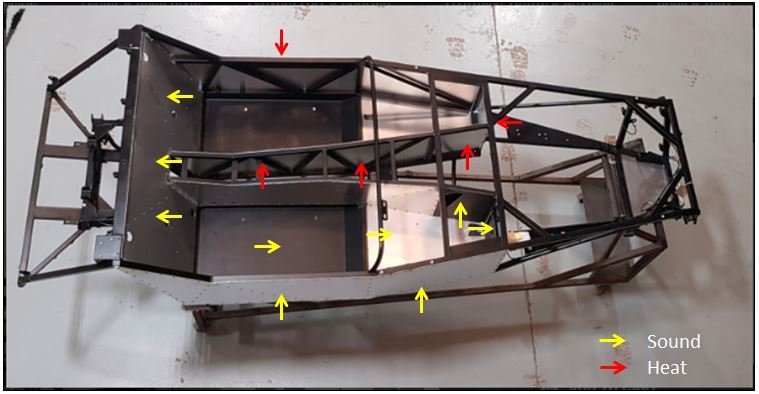
I have chosen Kilmat 50 for sound dampening and Kool Mat ZERO CLEARANCE / PSA for heat insulation (For future Turbo), and am looking for advice and insight into the best location to install them on my Westfield Miata build. I have read in some forum posts that depending on the location of install the mats can sometimes interfere with other parts of the car. Here are my current thoughts: Heat All tunnels walls (Gearbox/Driveshaft side) Both Footwells (Engine bay side) LH Side panel (Outside - for exhaust) Sound All Cockpit floor panels (Inside) Seat back panel (Inside) Both Footwells (Inside) RH Side Panel (Outside)

-
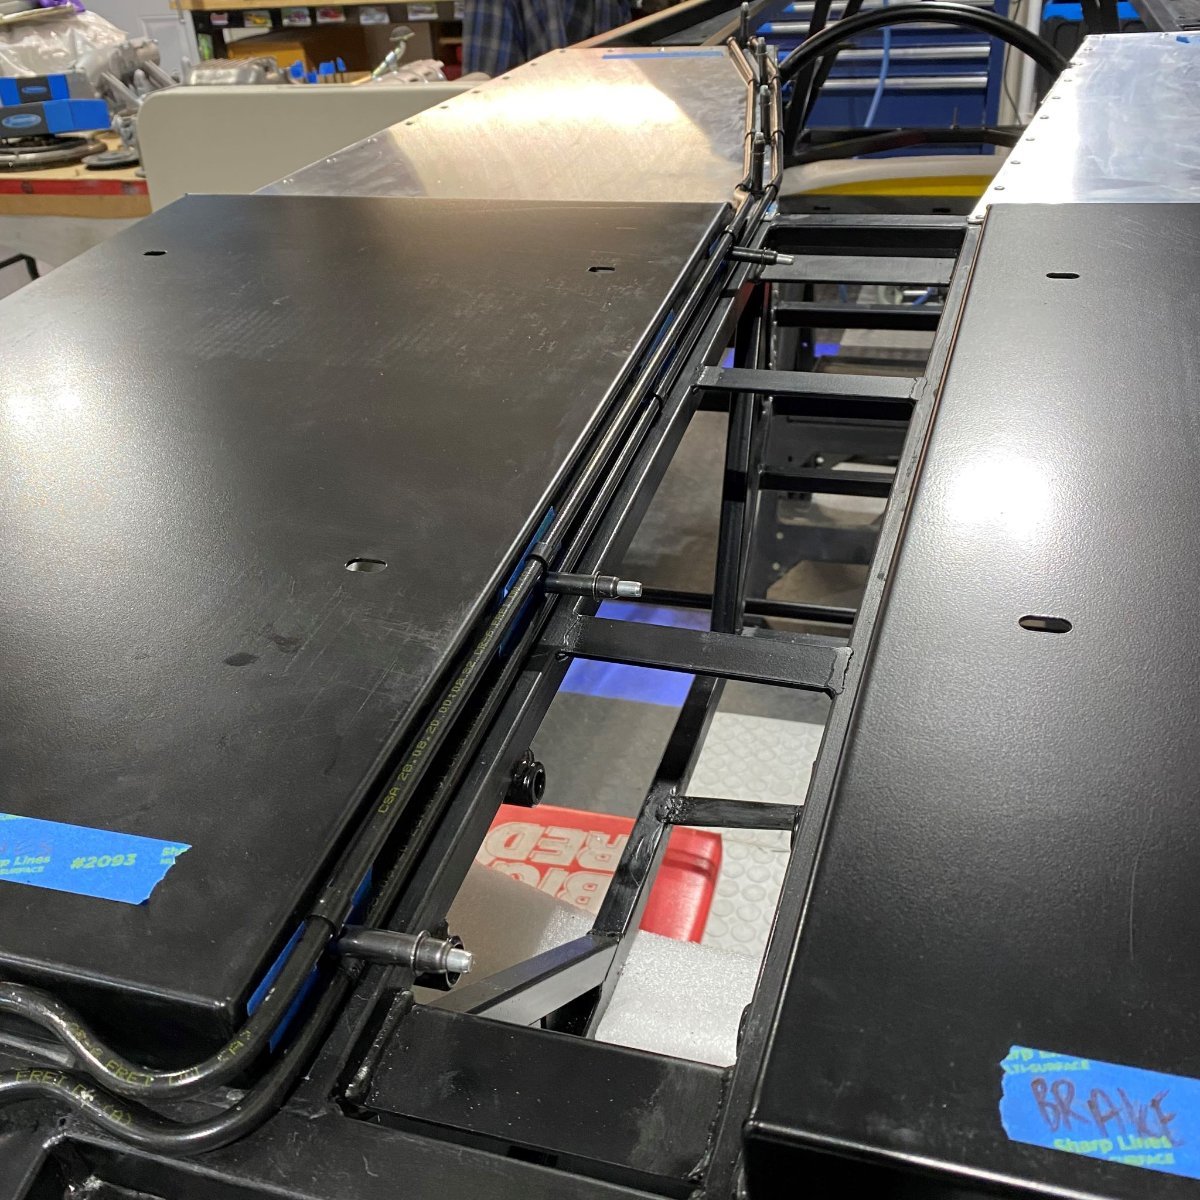
Brake Lines Lots of mistakes & practice = Learning & Progress. I'm happy to say that after wrecking the Westfield supplied brake lines and a coil of NiCop, I have finally started to get into a rhythm with the brake lines.....(I said I was a noob! 🤪) One of my biggest frustrations were my pipe bending pliers. They kept digging into my lines. In fact, after a number of attempts, I thought had successfully completed the long run between the master cylinder and the rear T. However, on closer inspection, I noticed that the pliers had dug into my lines in a couple of places.....enough to put so much doubt into my mind (road worthiness inspection, cracking over time, etc.) that I decided to tear them out, buy a new coil and start again. New coil of NiCop. One of the plier marks. The other challenge for me was that because my chassis is slightly different to the other SDV build threads I have seen, I didn,t have any pictures of the route so had to figure out a new one at the end of the tunnel. Old chassis New Chassis Finally I settled on running the pipe through the small gap in behind the rear hand brake cable bracket and follow the chassis towards the T. Hopefully there will not be any interference.... only time will tell! 🤞 Here's the front end.... As always, any feedback, critique or pointers are very welcome. I will start to rivet everything in place over the next couple of days.
-
Thanks @lg2k. Sounds like you've had to overcome a few problems. Are you doing a lot of track?
-
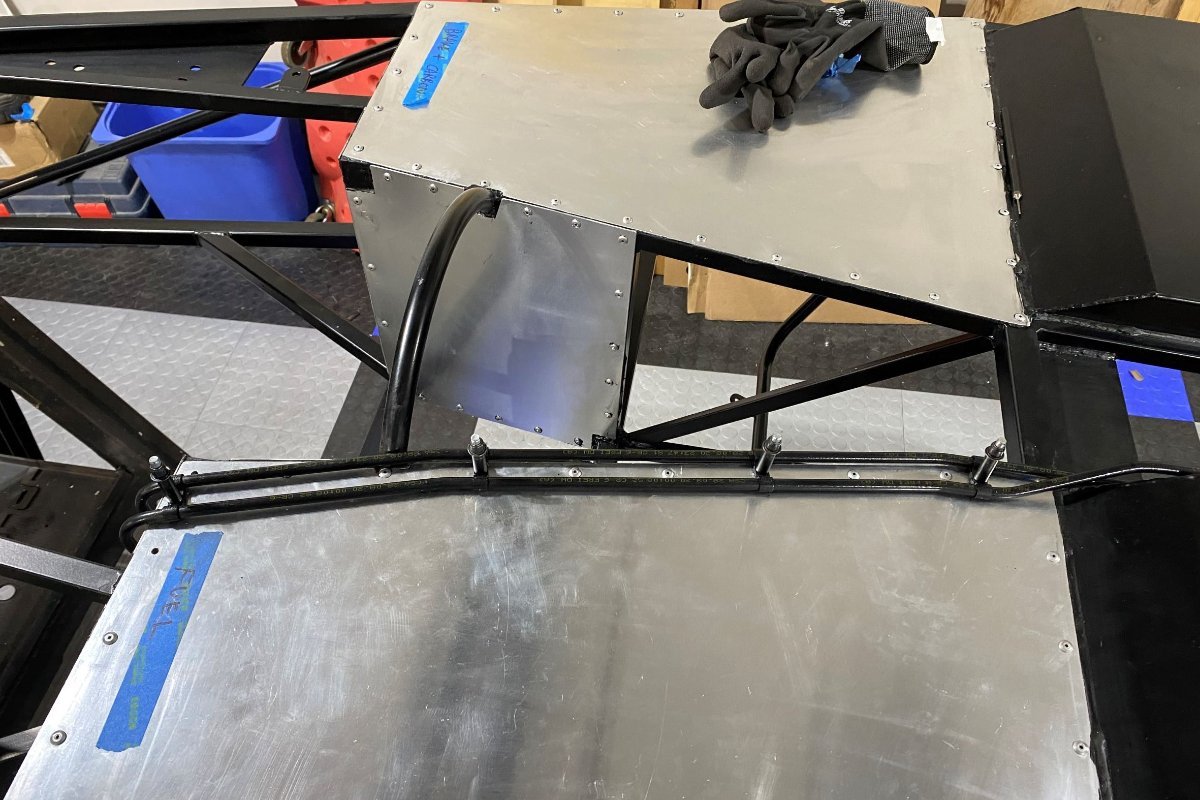
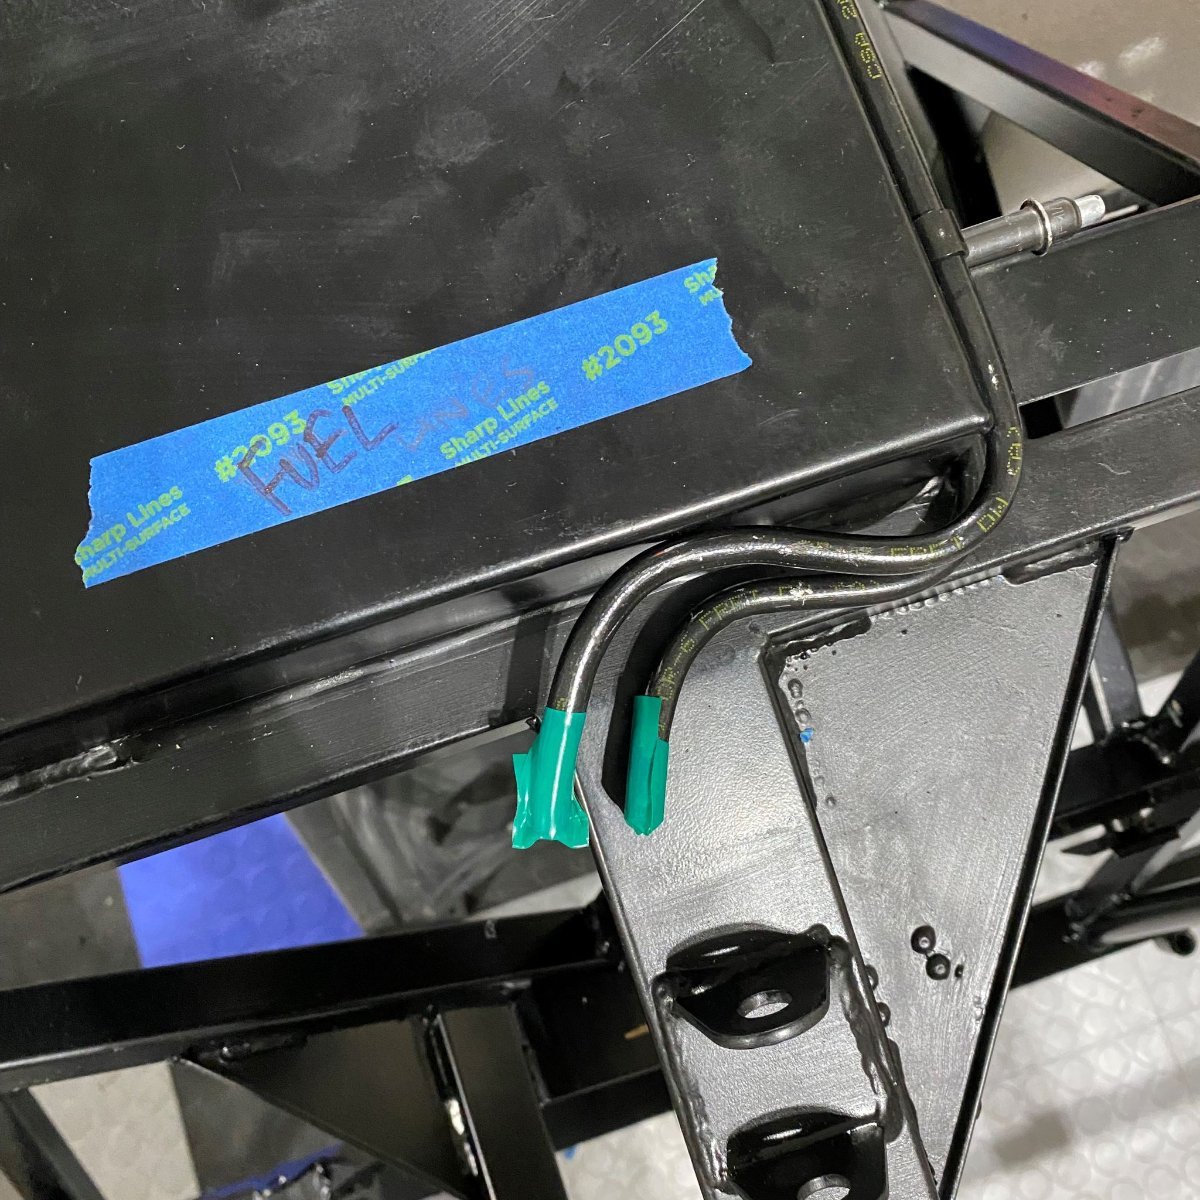
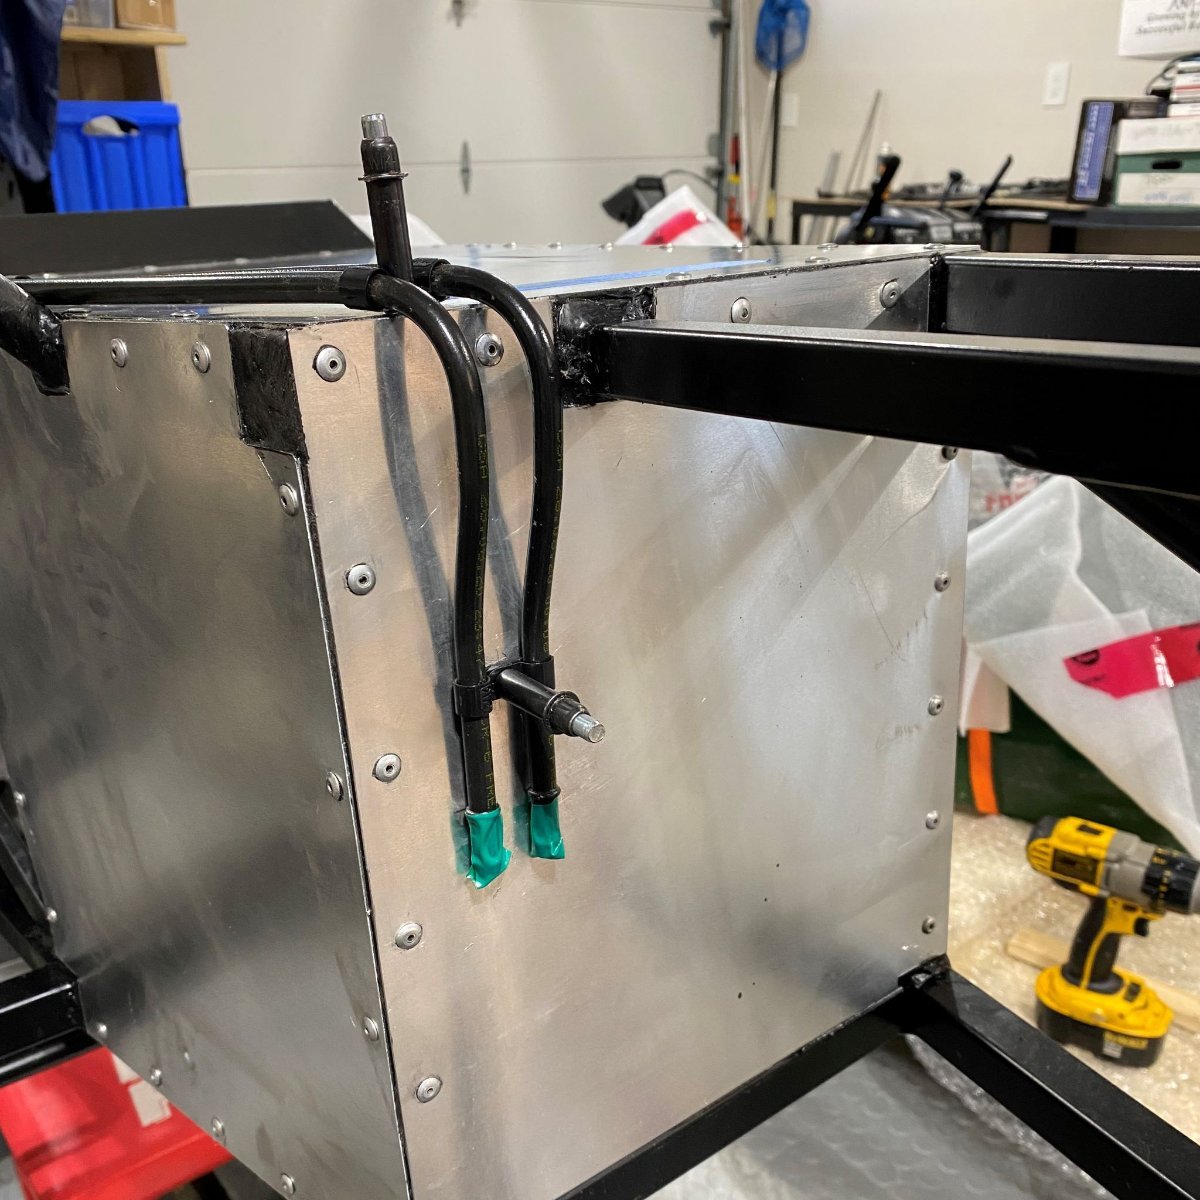
Fuel Line 2nd (3rd, 4th 5th.....) attempt 😣 Without doubt running fuel lines has been the single most frustrating part of my journey so far......and the includes the Miata tear down, parts refurb and wiring harness clean up. For some reason, it just didn't come together easily for me, even with all the great tips and tricks that people have shared with me on the forum. I feel a little embarrassed by the shear amount of pipe I had to go through to get it to what I think is "done"! Before I do cartwheels, I just want to run this photo past the Westfield Miata builders in the group to check that where I have terminated the pipes at the rear will not interfere with any other part of the build. Any help will be greatly appreciated!
-
Had another hour spare so quickly nipped into the garage. Decided to do one more panel, which will be the last for now. Now, I'm just waiting for my tube straightener to arrive and I'll be back on the fuel and brake lines again. Hopefully much wiser and prepared!
-
A bit more paneling. With my 10 min pedal box job turning into an afternoon of grinding and painting, I decided to go back to basic, basic stuff....Like riveting a few more panels. Dwayne Johnson eat your heart out! I'm trying to maintain as much access as possible to make installing the sound deadener a bit easier so I focused on the DS tunnel, scuttle and seat back panels. My hands were so numb that I struggled to get the Aluminum wrapper off! Final piece for today, originally by choice, but after I pinched my chest muscle in the riveter as I was leaning into it, it was game over for me! 😬 Now sitting on the couch in pain, but with a big smile on my face. Feels nice to make a little more progress.🍻
-
Thanks for the tips @MV8. I will definitely keep them in mind when I get back to the pipes!
-
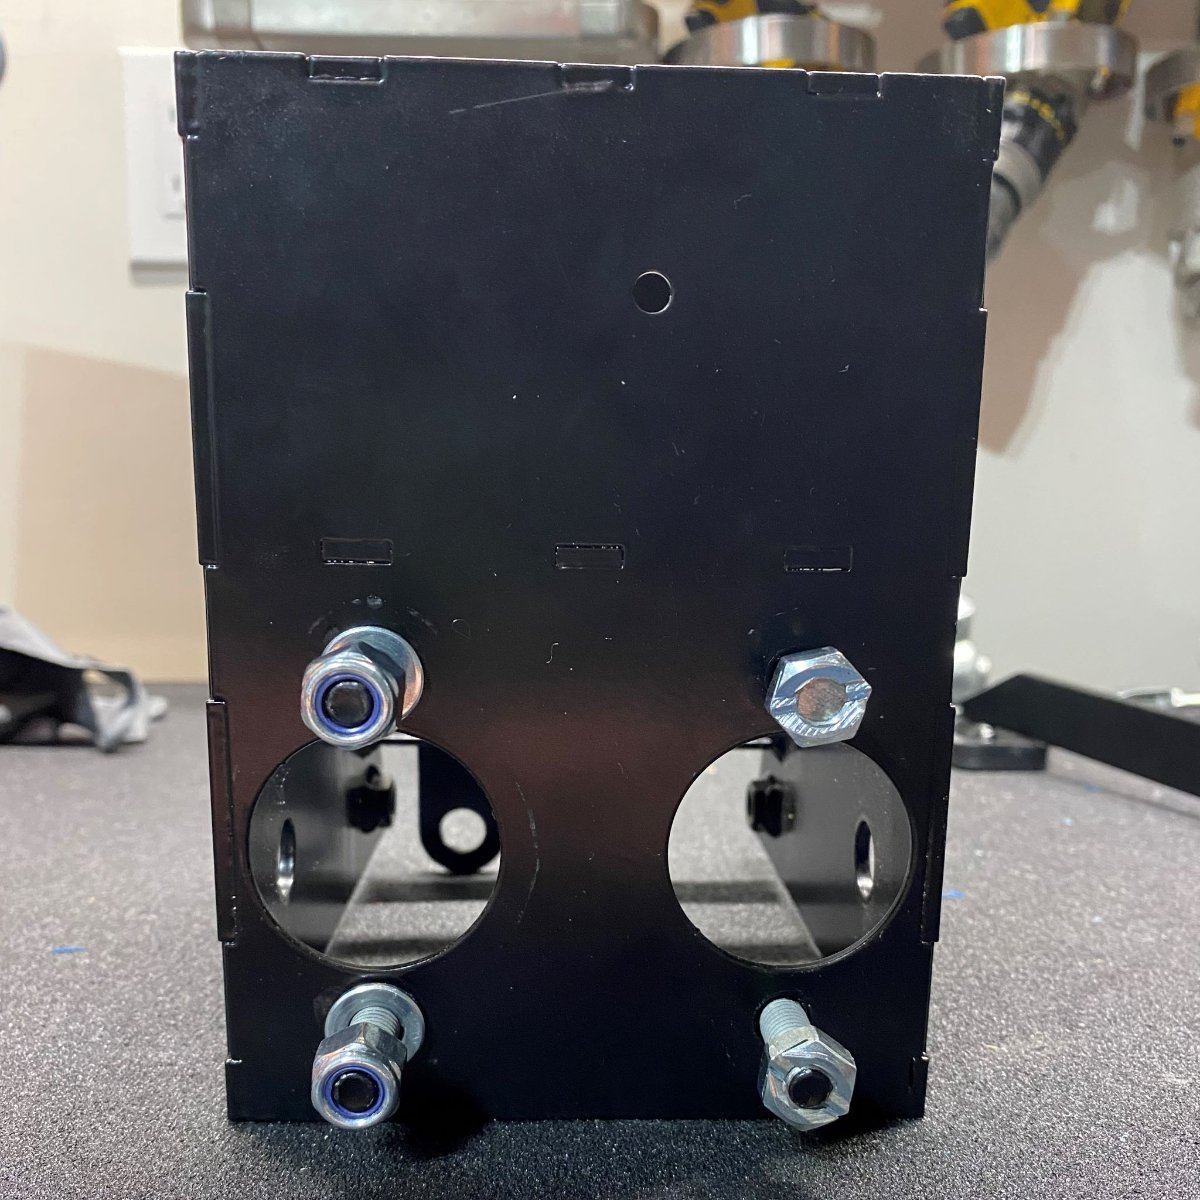
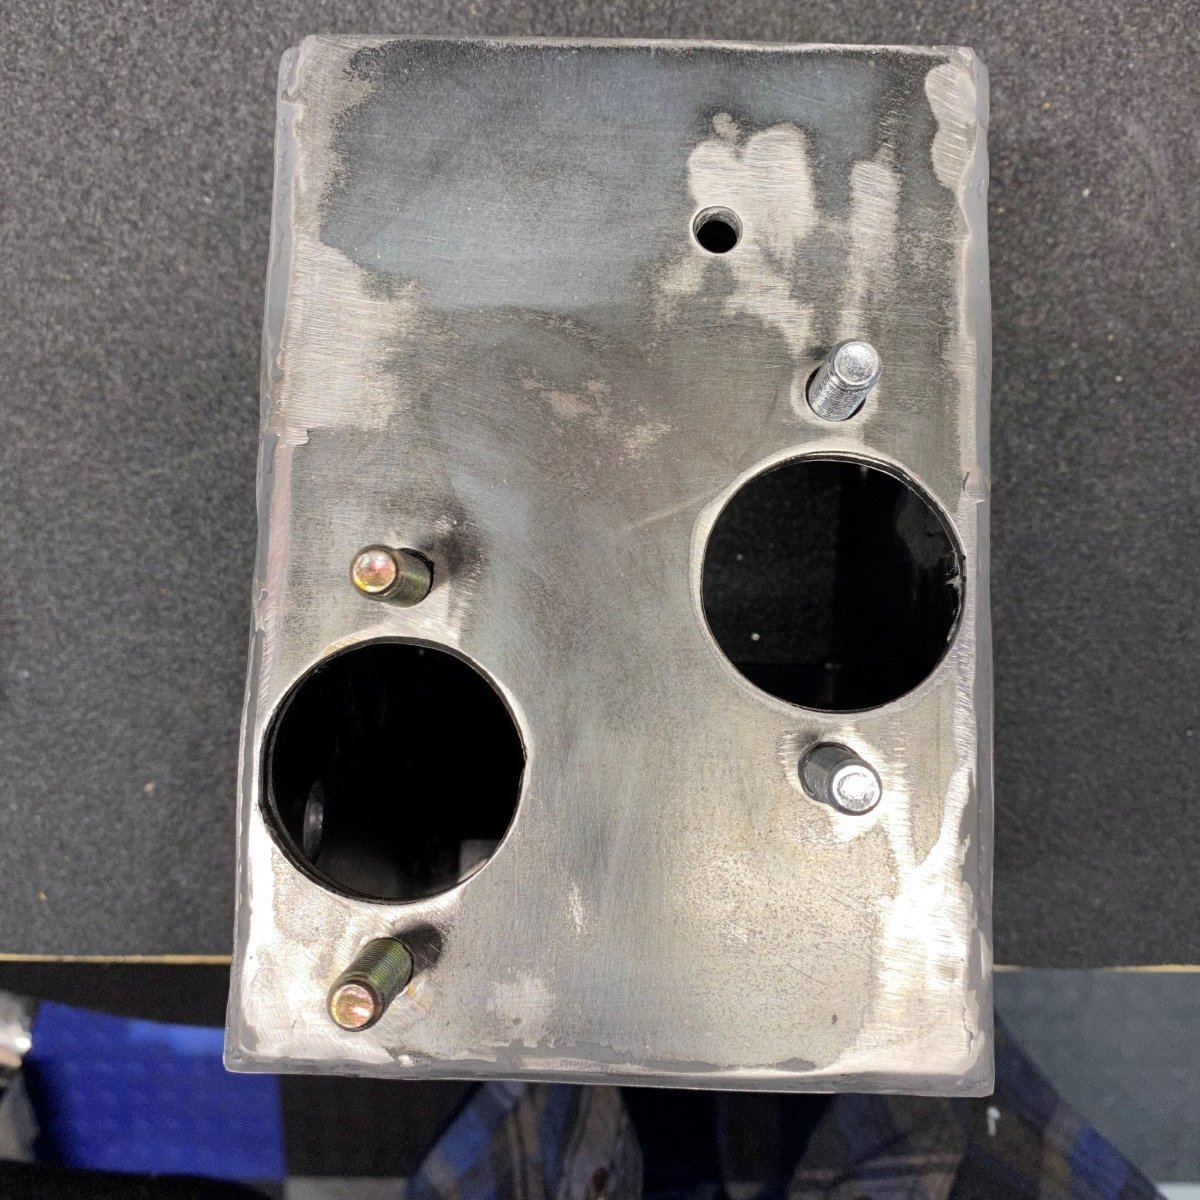
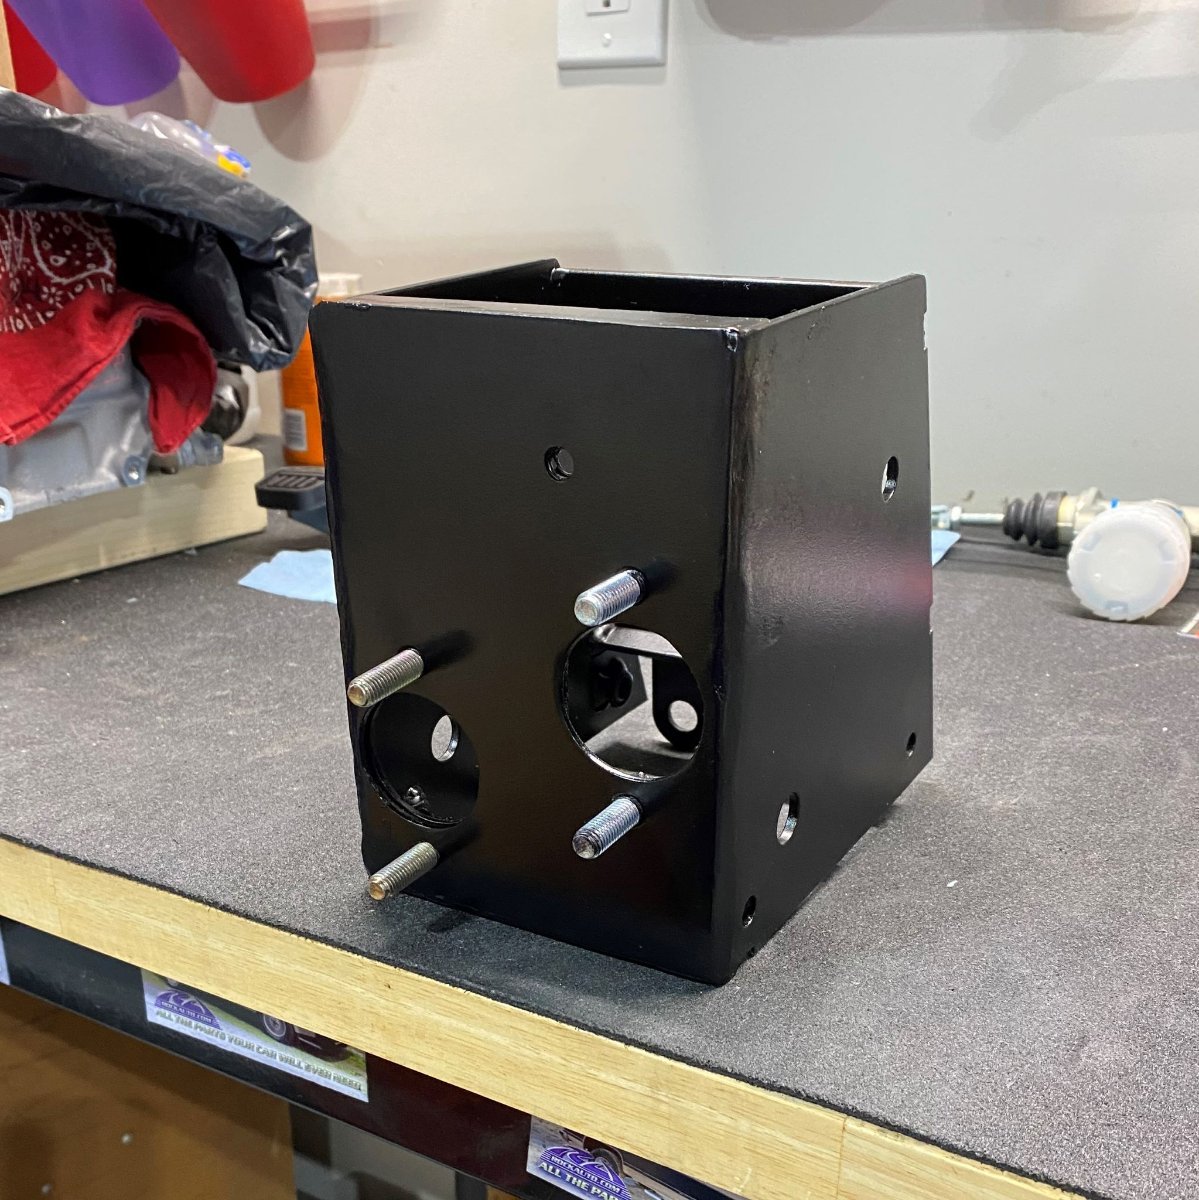
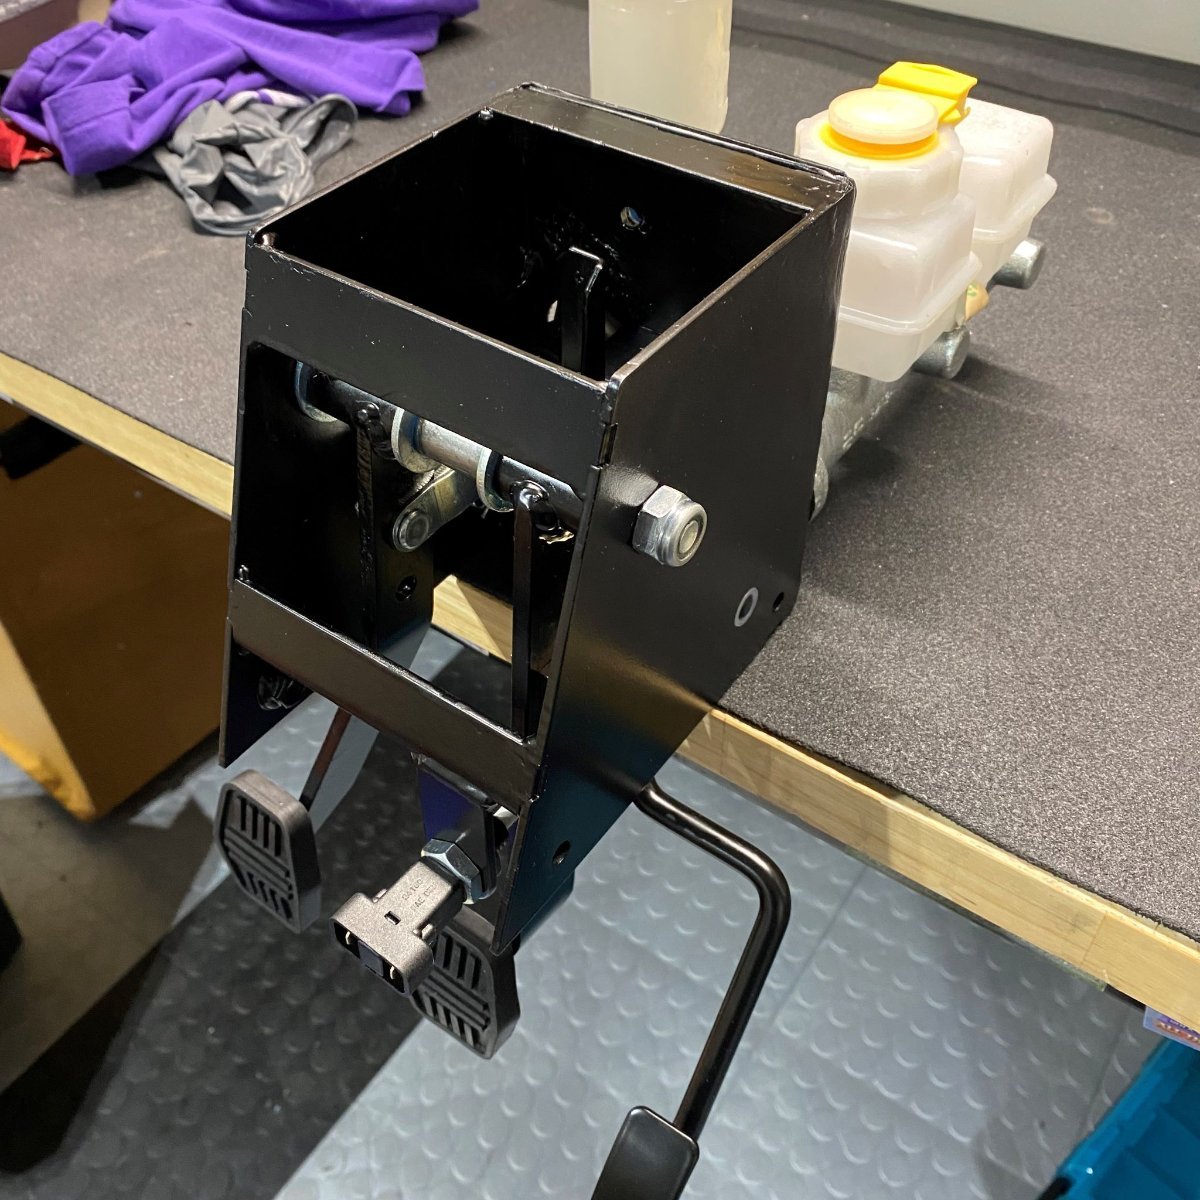
Two steps forward and and One step back.... As the title suggests things haven't quite gone as I planned recently so I had to take some time away from the build, get rid of my frustration and rethink my plan. After a semi successful attempt at running the fuel lines, followed by a good practice bubble flare on a piece of offcut, all was looking good for salvaging my install. Unfortunately, when it came to the real pipes the bends must have been too close to the flaring tool for it to get a good hold and neither flare came out well enough to keep! A new coiled length of fuel pipe was ordered from the local parts store and while I was at it I also bought a roll of Nicop brake pipe. I'm hedging my bets here and figured I might as well prepare myself for a similar experience with the brake line! After week or two away from it all, I decided to get back in the garage this weekend and tackle some simple tasks to get my head back into it..... Pedal box Install Did I say simple task? lol! what a joke! The pedal box sits atop the foot well between two steel rails, and is secured with four M6 bolts. A simple install that I could check off the list in about 10 mins right?!.........wrong! I started by cleaning out the nut threads with a tap....all good so far! Then when I presented the pedal box to the car, the "COVID" chassis struck again. The two attachment rails are positioned a bit too close together and the welds were quite large. The result, I couldn't fit the pedal box between them. Not only that, but the bolt slots on the sides didn't line up with the pedal box either.... At this point the chassis was upside down, so I decided to flip it over to get a better look. After a short stint with some "tools of persuasion" I had to resort to the dremel and start removing material. First from the rails... and then from the pedal box. Finally, after what seemed like an eternity of fettling, grinding and drilling, it was in and after a couple of coats of paint on the bare metal it was done!
-
Lol At first glance I thought that was a Ford Coyote!!
-
Nice job!!! I wasn’t expecting something that well planned and executed!!
-
@MPG I was wondering if anyone had installed a skid plate instead of shortening the sump. If you have a photo would you consider sharing it with me?
-
@JohnCh Hey John, It could be a Miata thing! Here is a picture from the the build manual I am following -Published 2006. You'll notice the manual is for a RHD car!
-
@fastg Hey Graham, I thought that too initially, but all the Westfields seem to have the same routing. They are certainly exposed to stones etc., but anything bigger like a curbs would have taken out the oil pan long before the lines! lol
-
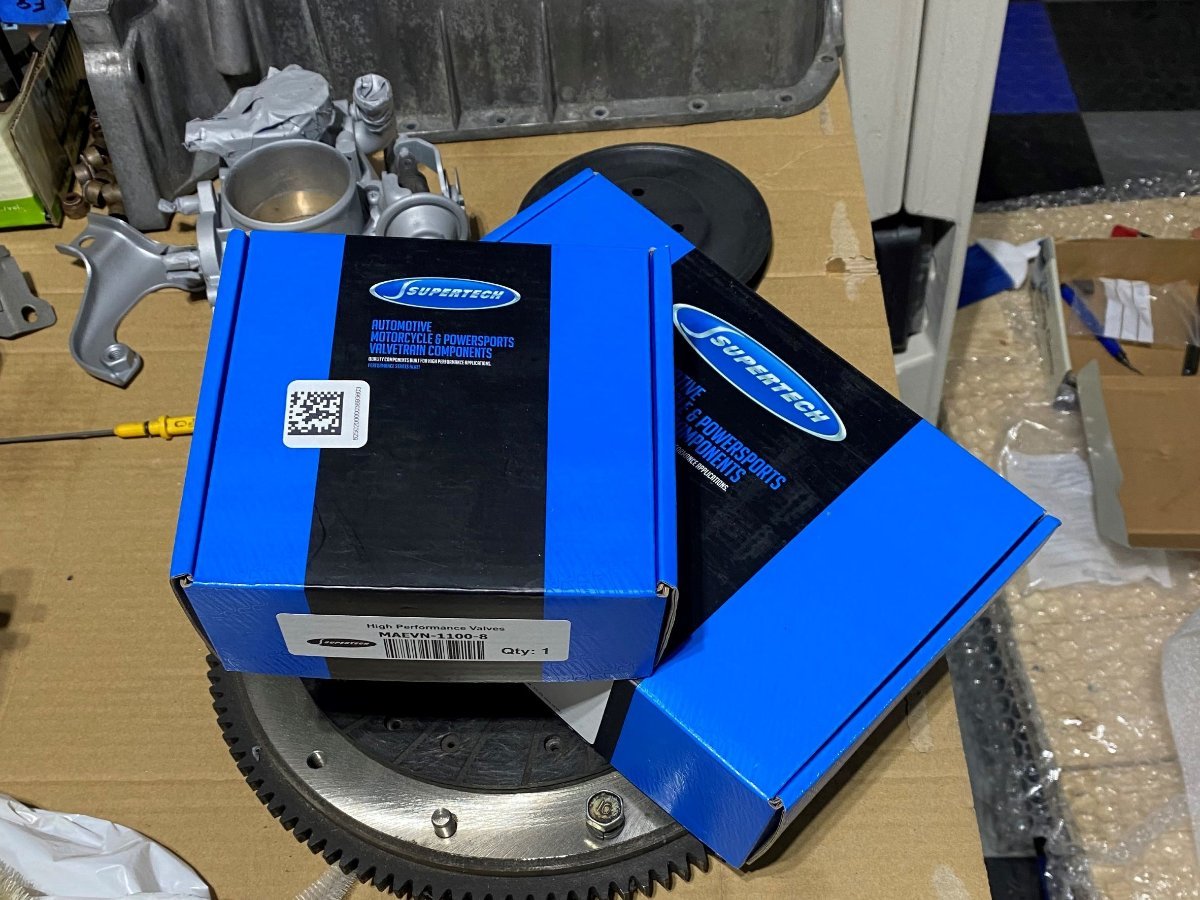
What else is new?... Well, in the fall when I was inspecting my engine, I noticed a fair amount of exhaust valve burn. Instead of replacing the valves with stock I decided to upgrade to some Supertech high performance valves and springs from Fab9 tuning in Michigan. After months of waiting they finally came through! Happy Days, I can now reassemble the engine and claim back some valuable real estate in the garage.
-
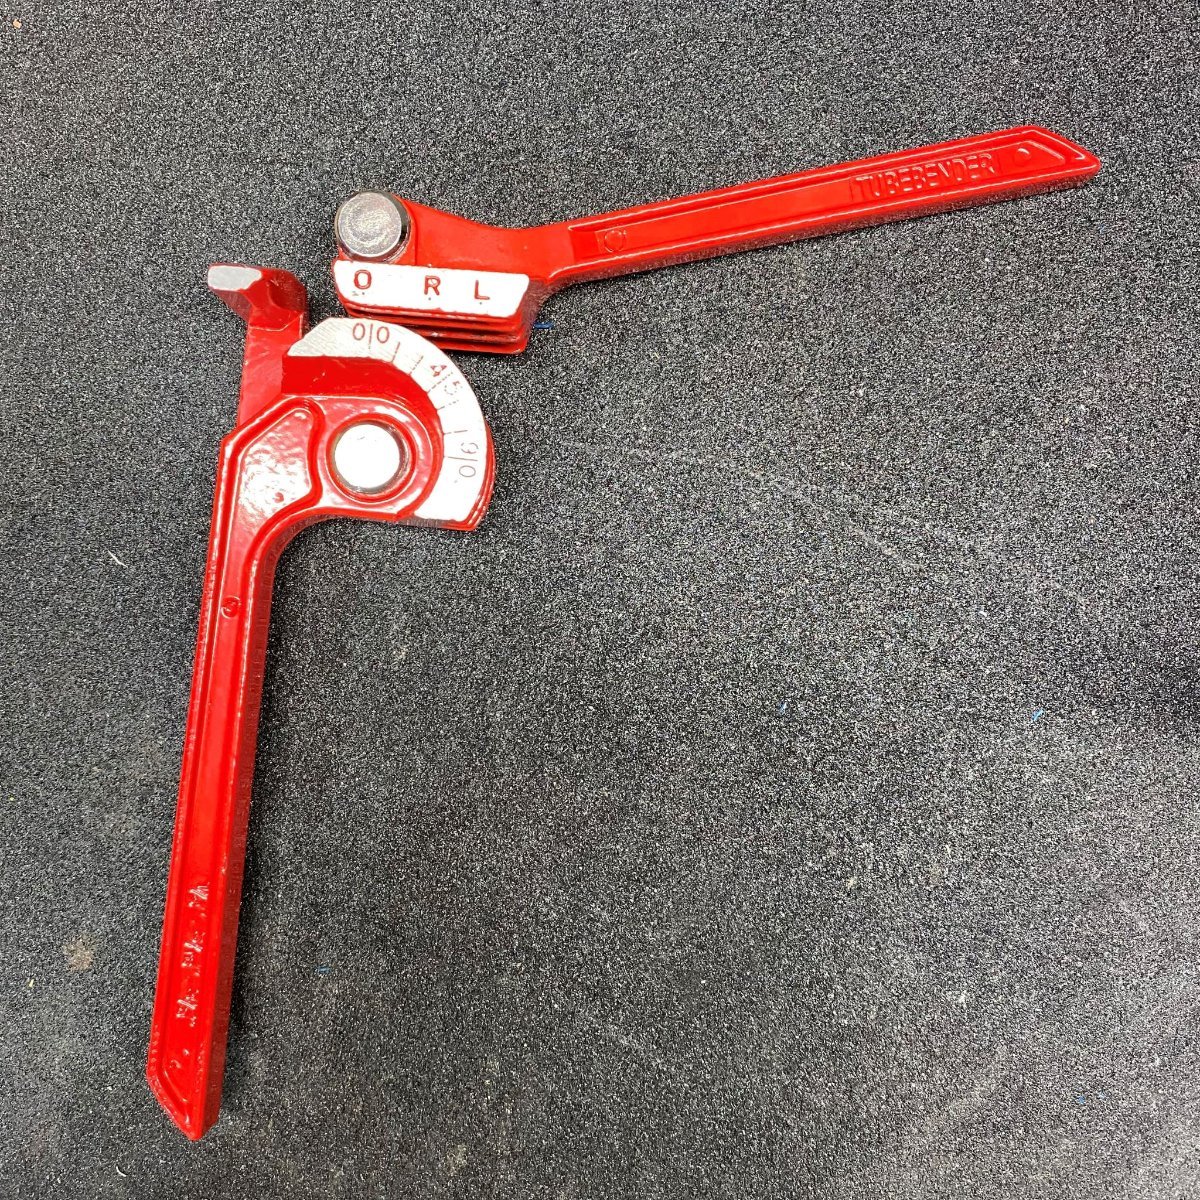
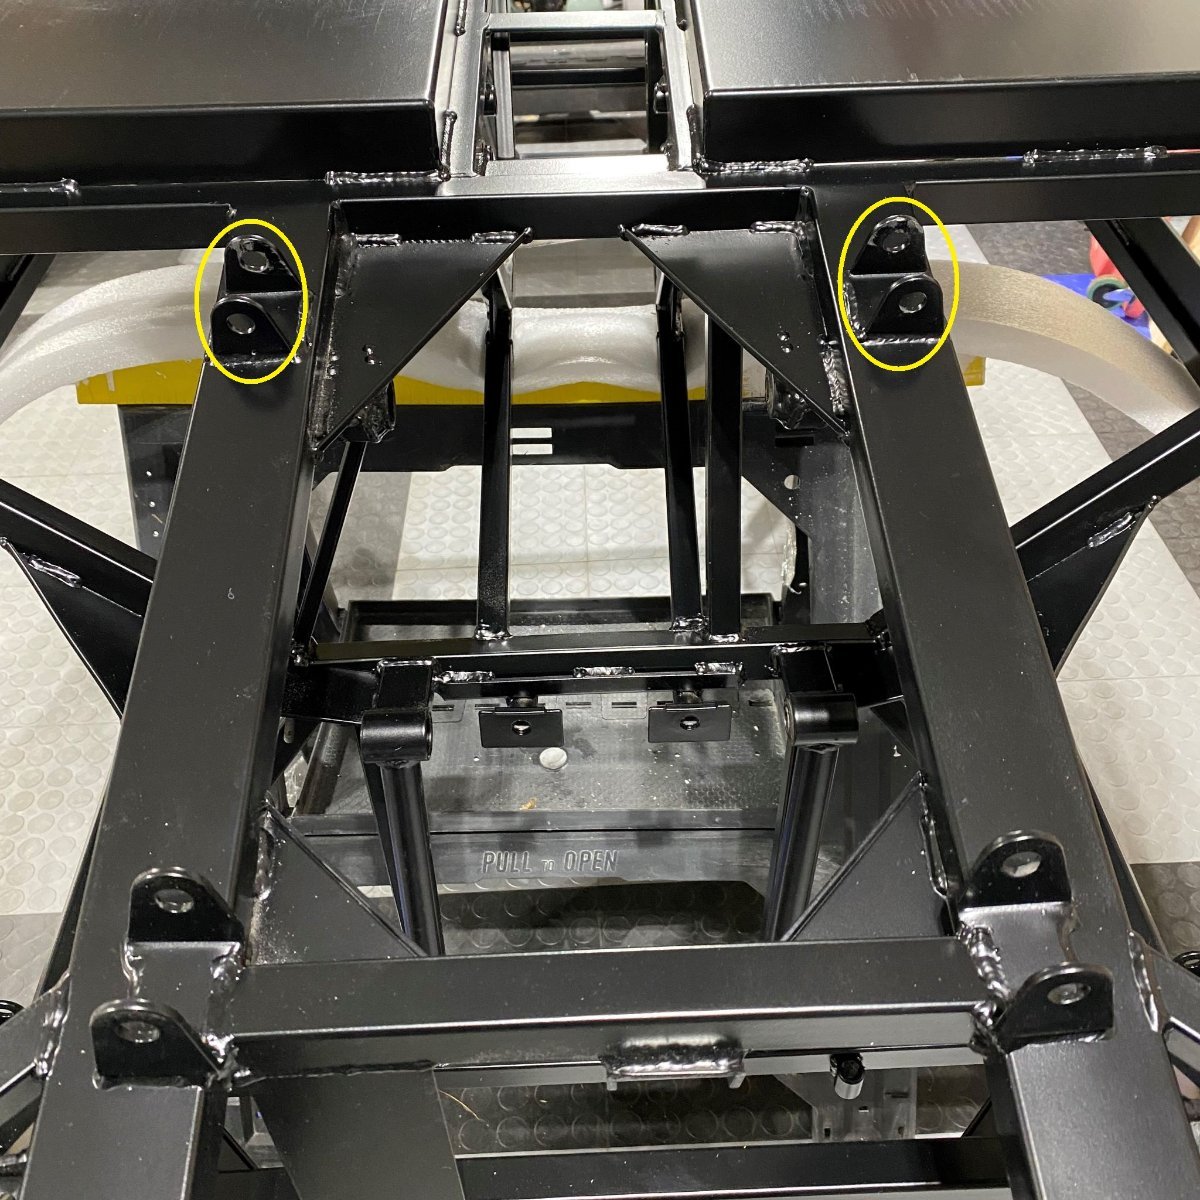
Fuel Lines Not much to report again this week, we decided to book a last minute winter getaway to Mexico for some winter sun. OMG it felt so good to have some warmth for a change! In my last post I had started to run the fuel lines lines on the chassis. Running and bending lines is completely new to me so I have been really taking my time (Perhaps too much) to get them neat. I bought this pipe bender at Canadian Tire and it seems to be working great so far. I also had to try and figure out how and where I was going to terminate them at the rear to compensate for the new brackets that Westfield have introduced to the SDV chassis. I the end, the decision was made for me when I tried to put two bends too close together and the pipe broke....I quite liked the way it turned out so I cut the other pipe short as well....I like symmetry! I still have a few clips to add but at least its a start.
-
Thanks for the complements gents.
-
For those interested in seeing what I actually ended up doing, here is a link to some pictures on my build thread.
-
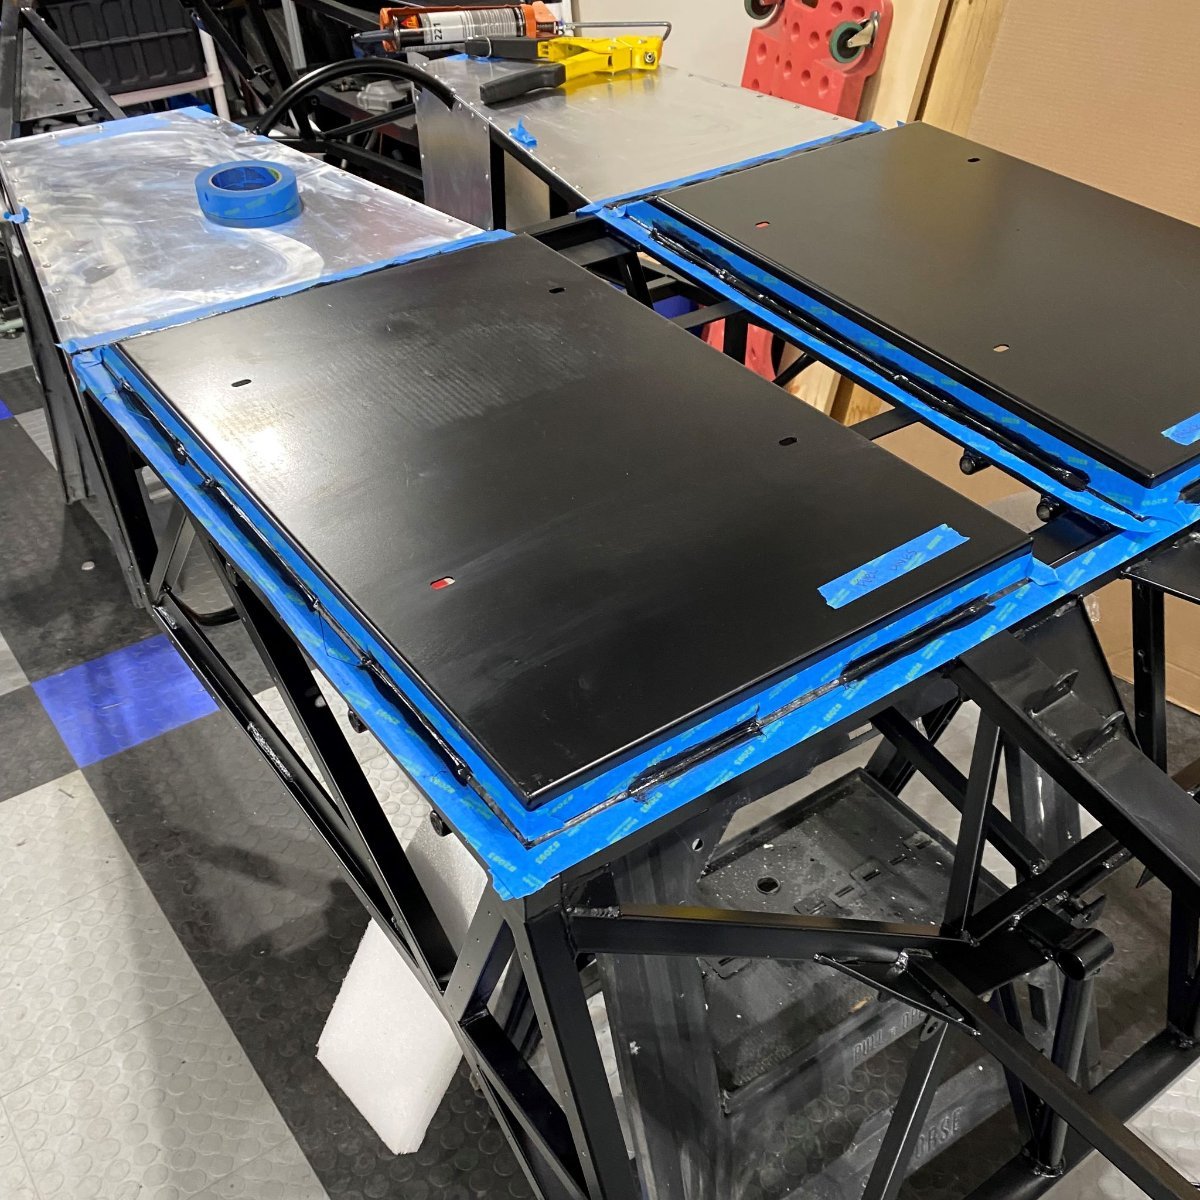
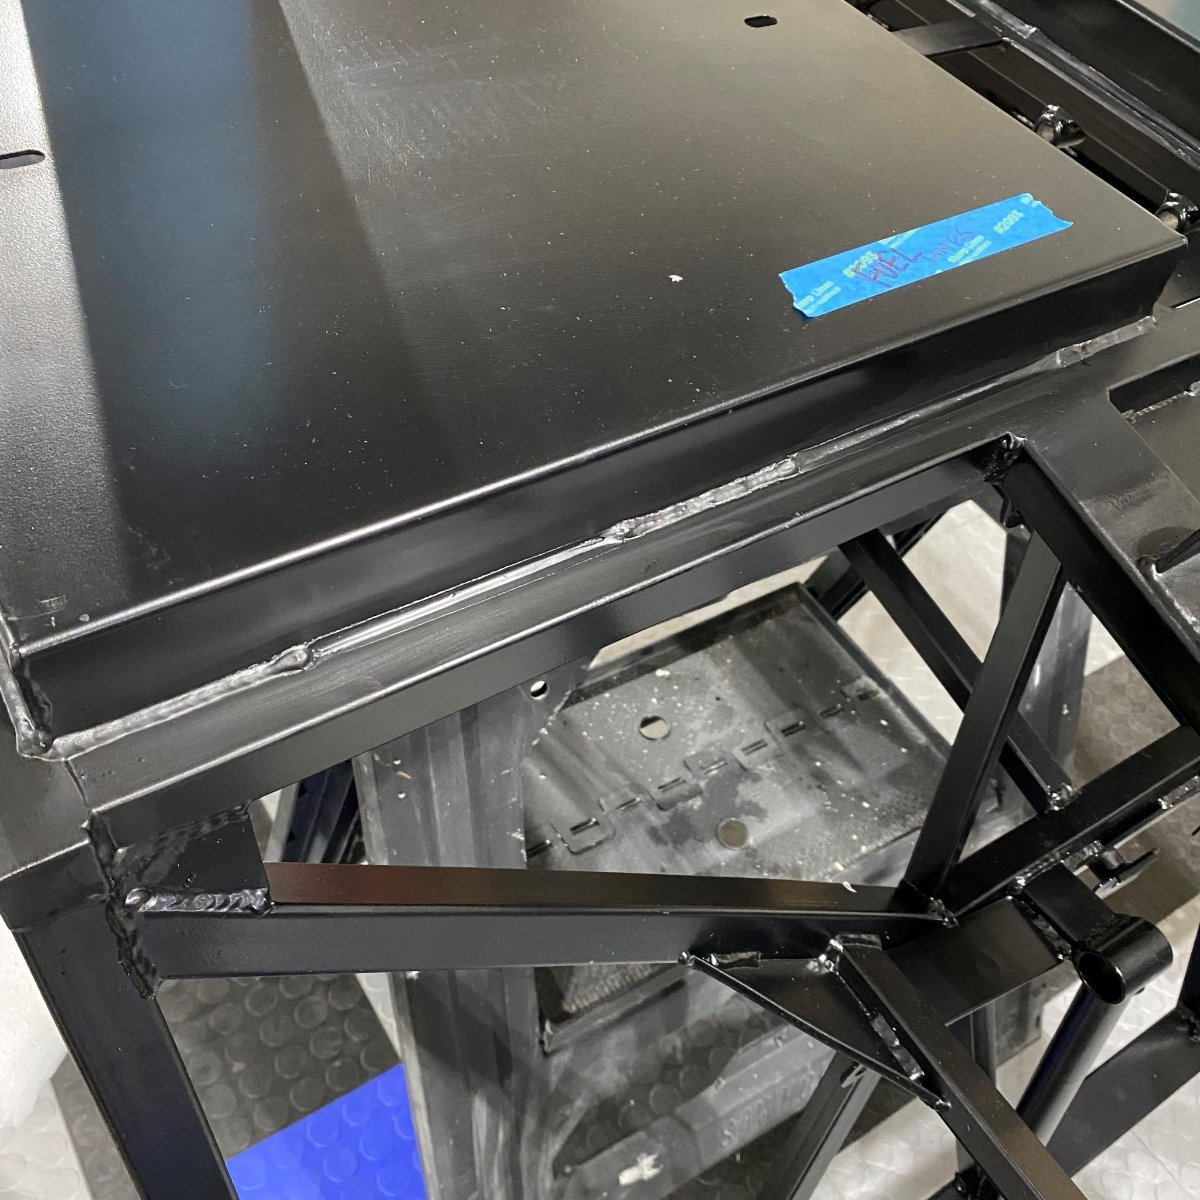
So it's been a few weeks since my last update. I'd like to say that I made a lot of progress, but as many of you have experienced yourselves, "real life" has got in the way of quality garage time. First there was the trucker protest in Ottawa which put a real downer on things, then the family came down with a touch of the Omicron, followed by general fatigue from everything the the winter has thrown at us this year. It's been a real "F'er". I made a deal with myself that garage time was for when I was feeling a good vibe. I didn't want any negative memories associated with my build. So what have I done..... Well, I spent some time tidying up the dodgy powder coat patches and then filling in some of the floor pan joints with sealant (Thanks @BobMet, I got the idea from your thread 🍻). Next, I spent some time on the pedal box modification. I talked a bit about this in my "Tech Talk" thread and finally got around to doing something. As you know I had an issue with my handbrake bracket and had to have a new one welded on. Well, by coincidence my welder also owned a metal signage company and was equipped with CNC cutting machines and the like. He was able to fabricate and tack on a new faceplate for my pedal box to the Flyin' Miata spec for a very reasonable price. Here's the before... After.... Painted (With Rustoleum Universal All Surface Paint - Satin black and reassembled Finally, I made a start on the fuel lines..... but that's a story for another day!!
-
Thanks @fastg, it is a "push on" connector for a rubber fuel hose with hose clamp.
-
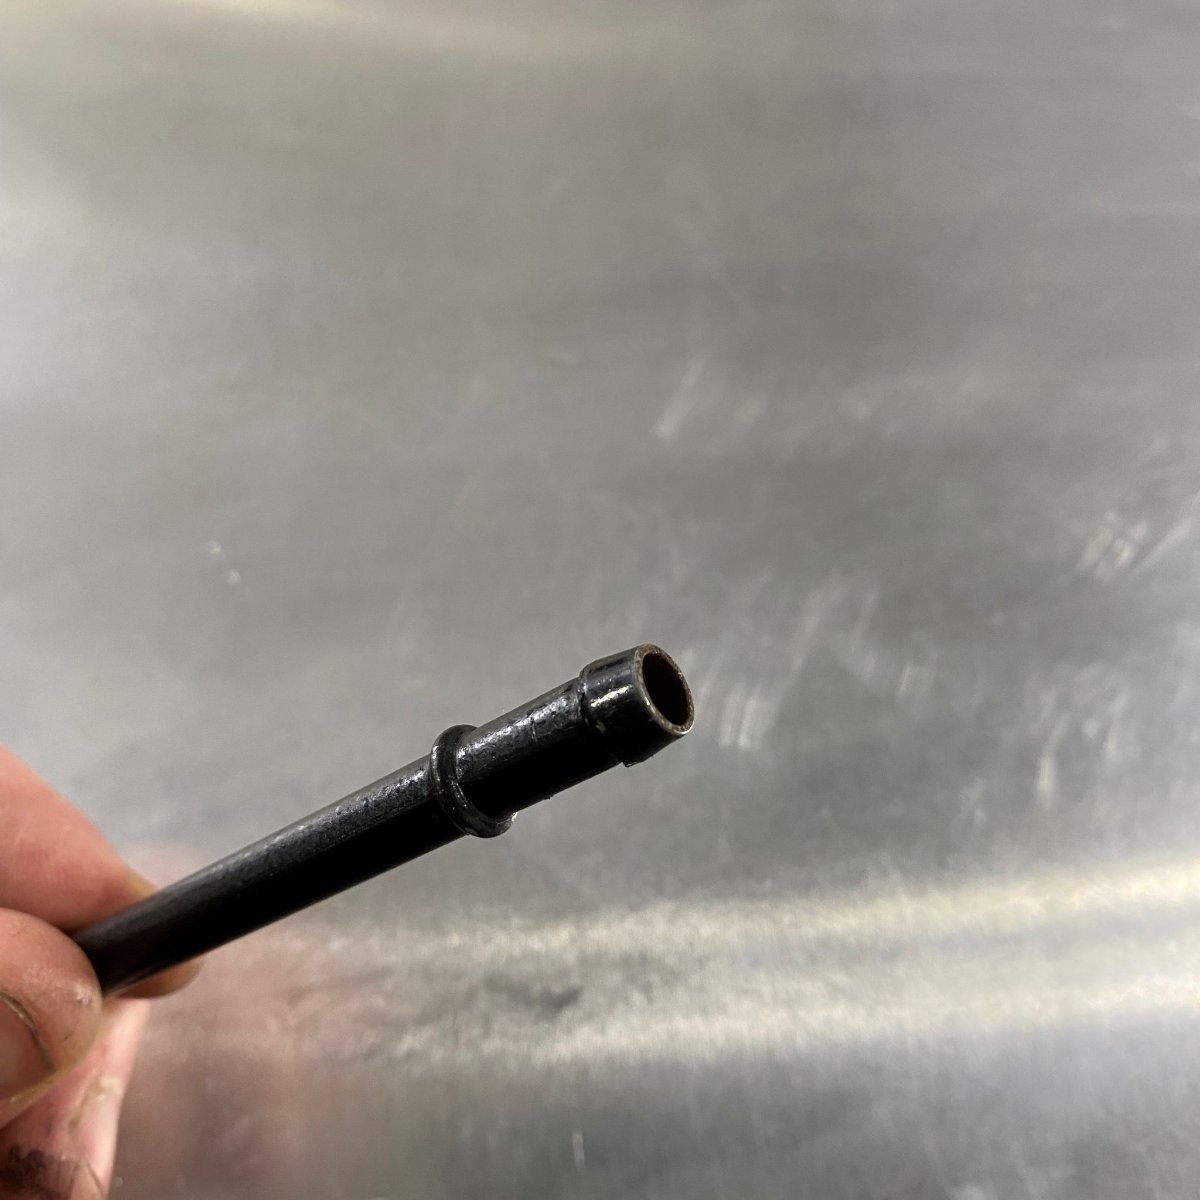
I have been installing the fuel lines on my Westfield SDV and unfortunately messed up my very last bend. I have managed to salvage the line but I need to put a new flare on the end. Can anyone tell me what sort of flare this is and if there is a tool available to make it? Thanks
-
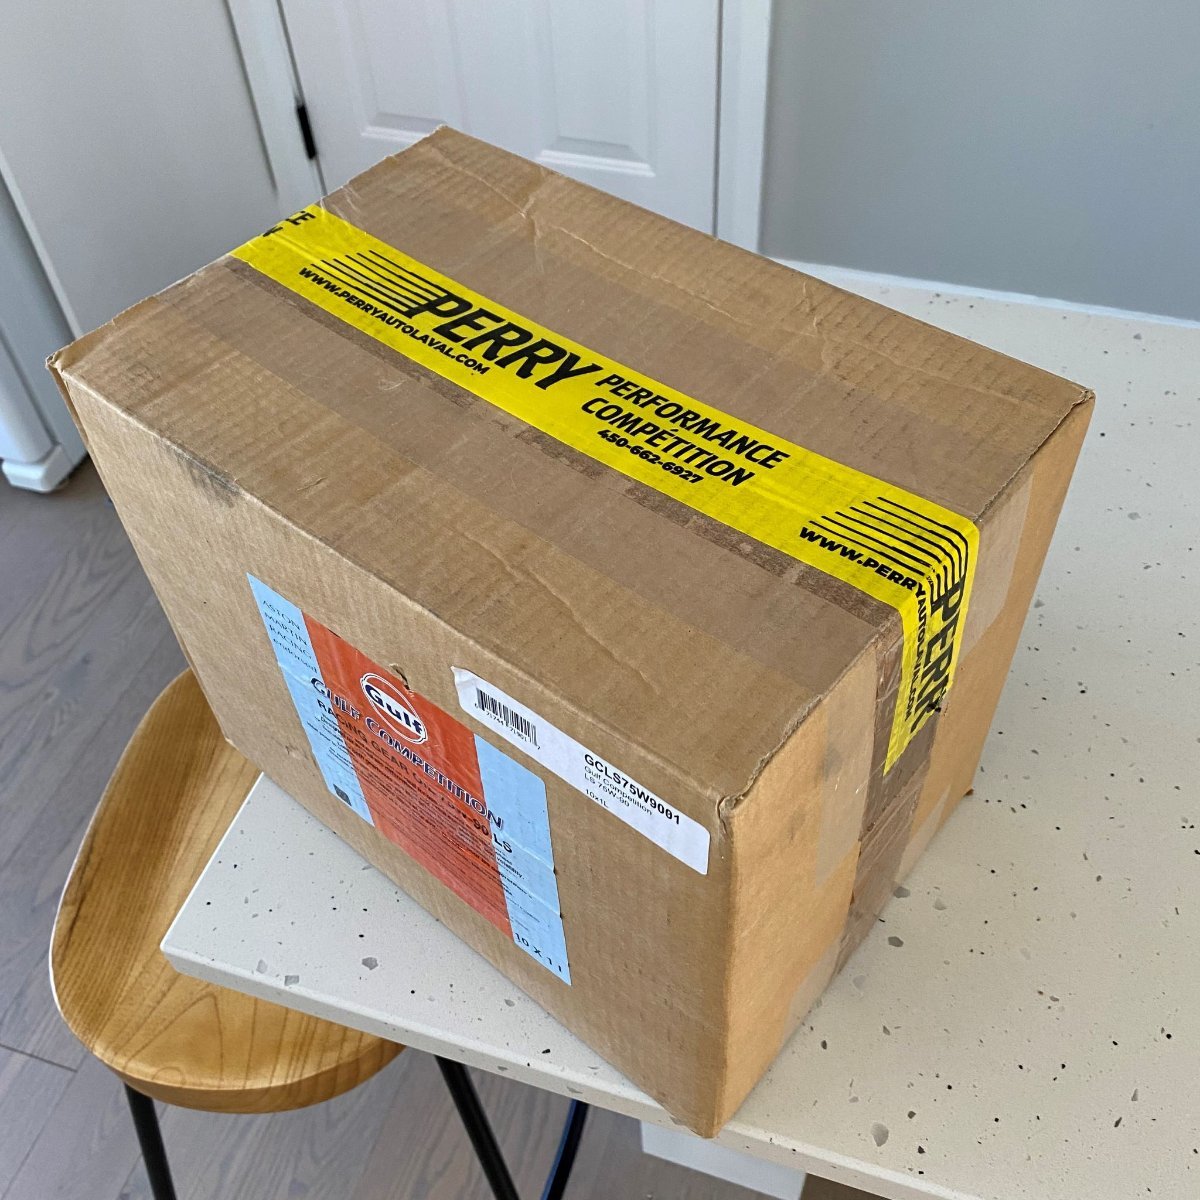
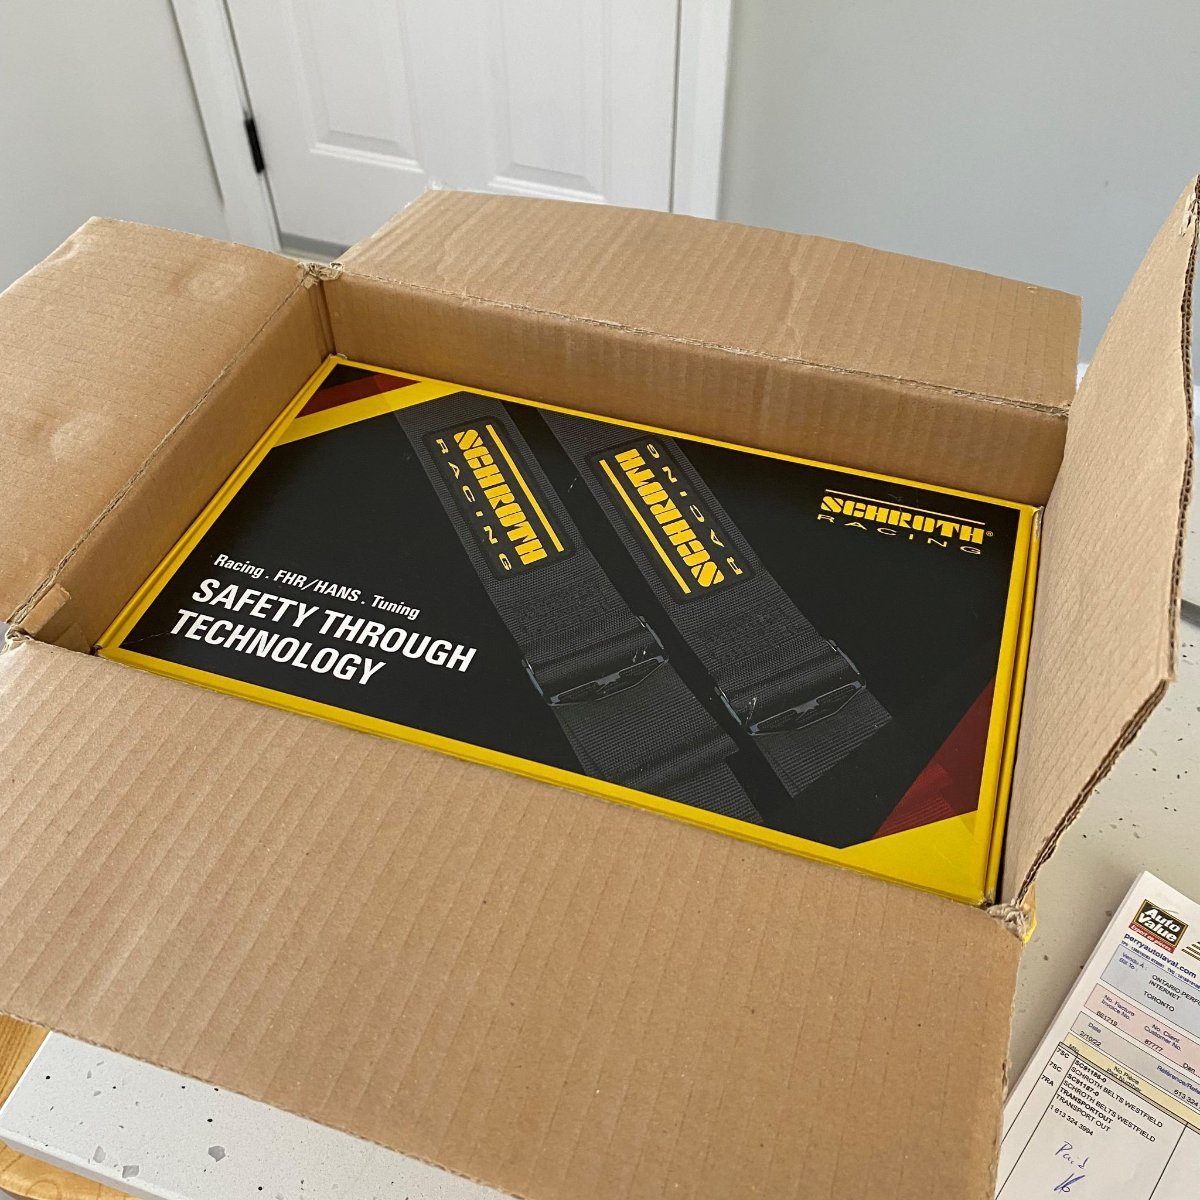
Ooh! a package!!! I love getting goodies in the mail!! My Schroth Westfield harnesses have arrived. I figured there would be a long lead time for these due to the low volumes and the Pandemic so I placed the order in August 2021. Happy Days! Perry Auto Laval (Montreal) is my nearest Schroth distributor and they were great to deal with!
-
Hi @IamScotticus. I reached out to POR-15 directly with my question and here is their response. Hope you find it useful! My Question: "I have a powder coated chassis and there are areas where the powder coat layer is not very thick. Can I paint POR-15 Rust Preventative Coating over the powder coat? If so, what prep do I need to do?" Their Response: "Yes, you will have to lightly sand or scuff the area then use our Cleaner Degreaser before applying the POR-15."
-
@RosteriI think you have hit the mark.....It says best before 31 March 2022!!!