DanM
-
Posts
353 -
Joined
-
Last visited
Content Type
Profiles
Forums
Store
Articles
Gallery
Events
Library
Everything posted by DanM
-
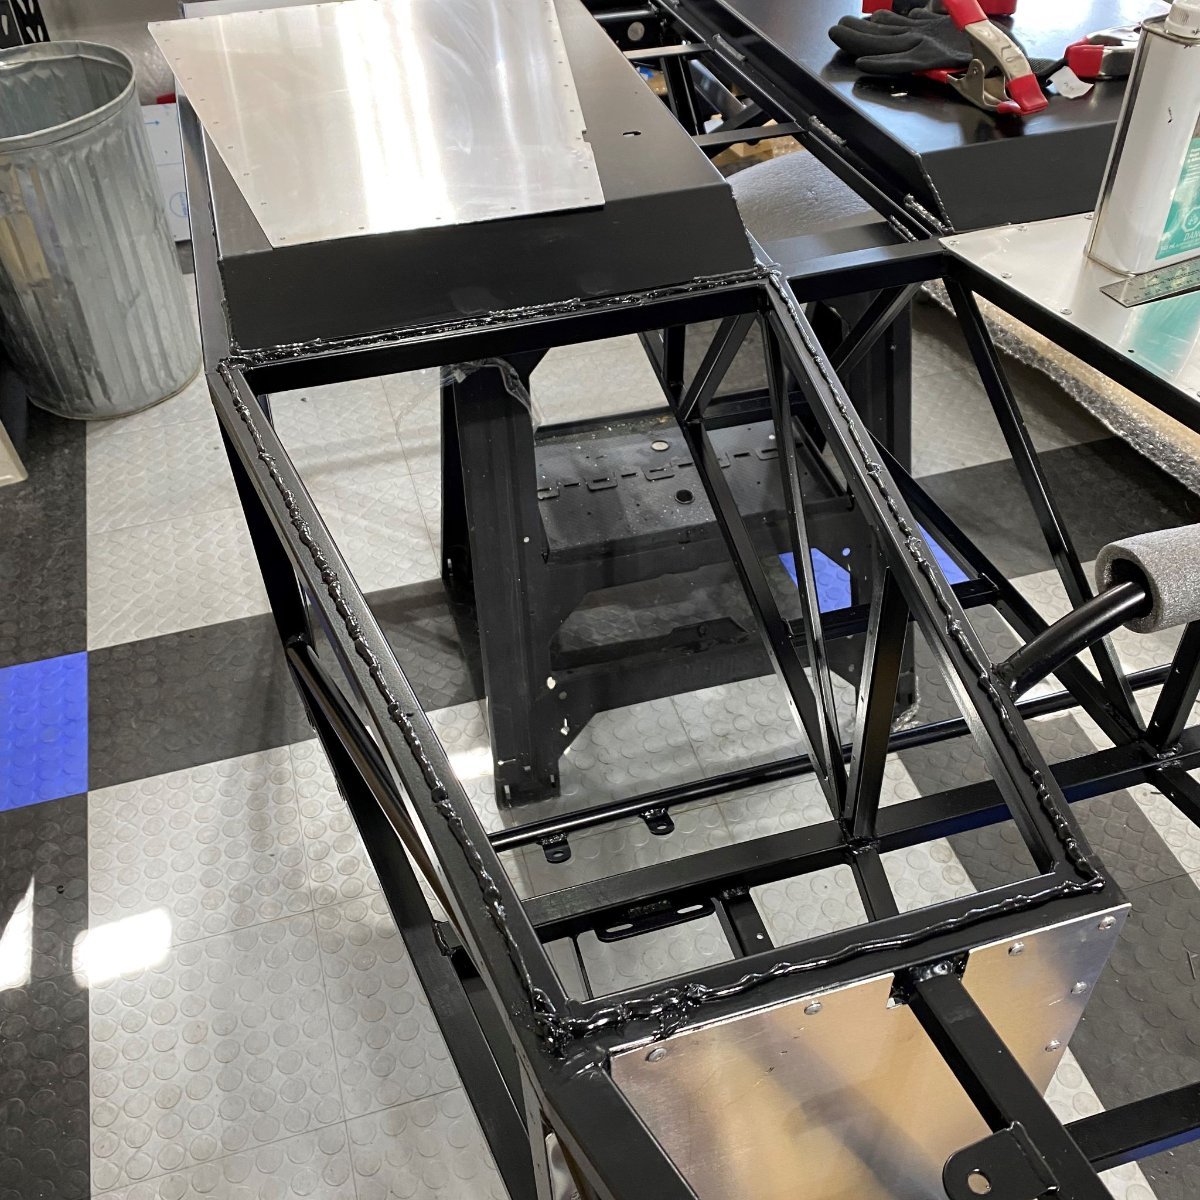
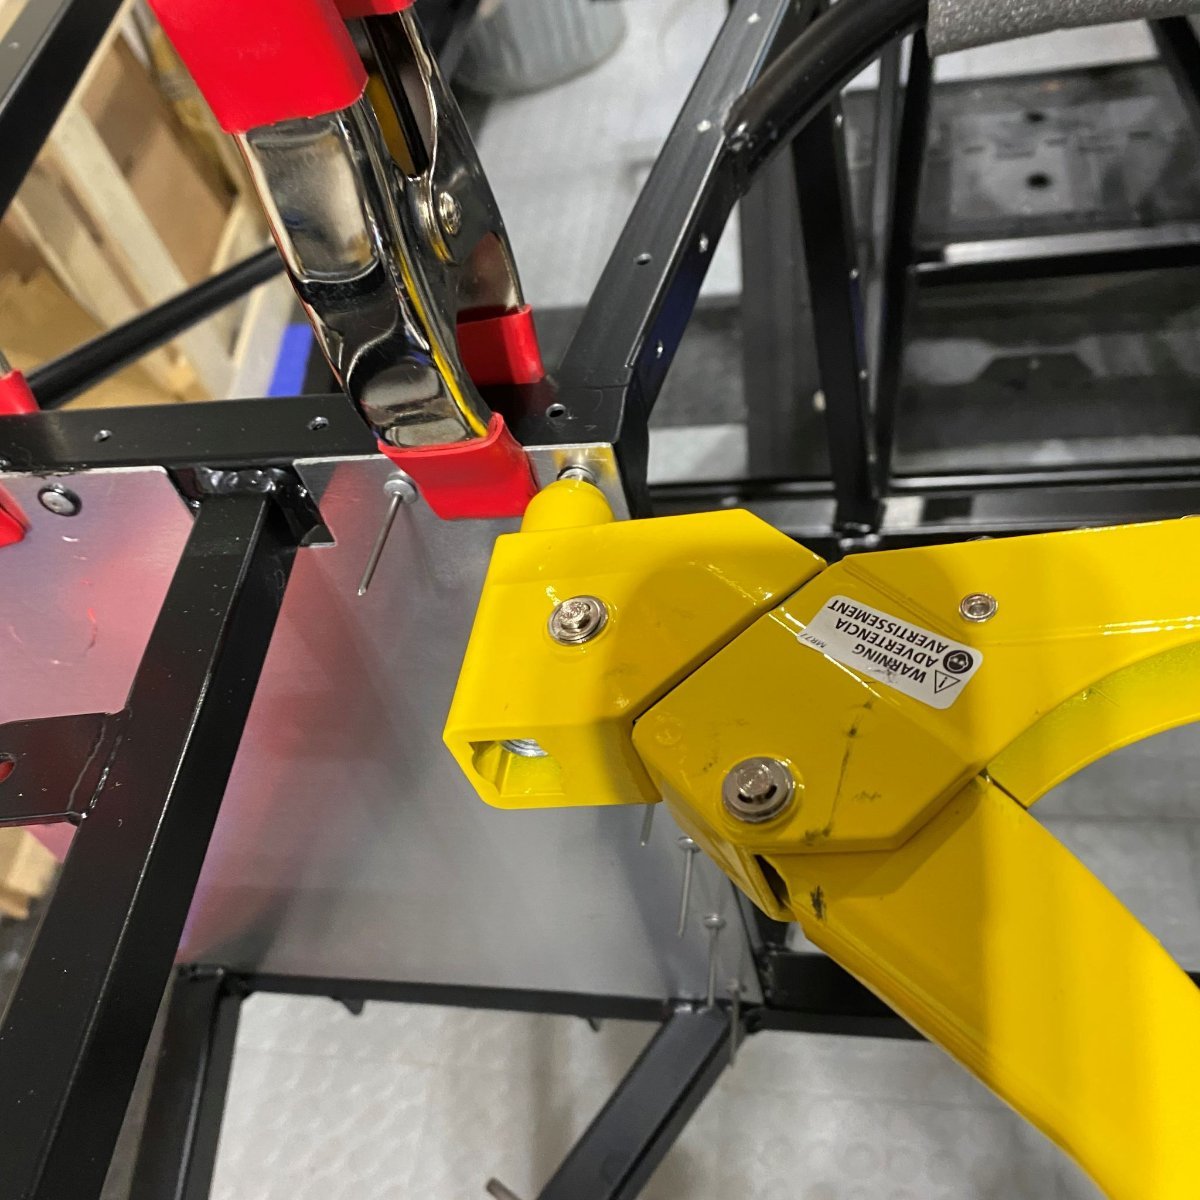
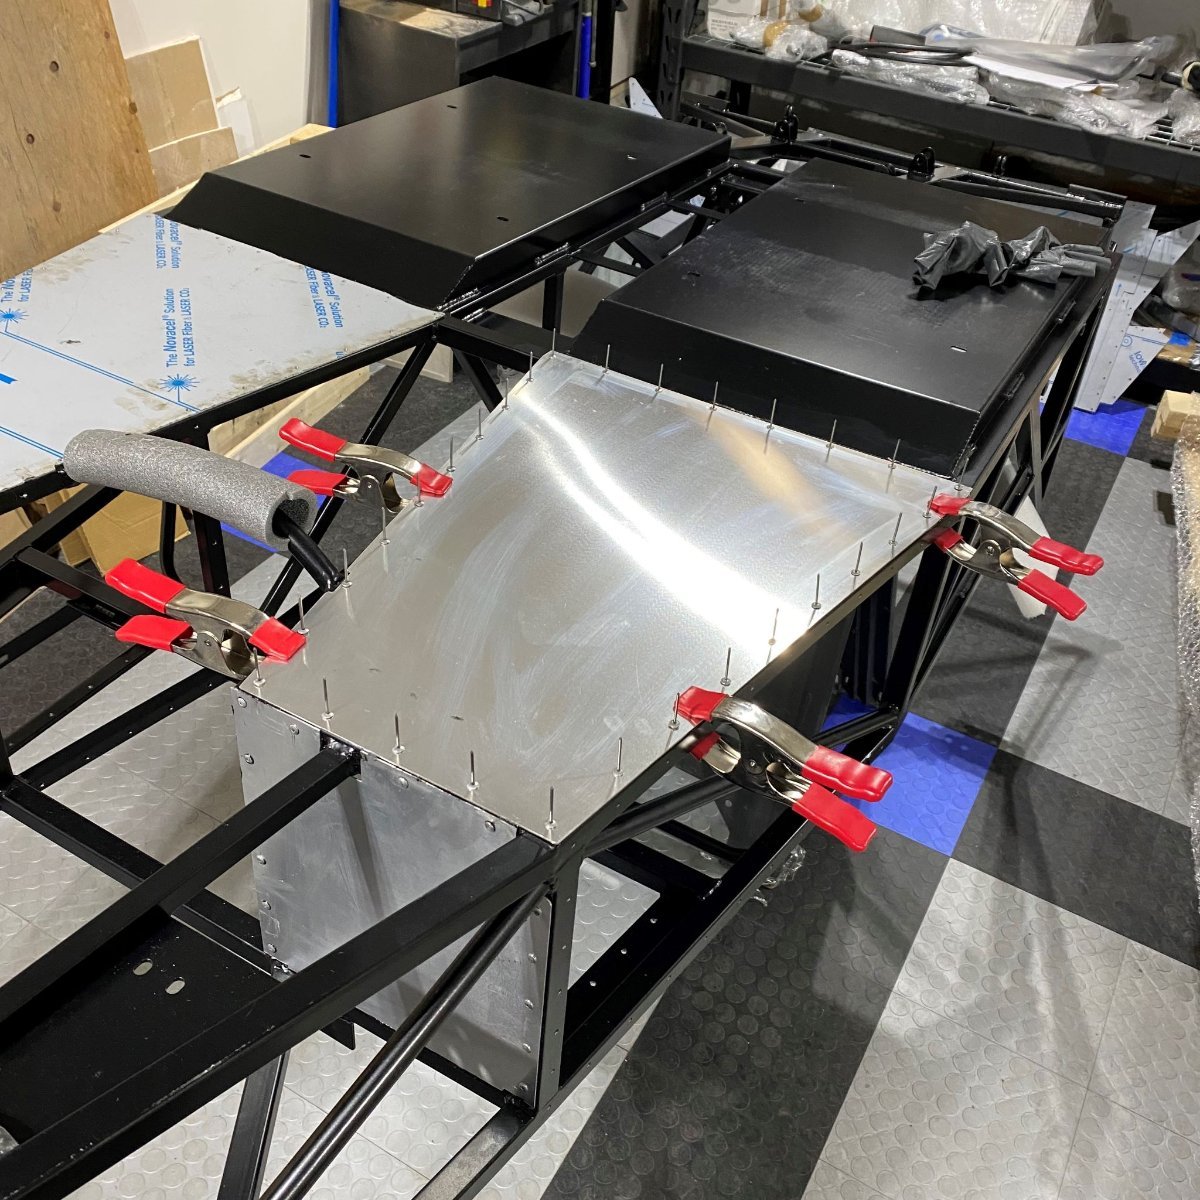
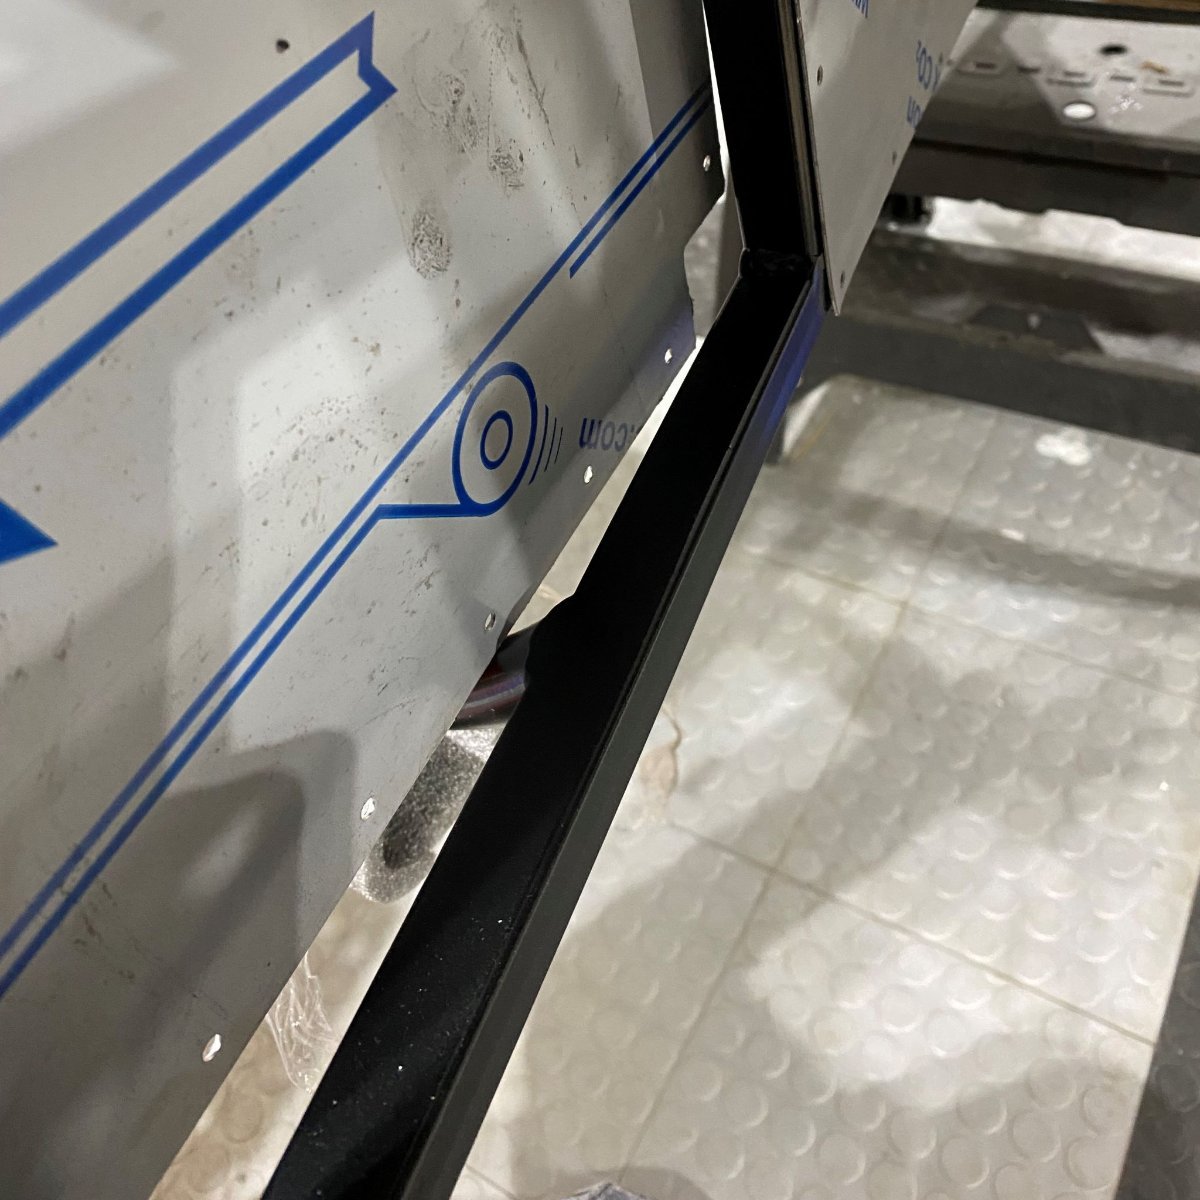
A couple more panels today and more mess as I squeezed in to the engine bay to do one of the tunnel foot panels. This time I opened up the nozzle a bit more and preheated the Sikaflex over one of our floor vents (Thanks for the tip @Kitcat). I still found it hard work but definitely easier than yesterday. Another thing I learned today is that about 18 hours after applying the Sikaflex it is strong enough to hold and pull away from the rivet heads and panel. From now on I won't be in such a rush the wipe of the over spill, I'll let it cure a little and then clean up without the stickiness.

-
@MPG Yeah!! That was lesson number 5!!! I had to open the garage door before locking up for the night, the fumes were intense!!
-
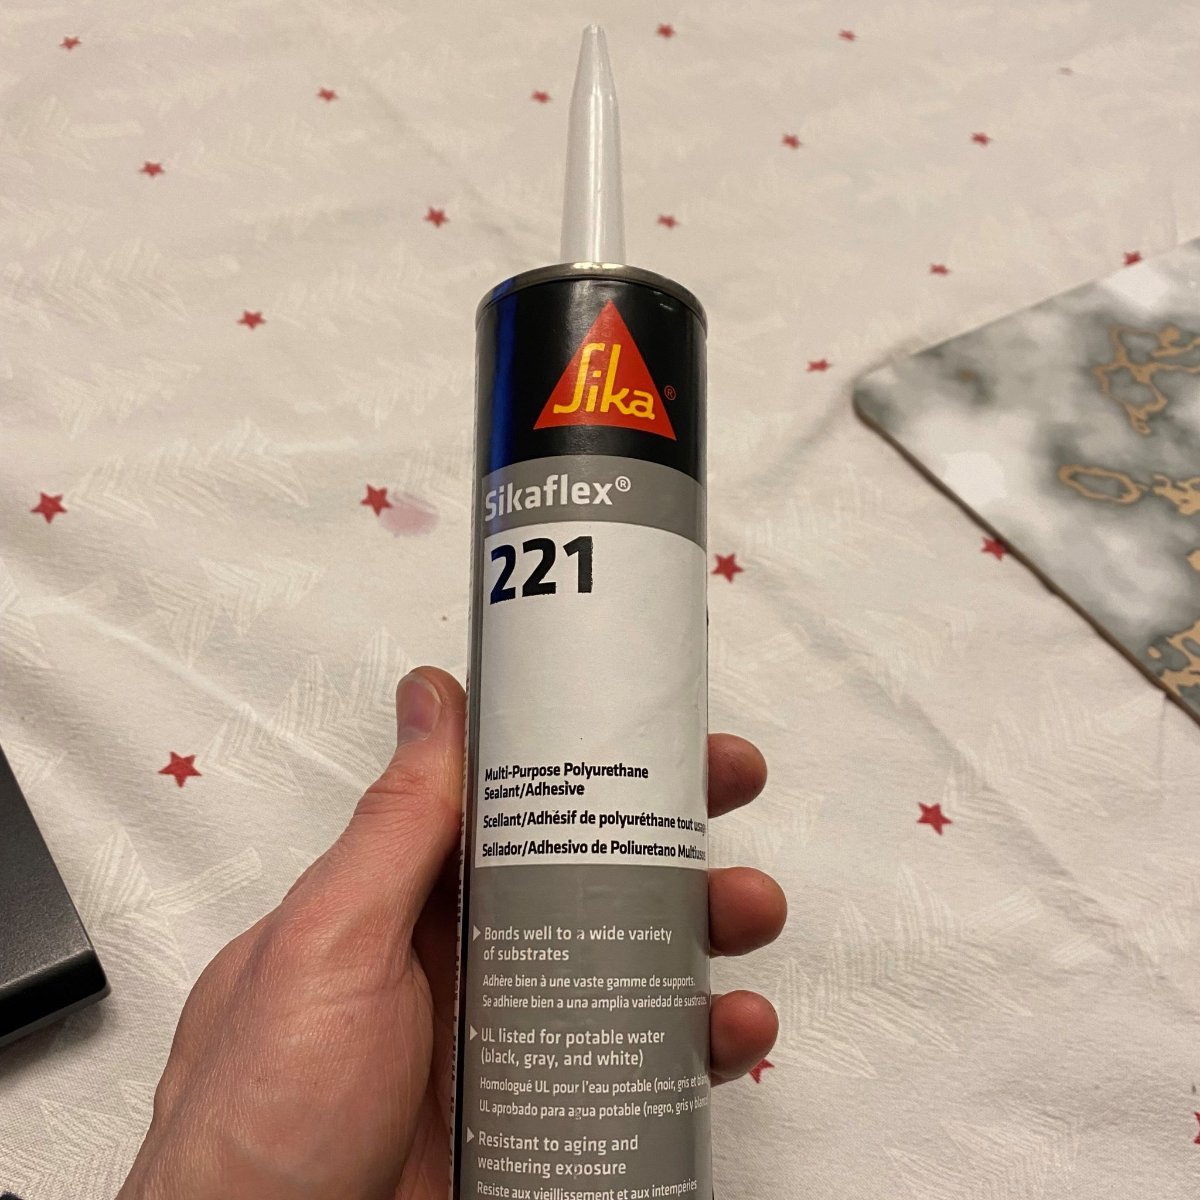
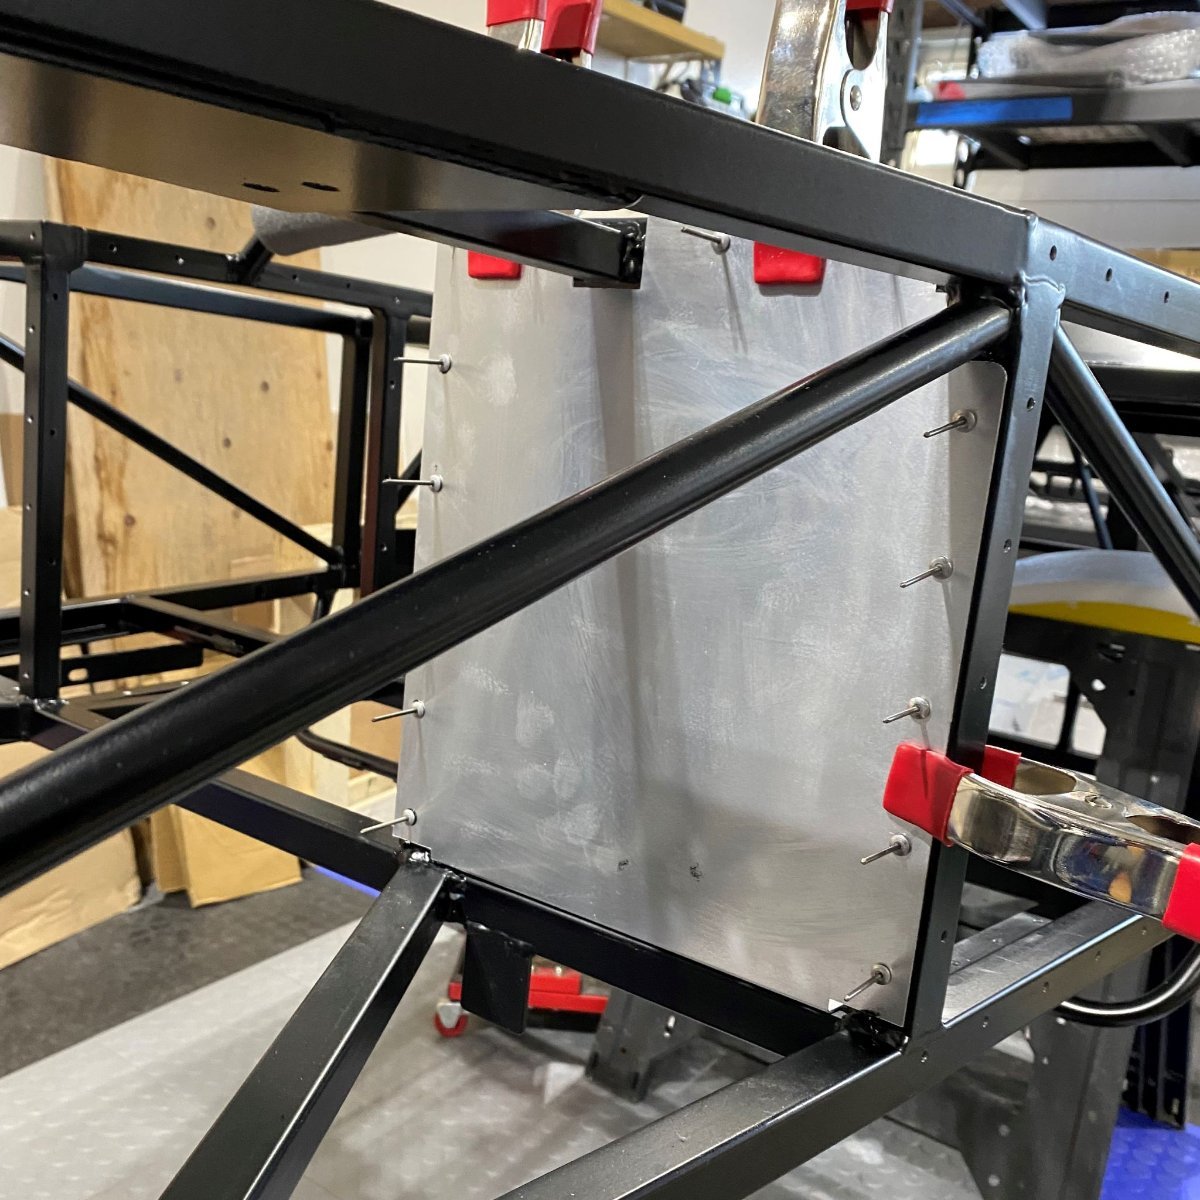
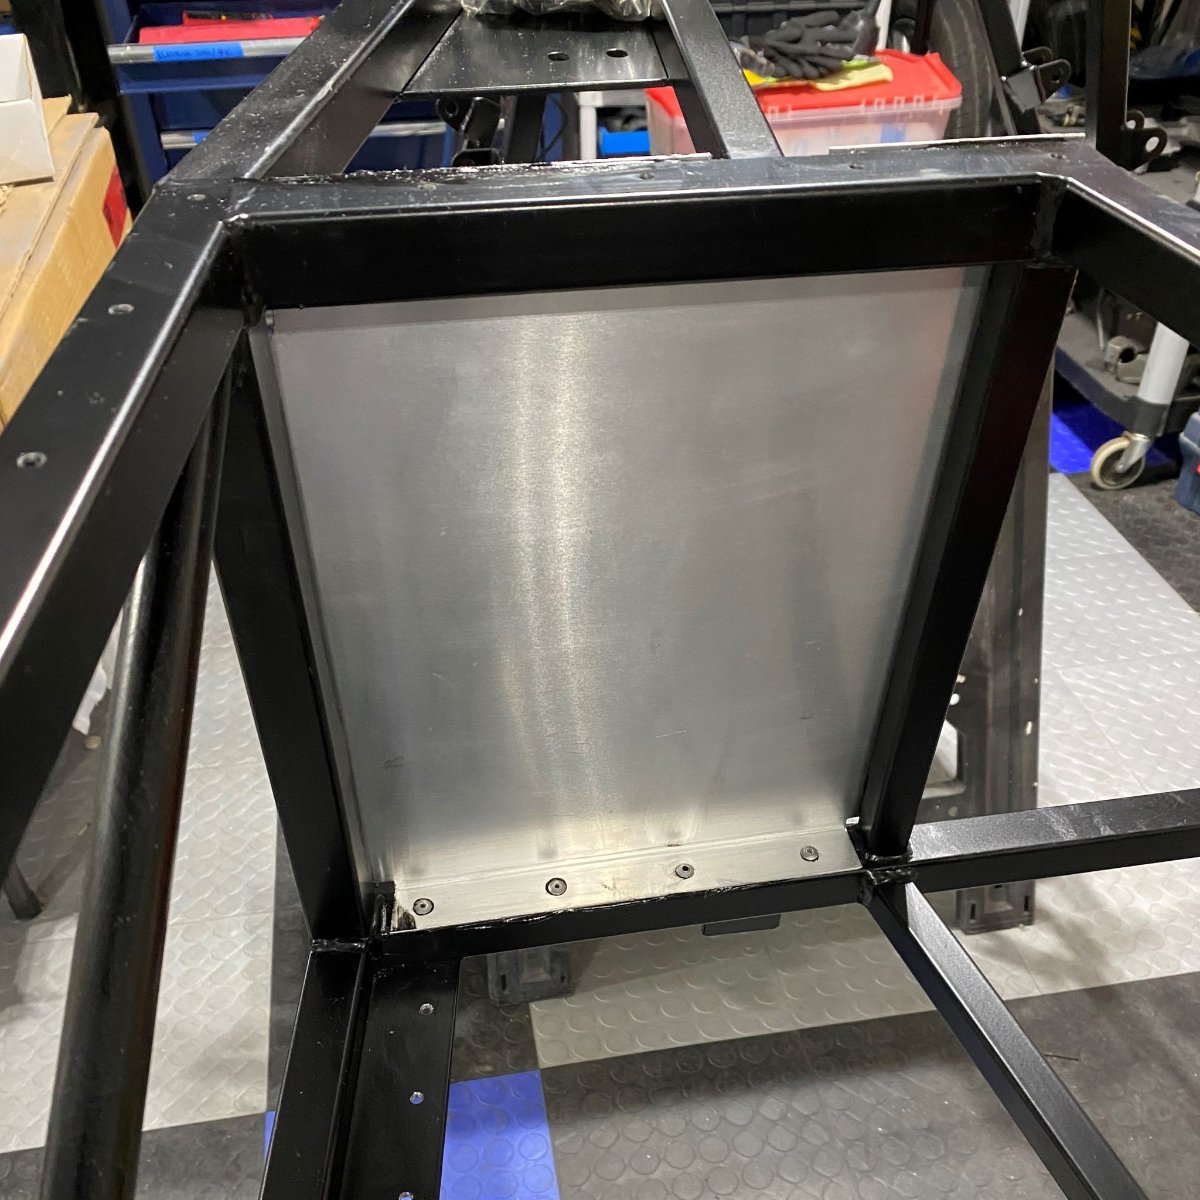
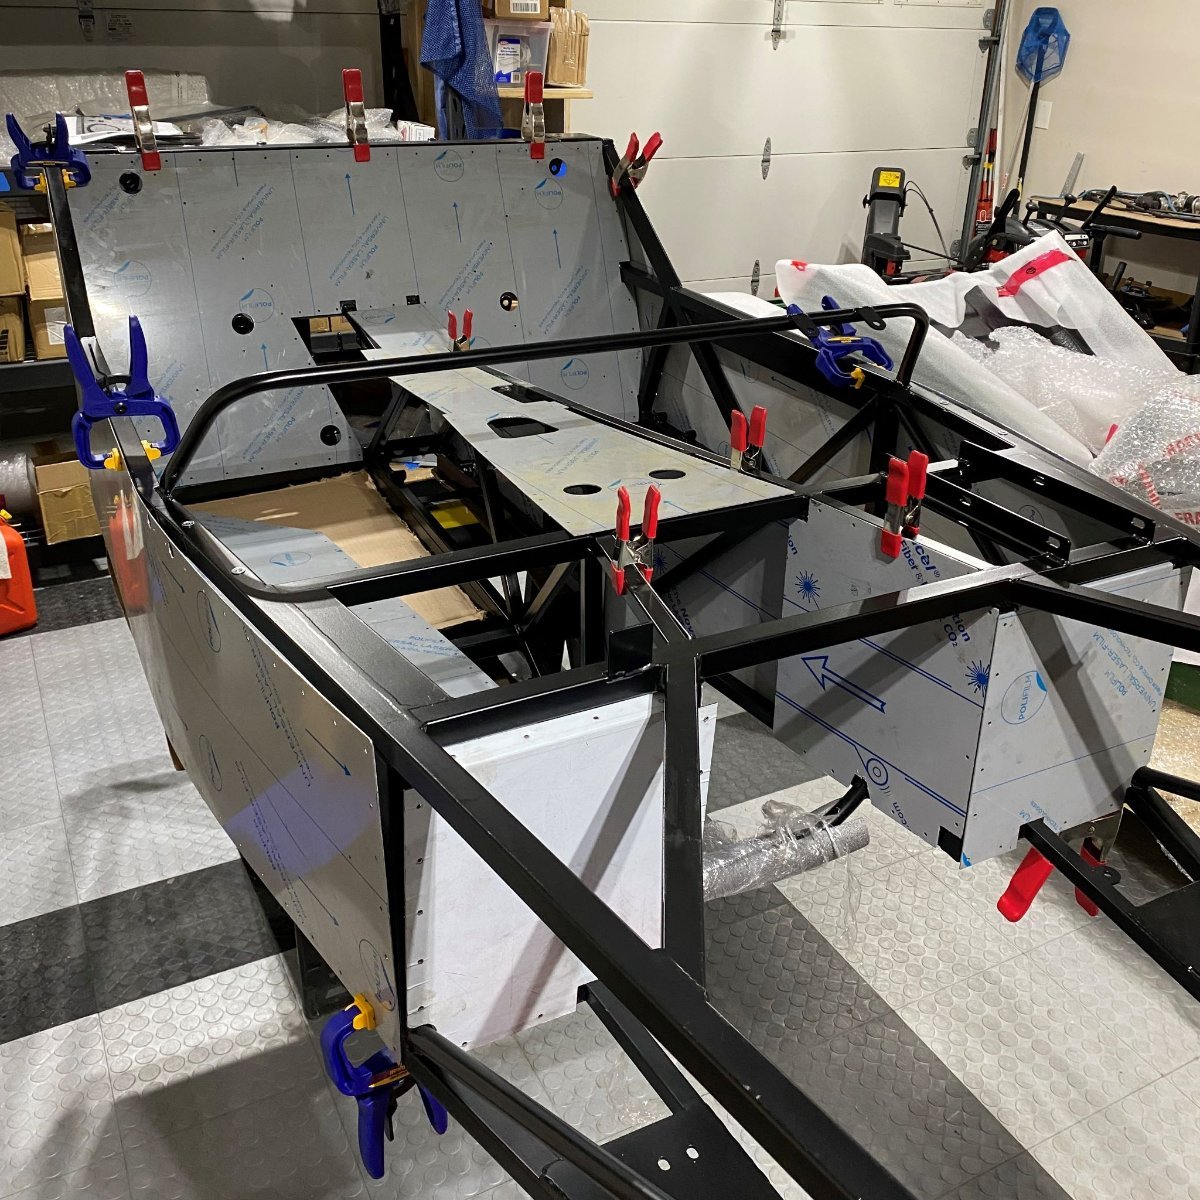
Panel Install This afternoon I made a brief start on the footwell panels. I started by removing the protective film, "de-gooing" and then rechecked each one for fit. Some of them still had a bit of de-burring to do, so I took care of that before opening my amazon package of Sikaflex 221. I'll use this instead of the multipurpose silicone sealant provided in the kit. First panels on were the footwell firewalls. I know, I know, I should invest in a pneumatic rivet gun......... The last panel of the day was the PS floor. Things I learned from my first 2 hours of panel install. 1. Sikaflex. amazing stuff, but no matter how careful you are and how much attention you pay, this S**t gets everywhere. I also found it hard to squeeze out. Perhaps the hole was a bit too small!? 2. How to pull apart, clear and re-assemble a rivet gun that has just chewed up the mandrel on the second rivet you have ever installed. 3. I will have hands and arms like Samson by the end of this!! 4. Did I mention how Sikaflex gets everywhere.......i'm still cleaning the orange strap on my watch!
-
@lg2k Thanks for the photos. This gives me a better idea of where things go and what the clearances are.
-
So while I scratch my head and try to figure out the new fuel line routing I decided to start protecting my chassis rails with cavity wax, before sealing and riveting the floor panels. I ended up using 3M cavity wax and gave it a good spray through each of the rivet holes to ensure good coverage. I just did the floor pans and footwells for now but will complete the rest of the chassis over the weekend.
-
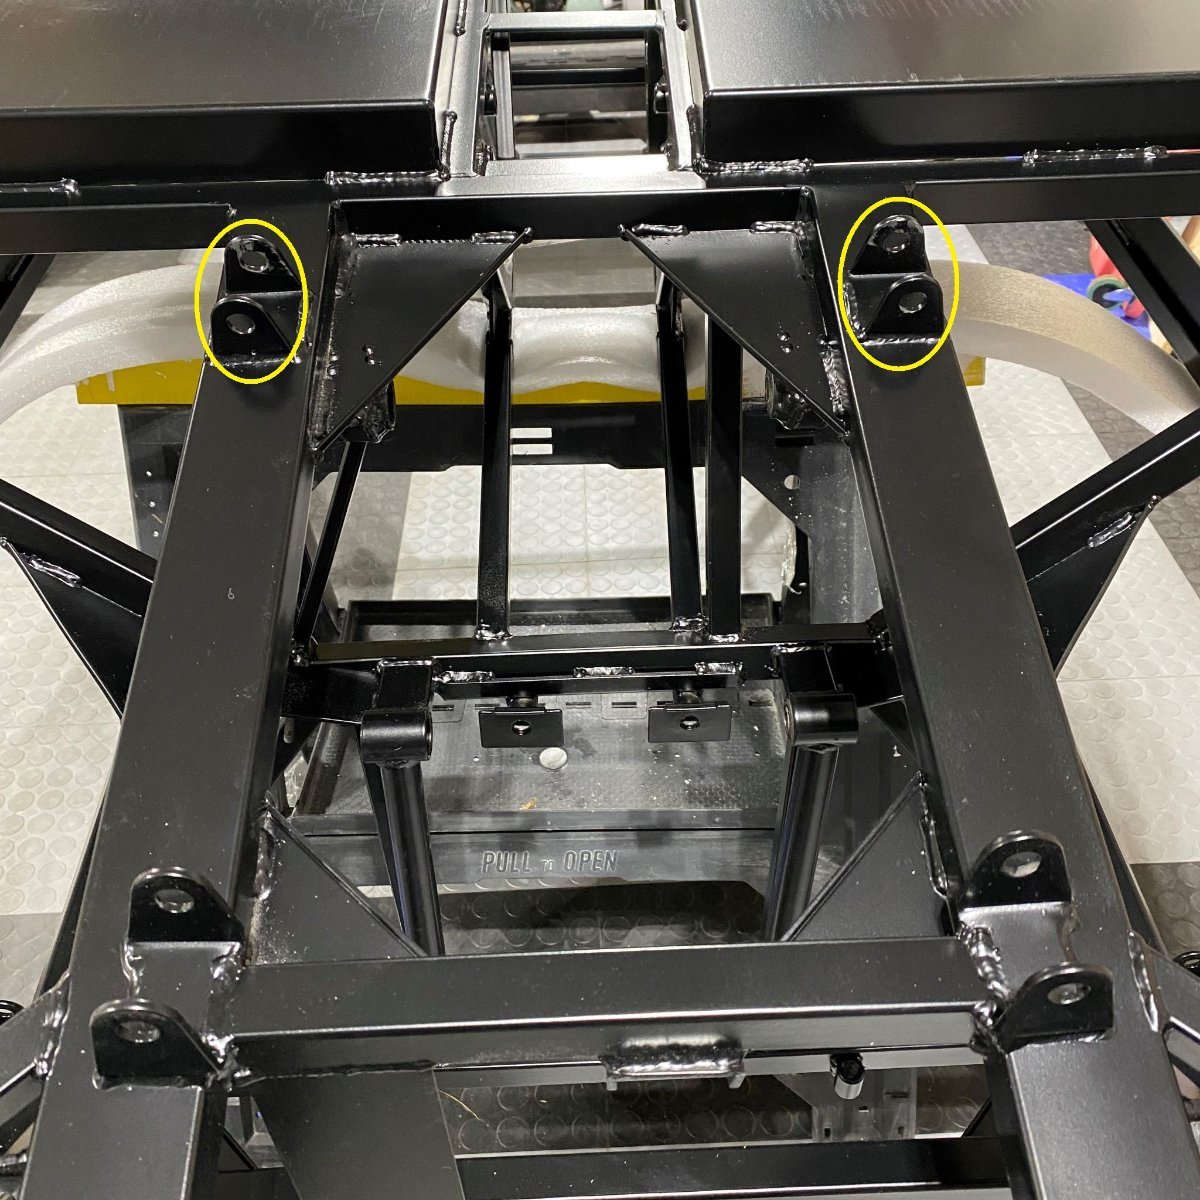
So, news from Manik (Westfield). Apparently the extra brackets have been standard on the Westfield Miata for some time now. Unfortunately, the build manual has not been updated to reflect this, so if anyone out there has build one with the new layout would you be able share some pictures of your fuel line routing? :-)
-
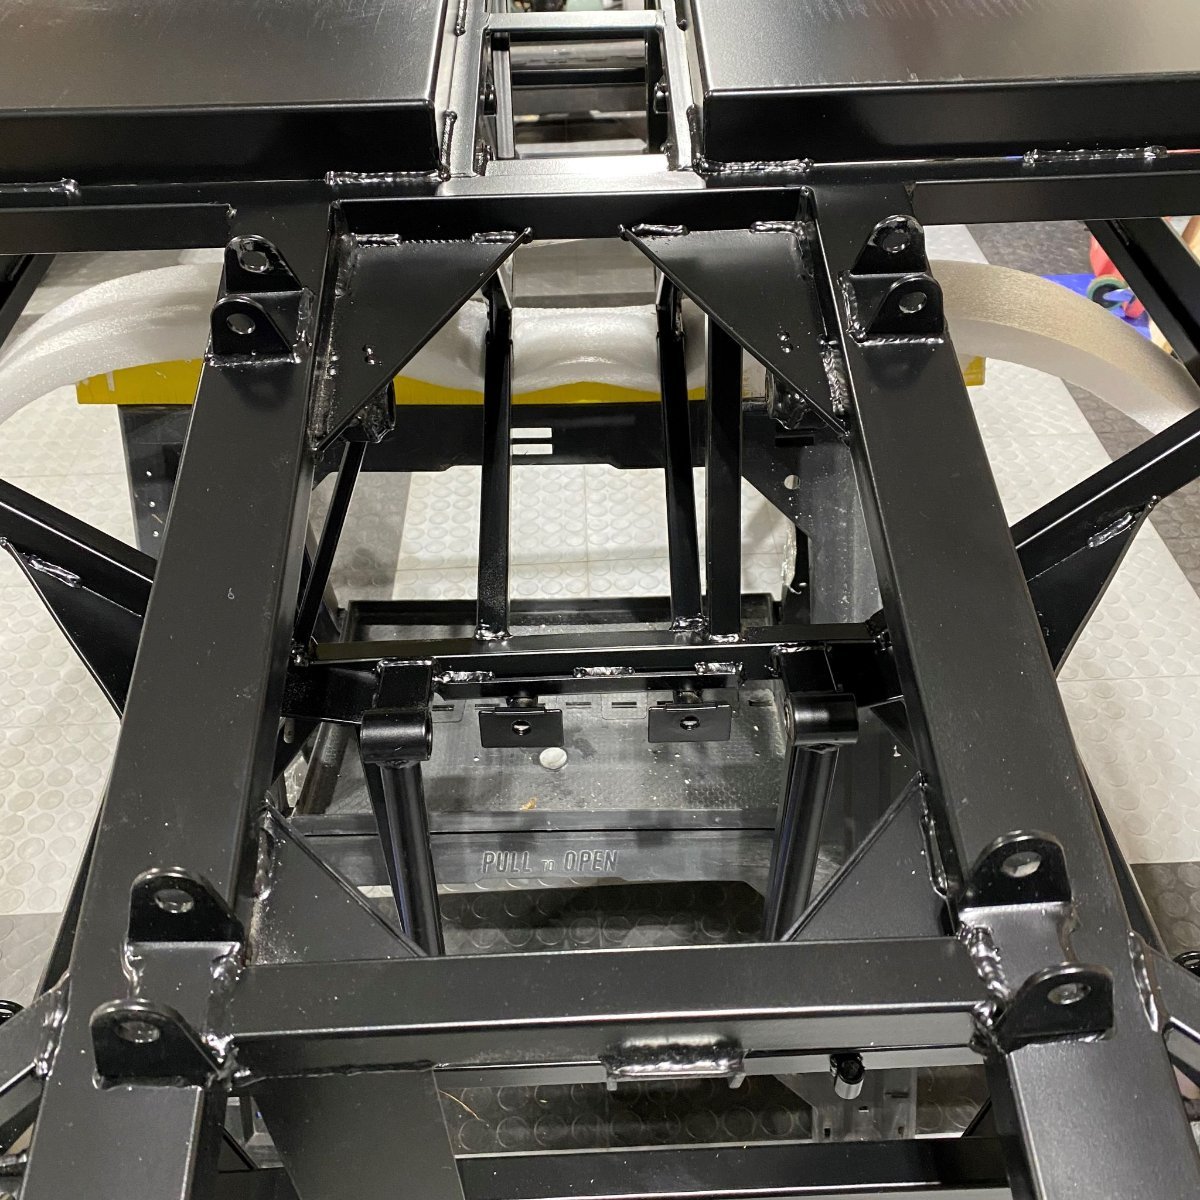
@CrocActually there are only supposed to be one pair of control arm brackets on this side. The top ones interfere with the recommended fuel line routing so I will have to cut them off.
-
Hey everyone, I plan to use POR-15 to touch up the areas on my chassis where the powder coating has only partially covered. As part of the prep process, are people removing the powder coat completely from the touch up area before doing the 3 stage POR process or are you leaving the powder coat in situ i.e. prepping and painting over it? Thanks in advance.
-
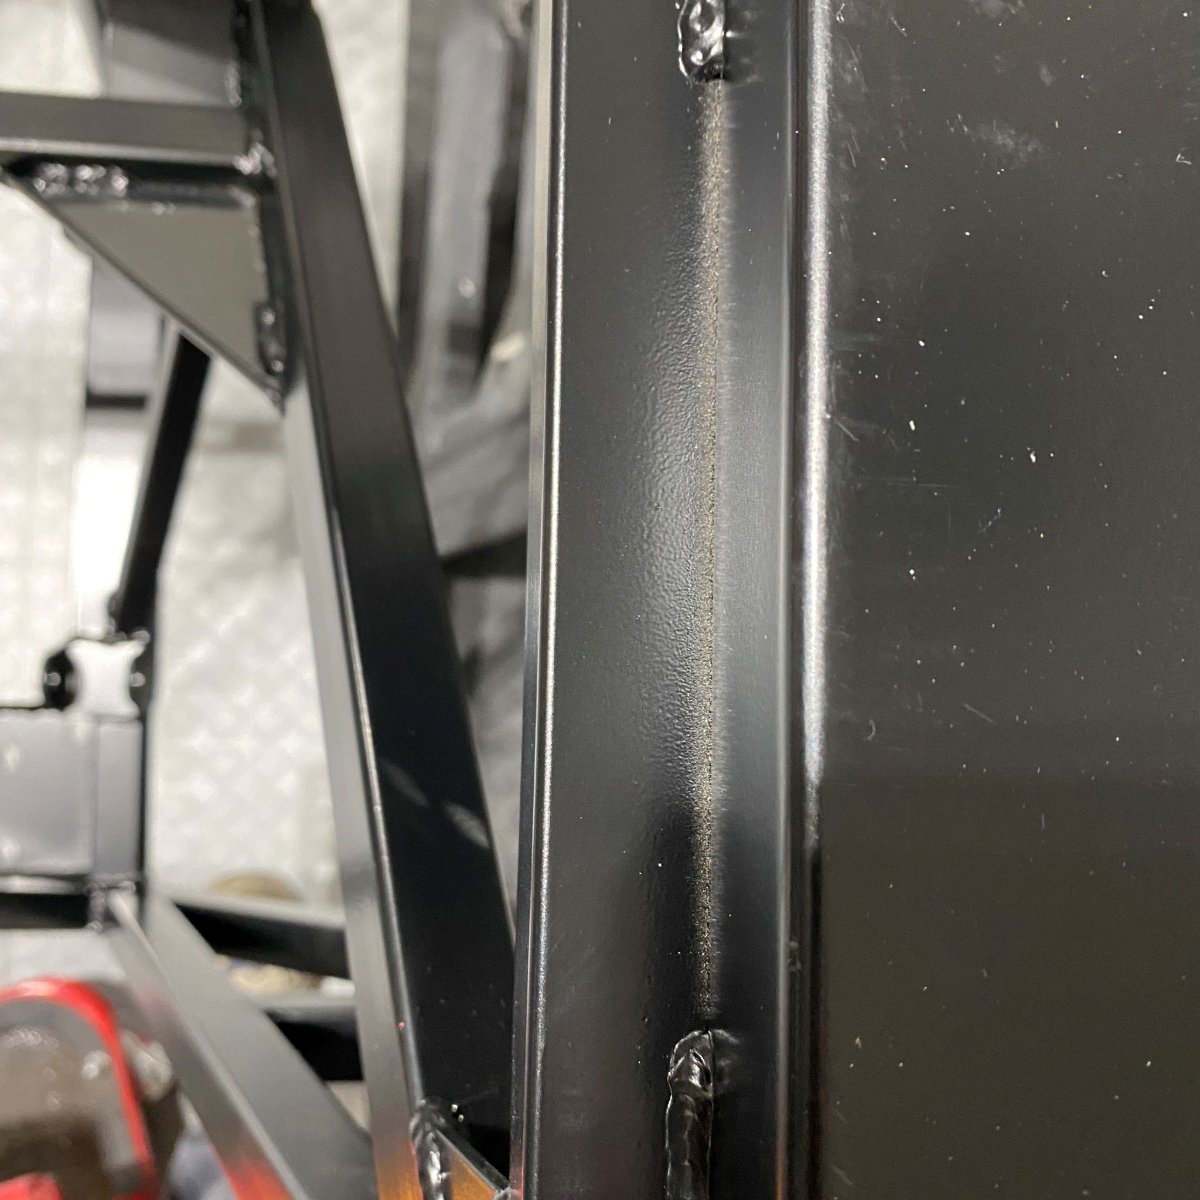
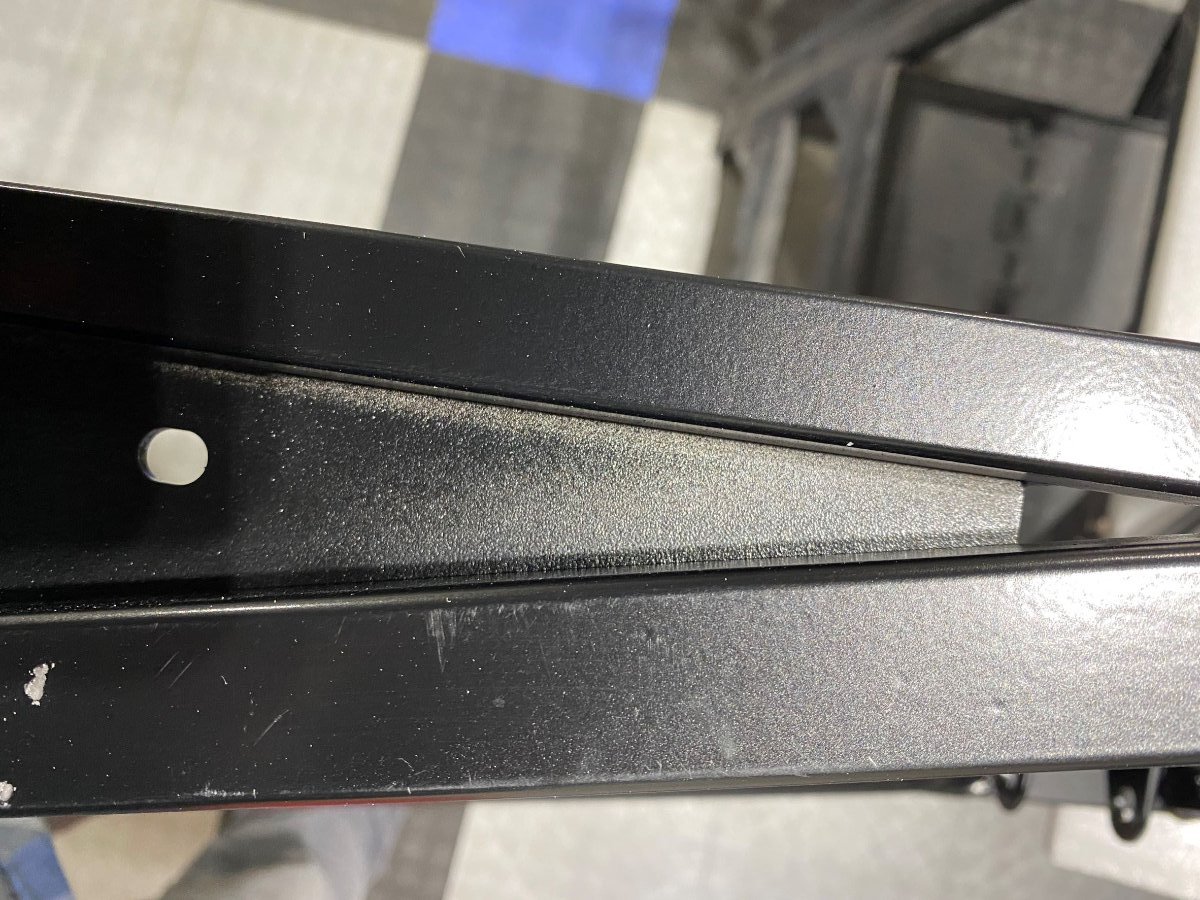
So, while closely checking out my chassis to figure out the brake and fuel line route out the back of the tunnel I came across what I believe is an another chassis issue. Is it just me or does anyone else notice it?
-
@JohnChLol I checked the back and you're definitely only expected to spin off backwards!!
-
This is amazing! Thank you for sharing the thread. That is the same drawing that Manik shared with me!
-
So I flipped the chassis over to drill and trim the under side panels and there appears to be a panel that is not in the build manual. I fits perfectly at the front under the steering rack, but when I look at other build threads I don't see any pictures of it installed. Any idea if it is actually used and if so, when should I install it?
-
Thanks @bball7754, I am trying to write it through the eyes of someone like myself who did a lot of research but didn’t find many recent threads on the LHD Westfield Miata build. Yes, I’ll definitely be peeling back the covering when I start riveting.
-
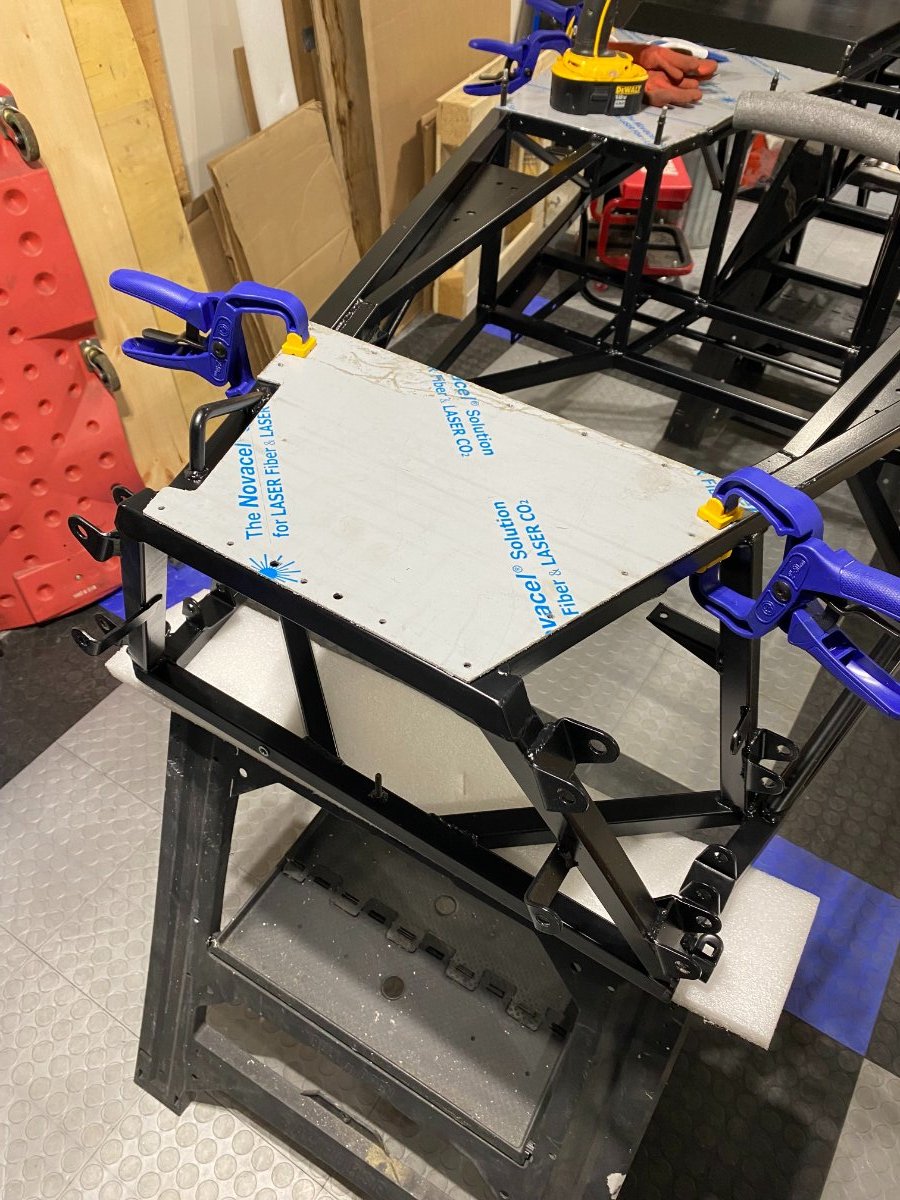
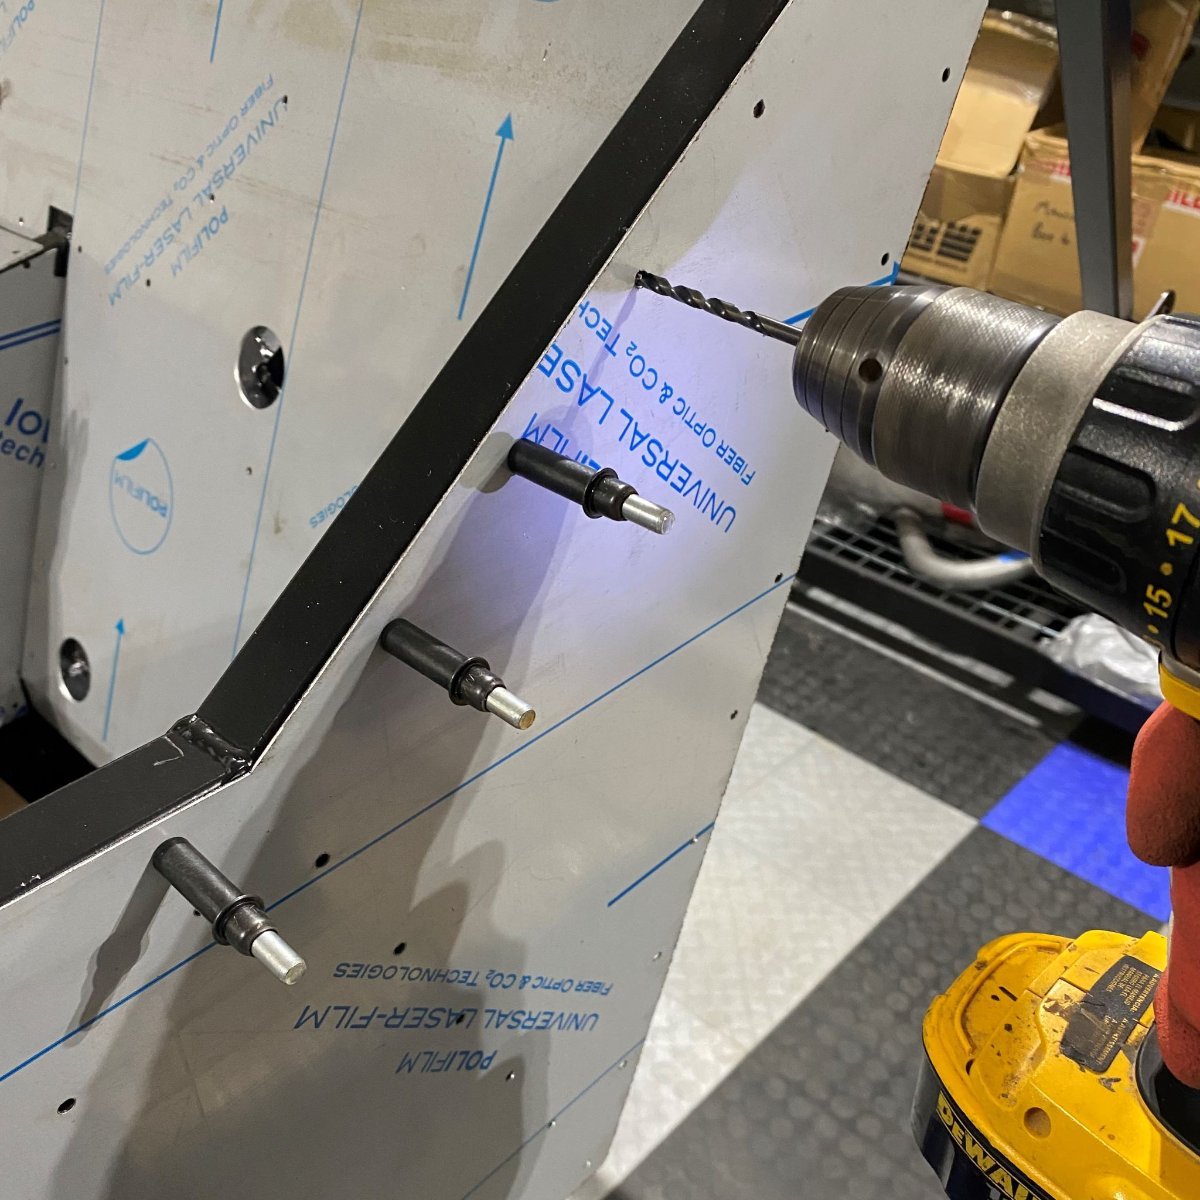
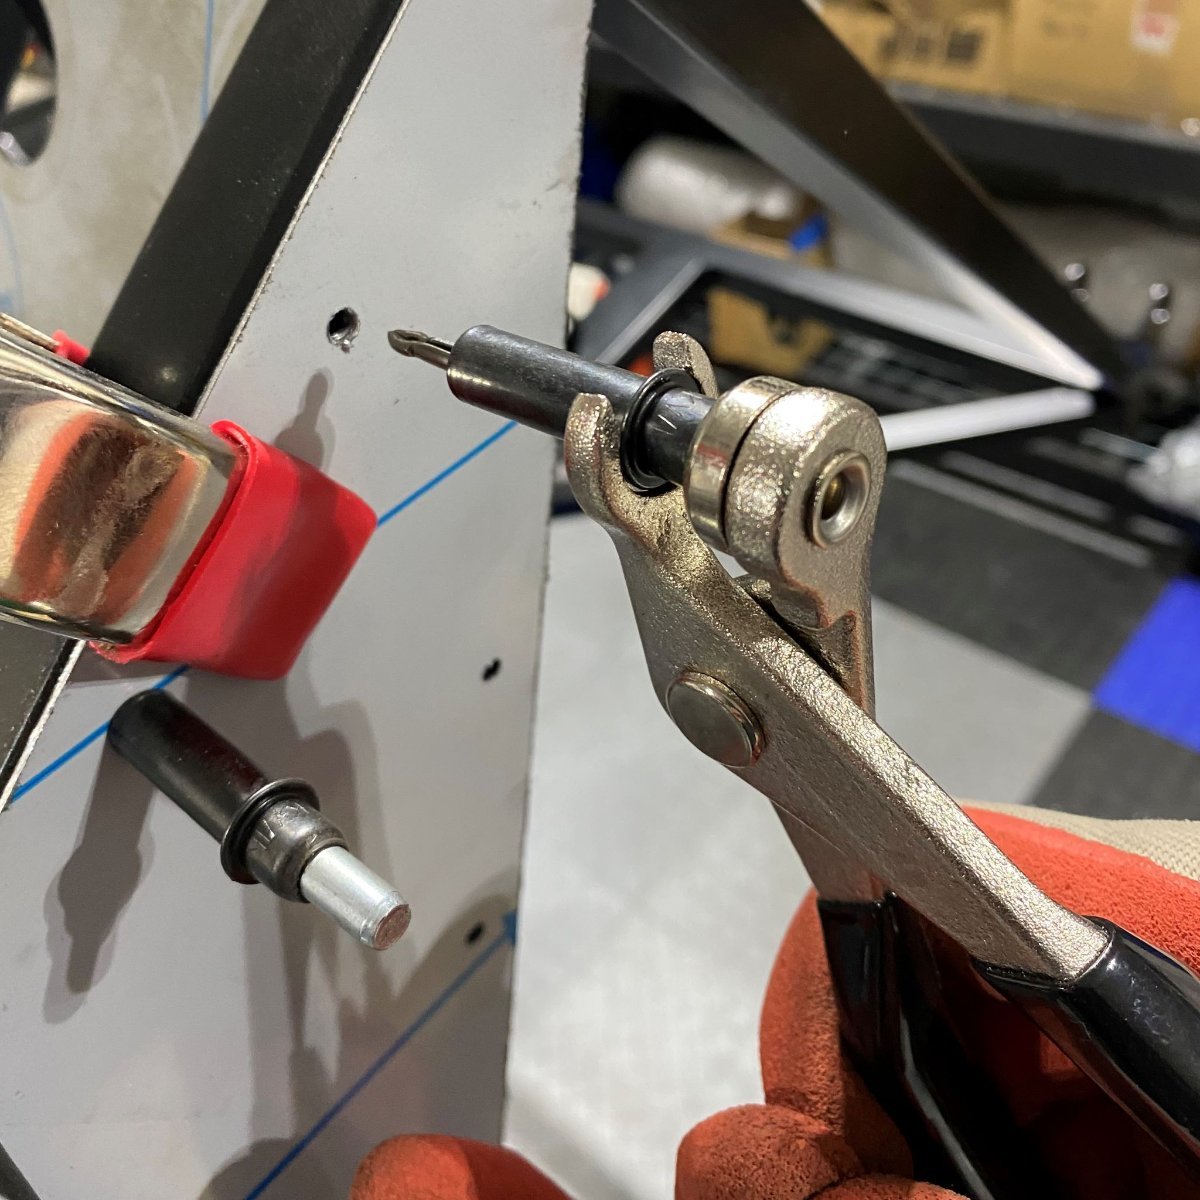
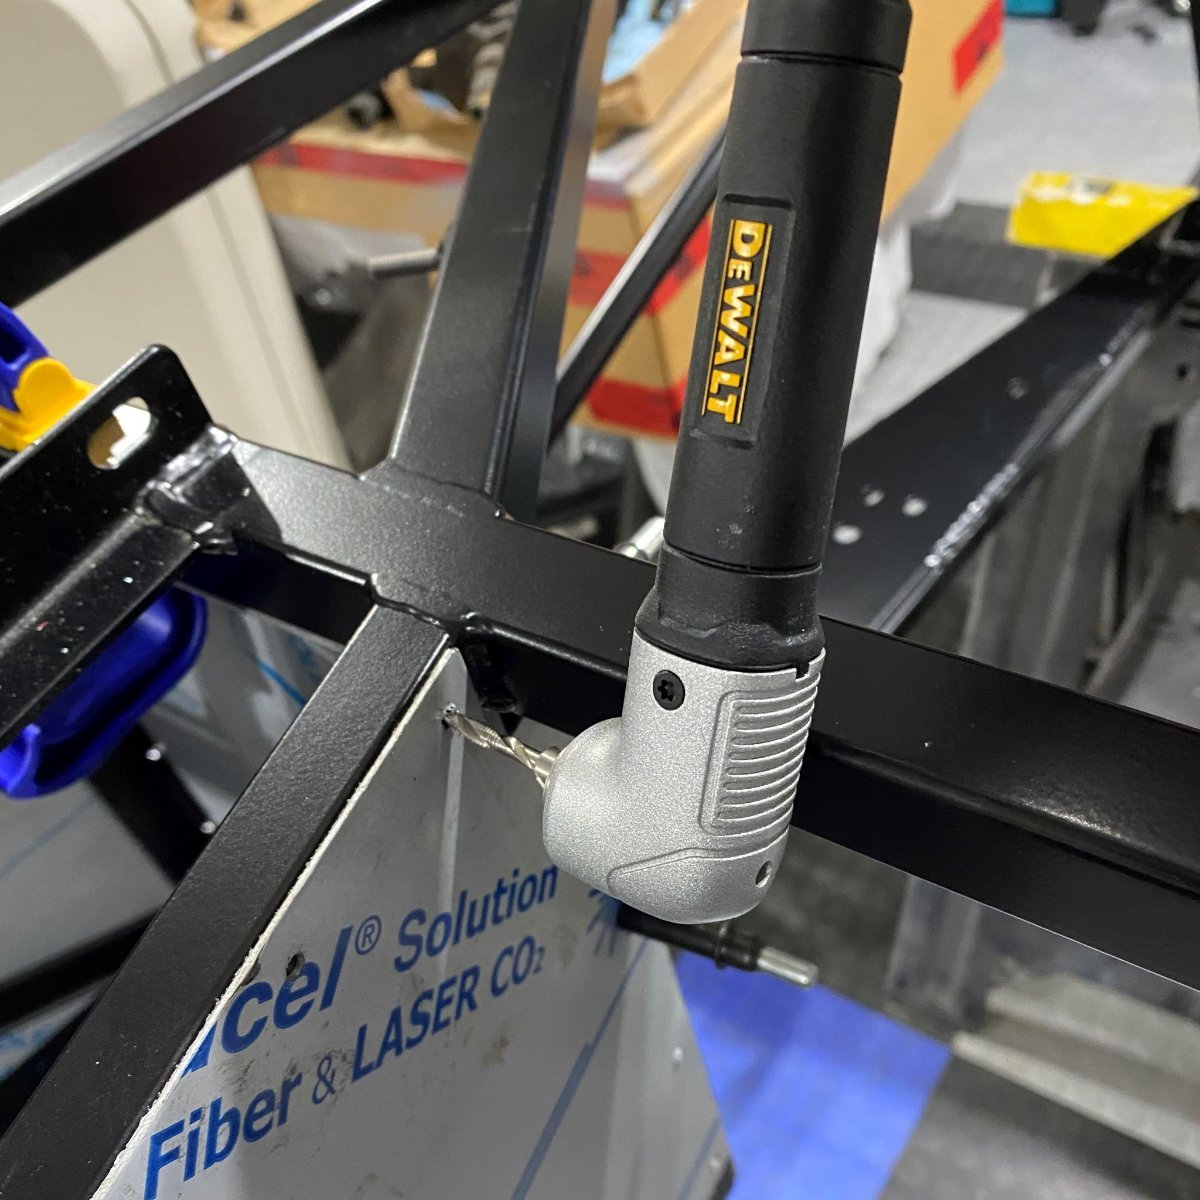
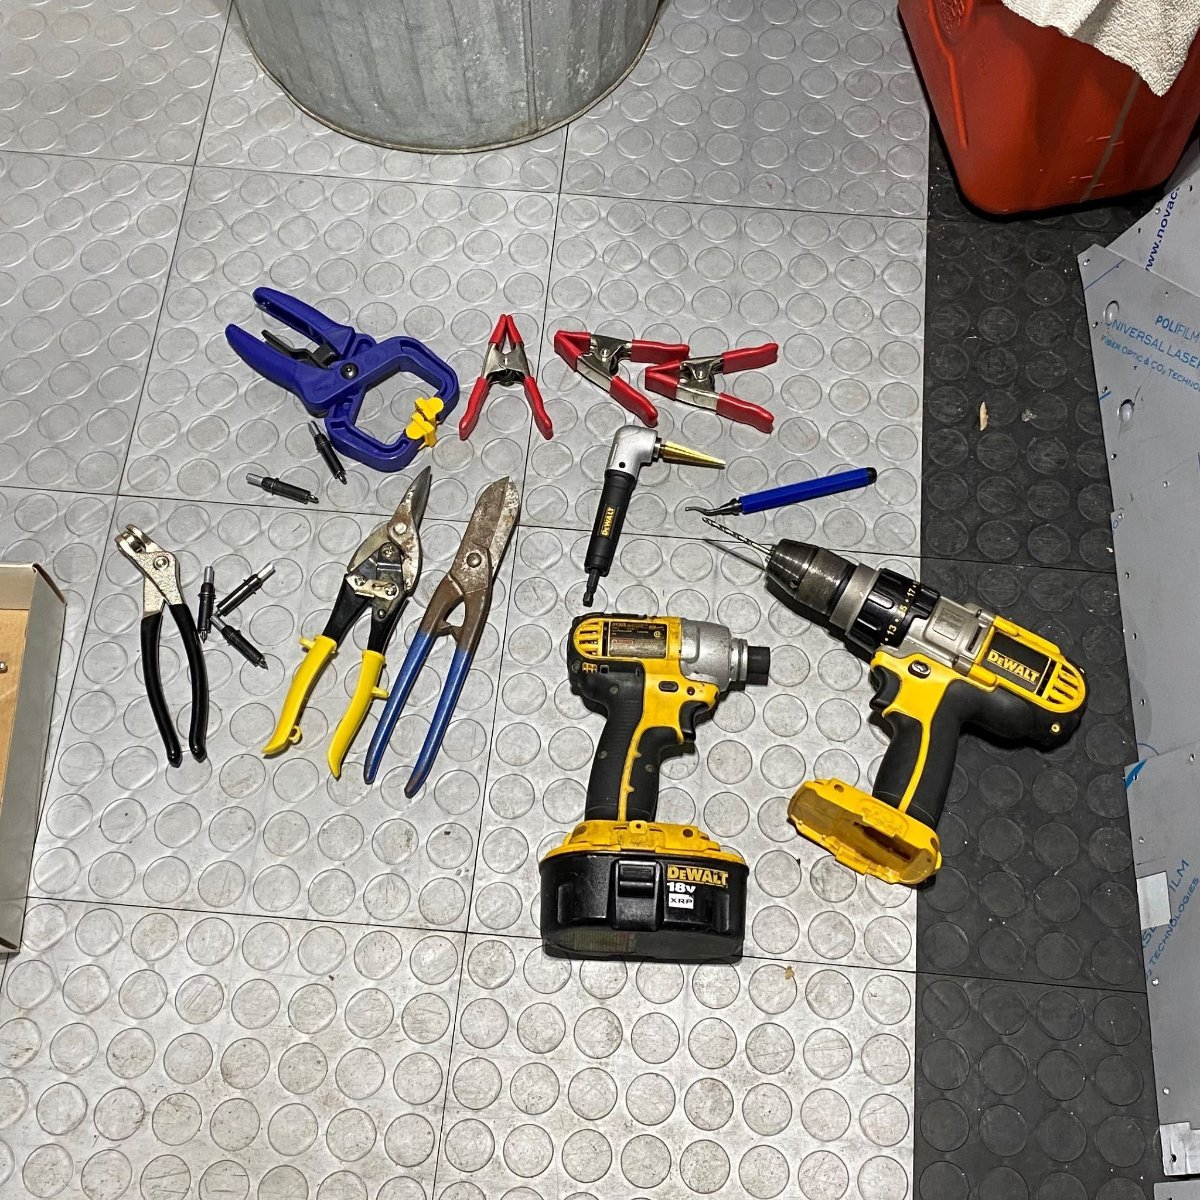
Drilling and deburring the interior and side panels has probably taken me a couple of hours over two or three evenings. It has been pretty straight forward on the whole and made a lot easier with the Clecos..... .....and the 90 degree drill attachment to get into the hard to reach areas. I had trouble finding a 4.1mm hex drill bit so ended up using a 4mm in those areas and then test fitted a rivet. If it was a bit too snug I used the deburring tool improve the fit.
-
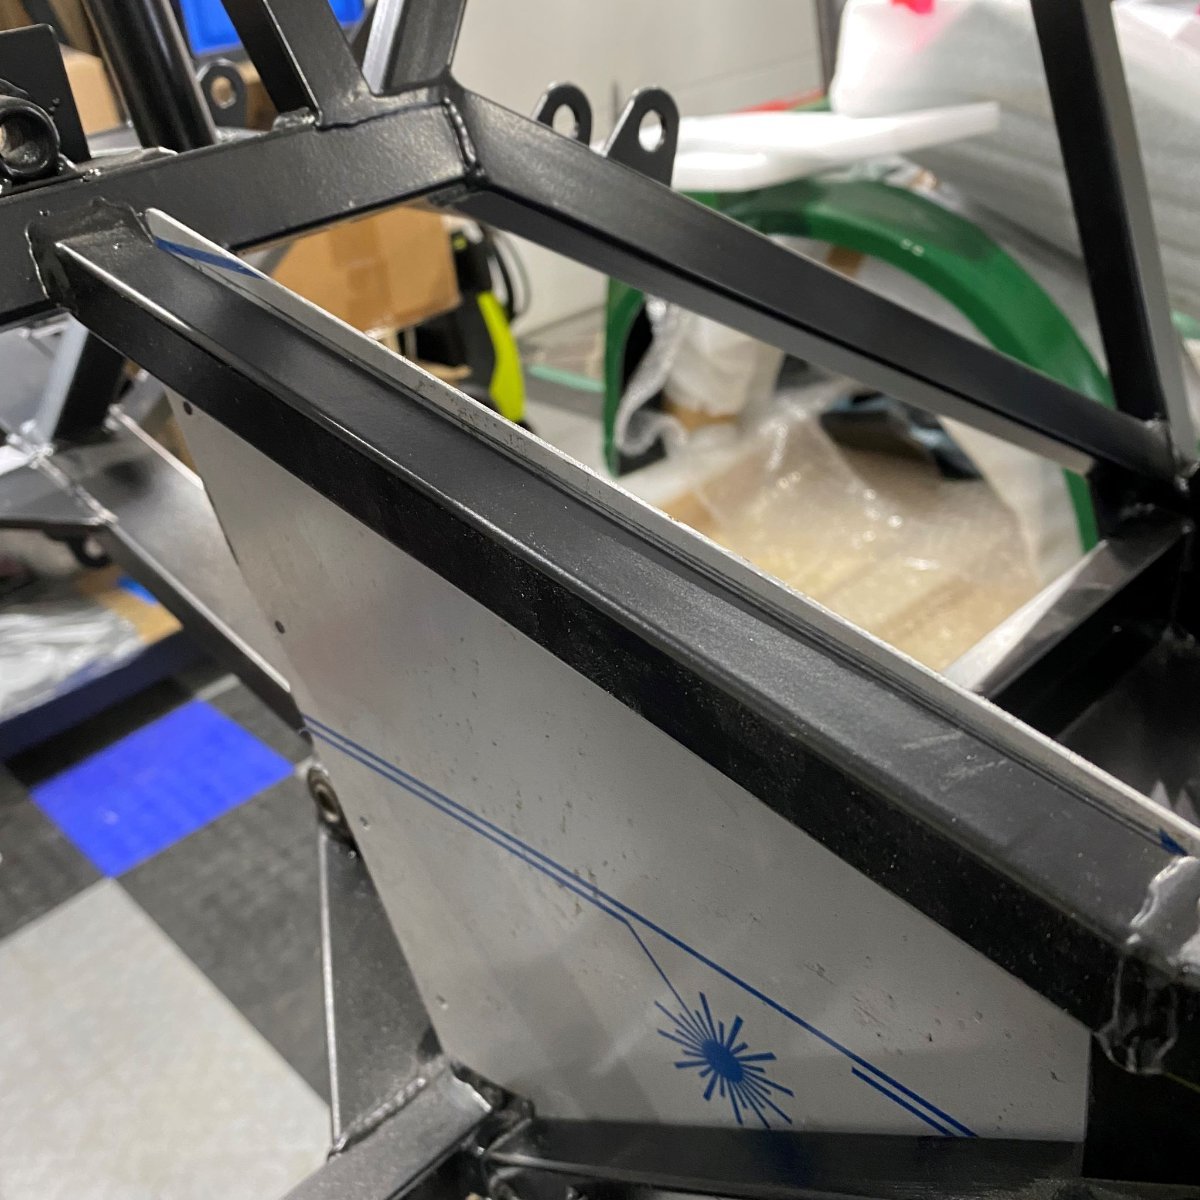
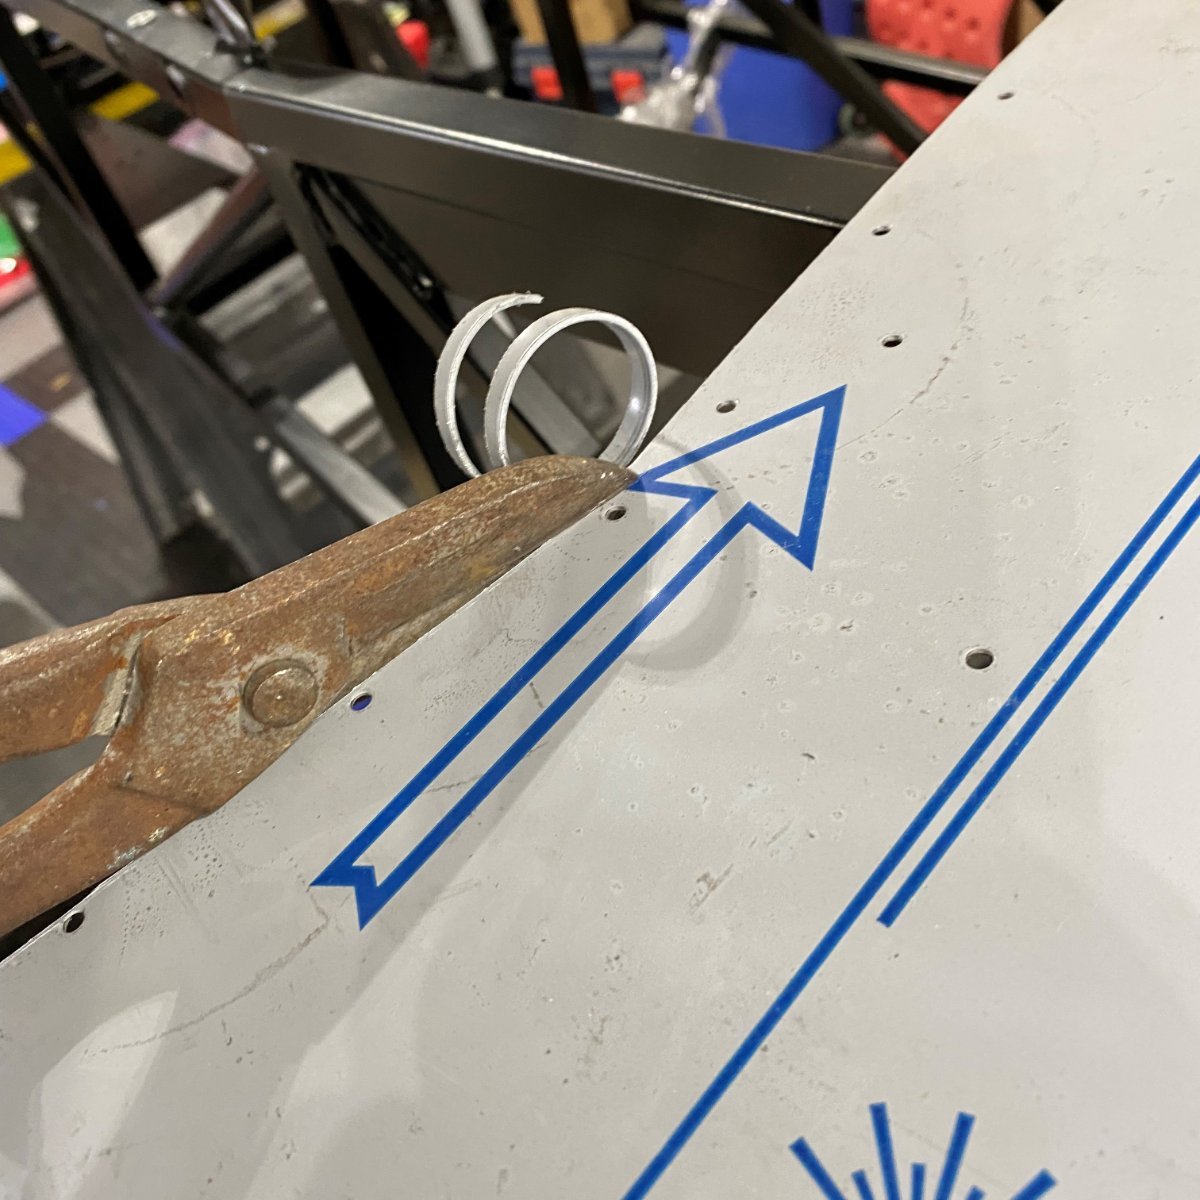
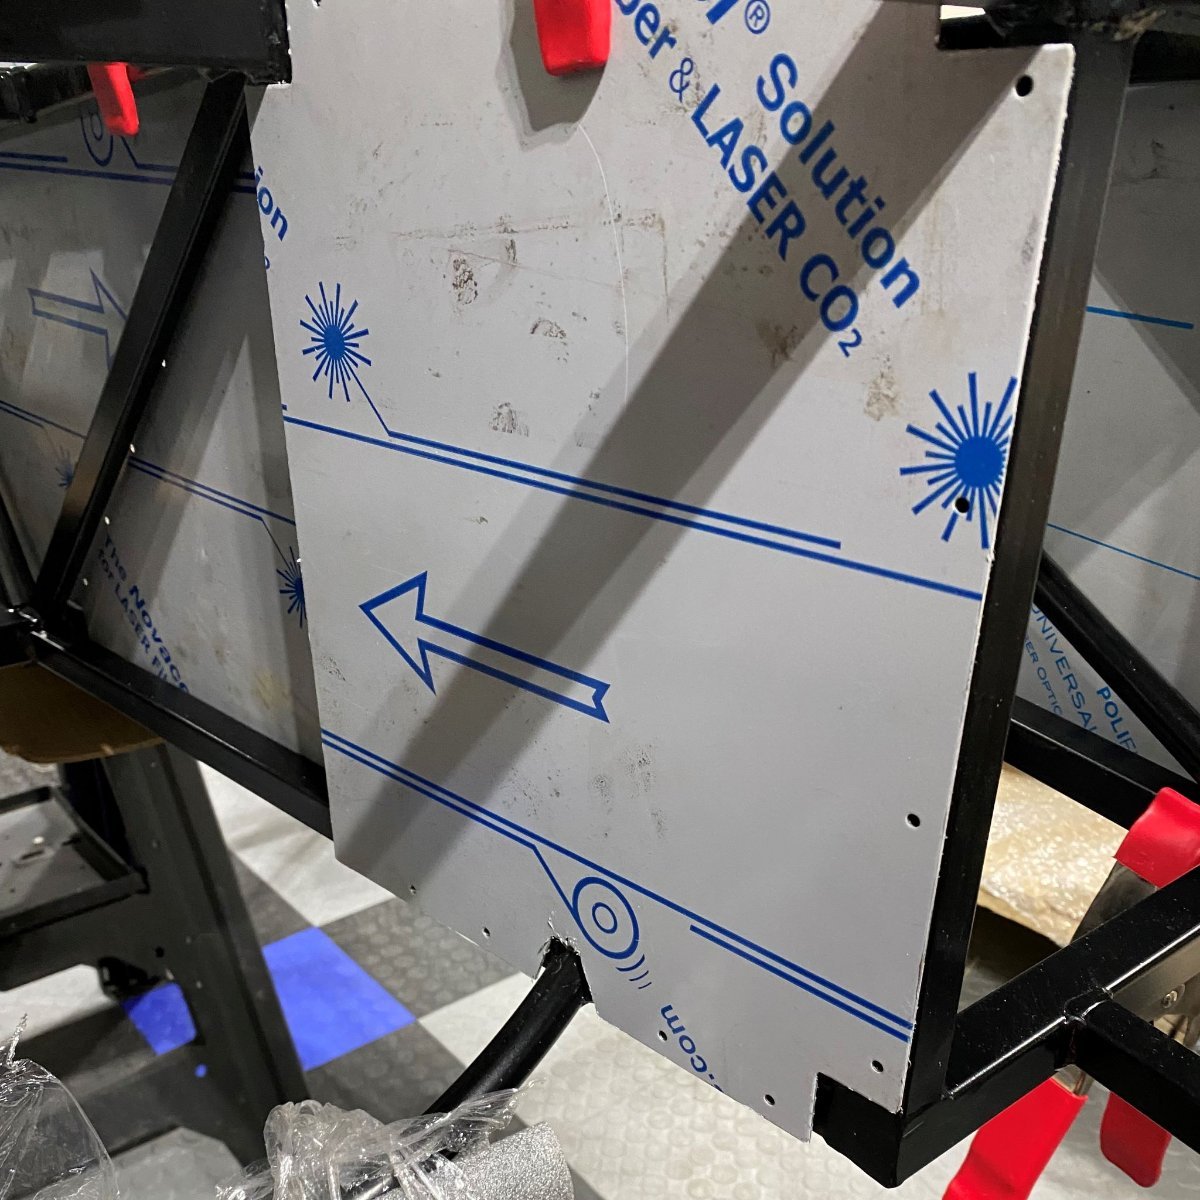
So 3 months after the kit arrived, I have finally managed to get some "hands on" time! My plan is to position, trim, and drill all the panels at once, and then do the final fit and rivet as needed. It also means I can get my moneys worth out of the Clecos and clamps I bought! The first job, fitting and trimming the panels. Most of the panels fitted very well however the tunnel sides and inner footwell panels did need a trim to get them into place. Both the Inner footwell panels were missing cut outs for the tunnel cross member..... ...and also a complete side of rivet holes. All panels (Except tunnel top) checked trimmed and ready for drilling. One panel seems to be missing next to the pedal box mount. I'll have to speak to Manik/Westfield about that one.
-
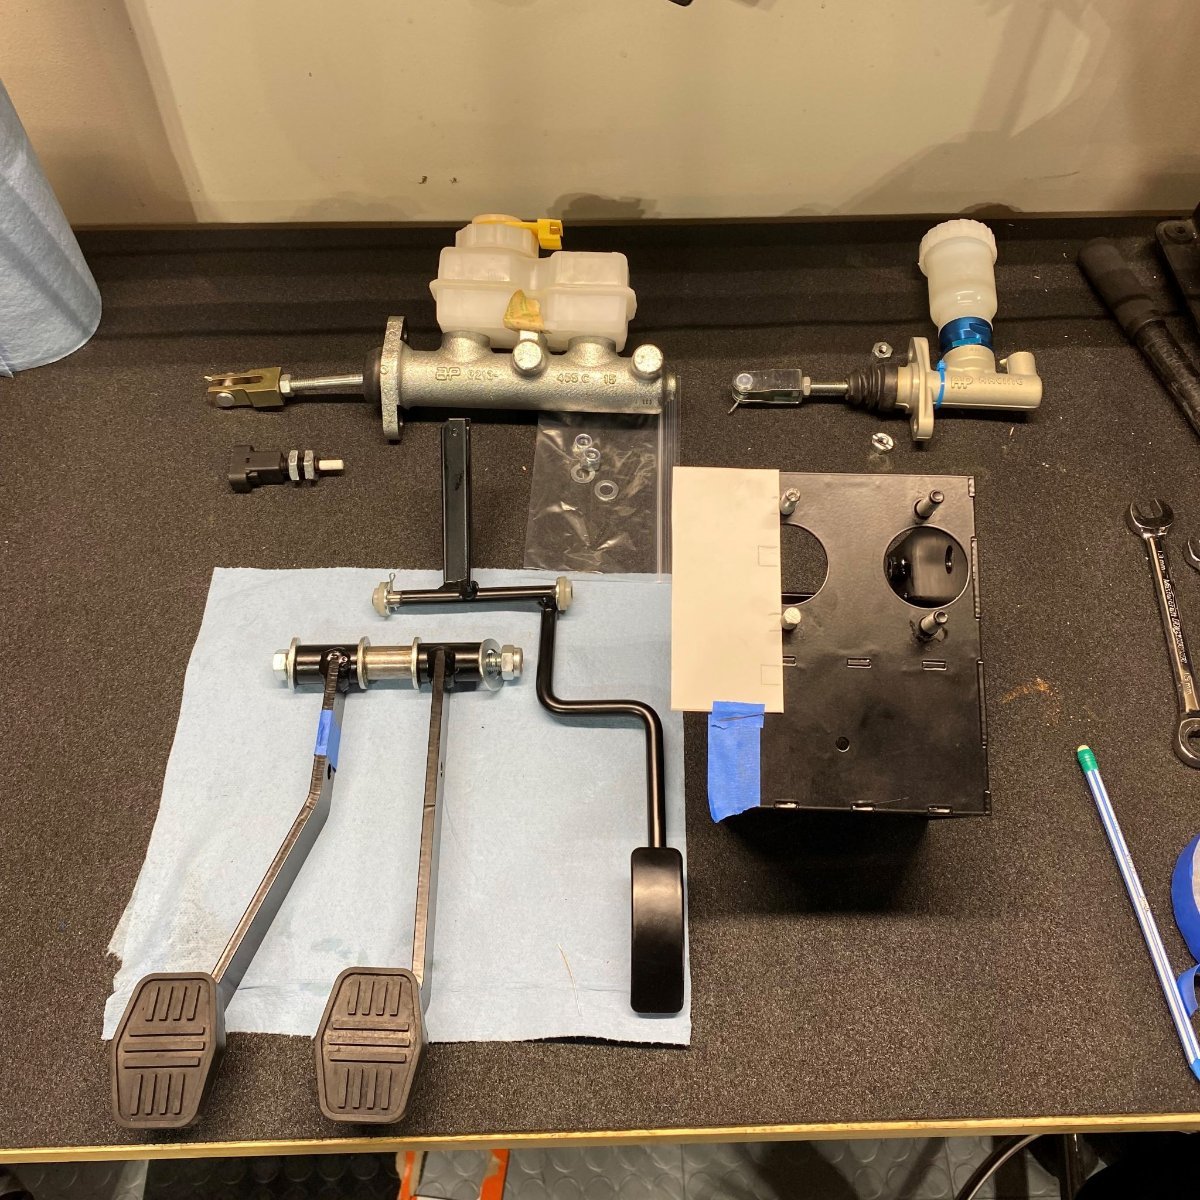
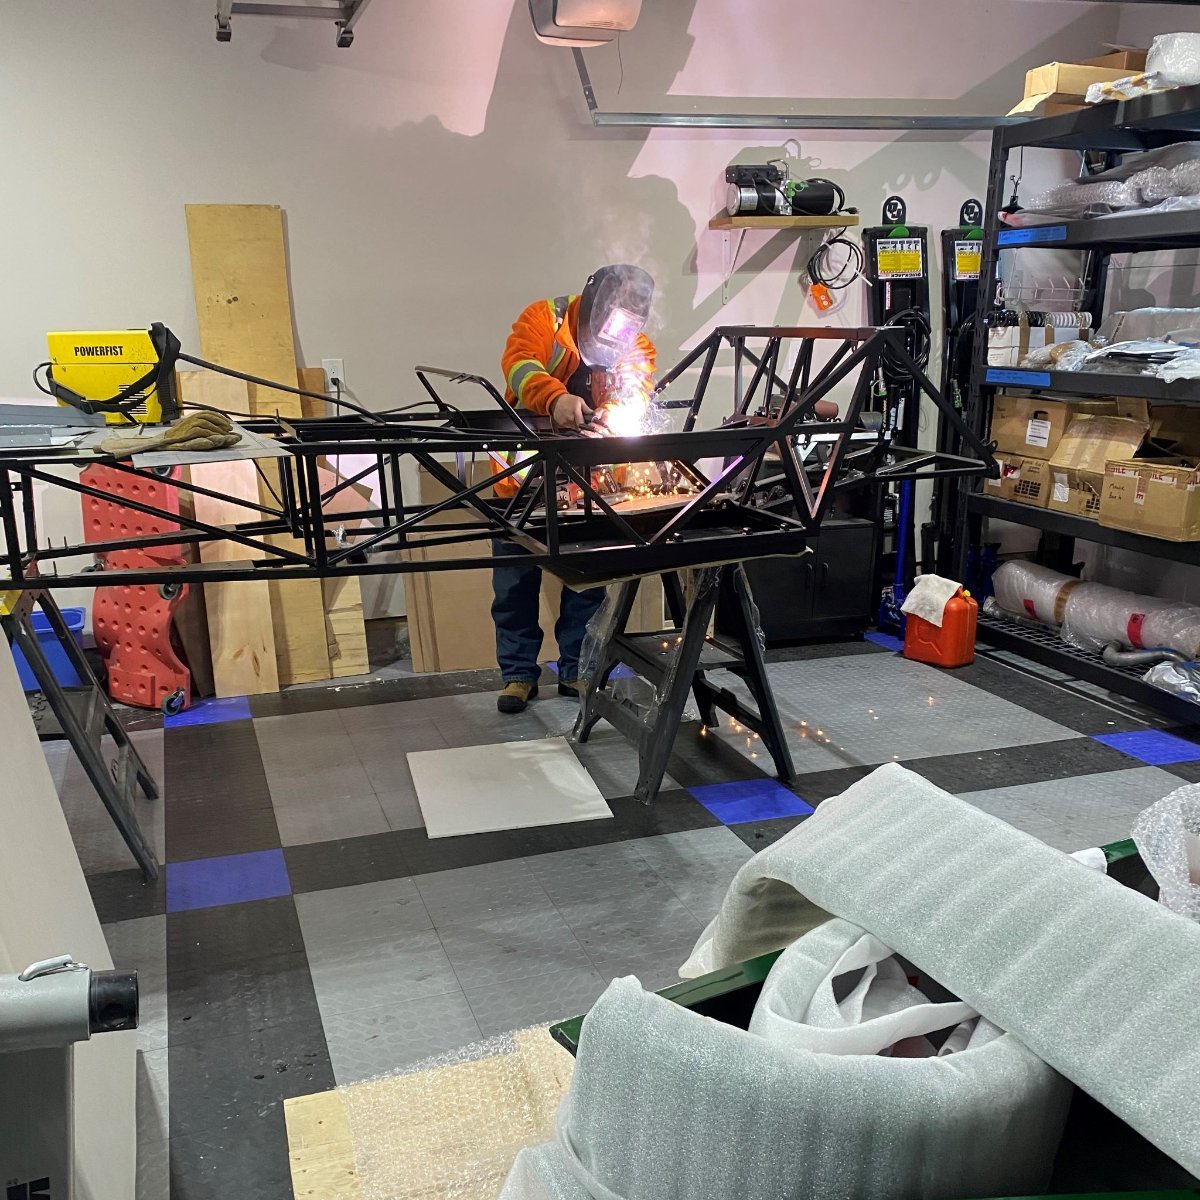
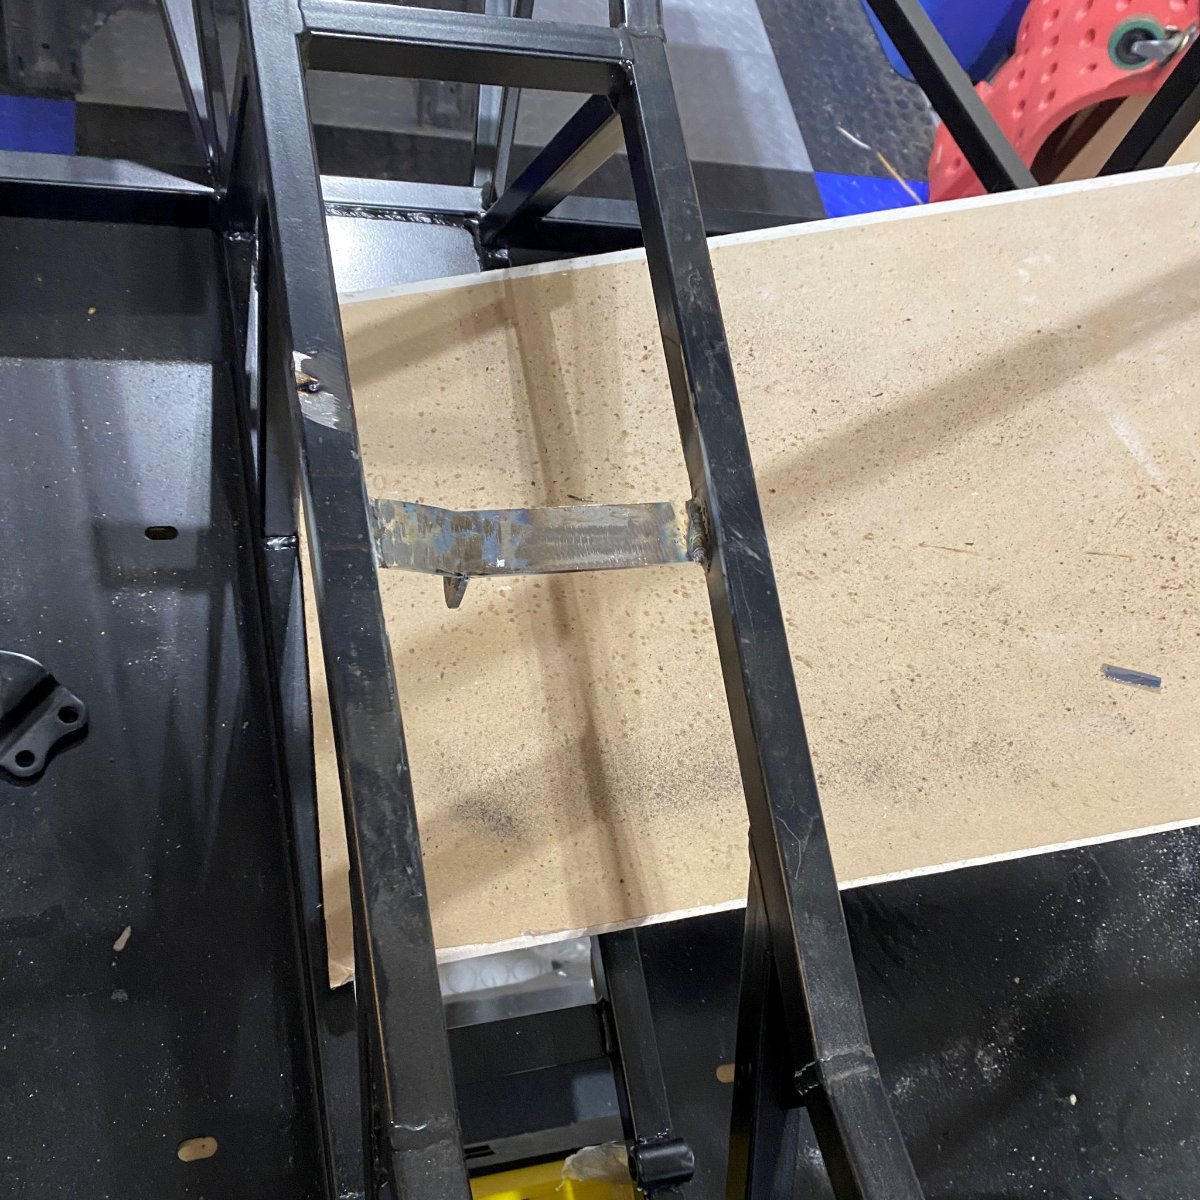
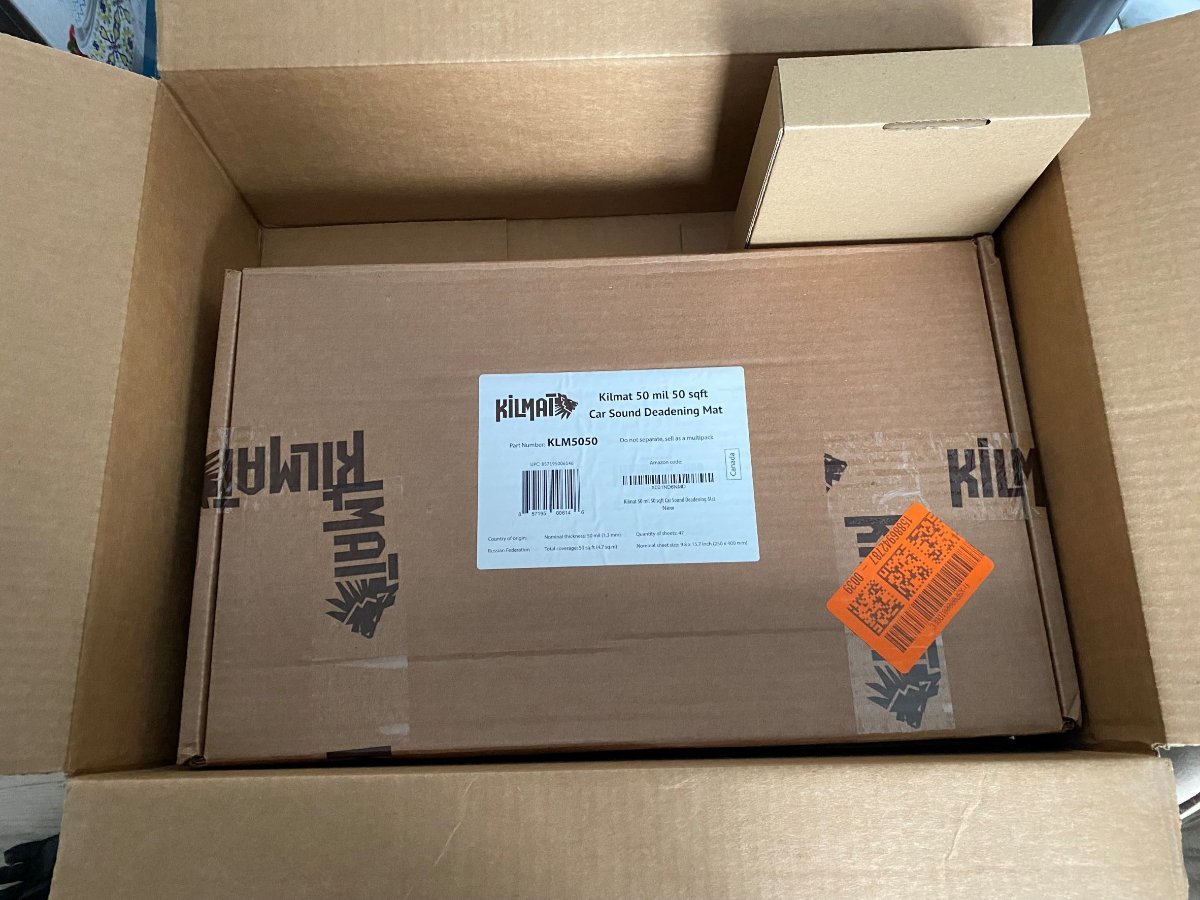
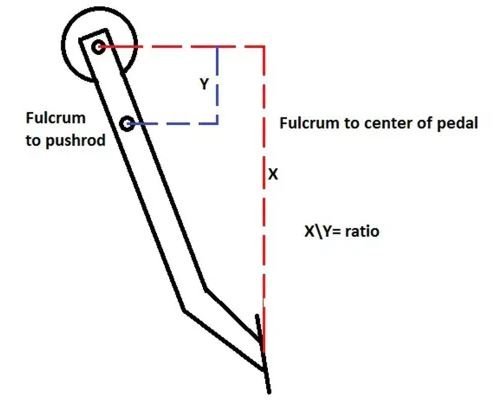
Although I'm still not making huge progress on my build, this week things are starting to move forward. First, mobility on my torn calf muscle has really improved, so much so that I was able to spend a bit of time in the garage inspecting my pedal box and taking some measurements to calculate pedal ratio (See "General Tech" thread here). Second, the welder came today and attached the replacement handbrake bracket that Westfield sent me to replace the one that was installed back to front. We had about 20 Inches of snow in the last 2 days, so I'm really happy that he showed up! BTW fuel can is empty! Last of all I noticed that "Kilmat" was 17% off on Amazon.ca so although I'm not anywhere near ready for it I decided to make the most of the offer! 🤑 My rationale for buying Kilmat instead of Dynamat or similar was purely bang for the buck. I figured I'm never going to get the full benefit of any sound deadening product in an open top, so I went for a good quality cheap product to help reduce the rattle can effect.
-
Thanks @MPG. So I spent a little time researching and learning a bit more about cylinder bore, and clutch pedal ratios, and found a couple of useful article that have helped me to get my head around it. How to Set up a Hydraulic Clutch How to adjust your clutch pedal ratio I thought I'd share my findings to help some other newbie's like me who are looking for information on this. I also reached out to Manik Sports cars (Westfields North American distributor) to see if they had some useful insights as well. From these articles I've learned that the optimal pedal ratio for a clutch MC bore of about 0.825in or below is 6:1. (My bore is 0.700.) Using this ratio and the length of the pedal arm you can calculate where the connection to the clutch pushrod should be. Taking some crude measurements from my pedal box, I estimate that the pedal ratio is close to 3.5:1 and to get an optimum ratio I would have to move the push rod connection up by approx. 25 - 30mm. To achieve this, the LHD builders have been moving their MC hole and bolts at the front of the pedal box up by that amount. Tom at Manik was kind enough to share what FM had done to their vehicle and it looks like they moved it up about 30mm as MPG estimated. While the Flyin Miata guys decided to make the modification to bring it in line with the optimal ratio, Westfield felt that the standard pedal box would still work fine and so did not make any changes. I guess the decision for us as builders is to decide if we want to make the FM mod during the build phase or wait and see for ourselves how the pedal performs.
-
Thanks for the info @MPG that's really helped me to get a better sense of things. I took out my pedal box from storage and took some photos. It looks like a vey nice unit!....... seems such a shame to cut it up!! On inspection I noticed that there isn't a second hole on the clutch pedal. I also noticed that the clutch master cylinder had 0.700 on the side, which I think may be different to yours (0.625) With this in mind I think it will be worth me reaching out to Westfield to see if something has changed in the last few years to take away the need to adjust the box. In the mean time do you have any measurements from the pivot to the 2nd hole? I can then do some comparisons.
-
Thanks @MPG, any help will be welcome. Like I said, I haven't got a clue what I need to do! It's almost like this mythical thing that only exists deep in the FM vaults! lol
-
So I'm posting this tech question separate from my build thread and its directed to those of you with experience building the Westfield Miata. I have read a bunch of build threads that say there are adjustments to be made to the pedal box to accommodate for clutch pedal issues (Bore size or something like that). Could someone please let me know if it is still an issue to be addressed and explain exactly what you had to do to correct it (With pictures etc.) because I haven't got a clue! Dan
-
Handbrake Bracket update So good news on the replacement handbrake bracket. Westfield sent through some replacement steel so I can go ahead and organize a mobile welder to come by and install. Happy Days.
-
Hey Graham, your Miata sounds like great fun! I have done a lot of reading and Youtube watching recently and am coming to a similar conclusion to what you suggested. I definitely wouldn't be looking for big HP, for the reasons you suggested but just enough boost to improve low end torque and get more than the 100ish HP that was once in the NA6. My main reason for looking into this now is to figure out what prep to do upfront so I can avoid taking the dash out etc. later down the line. Looking forward to @scannon joining the conversation!
-
Thanks for the ideas, I like the thought of wrapping it in vinyl! That way I could probably take some of the radius out of the curved section that joins the tunnel and make better use of the space! W.R.T boost gauge thought I'd put it in there to dream a little and see if I could be tempted! Lol I have already bought a Megasquirt a wideband O2 and am also freshening up the engine, so I might just approach the build with a turbo in mind incase I go for it after registration.
-
So with the wiring taken as far as I'm going to take it for now, I thought I'd get creative and play around with potential dash layouts. You may have noticed that the Westfield Miata dash is different to the standard Westfield dash as it utilizes the the gauge cluster from the Miata donor. I wasn't a huge fan of it at first, but now the look is growing on me. I think it just needs a bit of definition to make it look more interesting. Here are my initial thoughts on how I might incorporate some kind of back panel for the gauges and switches/buttons. Rectangle panel with marine rocker switches. Shaped panel with round buttons Number 2 is my current preference, but I still need to somehow make the centre console section less of an eye saw! Do any of you Westfield Miata builders have pictures of your layouts?
-
My last week on the build has been very chilled. As my calf tear is still limiting my movement around the house and my garage heater is working overtime to keep up with the Canadian winter, I spent the time slowly working through the Miata wiring loom. Task one; remove the sticky insulation tape with 30 years of grime baked on it. How many layers!!? Pile of gooey tape! Once the tape was off, I started familiarizing myself with the donor loom. With the SDV build manual, Miata Haynes Manual and Miata shop manual in hand, I slowly figured out what was staying and what was going. At this stage I wasn't too concerned with completely hacking wires and connectors off. Instead, I just focused on identifying what I thought were redundant wires, cutting one end, coiling them and labelling them. I will remove them completely when I am able to lay the loom over the chassis and double check the connectivity. I'm hoping that by spending a few days doing the monotonous stuff now while I cant progress with much else, it will make the build flow a bit better when the weather and my calf improves. The first to be organized was the headlight motor loom followed by speakers, electric windows, power steering and heater wires. To be honest, I found the heater connectors and wires the most confusing at first as I couldn't match up the wire colours with any of the manuals.......I then realized that although the connector was attached to the heater blower unit most of the wires were simply passing through the connector en-route to somewhere else. You can imagine the hours of fun I had figuring that one out! Not that one!!! 💥 Pull!!! The fruits of my labour.