Origin7
-
Posts
53 -
Joined
-
Last visited
Content Type
Profiles
Forums
Store
Articles
Gallery
Events
Library
Everything posted by Origin7
-
Great article and photography!
-
@IamScotticus fingers crossed. I'd rather be than wrenching at the moment.
-
That sounds quite manageable, and much easier than taking the head off. Looks like I'll be going after this as soon as the seals come in from Burton. Hopefully, they are the right ones
-
Has anyone replaced the valve seals with the head on? Trying to gain a better understanding of what's involved.
-
@IamScotticus All good points. Thank you for the feedback. I am with you 100% on the catch can. I've got one on the way. Also, I may eliminate the heater/hoses. I'd like to use that space for other things.
-
I am new to this, so feel free to critique my approach or tell me if anything here seems incorrect. I tried increasing the advance at idle, but the engine didn't seem to like it. It showed the obvious signs of too much advance. Long story short, I went back to the timing curve shown above. It's also worth noting that I confirmed with a timing gun that the timing value and RPM at idle matched what the engine was actually doing. This was just to confirm that the 123 system was set up properly. With a reasonable baseline timing curve, I then jumped into the carbs. The shop set me up with 28mm chokes, 55f8 idle jets, f16 emission tubes, and 120 main jets. Idle mixture screws were set 2.5 turns out. The emulsion tubes and mains jets matched what @JohnCh kindly sent me for the factory setup. The shop insisted 28mm chokes and larger jets were a better setup than the Caterham factory setup . The plug color and the way the car was running indicated this was not the case (way too rich). So, I installed 32mm chokes and 45f9 idle jets. I also changed out the idle mixture screws, which showed some signs of overtightening or corrosion (maybe both) on the needle portion. I backed out the idle mixture screws 1.5 turns and fired it up. I adjusted the idle mixture screws per the procedure. Next, I adjusted the idle speed, then synchronized. Long story short, the engine is running much better. It idles more smoothly, no spitting back through the carbs, little to no smoke, and pulls through the mid RPM range really well. I have to say, setting the idle mixture screws is a bit difficult. I think I need to work on this more. I do get some hesitation/bogging when I am driving and crack the throttle from low rpm. It's not terrible, but I hope to eliminate this. My understanding is that this could be caused by being either too rich or too lean with the idle screws. I like @NSXguy's recommendation to add a wide-band O2 sensor. For someone just starting out tuning carbs, I think it would be nice to see the result of the changes I am making. This may be the next step for me. Anyway, I'd welcome anyone's feedback, especially on getting the idle mixture screws set well. I am definitely in the ballpark, but shooting for perfection .

-
I'm working on establishing a good, safe baseline ignition curve before I start working on the carb setup. I am getting a lot of smoke after idling for a bit, so it seems like it needs to be advanced at idle. Hoping to do a quick sanity check here. Here is my current setup: This is what I am considering - Fewer plotted points, adding advance at idle, and all in at 3k. Look about right as a starting point? RPM Advance 500 12° 1000 16° 1500 22° 2200 28° 3000 32° 4000 32°
-
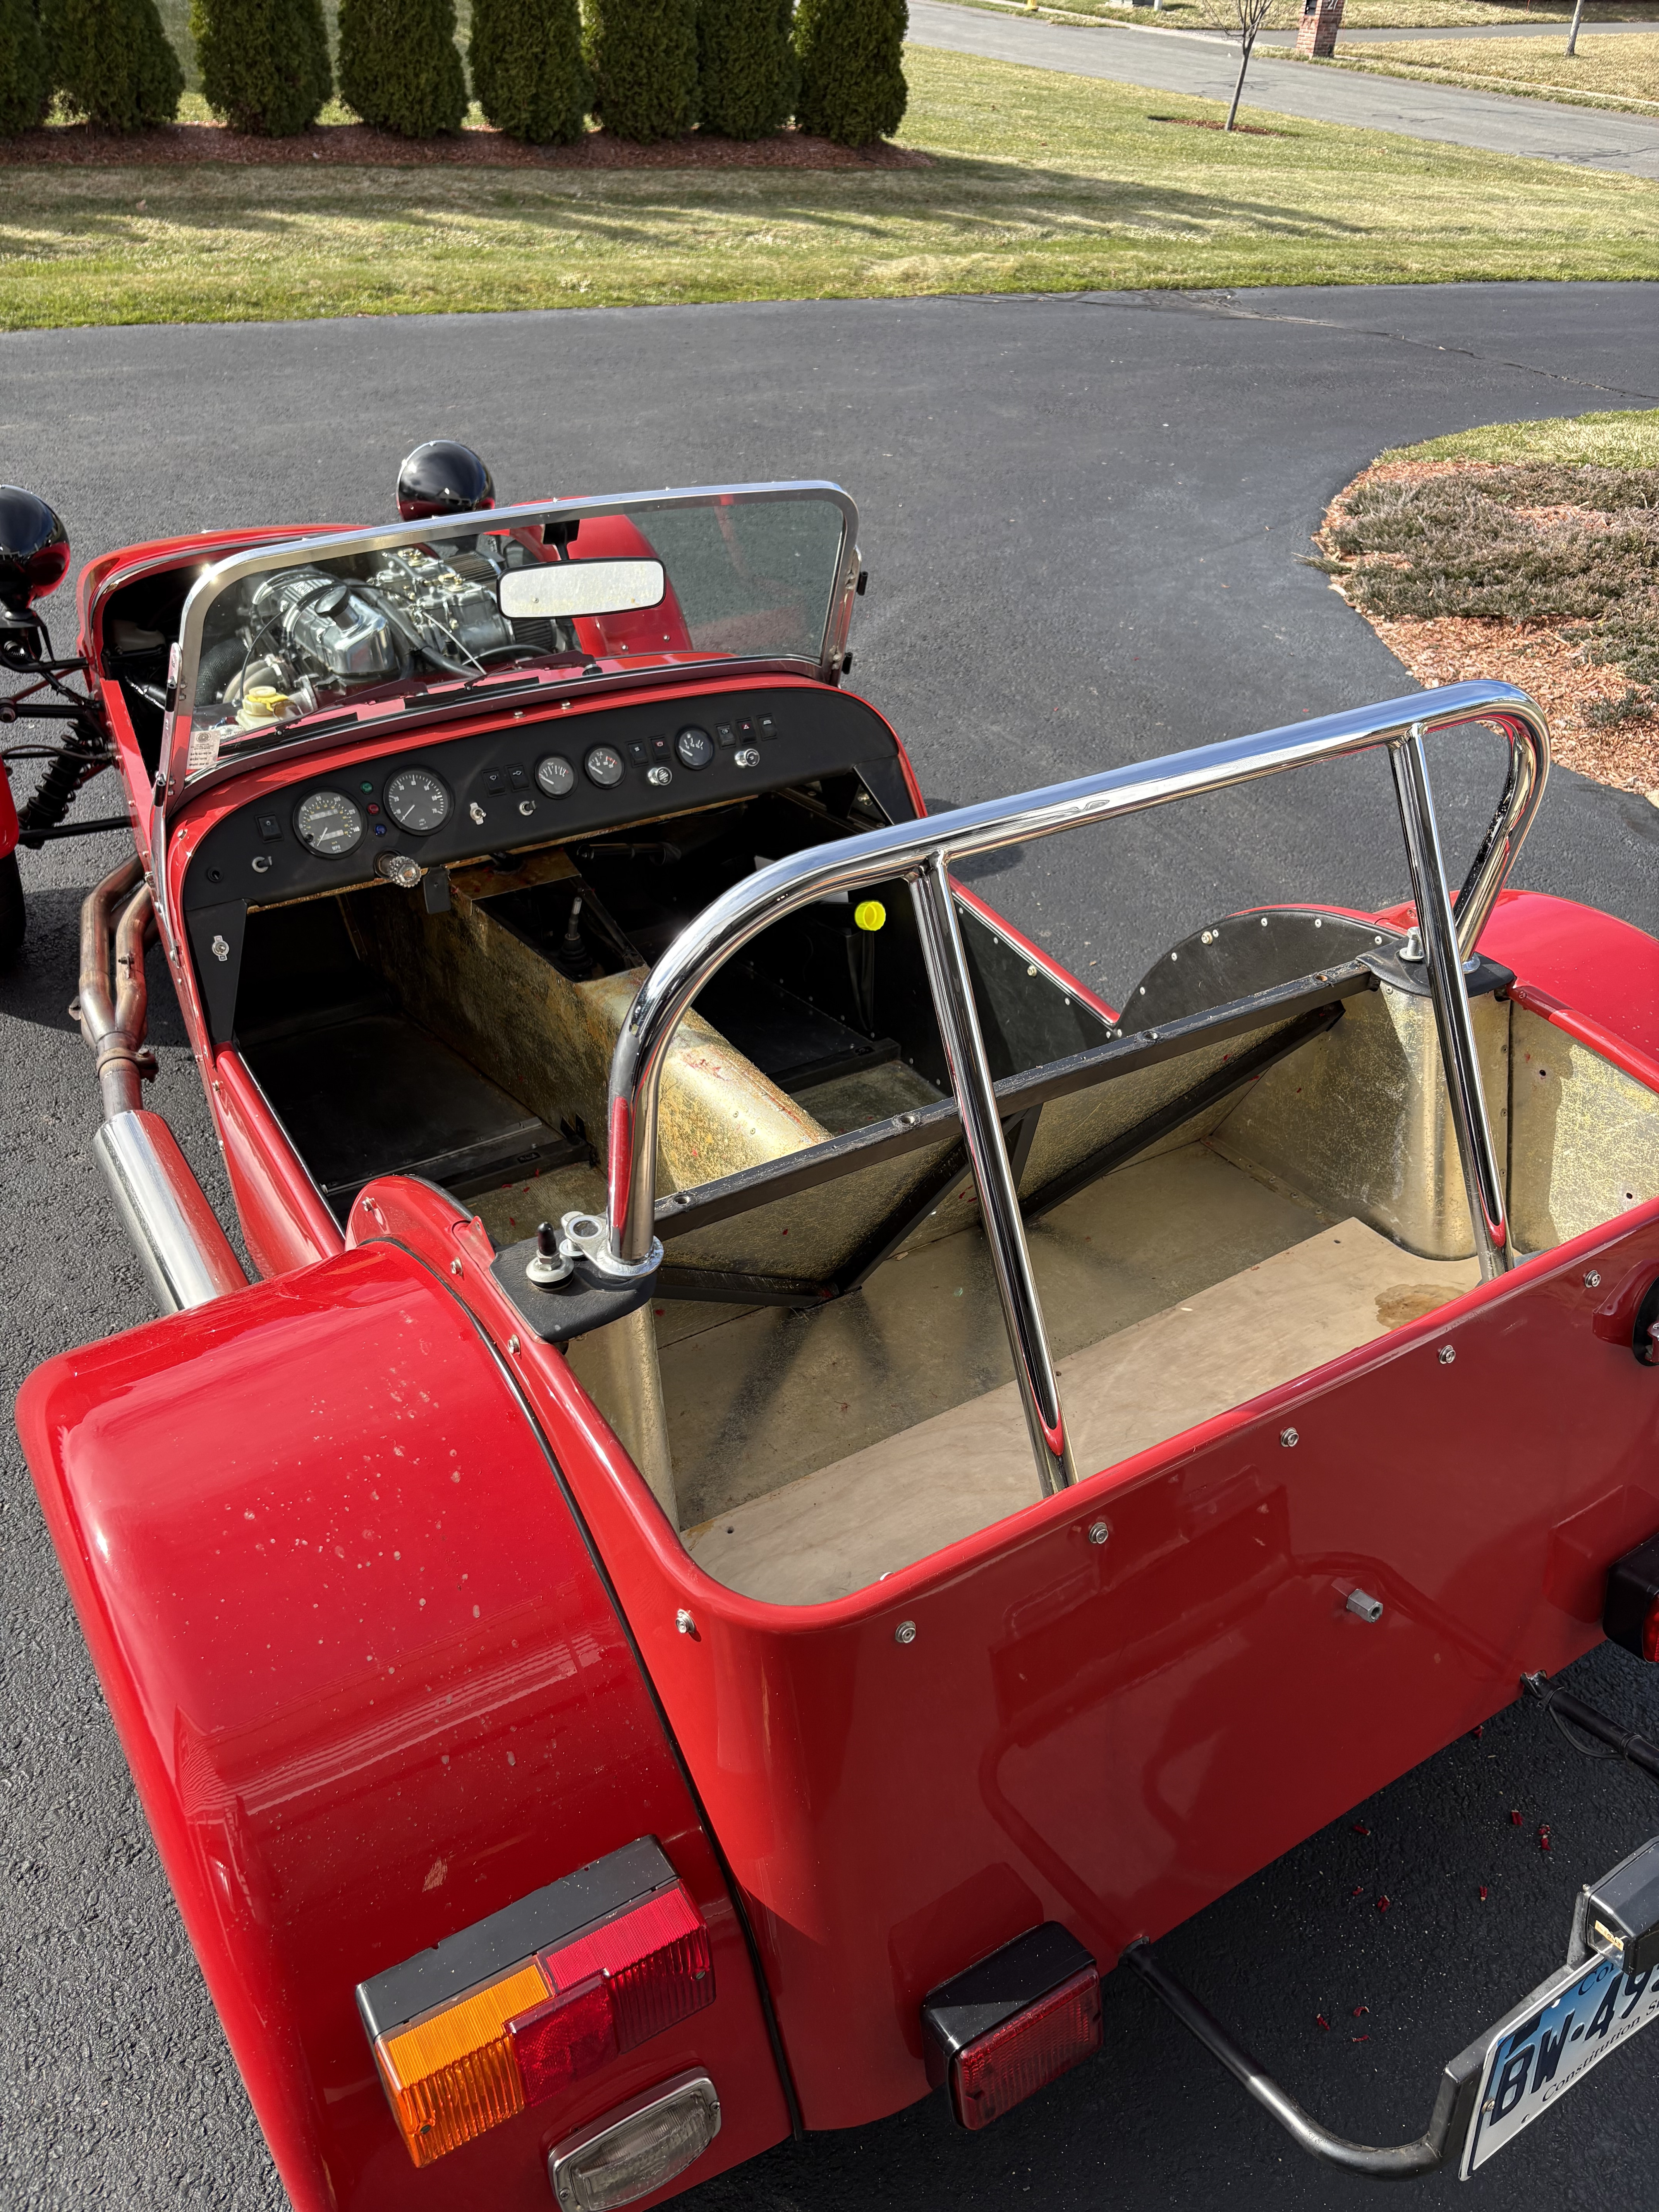
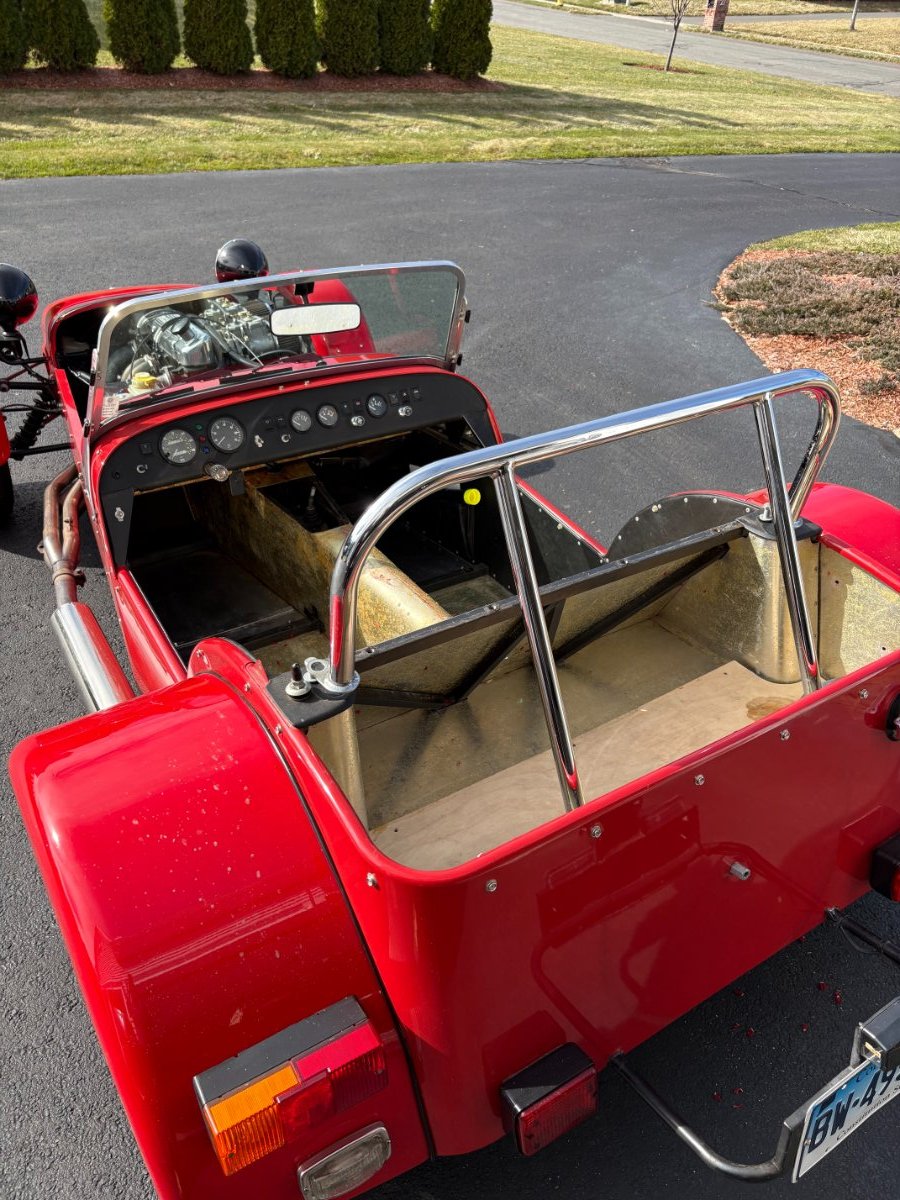
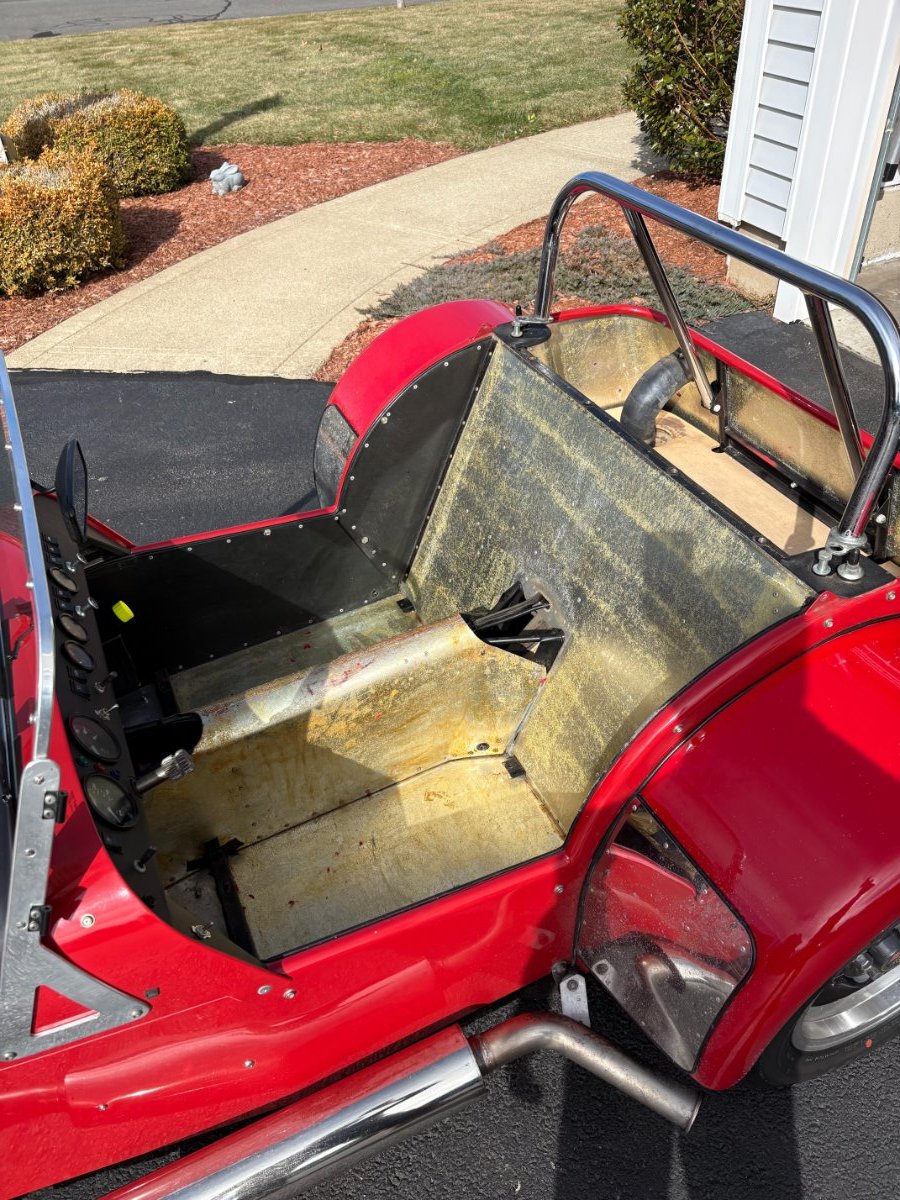
I’m looking for a roll bar for an ’89 Super Sprint (imperial, De Dion). Ideally something in the New England area so I can pick it up and avoid shipping. I’m after something taller and more substantial than what I currently have. Preferably, a bar that’s better suited for track days. It doesn’t need to be a perfect bolt in. As long as the geometry is close, I can handle any modifications needed to make it work. If you have anything that might fit the bill, please let me know. For reference, here’s what I’m currently running. It doesn’t exactly inspire confidence.
-
This is a valid point.
-
Thanks! That's a great idea. Much easier than remodeling it in various sizes.
-
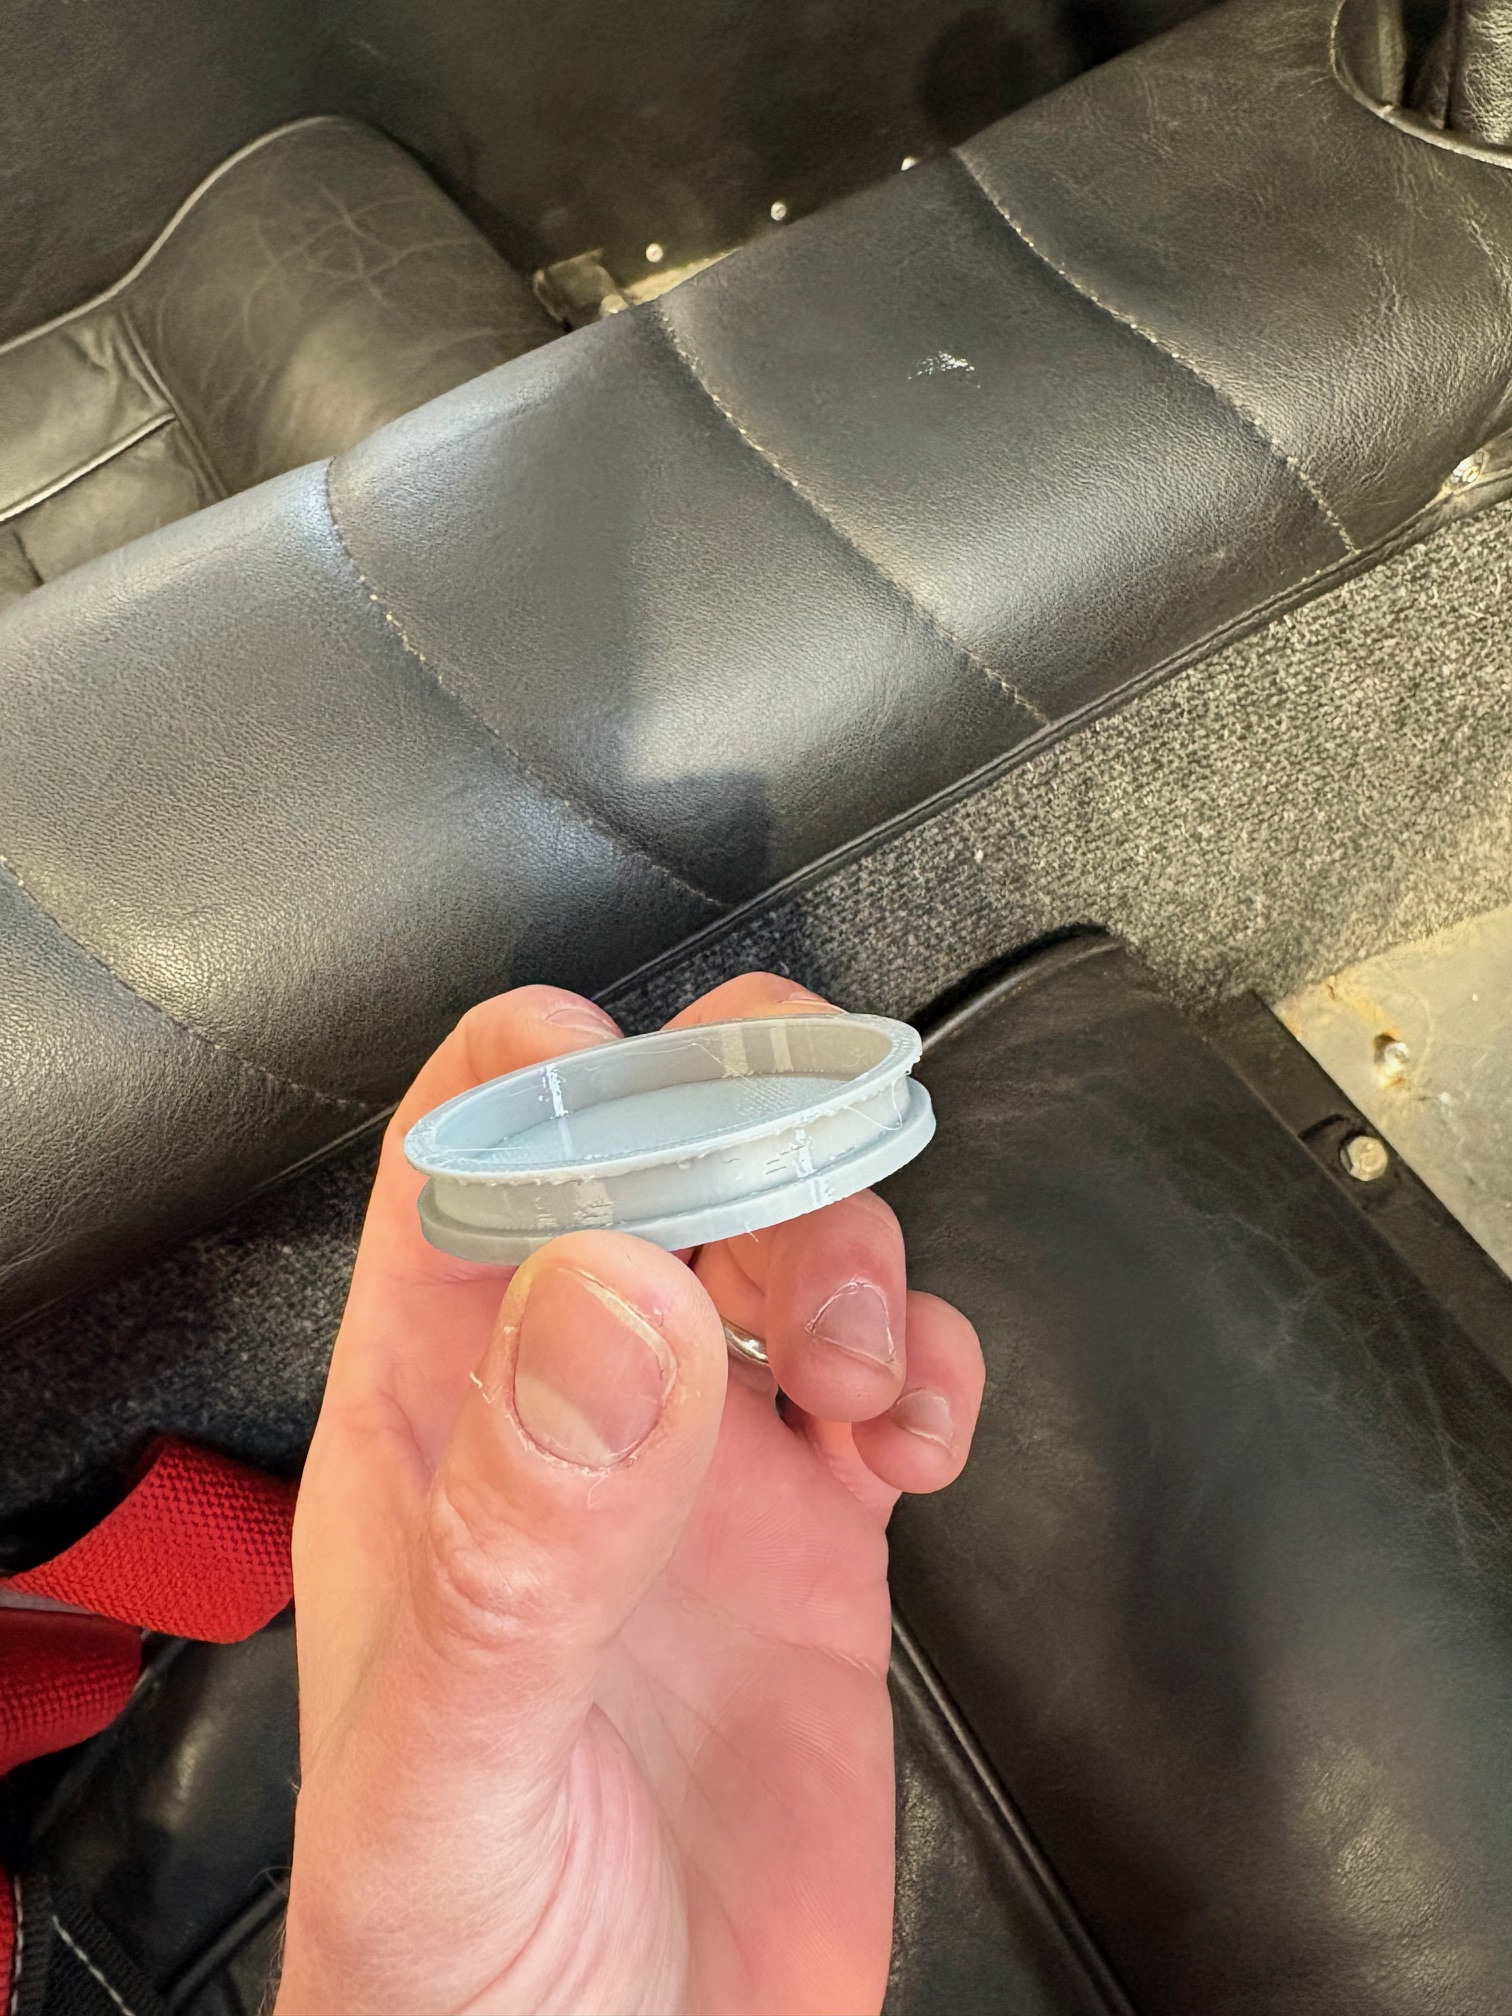
I needed a plug for the port in the firewall that allows you to access the speedo cable connection. I designed this with a flange in the back to keep out moisture. When printed out of flexible TPU, it pops right in. File attached. Feel free to use, share, and modify. Speedo_Plug_Rev1.STEP
-
Thanks @CBuff. Great feedback. I like the idea of the bedliner under the seats. Seems like the perfect solution. I just carpeted under my seats (because that's what was originally there). That probably makes me even more of a polishing queen.
-
Thanks @Croc. These are pricey, directly from Caterham. For the price the CBS offers, it makes a lot more sense for me to replace all of mine. After 37 years, I'm probably due.
-
Does anyone know if these rockers have improved over the years? I am thinking about replacing mine from an '89, but I am not thrilled with the "action" or weatherablity of the older ones. Curious to know if the newer ones are the same.
-
Great idea! That's much closer to what I'd like to spend too. Thanks!
-
Carpet on dash? Is that actually something people do?
-
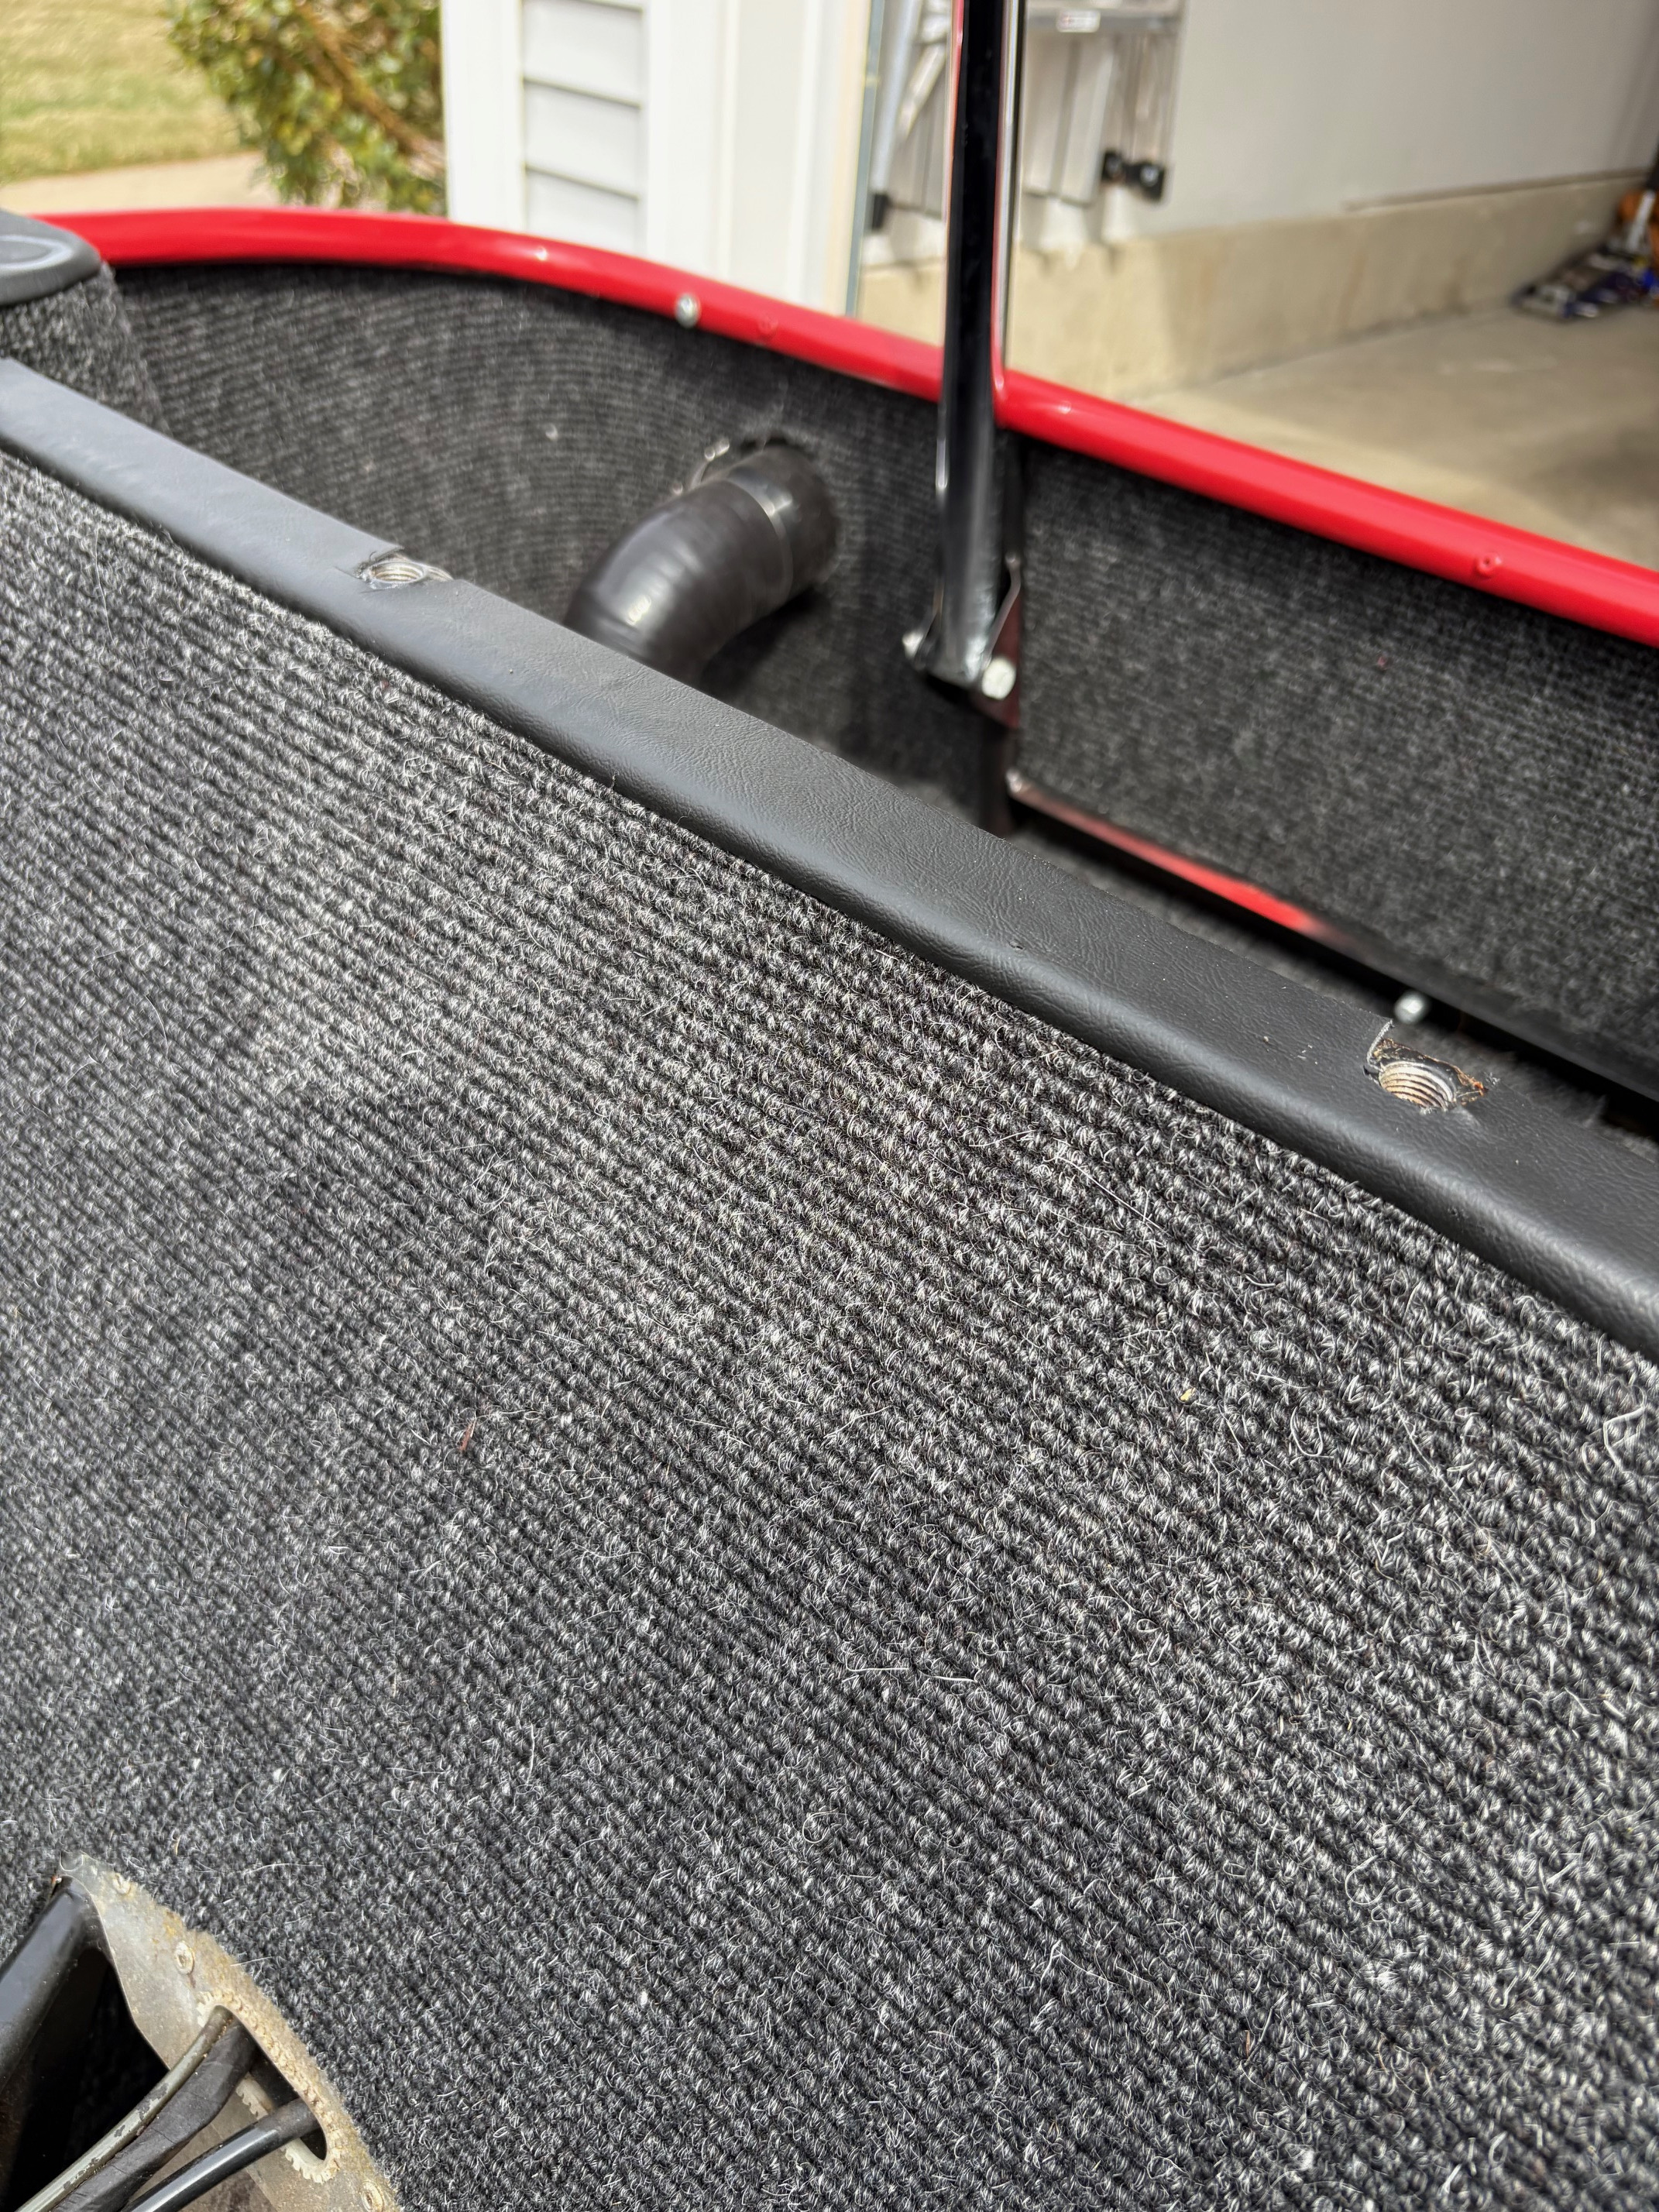
I’m looking for an insulation layer for my floor pans and am thinking about picking up the Caterham rubber mats. Curious how people like them. Do they stay put, and how do they hold up to wear and tear? Thanks!
-
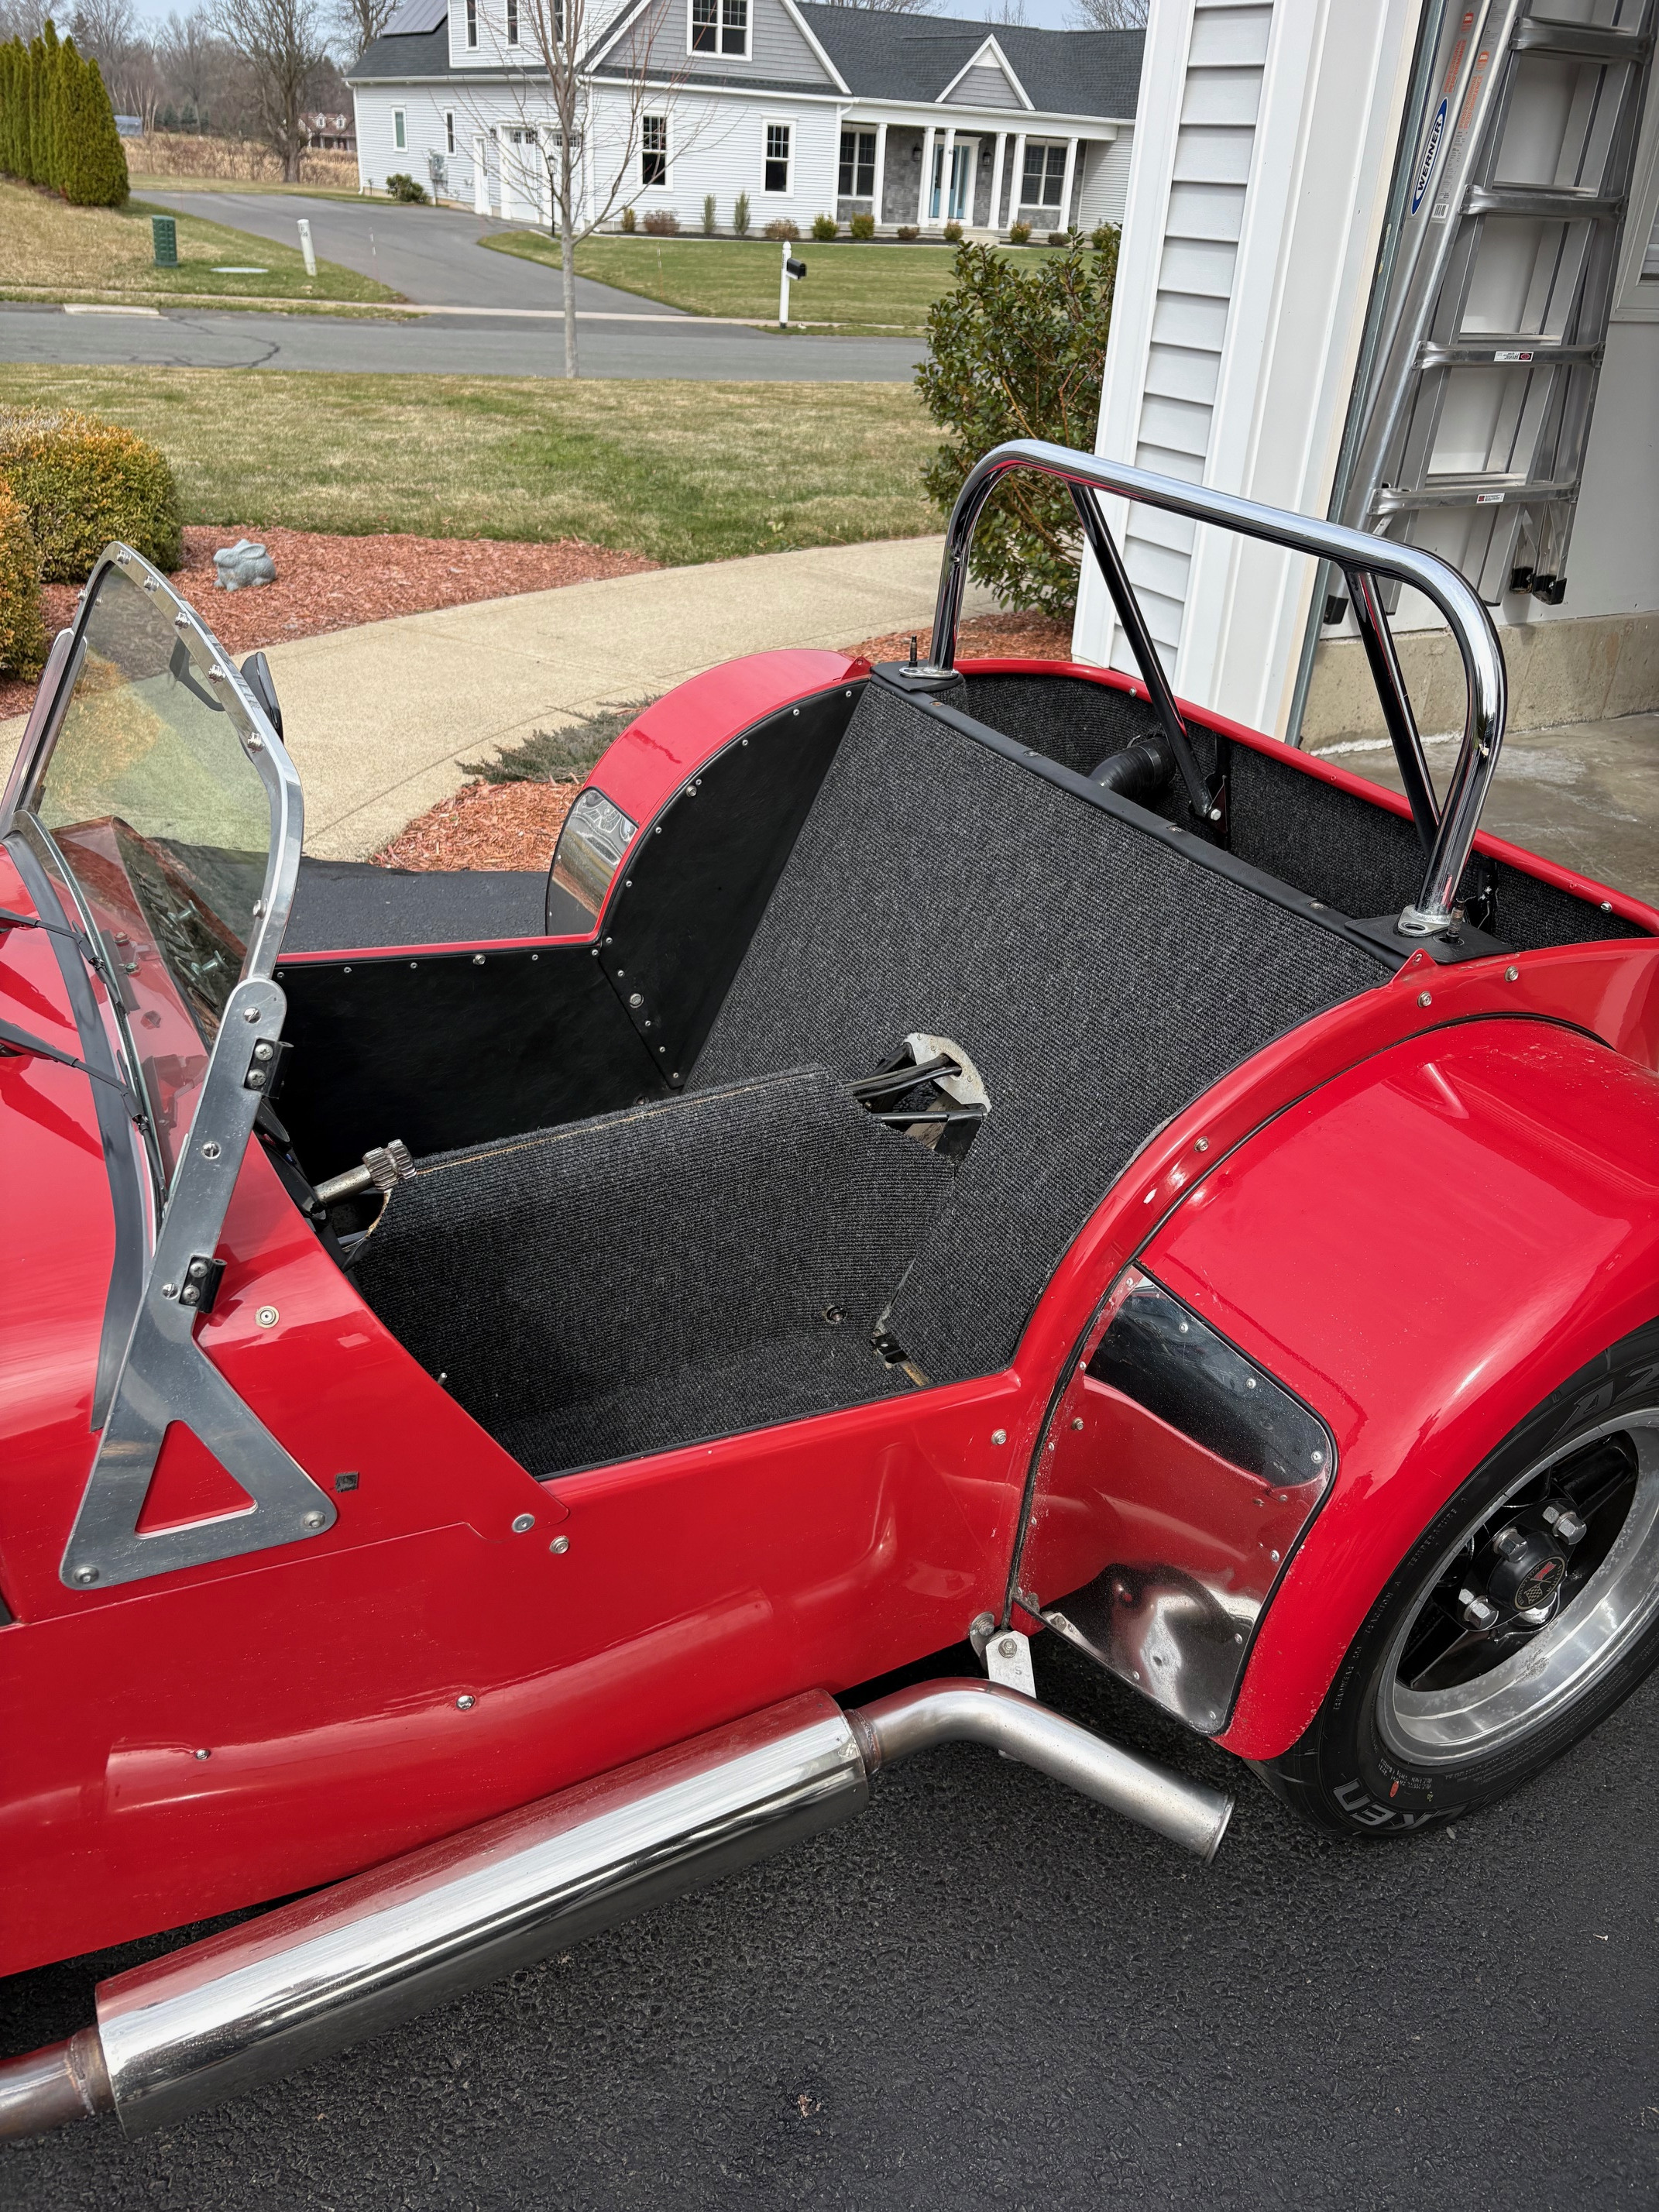
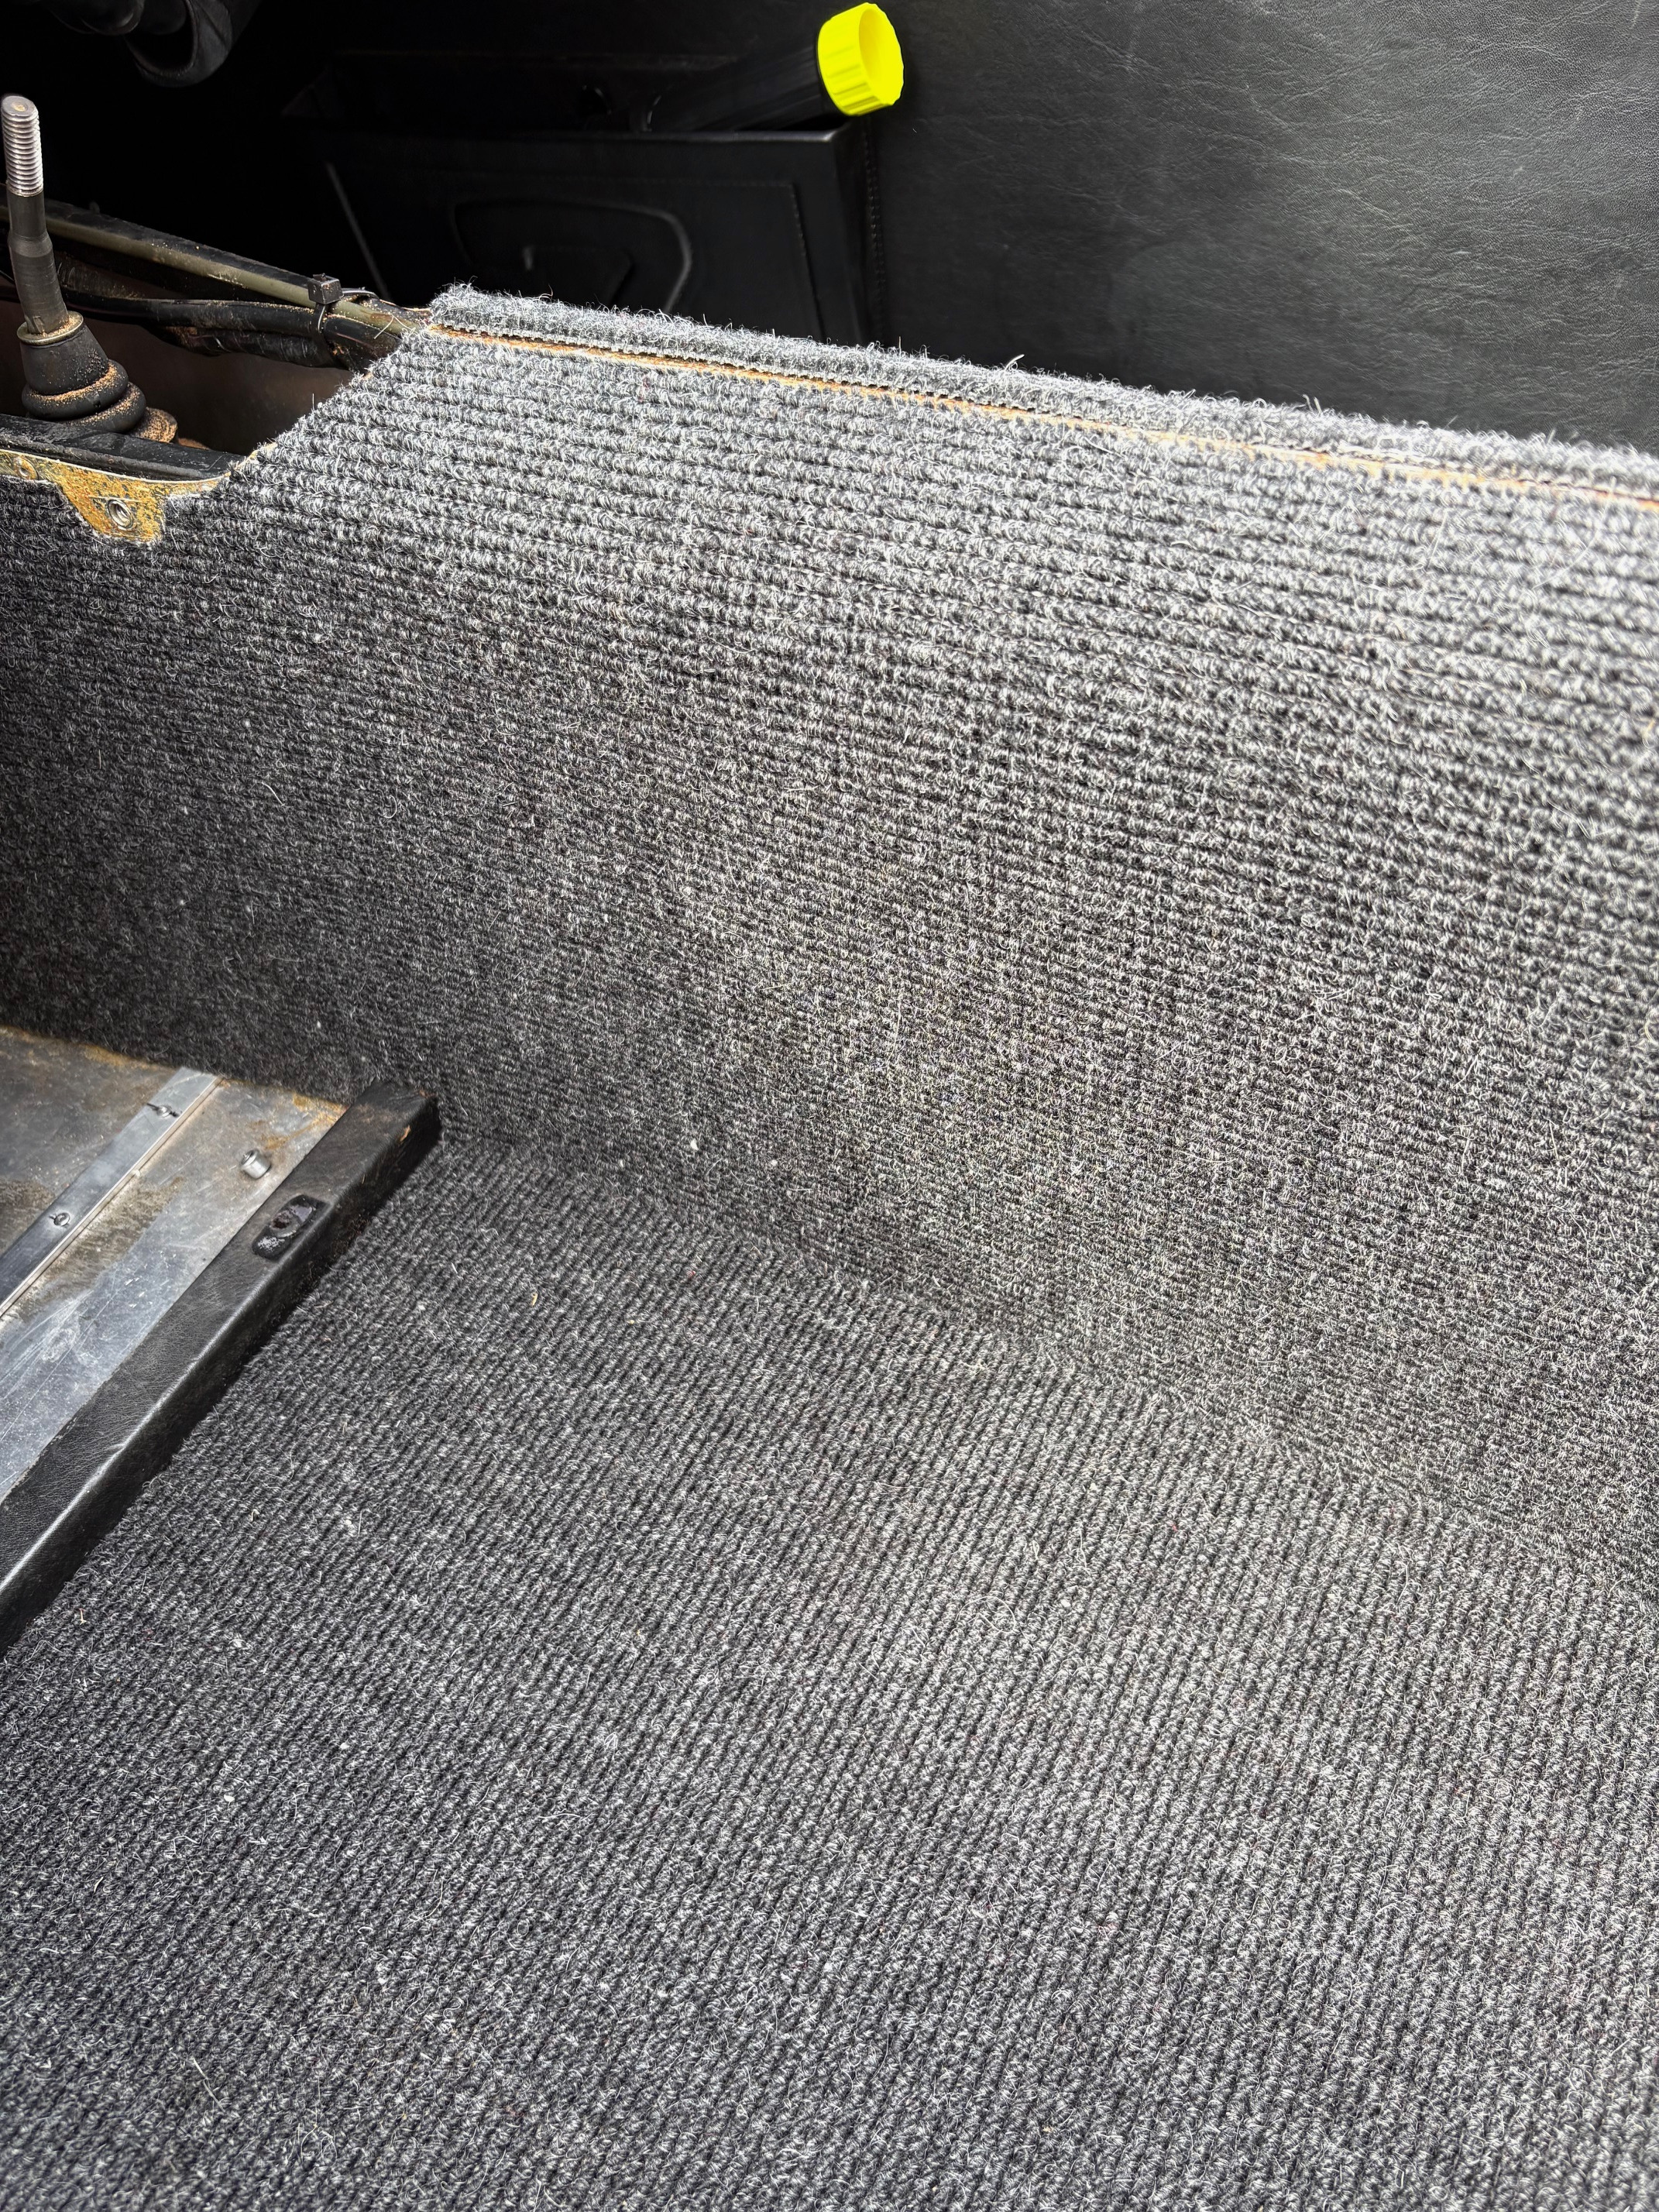
I removed the old red shag carpet and replaced it with "black" (more like gray) German square weave. It's my first time doing interior work, and I'm really happy with the way it came out.
-
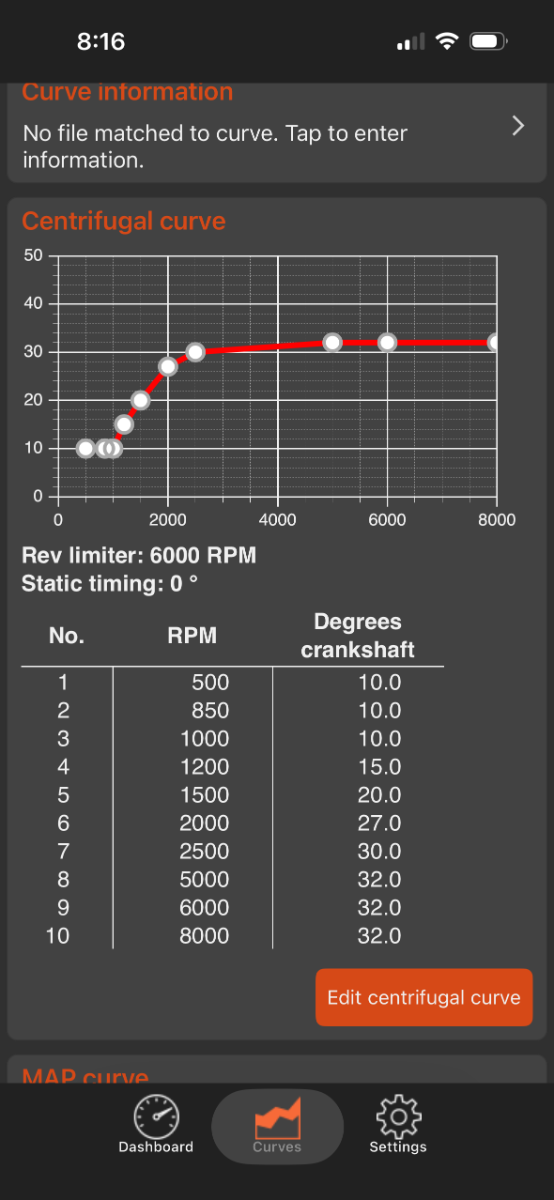
Thanks! It's mapped out to 8k rpm, but there is a 6K rev limiter in there, which is good. That's the lightest trolling I've ever received. Feel free to continue.
-
This is excellent! Thank you all for the help. I've reached out to ARI to get more details about the setup and see why they swapped out the 32mm chokes for 28mm. After hearing from everyone and considering the symptoms, this appears to be my issue. @NSXguy The o2 sensor is a great idea. Welding on a bung is now on my to-do list. I got the Bluetooth version of the 123 ignition. It's really fast and easy to connect to. No regrets there. Here is the timing curve that ARI had loaded. I think it's a bit flat and could probably be advanced. I am getting some minor spitting through the carbs at idle, which could probably be eliminated. More to come on the carb setup. In the meantime, it's time to start cutting some carpet!
-
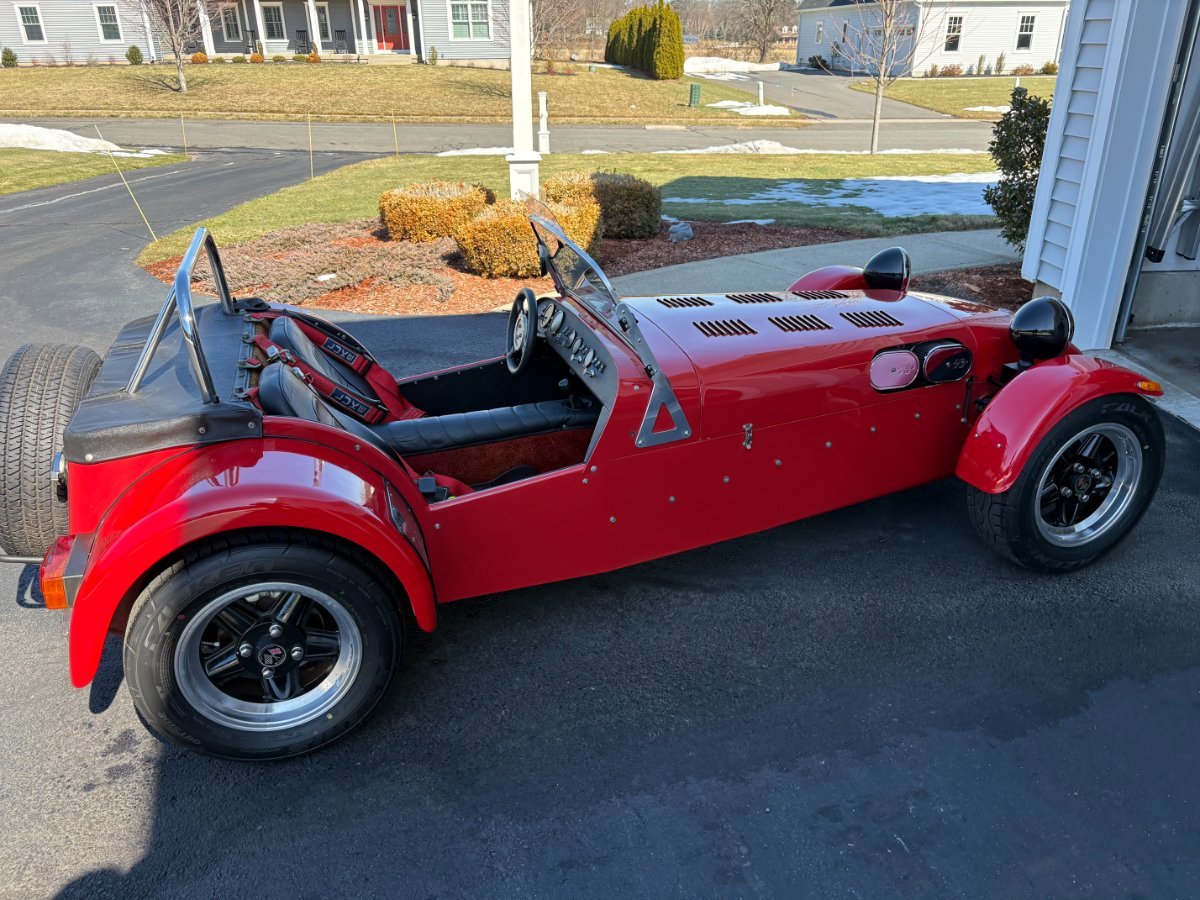
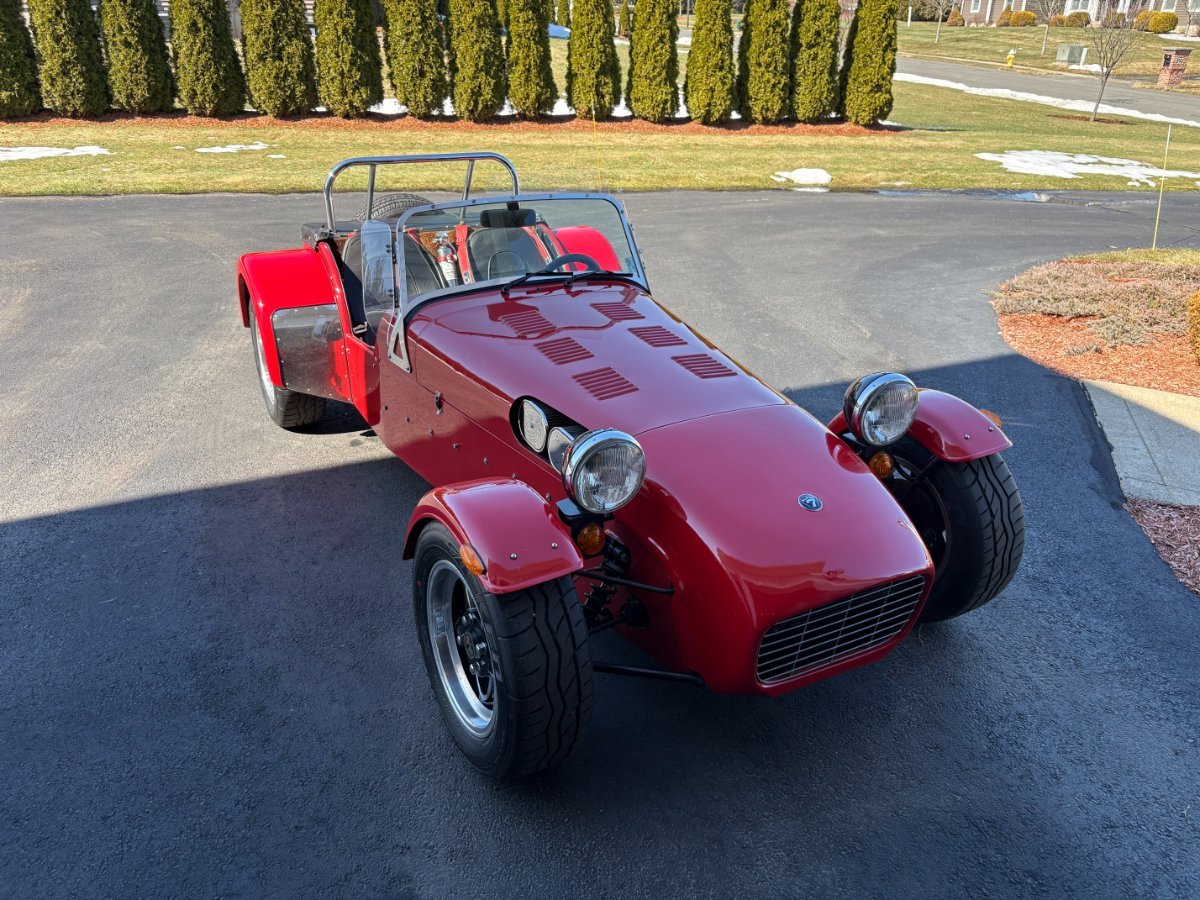
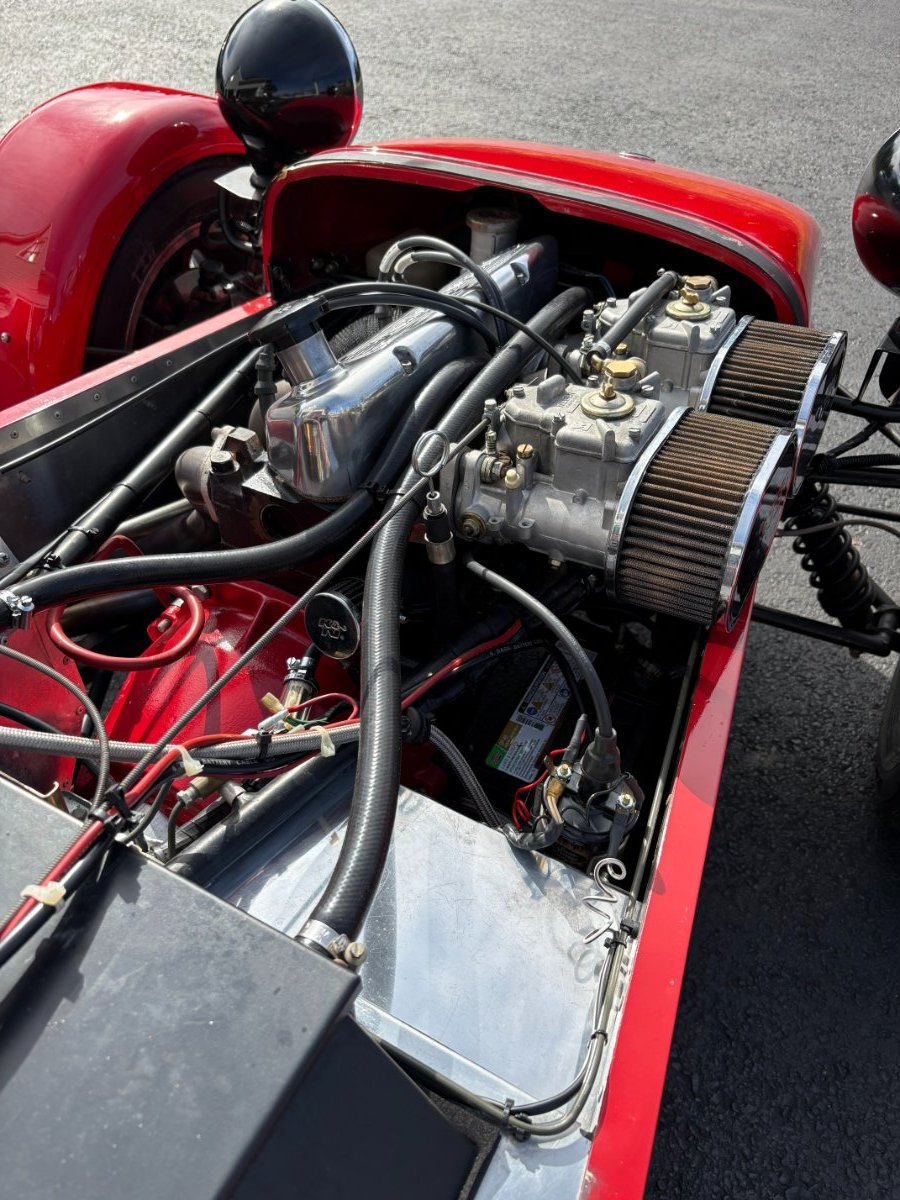
I ended up having Automotive Restorations go through my car to address a number of items, with the goal of making it as reliable as possible. Highlights of the work included: 123 Ignition installation Disassembly, cleaning, and rebuild of the carbs New alternator New plugs and wires Silicone radiator hoses New fuel lines All fluids changed New clutch slave cylinder Thermostat Water pump Falken Azenis RT615K tires Overall, they did an excellent job and I am very happy with the results. The car runs well and drives smoothly. My original plan was to modernize it a bit and make it more track-focused. However, this is such a well-preserved late 80s Seven that I have decided to leave it largely as-is and enjoy it for what it is. Aside from the cycle wings, it is essentially unmodified, and after driving it, I do not feel like I am missing anything. The older character of the car is really enjoyable. For now, the plan is to refresh the interior carpeting and put miles on it. One area I want to dial in further is the Weber carb setup. After the car idles for a bit and I give it throttle, I get a noticeable puff of grayish smoke. I am also seeing black soot inside the exhaust tip. The compression checked out fine, so I do not think it is valve seals. My suspicion is that it may be running rich at idle. They installed 28 mm chokes, which may be on the small side depending on the current jetting. If anyone has recommendations on a good baseline setup for a Crossflow with DCOE 40s, I would really appreciate the input.
-
I dug into this a little further today. For some reason, the gauge and lighting circuit seems to be grounded through the Lucas ignition amplifier. I am scratching my head as to why they did this. Anyway, the two black wires in the harness going to the amplifier are ground wires. If you want to bypass/delete the original Lucas amplifier, all you need to do is tie these to ground, and you're good to go.
-
I've upgraded my Xflow to a 123 Ignition system. I still have the Lucas ignition amplifier connected and would like to delete it. However, when I unplug it from the loom, things get weird. Everything works fine until I turn on the lighting system. When I do, some of the gauges peg at 100%. It seems like a grounding issue. My plan is to disconnect the amplifier and test for continuity to see which wires are connected internally. Then I will make a "jumper" plug to insert into the loom and bridge those wires. I don't have a schematic, so I am a little concerned about what else may be tied into this amp. I'm hoping someone has already been through this and can tell me if I'm missing anything. Thanks in advance!
-
Carbon Wing Protectors w/ Installation Kit
Origin7 replied to Origin7's topic in Parts For Sale / Wanted
SOLD -
I’ve decided to keep the vintage look of my stainless wing protectors, so I’m selling these new carbon wing protectors. These are genuine Caterham OEM parts and include the installation kit with piping and black rivets. $180 shipped within the continental US.

.jpeg.3f180abadd87087d72fb4b6d1067e5b3.jpeg)