
Origin7
-
Posts
141 -
Joined
-
Last visited
Content Type
Profiles
Forums
Store
Articles
Gallery
Events
Library
Everything posted by Origin7
-
For reference, this is a '89-ish imperial long foot box, De Dion. CTC between mounting bolts is 33.5". It doesn't look like this would fit your car.

-
These guys know their stuff. They are in Ayer, MA. https://ktrmotorsports.com/
-
Very helpful! Thanks, @11Budlite
-
I am planning on rebuilding my differential and installing a Quaife LSD. Considering changing the gear set as well. Can anyone recommend a good service manual that I should acquire? Thanks!
-
That's a good point. The flange isn't going to be flat if you print it vertically. I've got to try PET-CF. It looks like this would be a great fit for a lot of the work I do.
-
Nice! Is this PA12? It wouldn't print as clean, but you could change the orientation of the part so the layers are perpendicular to the flange. Another option may be to connect them all, perhaps in the middle, and turn it into a more rigid one-piece part.
-
Thanks! Diodes are on order. Mike
-
I am converting the halogen indicator lights on my older Cat to LED. I am wondering if anyone else has encountered the issue I am having. I did the following: 1. Installed LED bulbs in the front indicators 2. Installed an LED relay 3. Installed rear indicator bulbs So far, so good. Everything worked fine and was super bright. Next, I installed factory Caterham LED front side markers. This is when the gremlins arrived. Now, all 6 are blinking together, instead of 3 right or 3 left. Voltage had to be backfeeding between the left and right sides somewhere in the circuit. The two common components are the relay and the dash light. The relay tested fine, so I removed the bulb on the dash. Sure enough, this fixed it. So I need a more permanent solution. My dash indicators are 37 years old. Does anyone know if newer ones will resolve this? Thanks in advance.
-
I am looking for one of these in Black. They are made by Newton and used on Caterhams. It is the Aero 300 model. Please message me if you happen to have one. Thanks!
-
I'm interested. Please shoot me a DM with your price.
-
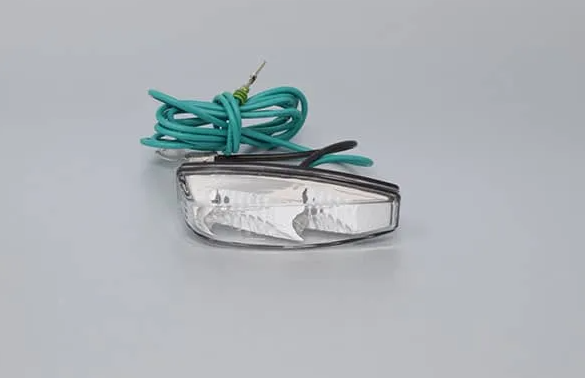
Looking for a pair of white "shark's tooth" side repeaters. They can be LED or halogen. PLease DM me if you have a pair to part with.
-
@CBuff, I wish I had planned ahead as you did. If I tear into it now, I'll miss the best driving of the year. I am going to monitor things, and if it doesn't get any worse, it will be my winter project. I was thinking about going to 3.64 gears as well. Planning on doing the rebuild myself, but we'll see. Time is hard to come by these days. Good news is I just picked up a Quaife ATB diff from @Scott_. Excited to turn this project into an upgrade. Wish my wife felt the same way
-
I dug in a bit deeper this morning. Again, the U-joints look OK, and I’m not seeing any play in them. As I rock the driveshaft back and forth, I’m getting some backlash in the differential pinion gear, which sounds similar to what I’m hearing while driving. It also looks like the pinion shaft may be rocking side to side, but it’s hard to tell in such cramped quarters. Long story short, it’s looking like the differential is the problem. What’s the best source for a Ford Sierra 3.92:1 differential here in the U.S.? Would I be better off having mine rebuilt? I’ve also been reading about the Quaife ATB internals. Is that upgrade worth it?
-
I have to admit, I get some sort of masochistic enjoyment out of chasing down these sorts of things. It very well could be the diff. The best I can tell, the noise is coming from the back of the tunnel, where it intersects the rear bulkhead.
-
I went through the suspension. No obvious culprits, but I did snug up a few things. I took the car for a drive, and the noise persists. I didn't describe it well before. It's rotational-sounding, almost a rattling, when under very light throttle. The frequency of the rattling increases with speed. Basically it sounds like a bad U-joint. I've also heard a similar sound when the center support bearing on a drive shaft failed. I suppose it's time to drop the drive shaft and take a closer look at the U-joint and pinion bearing.
-
Thanks, I just tried this. Seems alright. I hear a little clanking, but I'm thinking its slop in the parking brake. @Slonie The A-frame bolts feel tight. As a test, I put another 1/8 turn on them or so. Will test tomorrow and see if there is a difference. In doing so, I noticed some play/clunk when I tugged on the rear anti-roll bar. These are hard-mounted with no bushings, which I was surprised to see. Its probably worth going through all the fasteners, like you took the time to do.
-
Is it a good enough test to pull on it and look for play, or should I pull it apart and take a closer look? The reason I ask is that I gave it a good tug and everything seemed solid.
-
Happy Birthday. I hope you find the answers you're seeking. If you do, please share.
-
@CBuff , A-frame bushings are a great suggestion. That would be a dream come true if that's all it is.
-
@Scott_I haven't drained the oil yet. That's probably a good next step. That's a good idea to take a closer look at the other end of the shaft. The sound never really goes away. It just gets less frequent. It's really just a problem under light tip-in or lower RPM/load when I am ON/OFF the throttle. It sounds like backlash/clunking back and forth. @mccasksl Open differential it appears.
-
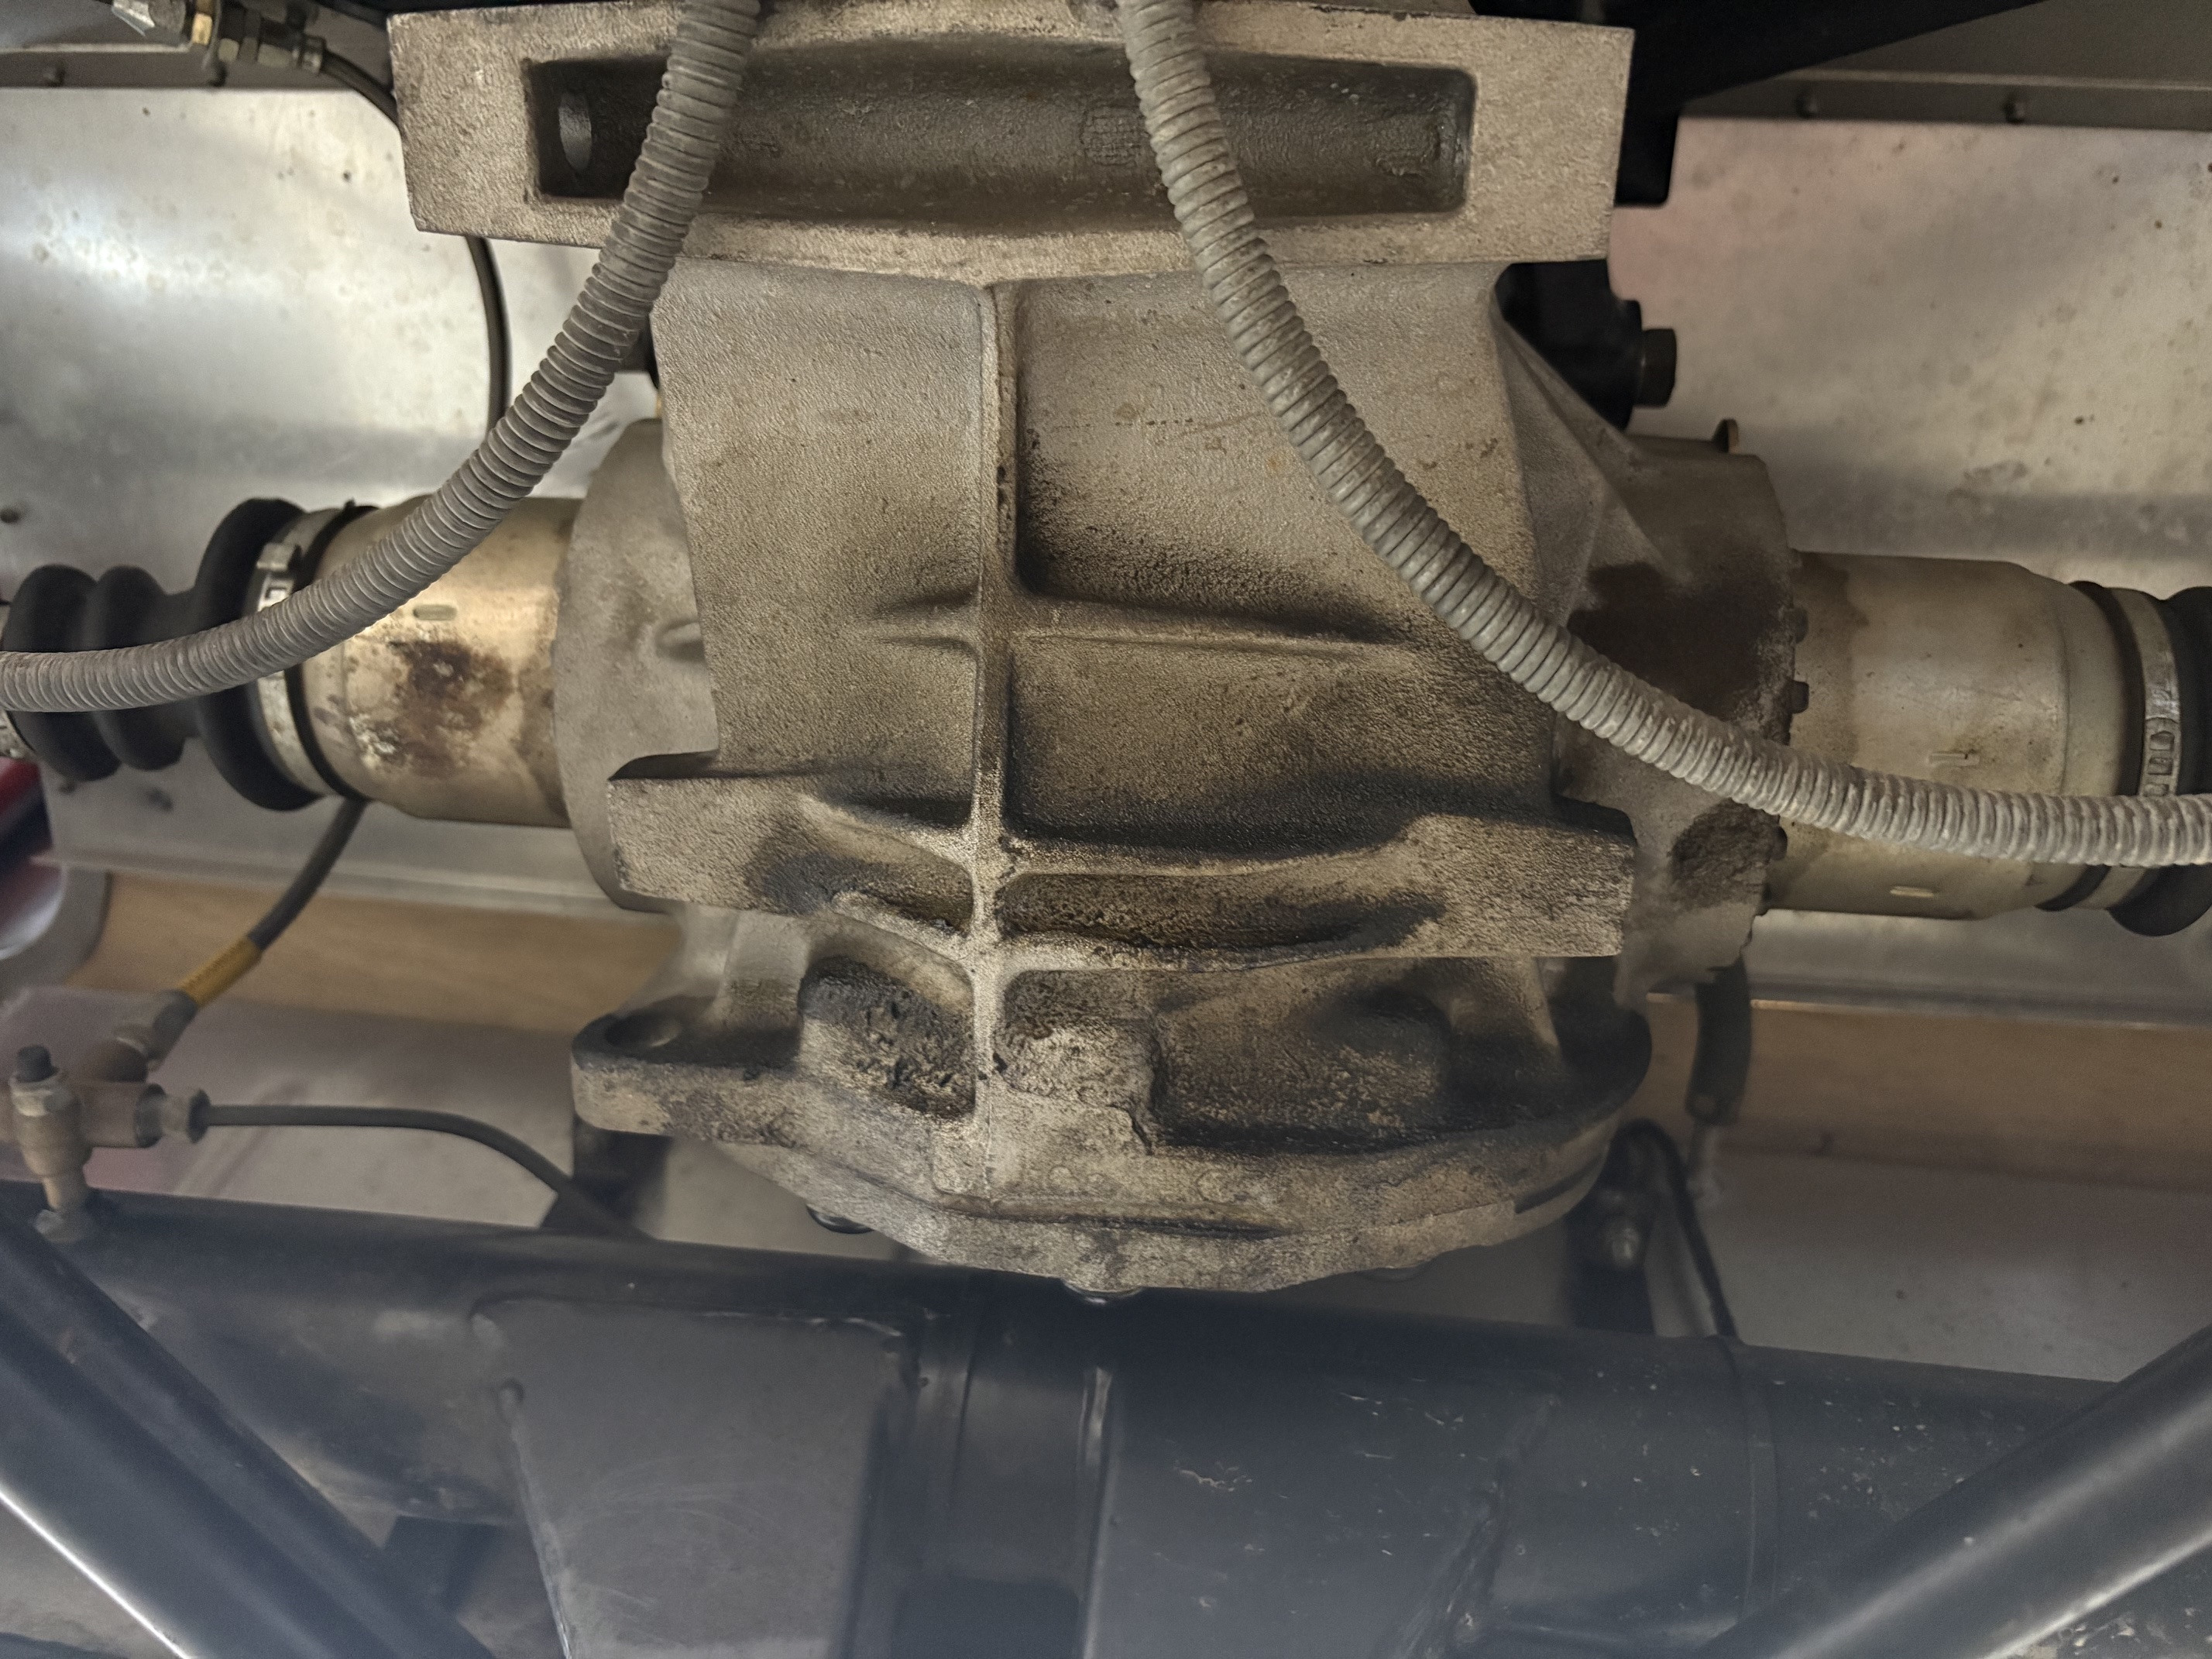
I’m hoping someone can help me pinpoint the root cause of a clunking noise that seems to be coming from the rear universal joint or differential. When there is a load on the drivetrain, the noise goes away, but it always comes back when I’m barely tipped into the throttle. I tried greasing the universal joints, but there was no improvement. I also checked the driveshaft for play, and everything seemed okay. Half-shafts seemed alright too. When I first got the car, it made a loud clunk when I released the clutch. I found that the bottom differential mounting bolts had loosened and backed out. It looked like they had been loose for quite a while. I tightened them, and that particular clunk went away, but this other noise started afterward. I’m wondering whether all that movement damaged the pinion bearing. The noise also changes as the car warms up, which makes me think it may be bearing-related. Hoping to determine what it is before I go through the trouble of dropping the diff. Has anyone else had a pinion bearing fail? If so, did you experience similar symptoms?
-
Headlight lowering bracket for older Sevens
Origin7 replied to Origin7's topic in General Fabrication
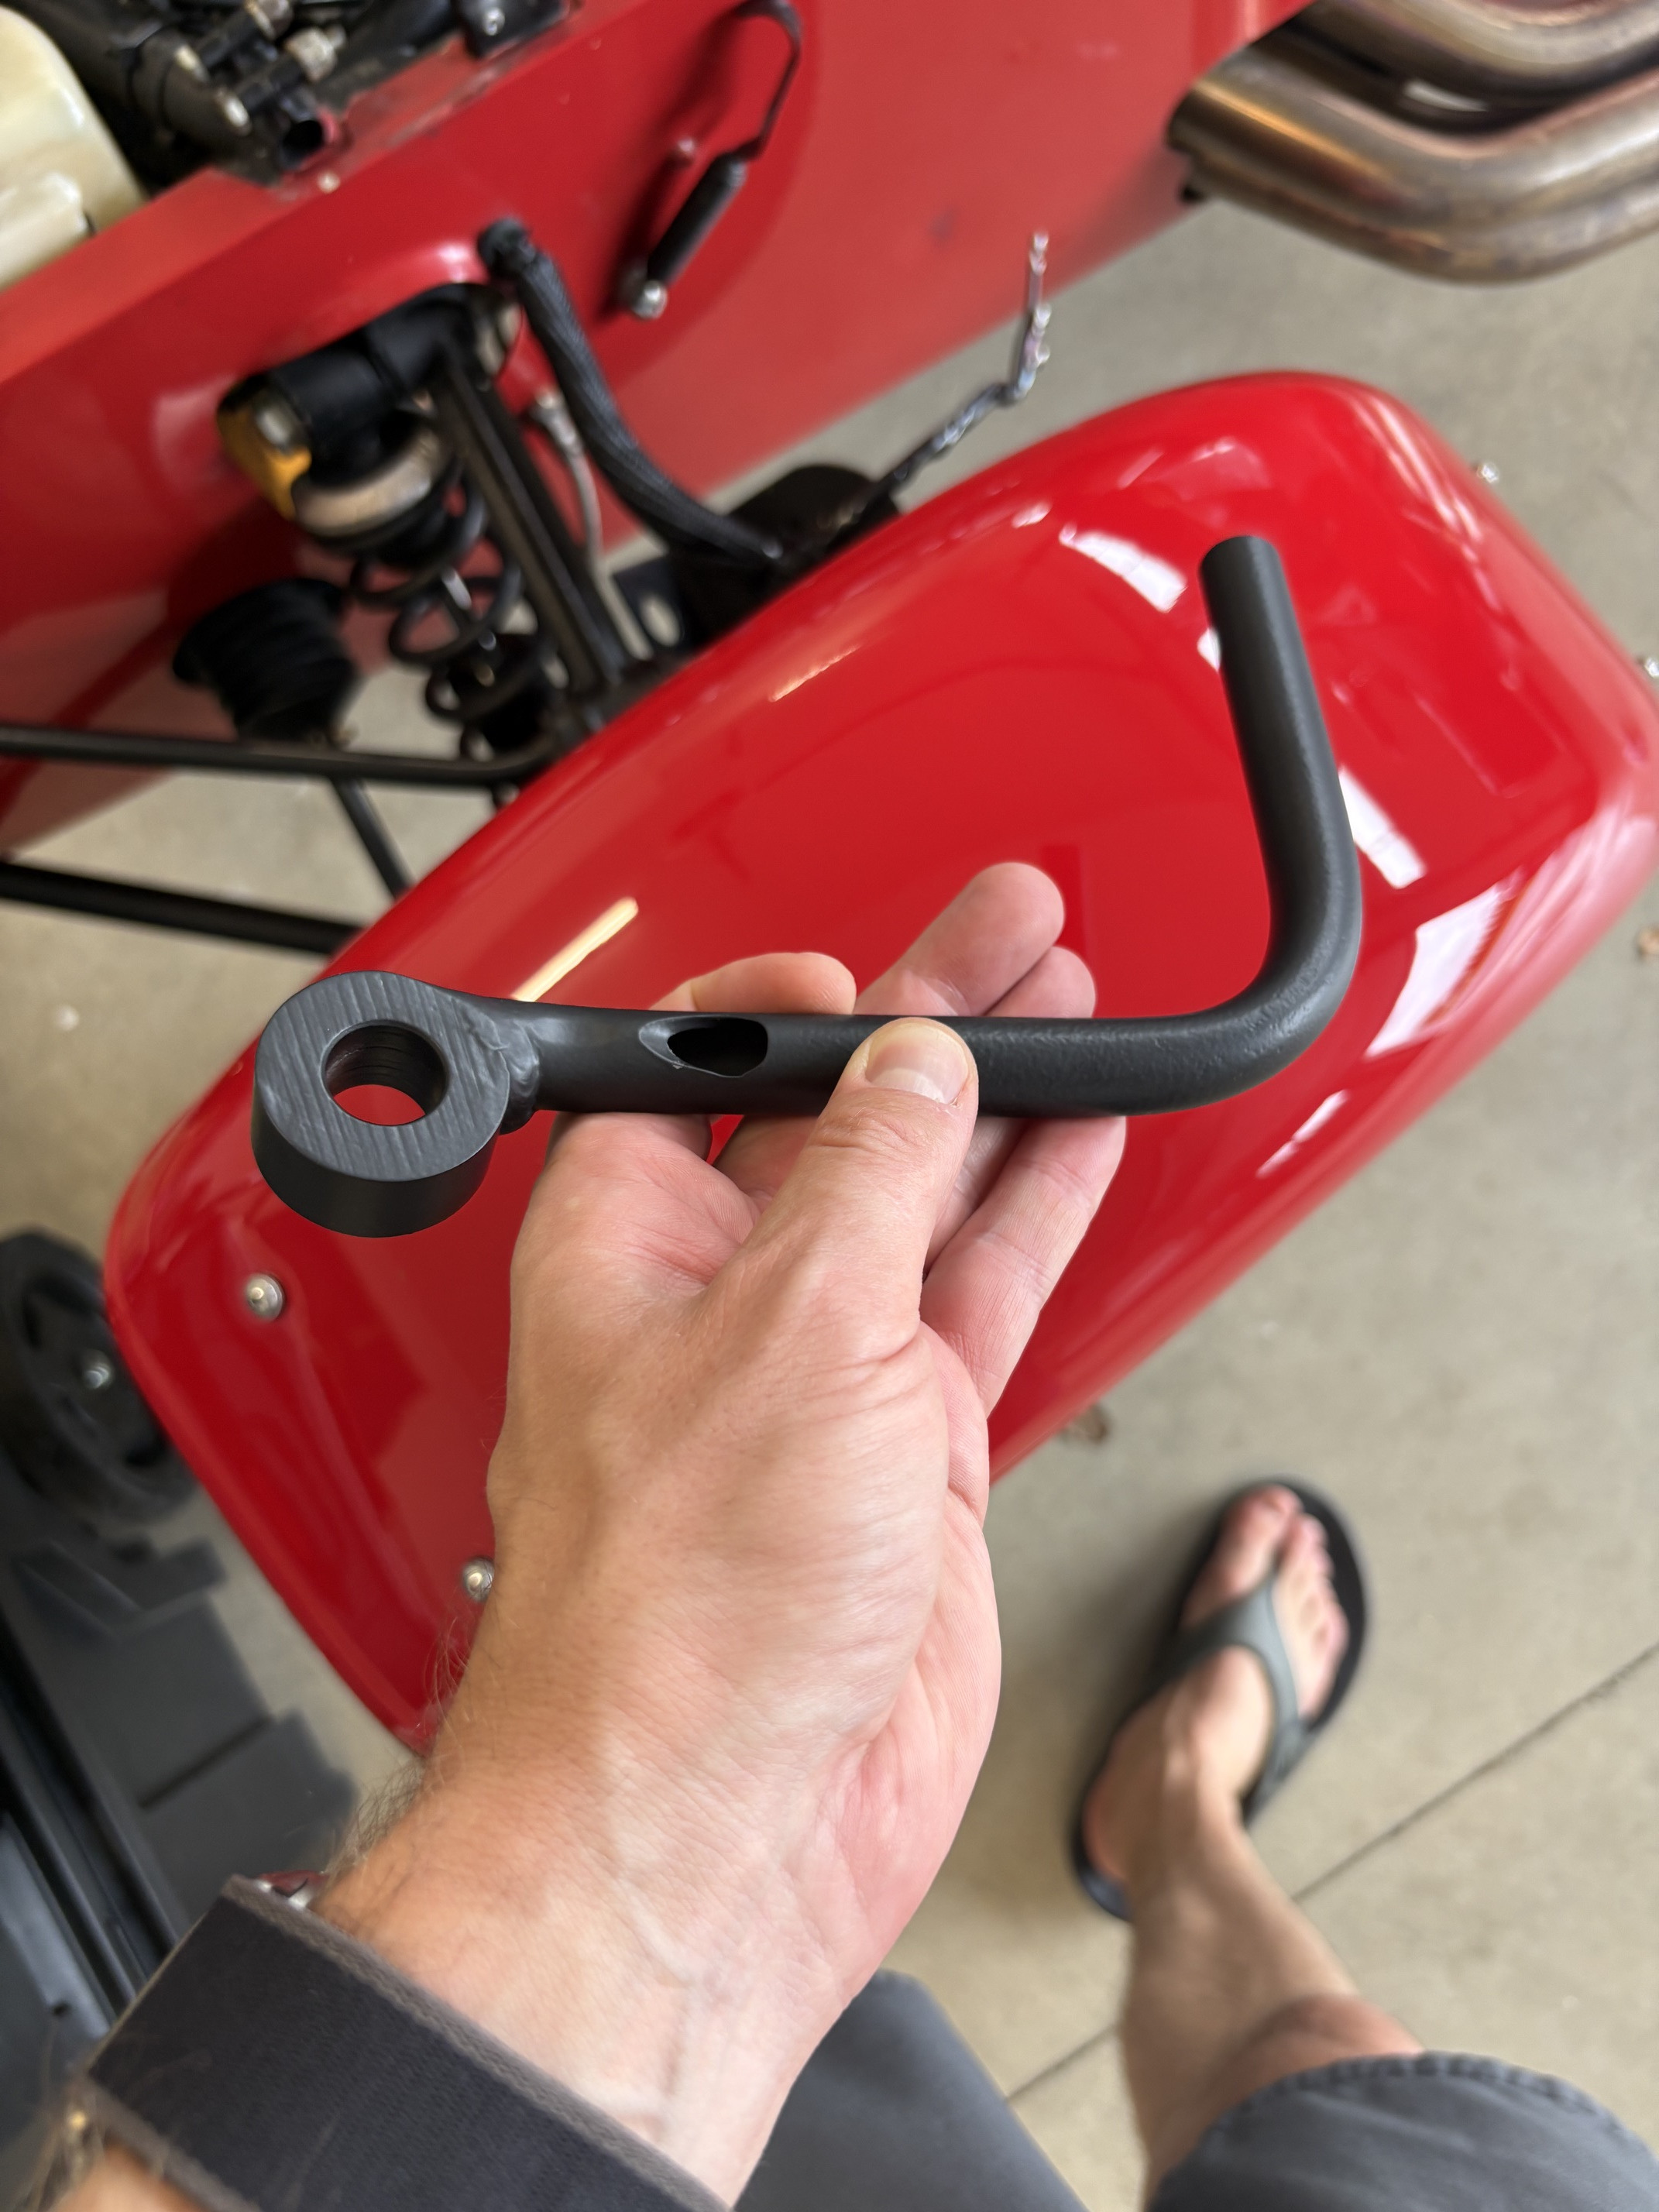
Thanks! A buddy of mine from work helped me out a lot. He's very talented. Just got them back from powder coat.
-
Headlight lowering bracket for older Sevens
Origin7 replied to Origin7's topic in General Fabrication
Here is a print if anyone would find it useful. Right_Light_Bracket_Rev2.pdf
-
Headlight lowering bracket for older Sevens
Origin7 replied to Origin7's topic in General Fabrication
-
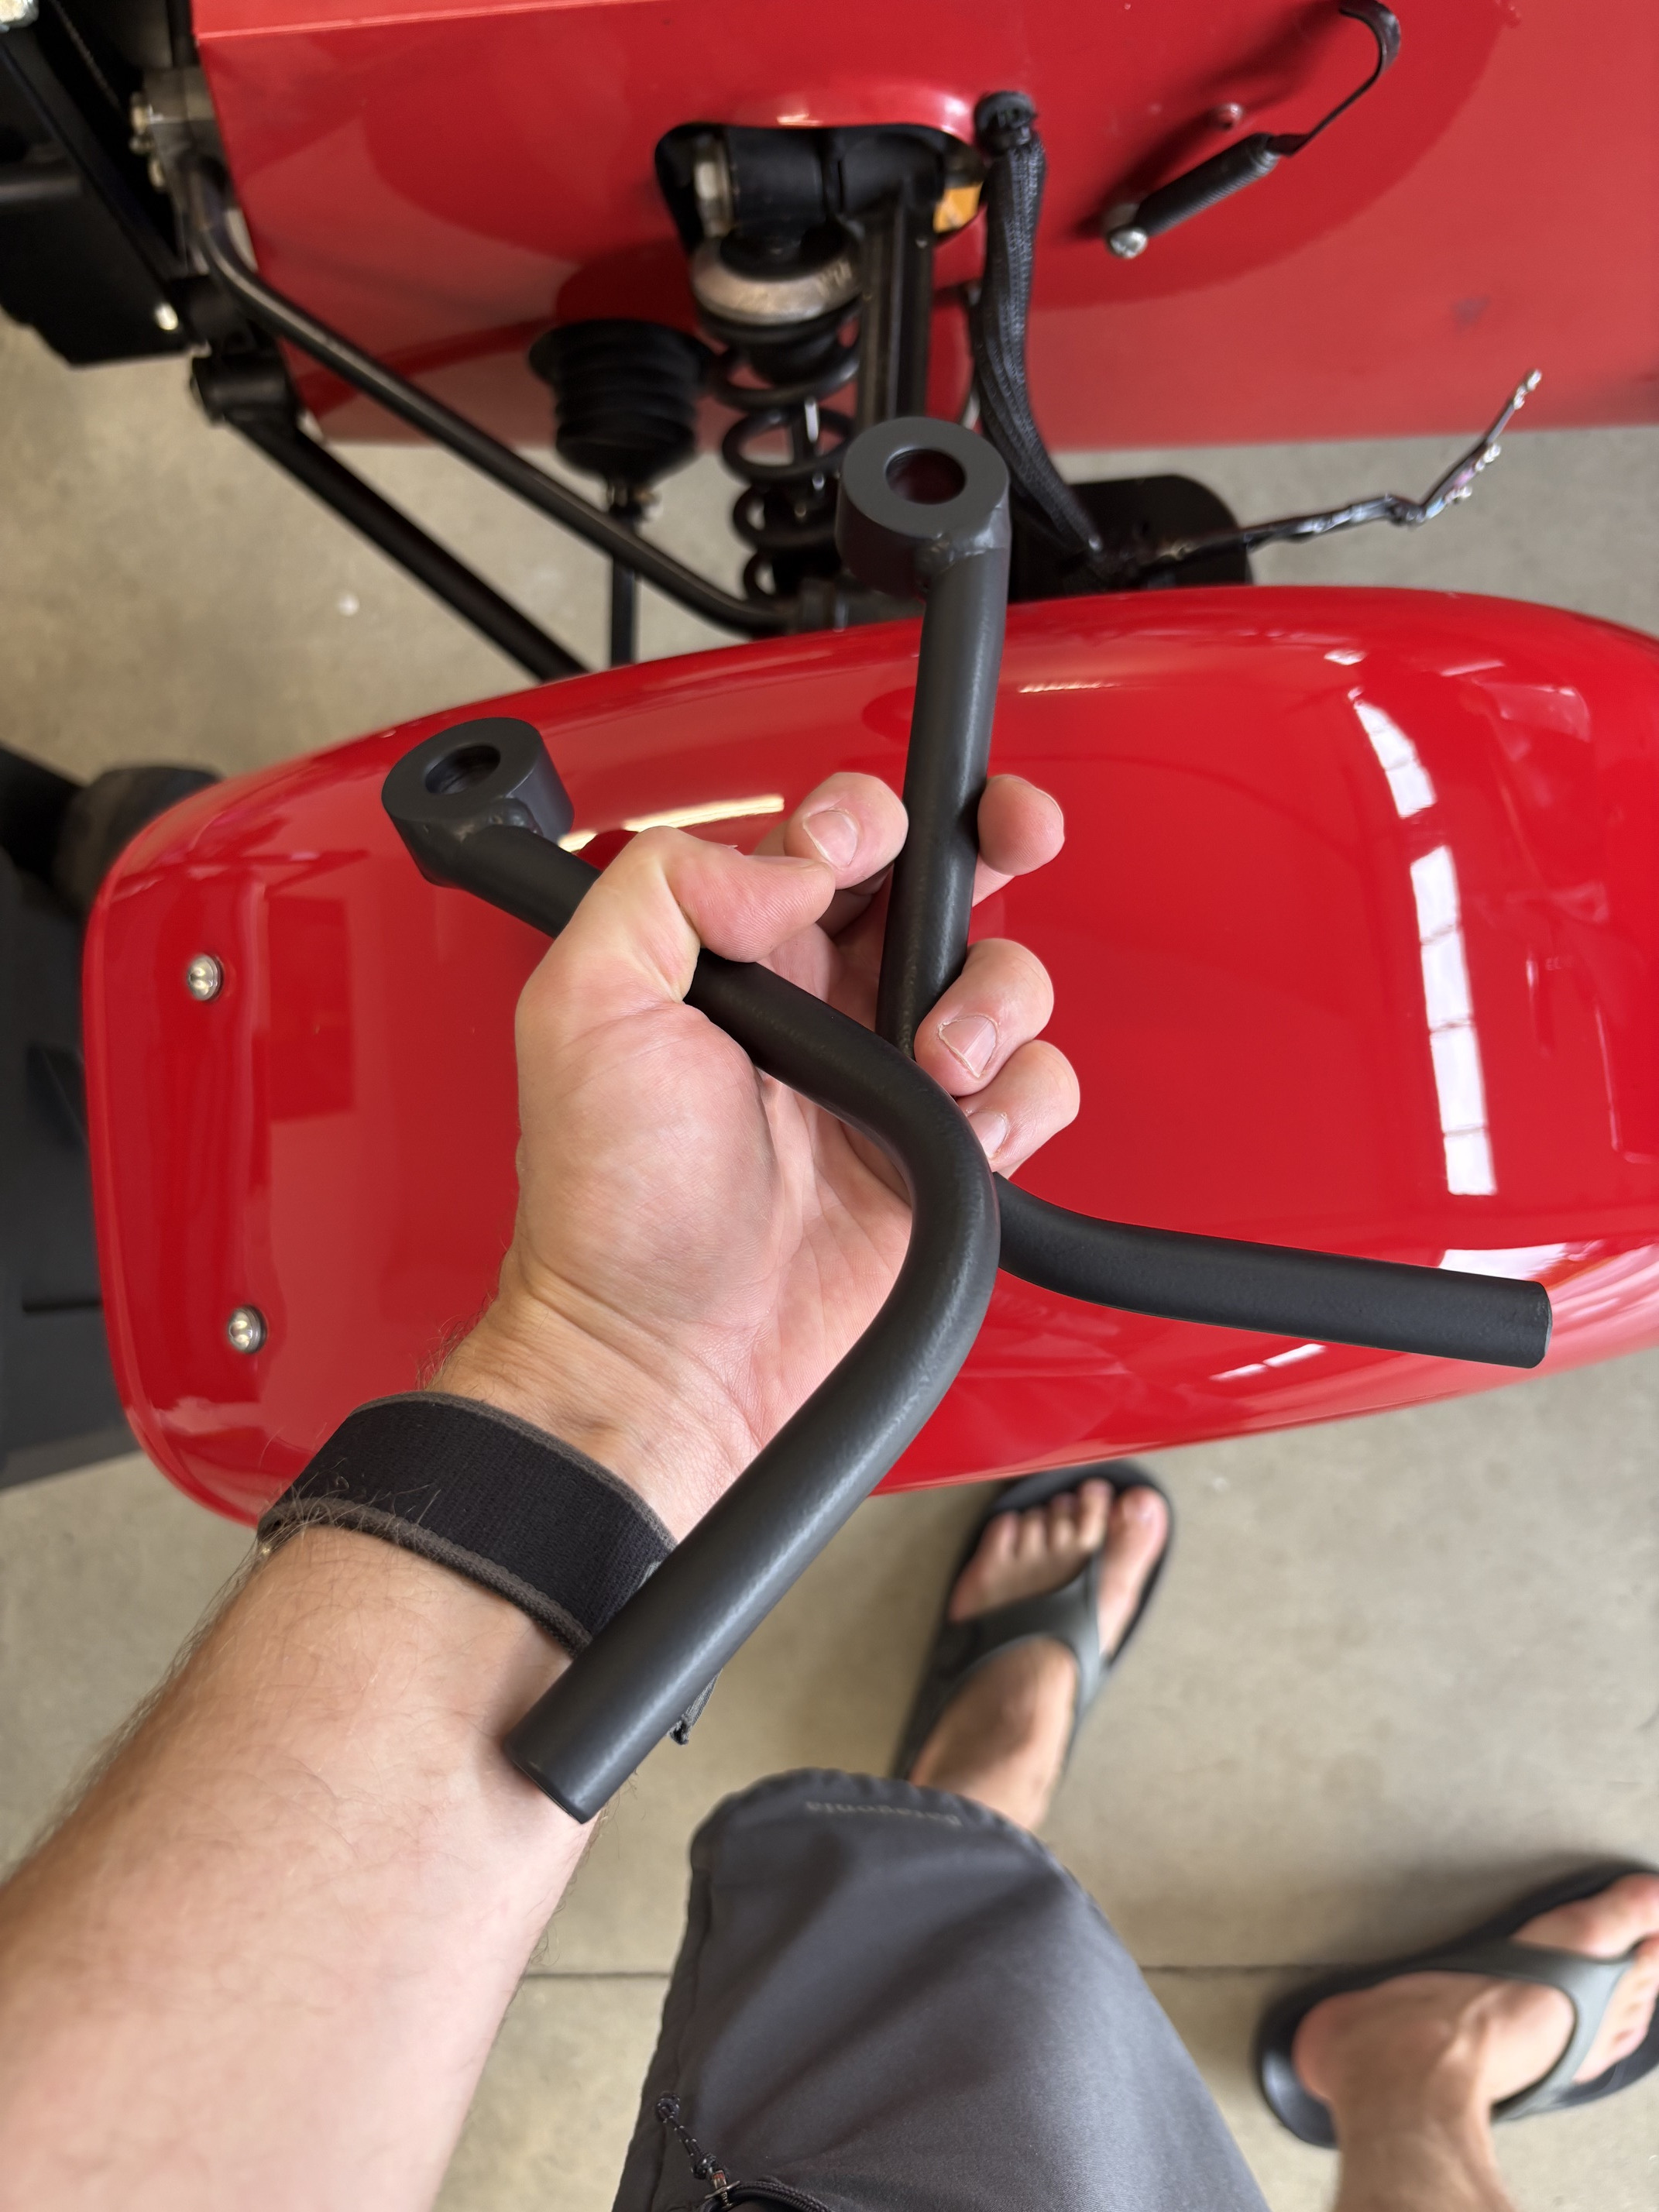
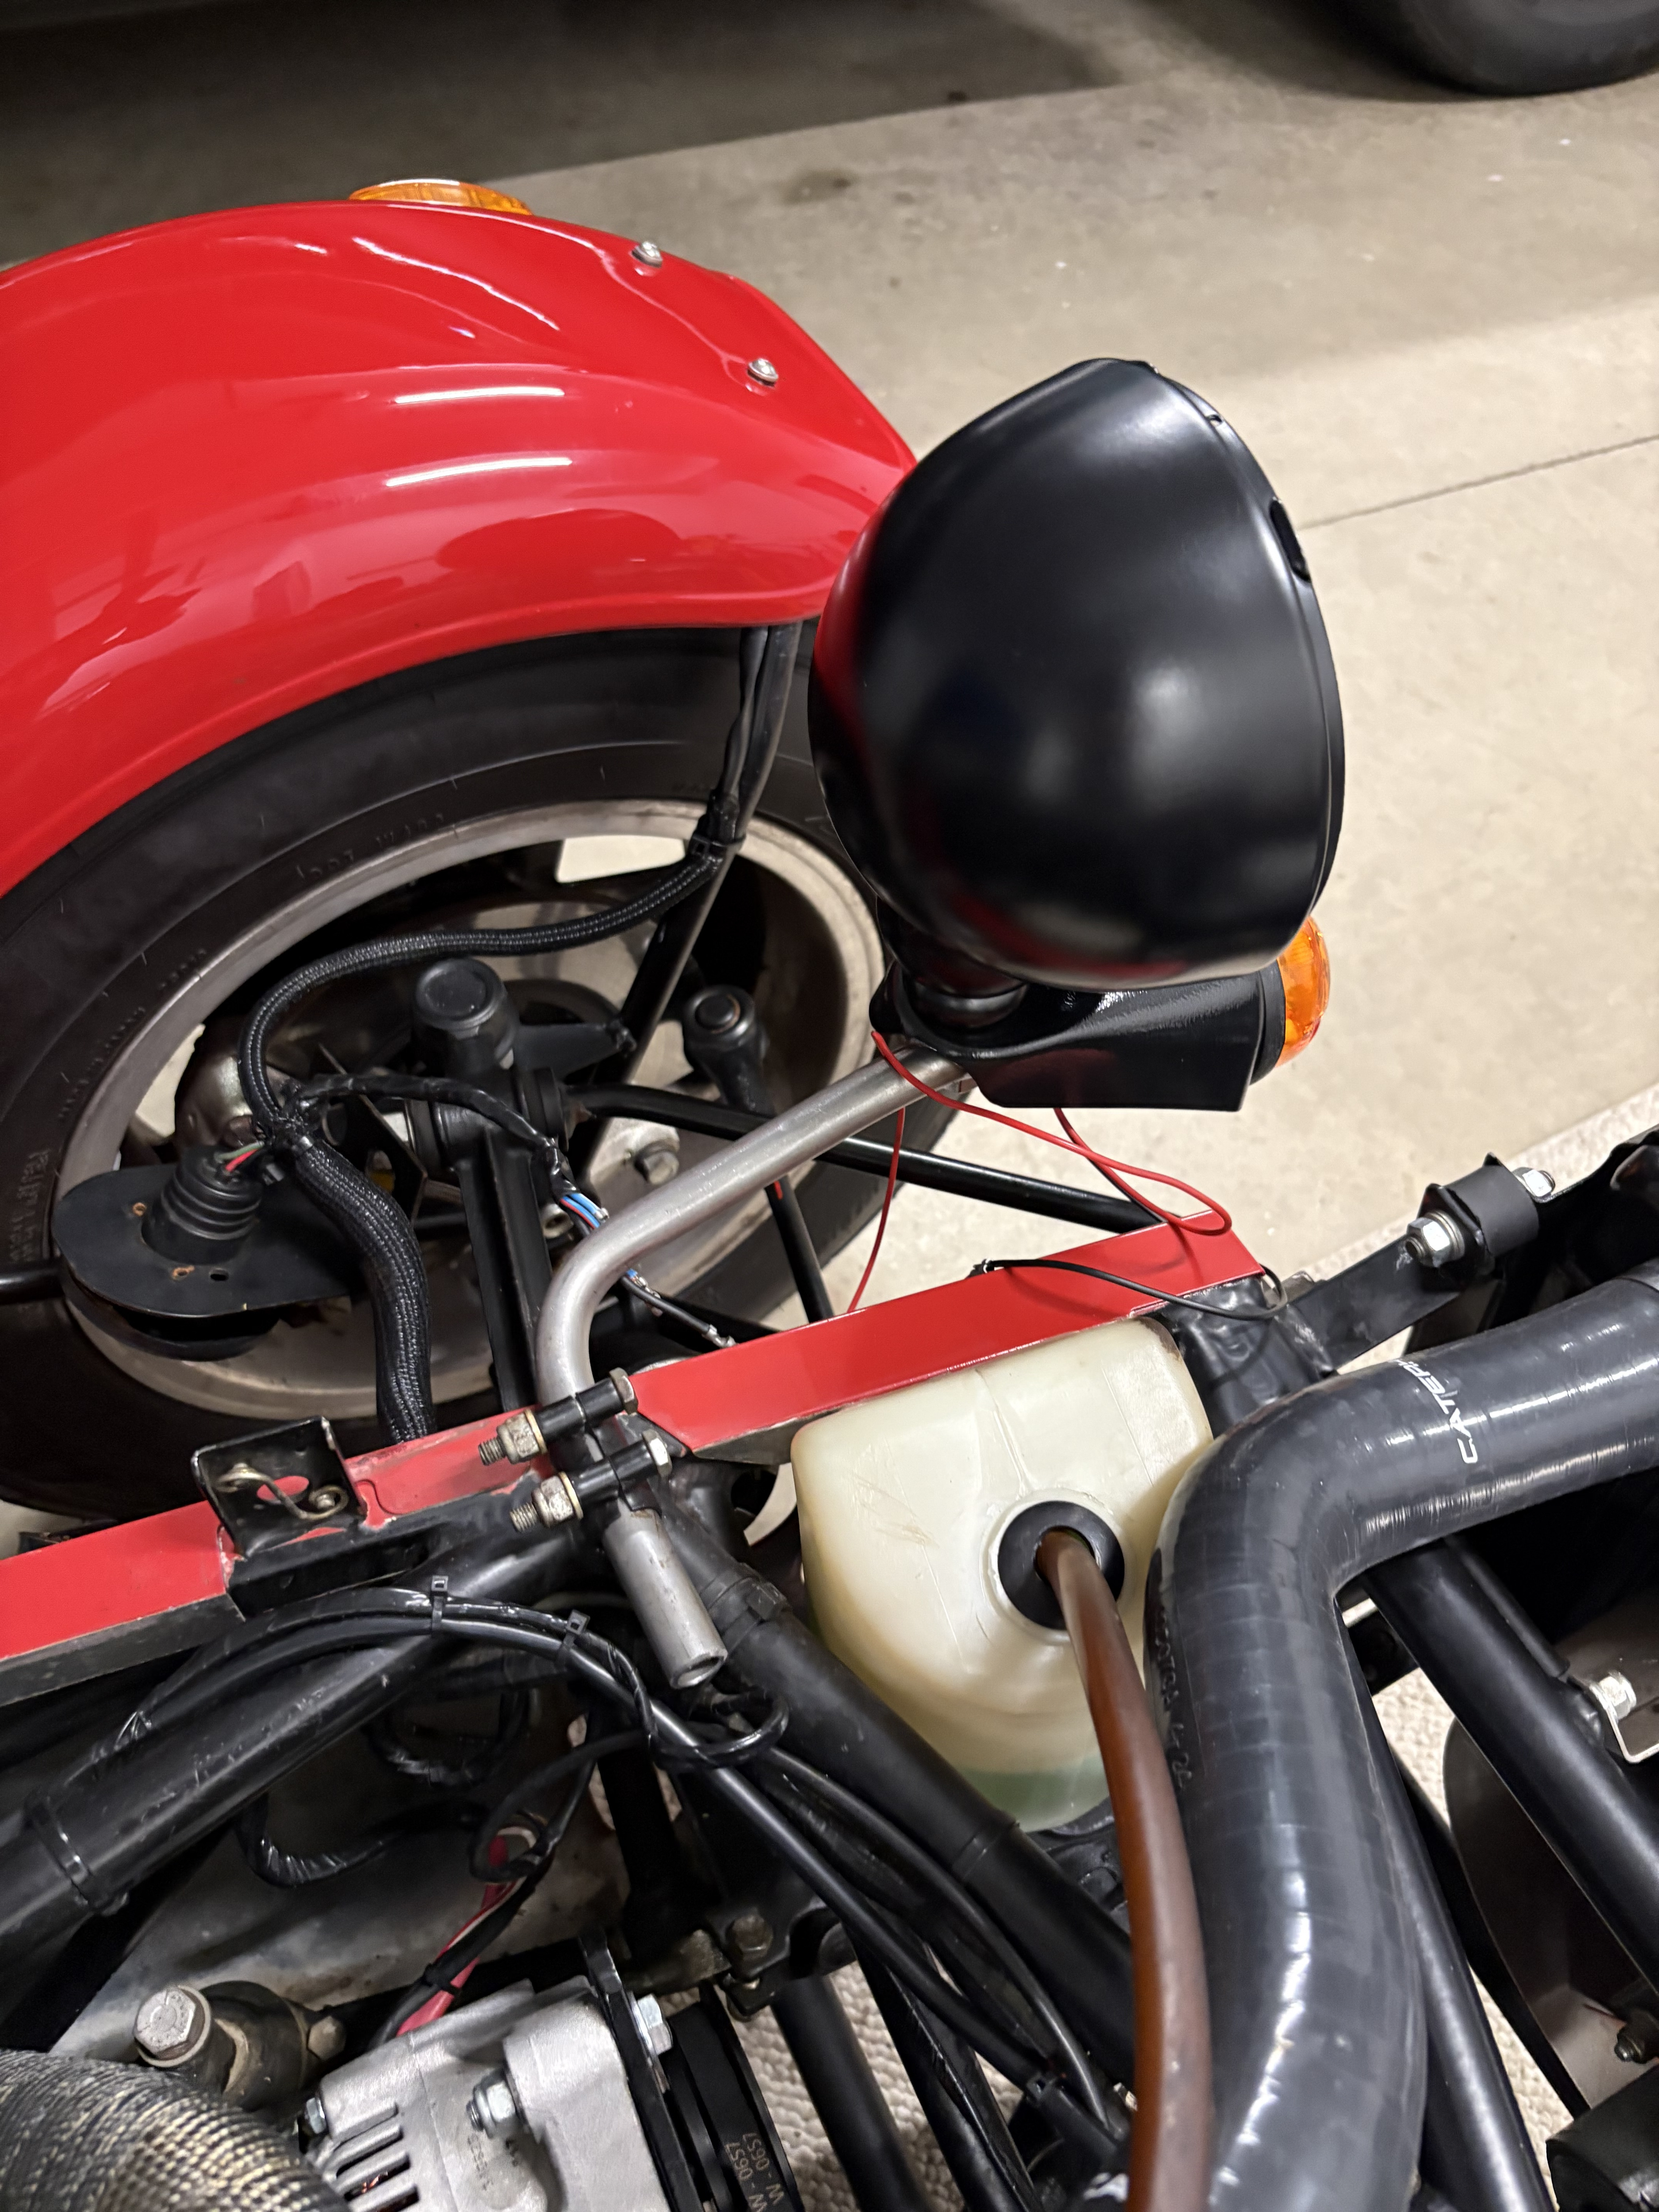
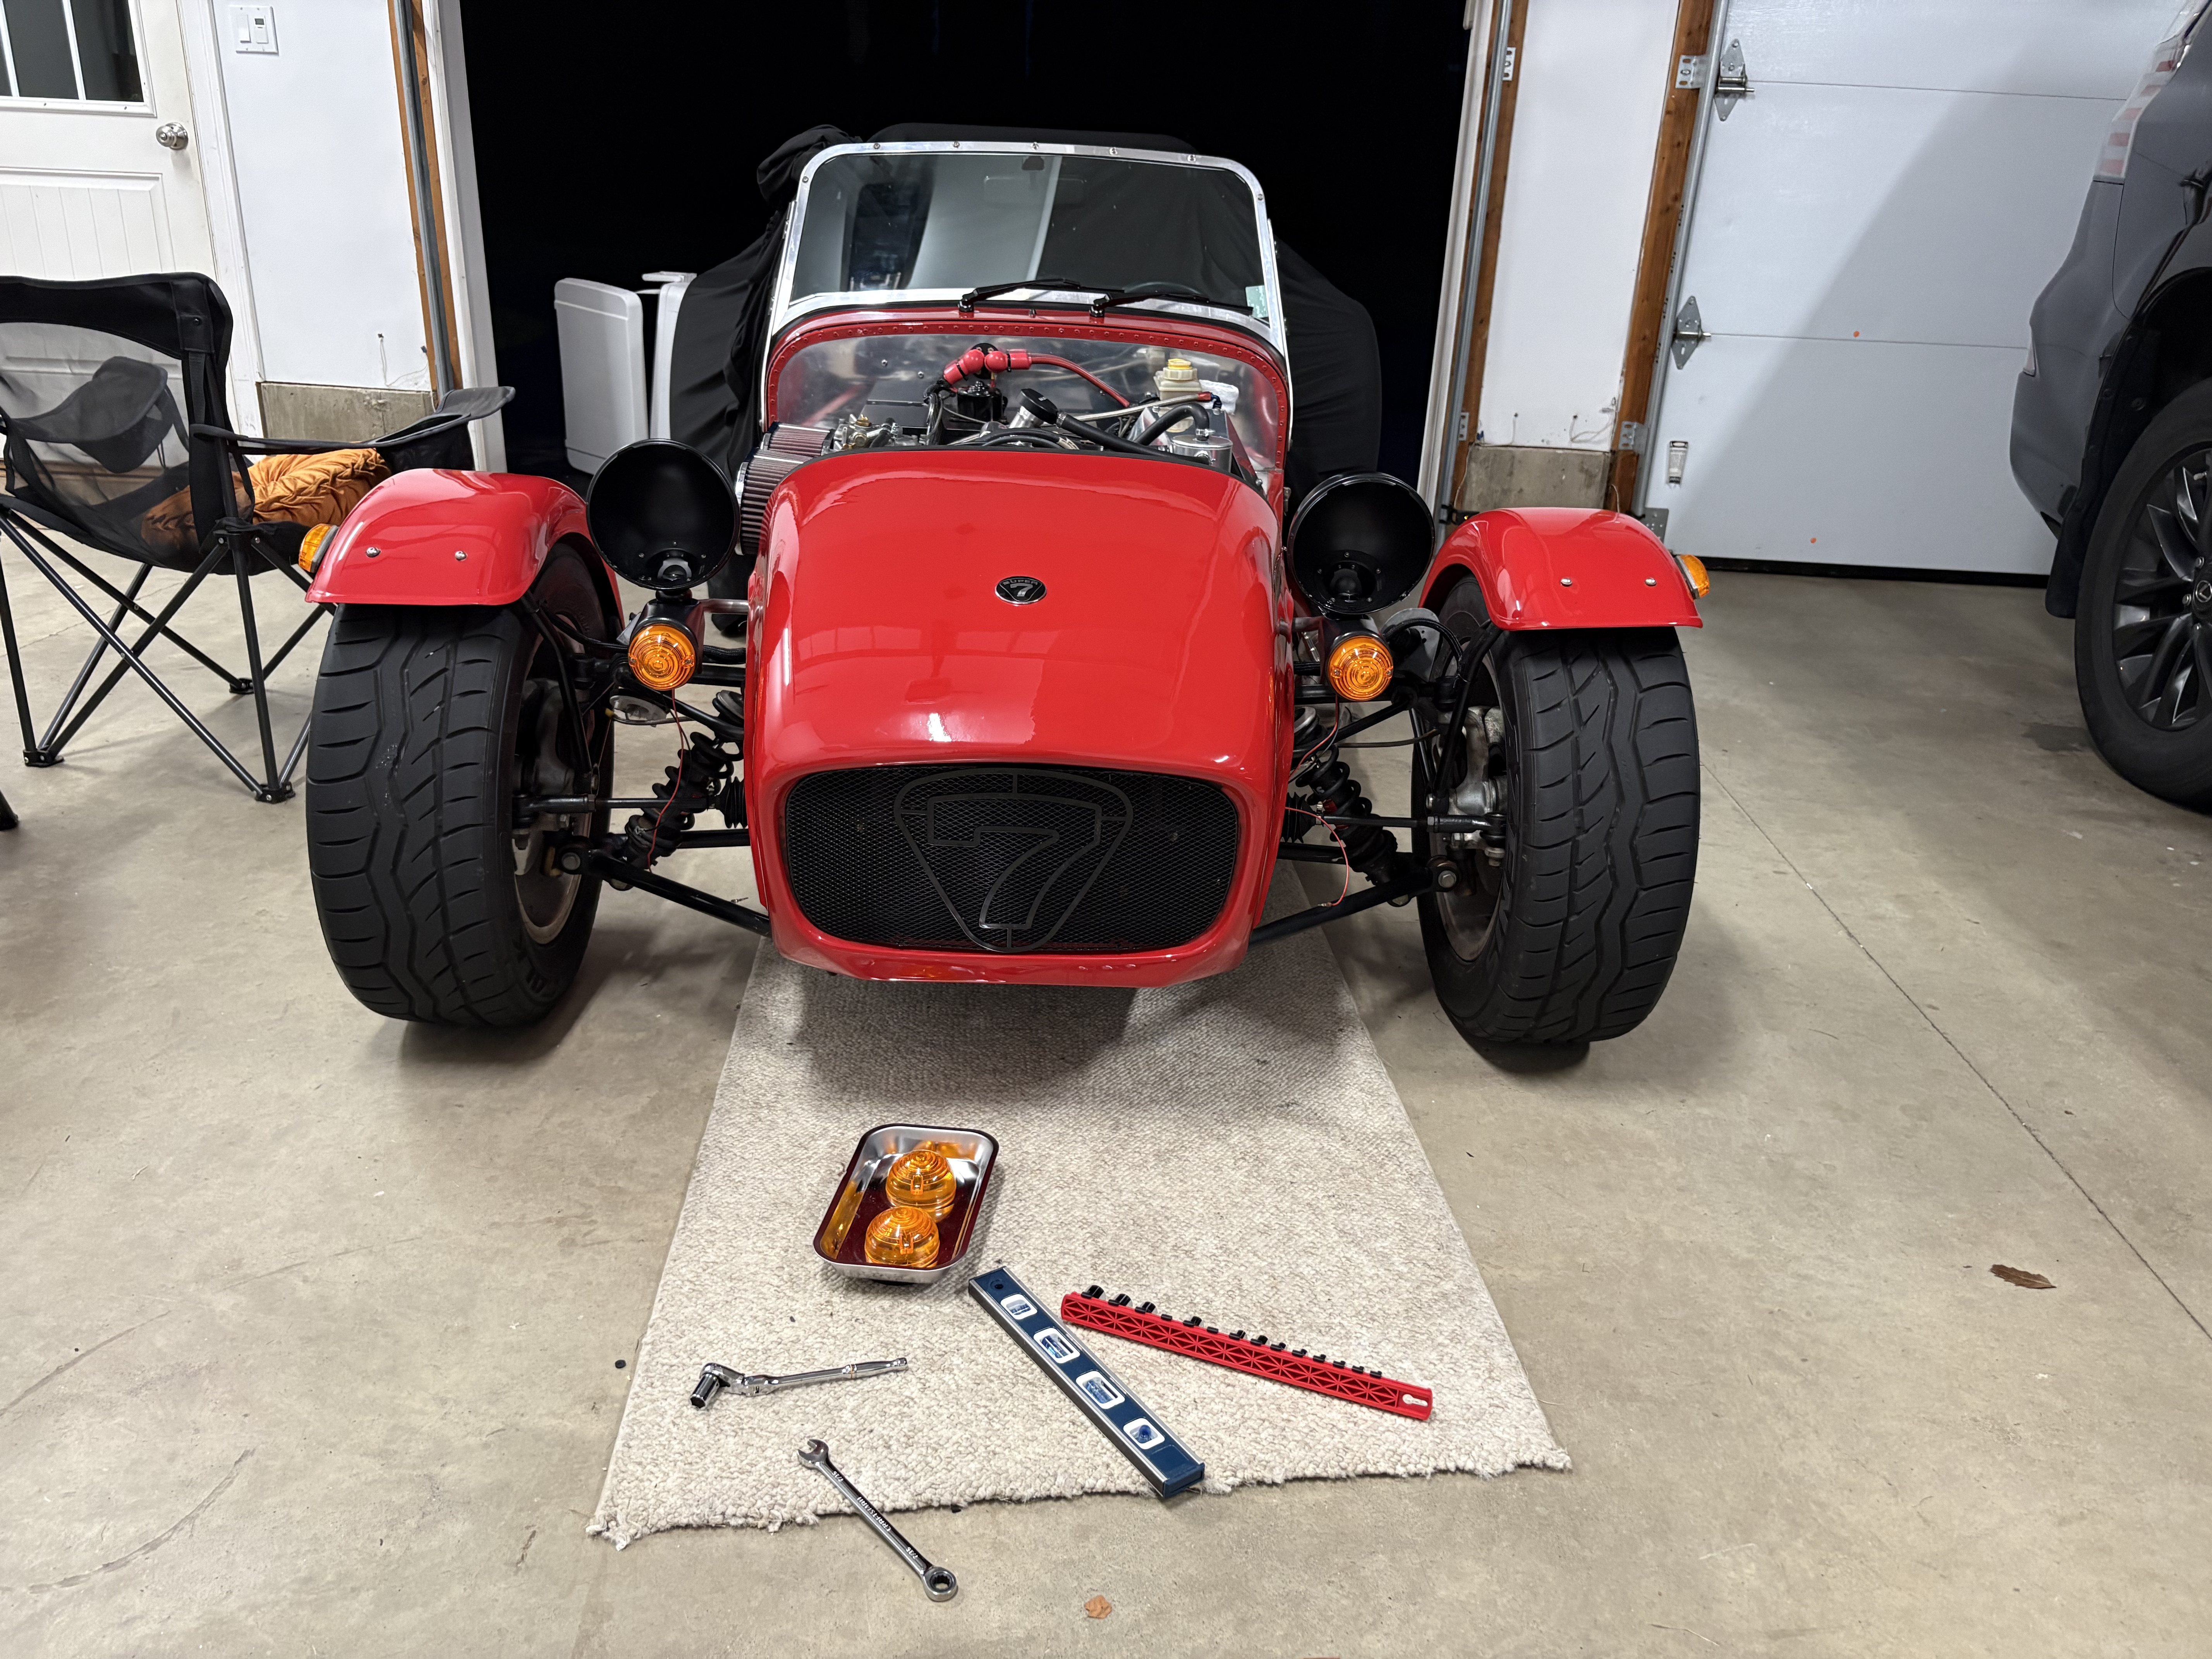
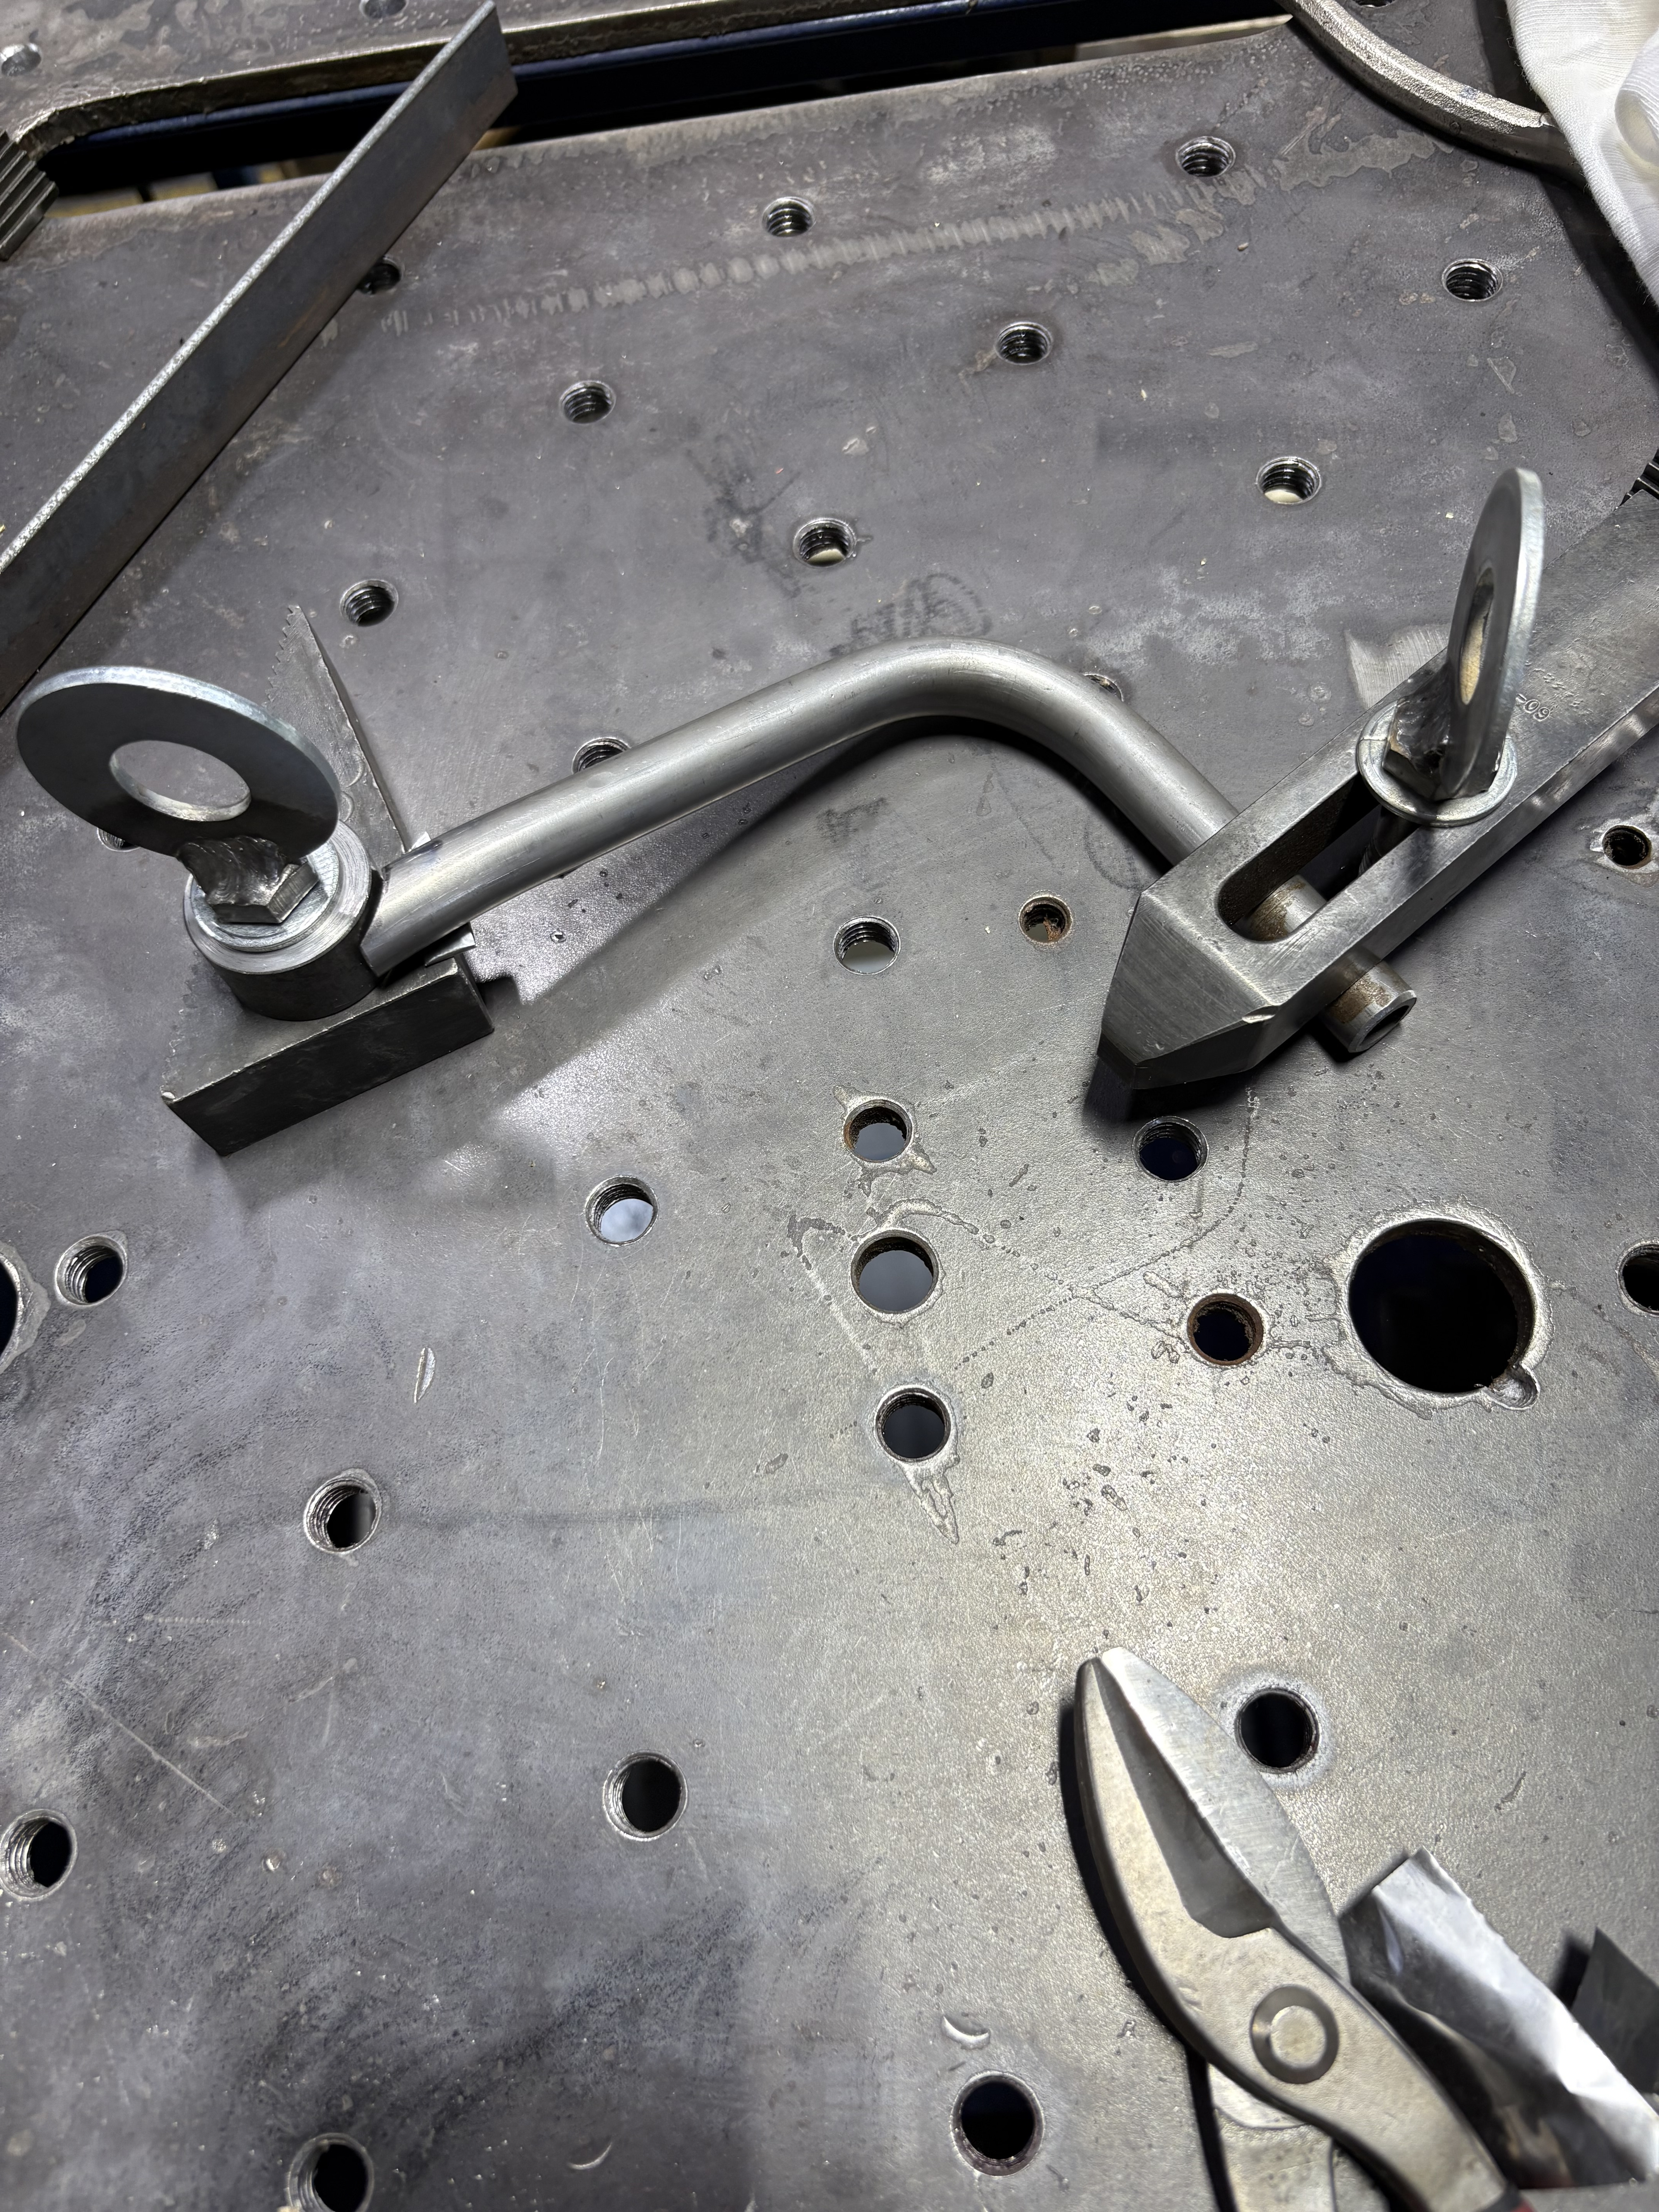
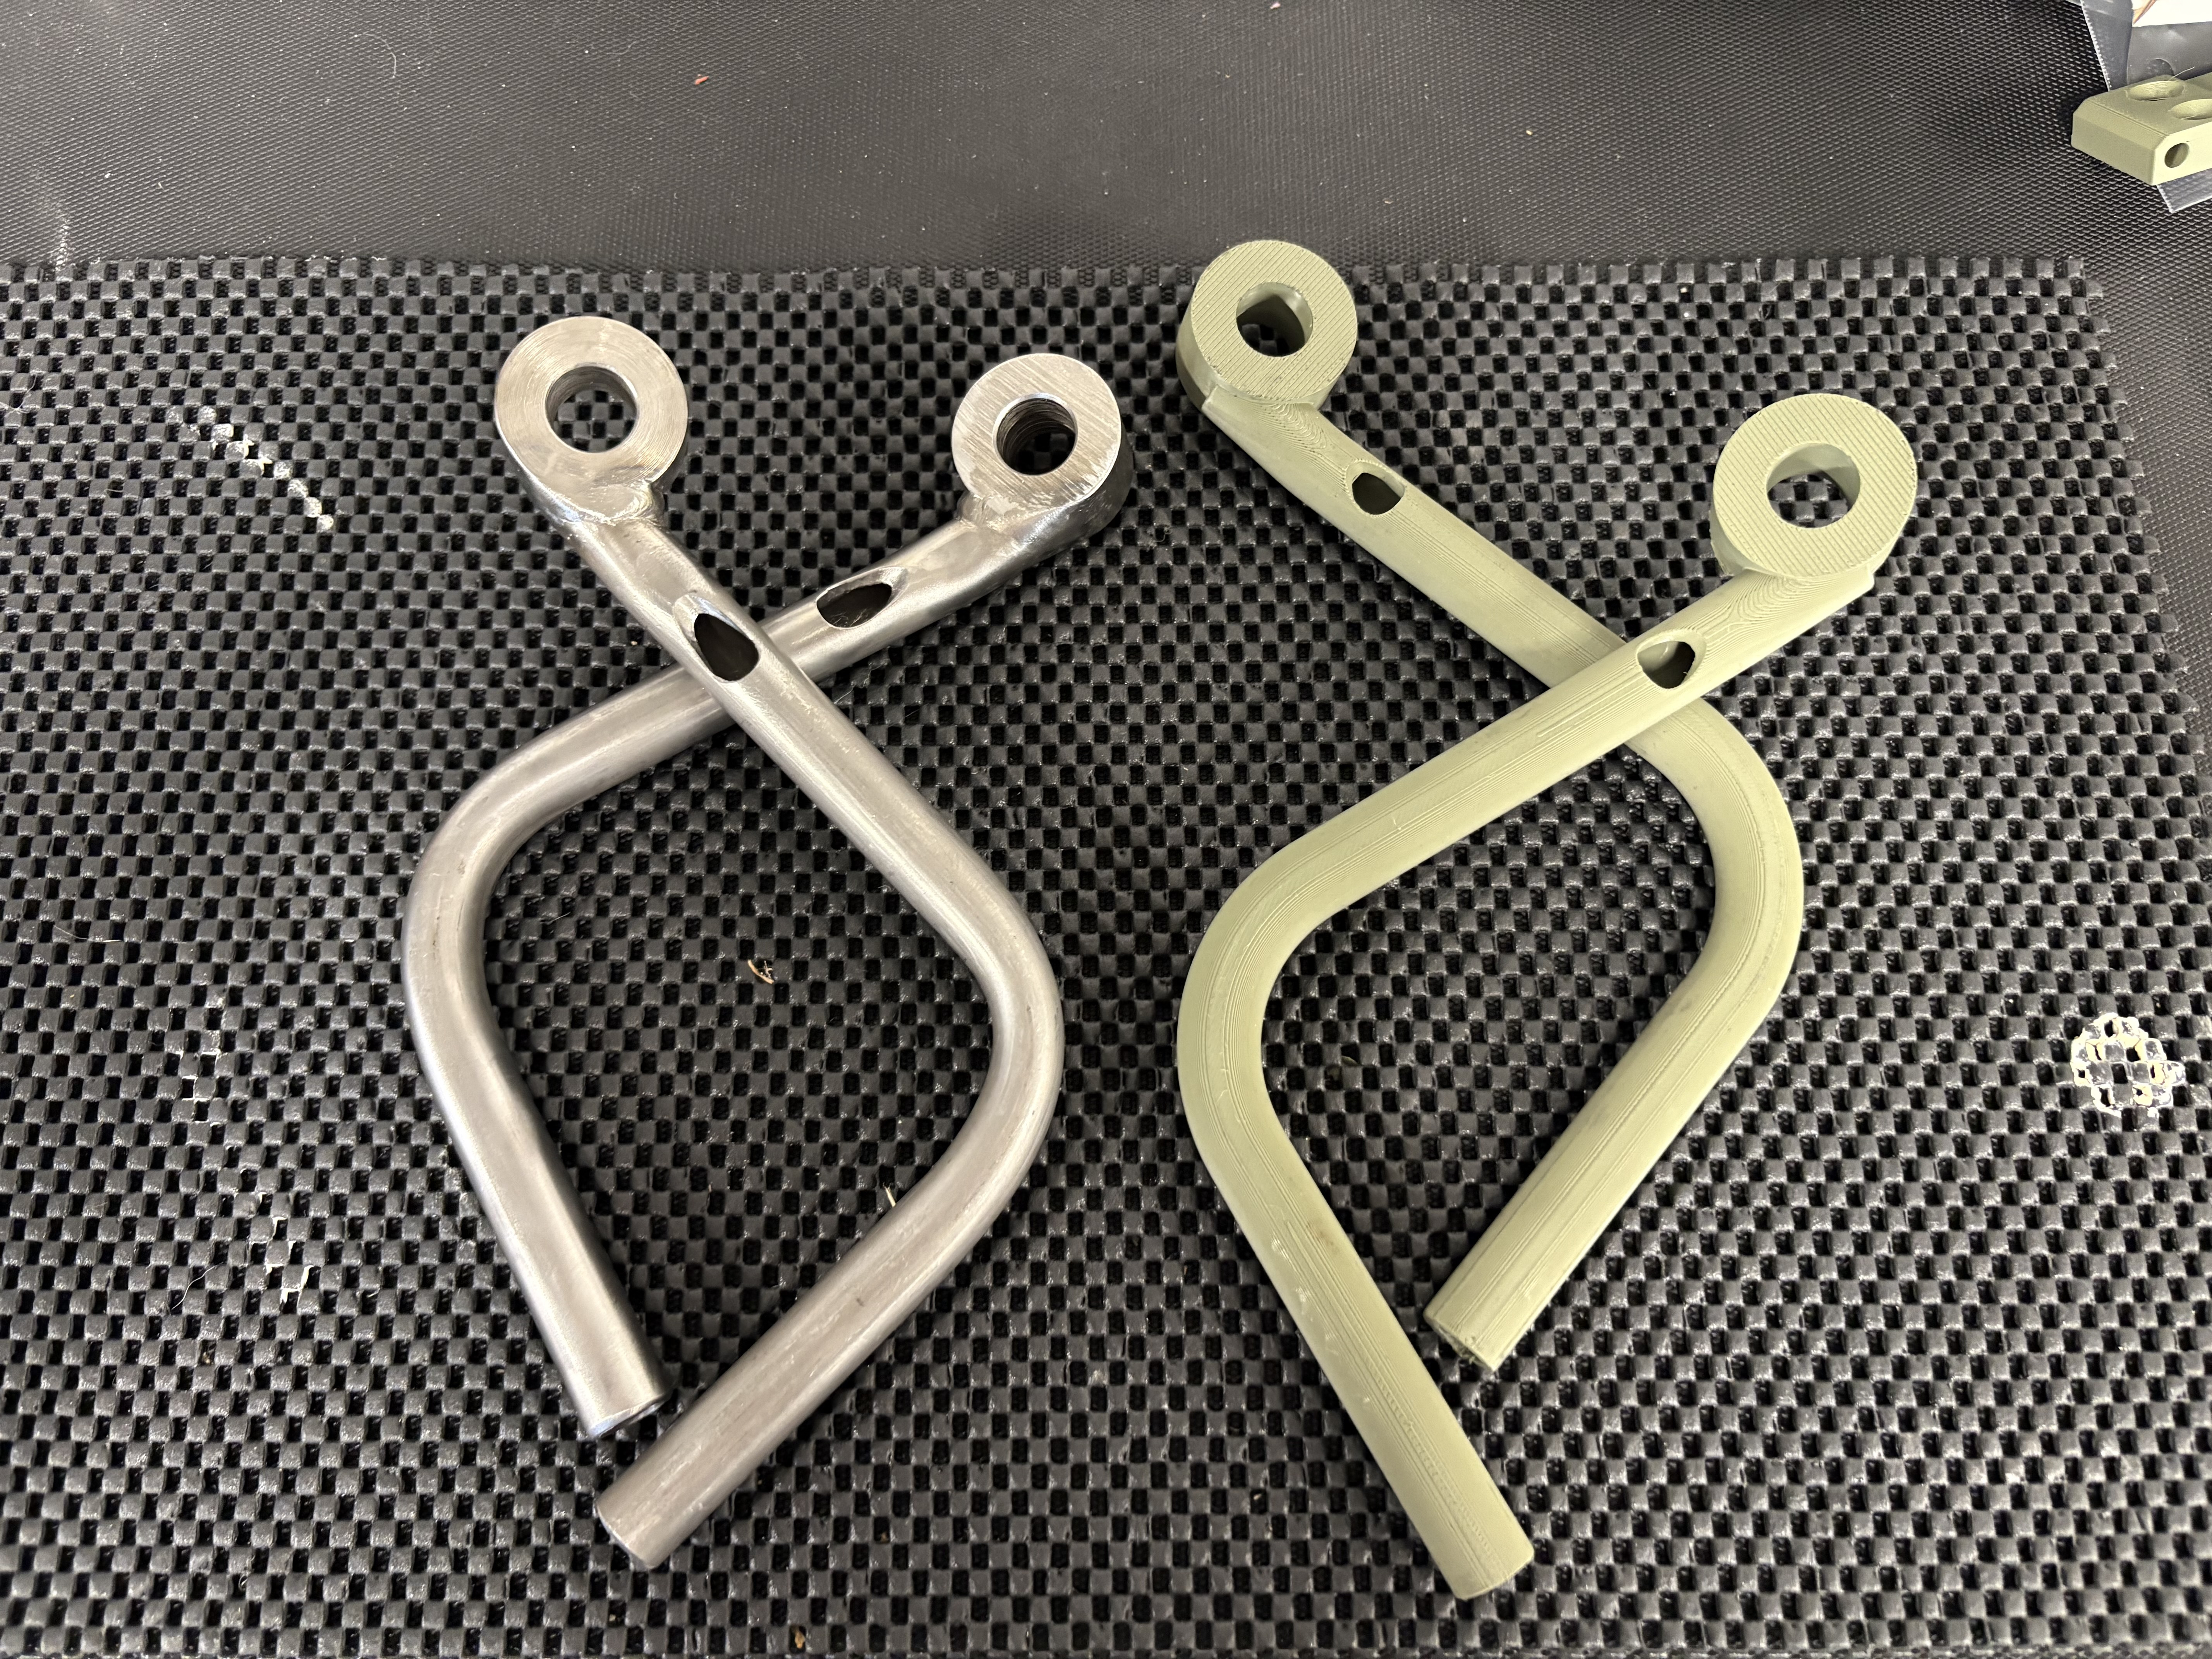
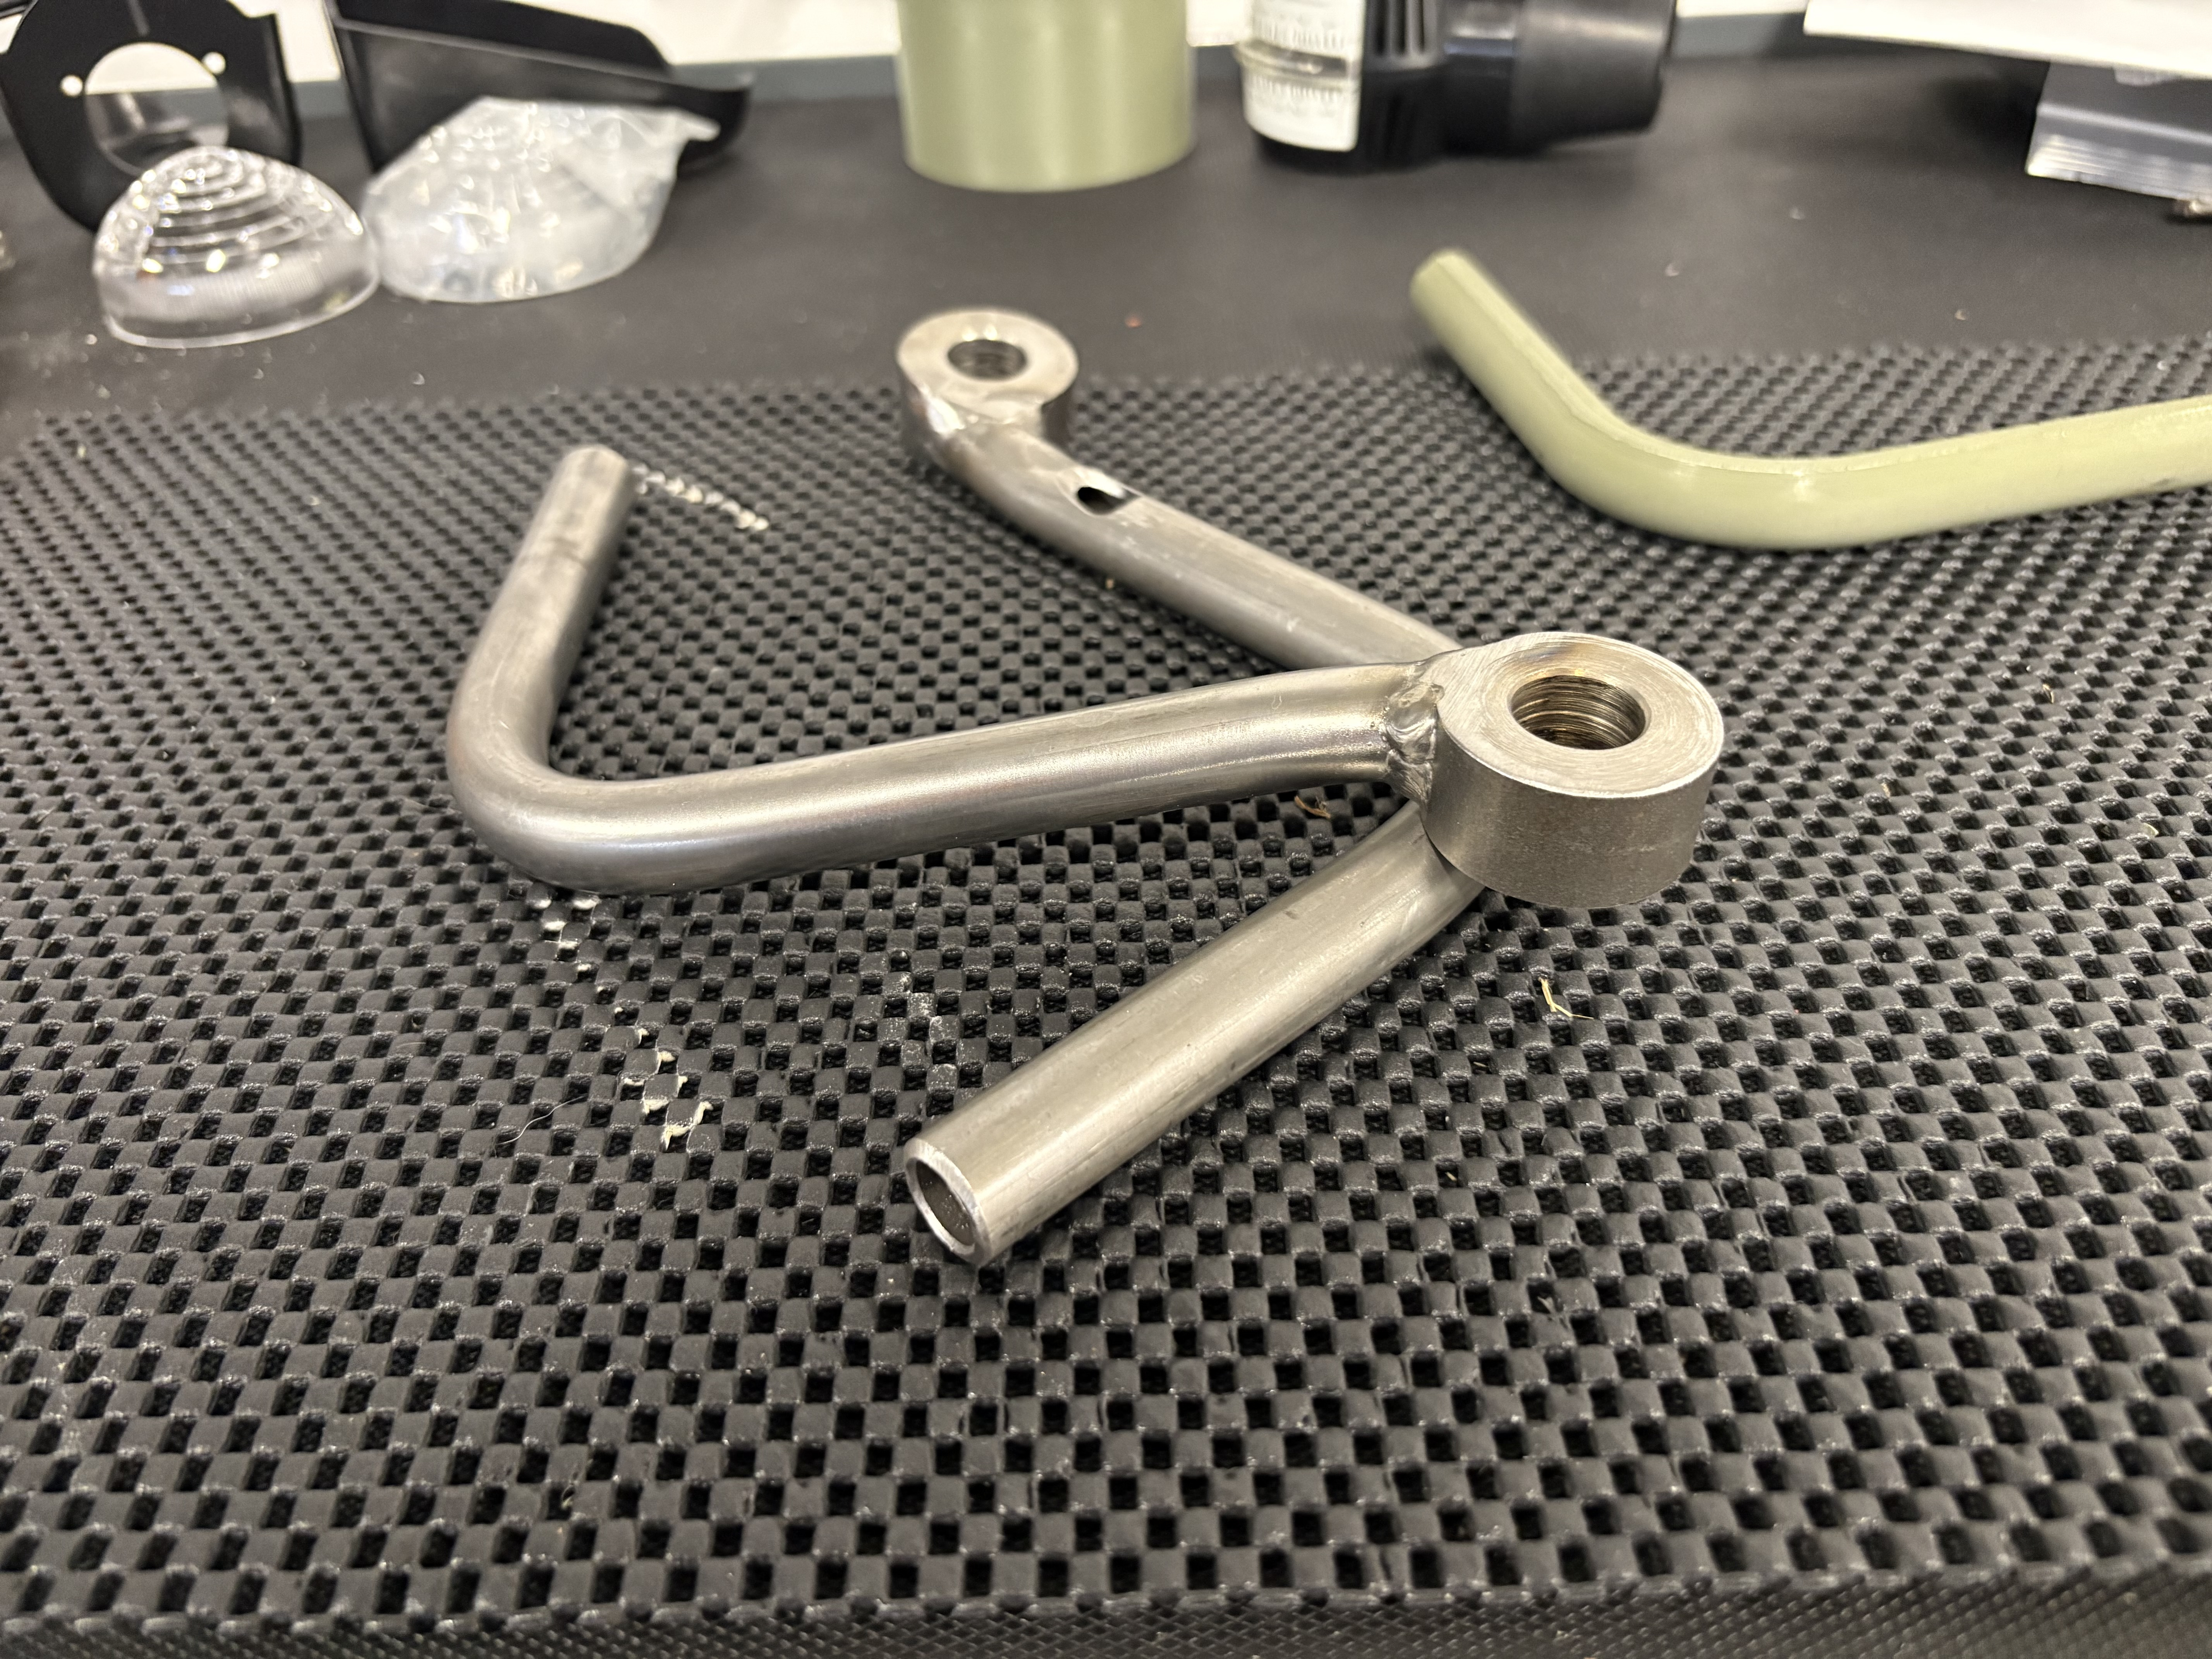
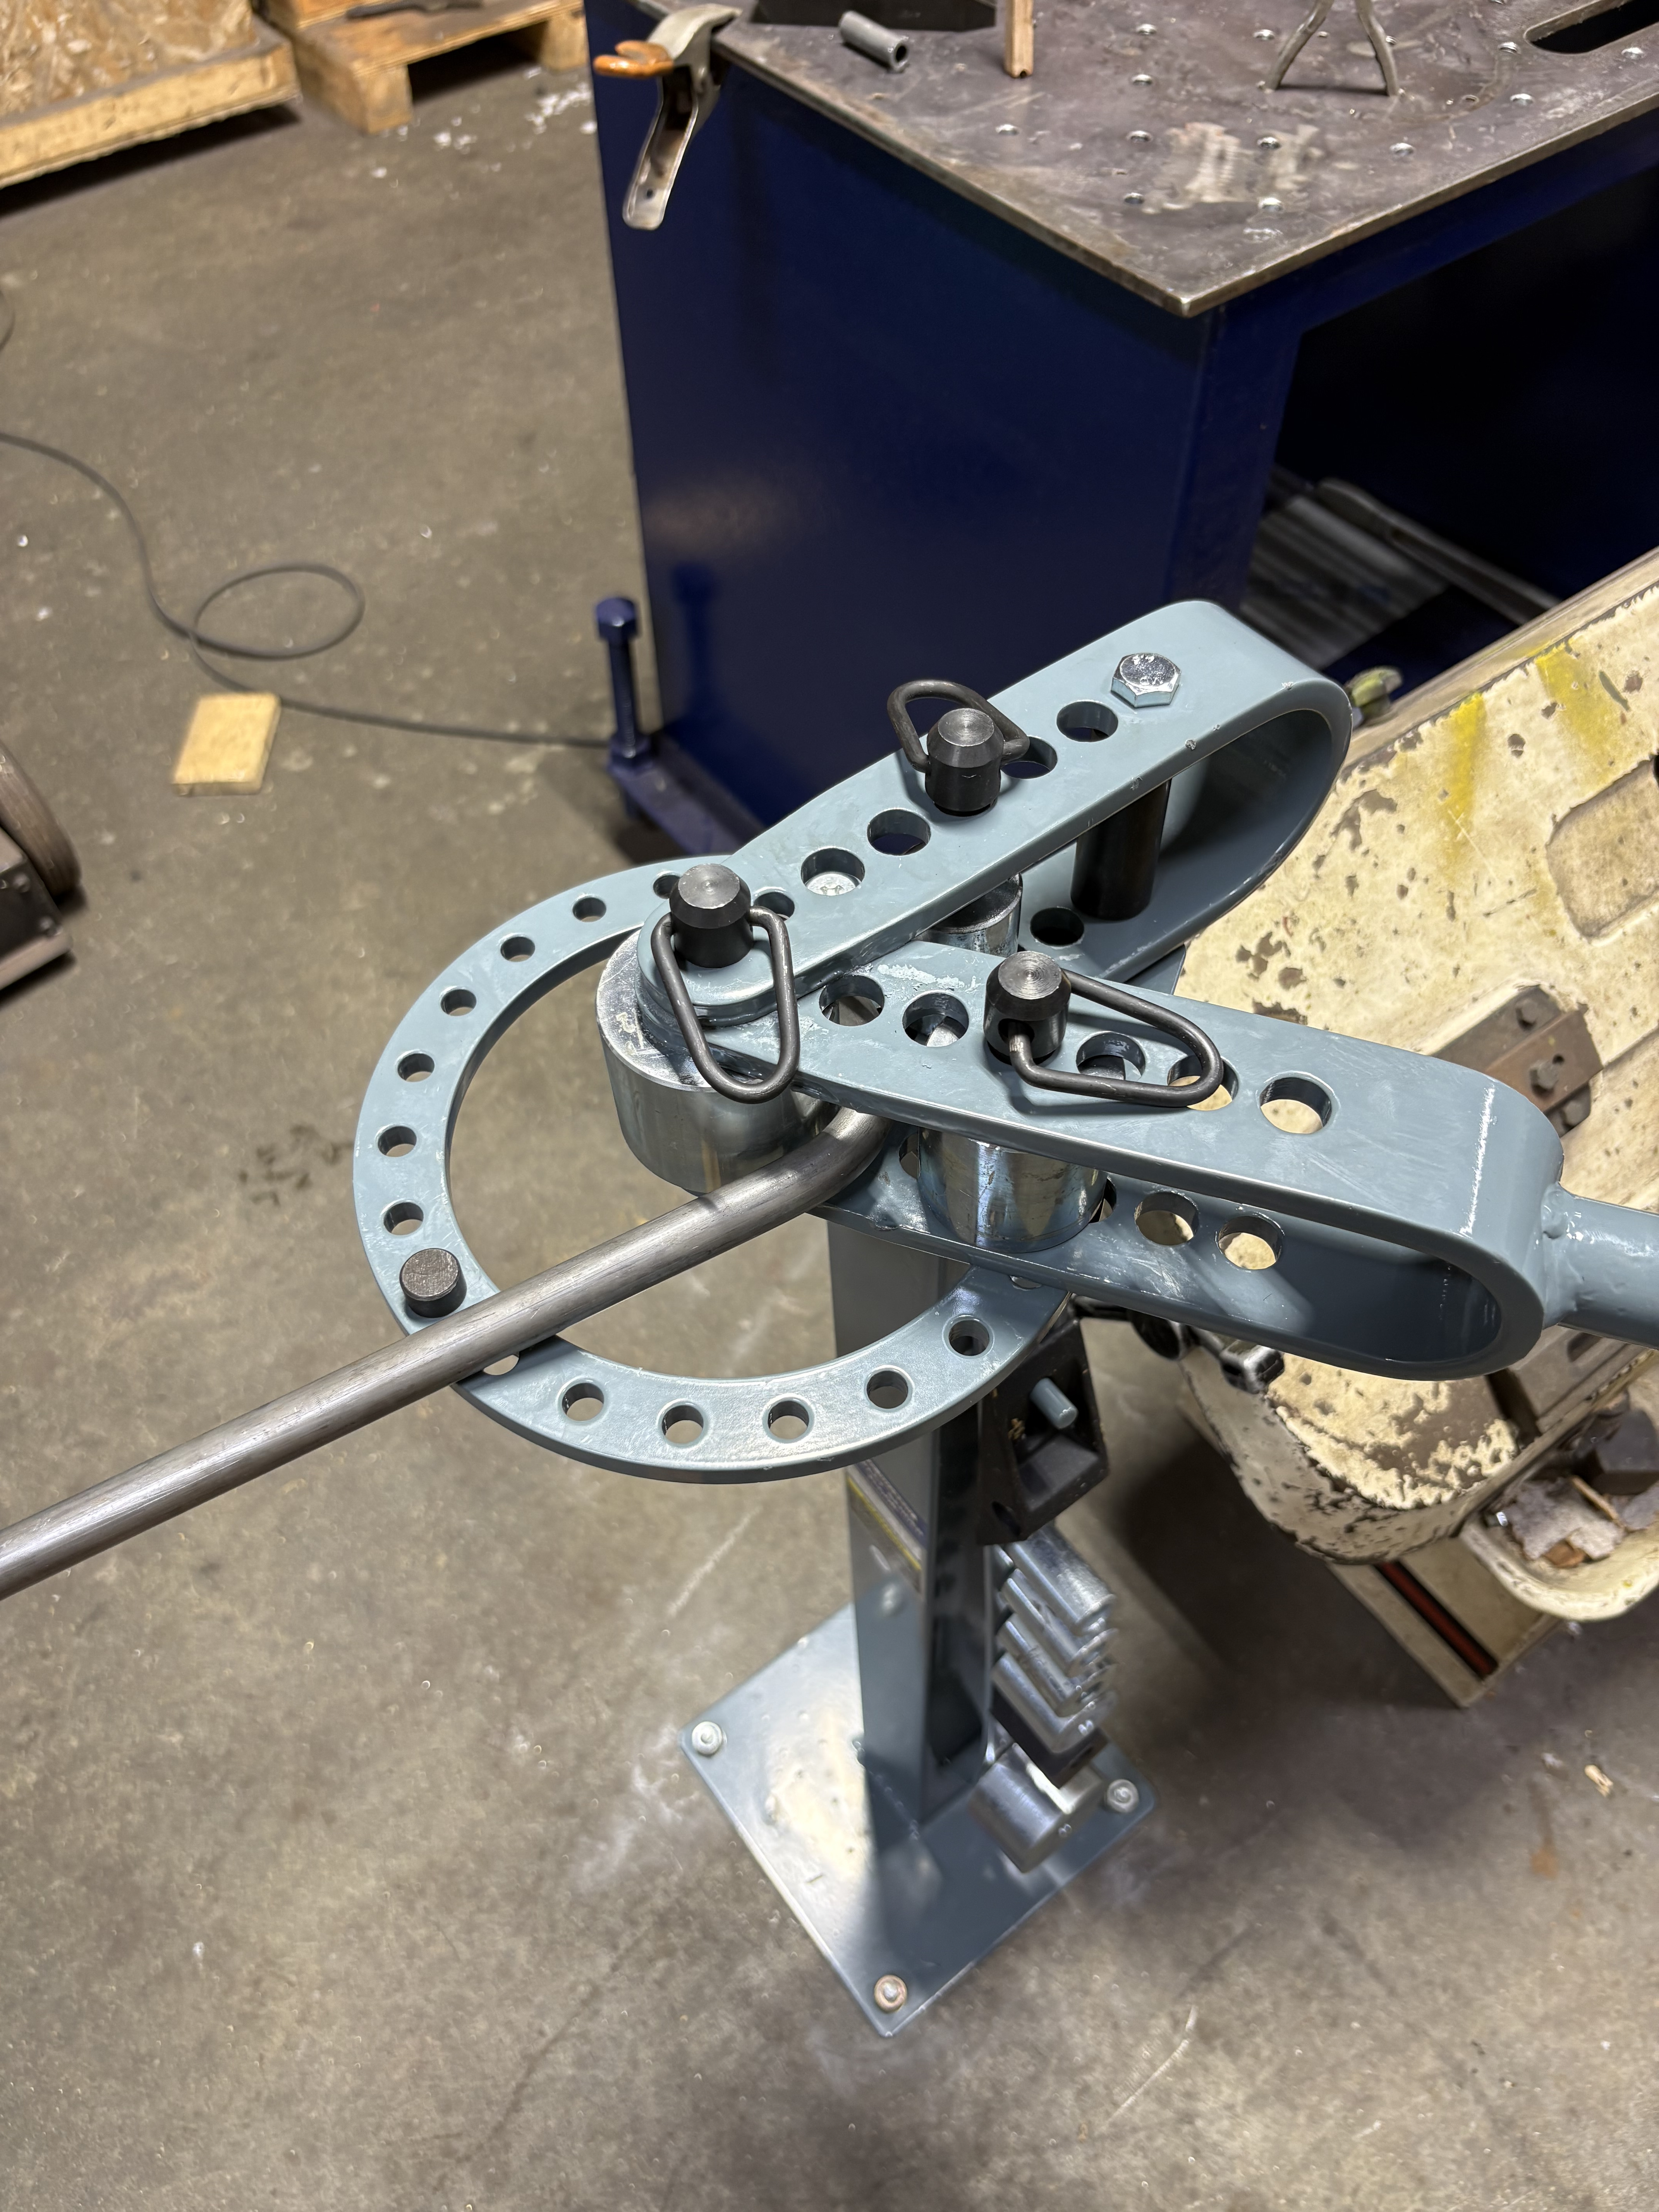
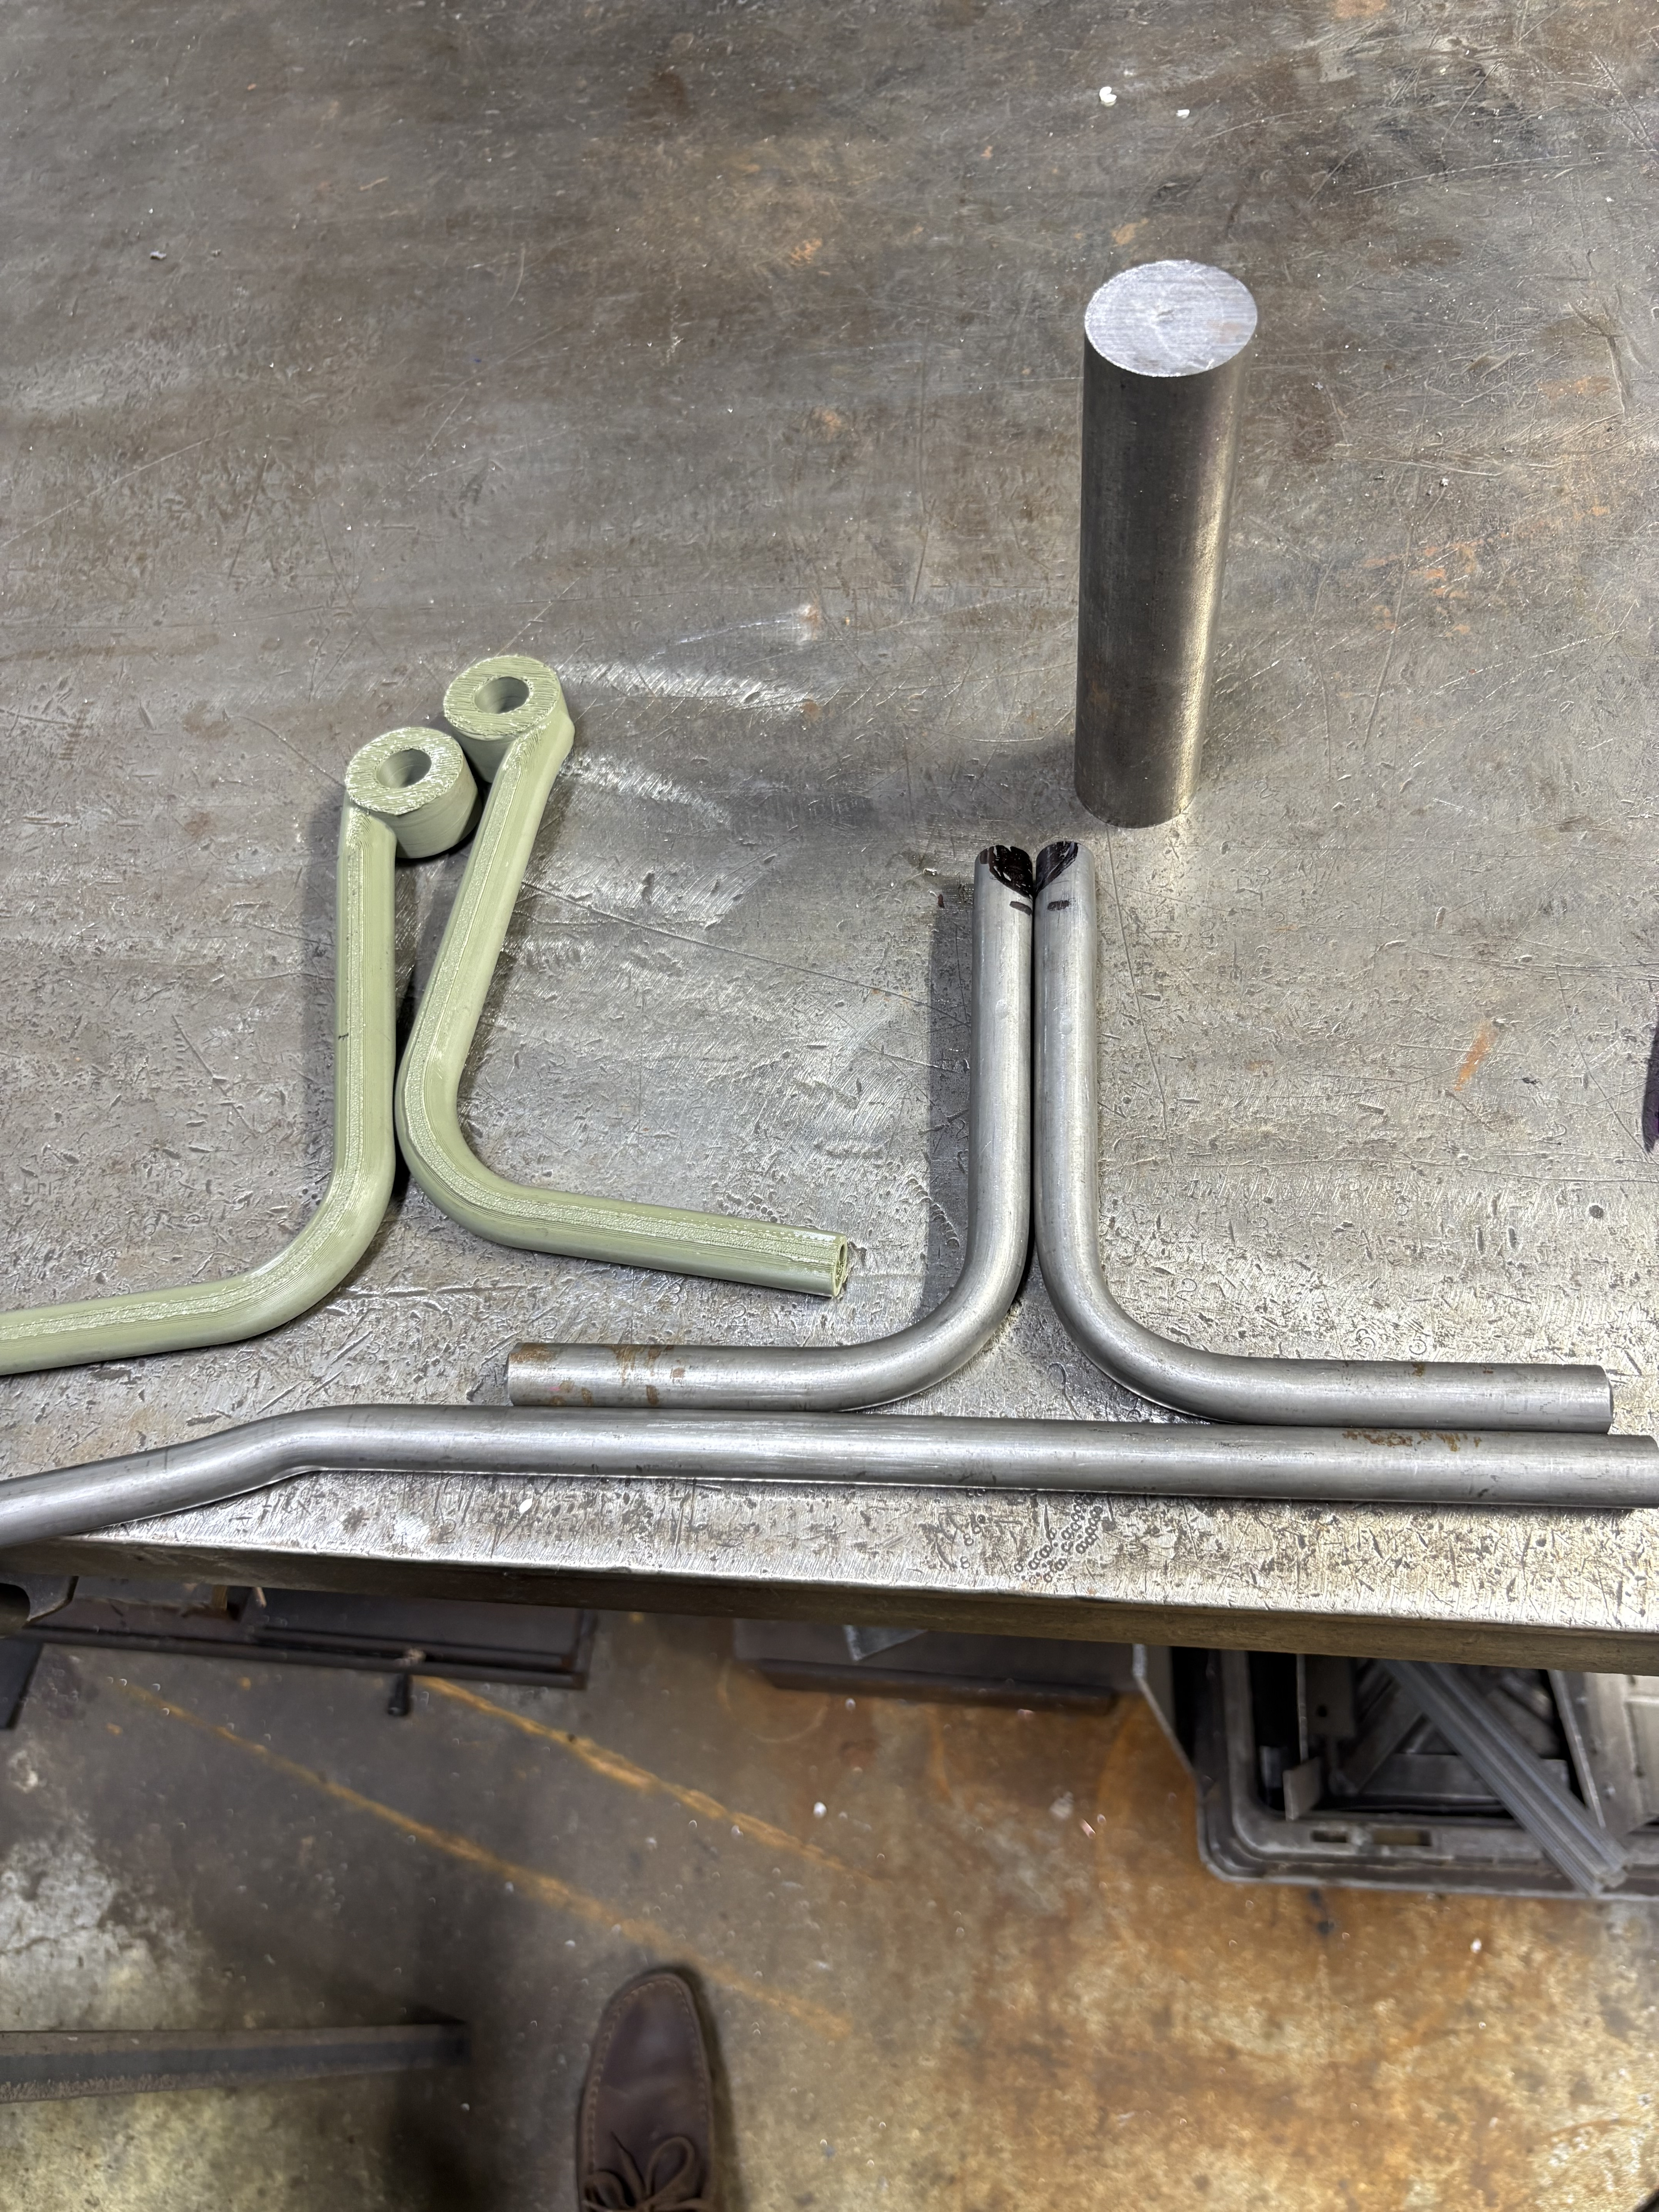
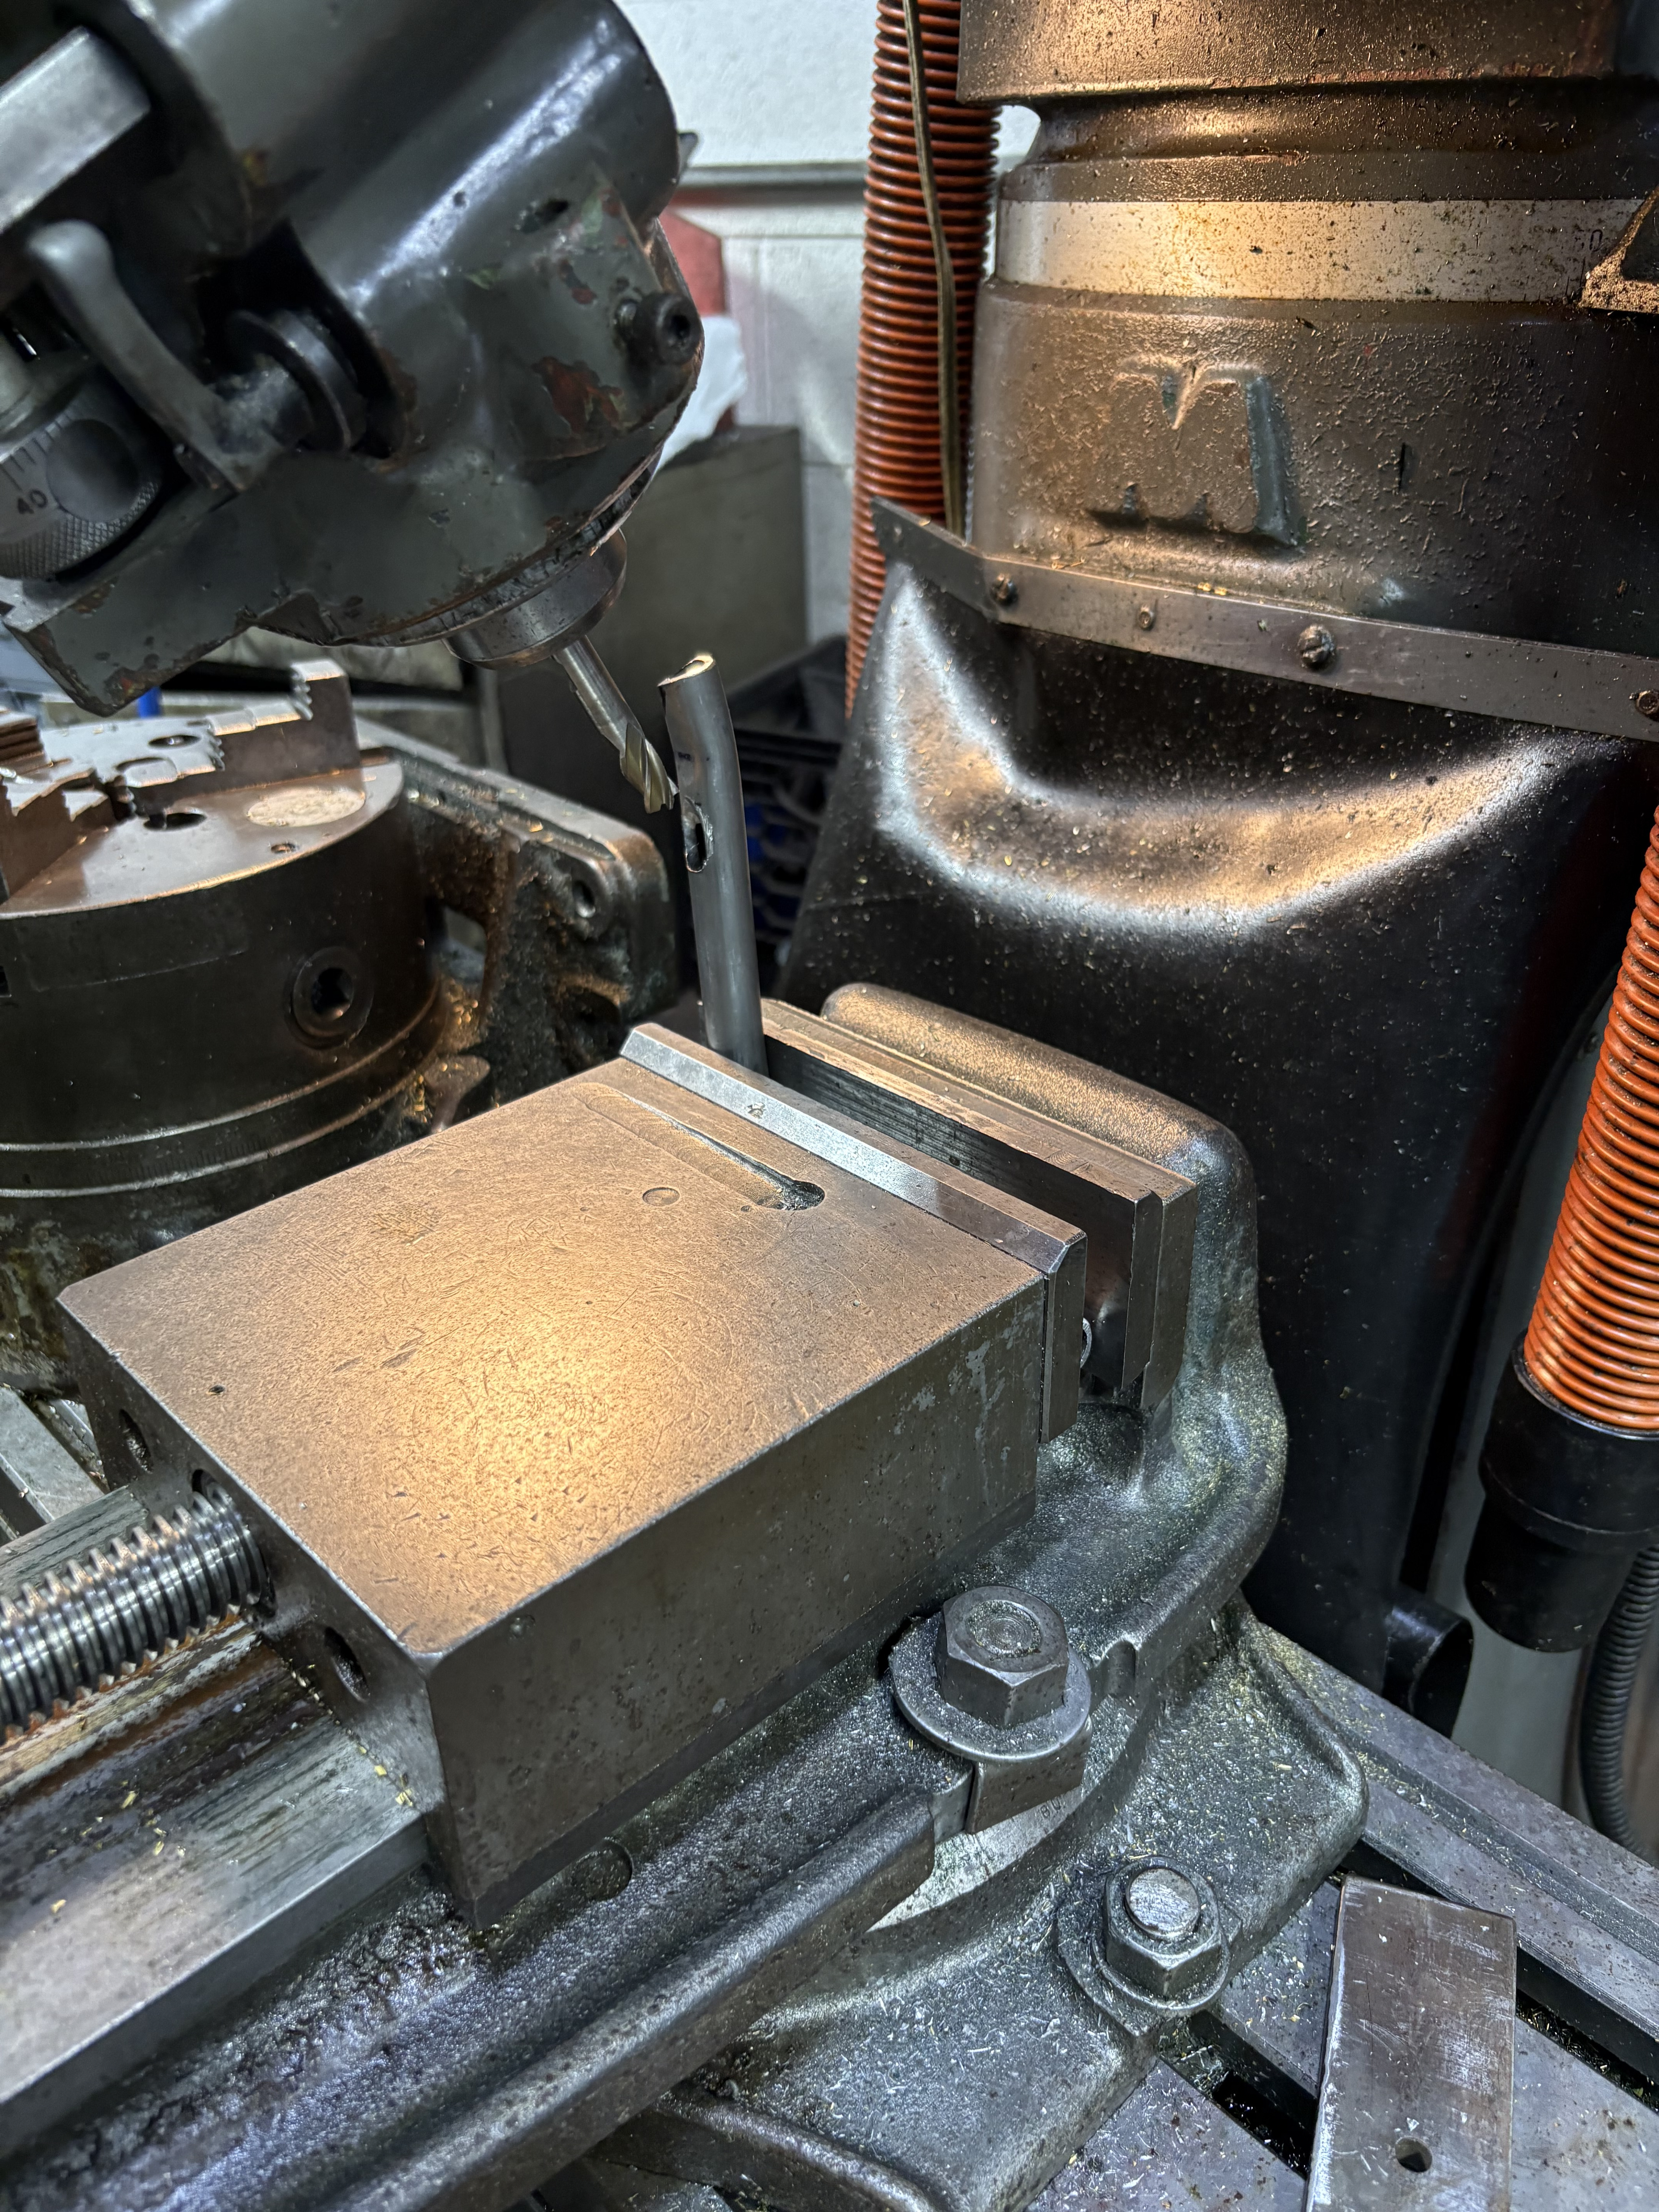
I swapped out my 7-inch headlights for 5-3/4-inch units. I liked the look, but I wanted to position them lower and farther forward. I also wanted to keep the brackets tight against the nose to clean everything up. I figured that using the newer-style indicator pods would allow me to offset the brackets inboard by 1/2" and achieve more of the look I wanted. I came up with a design, 3D-printed several prototypes, and tested them for interference. Having a one-off set manufactured was too expensive, so I fabricated them myself. I’m quite happy with how everything turned out. The heavy-wall tubing was also fairly easy to bend using a Harbor Freight bender. I'll leave a print after the pictures if anyone is interested in making a set.