
Origin7
-
Posts
151 -
Joined
-
Last visited
Recent Profile Visitors
1,210 profile views


-
After months of experimentation, I think it’s time to wrap up my carburetor tuning adventures. I’ve tried different emulsion tubes, idle jets, main jets, and pump drain valves across a range of driving conditions and temperatures. I’ve settled on this setup, which is close to factory with a few minor tweaks: Choke: 32 Aux Venturi: 4.5 Main Jets: 125 (keeps AFR around 13:1 at WOT) Air Correctors: 165 Emulsion Tubes: F16 Idle Jets: 45F6 (richer than the factory 45F9, which was slightly too lean, especially during progression) Pump Jets: 35 Pump Drains: 0 (provides the full pump shot and eliminates the lean bog) I’ve driven with this setup at sea level in ambient temperatures from 50°F to 95°F, and it’s proven to be a good all-around combination for my car. The lean bog and rough transitions I had with the stock setup are gone. I also pulled the plugs, and the color looked good, perhaps slightly rich, but overall I’m happy with where things have landed. Hopefully, this gives others with a similar setup a good starting point and saves them some trial and error.
-
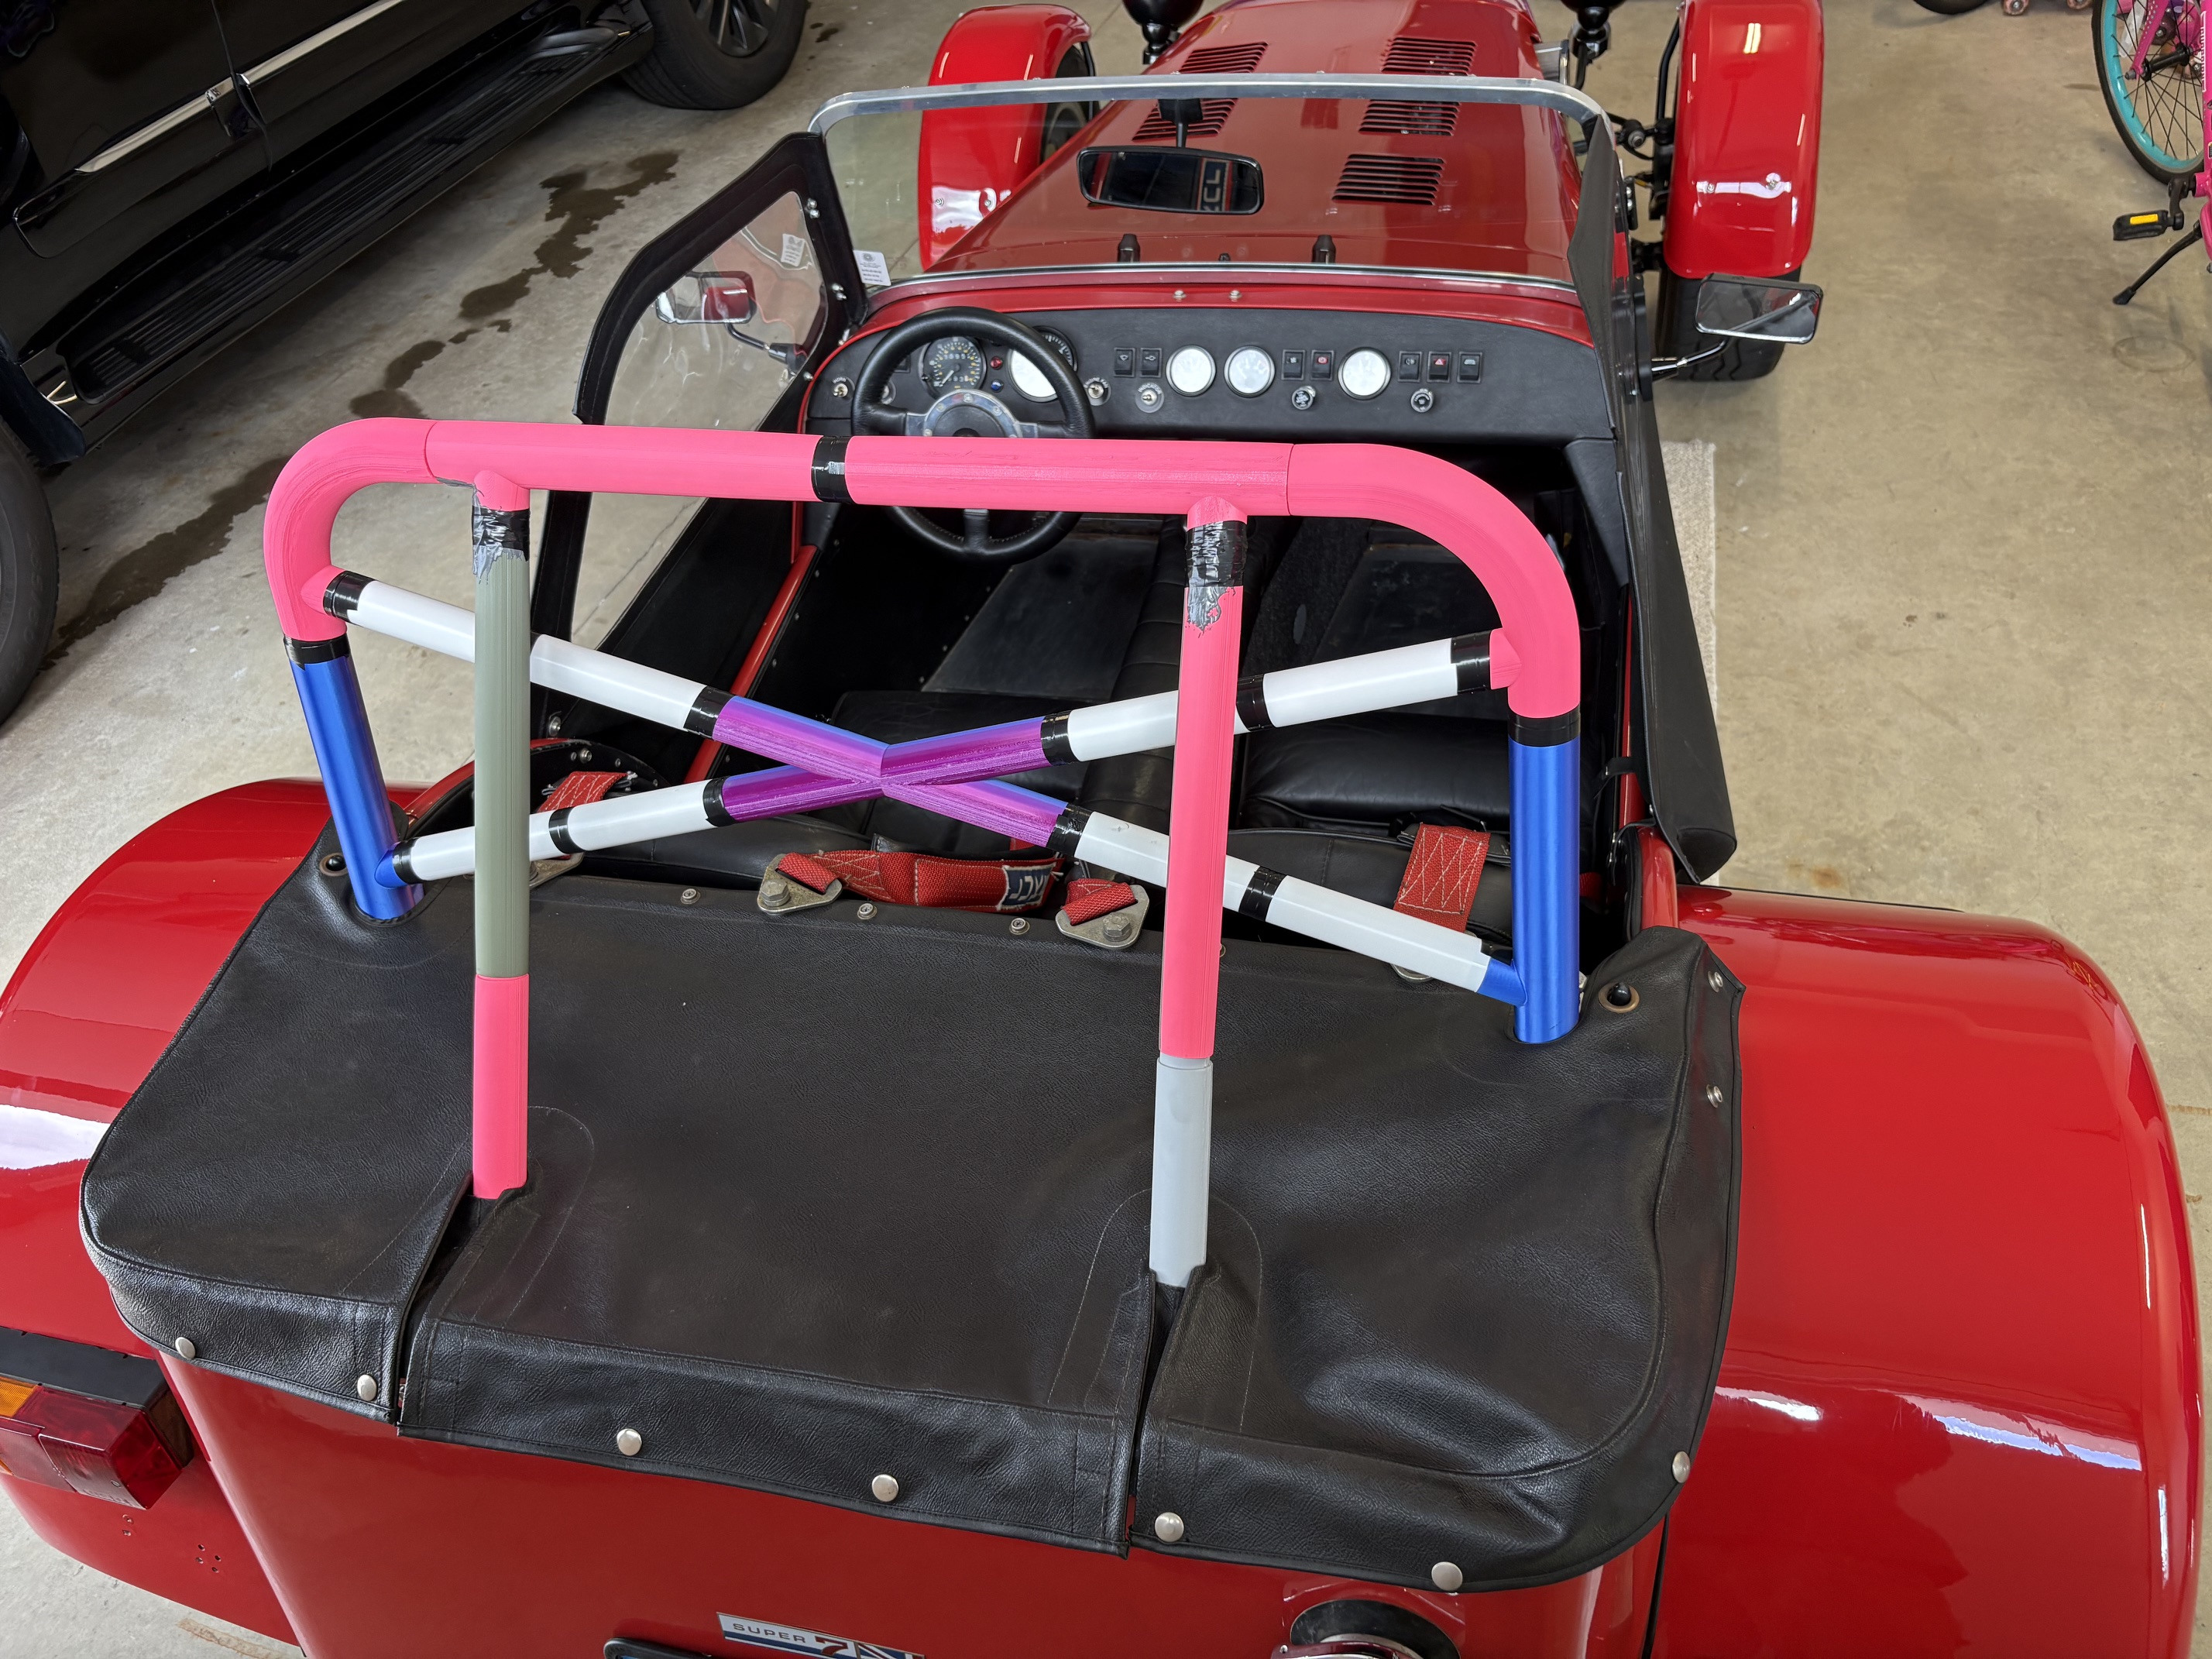
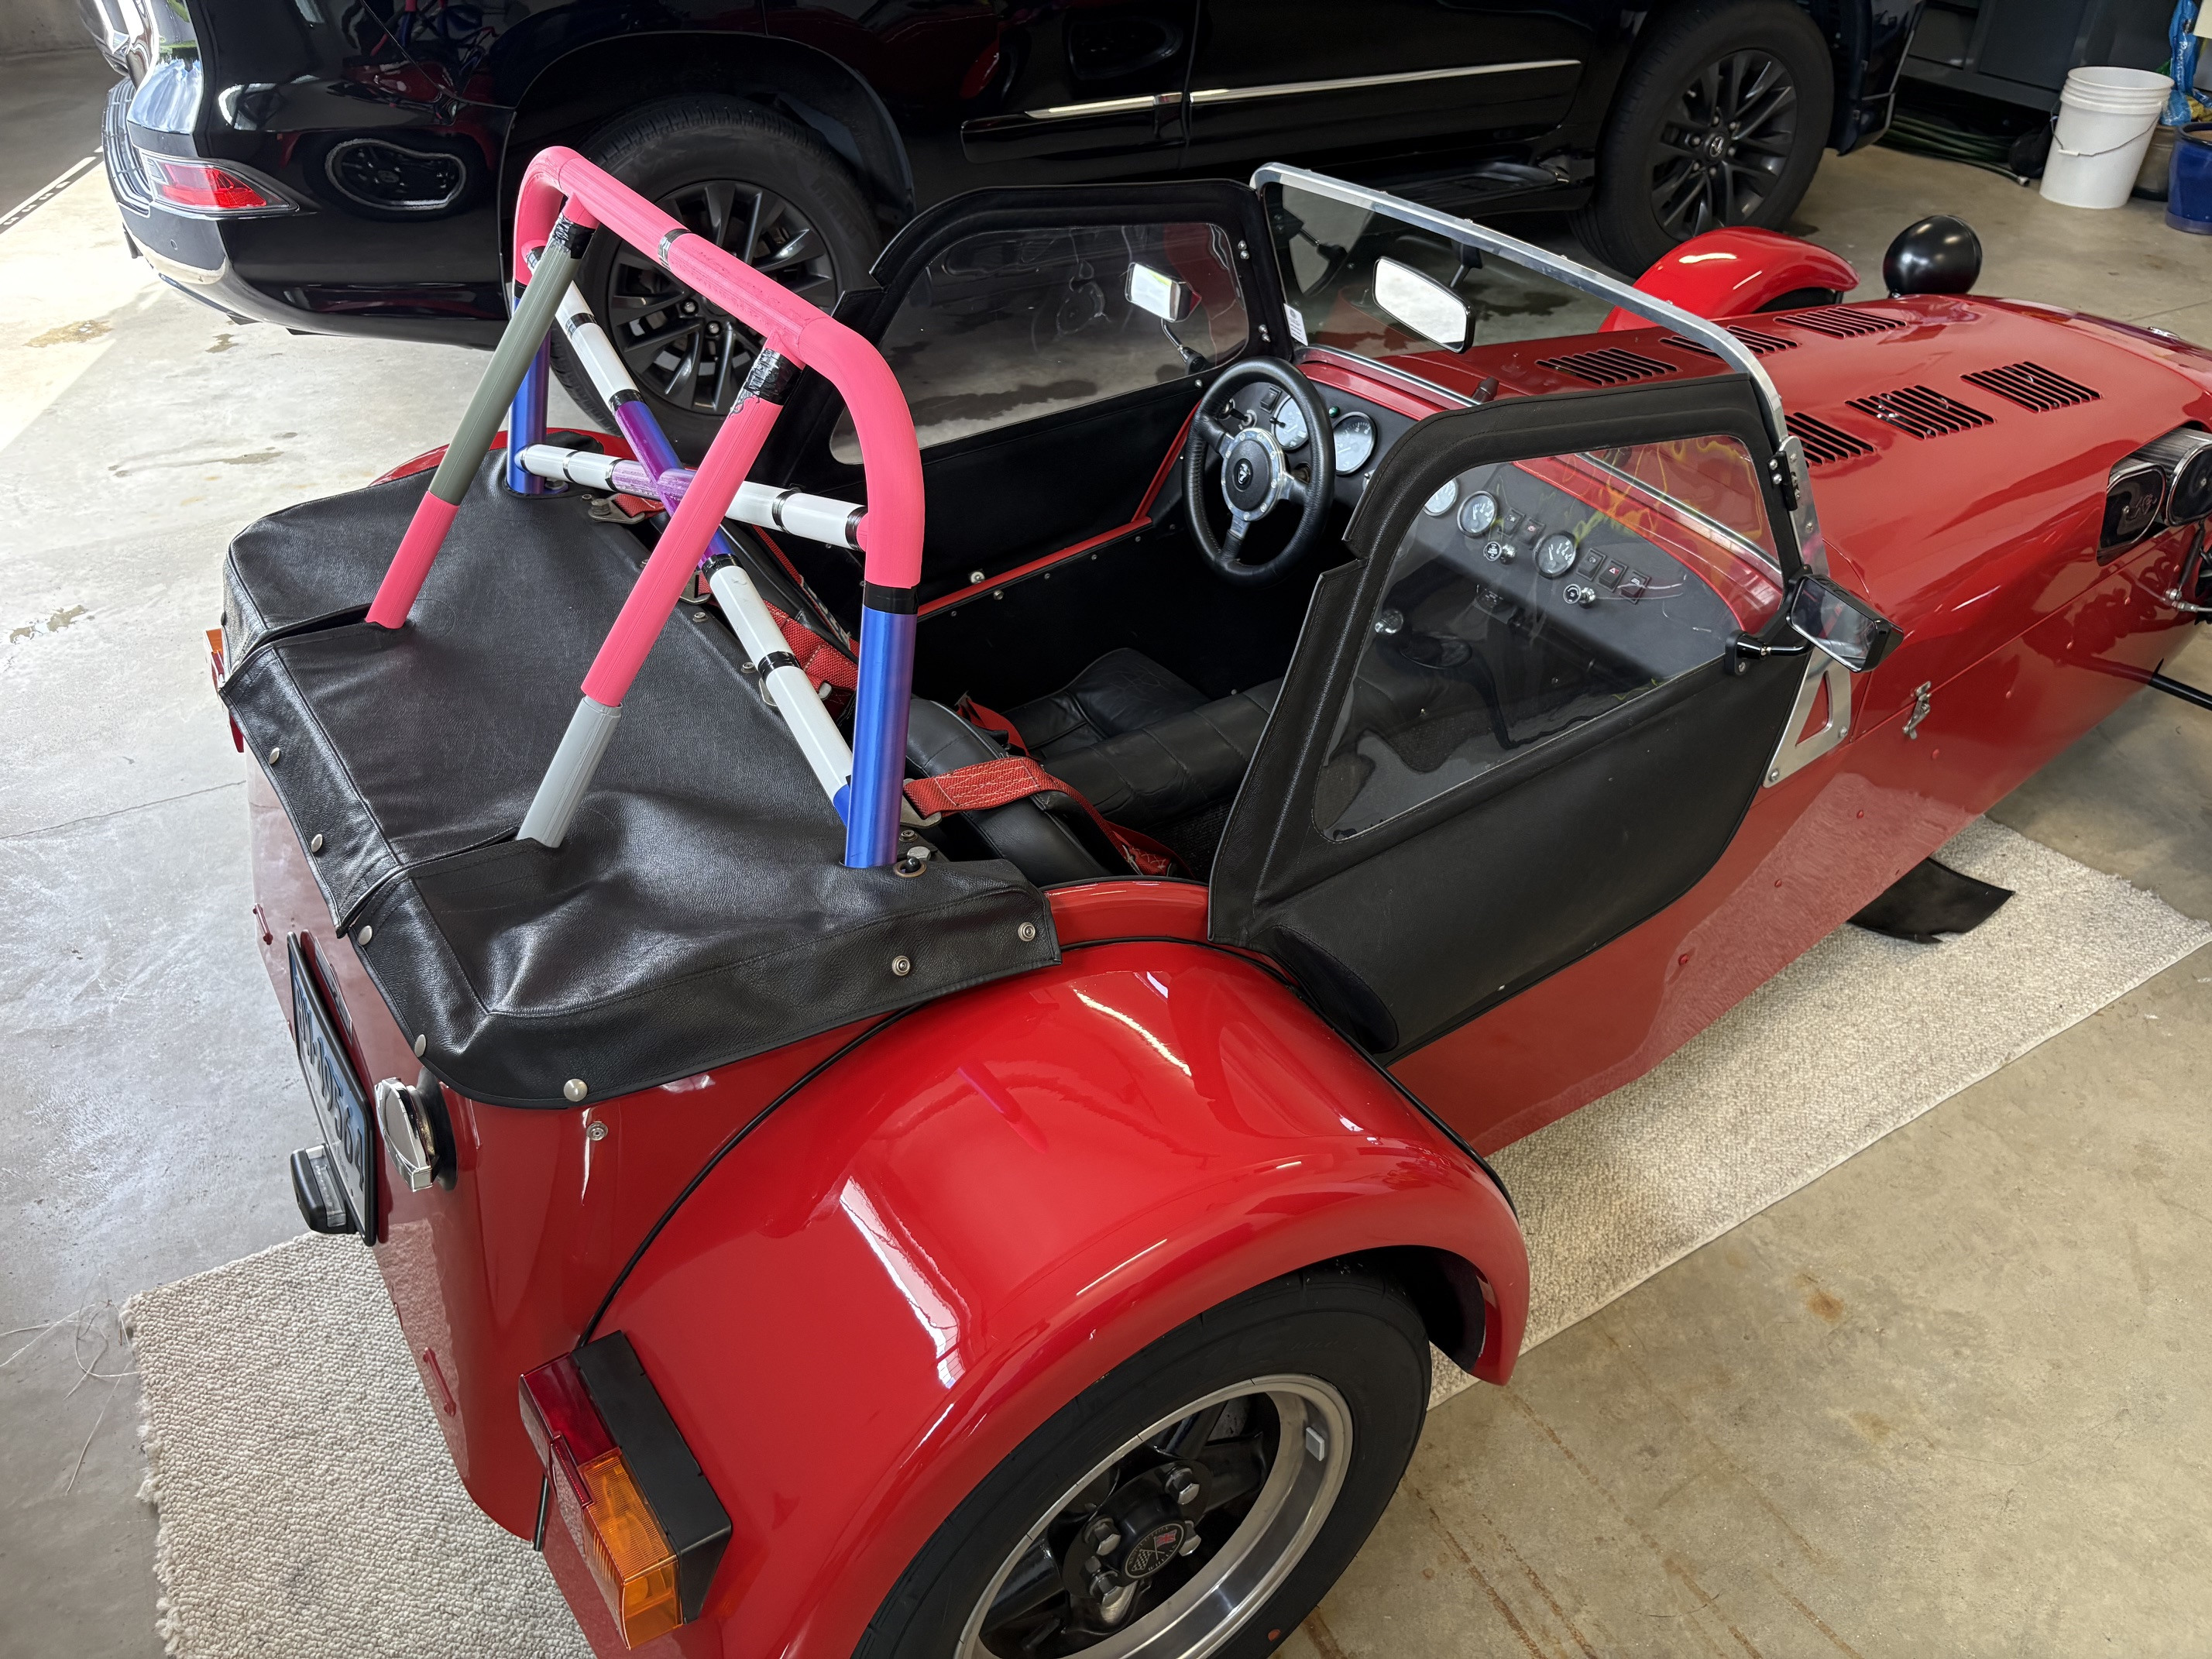
Speaking of 3D printing...I mocked up a roll bar that I designed over the weekend. Glad I had the printer to get a real-world visual and test fit. It needs a few revisions.

-
I have used them all in the work that I do. I can confidently say that Bambu Lab is the best value right now. I have the X1C, and it's perfect for what I do (higher temp materials). The P2S is another good option depending on what you want to do.
-
She's a beaut! Congrats!
-
Here are the ones I bought. You can get no-name brands on Amazon, but I can’t confirm their quality. For this kind of thing, I’d recommend a reputable supplier like DigiKey. https://www.digikey.com/en/products/detail/vishay-general-semiconductor-diodes-division/1N4007-E3-54/754813 It’s not exactly plug-and-play, but it’s fairly straightforward if you have some crimp connectors and electrical tape. Heat shrink tubing is preferable if you have it. In the photo, the diodes are covered with heat shrink tubing and crimped into the spade terminal. When you install the diodes, make sure the gray stripe is on the bulb side (they are directional).
-
I like your roundel idea. The aluminum skin is slightly deformed in this area, and I think the roundel would blend it nicely.
-
Thanks! I was apprehensive about eliminating the spare, but no regrets so far.
-
@TC7 I recently went through making this decision. I ended up fully committing. I lobbed the tubes as close as I could to the frame. Then I hand-filed to get them flush with the rear skin. The remainder I filled with epoxy and sanded flush. My local Sherwin Williams (automotive) paint matched and made up a can for me. It needs another coat of paint, but I am happy with the way it came out. The stubs are barely noticeable. I mounted the license plate with velcro for a clean look. You could do this with your euro plate. The Super 7 decal will eventually go. I am trying to come up with a creative idea for the hole in the center.
-
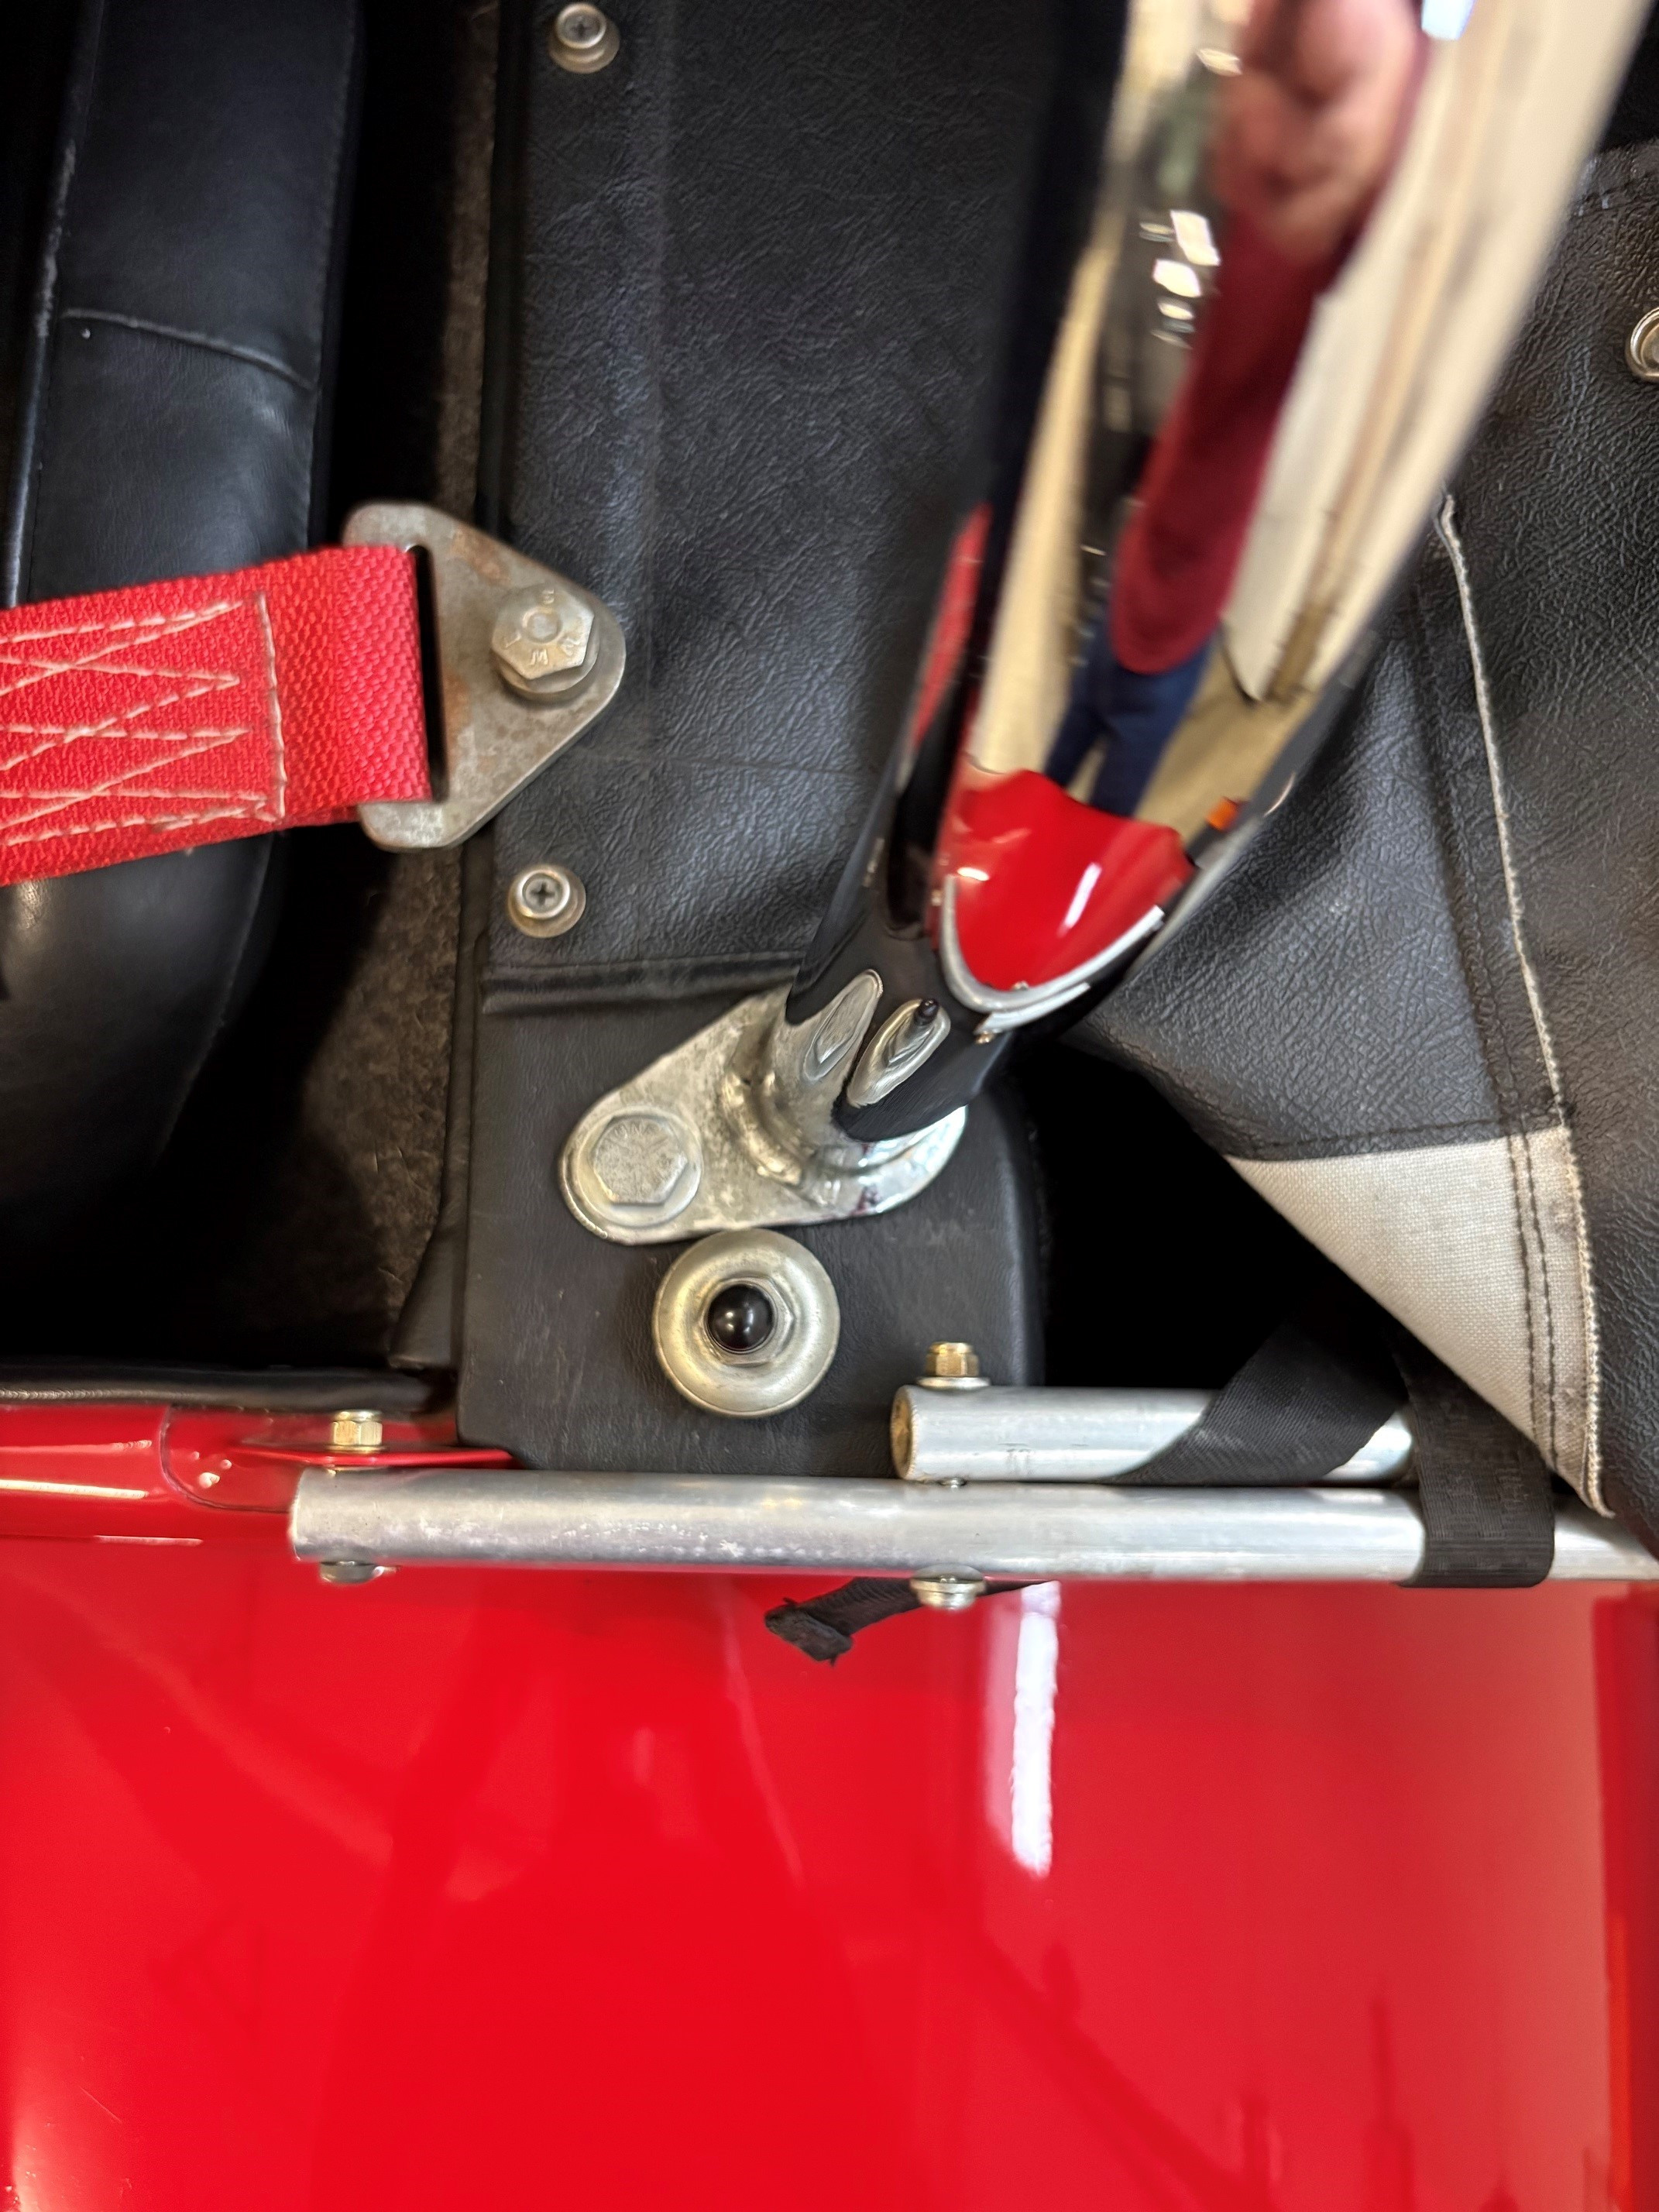
eccentric belt tensioner
-
I can confirm @Scott_ and @7Westfield are correct. The diodes did the trick. Thanks to you both. I also had to change the wiring a bit as well. Previously, the two light socket terminals were connected to the right- and left-side indicator circuits, with no ground. I am not sure if this is typical automotive wiring; I haven't seen it before. Anyway, I changed it so the right and left are now connected to one terminal. The other terminal is now connected to ground.
-
For reference, this is a '89-ish imperial long foot box, De Dion. CTC between mounting bolts is 33.5". It doesn't look like this would fit your car.
-
These guys know their stuff. They are in Ayer, MA. https://ktrmotorsports.com/
-
Very helpful! Thanks, @11Budlite
-
I am planning on rebuilding my differential and installing a Quaife LSD. Considering changing the gear set as well. Can anyone recommend a good service manual that I should acquire? Thanks!
-
That's a good point. The flange isn't going to be flat if you print it vertically. I've got to try PET-CF. It looks like this would be a great fit for a lot of the work I do.



.jpeg.322c9705a9a886fd234e2a57d509c85b.jpeg)