das76
-
Posts
133 -
Joined
-
Last visited
Content Type
Profiles
Forums
Store
Articles
Gallery
Events
Library
Everything posted by das76
-
factory paint so I’d hope so!!
-
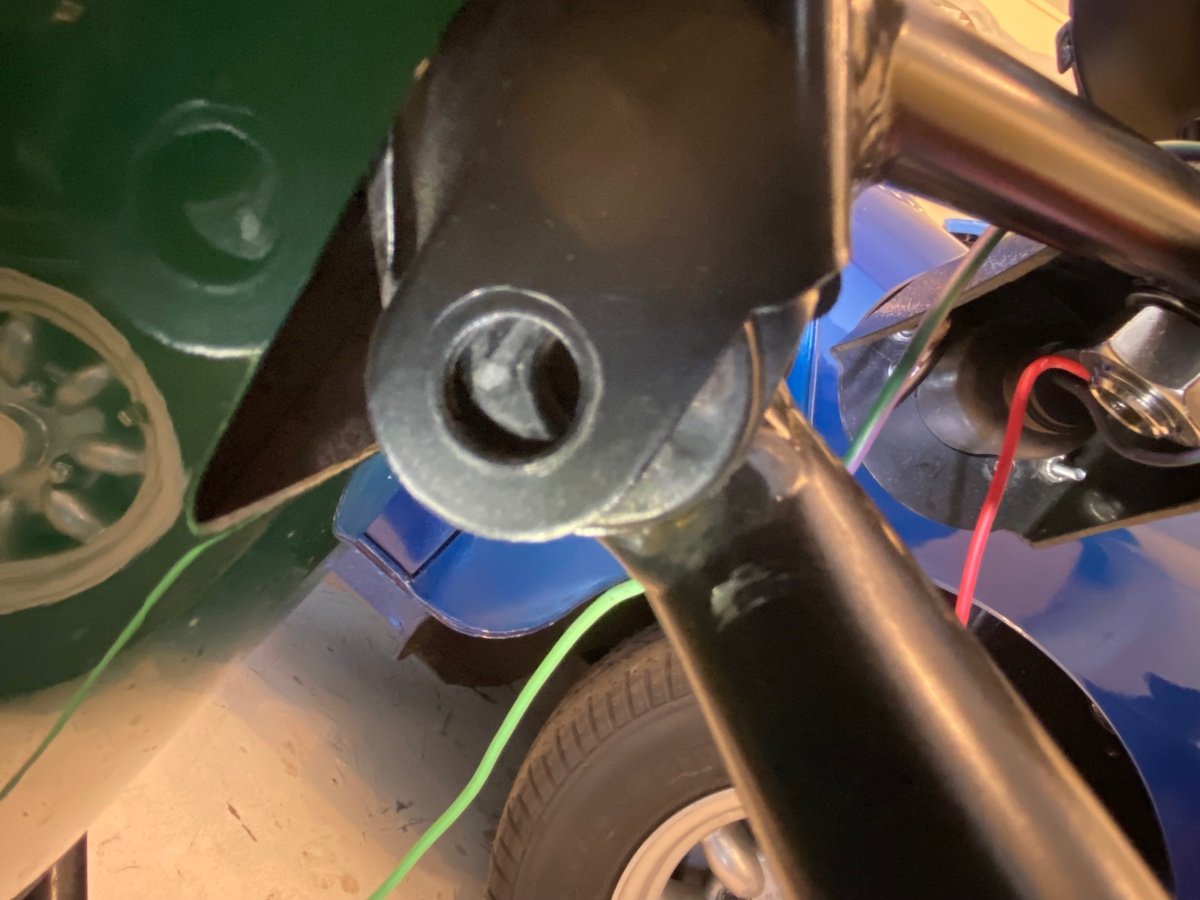
finally getting back to this. Here is the misalignment. Either it’s a bad bracket or they made some changes between 2005 and now (other than the metric conversion). I haven’t tried the other side yet. I think my only choice is to dremel/cut it open and use a bigger washer to hold it tight.

-

2022 Brand new Unused Caterham 7 360 R for sale - NO LONGER FOR SALE
das76 replied to Arahant's topic in Cars For Sale
"Title and registration - this is unregistered. I haven’t taken delivery yet, so haven’t had the opportunity to register it." -
2022 Brand new Unused Caterham 7 360 R for sale - NO LONGER FOR SALE
das76 replied to Arahant's topic in Cars For Sale
Yes but…… is your car legally a Caterham??? While we all call these Caterhams some / many / most are legally something else. My car for example: 2005 model , built by Rocky Mtn Caterham in Colorado is legally a Colorado Assembled Vehicle and has a Colorado VIN and is therefore considered a USA made car so I had the advantage of not paying duties when importing to Canada since it fell under NAFTA rules since it was a USA car. But from a legal and paperwork perspective it’s not a Caterham. The chassis has a 17 digit Caterham VIN but the final product , title etc is Assembled Vehicle at that time C’s had to have the chassis built by company A and the engine supplied by company B (or some variation of that) to be considered kit cars as I’m sure many more people can attest and know the ins and outs (I’m certainly no expert) . but maybe that has changed since 2005. you’d also have to look at the regulations of having a LHD car in a RHD country. Here in Canada you can so that but only with cars that are older than 15 years. But in countries like Japan you can have a LHD car brand new. since you haven’t taken delivery of it yet it sounds like it’s not even titled or registered so you might not even know what it will be legally called. But your dealer will tell you. Just something to consider. -
2022 Brand new Unused Caterham 7 360 R for sale - NO LONGER FOR SALE
das76 replied to Arahant's topic in Cars For Sale
Nice spec. I really like the red around the handbrake and shifter. Looks very sharp. the wood wheel is an odd choice but to each their own as they say ! I guess this was the car you were mentioning in the Canada forum? -
@Arahant any update on your project ? I can write up my painless experience importing a 2005 Caterham from USA to BC if it’s helpful for anyone. My friend also brought in a UK 2002 Caterham and also had a painless experience. It’s pretty easy. what year is your car ? Which province would you be moving to? its def a 15 year rule so if it’s newer than 15 years you are out of luck. CBSA won’t allow it in. @Bob.Dobos I’m also in Victoria. Send me a direct message on here if you’d like to drive sometime. I do some drives with 3 other Se7en owners here in Victoria. I can add you to our WhatsApp chat if you’d like.
-
What is the piece of carbon standing upright in the suspension ? If I can get my carbon clean and clear coasted so it looks good then I’ll consider doing headlamps and pods.
-
The problem with my carbon is that only the stone guard area has clear film on it. Nose and 4 fenders are all raw and yellowing. Very silly that it wasn’t clear coated.
-
maybe i'll just repaint the car! LOL (i am considering a colour change)
-
Thanks. I'm assuming the tab is going under the chassis bracket to prevent it from tiping? Nice finishing with the black rubber trim. As you can see some of my aluminum skin is mangled in that area so that will hide the damage!
-
OK, thanks @Vovchandr - that's helpful to know. Time to bust out the Dremel! How did you deal with the actual bracket mounting to the chassis. In hindsight I realize that the brackets are a newer design and are meant to fit the newer metric chassis vs my 2005 imperial chassis - so I'll cut Caterham some slack on it. I think i'll just enlarge the bolt hole.
-
Well, I've made some good progress, I figured out the electrical parts without any issues, I did a test fit and all the lights work properly (DRL in the headlight and the indicator pod). However, now I have 2 fitment issues and since this is my first Caterham project I guess I'm running into some of the same frustrations I've read on many other posts!!! 1. There is a sort of tab on the back side of the bracket (see below). If I open the tab to actually get this piece to fit I can get it to slide onto the suspension arm bracket, but then the bolt holes don't align properly!! I'm guessing this tab is there to prevent the arm from tiping down. So I guess I need to enlargement the bolt holes, unless anyone has any other ideas? Or ignore the tab and find another way to prevent the bracket from tiping down? 2. The indicator pod completely interferes with the bracket. When everything is tightened up, the back of the indicator pod plastic is flexing a bit and the indicator pod points down too much. When I disassembled it all, in order to get the indicator pod to just touch the bracket (and not be forced) there is about a 1/4" gap that would need to be filled with some washers. Alternatively I can trim the back of the indicator pod. Again any ideas? It's crazy that there are so many 7's and yet these seemingly basic issues are present.
-
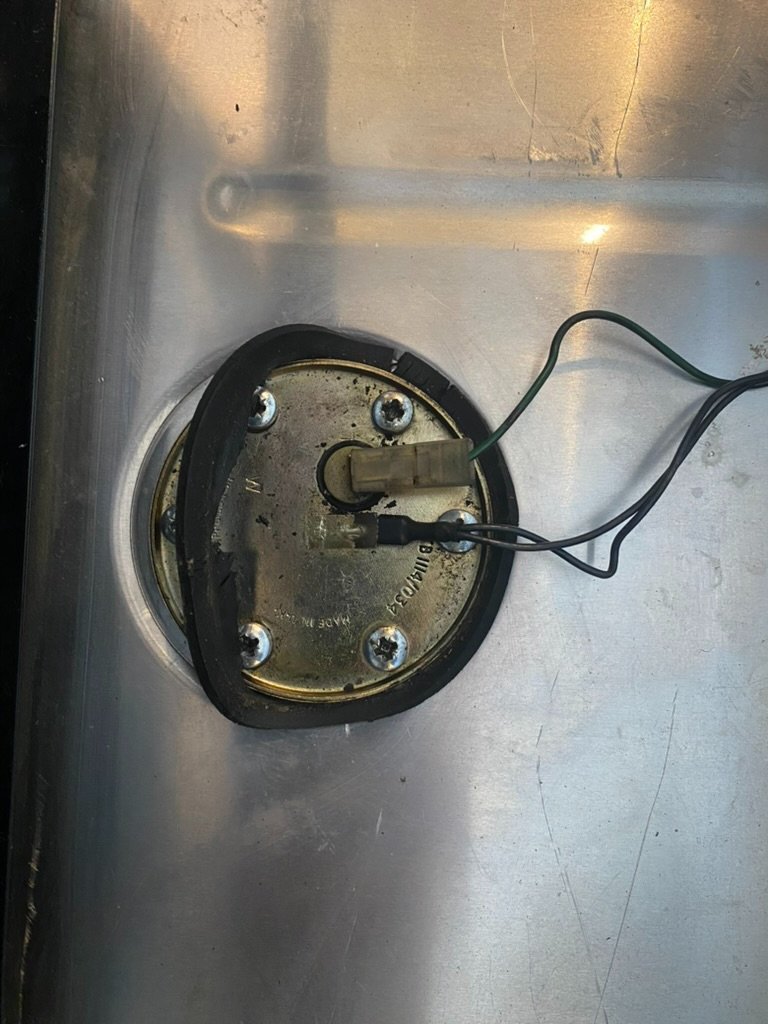
Thanks @ashyers . I think I have solved the mystery! (really not much of one in the end). I think what stumped me was I wasn't expecting the design of the right side gasket (for the fuel pump) to look so different so I thought the above style gasket with the 6 screw holes was for the fuel pump on the side. I found both parts listed here: https://caterhamparts.co.uk/149-gaskets This one is for the right side pump which I also need to place: https://caterhamparts.co.uk/gaskets/92-gasket-fuel-pump-side-moun.html - this is also a Mini part used on the fuel injected cars of the 90's This one is for the sender at the top of the tank: https://caterhamparts.co.uk/gaskets/96-fuel-tank-sender-gasket.html Of course no stock at Caterham, so i'll try USA sources or Redline
-
Great thanks @Vovchandr I noticed that my pods have 2 wires plus the black, whereas the pods in the blog post have 1. I'm guessing one is for turn signal and one for DRL or the parking lamp (which i don't care about)? I'm going to tackle this, but electrical stuff isn't my strength. Hopefully I don't get stuck! Any pics would be helpful!
-
Hi folks, well, I've been MIA for a while, but back now. I decided last spring/summer just to enjoy the car for the first season and tackle my to do list over the winter. Well, now with winter almost done it's time to get a move on!!! I had assumed that swapping these was pretty simple, but it's left me with some questions. Maybe it's still simple. So here are my questions. 1. My current headlights have 5 wires as shown below 2. The new headlights have 4. Just not the green one. Is this a problem? What is the green wire? 3. The turn signal wires go into the headlight bowl. Do they connect to other wires in the headlights? I'm assuming so. I haven't yet removed/opened the existing lights. I'll do that shortly. 4. The new headlights didn't come with the plastic connector plug (annoying!) Will I be able to salvage/re-use the existing plastic plug or is that the econoseal item you guys were writing about above. @Vovchandr @tajordan did you guys complete this project yet? Any pics? Where did you run the headlight wire? Any pics of the hole that @Vovchandr you mentioned? Thanks in advance guys! EDIT: looking at a blog post about headlights it looks like the green is possibly the turn signal wire - which would make sense! And it mentions how to get the pins out of the connector https://www.caterhamr500.co.uk/2015/03/westermann-motorsport-carbon-headlights.html
-
Up to now I've been simply cautious have have the ignition turned on so I can see the gauge. Now I'm finally getting to some of the projects on my car since I just wanted to drive it last summer and fall. Today I pulled off the boot floor and found this gasket is obviously toast! I looked on the Caterham Parts website and I can't find the gasket (they do show the right side gasket, but not the top gasket). Does anyone know the part #? (Caterham Parts shows this one, but doesn't mention it's for my car with Zetec: https://caterhamparts.co.uk/pumps-senders/1989-fuel-pump-gasket-sigma-duratec.html)
-
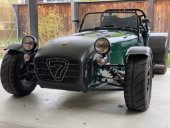
@Vovchandr correct. As i was reading through paperwork i realized that wasn't a dyno chart of my exact car, but it was provided by Caterham USA to the buyer of what a SVT Zetec would put out - but I don't have a reason to believe that it's terribly inaccurate. I am also curious what my car puts out and will get it on a dyno one day. But what I do know is that regardless it's plenty fast for me. And James raced it successfully for many years and kicked @$$ in it. https://www.youtube.com/@jamesthunderroadstergtr/videos (scroll down past his current vids with his new racecar)
-
@Vovchandr ^^^ that is my car now
-
The Regular Summary of Classified Ads of Se7ens Found For Sale
das76 replied to Croc's topic in Cars For Sale
even worse are the 3 misaligned bolts holding the steering wheel to the boss! Once you see it you can’t I see it! -
@IamScotticus when it leaked out in was inside the boot, it wasn't coming out where the fuel filler goes in. Is it designed to do that, or does that mean i might have a crack or hole somewhere?
-
Thanks. it didn't go on the paint, just leaked through the bottom. it stank for several days, but I took the boot cover off and that seems to have done the trick. Now i leave the key in the ignition and turned so I can see the gauge move to Full when i'm filling up !
-
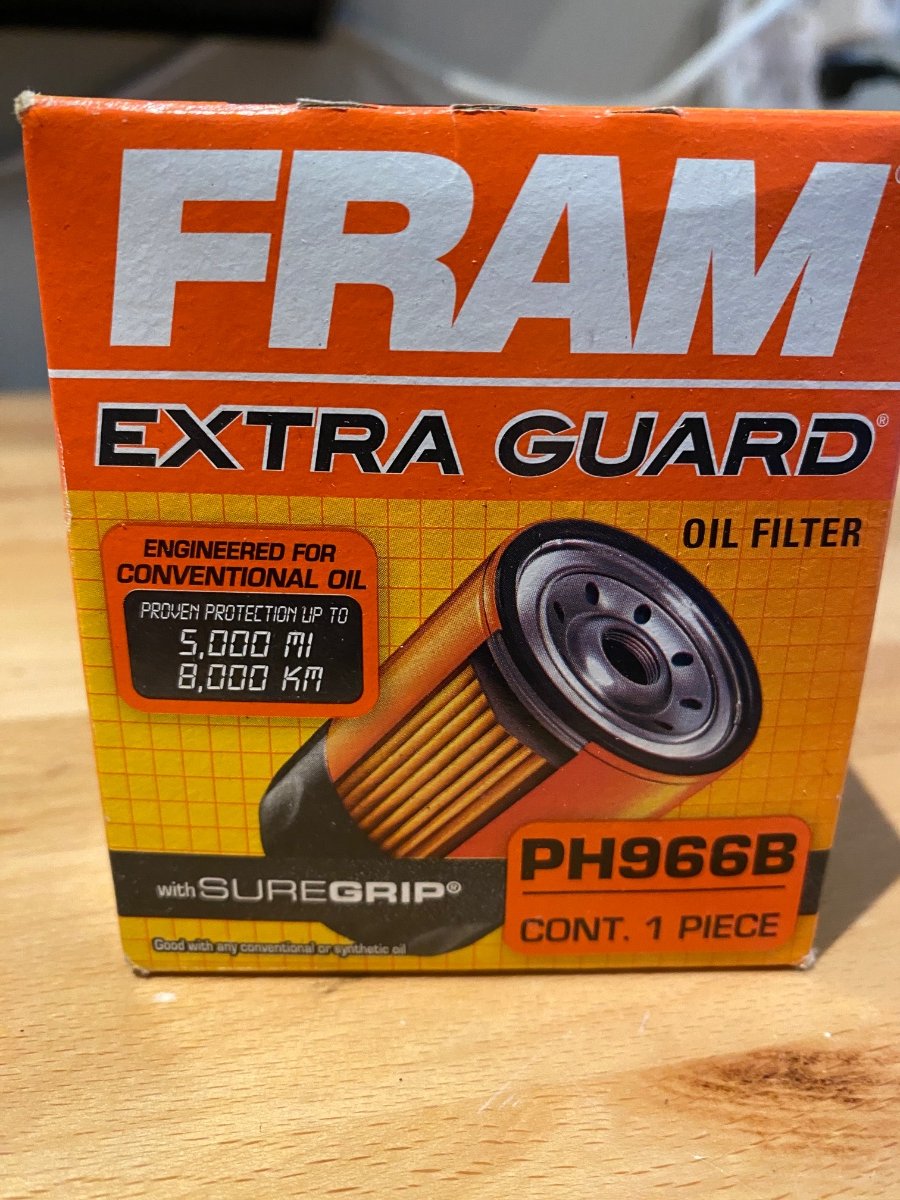
does the Zetec use the stock Ford fuel filter? if not, which fuel filter? I'm going to change all my filters this spring so I know when they've all been done. And where is the fuel filter on the 7 ?
-
@Vovchandr
-
The Regular Summary of Classified Ads of Se7ens Found For Sale
das76 replied to Croc's topic in Cars For Sale
Does anyone know who purchased the CSR that was on BaT yesterday ? -
haha. Too funny. I just stole it online and it was a fluke that both good photos had the same colour car I'm going to put my lights in next week or maybe on the weekend