.jpg.53511fa583dc4e7ee82da3496ab6ffdb.jpg)
hahuang65
-
Posts
237 -
Joined
-
Last visited
Content Type
Profiles
Forums
Store
Articles
Gallery
Events
Library
Everything posted by hahuang65
-
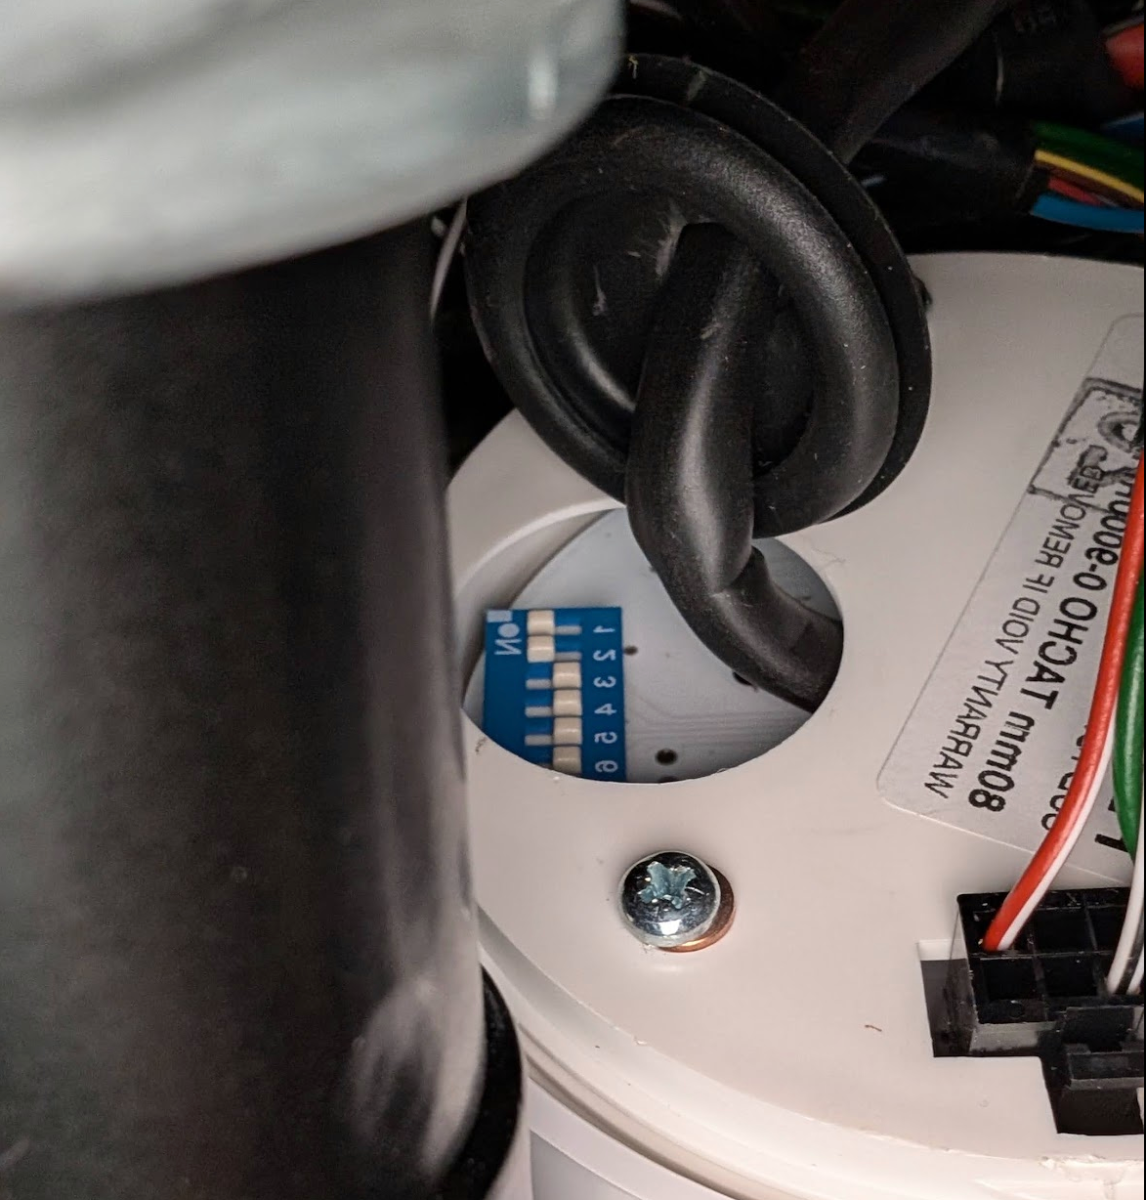
Just noticed @MV8 posted this Is this relevant to my gauge on a new 420R? I thought it was supposed to be 1,2,8 on or only 8 on... but this suggest 1,3,8 on.
-
.thumb.jpg.9ffdd2cf708d472aae35e80097bfc46d.jpg)
OEM Tachometer for Duratec Caterham
hahuang65 replied to KnifeySpoony's topic in Parts For Sale / Wanted
I assume this has been taken? Also, curious, did you replace this with something? If so, what was it? -
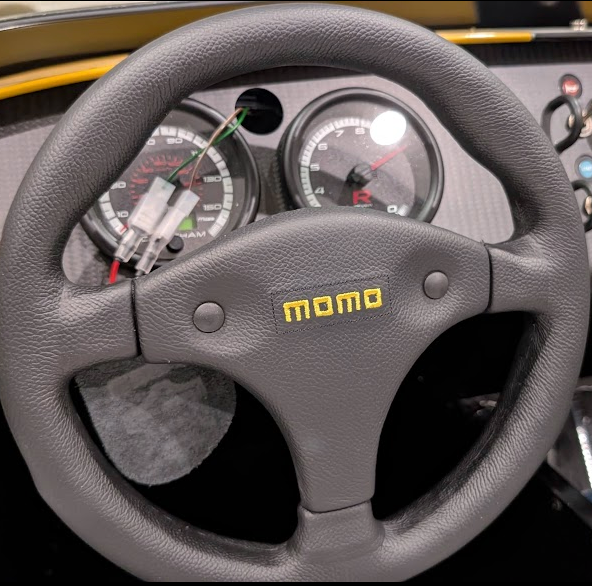
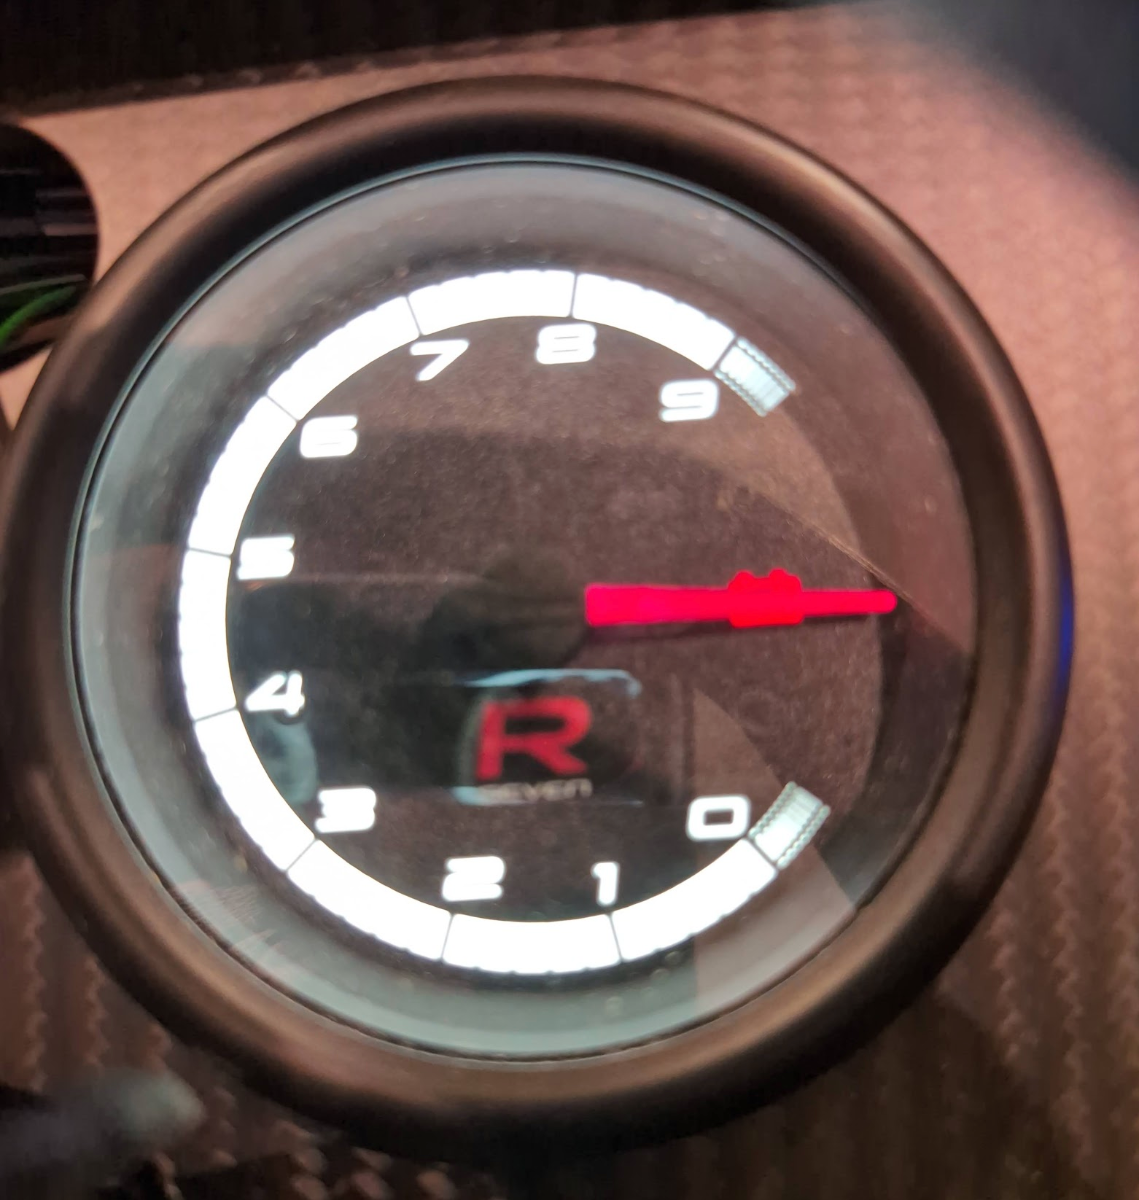
My tachometer on my new build seems stuck at 8k+ RPM. I didn't notice until after I started the engine, but it looks like, when it arrived, it was at 9K RPM (see pics) When I started the car up, I vaguely recall that I saw the tach cycle/move... but now it's at 8k-ish RPM. I tried the dipswitch toggles... I had 1,2,8 on, and so I flipped down 1 and 2, but that doesn't seem to have changed anything. It's getting power as it lights up and the battery and handbrake indicators work. However, as RPMs change, the tach doesn't move. Wondering if anyone knows if there's anything else I can try besides get a new one. Also any recommendations on a tach I can get here in the states, even just as a temporary one so that I can go get inspected/titled while waiting for the warrantied one to come in. I feel like with customs and tariffs being what they are, I'd be in for quite a wait. PXL_20250820_160632876.mp4

-
Title and Registration in TX today
hahuang65 replied to hahuang65's topic in General Sevens Discussion
I do live in an emissions count: Montgomery. From what I gather, the only inspection is done by an ASE tech. I don't take my car to the DMV nor the tax assessors. There is a different form for the ASE tech depending on how I want to title it I guess? https://www.txdmv.gov/sites/default/files/form_files/VTR-852.pdf Vs https://www.txdmv.gov/sites/default/files/form_files/VTR-64.pdf So I think if I just fill out the forms as a Custom Vehicle Replica, I may be fine. The only trip up is that the MSO states it's a 2024 Caterham that is a replica of a 1957 Lotus. I'm wondering if that's a snag at the DMV/Tax Assessor when they look at the paperwork. -
Title and Registration in TX today
hahuang65 replied to hahuang65's topic in General Sevens Discussion
@IamScotticus I just read this on the Factory Five forums -
Title and Registration in TX today
hahuang65 replied to hahuang65's topic in General Sevens Discussion
Jeff suggested I title as a Custom Vehicle Replica in order to avoid the required emissions testing. However things aren't looking great. On this page it seems that Custom Vehicles can be allowed to bypass emissions However, the section on Kit cars (specifically the second part) suggests that they won't allow it. If anyone has any guidance on how I should approach this, that would be fantastic. Currently I'm assuming I just only put that it's a replica of a 1957 Lotus and make no mention of Caterham or the model year (although it states both on my Manufacturer Statement of Origin). -
Title and Registration in TX today
hahuang65 replied to hahuang65's topic in General Sevens Discussion
Just talked to Craig, but he hasn't done any titling yet. I'm gonna try Jeff in a bit. -
Wondering if anyone has any tips or pointers here to get through it smoothly. I have my insurance set already. Thanks in advance!
-
Just about done! Electrical yesterday and engine today! Just wings and seats and trim left!
-
@MV8 turns out this was a case of "I R DUMZ". I hadn't turned the key to power on the car. Just the battery master switch was on and the lights were all on. That kind of threw me. Once I turned the key proper... it all worked.
-
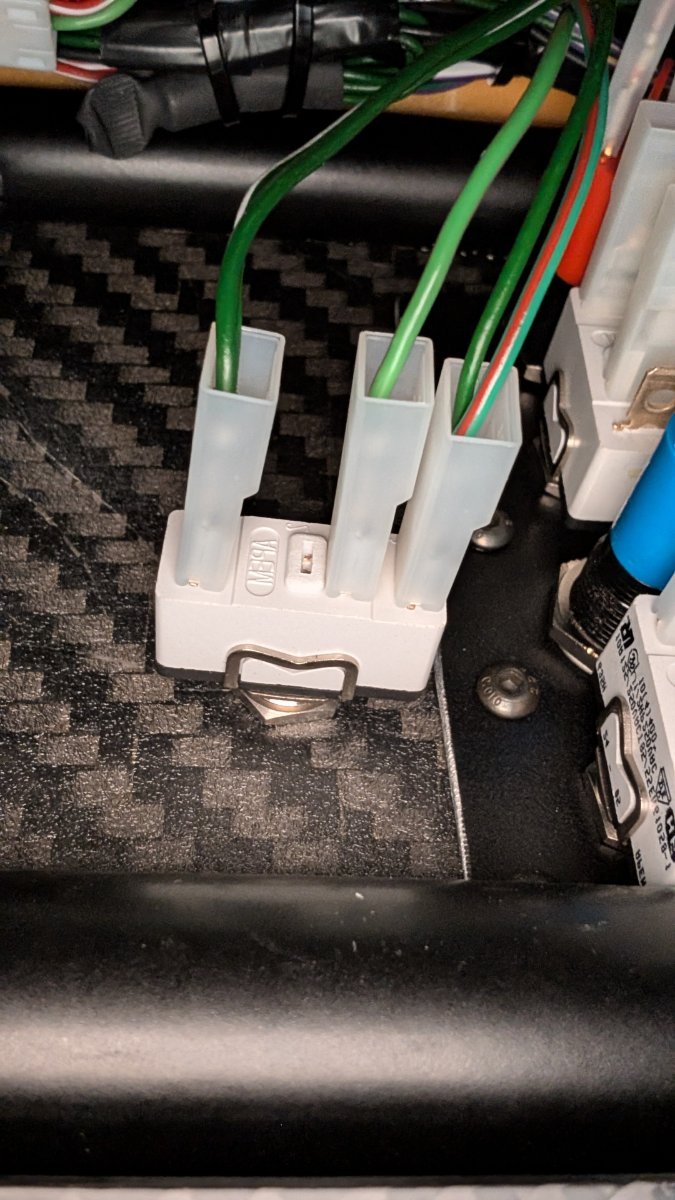
Just powered on the car for the first time, didn't do any engine start yet. Hazards work, along with beeping. Turn signal doesn't, and does not beep. How should I test this with a multimeter? I really don't remember how to use it. This is the switch
-
LOL.
-
I'm looking for spacers for my rear caliper to hub mount. The kit came with 4 but they're all roughly different. It seems like the most important spec are that they're a 10mm bore, and then the thickness (length) are all equal such that the brake disc is in the middle of the caliper. 3 of mine are 6.4mm thick, one of them is 7mm thick. I visited 5 hardware stores today and wasn't able to find anything. The closest I've found was 3/8 inch bore, quarter inch thick (6.3mm). Ideally, I'd like to get 1 full set of each of the thicknesses so that I can see what works for my calipers. If anyone knows where I can get them, that'd be great, otherwise I'll have to ask my dealer to ship me some. I did check McMaster Carr already.
-
@IamScotticus I can't visibly see a gasket. I think it's just the sealant. It's a BMW diff, and I believe it's this part: https://caterhamparts.co.uk/differentials/4452-differential-bmw-391-including-backplate-bracket.html
-
Where can I get these, and what are they called?
hahuang65 replied to hahuang65's topic in General Tech
@EdWills Rich from Kampena said he'll send me one. -
Where can I get these, and what are they called?
hahuang65 replied to hahuang65's topic in General Tech
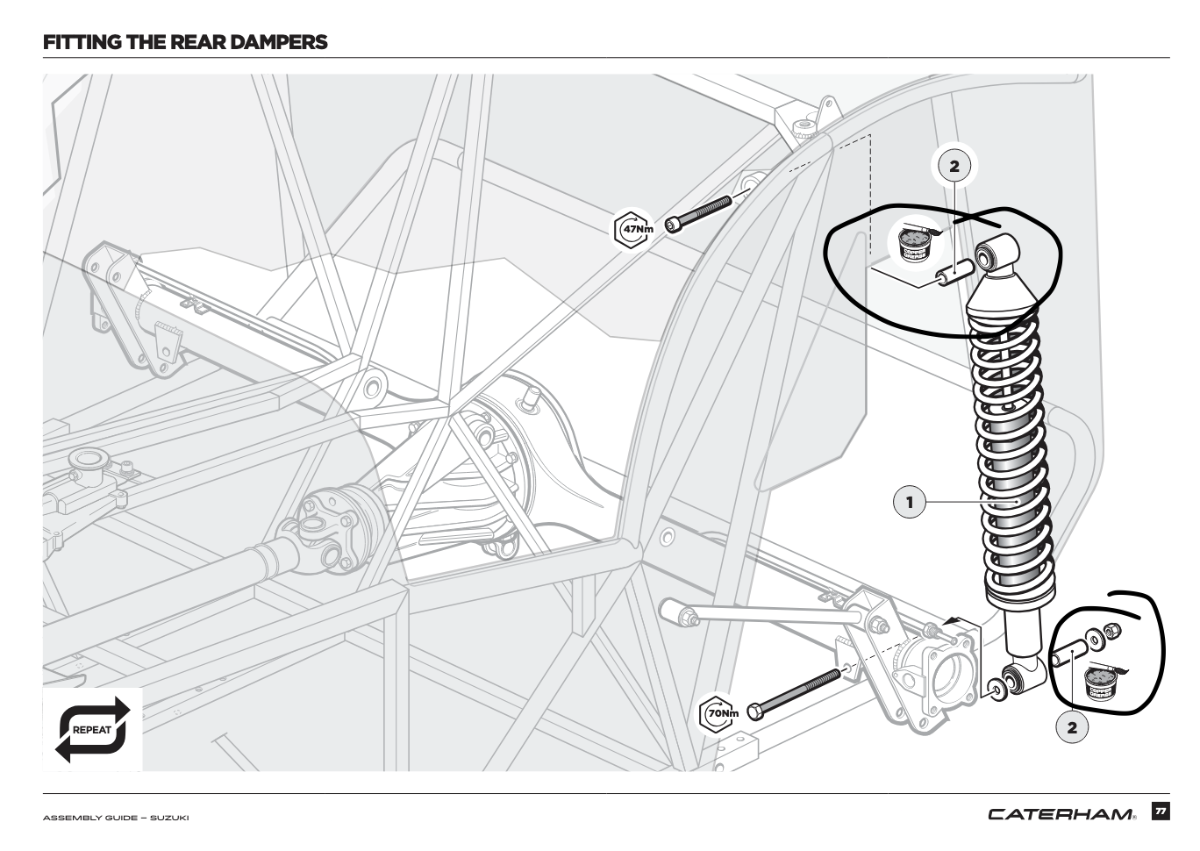
@EdWills thanks for the offer! I just went to take the existing one out, and it looks like this manual is outdated. The bottom bolt fits snug into the bushing, so I guess I just need one. Using my calipers, it looks like the I.D is 9.95mm and the O.D is 12.66mm... length is 34.52mm In imperial, that's 0.39in, 0.5in, 1.36in. I'll go look for some at my local hardware store too, I guess. I think I found some stainless steel ones, although my existing one appears to be much lighter, probably aluminum. -
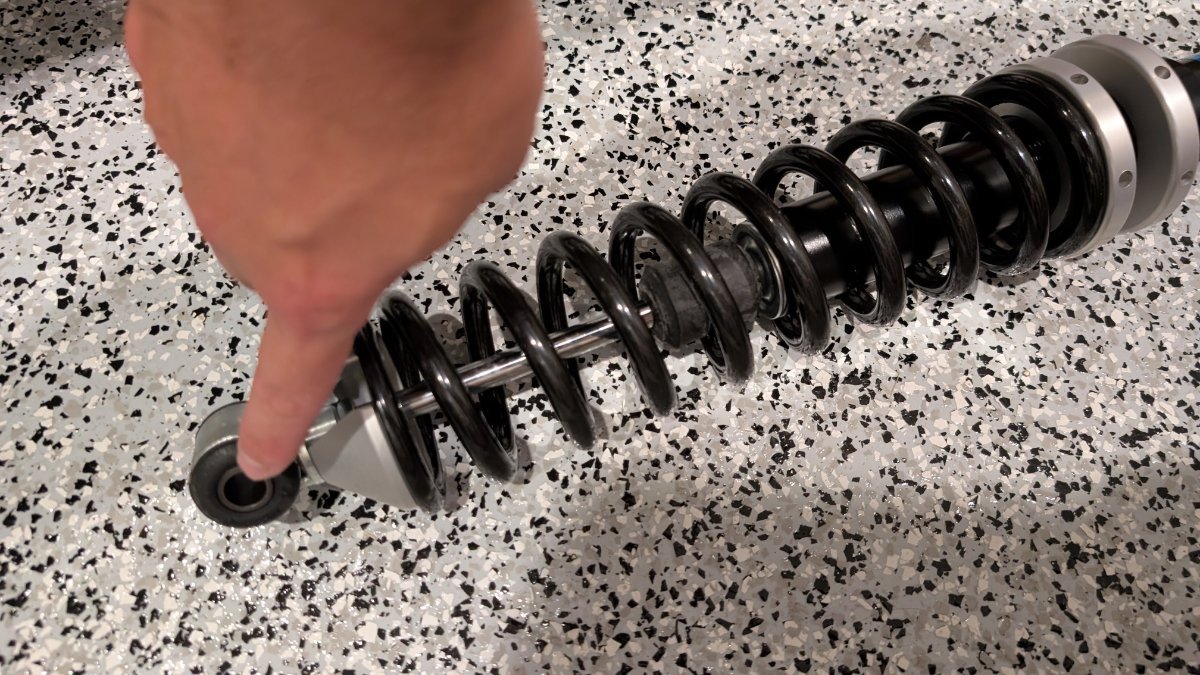
The manual refers to these as damper sleeves, but they're the metal sleeves that go into the hole of the damper so that the bolt is snug inside. See the attached pictures. I've got 1, out of a necessary 4, and I'm trying to source more.
-
Thanks guys!
-
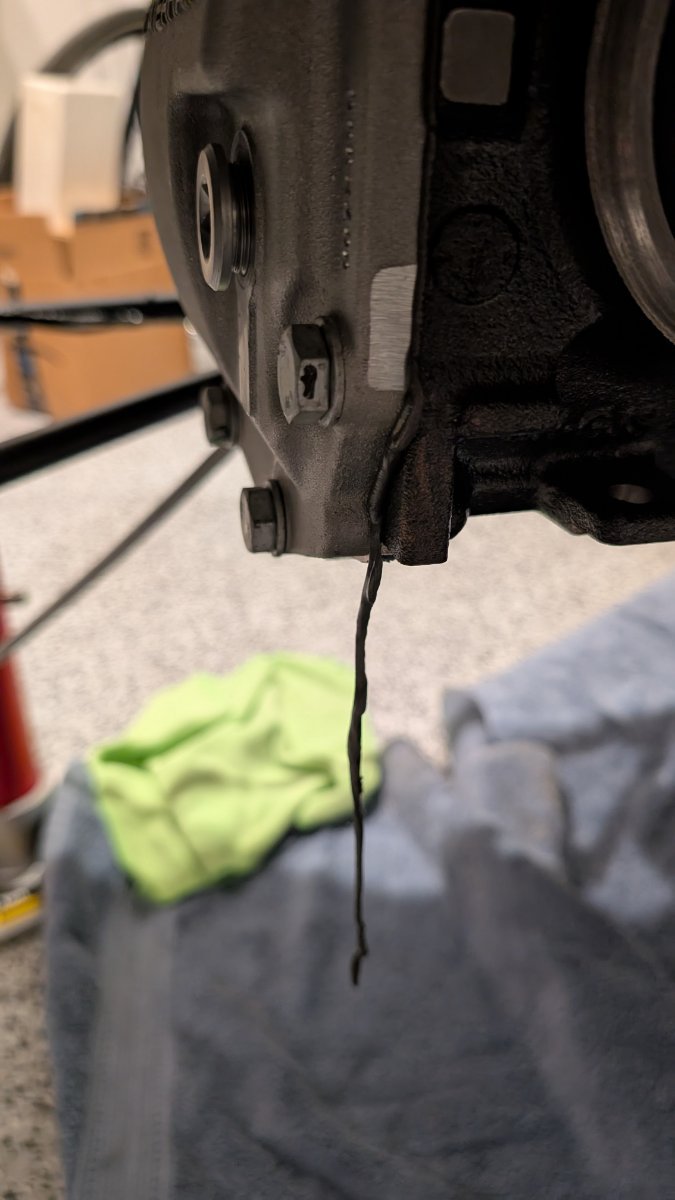
Quick question...the sealer on my differential has basically come off during installation. What should I use to re-apply a new seal?
-
Got it! I had a friend come over to help. We started out by loosening the bottom two bolts. Then removing the top bolt. It was stuck at the end of the last session, but with my friend wiggling the diff, I was able to punch it back out. We inspected the bolt and it looked fine. I re-greased it with copper grease and inserted it back in. This time, with his help wiggling the diff, I didn't need to use a power driver. I was able to bop the bolt all the way through to the other chassis mount with a mallet. We got to basically where I was stuck on last session quite quickly. We found a spot where we could lever the diff downwards. This was basically pushing the diff down, against the chassis mount. We used anything that worked, from a prybar, screwdriver, or a pair of pliers. We got it to a spot where it looked like the bolt should make it all the way through. We bopped it more with the mallet, but it wasn't budging. We must have just been mis-aligned by a tiny fraction of a millimeter. We kept trying, and we bopped the bushing out! However, this made it a bit easier. This let us push the bolt all the way through with no resistance. We simply fit the washers back onto the bolt, and then the bushing onto the bolt. We had to lever/pry the diff again to get the bushing aligned, and we eventually get it on by hitting it with a mallet. The rest is just malleting it fully in, then torquing all the bolts back to spec. Thanks for all the help and suggestions guys!
-
Full agree. I think it's common sense to work your way up from the simplest/easiest/least possibility of damage solutions up to BFH, cuz sometimes that's just how it is. Yeah tightening the bottom bolts is on me. Got overzealous after I got that lower right bolt in successfully. Gonna unwind this and try to get the top in. Unfortunately, I can't seem to back the top bolt out, so it's in for how far it already is in now.
-
correct, this is an initial install. Also, the tolerance issues ring true. I've seen many blogs all say the same thing... and I've personally experienced a very similar tolerance issue with the front wishbones to chassis mount.
-
Nothing is wrong with this. I actually attempted this initially, albeit with steel rods that were NOT to size. I tested that the bolts go through the holes in the chassis, particularly the long one, and that was fine. I should have tapped the threads and cleaned the bolts, as the bottom right one didn't go through initially, so I had to drop the diff and tap the thread and clean the bolt. However, once all of that was done, the bottom right hole STILL didn't go through without an abnormal amount of resistance, no matter if the diff was free to move with no bolts attached otherwise. I ended up with the assumption that the threads in the diff where just slightly angled, maybe a quarter of a degree or something. I just drove the bolt in with a ratchet by hand, powering through the resistance. A couple of turns, then it threaded with a normal amount of resistance. When the bolt popped out the other end, there were a couple of metal shavings that came off the bolt, but I was able to torque it to 81Nm. The left bottom bolt went in with no issue, just like the first time I put it through. I may be jumping to conclusions, but I think the top long bolt has the same issue as that bottom right bolt. It may just be a quarter of a degree misaligned or something. I also had to drive that one hard through, until I got to where I'm stuck at right now. Now, maybe the issue was that I used an undersized steel rod to align everything, but the correct size one (or a dowel) is surprisingly difficult to source. None of my alignment or pin punches fit well either. I'm a little less worried about the top bolt, the diff seems quite stout, as well as the mount holes in the chassis for that bolt... and since the bolt passes fully through and just nuts up with a nyloc at the end... I can re-thread that bolt if there's a small amount of damage on it. That said, I think I will loosen the bottom bolts and give it a shot first, before resorting to brute force. Better safe than sorry. Will report back here either way :D Thanks again to everyone for their tips/advice.
-
Thanks for the tips guys, I'm gonna try again on Thursday. Will likely take out the bottom bolts. Will post back with any results.
-
Thanks for the tip. I had used a driver as well. I guess I just need to find some leverage or bop it with a hammer. Don't want to damage anything...