
jmaz
-
Posts
68 -
Joined
-
Last visited
Recent Profile Visitors
623 profile views


.thumb.jpg.9ffdd2cf708d472aae35e80097bfc46d.jpg)
-
Thanks. Your build blog and answers to my questions have been a big help throughout the process (along with the nylon bolts and nuts you shared)!
-
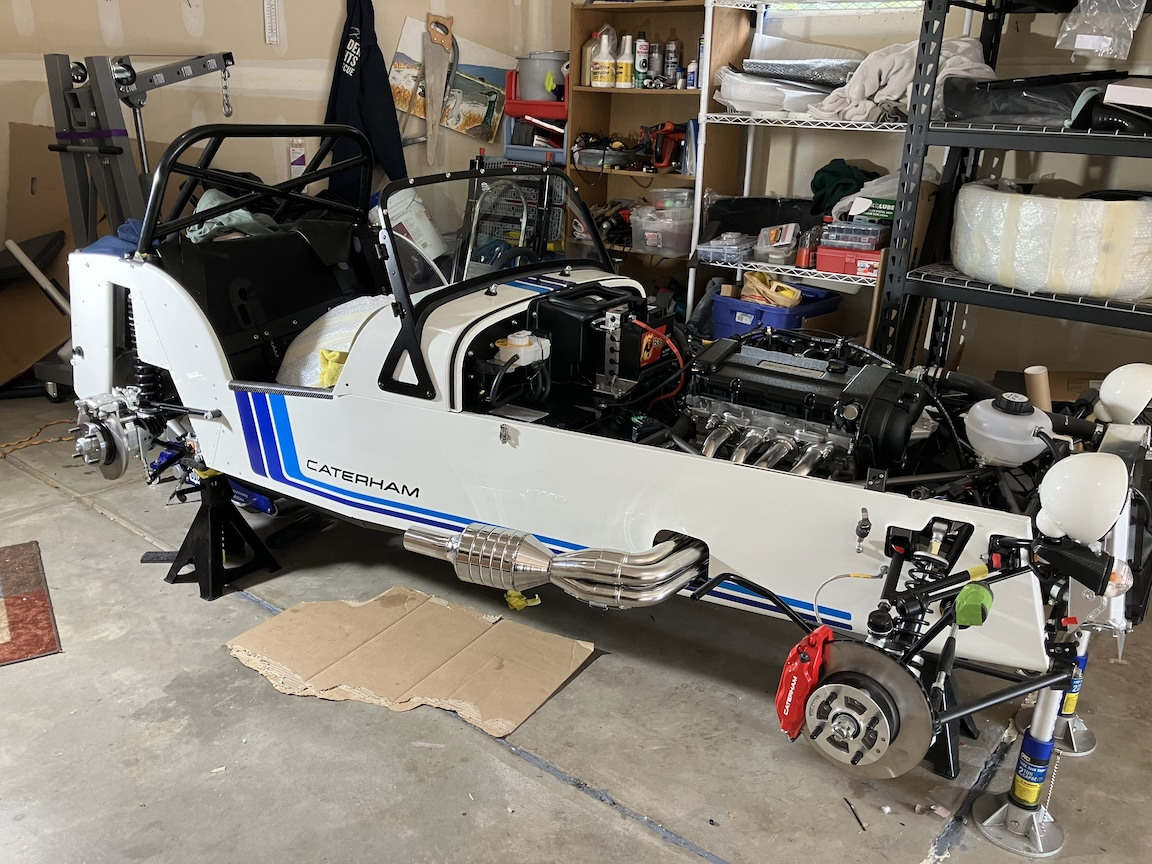
Yep, BIG relief, for sure. Things left to do on the car itself include front wings and repeaters, passenger seat, mirrors (SPA mirrors with Eccles mounts), and under-dash trim pieces. I'm also going to do a rough alignment on the front end since it looks pretty cattywampus, toe-out wise. Then there's the vehicle registration process. Once that's done, I plan to take the car in to Rocky Mountain Caterham and have it inspected and flat floored. I'd like to get a chance to take it up one of the local canyon roads before winter conditions arrive.
-
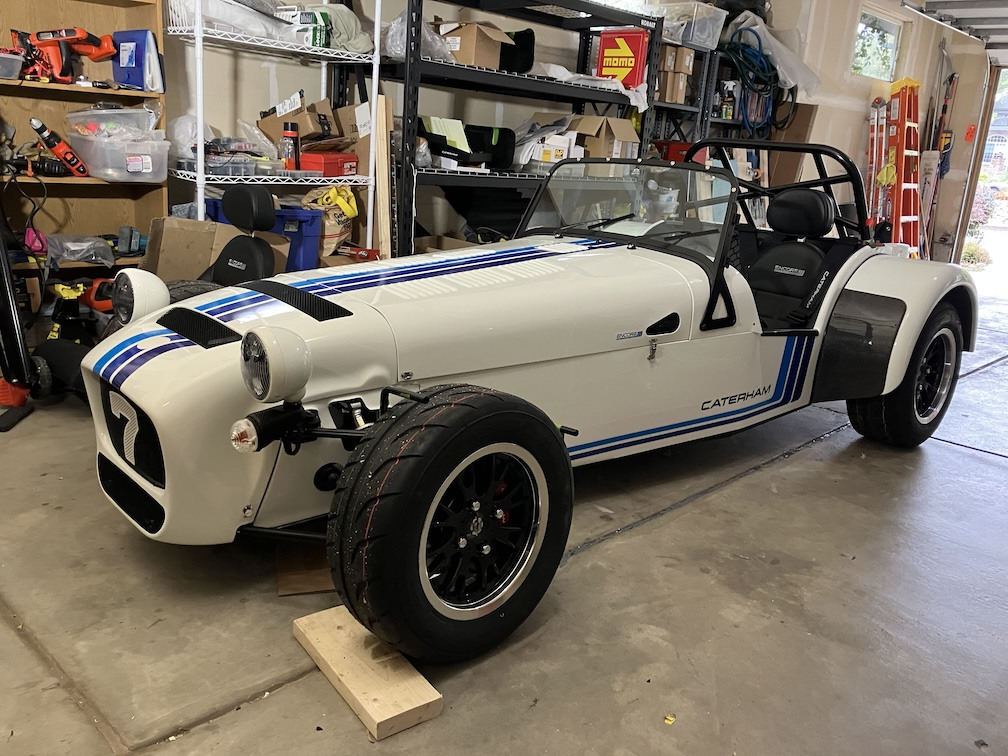
Thanks. Yes, it's got some interesting visual aspects. I like the big white "7" as well. I wasn't sure about whether to paint the originally black headlight bowls, but I'm happy with that too, although painting fully-curved surfaces like that was trickier than I expected.
-
Thanks! Next big step is the registration process. I'm told that Colorado's requirements aren't too bad, although it sounds like I'll need to trailer the car to the inspection location.
-
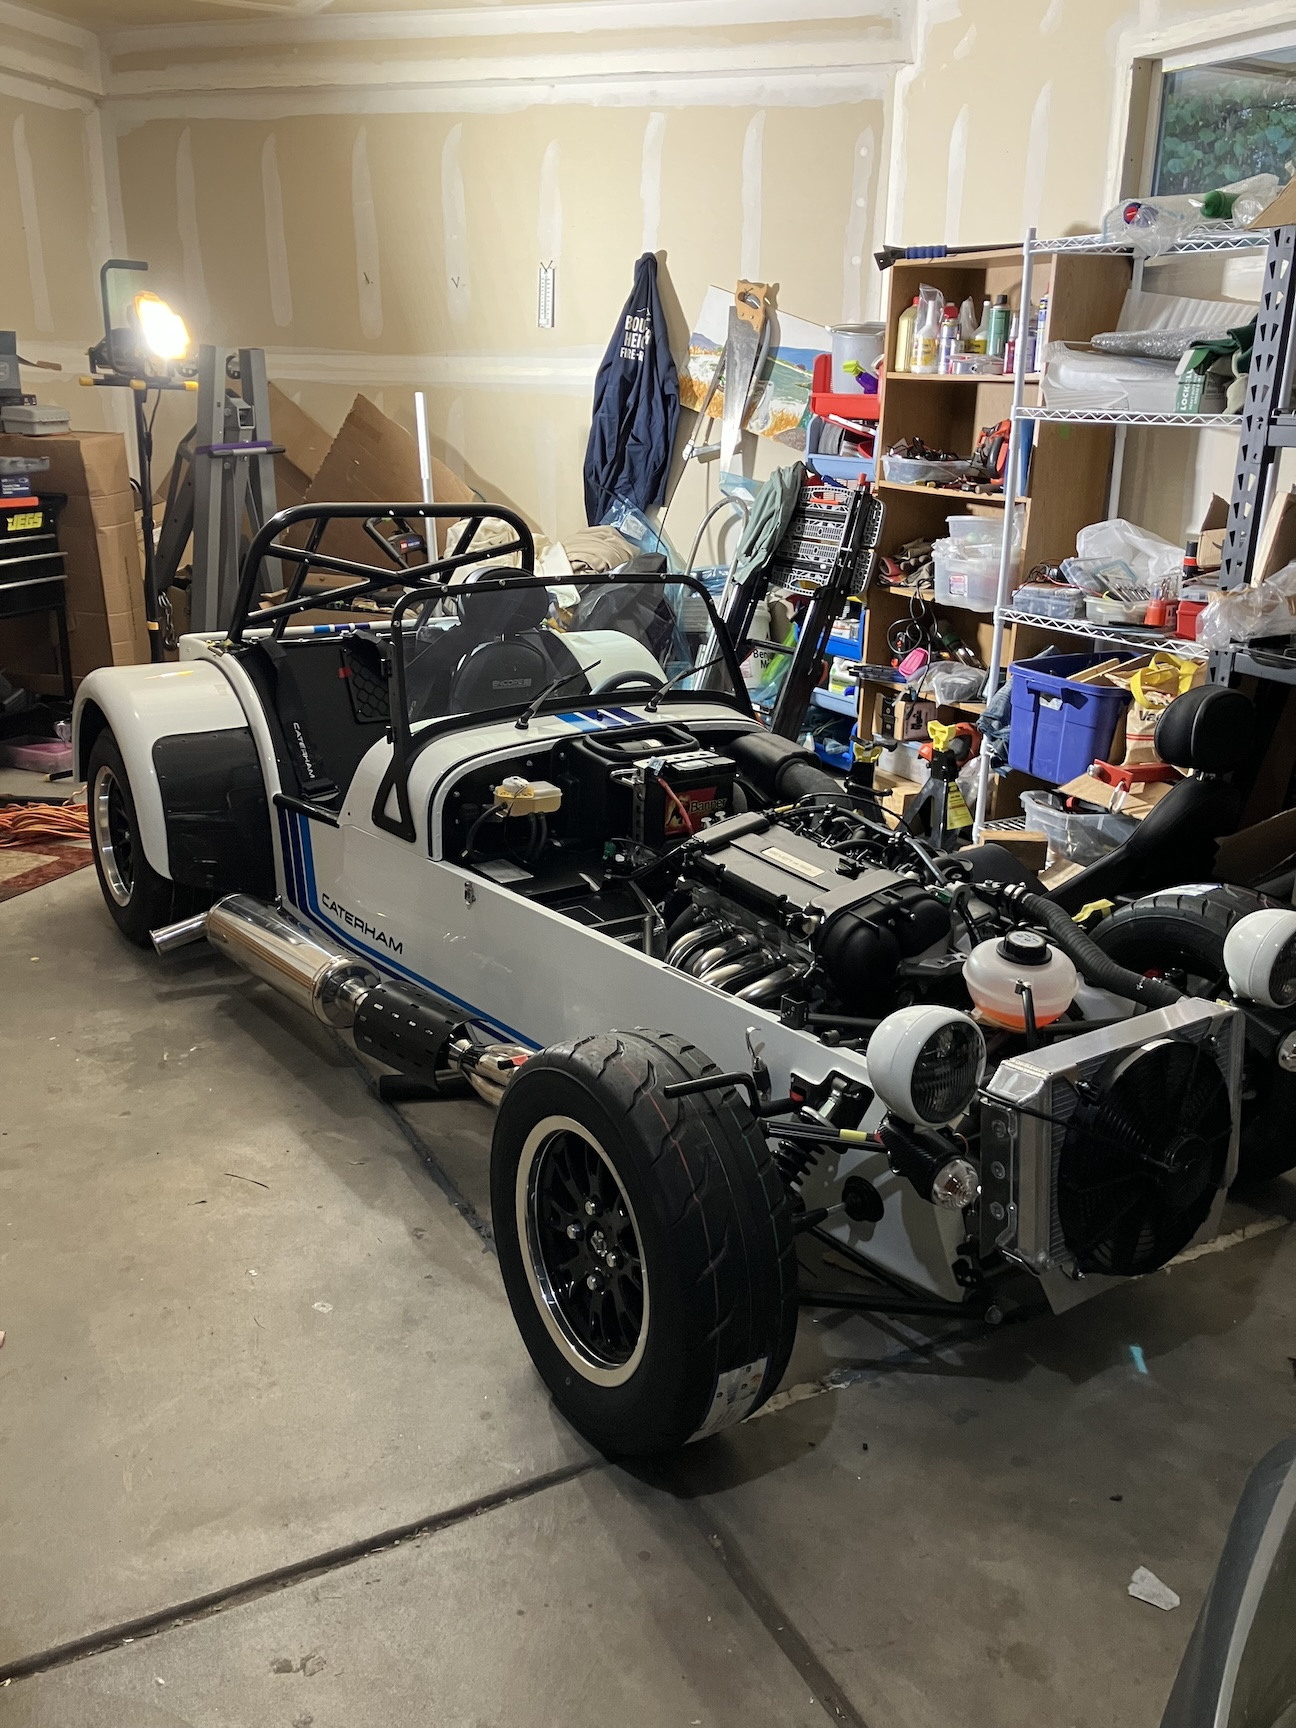
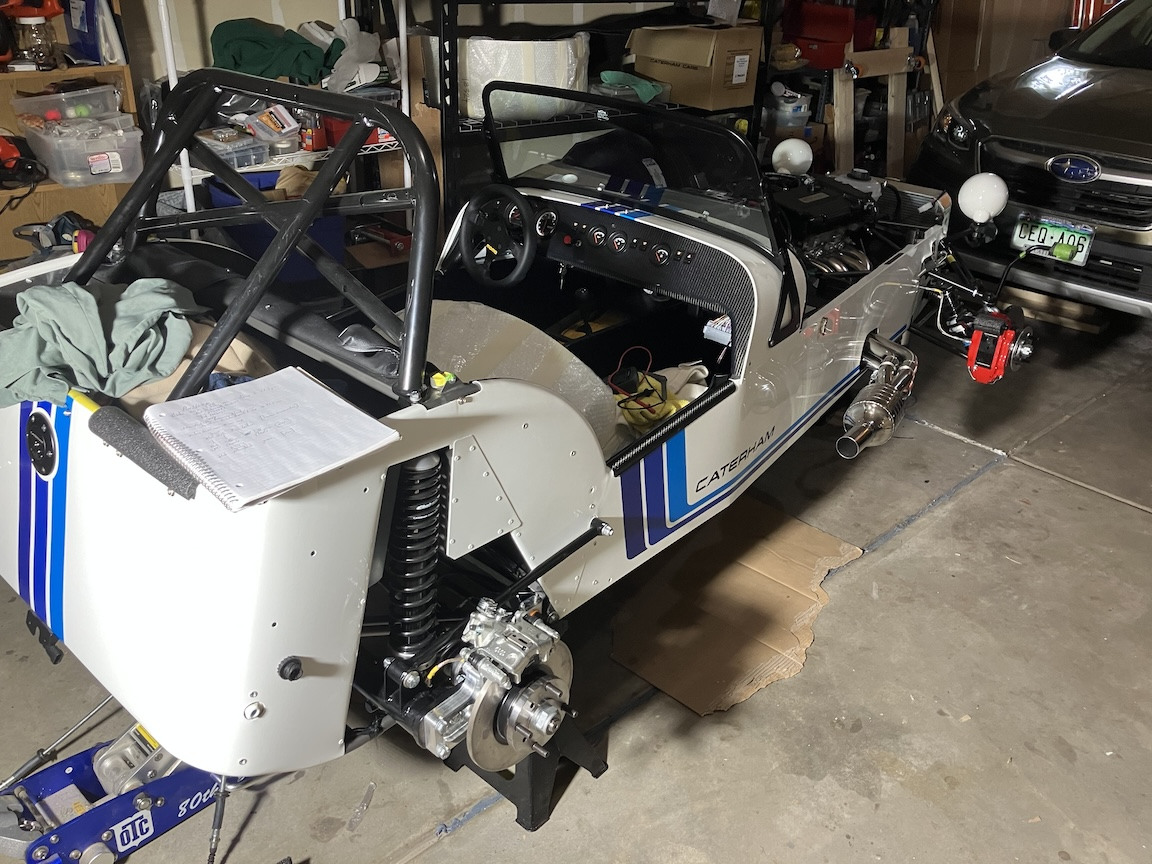
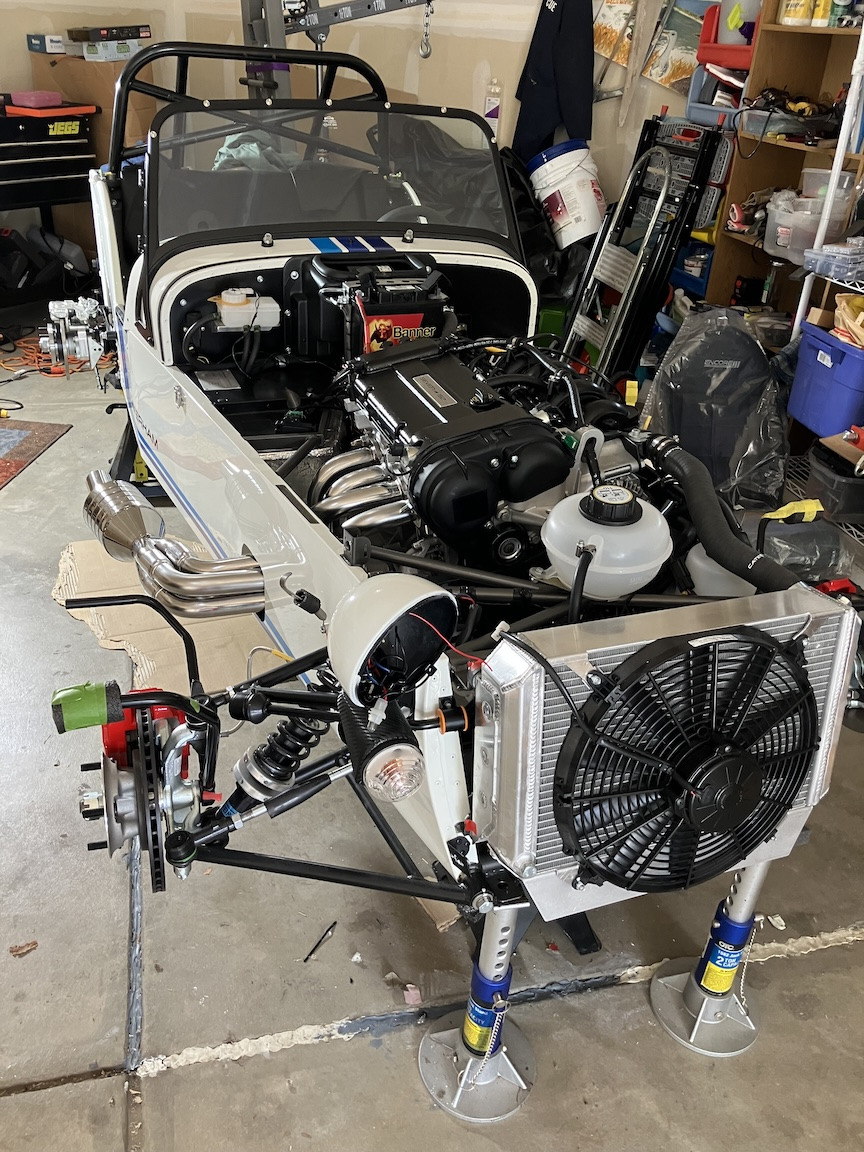
First start today. Some observations about this initial start process: - Added about 4.4 gallons (~17 liters) of 91 octane gas. - Charged the battery and connected it (positive terminal first). - Followed the recommended procedure of disconnecting the inertia switch to allow the engine to build oil pressure without engine start. After just a few bursts of cranking for a few seconds each, the oil pressure rose quickly to normal level. - But don't forget the big red button. I initially forgot that the ignition key doesn't control the starter. duh. Remembering to push the button helped more than my initial cussing. - After re-connecting the inertia switch, it only took maybe 2 or 3 periods of cranking, for a few seconds with a pause between each, for the engine to start and then settle into a nice idle at around 1200 rpm. Exhaust is surprisingly quiet at idle. - After 10 minutes of idling, the temperature gauge hadn't started rising at all, although the needle lifted slightly off its "peg" position when the ignition was turned on so it seemed that the gauge was getting power. Air temperature here was in the mid-40's today, so I wasn't sure whether I had sensor issues, cooling system issue, or simply needed more time for the car to warm up. I checked the connection at the temperature sender on the submarine, which seemed OK. No loose connections at the temperature gauge. Coolant in the overflow bottle had dropped to nearly empty though, so I clearly had some air still in the system. Raising the front of the car, removing the radiator bleed bolt, squeezing the top radiator hose to burp some air, and then adding more coolant resulted in the coolant level being at or near the bleed bolt. I also checked that the cabin heater's valve was fully open. After re-starting the car and giving it a bit more gas (up to about 3000 rpm; per recommendation of Josh at RMC), the temperature gauge quickly registered a change and then inched up to a normal operating temperature. The cooling fan started once the gauge showed roughly 100 C. So, looks like all OK so far. - The alternator warning stayed lit during the first start period where I had avoided applying any throttle at all (per recommendations). The warning light went out later after getting the rpms up a bit. - The brake system warning light stayed on until I remembered that it also is lit when the handbrake is on. - Took a little trip out of the driveway and around the cul-de-sac. The driveway transition is pretty high so I took that at an sharp angle, and very slowly. No bottoming out, fortunately. - No leaks yet. - Put on the hood/bonnet and nose cone for the first time. - Opened a beer to celebrate.

-
310 on it's feet for the first time, and ready for the first attempt at engine start. Need to make a few trips to the gas station with my 1.5 gallon gas can.
-
So you're finding that, with a half-hood and no doors plus the rear shield, you get much less buffeting than with a half-hood and no doors alone?
-
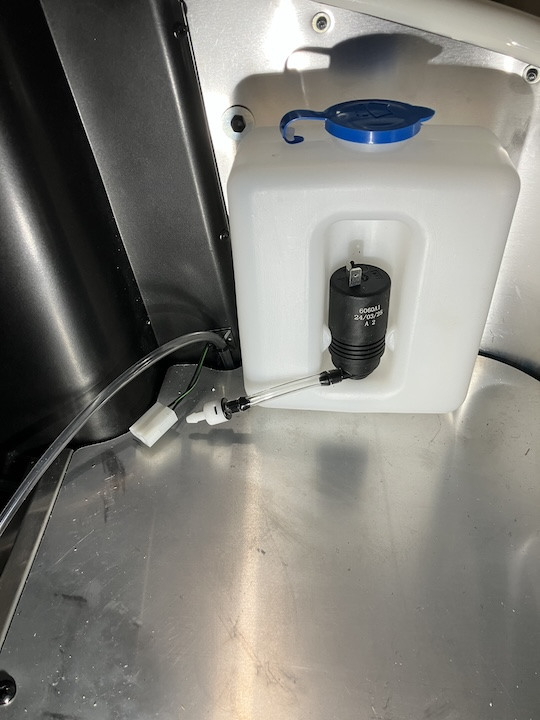
I've been told that the two-wire connector is most likely an (unused) connector for a power outlet that can be installed in the rear bulkhead. Here's the connector for the washer fluid bottle. It comes up through the boot side, next to the bottle:
-
I'll test the brake-light possibility. Chrisp993 had noted that there are also two unused spade connectors bundled in with the rear light wiring on the RHS inside the wheel well that can be used to operate a high-level brake light. I had trouble finding these, since they were surrounded by the larger black connectors, all zip-tied in a cluster.
-
Unidentified Connectors at Rear of Transmission Tunnel Can anyone confirm the purposes of these two spade connectors? These were zip-tied to the frame at the rear of the transmission tunnel, near the brackets for the handbrake cable. As was done in one of the build blogs, I decided to cut them loose before pop-riveting on the tunnel cover so that they'd be available for whatever. The 2-place connector has a purple-and-red wire and a black wire. That pairing corresponds to an optional connector labeled "Power Socket" in the main wiring harness diagram. The other, single, connector has a red/white wire, which mightbe consistent with being a 12V+ line that's live when the parking lights are on. However, with ignition on, I get no (multimeter-measured) voltage with the single-wire connector grounded to the frame, and connecting between the purple/red wire and the black wire results in a strange-to-me cycling between roughly 0, 3 and 6V.
-
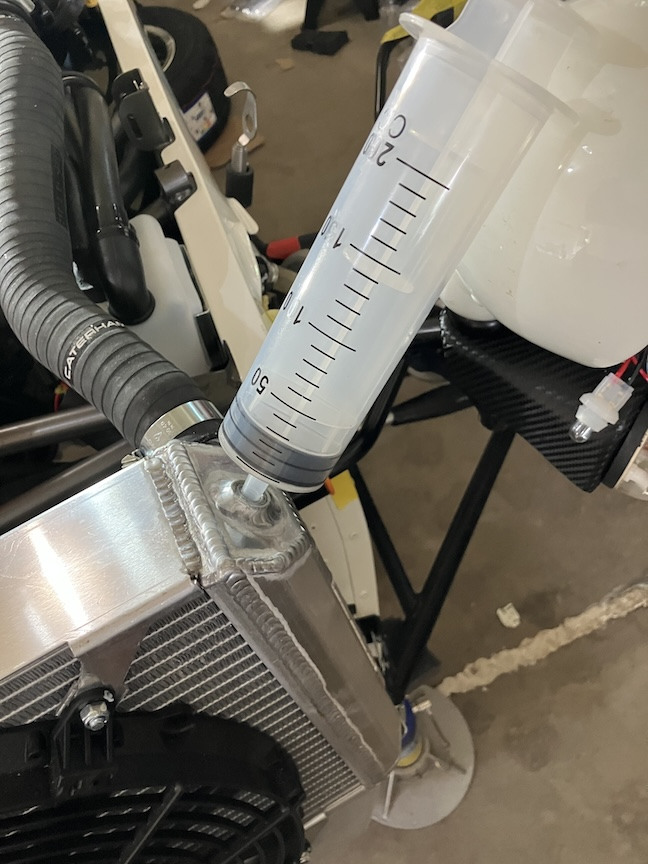
A simple "vacuum assist" for coolant fill When adding coolant, I was finding that the rate at which the system was filling was going REALLY slowly. This was after having disconnected the top hose connected to the heater manifold piping and having remove the plug from the top RHS of the radiator. I could track the fill progress by running a long zip tie into the radiator plug opening, in dip-stick mode. I decided to try to speed things up by sucking air from the radiator plug opening using this large 200cc syringe. It worked well. (The syringe isn't as giant as it looks in this pic. It's about 8" long.)
-
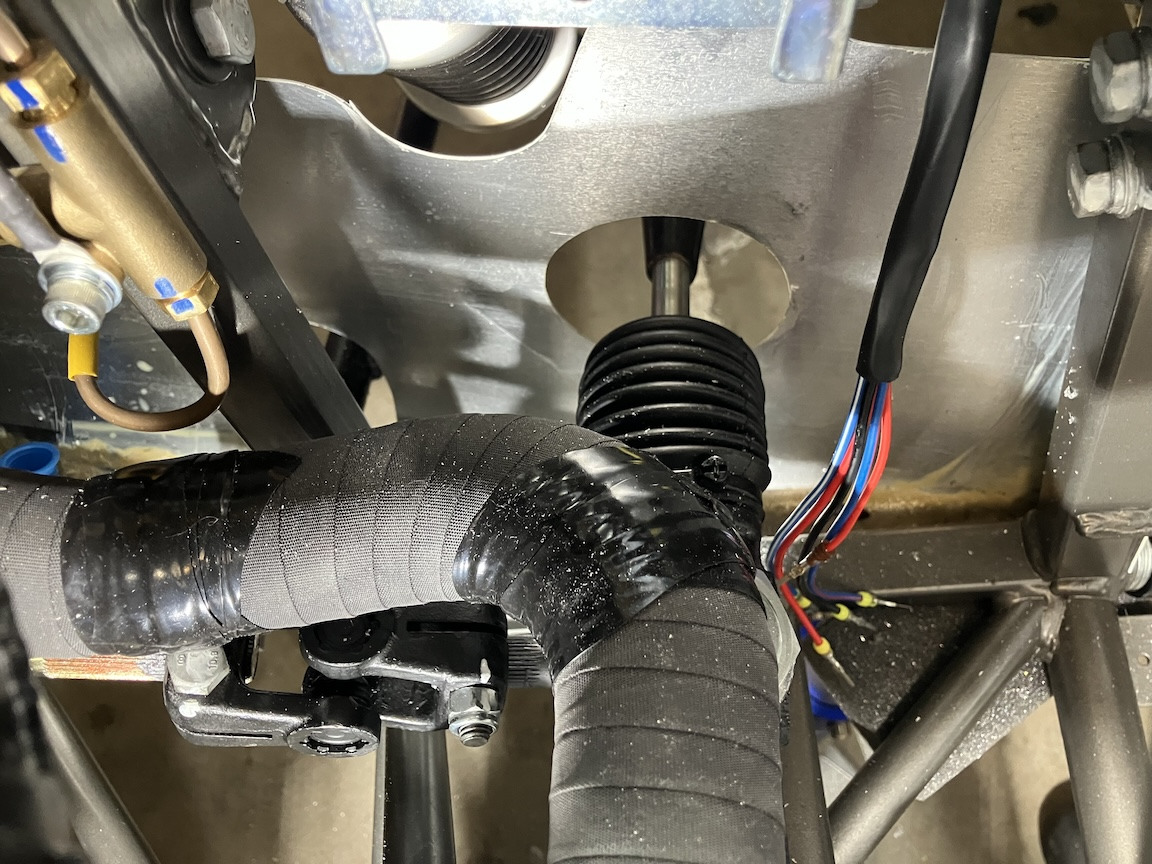
I've finally gotten all the major mechanical stuff done. Fair amount of head-scratching moments but no real problems. I'll list some of the challenges, etc. at some point, but nothing that others haven't already written about in the various build blogs. The only issue that might be unique to the Encore is the radiator hose routing, since the Encore uses a 420 radiator but has the Sigma engine's intake and outflow locations. The hose to the bottom of the radiator runs right underneath the overflow bottle. Without doing something to lift the hose, it would rest lightly on the steering arm U-joint. I managed to lift it to rest just slightly clear of the U-joint using zip ties and a P clip, and I added some silicone tape around the hose to avoid rubbing if the hose sags. The top radiator hose is squeezed tightly up against the top of the bottle, so there's not room to pop-rivet mount the bottle any higher. I'd considered moving the overflow bottle to the RHS of the engine bay to free up clearance for the radiator hoses , but didn't like the idea of a plastic bottle with oil in it being that close to the headers.
-
Affect of Steel and Aluminum Tariff on New Caterham Kit Pricing?
jmaz replied to Rustler's topic in General Sevens Discussion
Has anyone managed to get an IEEPA refund yet for any kit or parts purchased during the past year? -
Thanks. The remote, single reservoir that’s serving both the clutch and brake system is a different arrangement compared to older cars I’ve had. Re. the vent hole, should that be in the cover plate over then pedal box? Is the pedal box itself a location for corrosion?
-
As far as I know, there’s nothing unusual about them on this car other than having an up-rated brake master cylinder.