
Origin7
-
Posts
116 -
Joined
-
Last visited
Recent Profile Visitors
1,005 profile views


-
Down the Mirror Mount Rabbit Hole We Go...
Origin7 replied to Origin7's topic in General Fabrication
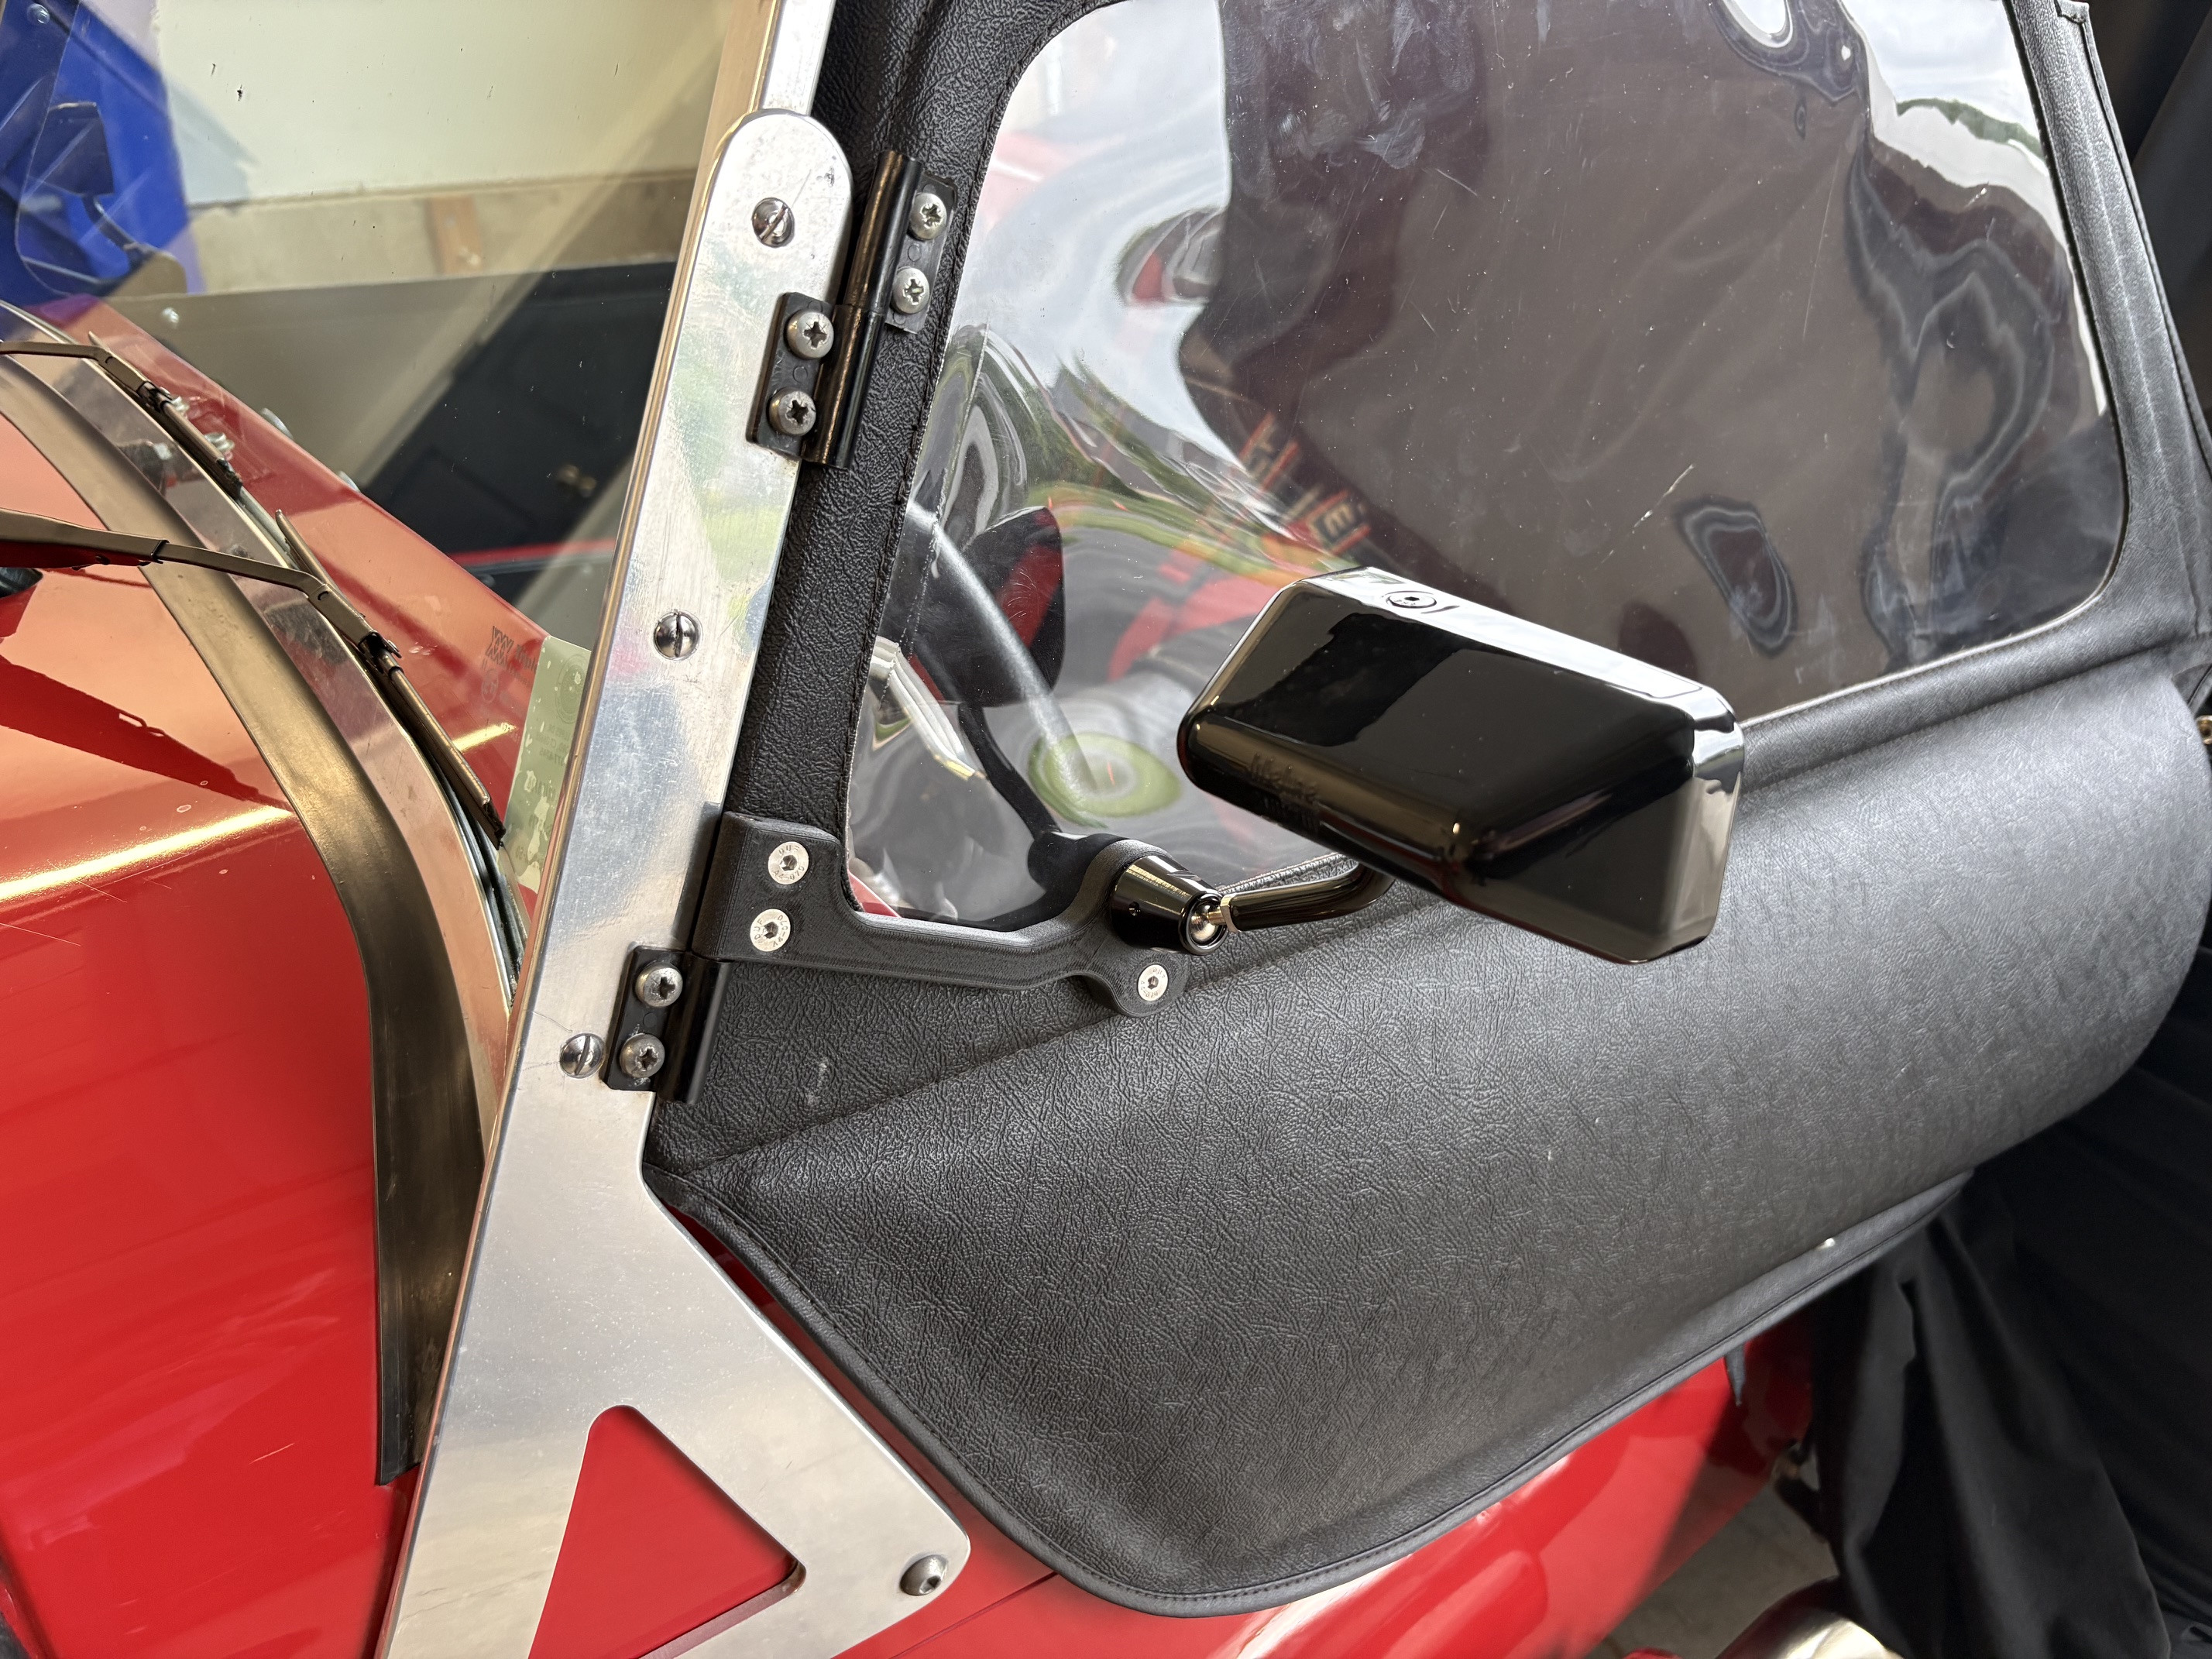
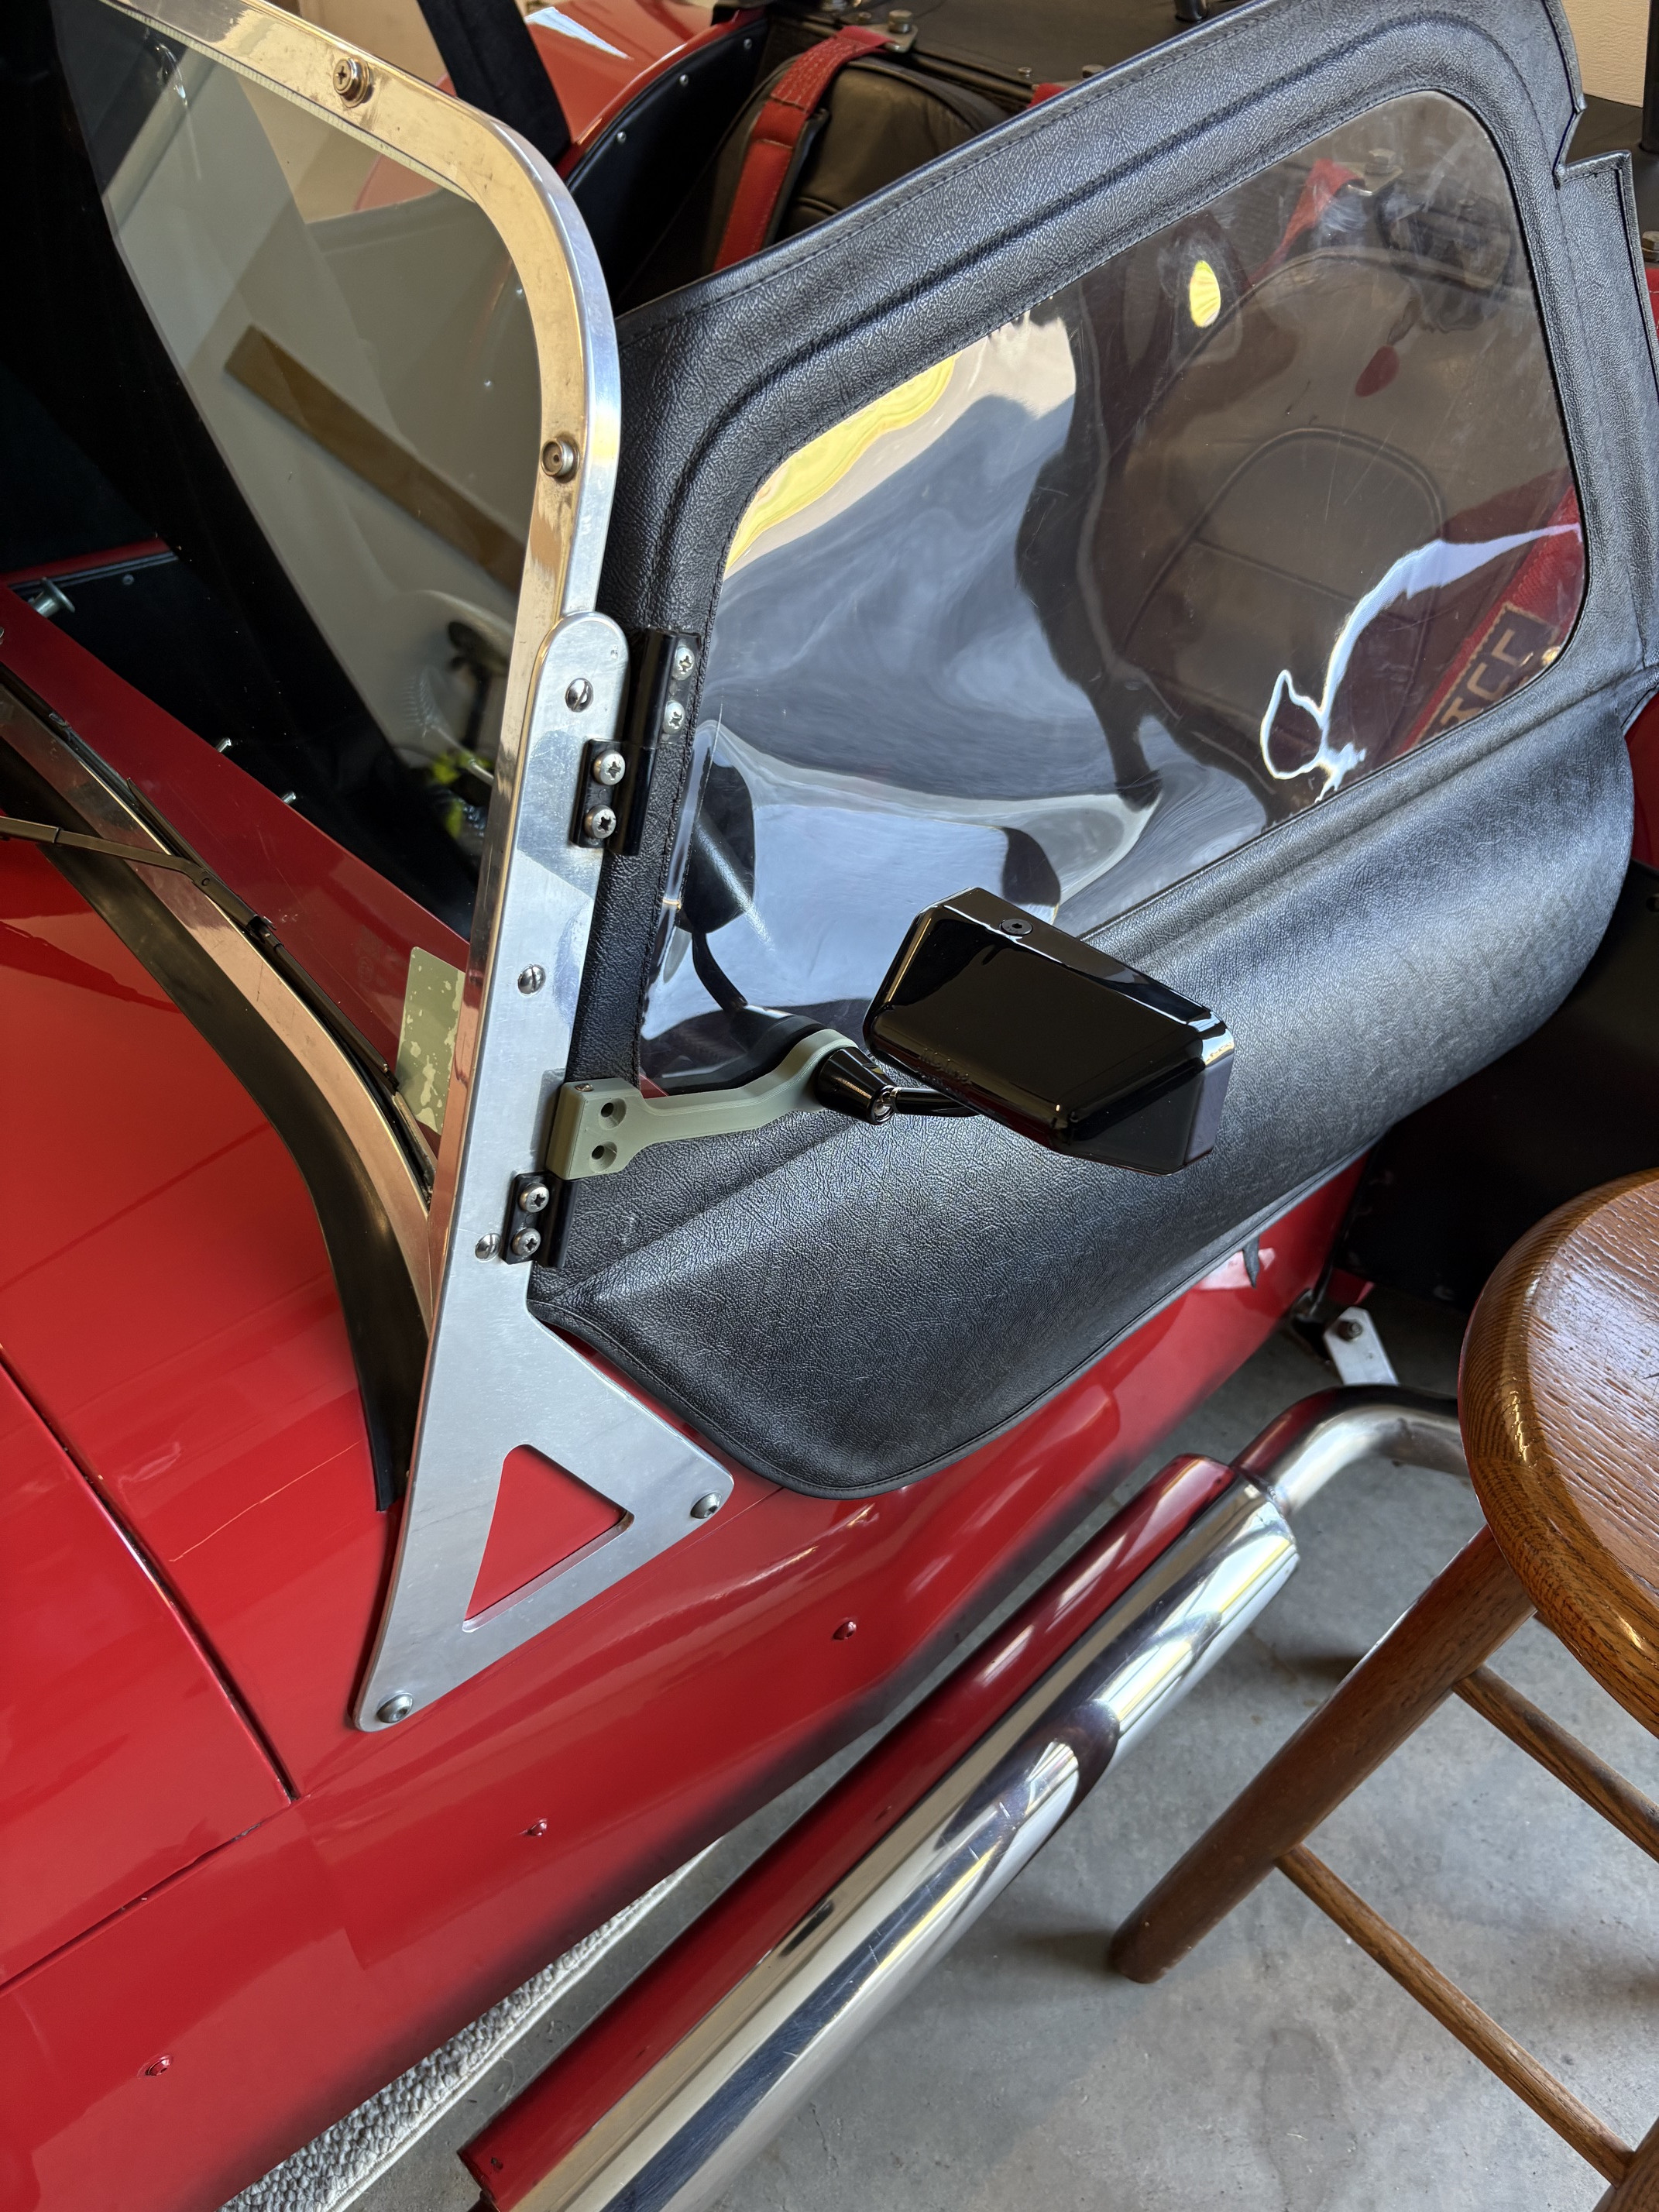
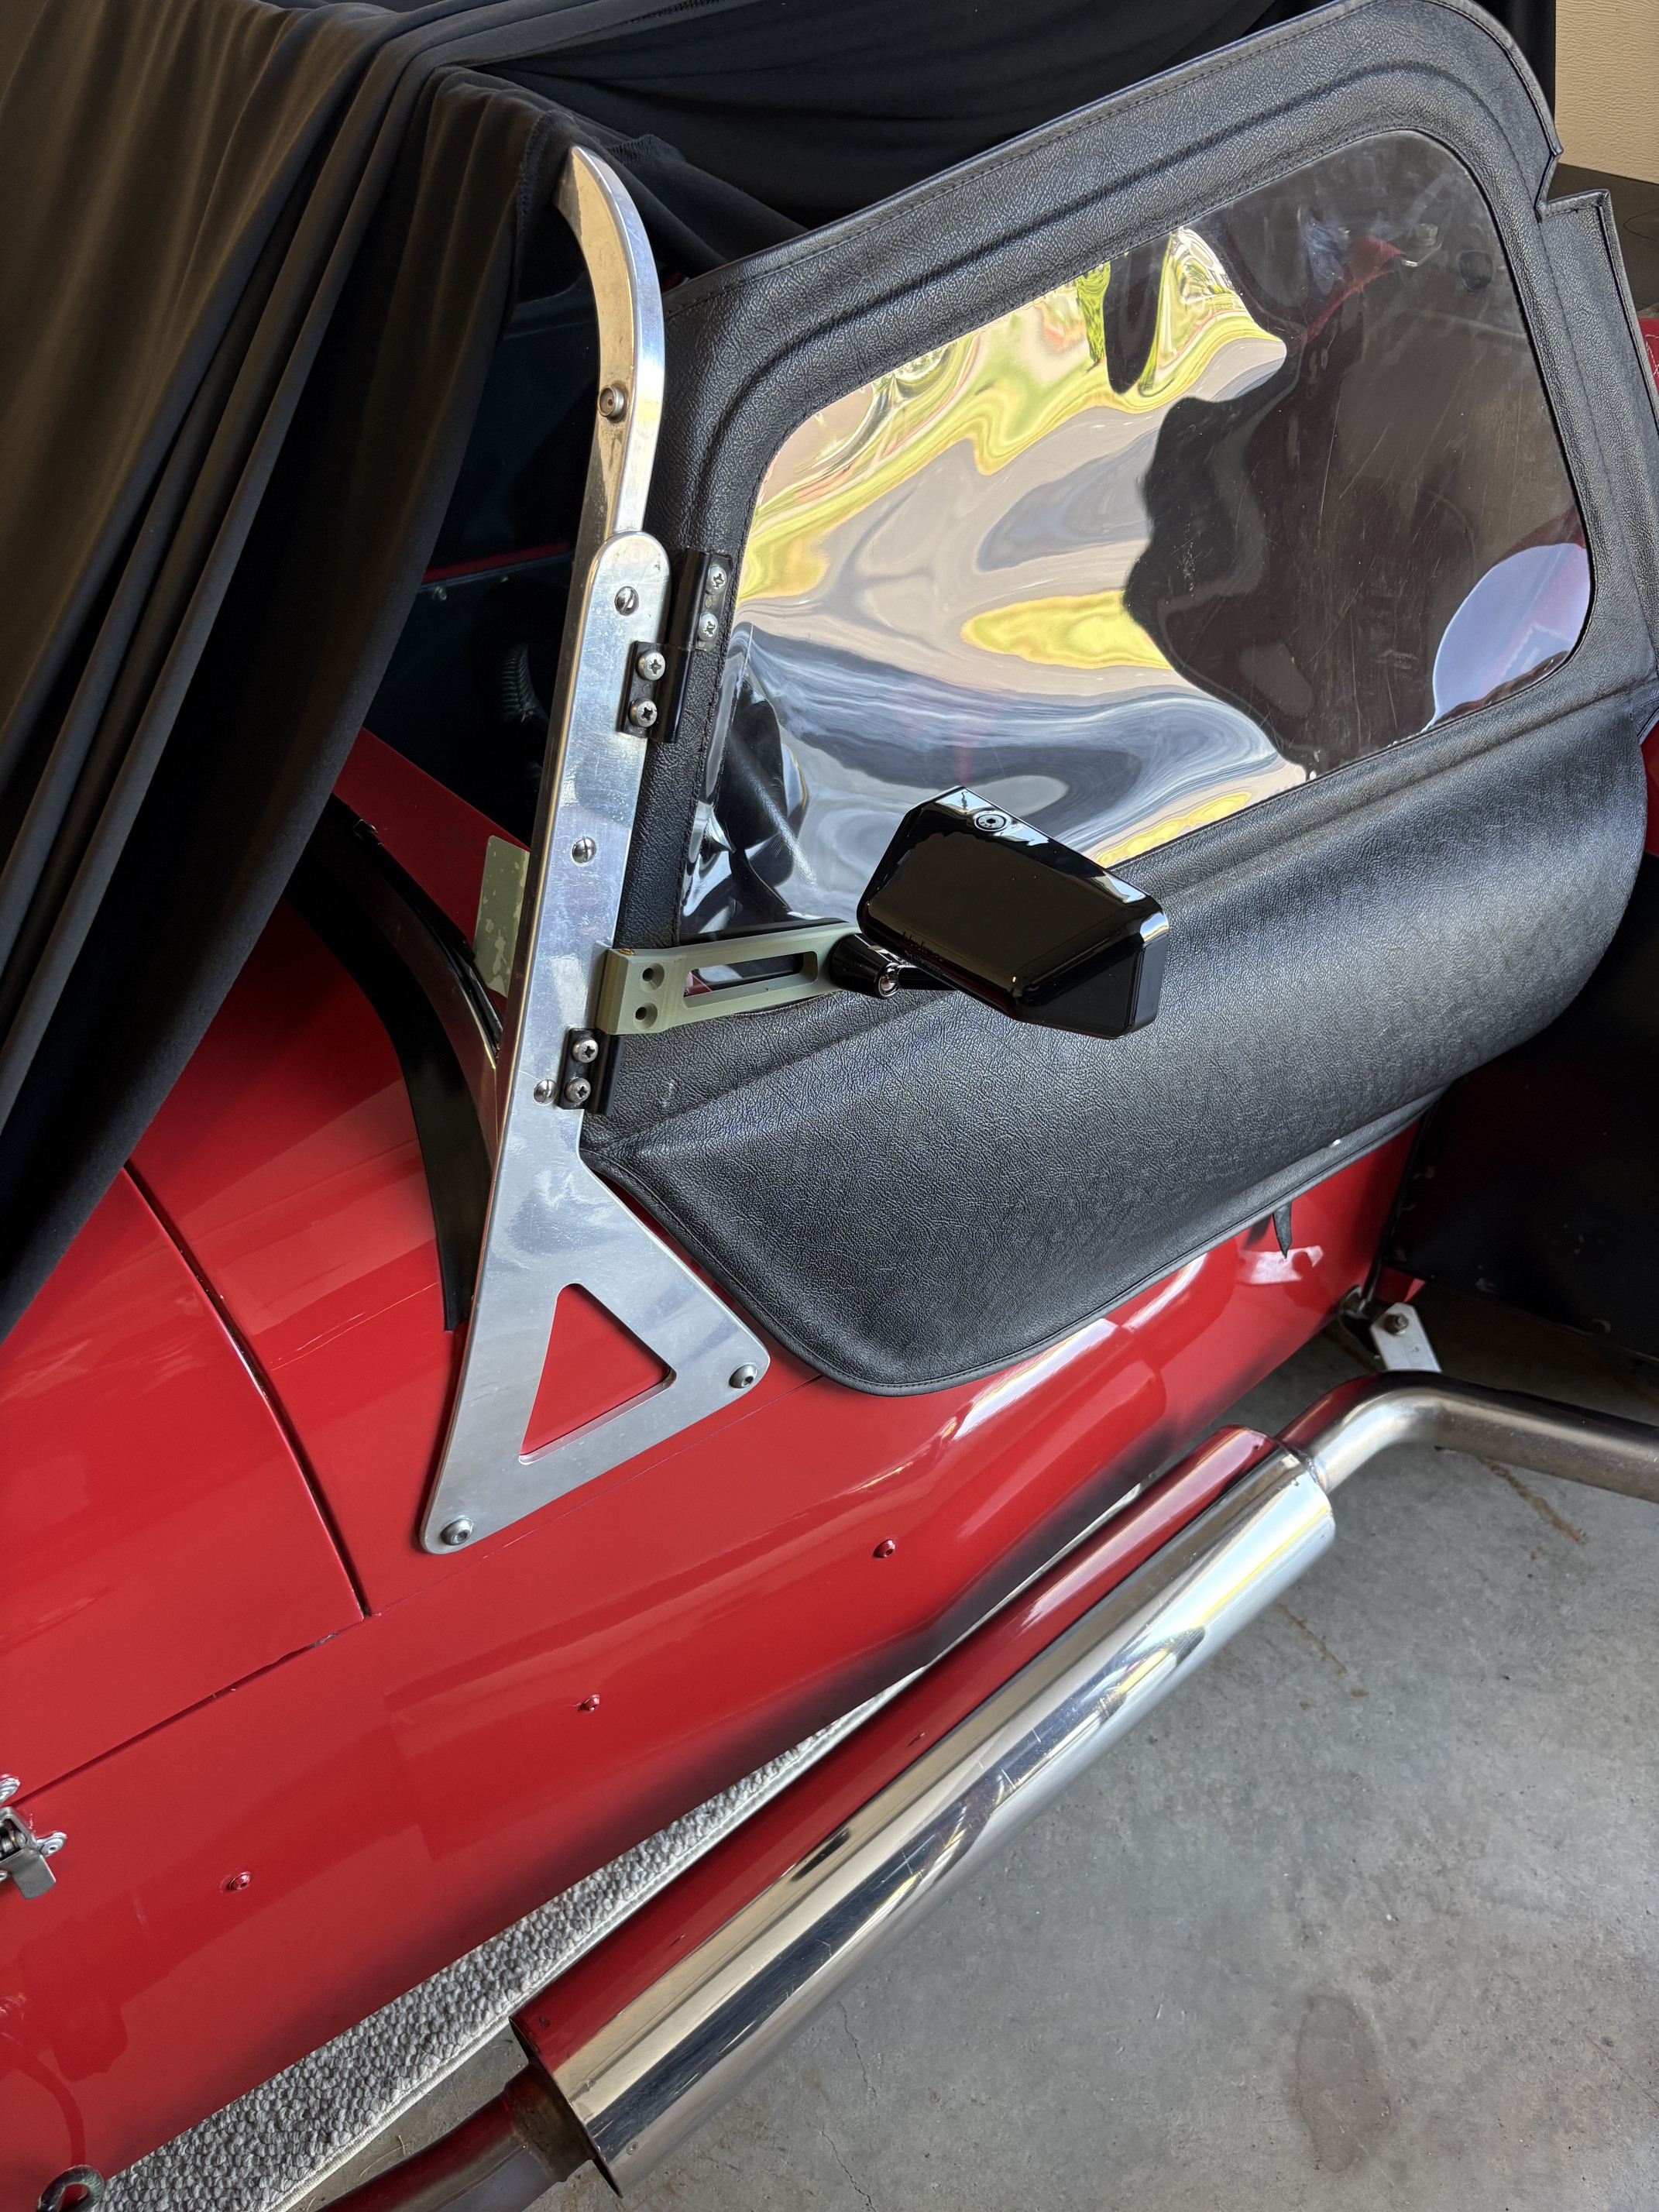
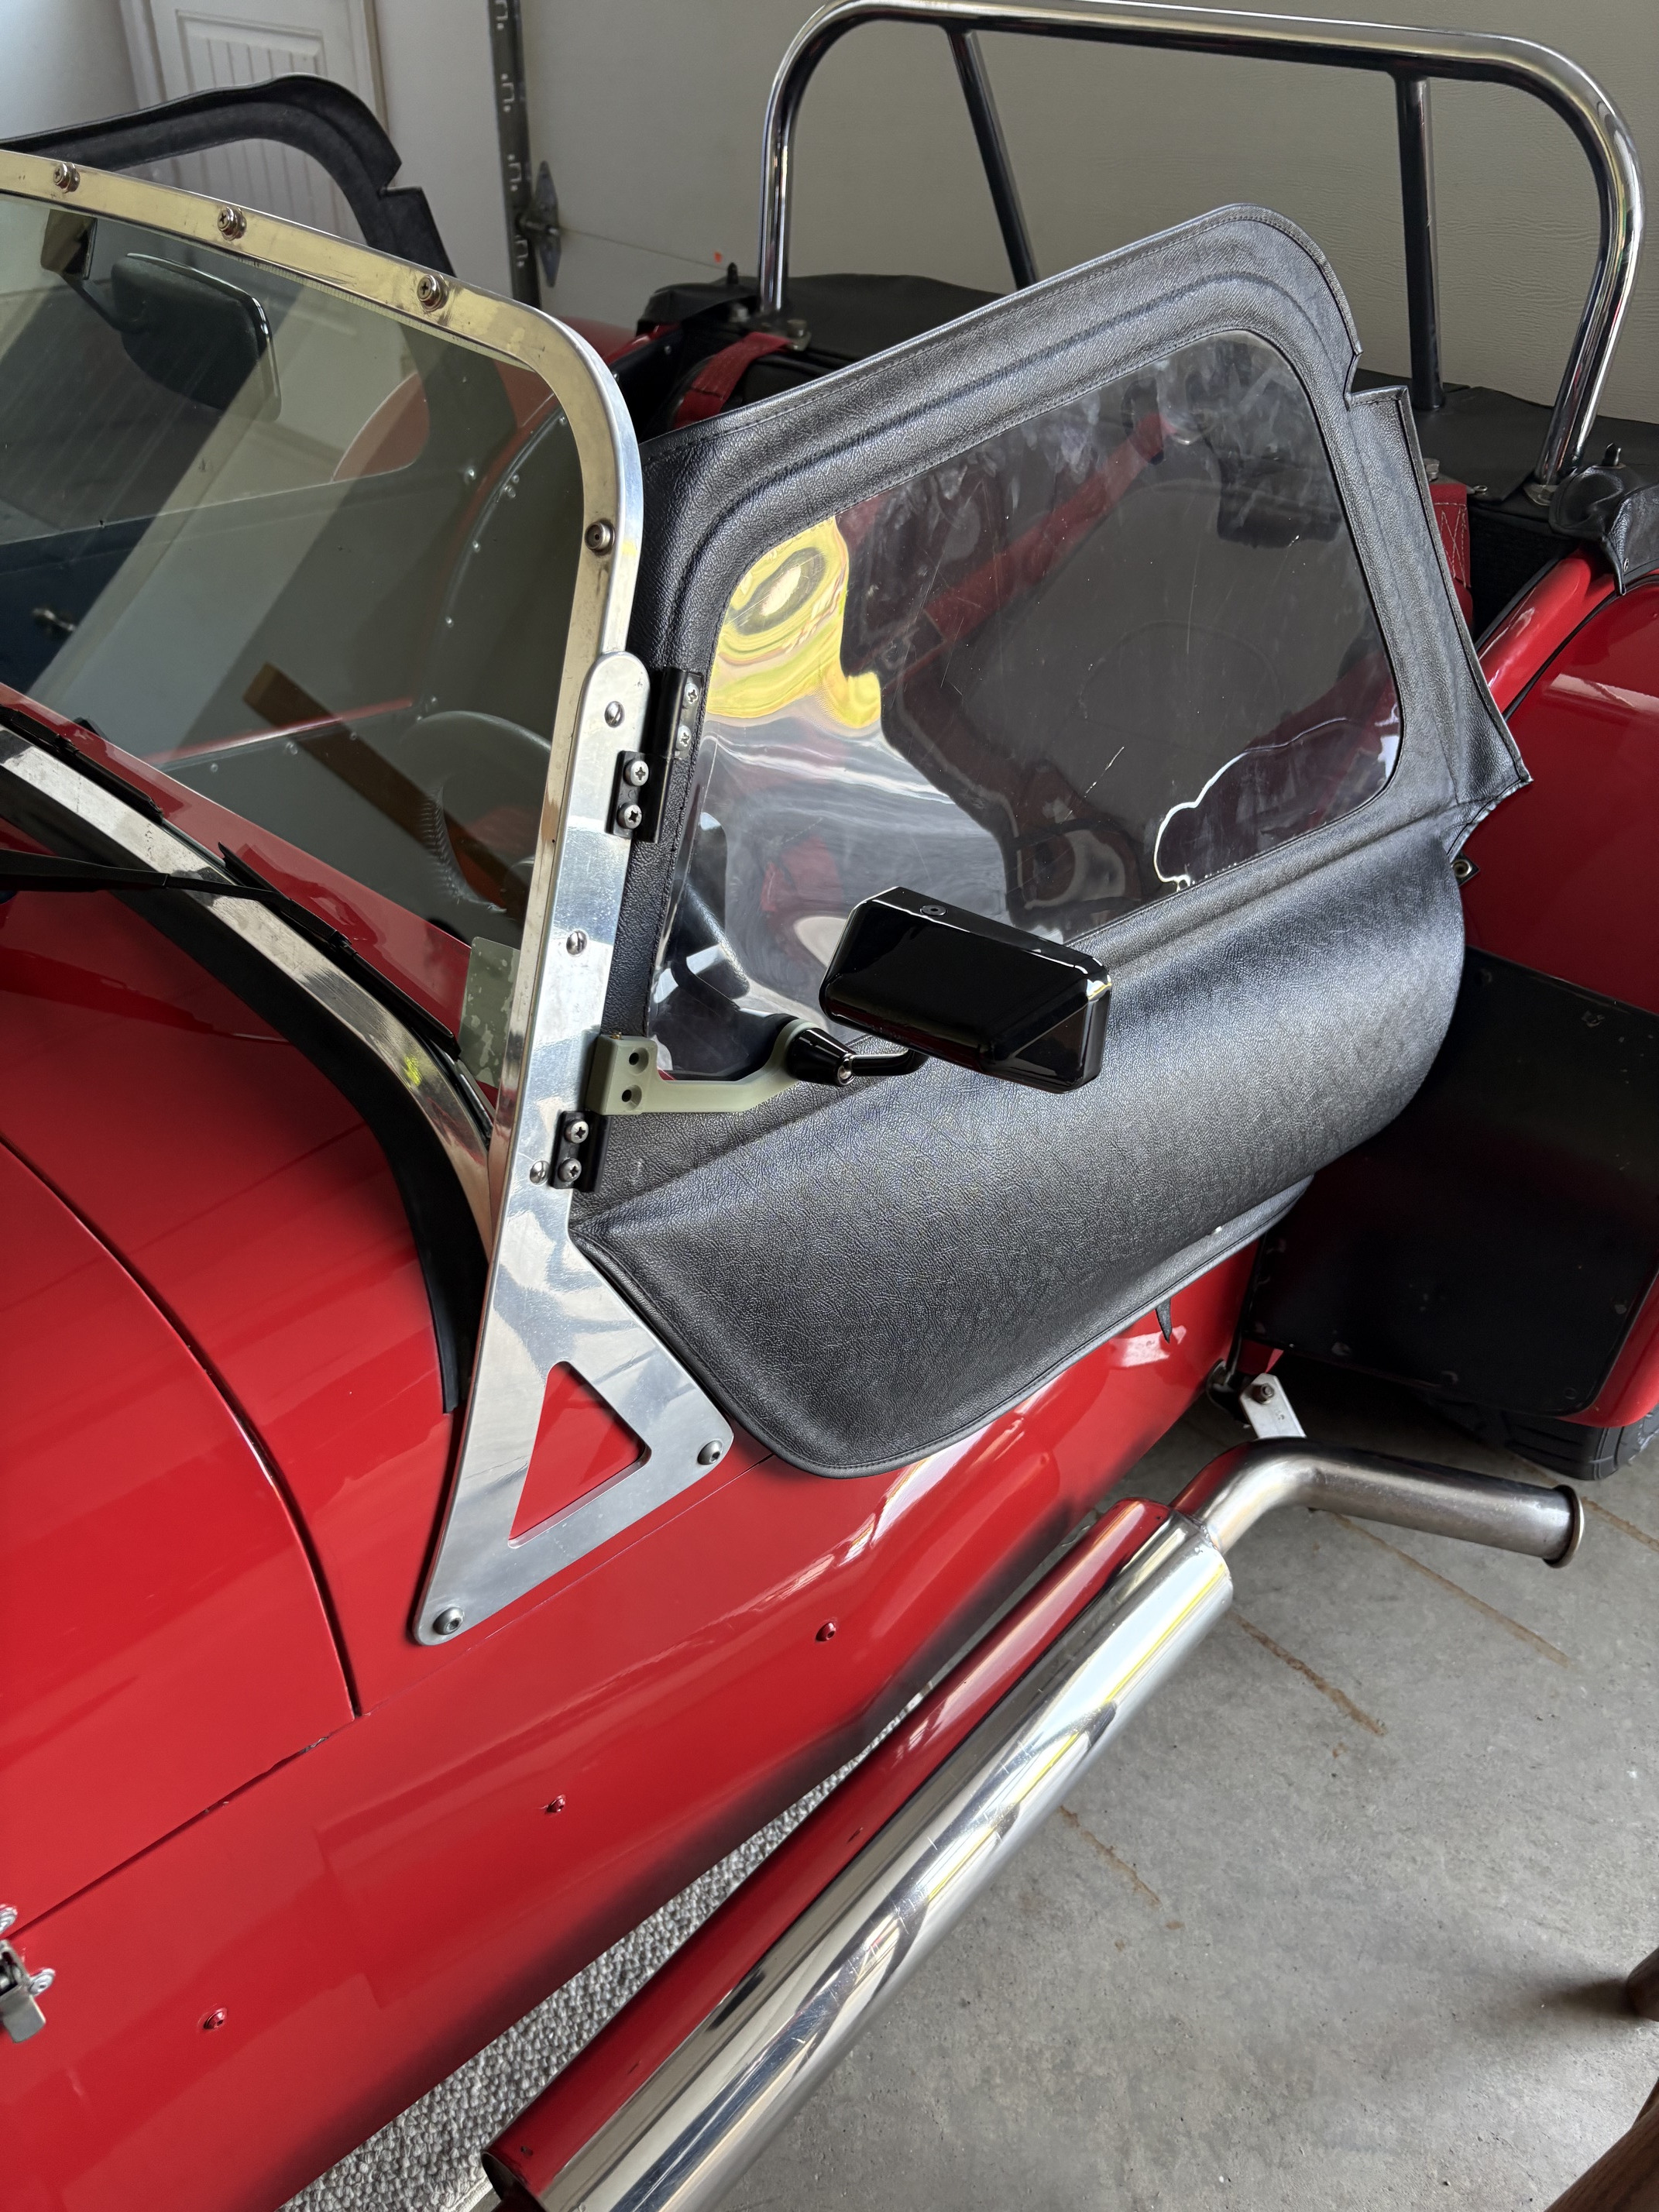
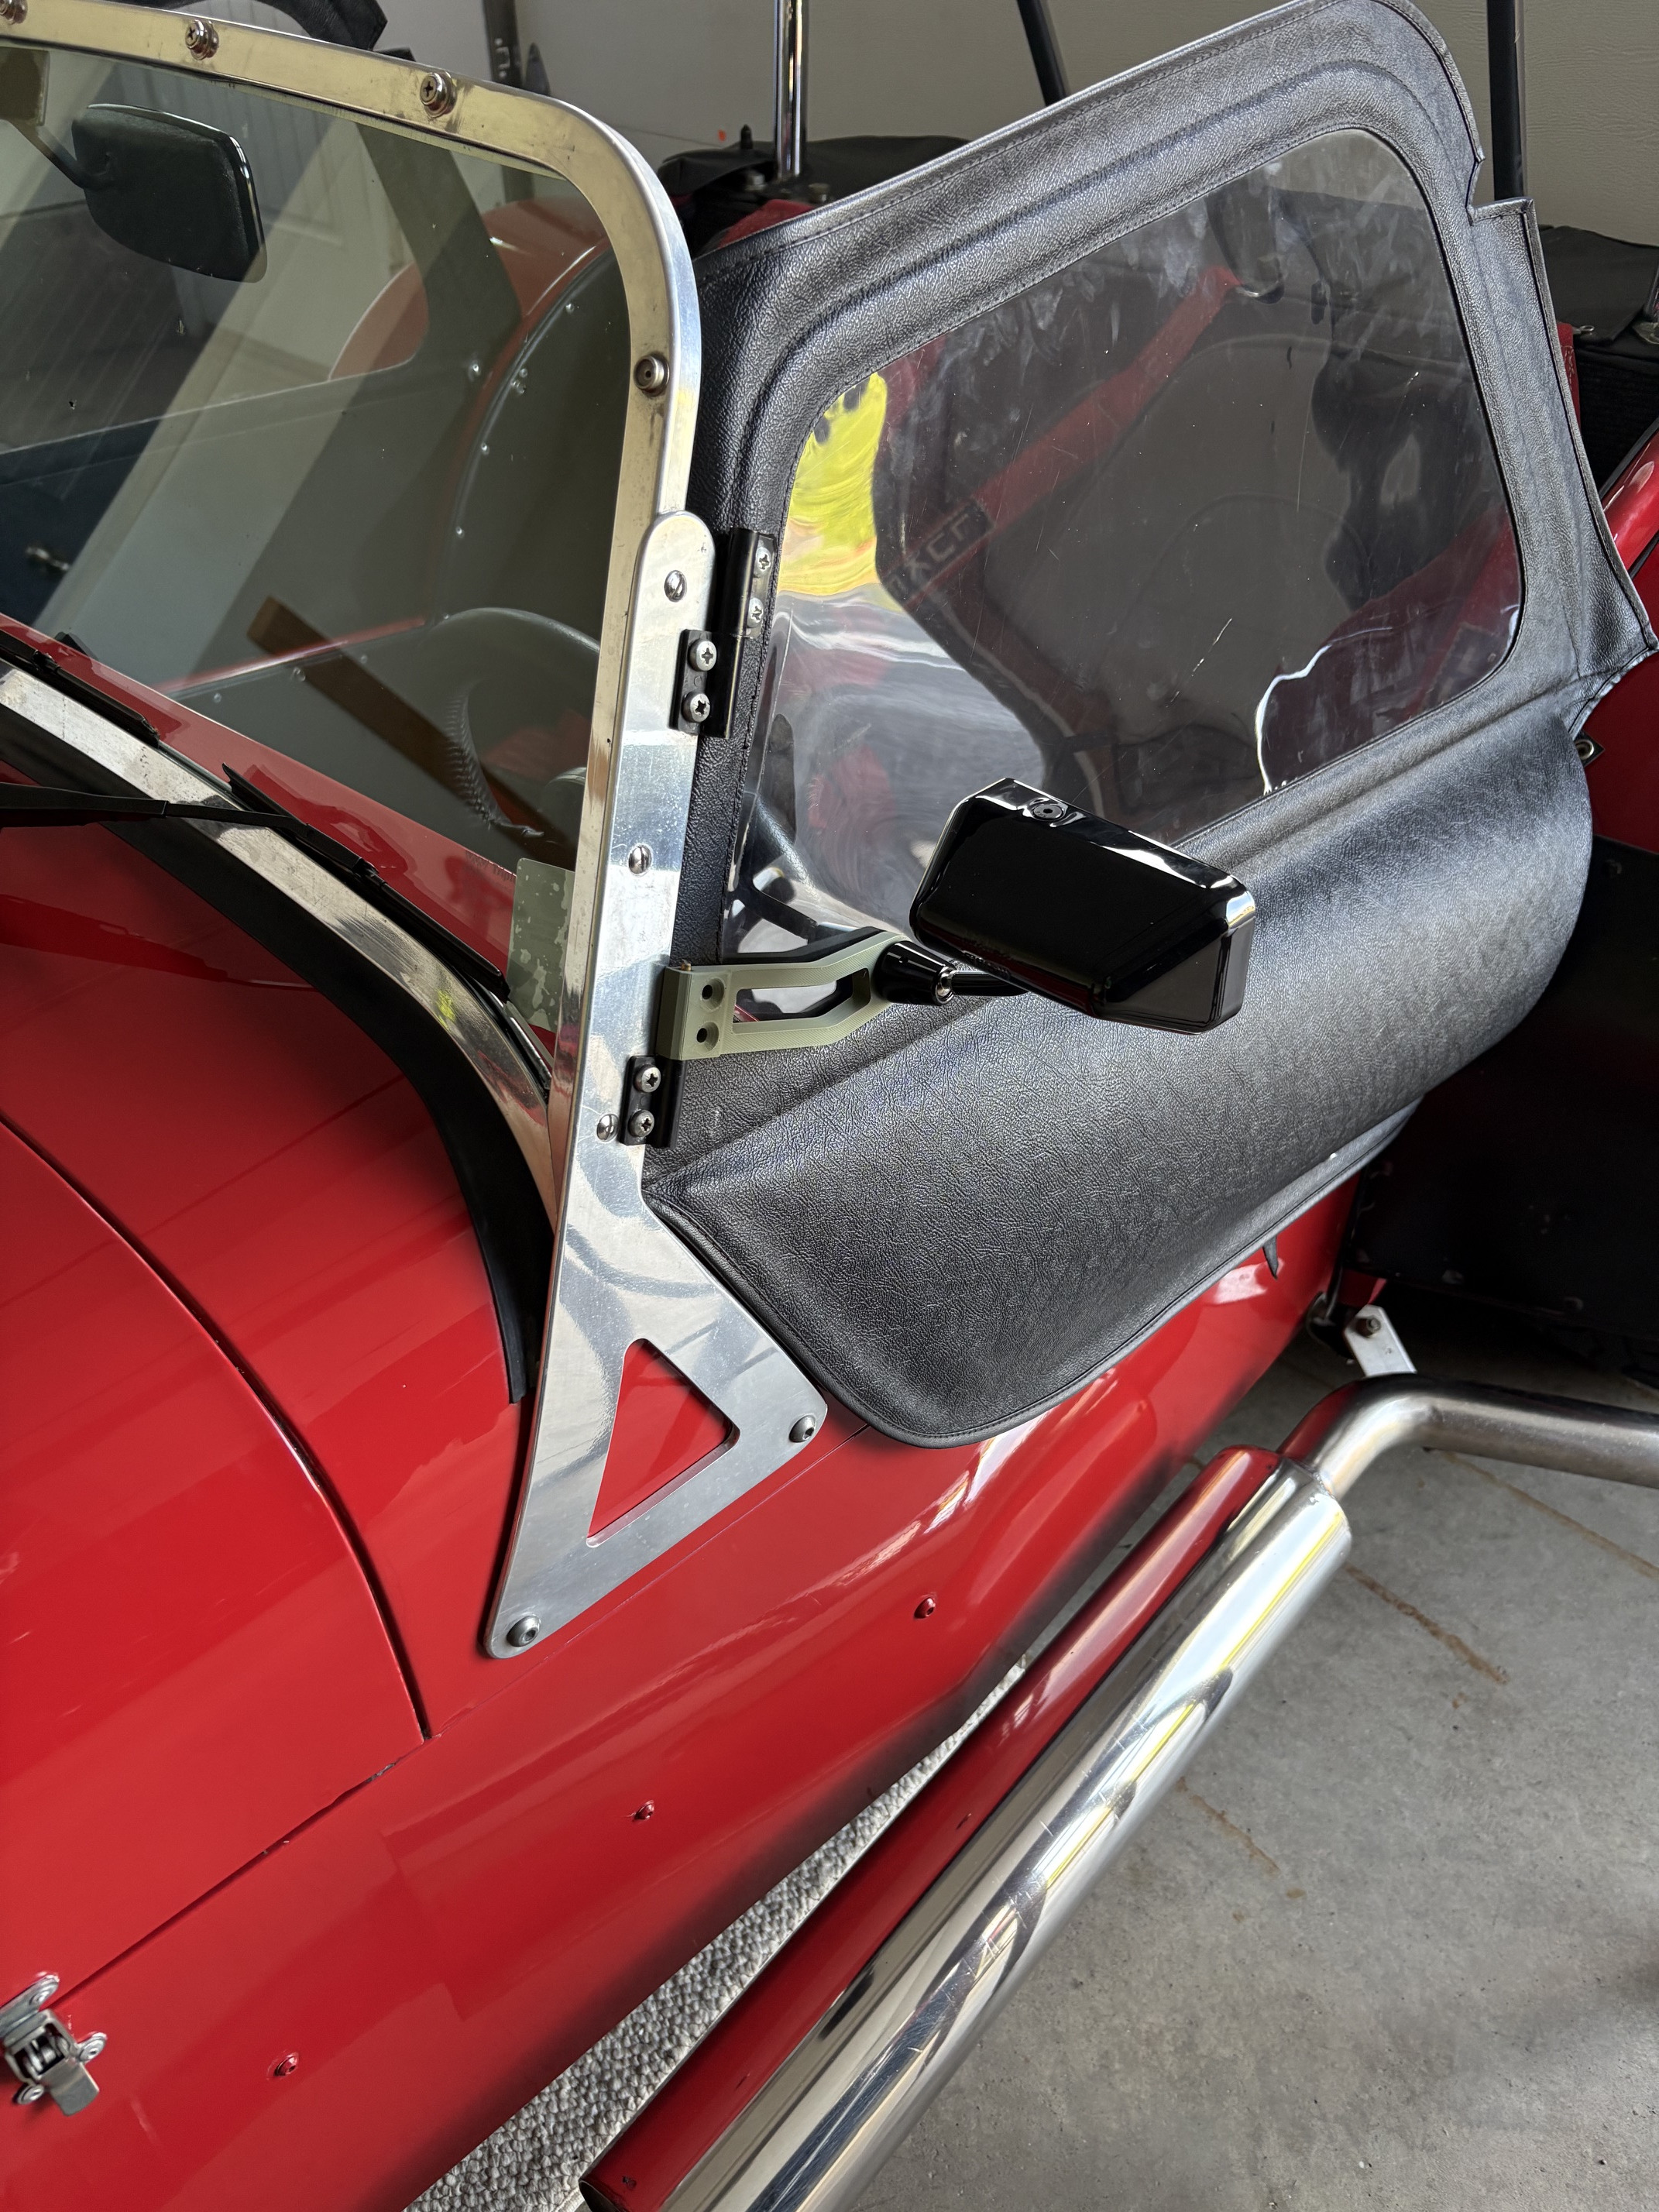
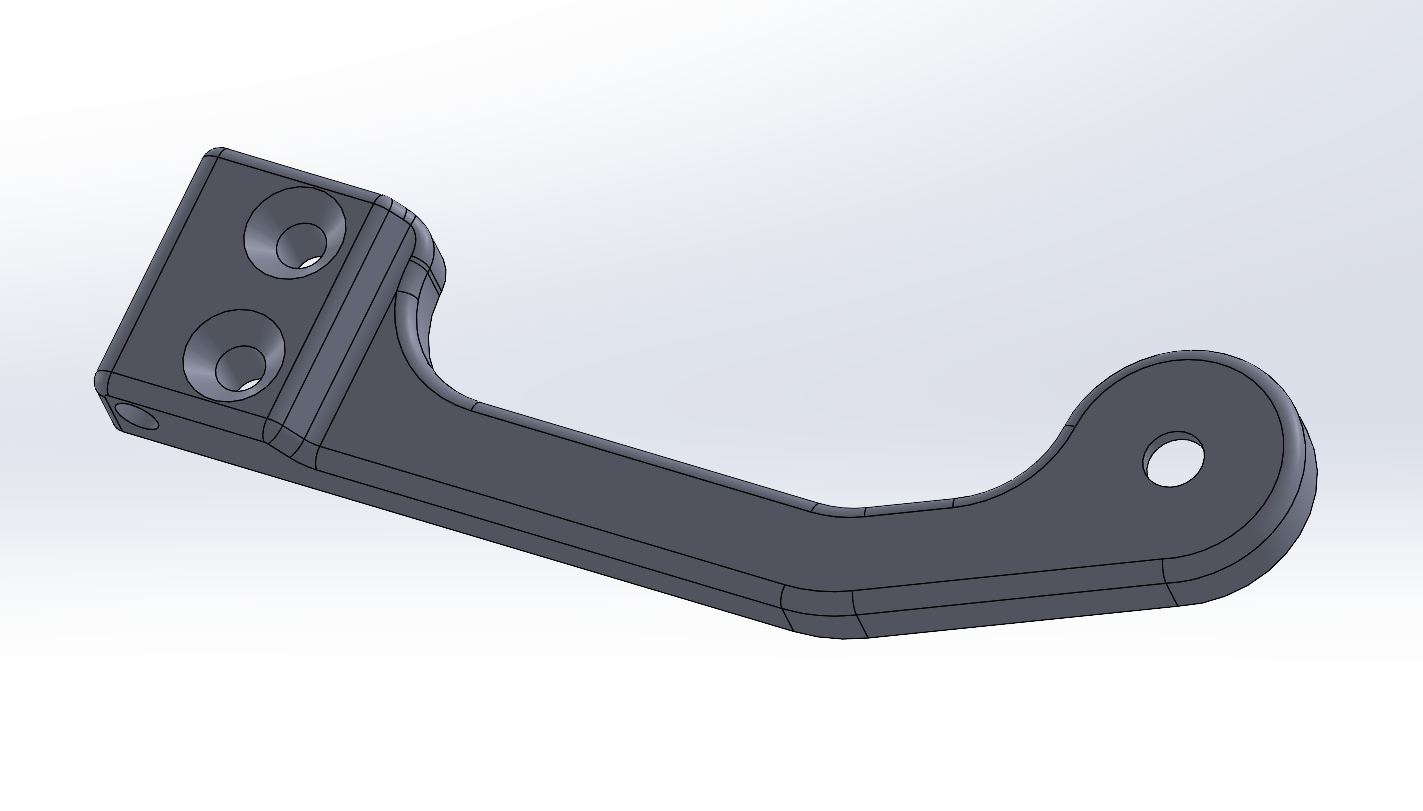
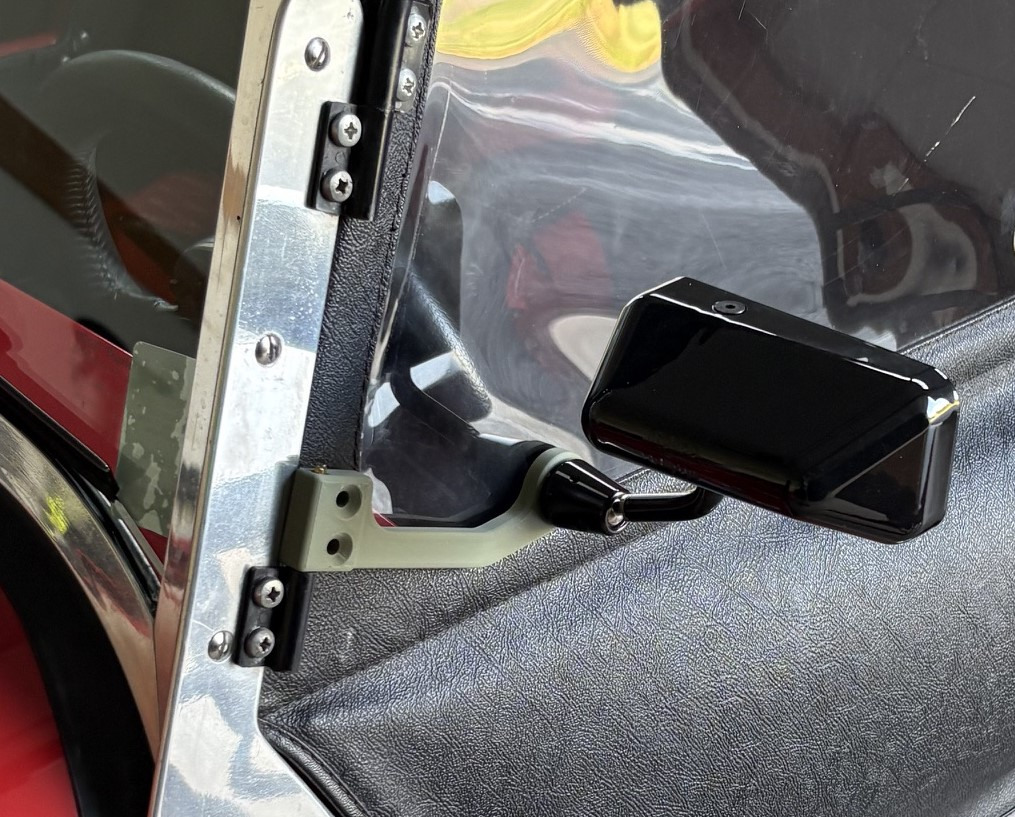
I added a 2nd point of contact to stiffen everything up in that corner of the door and reduce vibration. Here is the end product. If you want to print a set of your own, here is a STEP file. It is the left side. Just mirror it in the 3D printer software to get the other side. Print it out of ASA-CF. Heat up the brass pin with a heat gun and press-fit it. Bolts are countersunk 5mm flat heads. Drill a 5mm clearance hole in the door and secure the 2nd point. Feel free to use, modify, and distribute. Not for commercial use, please. Mirror_mount_rev5.2_FDM.STEP
-
Got it! I have the "MSA" shape. It's the smaller of the two options. It seems about right for my use. Their customer service seems good. I have a feeling they would sell you just the socket/nut portion if you wanted. I hear that it will fit SPA mirrors as well. Sounds like you're all set, though.
-
These are another nice option: https://www.lifeline-fire.com/shop/fia-formula-mirror-343?category=17#attr=1150,1145,1151,1147
-
It might just be me being hopeful, but my car cover seems to help contain smells. After regular exposure, the offended party will go "nose blind" and you can carry on per usual.
-
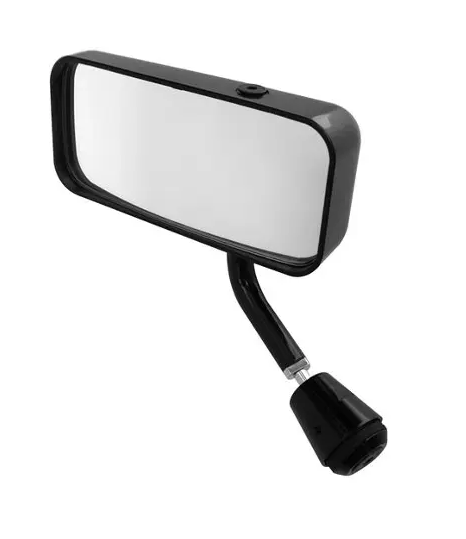
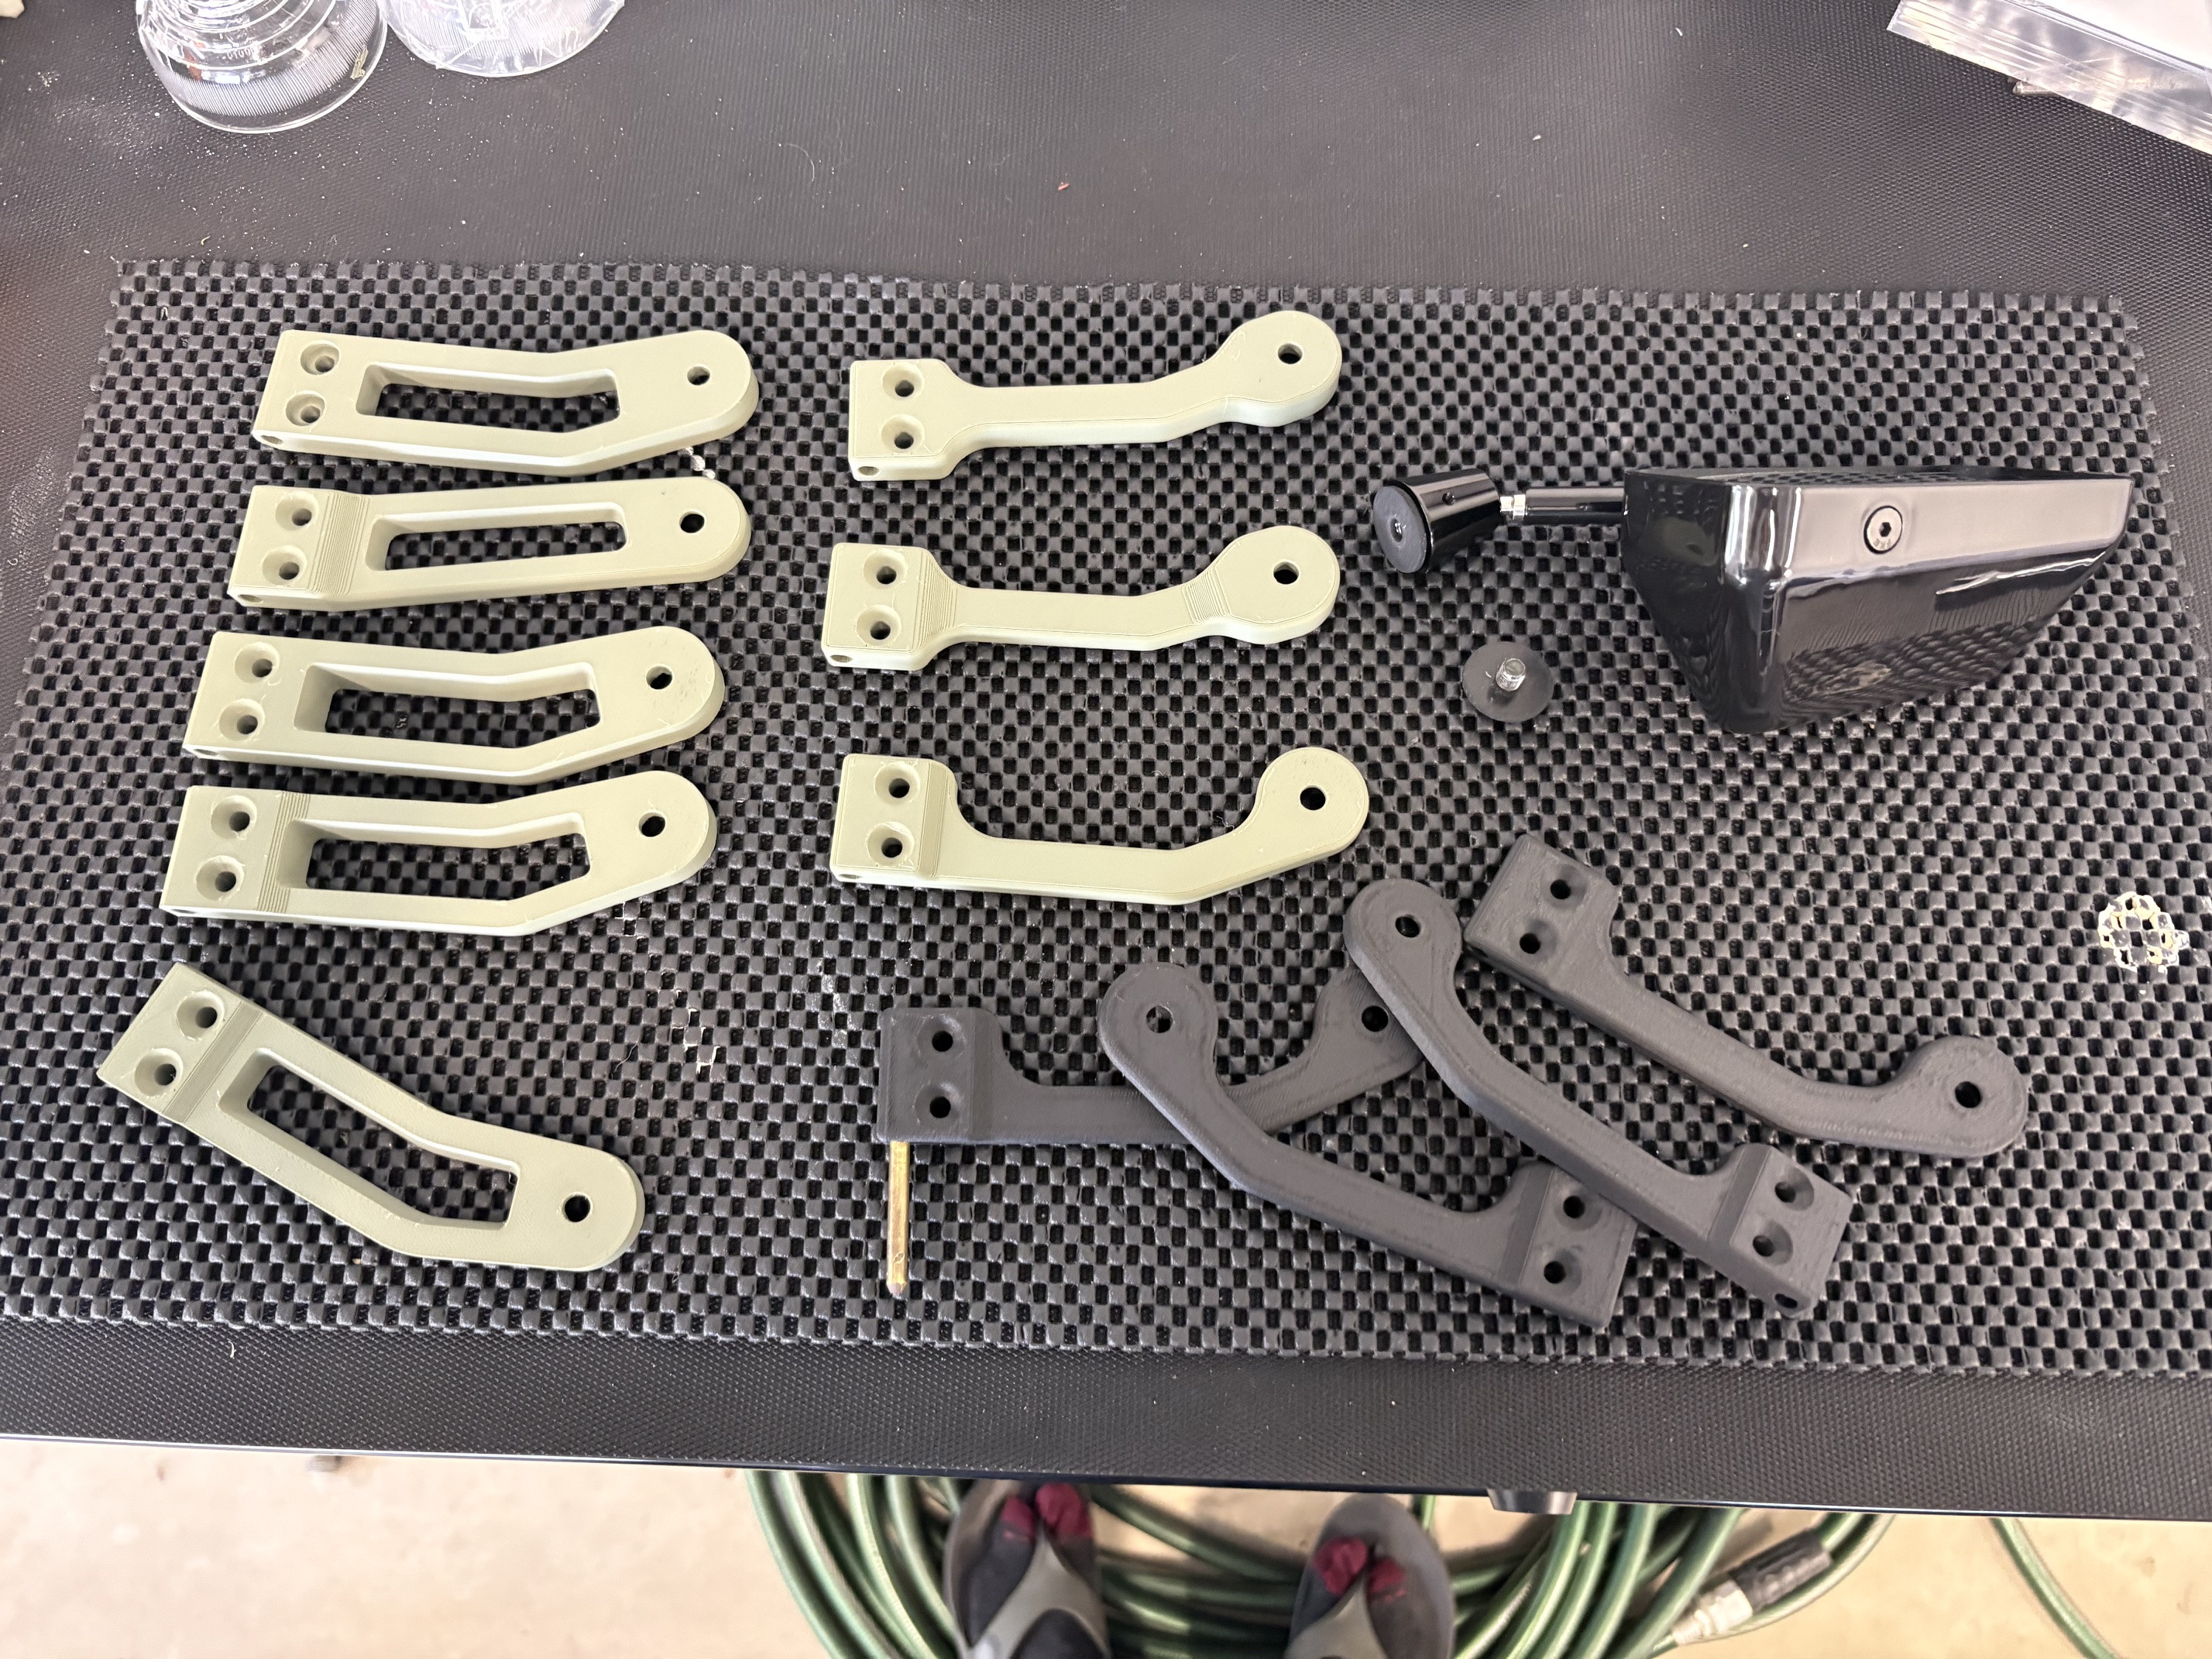
I intended to spend a few minutes during lunch figuring out a way to mount side mirrors to my car. What transpired was an unexpected journey down the mirror mount rabbit hole. I don't know why I've spent hours upon hours on this, but here we are. First, I needed a good mirror. The SPA mirrors look great, but the mount has a relatively large 2-bolt flange. I didn't want to have to design a mount around the geometry of this flange. I think DPR sells a single-bolt mount, but it's quite costly. Eventually, I came across Life Line mirrors. The FIA Formula in the MSA shape is perfect, single bolt mounting and and it's only $47...done. Next comes the mount design. I fired up the 3D printer and started iterating...over and over and over. I'll never admit how many of these things I actually printed. But, I eventually ended up with 2 versions, which I then iterated upon independently. Here are a handful of the "winners": There are several versions of the "Eccles", 2-beam design out there, including the machined ones that DPR sells. I like this design especially for FDM 3D printing. This is also a good design for production because there is minimal material removal/lower cost. However, I like to be different. I plan on cnc'ing these out of 7075, so this allows me to remove more material. I also tend to like very subtle, simple designs with minimal features. So, I am settling in on this: I think this works well with the car. It captures the square lines, with filleted corners that you see in the Caterham body. I'll test a 3D-printed version and put out the file if anyone else wants to use it. It will be the same basic design but with some areas slightly beefed up due to inherent weakness in 3D printed parts.
- 1 reply
-
- 7
-

-

-
Washed, clay-bared, and ready for paint correction.
-
Well done. Looks clean. I should also mention that matching your socks to the livery of your car is a pro-level move. Well played.
-
I think I prefer the lines of the MK aeroscreen over the Caterham one. It looks like it fits well too.
-
Congrats on the award! The car looks awesome. Is that a Caterham aeroscreen?
-
I just installed one of these; it's the most low-profile cap and breather I could find. Still very close to the bonnet. If I had a threaded hole, I'd do it your way.
-
No. I realized this after posting. This shouldn't be an issue...thank god. It should be too large to pass through the main jet. It could have come out one of the holes in the emulsion tube, in which case it would be in the bowl. I'll pull the cover off and have a look tomorrow.
-
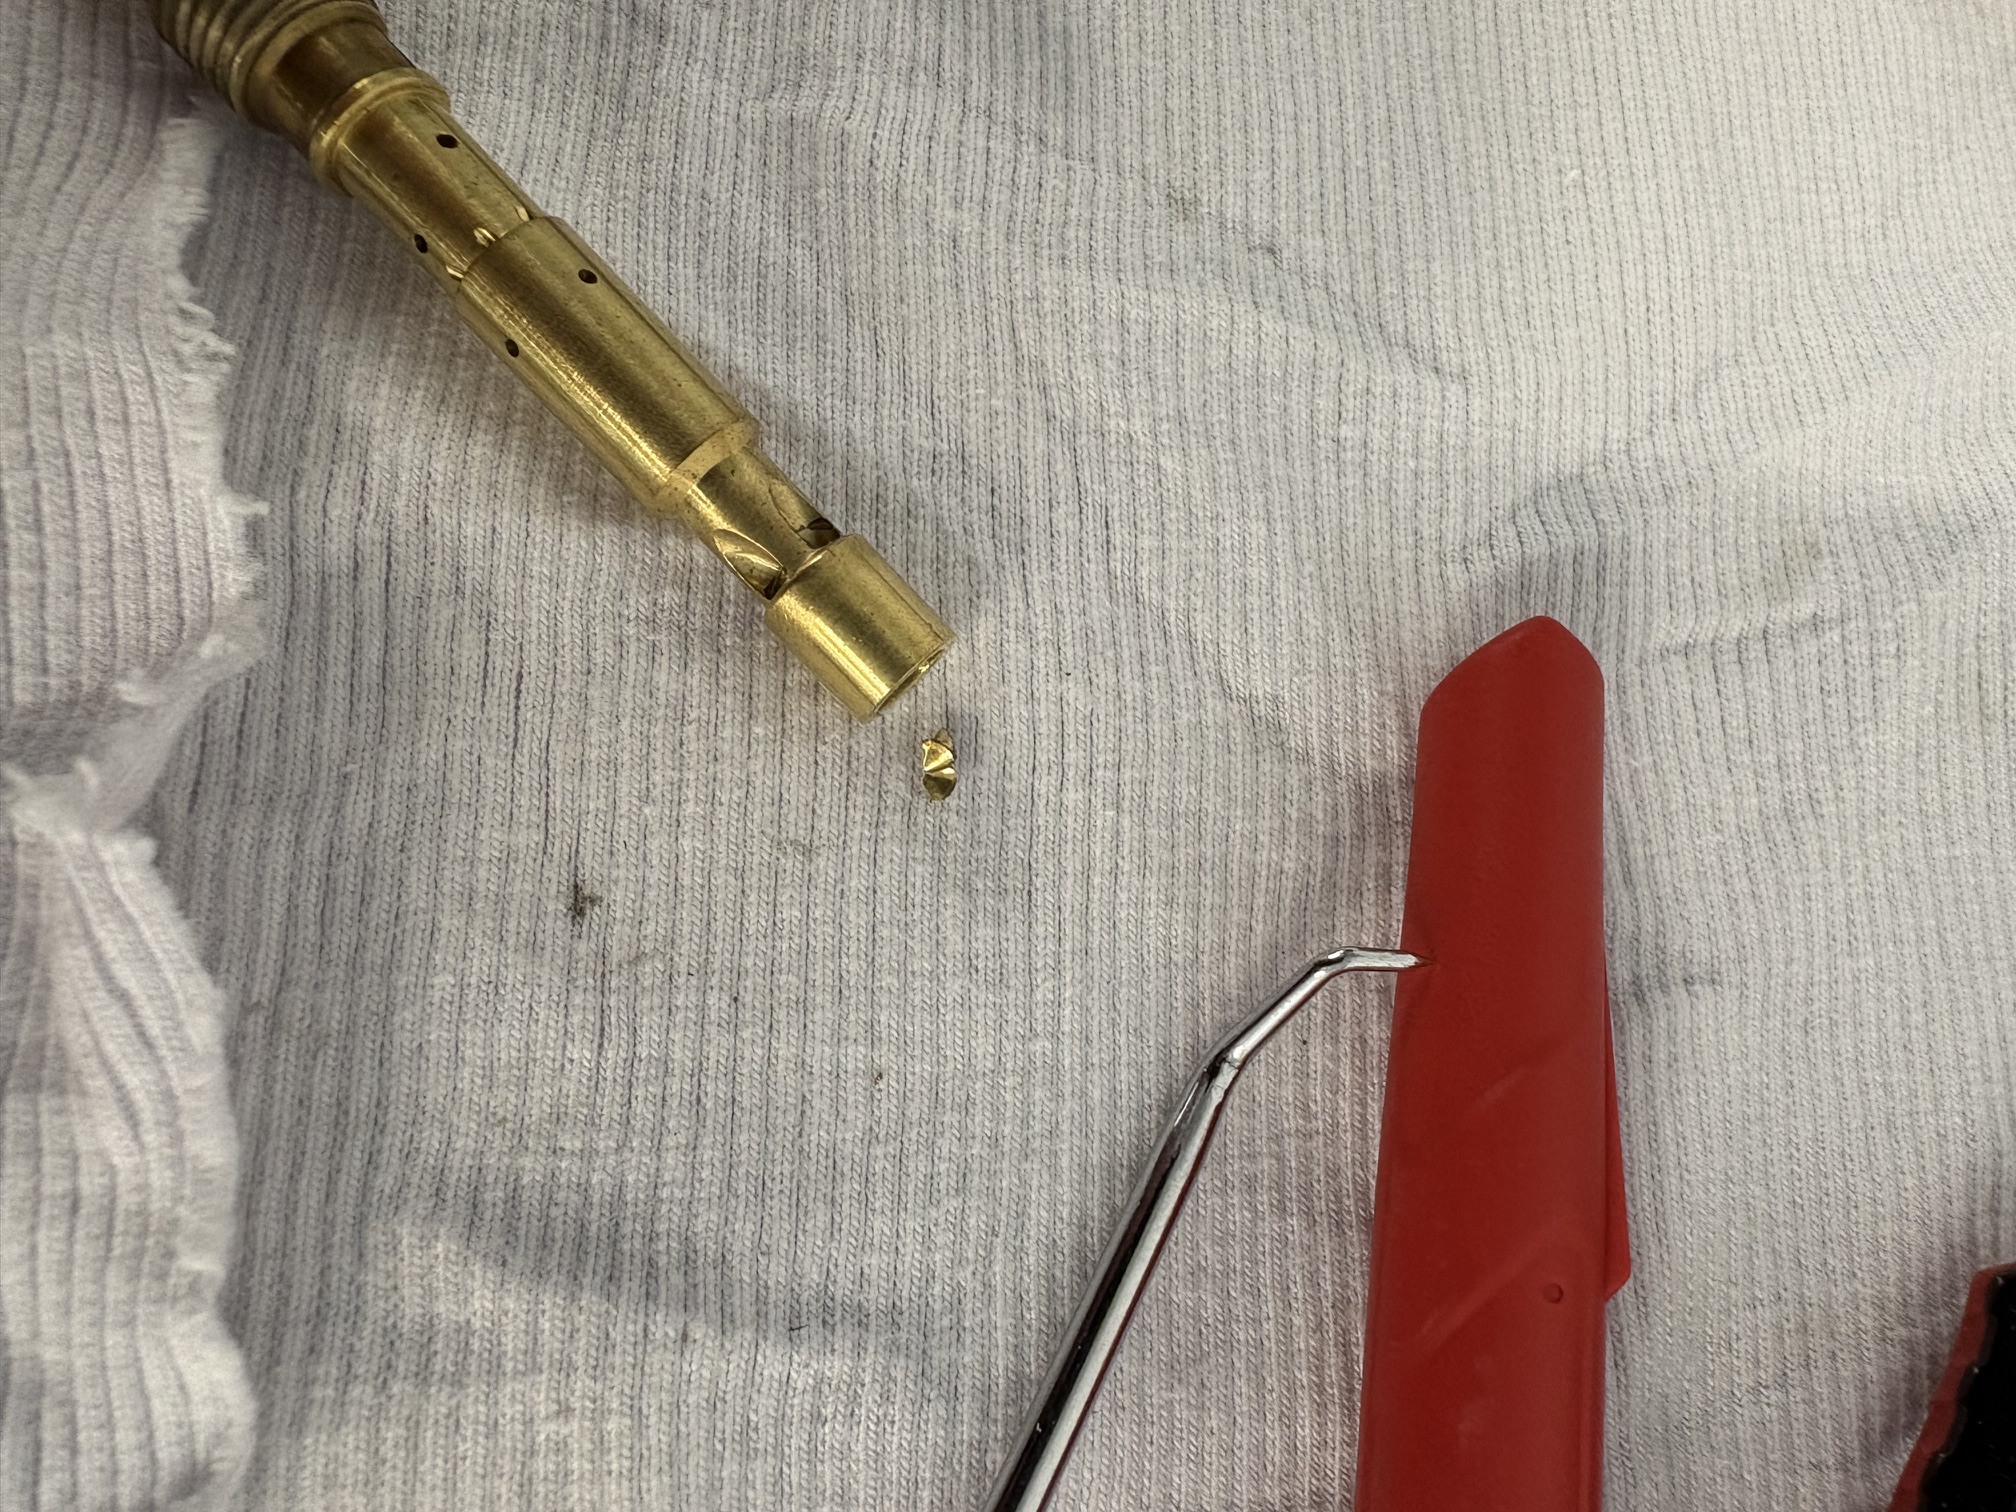
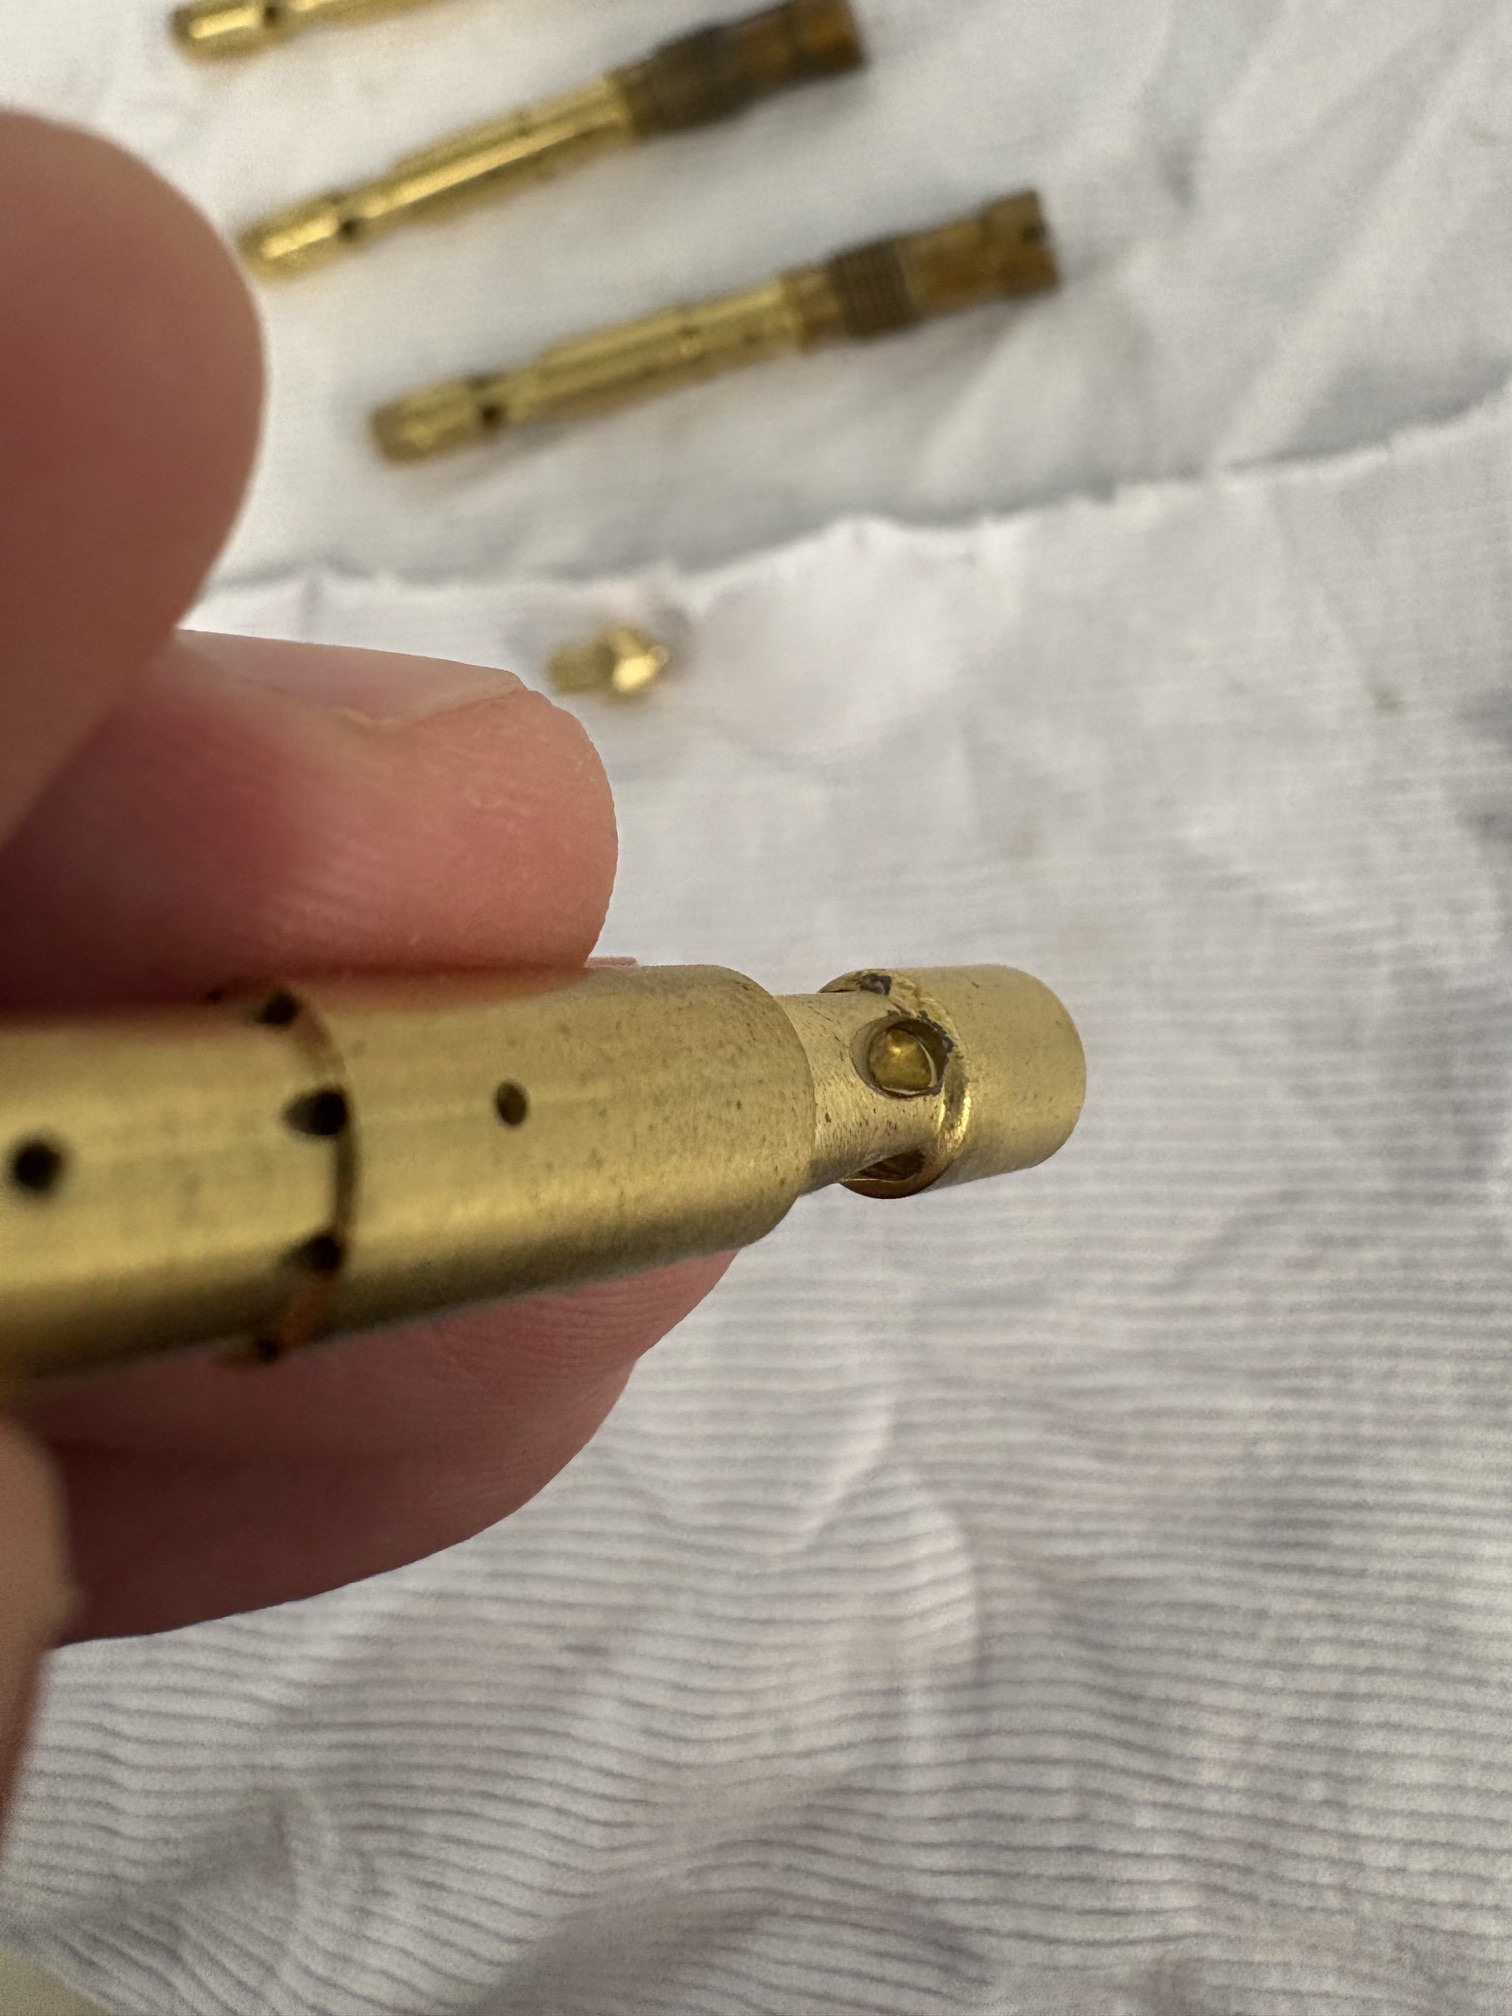
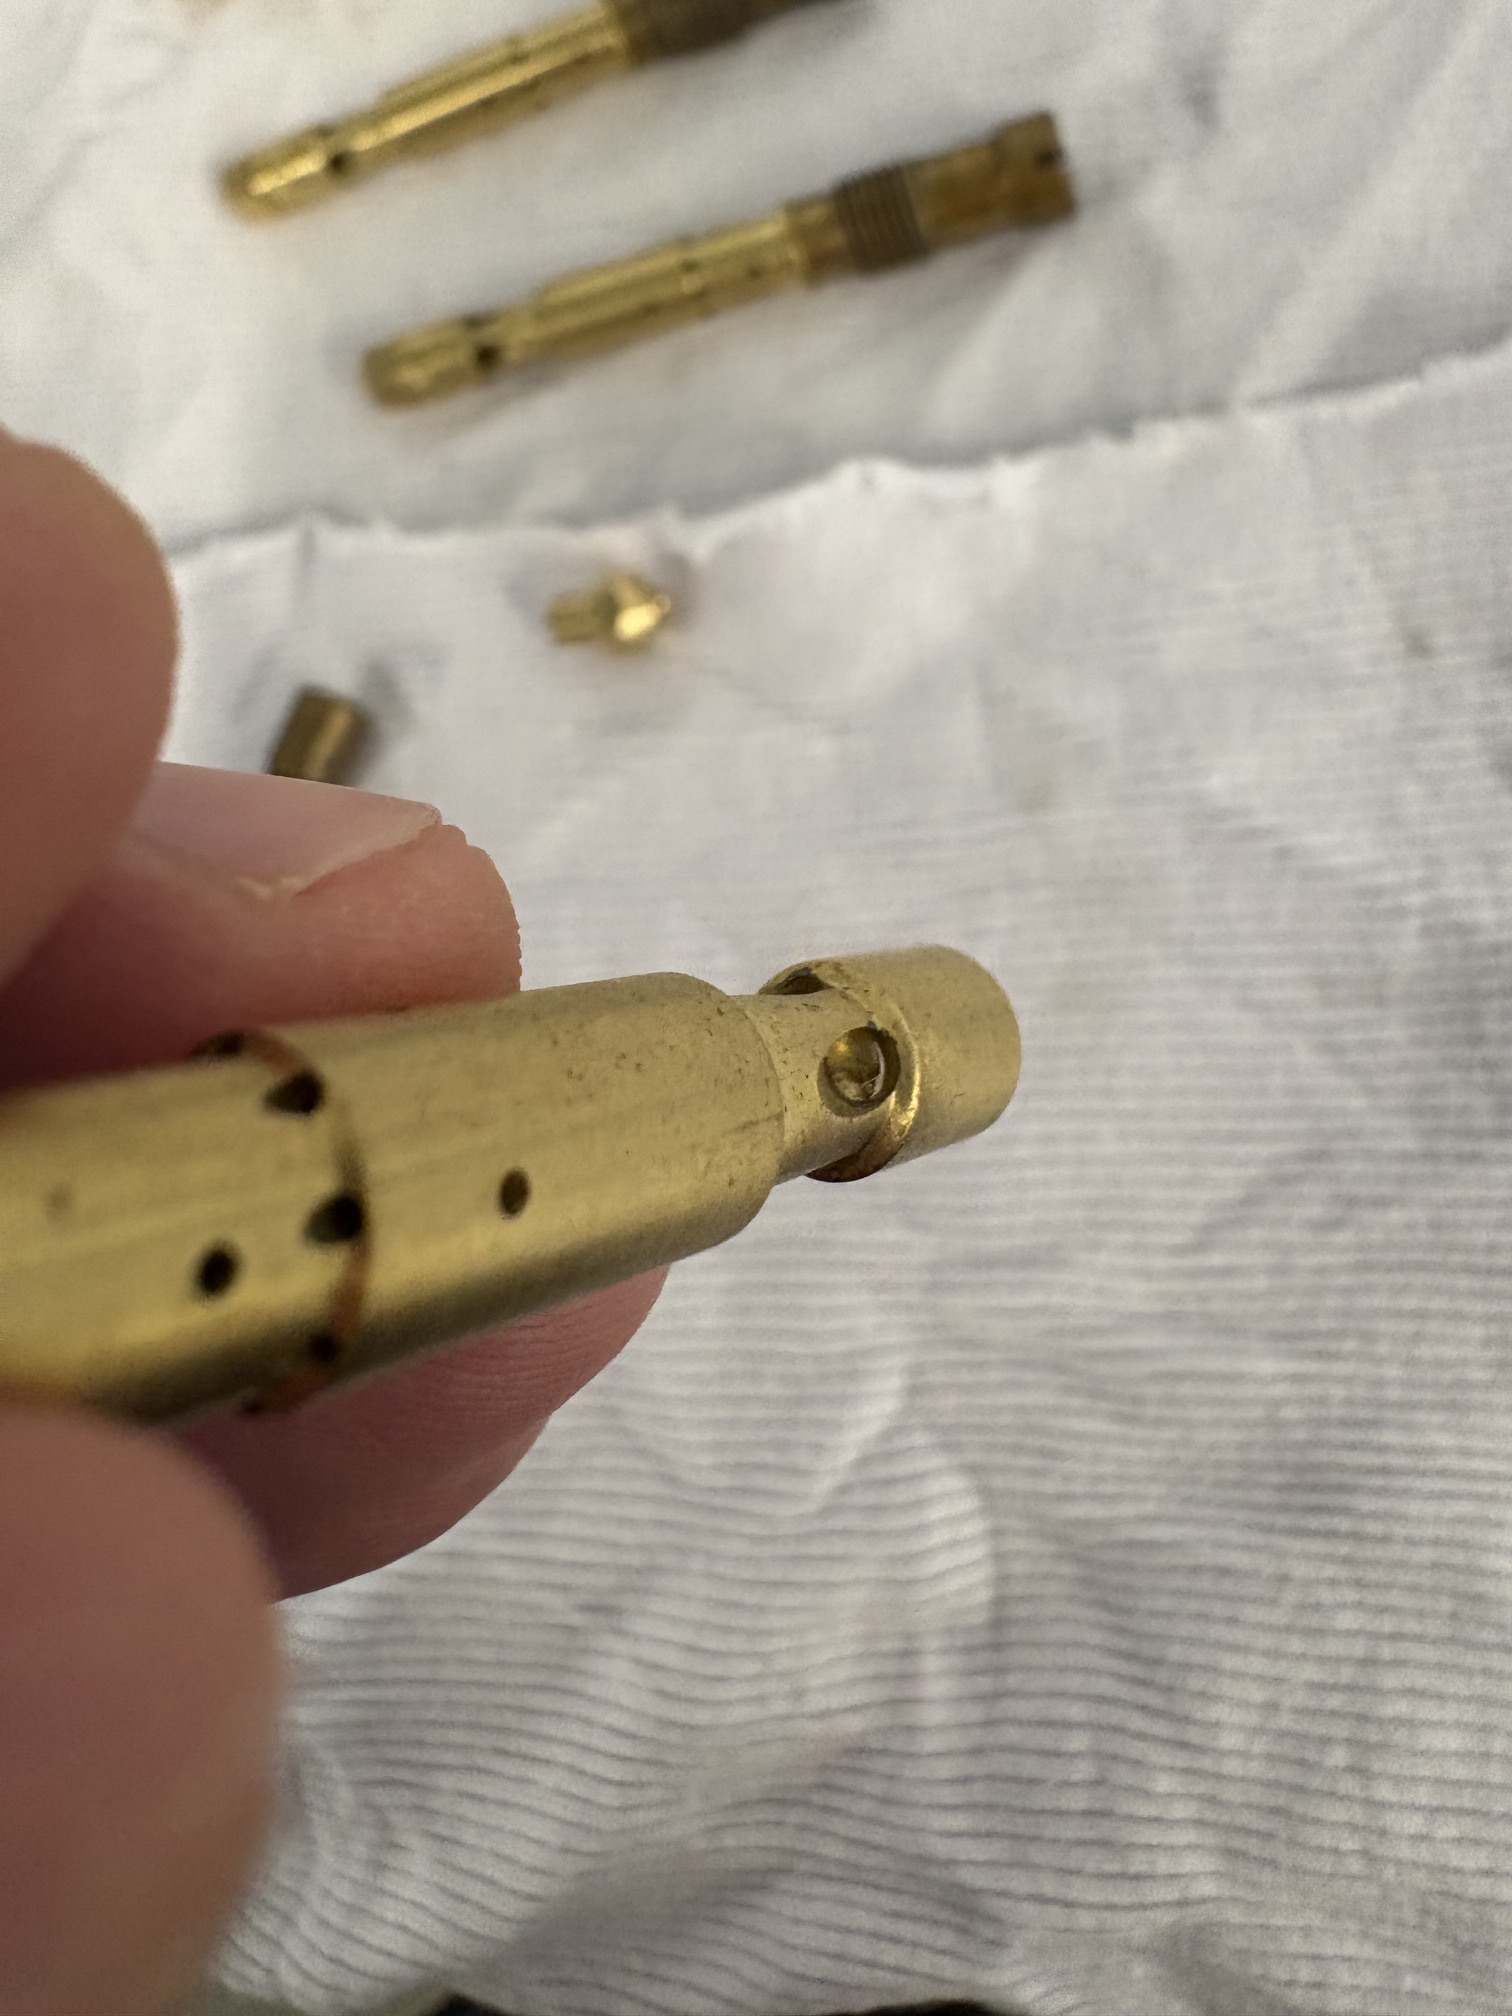
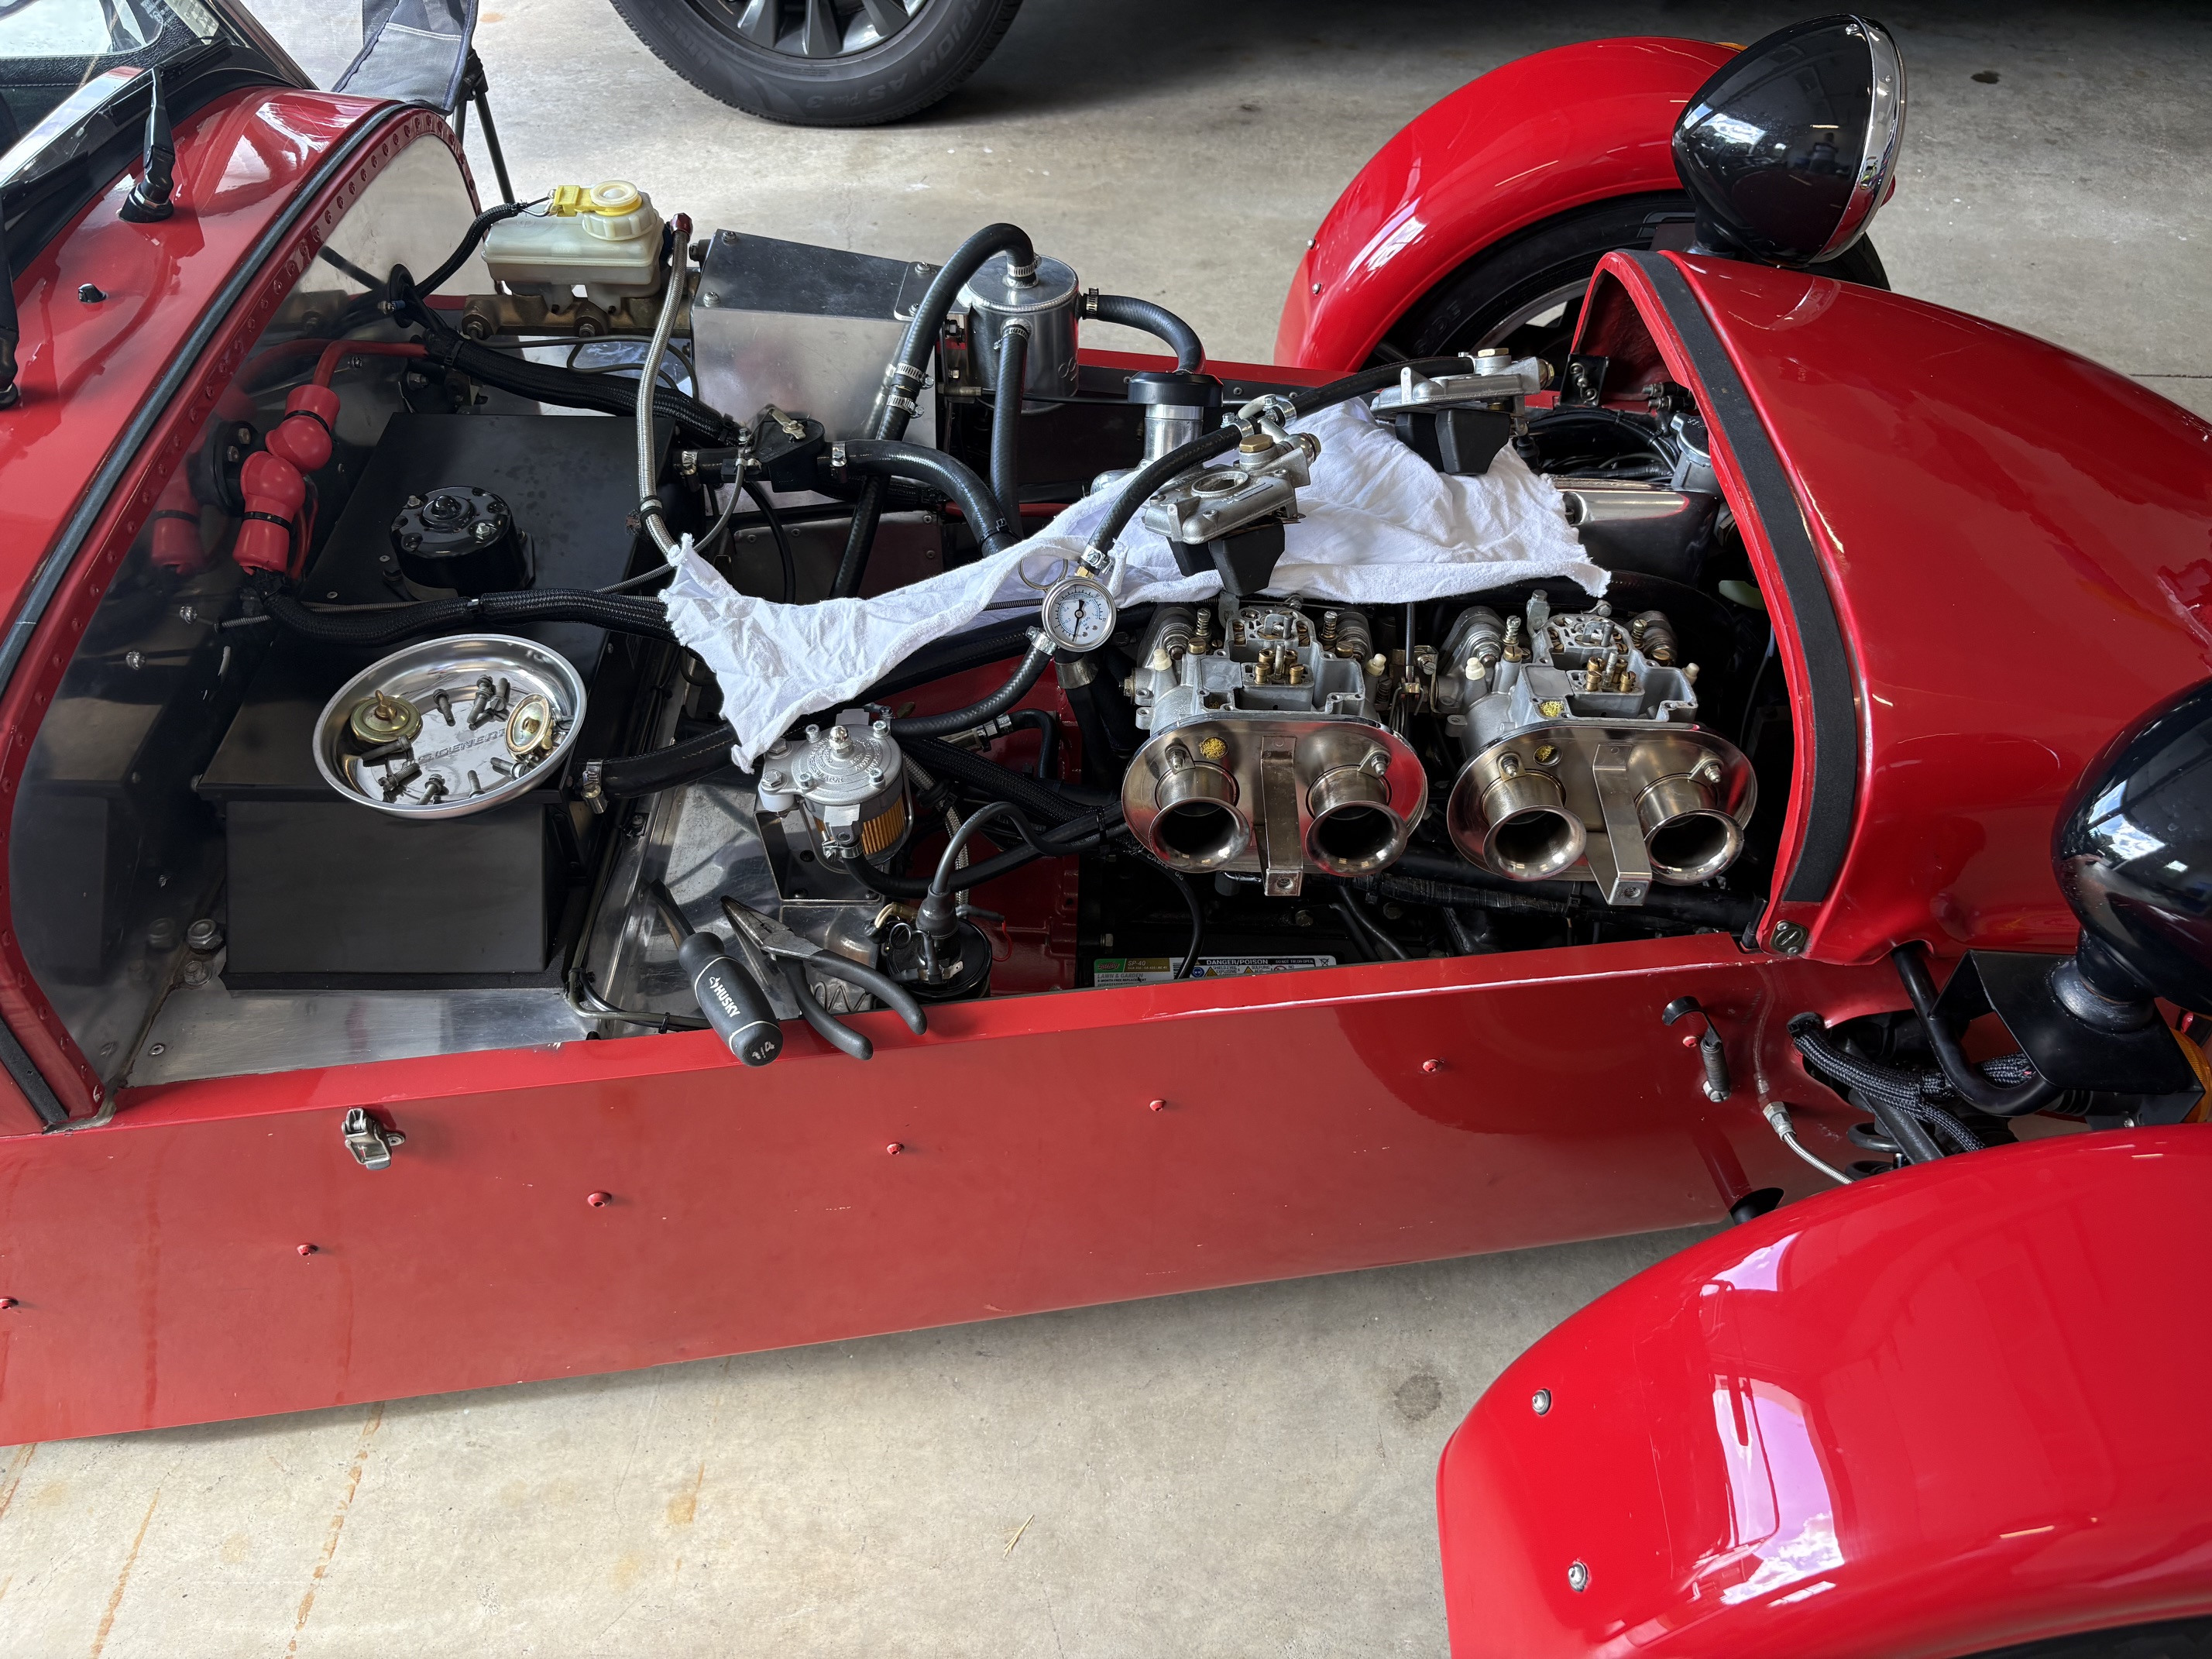
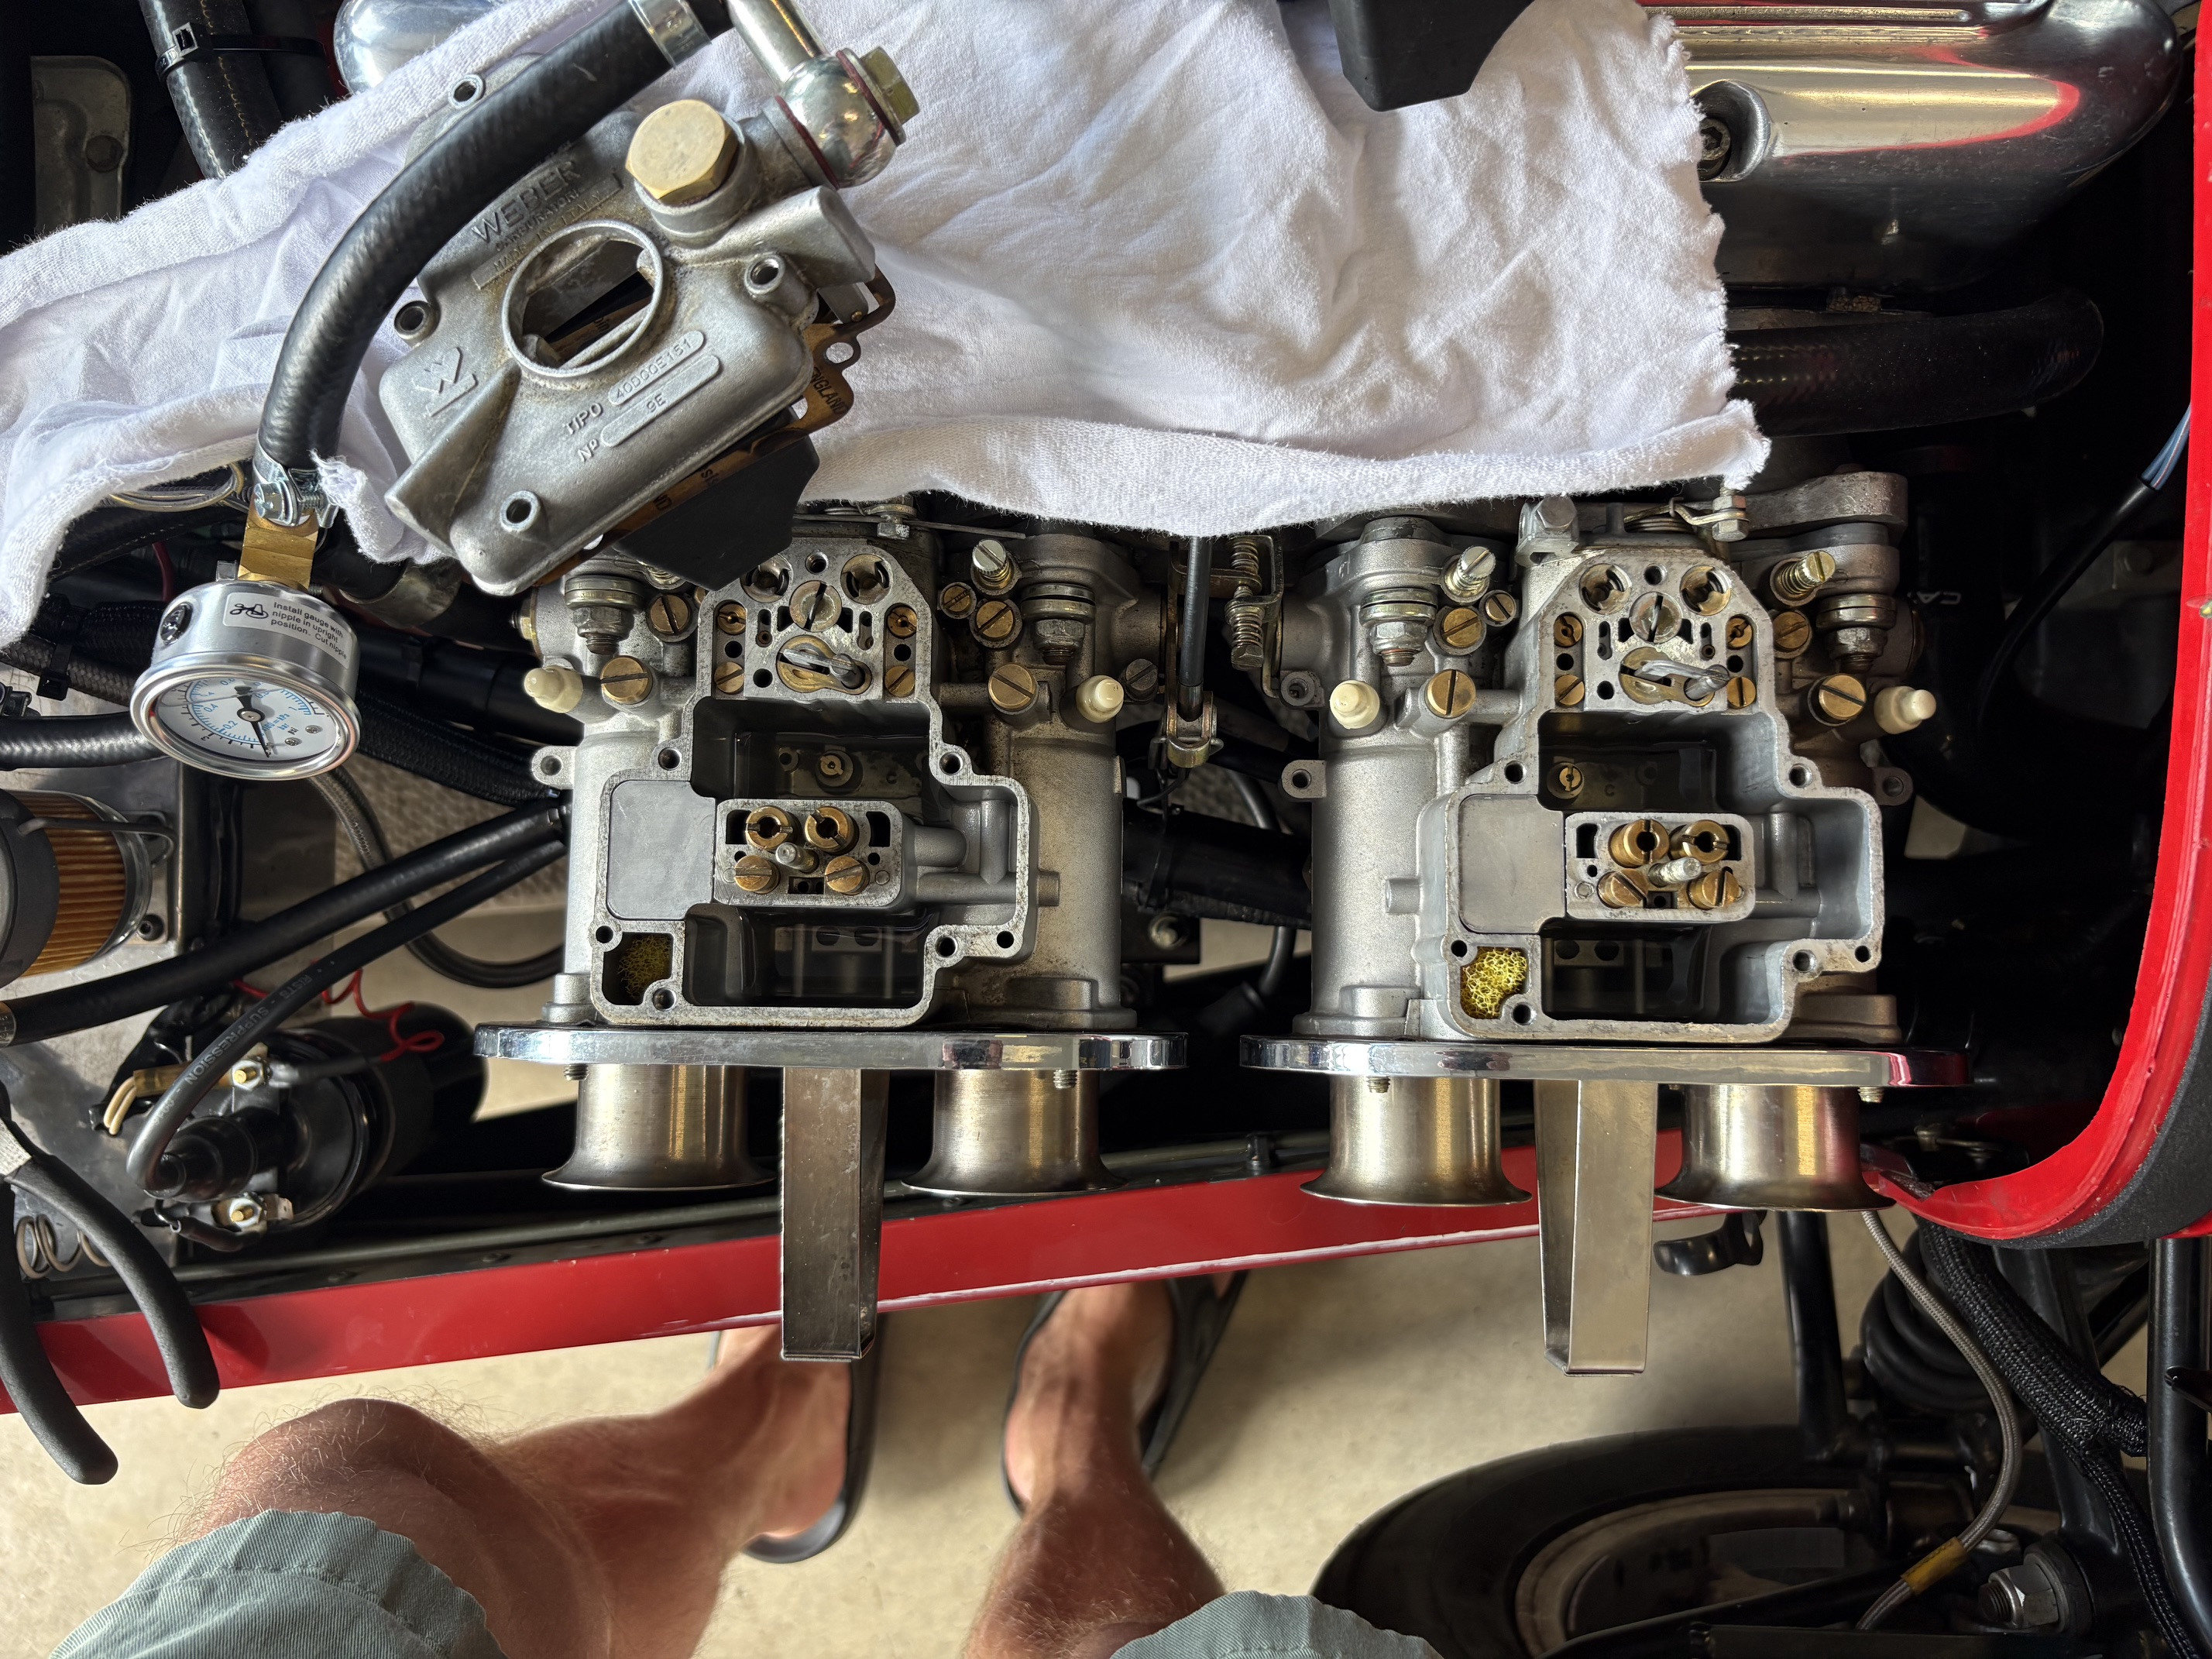
WARNING: Inspect all your genuine Weber components before installation. Their QC seems to be lacking. I received a bad banjo fitting a couple of weeks ago. The deburring was not concentric with the ID, and they removed 1/2 the sealing surface. Long story short, it would not seal and sprayed fuel all over the place. Pegasus was great and sent me a new one, which worked perfectly. Today, it was much worse. I was seeing some weird things with the F11 emulsion tubes that I tested. I had one cylinder spitting back through the carb but no other indications of a lean condition. This was only when the mains kicked in (weird). I decided to go back through things and try again. Upon inspection, it was clear there was a machining error in one tube. It looks like the bore for the main jet was not drilled deep enough. As a result, there was a bur above where the main jet seats. I was able to get inside and remove the bur, but the way it was shaped, it looks like there may have been another half-bur at one point. I am praying this didn't get into my valve train. The head was literally just done. Long story short, F11s, 45F9 Idle jets, 00 drain, and 125 mains run quite well. The bad emulsion tube threw a monkey wrench in my testing, but I am glad I found this combination.
-
I know you guys love pictures (me too)....
-
I did quite a bit of testing over the last couple of days. I've attached my log if anyone is interested. To summarize, here are my two best setups. This is the factory setup with the exception of 125 mains and 00 pump drains. These changes seem to smooth out the transitions quite well. On the low end, I like both the 45F6 and 45F9 idle jets. For now, I am going to stick with 45F9. I like the AFR at cruise with this setup. I didn't test the F11 tubes with 00 drains, so I plan to do this in the future. For now, I'm happy with how things ended up. Test Choke Aux Venturi Main Air Emulsion Idle Pump Jet Pump Drain Cruise AFR Progression AFR WOT AFR Change Made Result / Notes 5 32 4.5 125 165 F16 45F6 35 0 ~11 ~11 ~11 60 → 00 drain Very smooth, but rich 6 32 4.5 125 165 F16 45F9 35 0 ~12.5 ~12.5 ~14 Back to 45F9 Best so far Weber_DCOE_Tuning_81526.xlsx
-
Thanks @cobra8214