Rosteri
-
Posts
179 -
Joined
-
Last visited
Content Type
Profiles
Forums
Store
Articles
Gallery
Events
Library
Everything posted by Rosteri
-
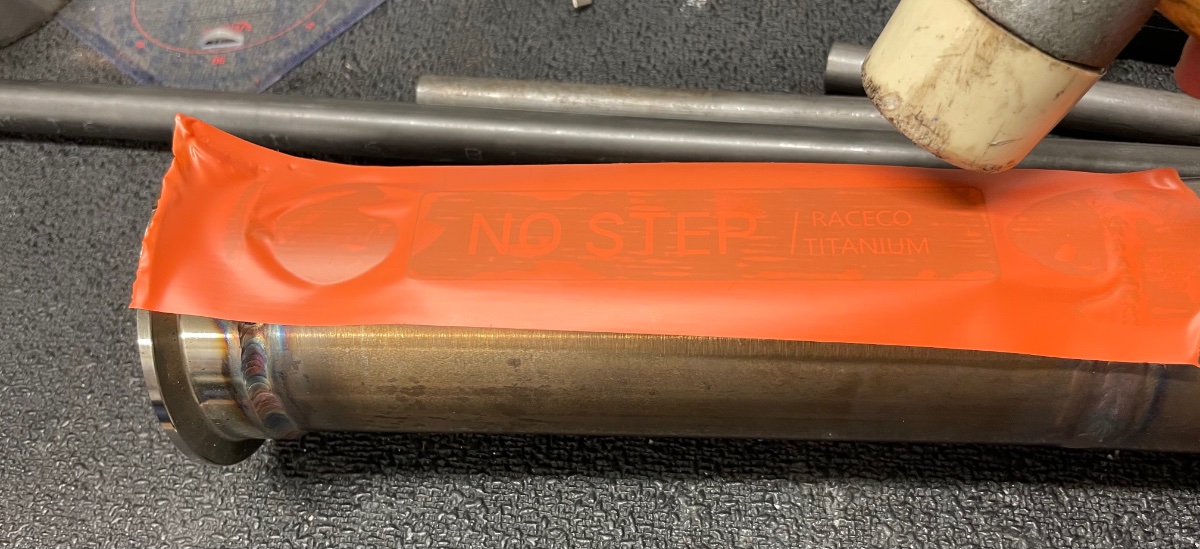
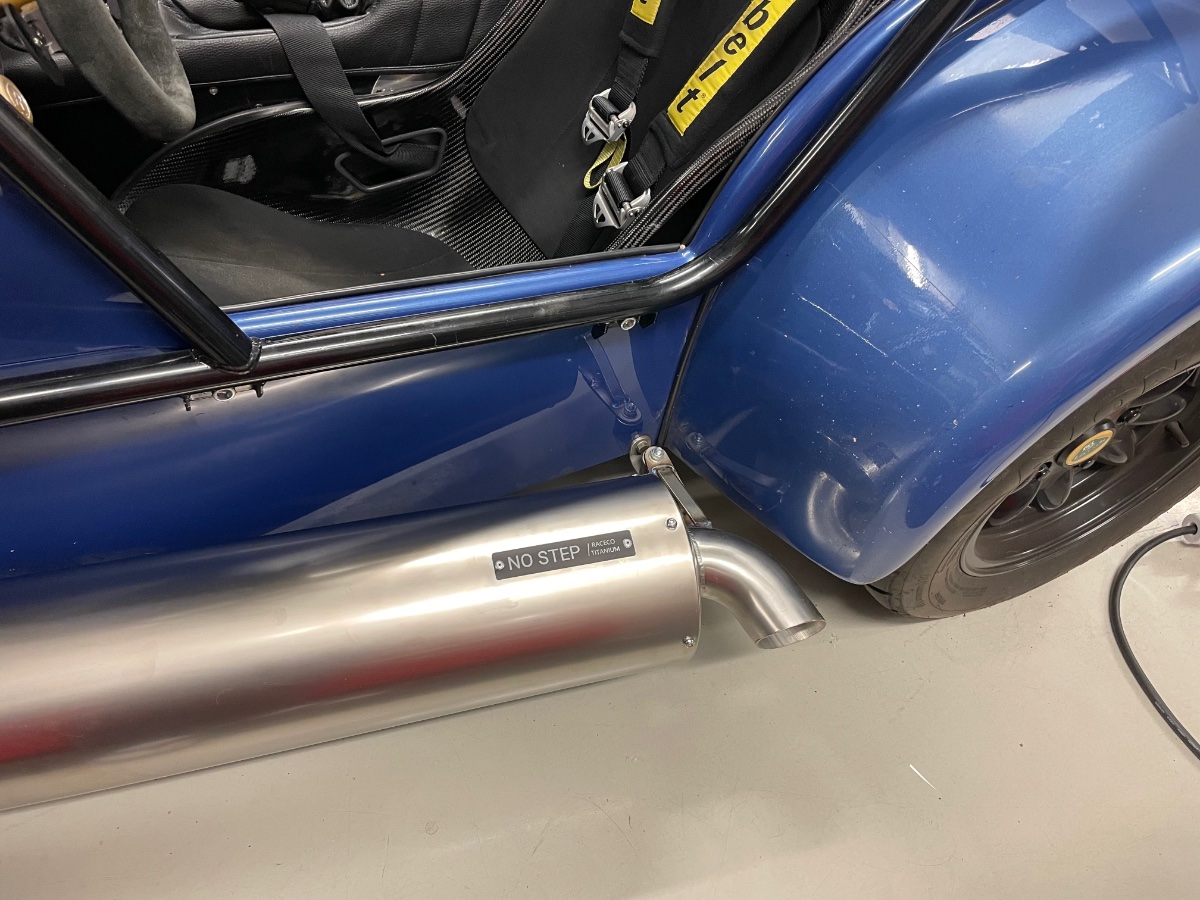
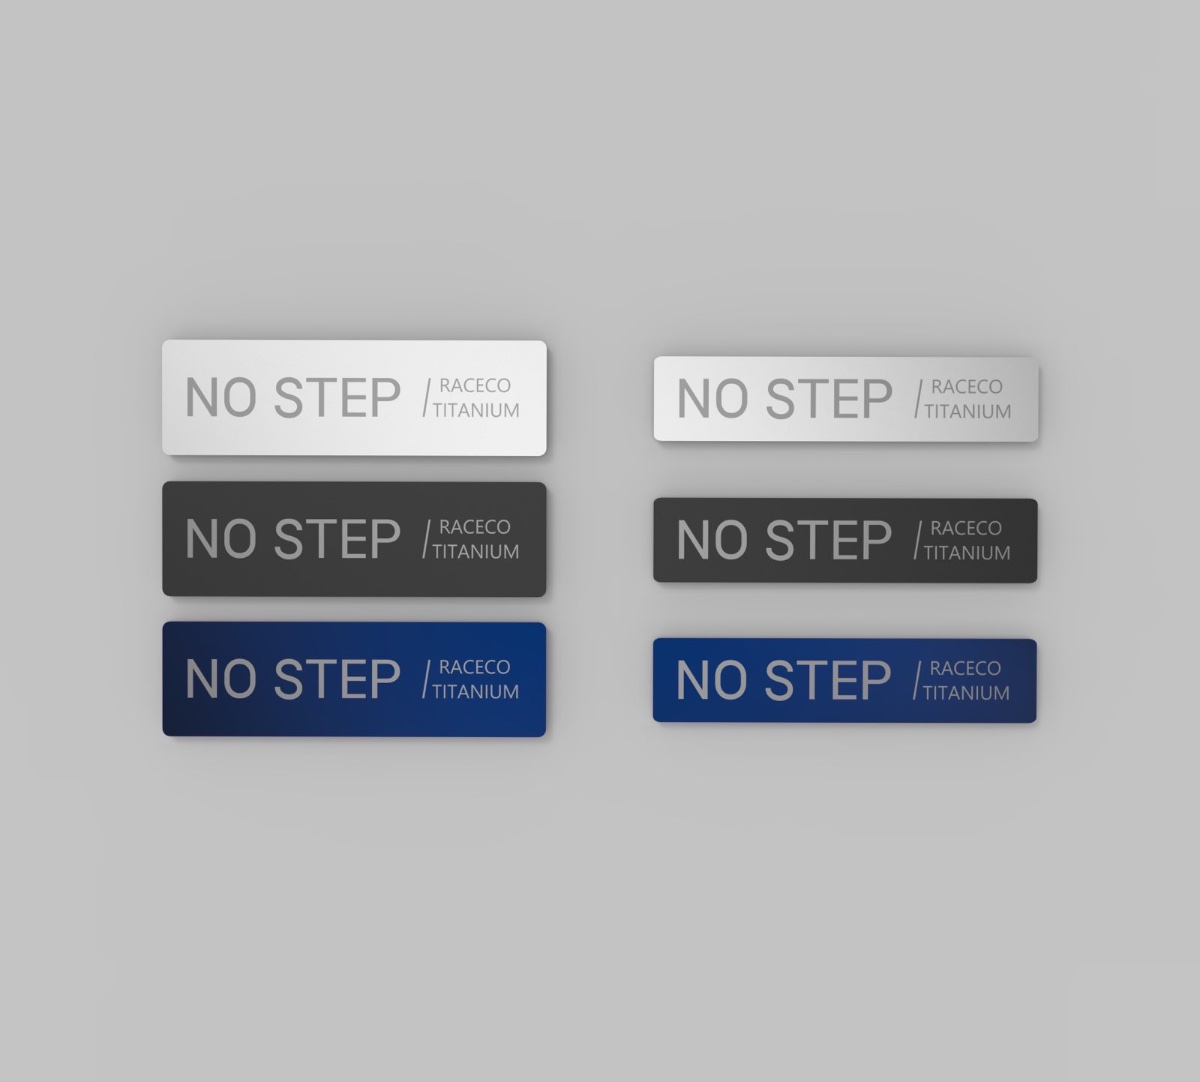
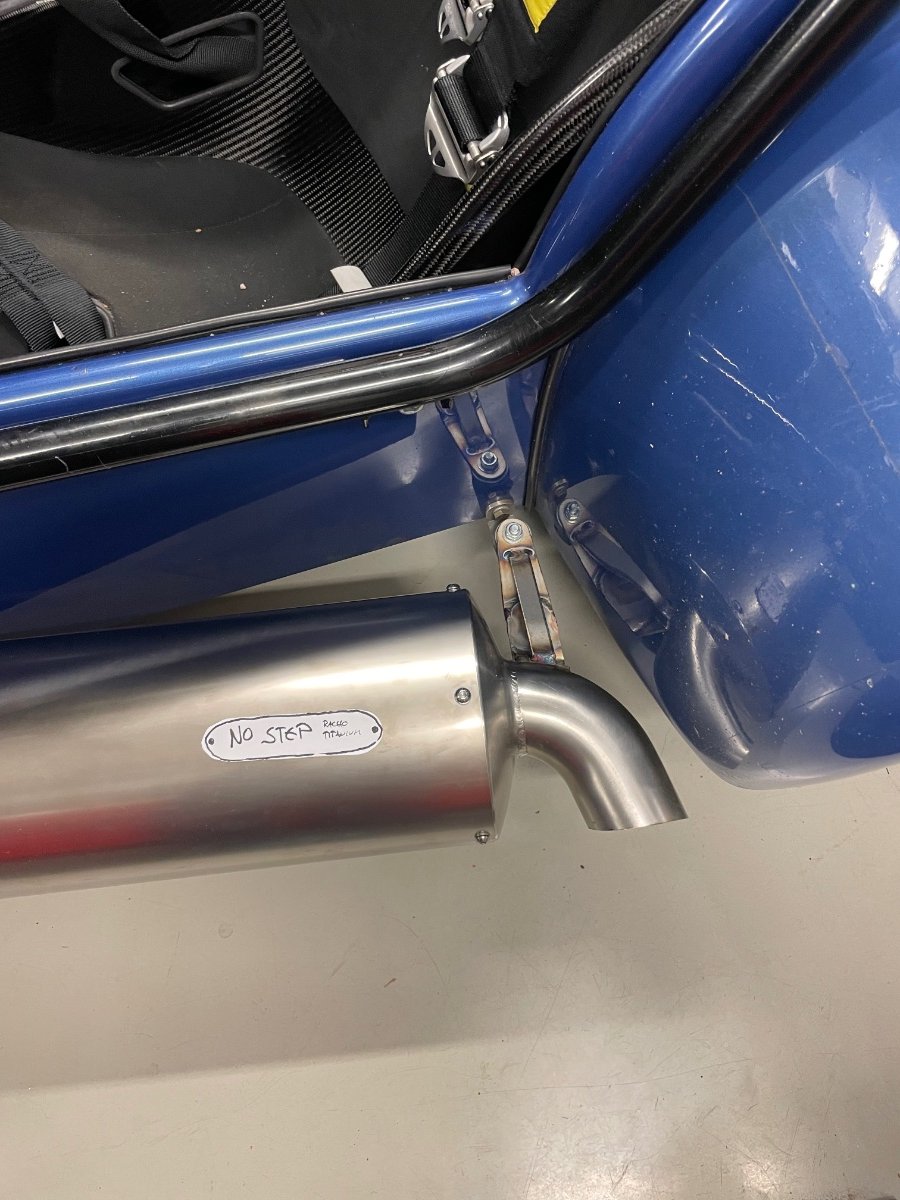
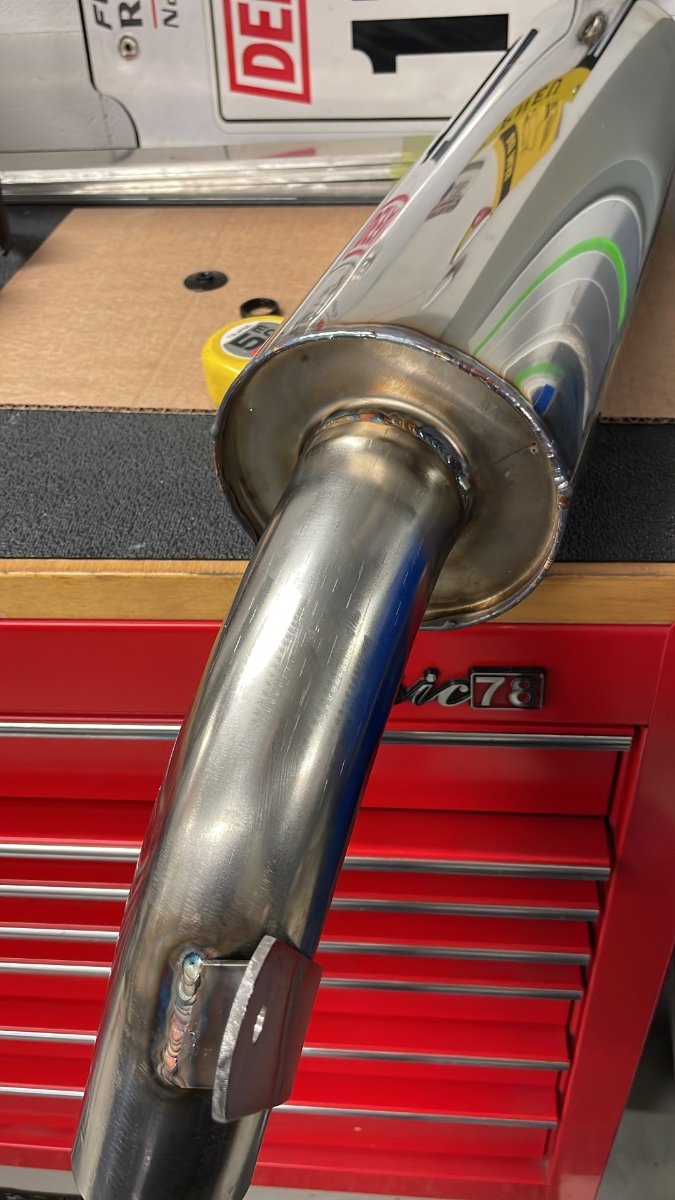
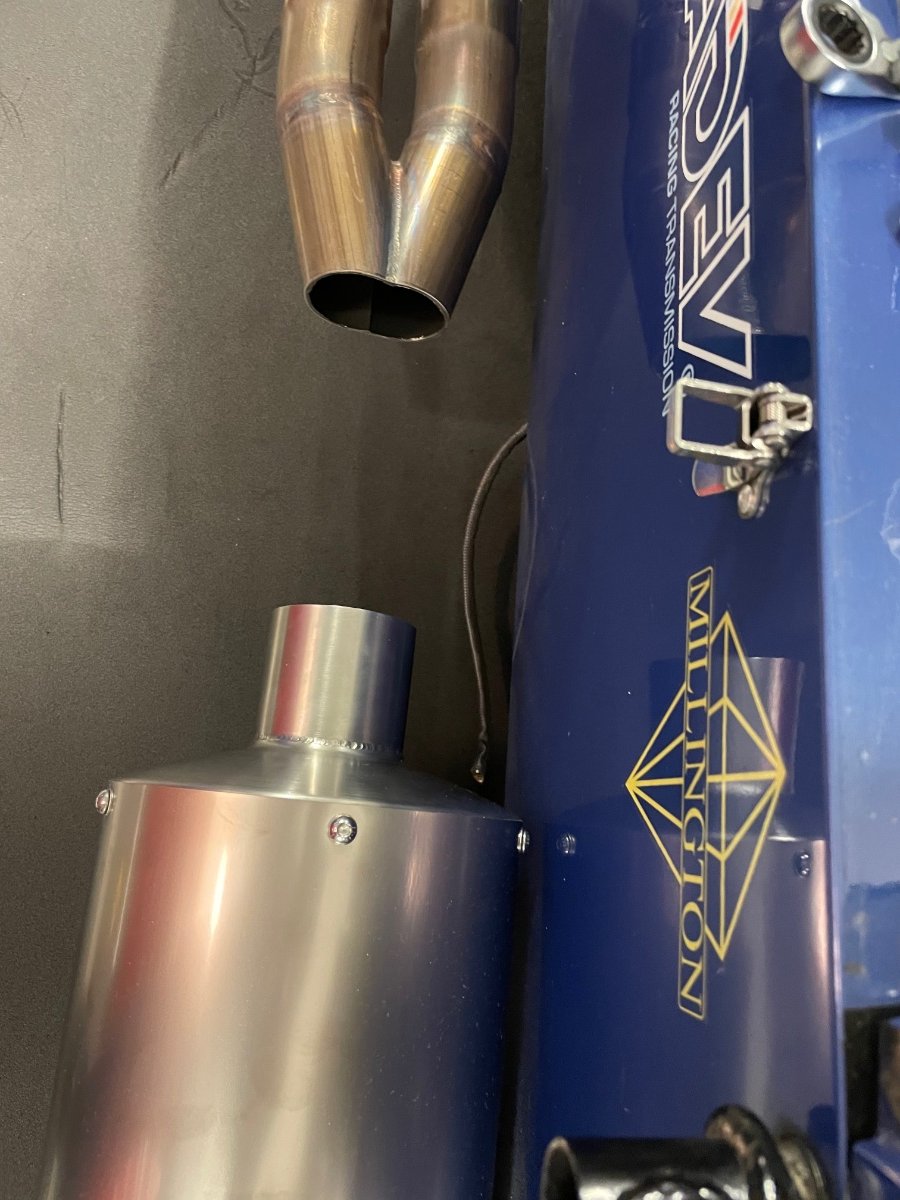
Ok, we made the “no step” signs in all 3 colors and I picked the black one. It is attached with gas proof rivets and a dab of ultra grey silicone: The sign was formed to match the radius of the silencer with this simple setup: Loosely taped to a round shape and then tapped with a nylon mallet along the long edges, while pressing the opposite edge downwards with fingers.

-
-
-
Ah, got it. Yes, that would be no problem to machine out of one aluminium piece, either with a machined ”7” or recess for a 3D decal.
-
Ha, I did notice that he was missing the center caps, but I kept quiet so that I wouldn’t end up having to make them… 😀 Are the SLR caps hard to source? On my car the caps were of different size front and rear, so making them was the only way to have a matching set.
-
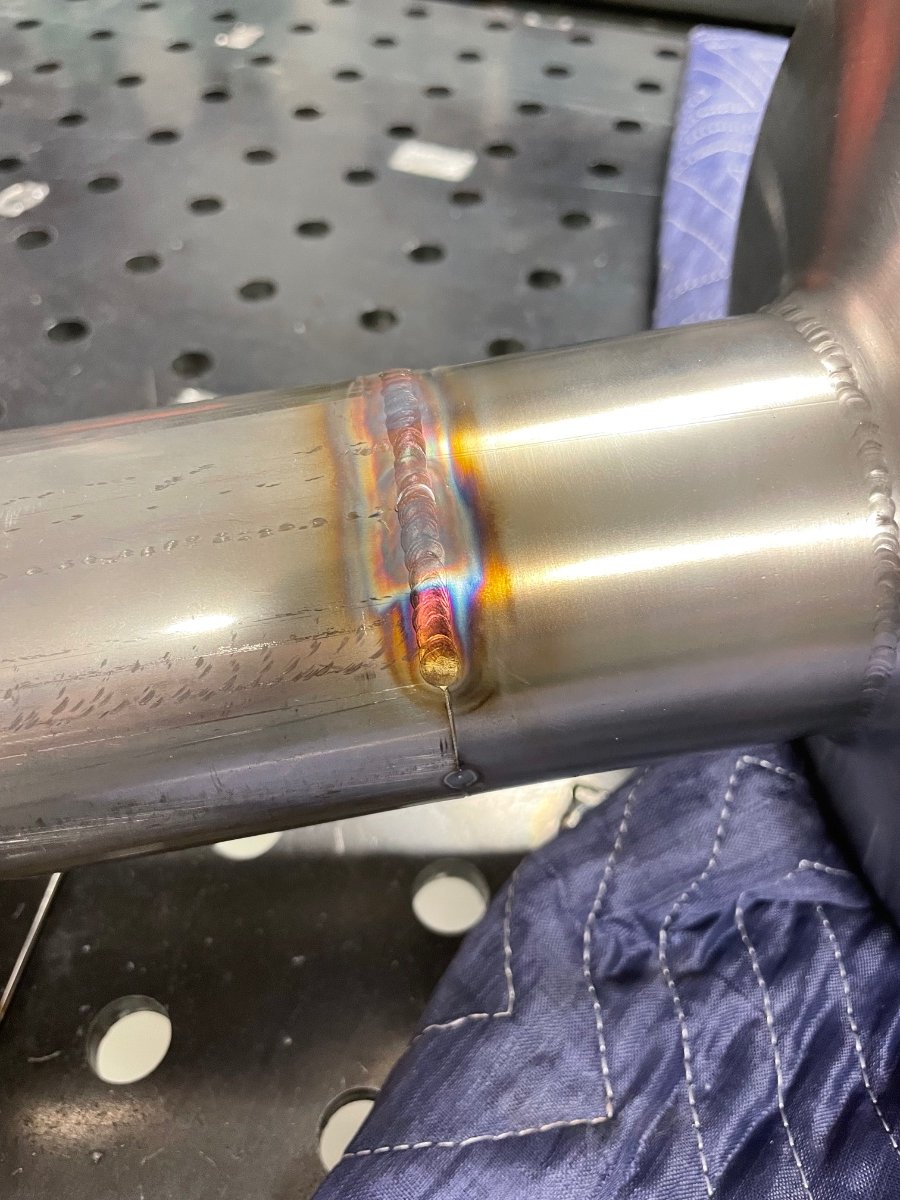
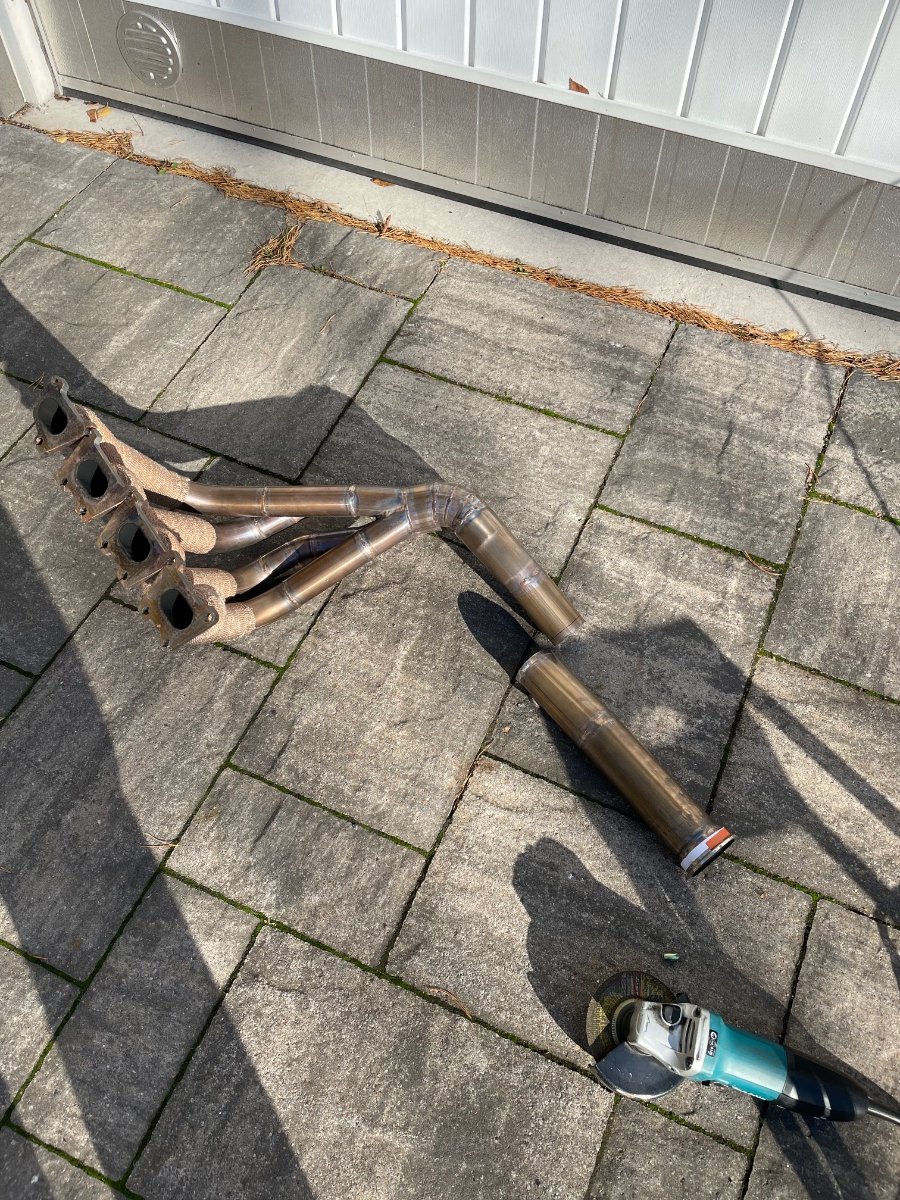
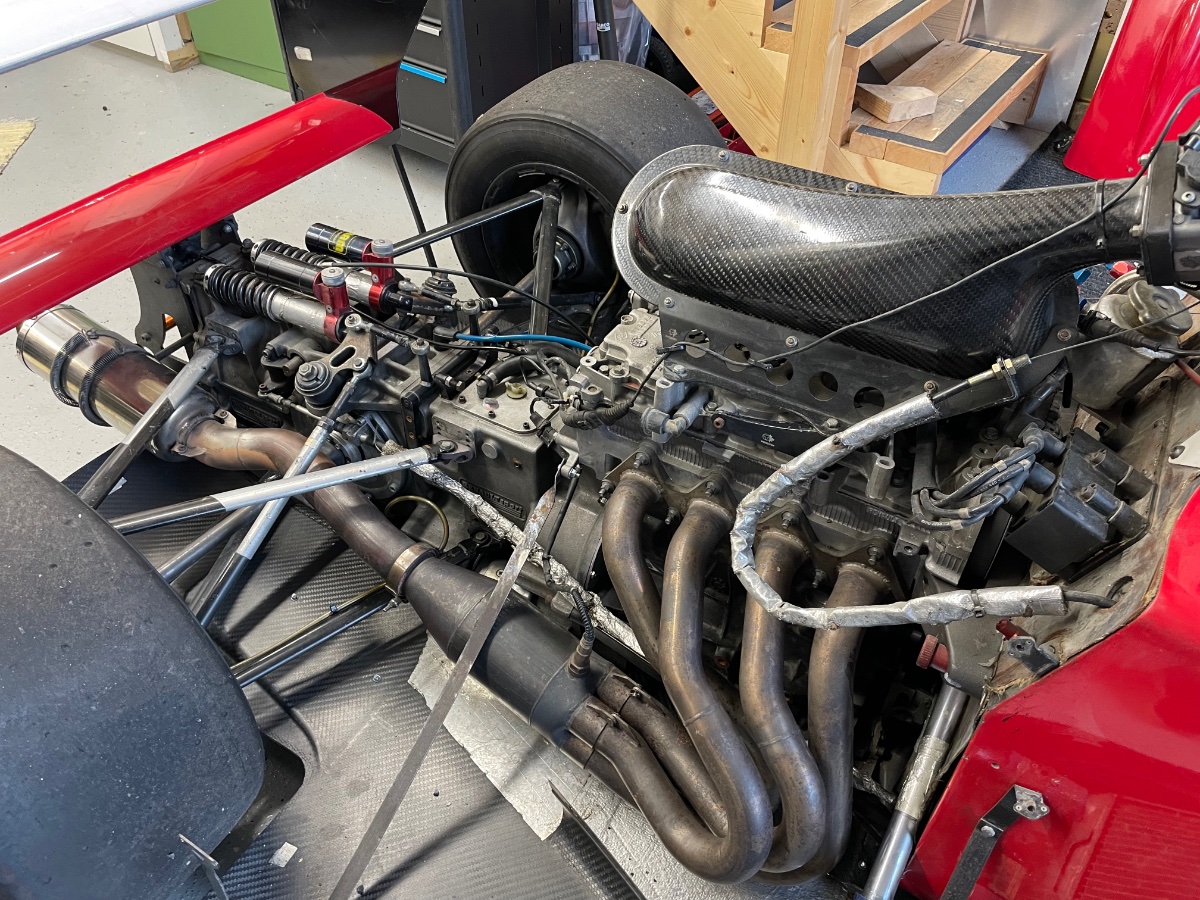
The 4-1 turned out rather nice:
-
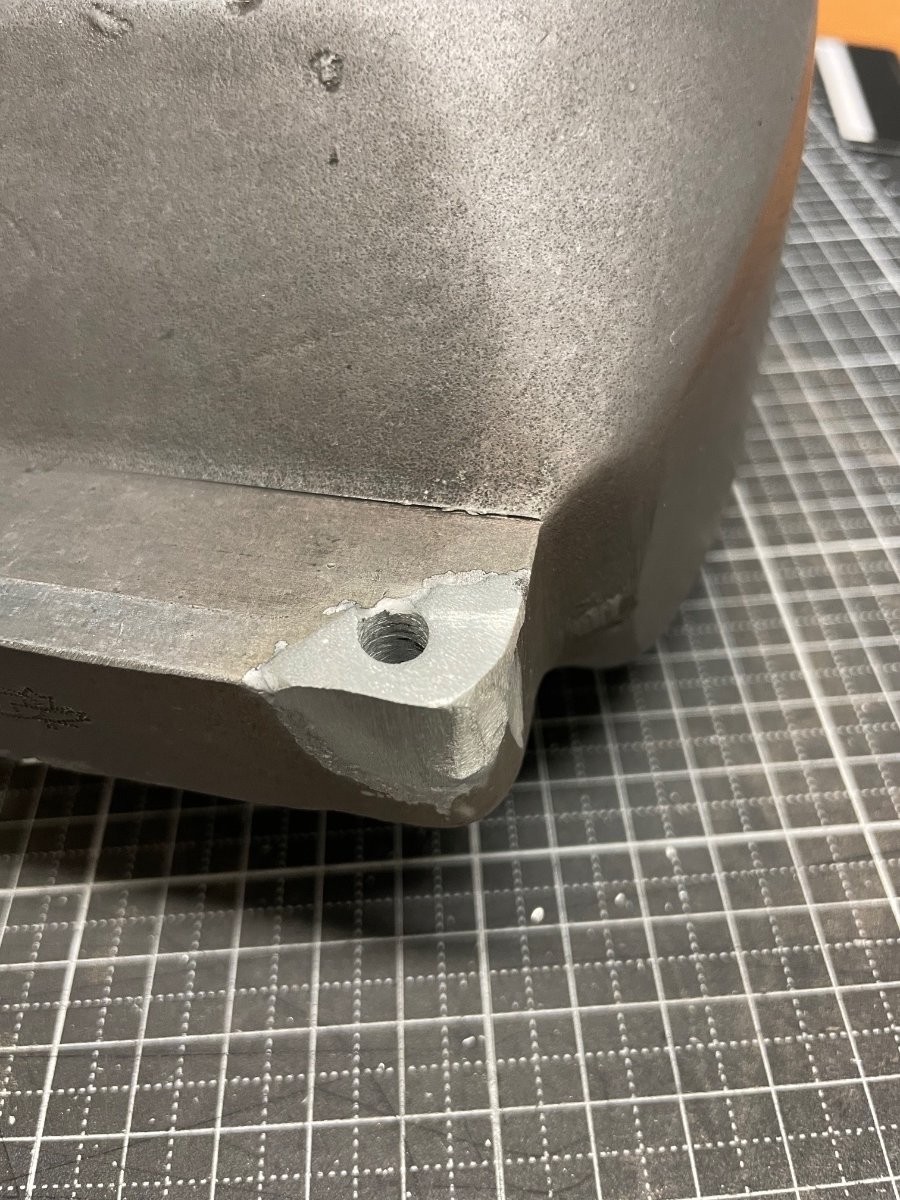
Yeah, I think we can mill it flat without having to touch the area that was unharmed, also drilling either on the mill or just from the other side with the hole as a pilot should do. Thanks for the leveling washer tip!
-
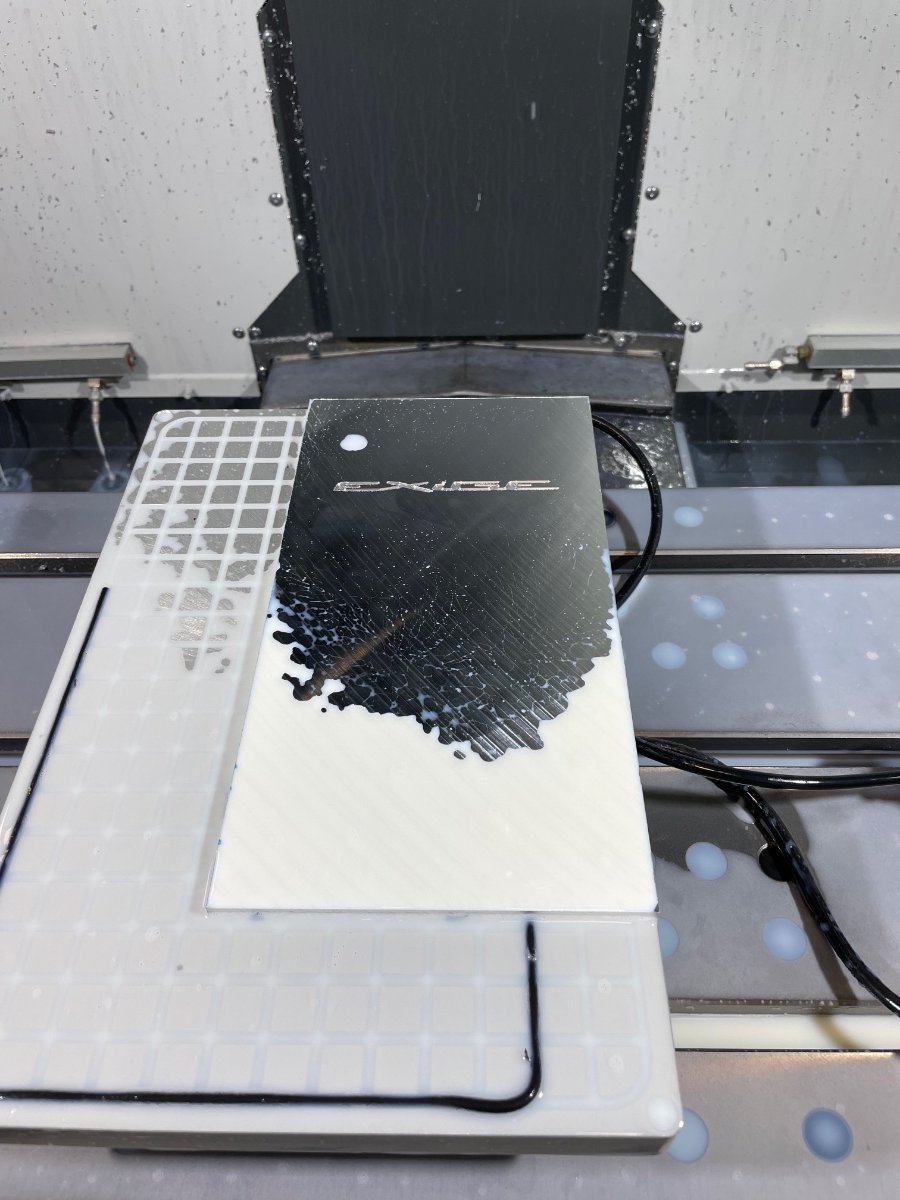
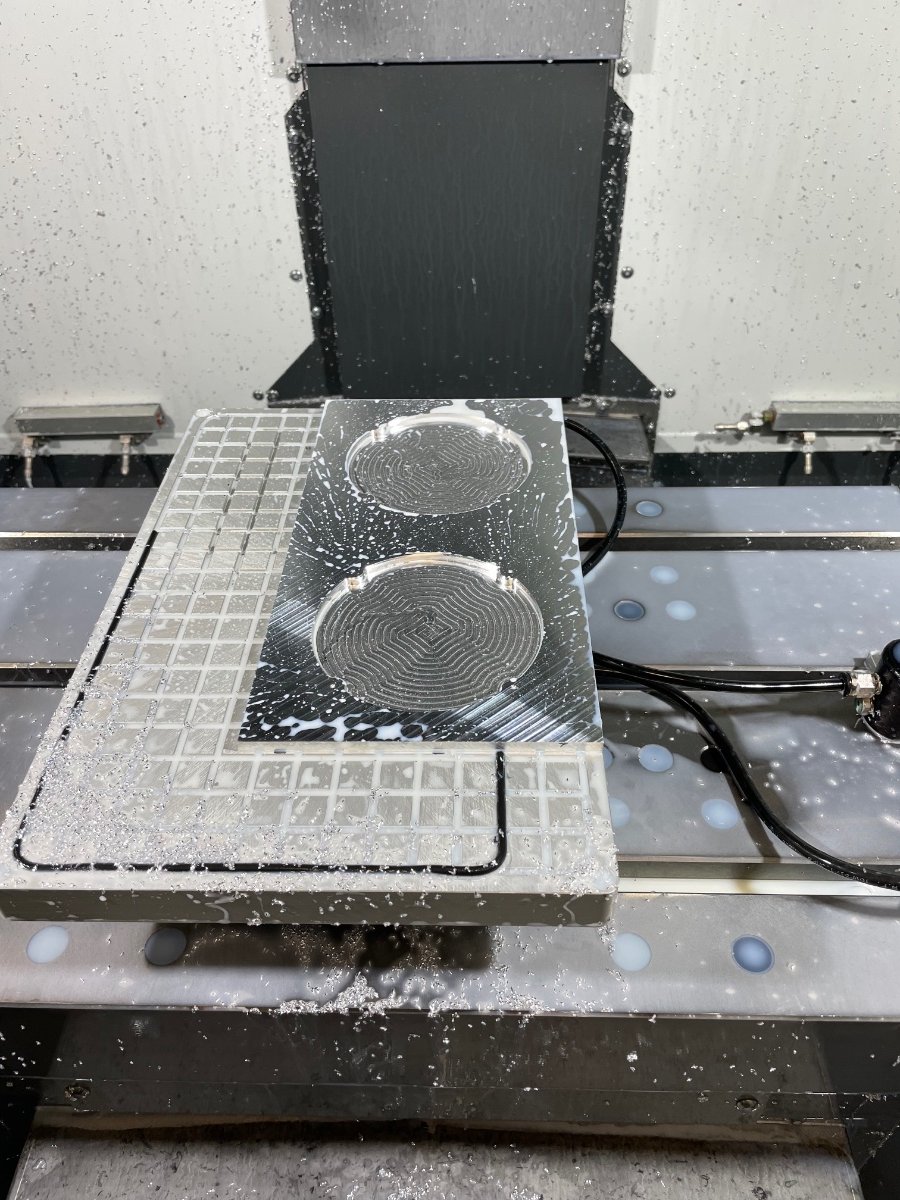
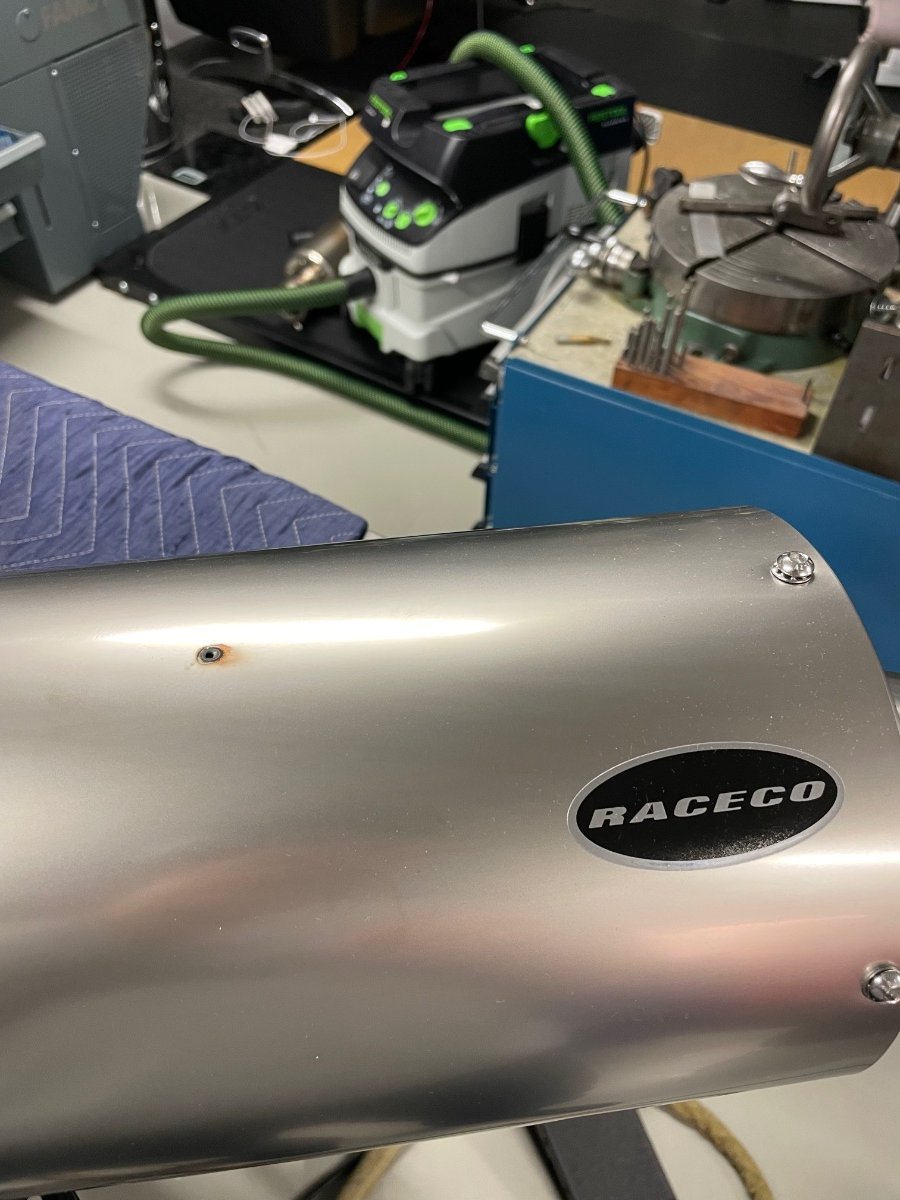
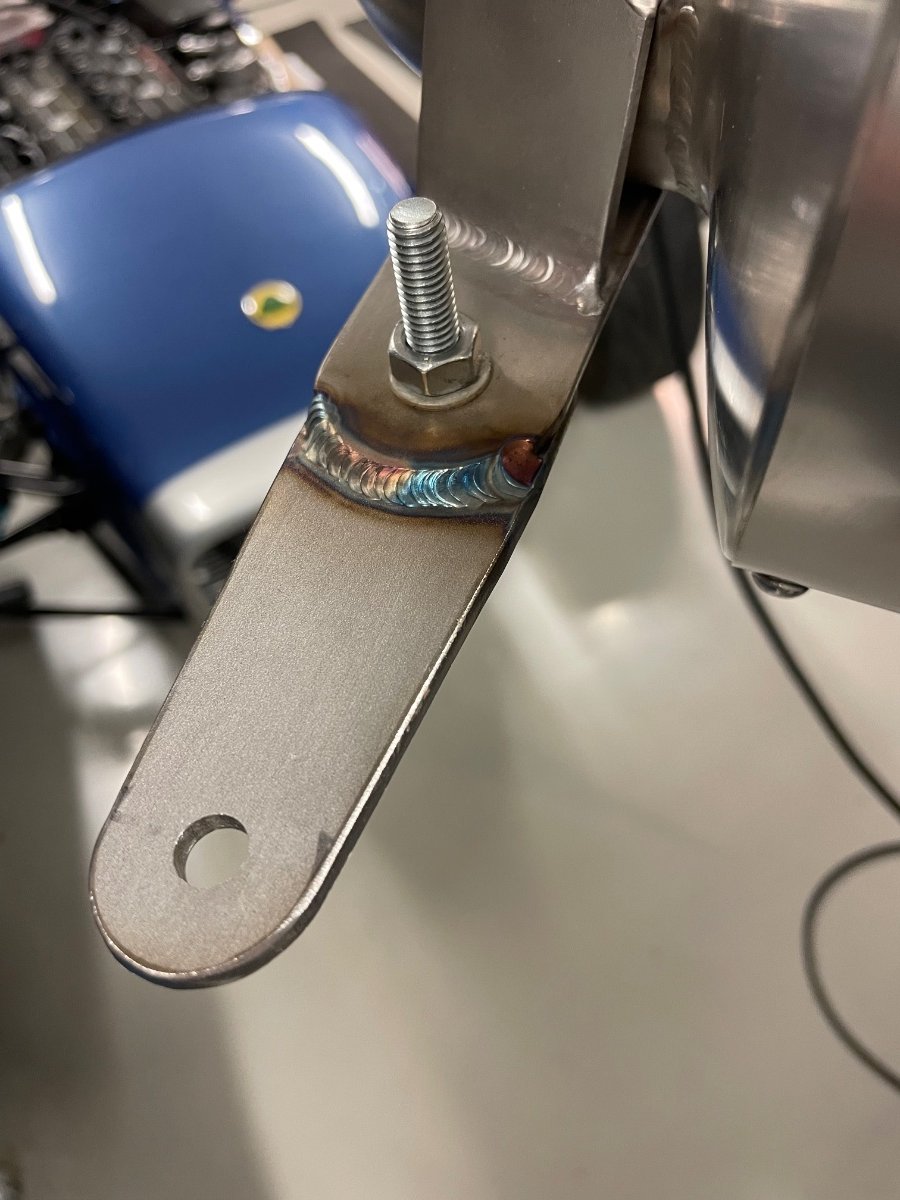
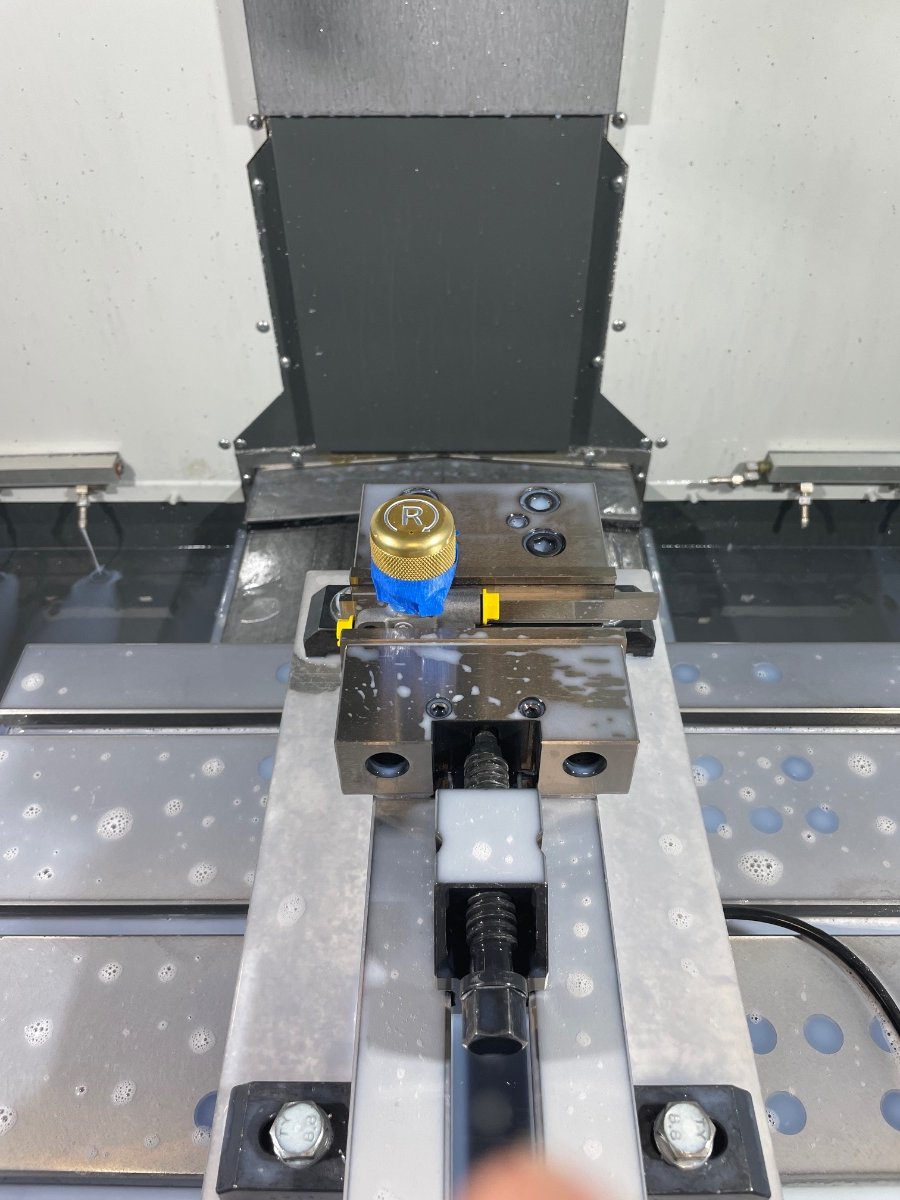
And one of those moments… I was welding the rear bracket for the exhaust, all good… … but when I flipped it over I forgot to connect the grounding cable and I then burned a small hole thru the titanium at arc start as a result... A friend realised, that exactly there needs to be a ”No step” sign anyway… ok, I can live with that 😄. I will make one out of alu and rivet it in place. After I recovered I welded the broken Formula upright as well. The cast aluminium was really good quality and to my surprise there were no pinholes! We will machine it flat next.
-
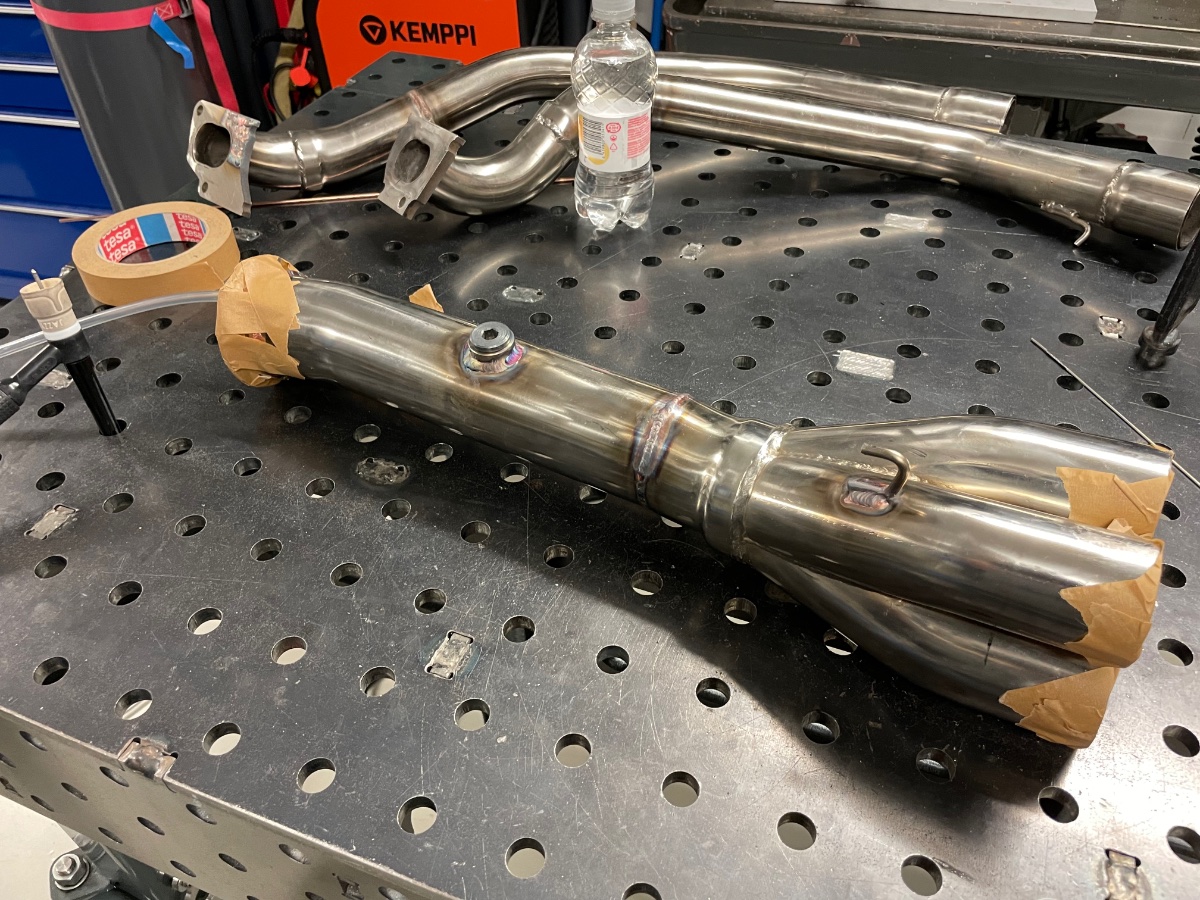
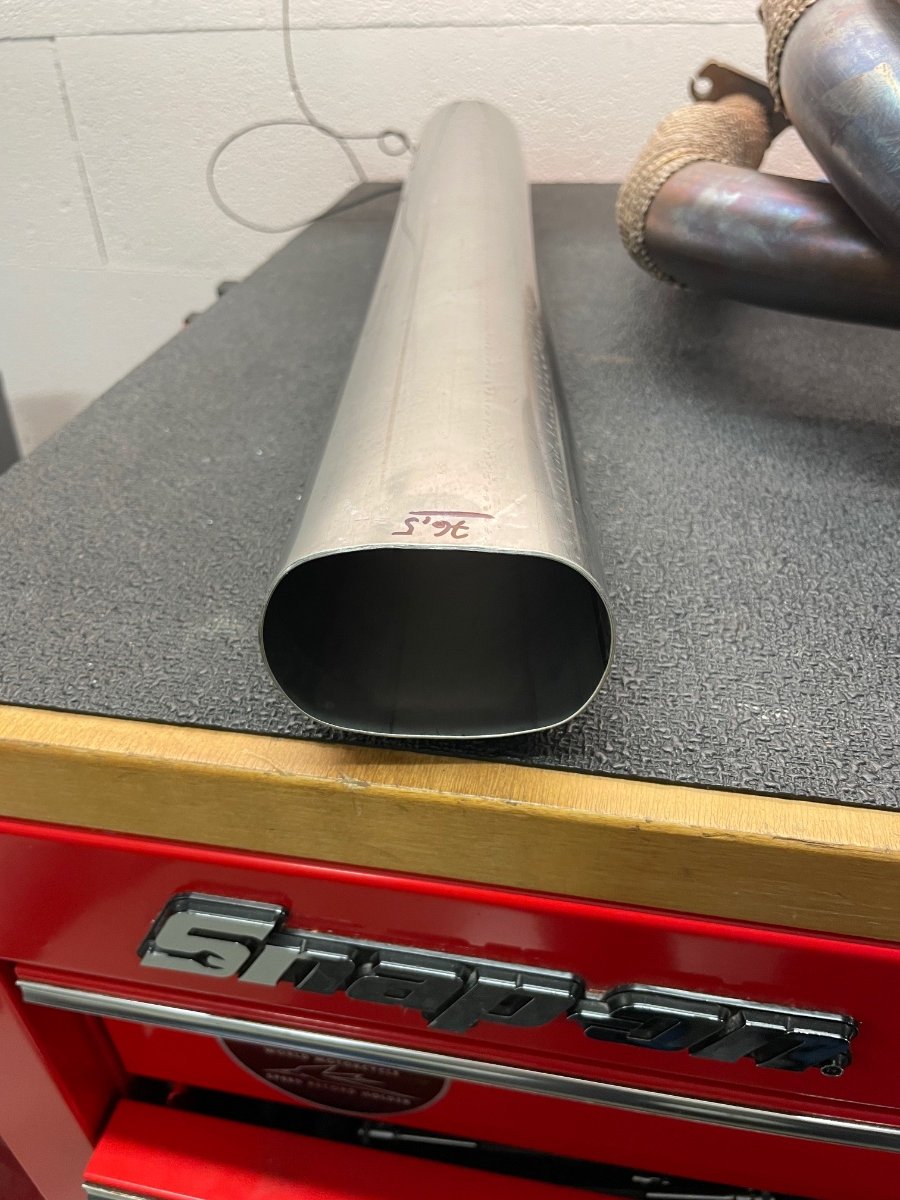
The silencer was pre-assembled from the owner with Mig tacks - yes, just a straight tube. That is what we thought ref the upright, but when we got our replacement part from France, it turned out to be a repaired one. A new one is 1000 Eur, so I’ll repair ours now…and a good guess ref the shim, we were really wondering what might have happened. Some progress today as well. I have a Jazzy cup size 10 for stainless, but I think I’ll try larger ones next, as I still get some color to the weld. The rear bracket is next in line, but unfortunately it is already too late to use the angle grinder outside.
-
And while at it (and since I forgot to buy a lambda weld bung) I welded together a scratch build silencer and some header modifications for a fellow 7 owner.
-
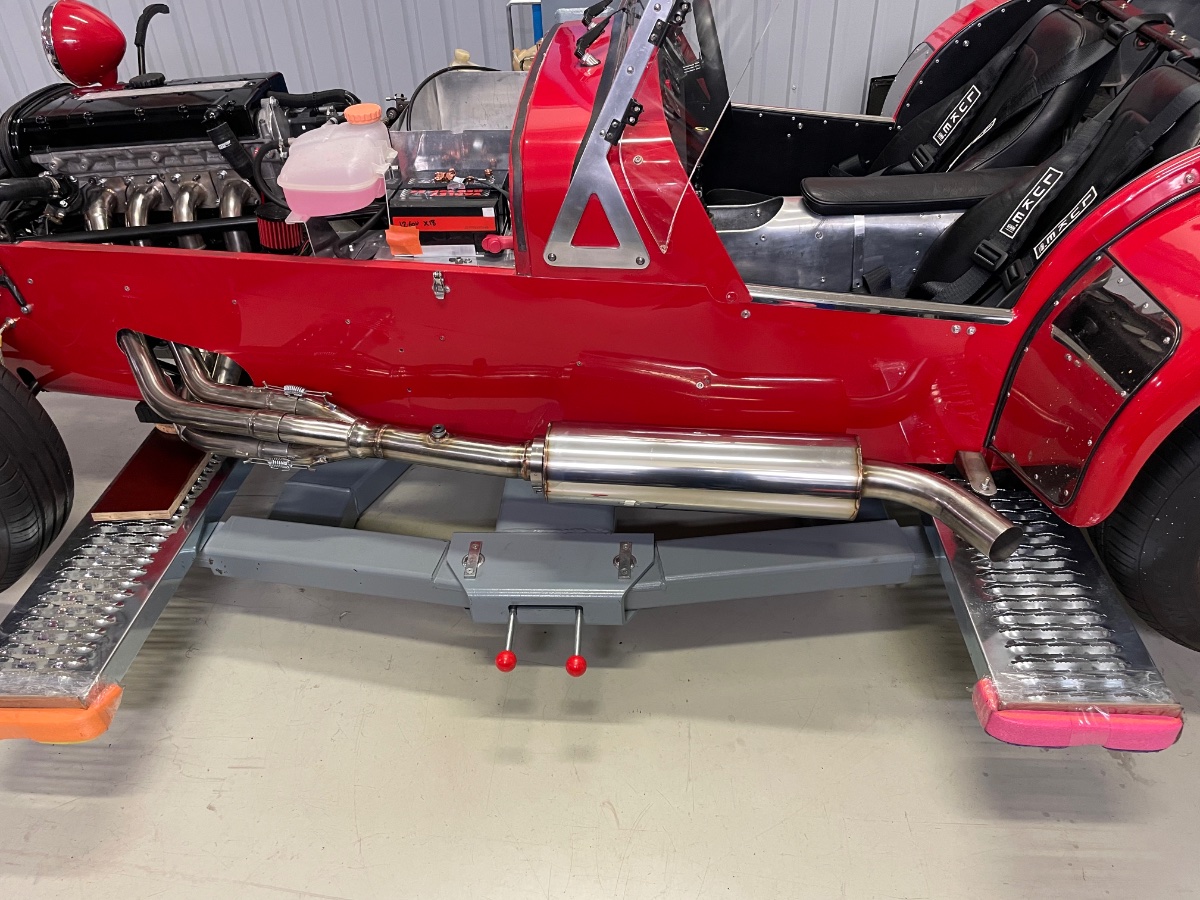
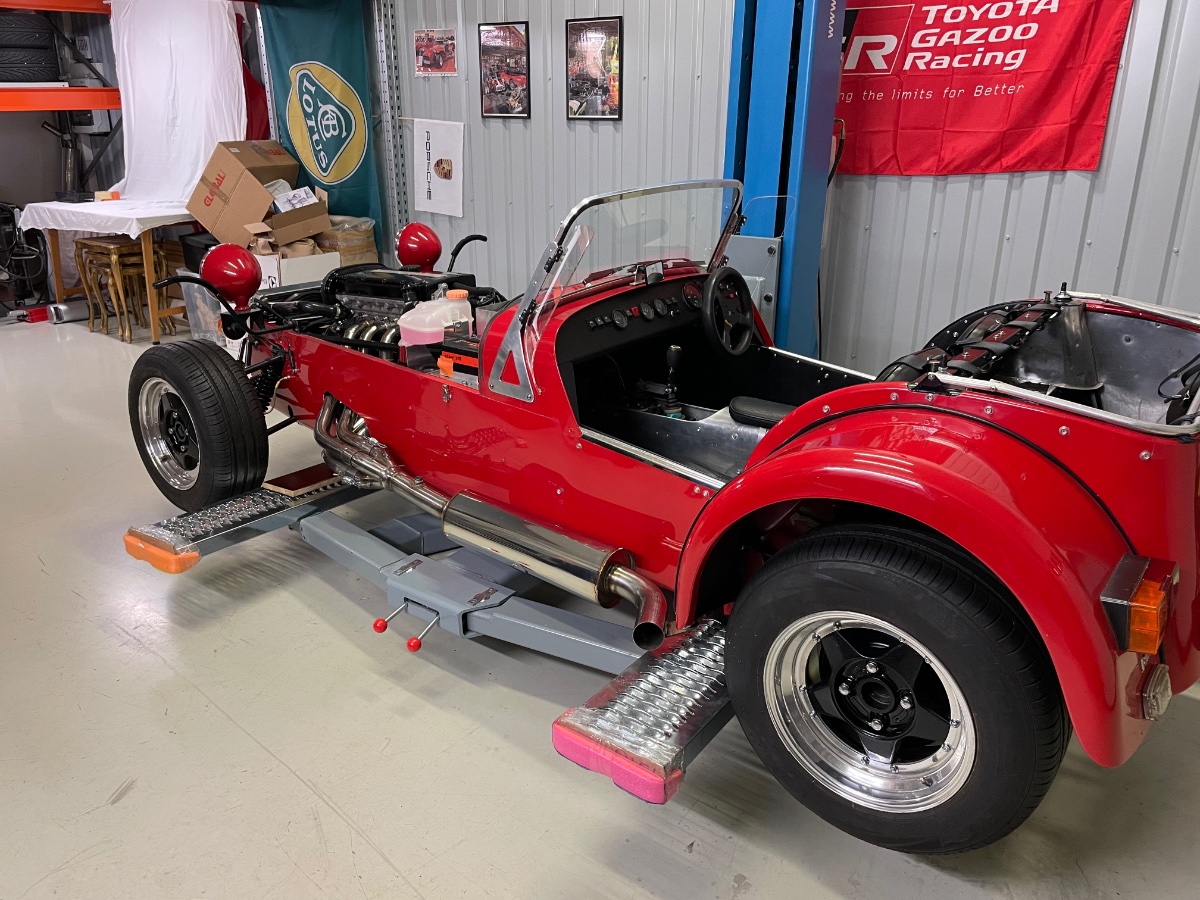
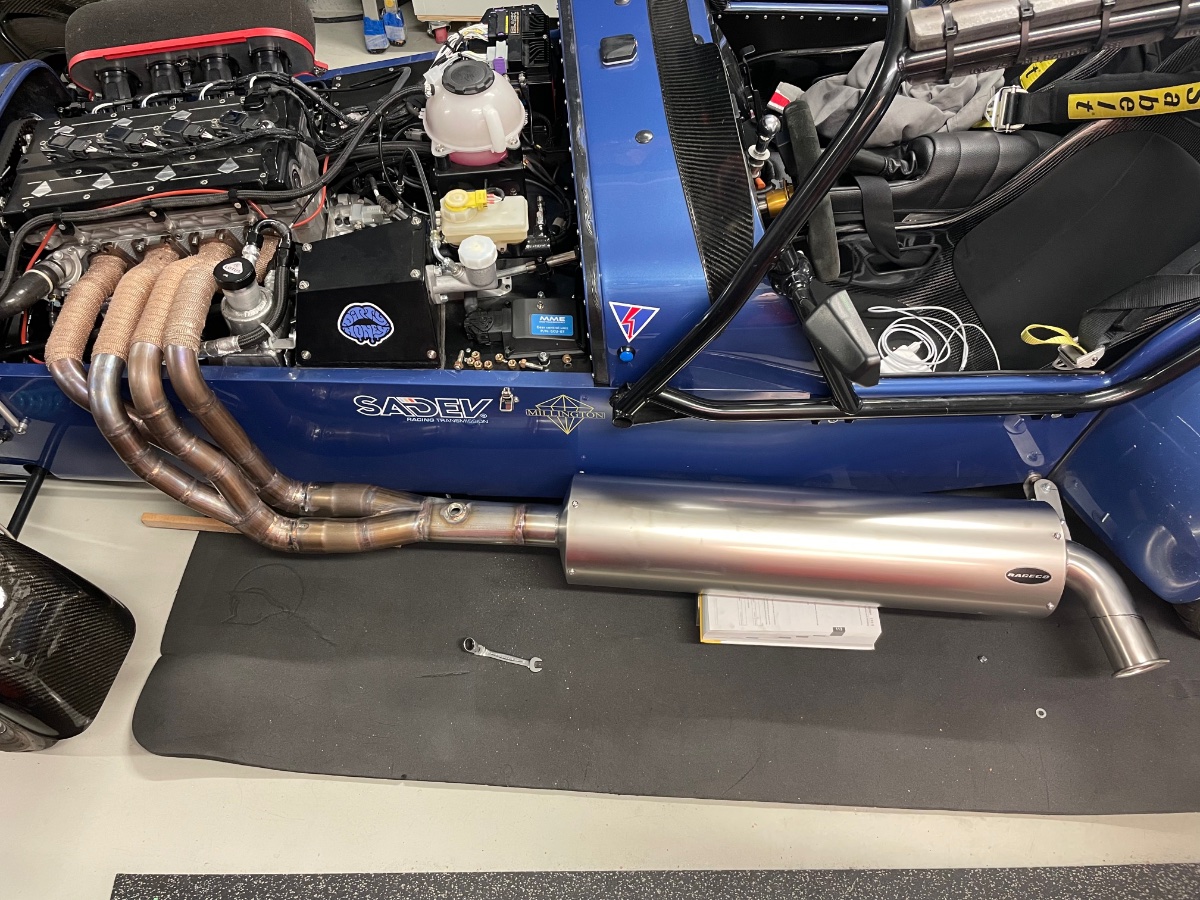
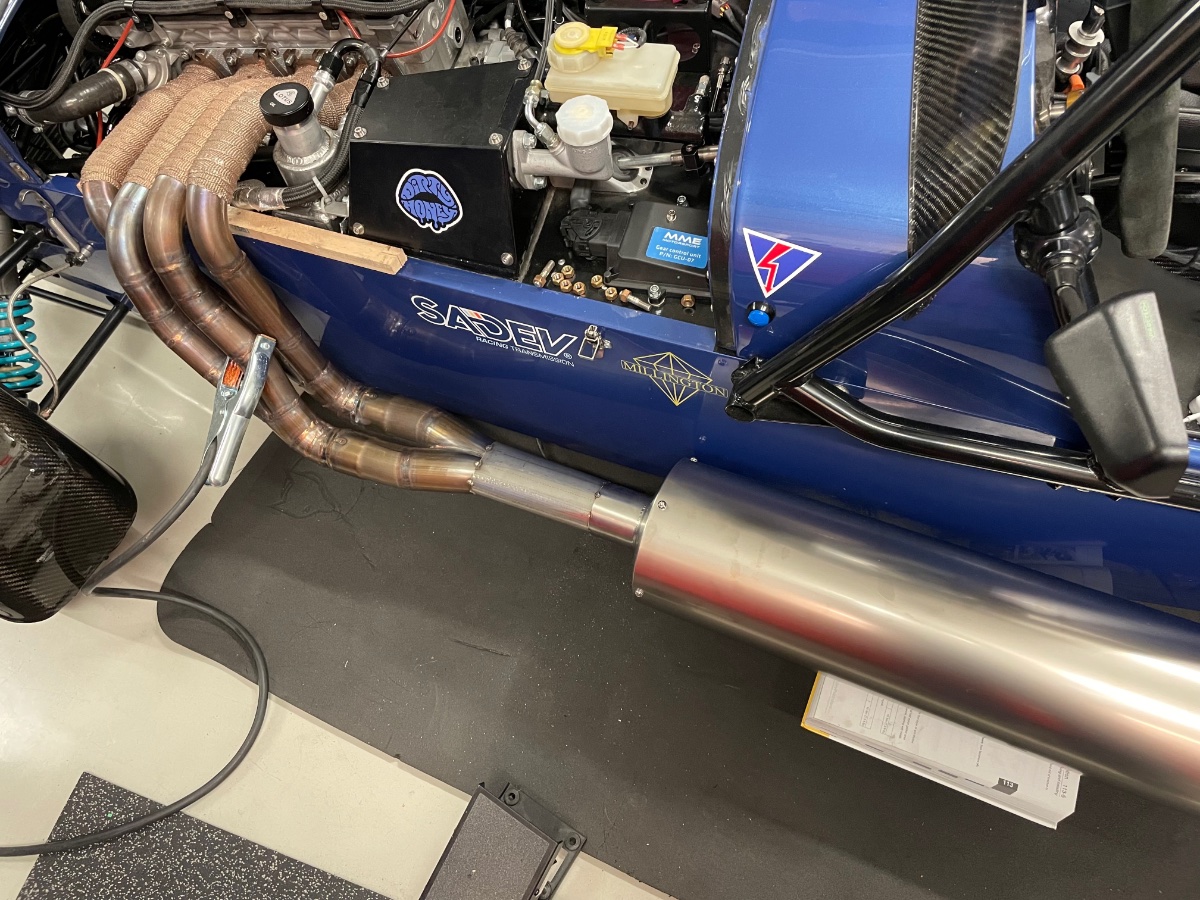
It has been vert busy on many fronts, but I finally got the exhaust started. This time no v-clamp between the silencer and header, as I never detached the previous one and that clamp is heavy! Pyrotech also informed me, that the bladder tank is done. I need to figure out shipment next for that.
-
-
-
-
-
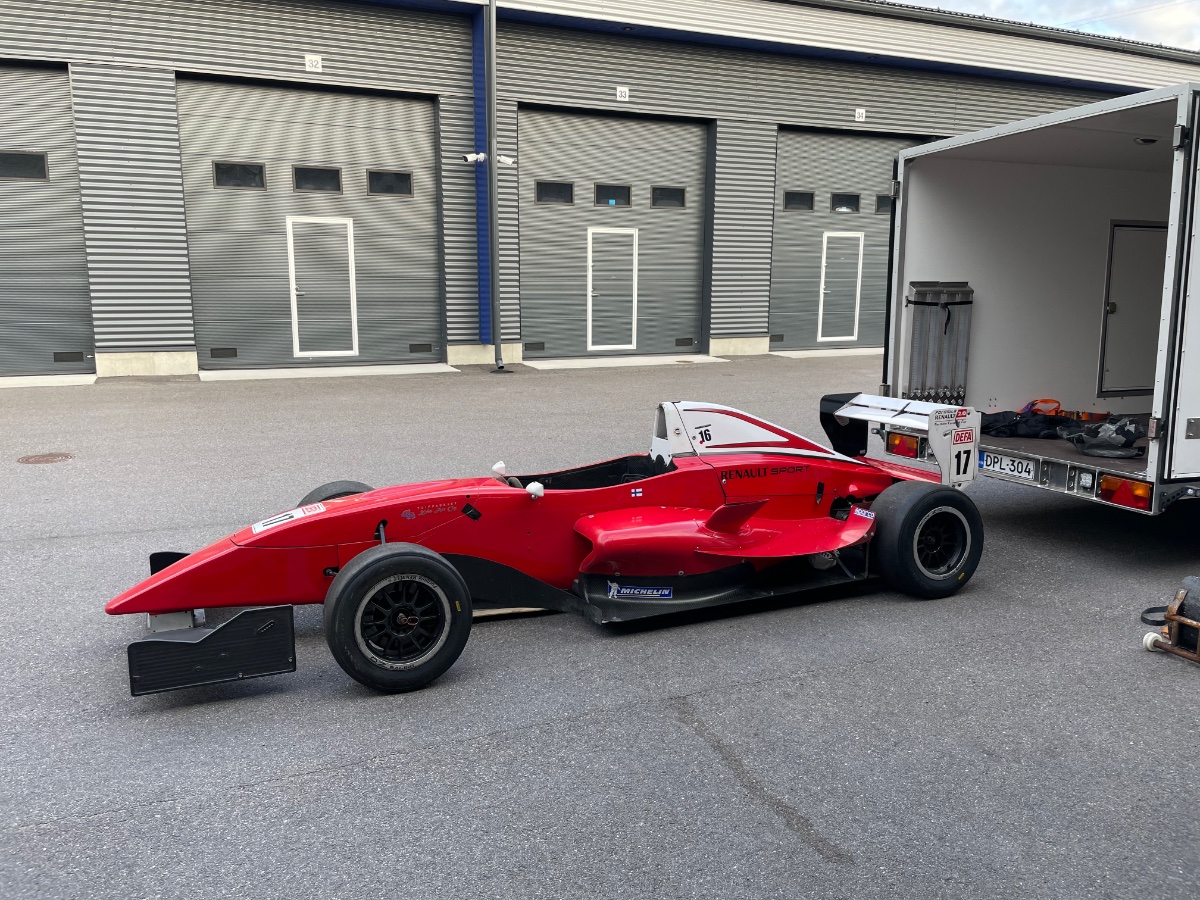
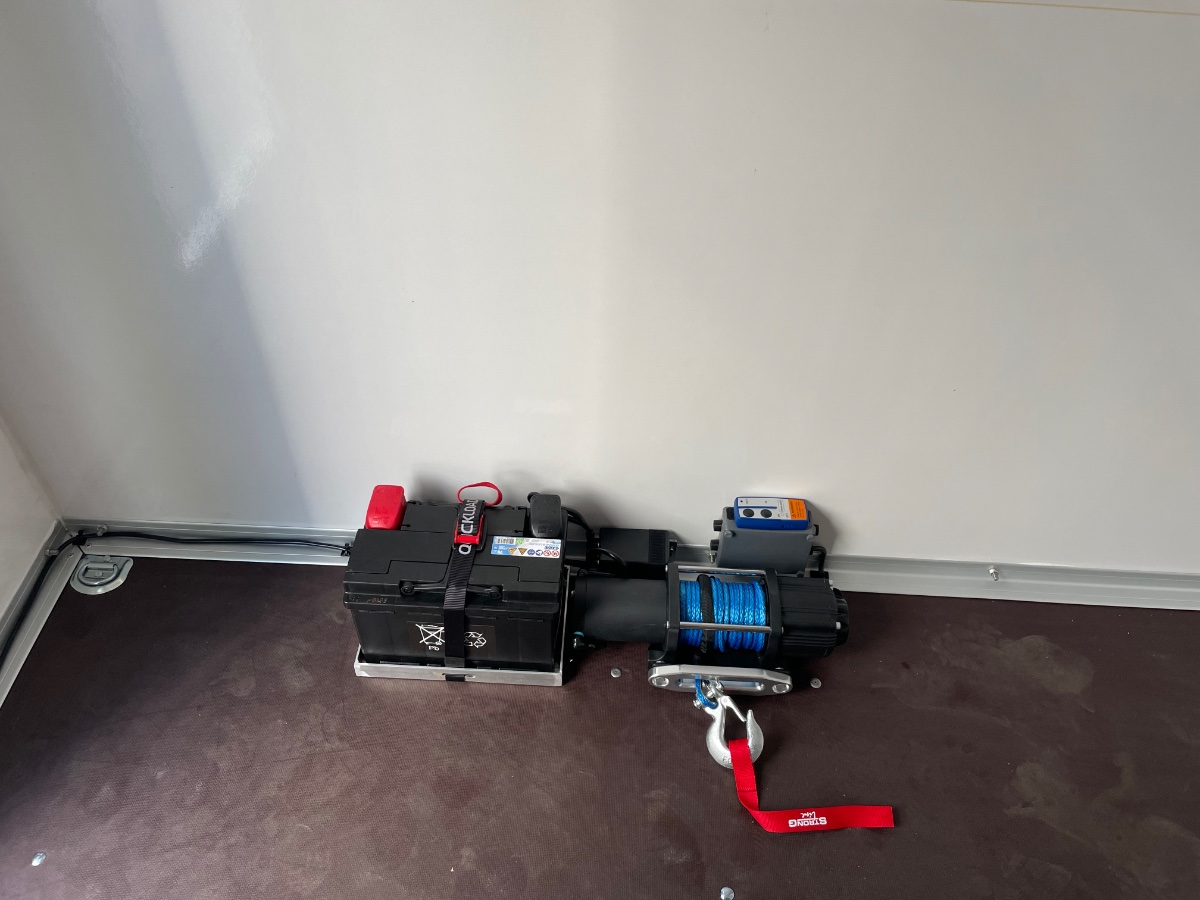
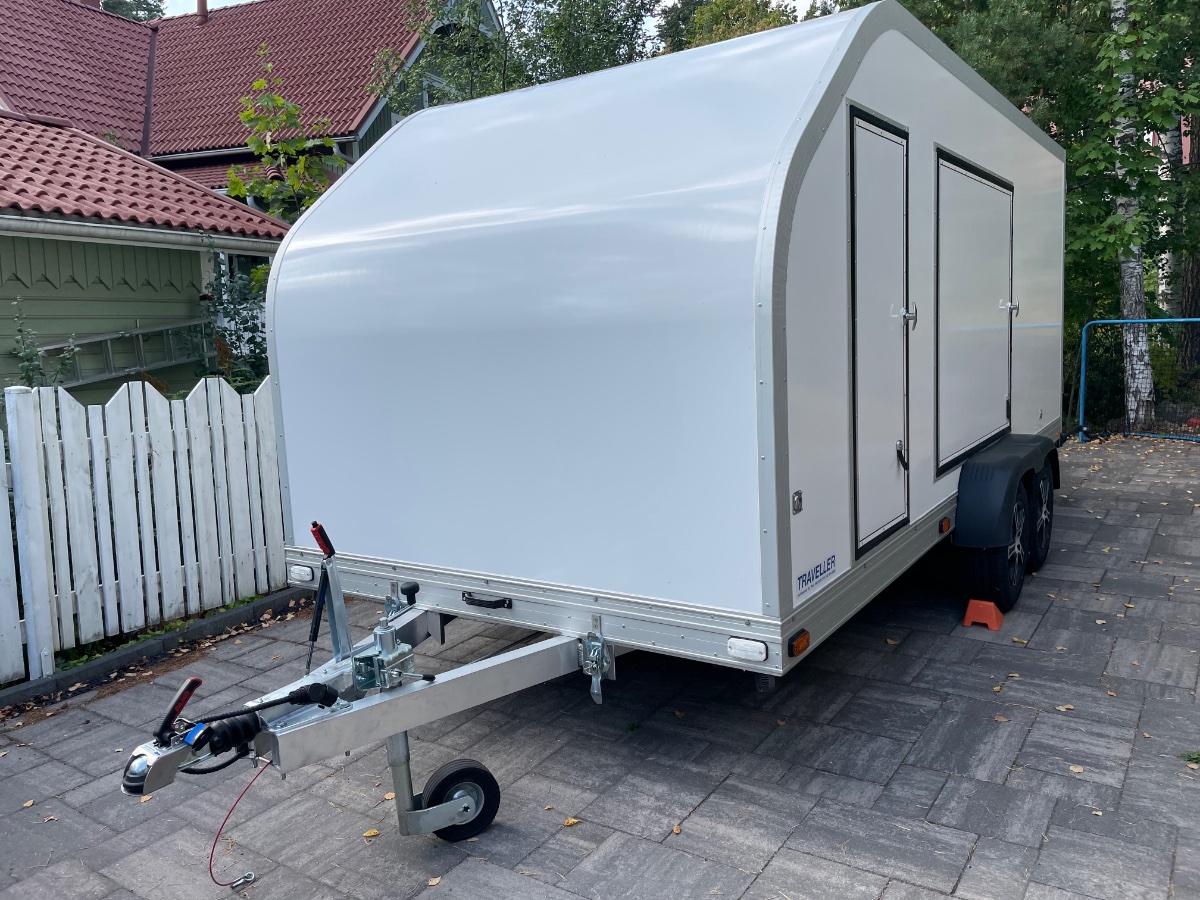
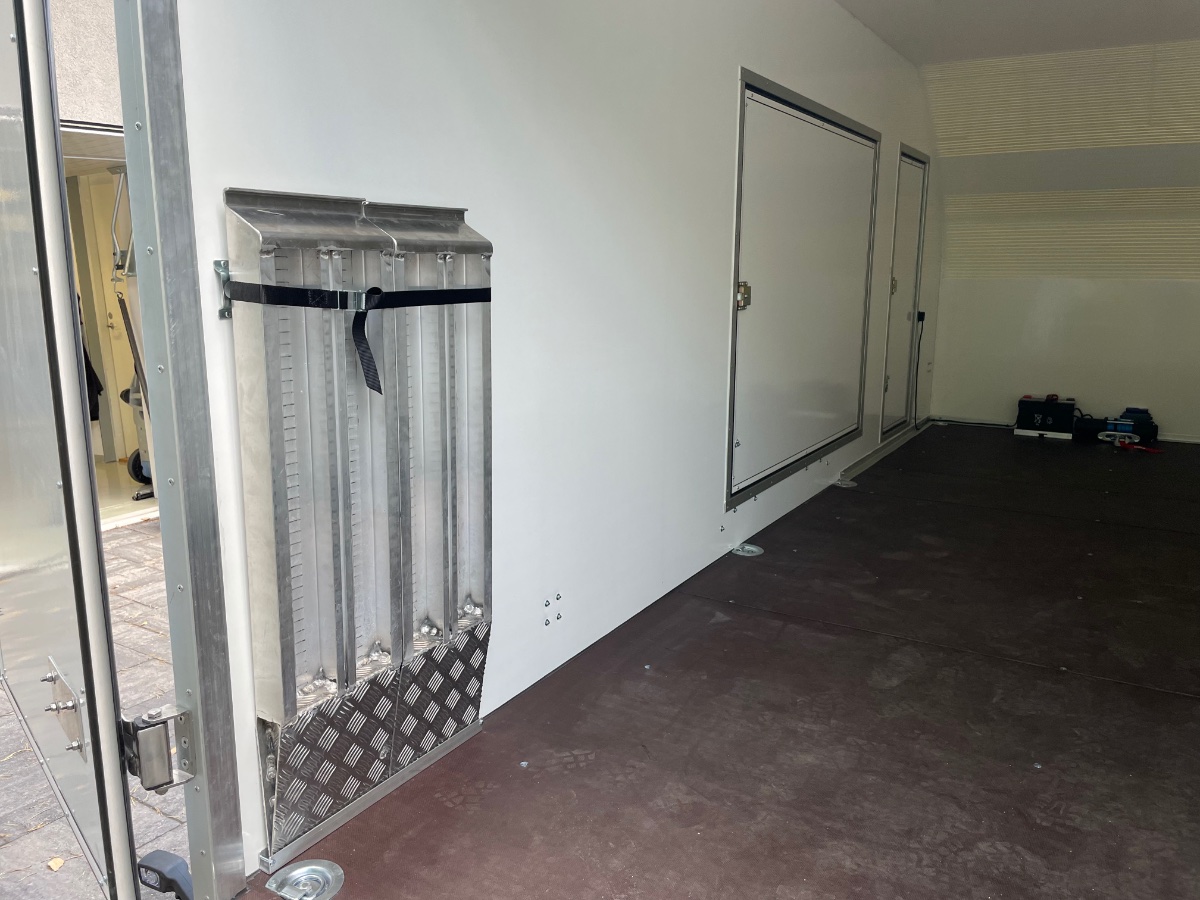
And I received also my new trailer for the seven. Full alu construction, so no rust worries on this one and it is also very light at 690kg with a 2700kg total weight limit. I finished today the electric winch installation with a wireless remote connected to an AGM battery and next up are some wheel straps.
-
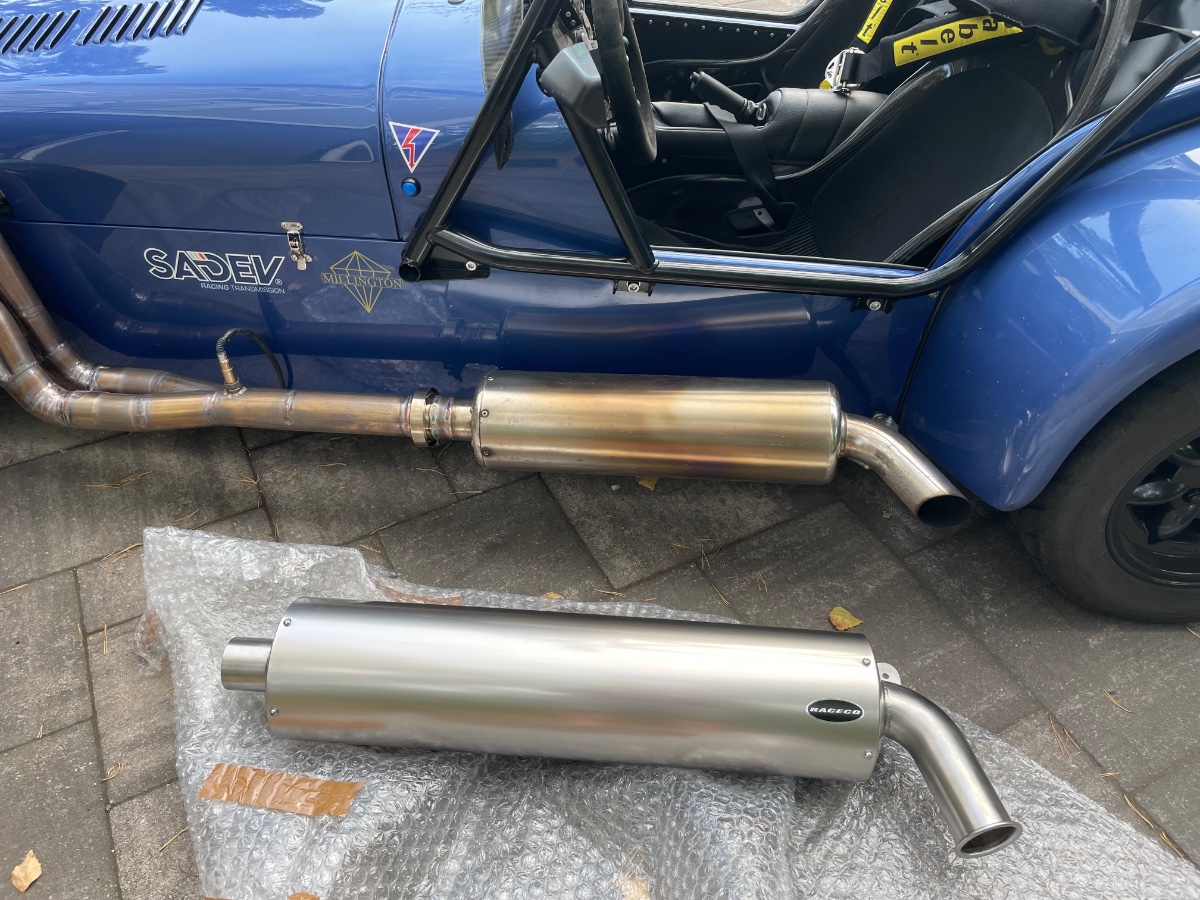
Good catch! Raceco mentioned, that the offset inlet is a little worse from a noise reduction perspective, as the packing is then more uneven. I also have my silencer aligned straight with the exhaust and not like Caterham has, where the silencer is aligned with the driver/passenger side and the pipe from the collector has a curve. So this should make the center inlet actually easier. I plan on making a new header anyway at some point, but I think I'll fit this silencer in the meantime to my existing header as well. Let's see how it will fit...
-
Yes, it is simply routed underneath the chassis rail and secured with a zip tie to the first chassis tube.
-
The Raceco center inlet silencer arrived - it is huge compared to the old one.
-
Hi MXM! The Go-Race QR has been without issues, but I really don't use it much. Blinkstop has also worked without issues so far. I think I would have chosen the connector, if it would have been available when I made my choices. The Motogadget blue unit has been really nice, I think it is best value for money compared to any other part on the car. However, if you have a lot of extra chassis electronics, then there might not be enough switched outputs. From a power perspective the aux is pretty good, apart from the fuel pumps and fan it powers everything for me, including my air compressor for the sequential. I don't think my drysump location is possible with a standard exhaust, but with my thru-bonnet setup it is fine. The total oil capacity is somewhere between 6-7 litres, and I believe around 5 litres of that resides in the tank.
-
Ok, thanks!!
-
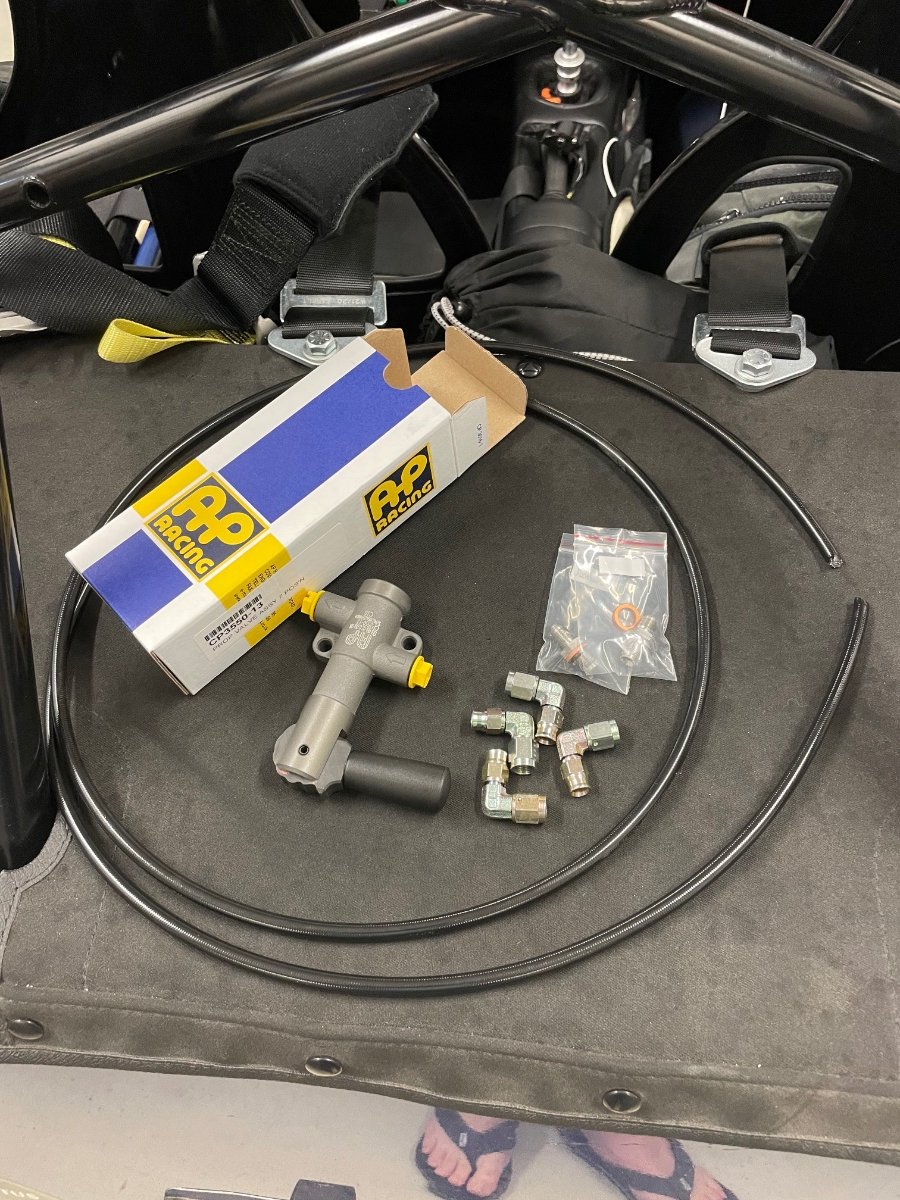
John, where did you get the info on the 60/40 split on the uprated AP Master? And are you referring to fluid output or a bore difference? My refurbished standard Girling started leaking at the base of the fluid container and I don’t think the plastic will survive another removal, so I’m figuring out what my options are.
-
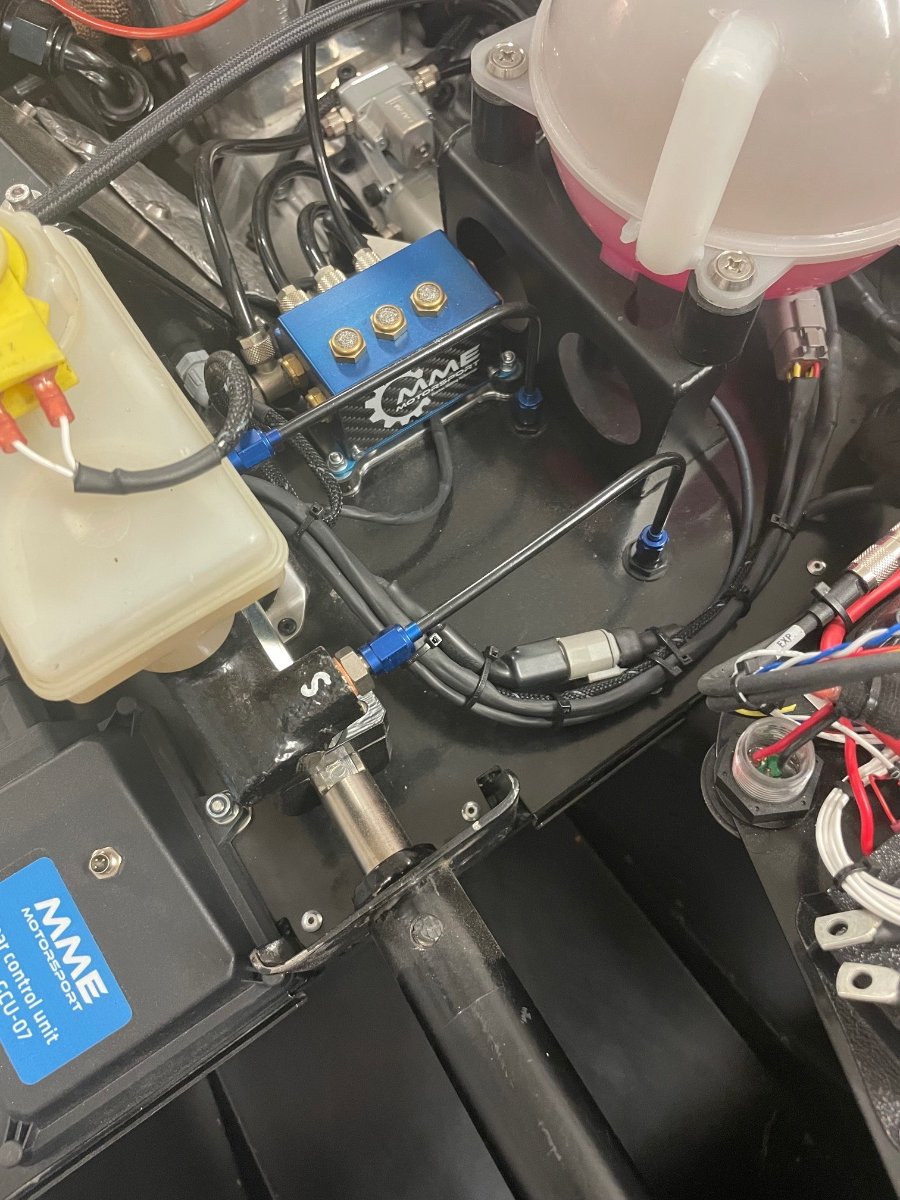
And the new hoses are done, connected and the systen is filled with brake fluid. A track test might be possible in the upcoming week.
-
A small extra touch…
-
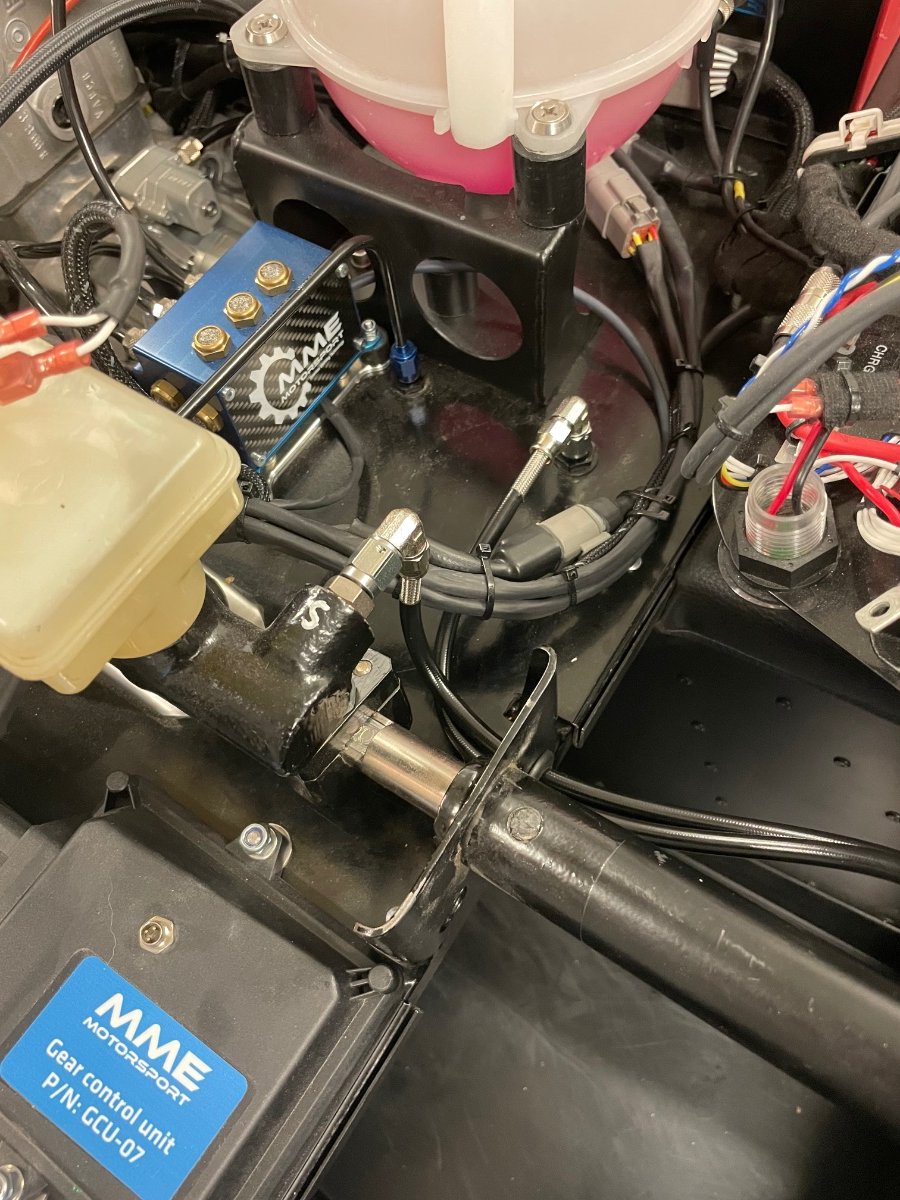
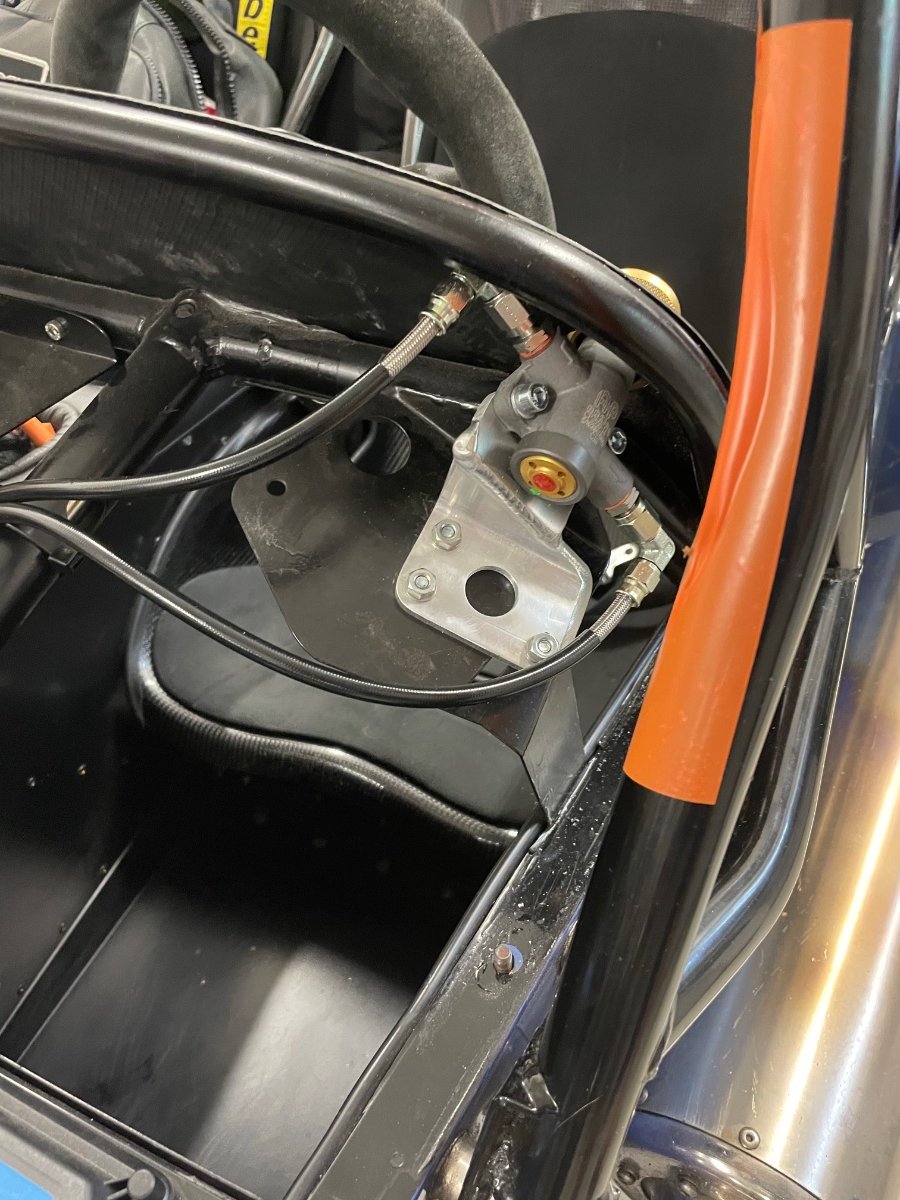
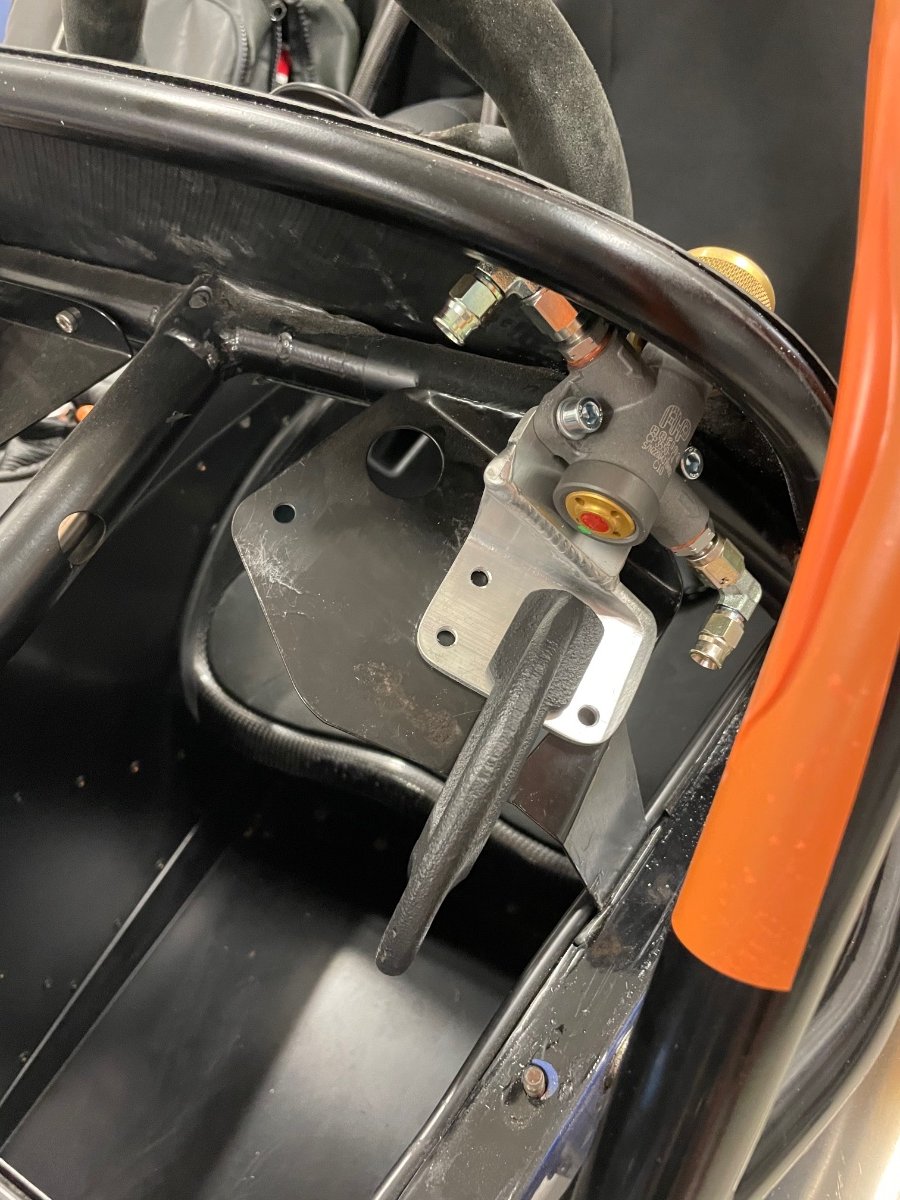
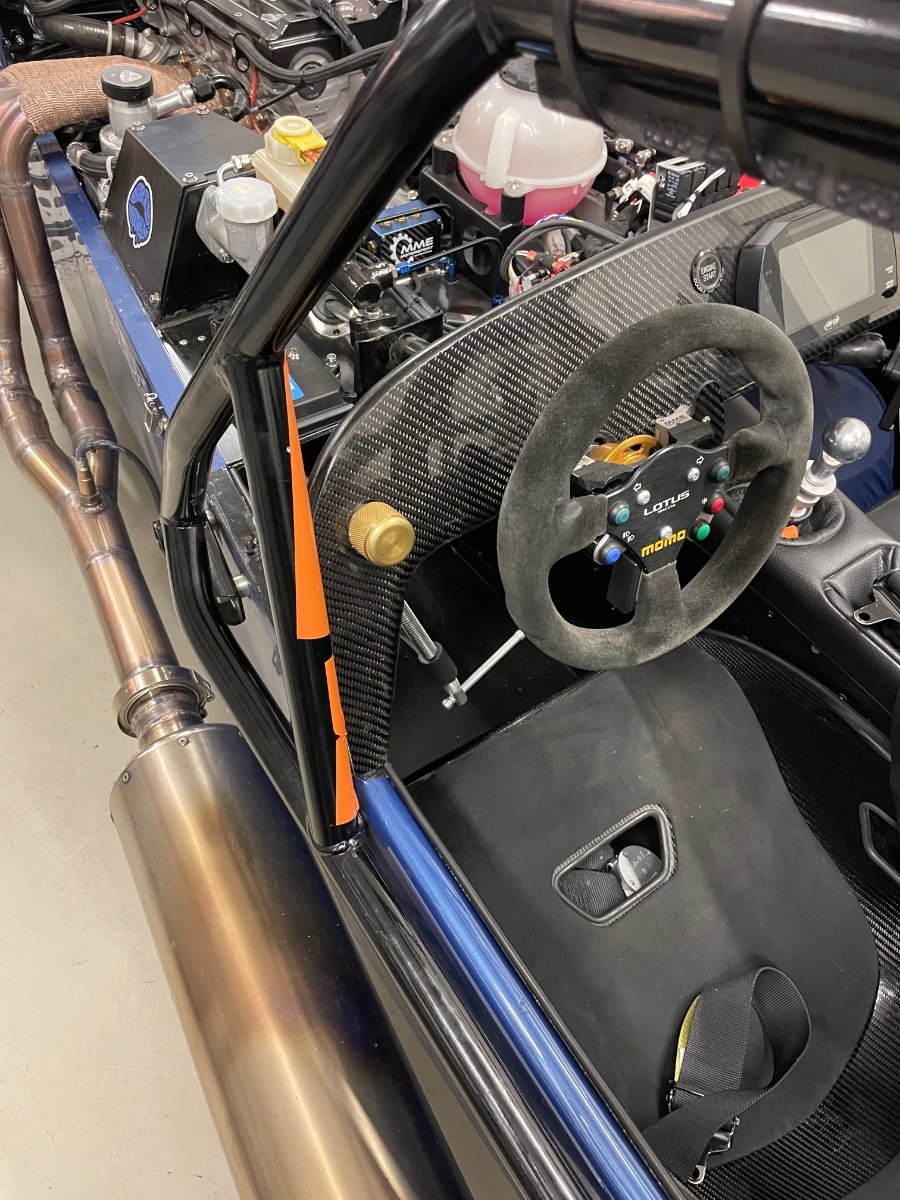
Sure, I’ll document both. I couldn’t find a good location for the lever type bias valve, so I switched to the knob version and made a simple bracket for it from some leftover alu, that gets bolted to the plate where the wiper system usually is. The angle of the knob matches now the steering wheel, which was a bit more pleasing to the eye than when aligned with the panel, as the knob is rather large. I had prepared for the connection when I made my brake lines last year and the valve will be simply connected in place of the short 90 deg hardline of the rear brake:
-
Compared to an Elise the rear end in my seven feels much too lively under hard braking, so let’s see if a proportioning valve will sort it out. The lever is huge compared to the cockpit… it will be fun to find a good location for it. Rear pads are standard Delphi, front DS3000 inside ”James Whiting” 4pot Alcons and standard discs.
-
The seats definitely still keep me in check ref calorie intake! But I have had no issues or pain points even after a few hours driving without a break, even though they feel very tight every time I slide in.
-
Looks like new!!