
williamwashere
-
Posts
127 -
Joined
-
Last visited
Content Type
Profiles
Forums
Store
Articles
Gallery
Events
Library
Everything posted by williamwashere
-
Too soon man!!! Too soon!!!
-
https://rockysbricks.brickowl.com/search/store?utm_source=rebrickable&query=21307-1 <-- Not cheap... but fun! $130.
-
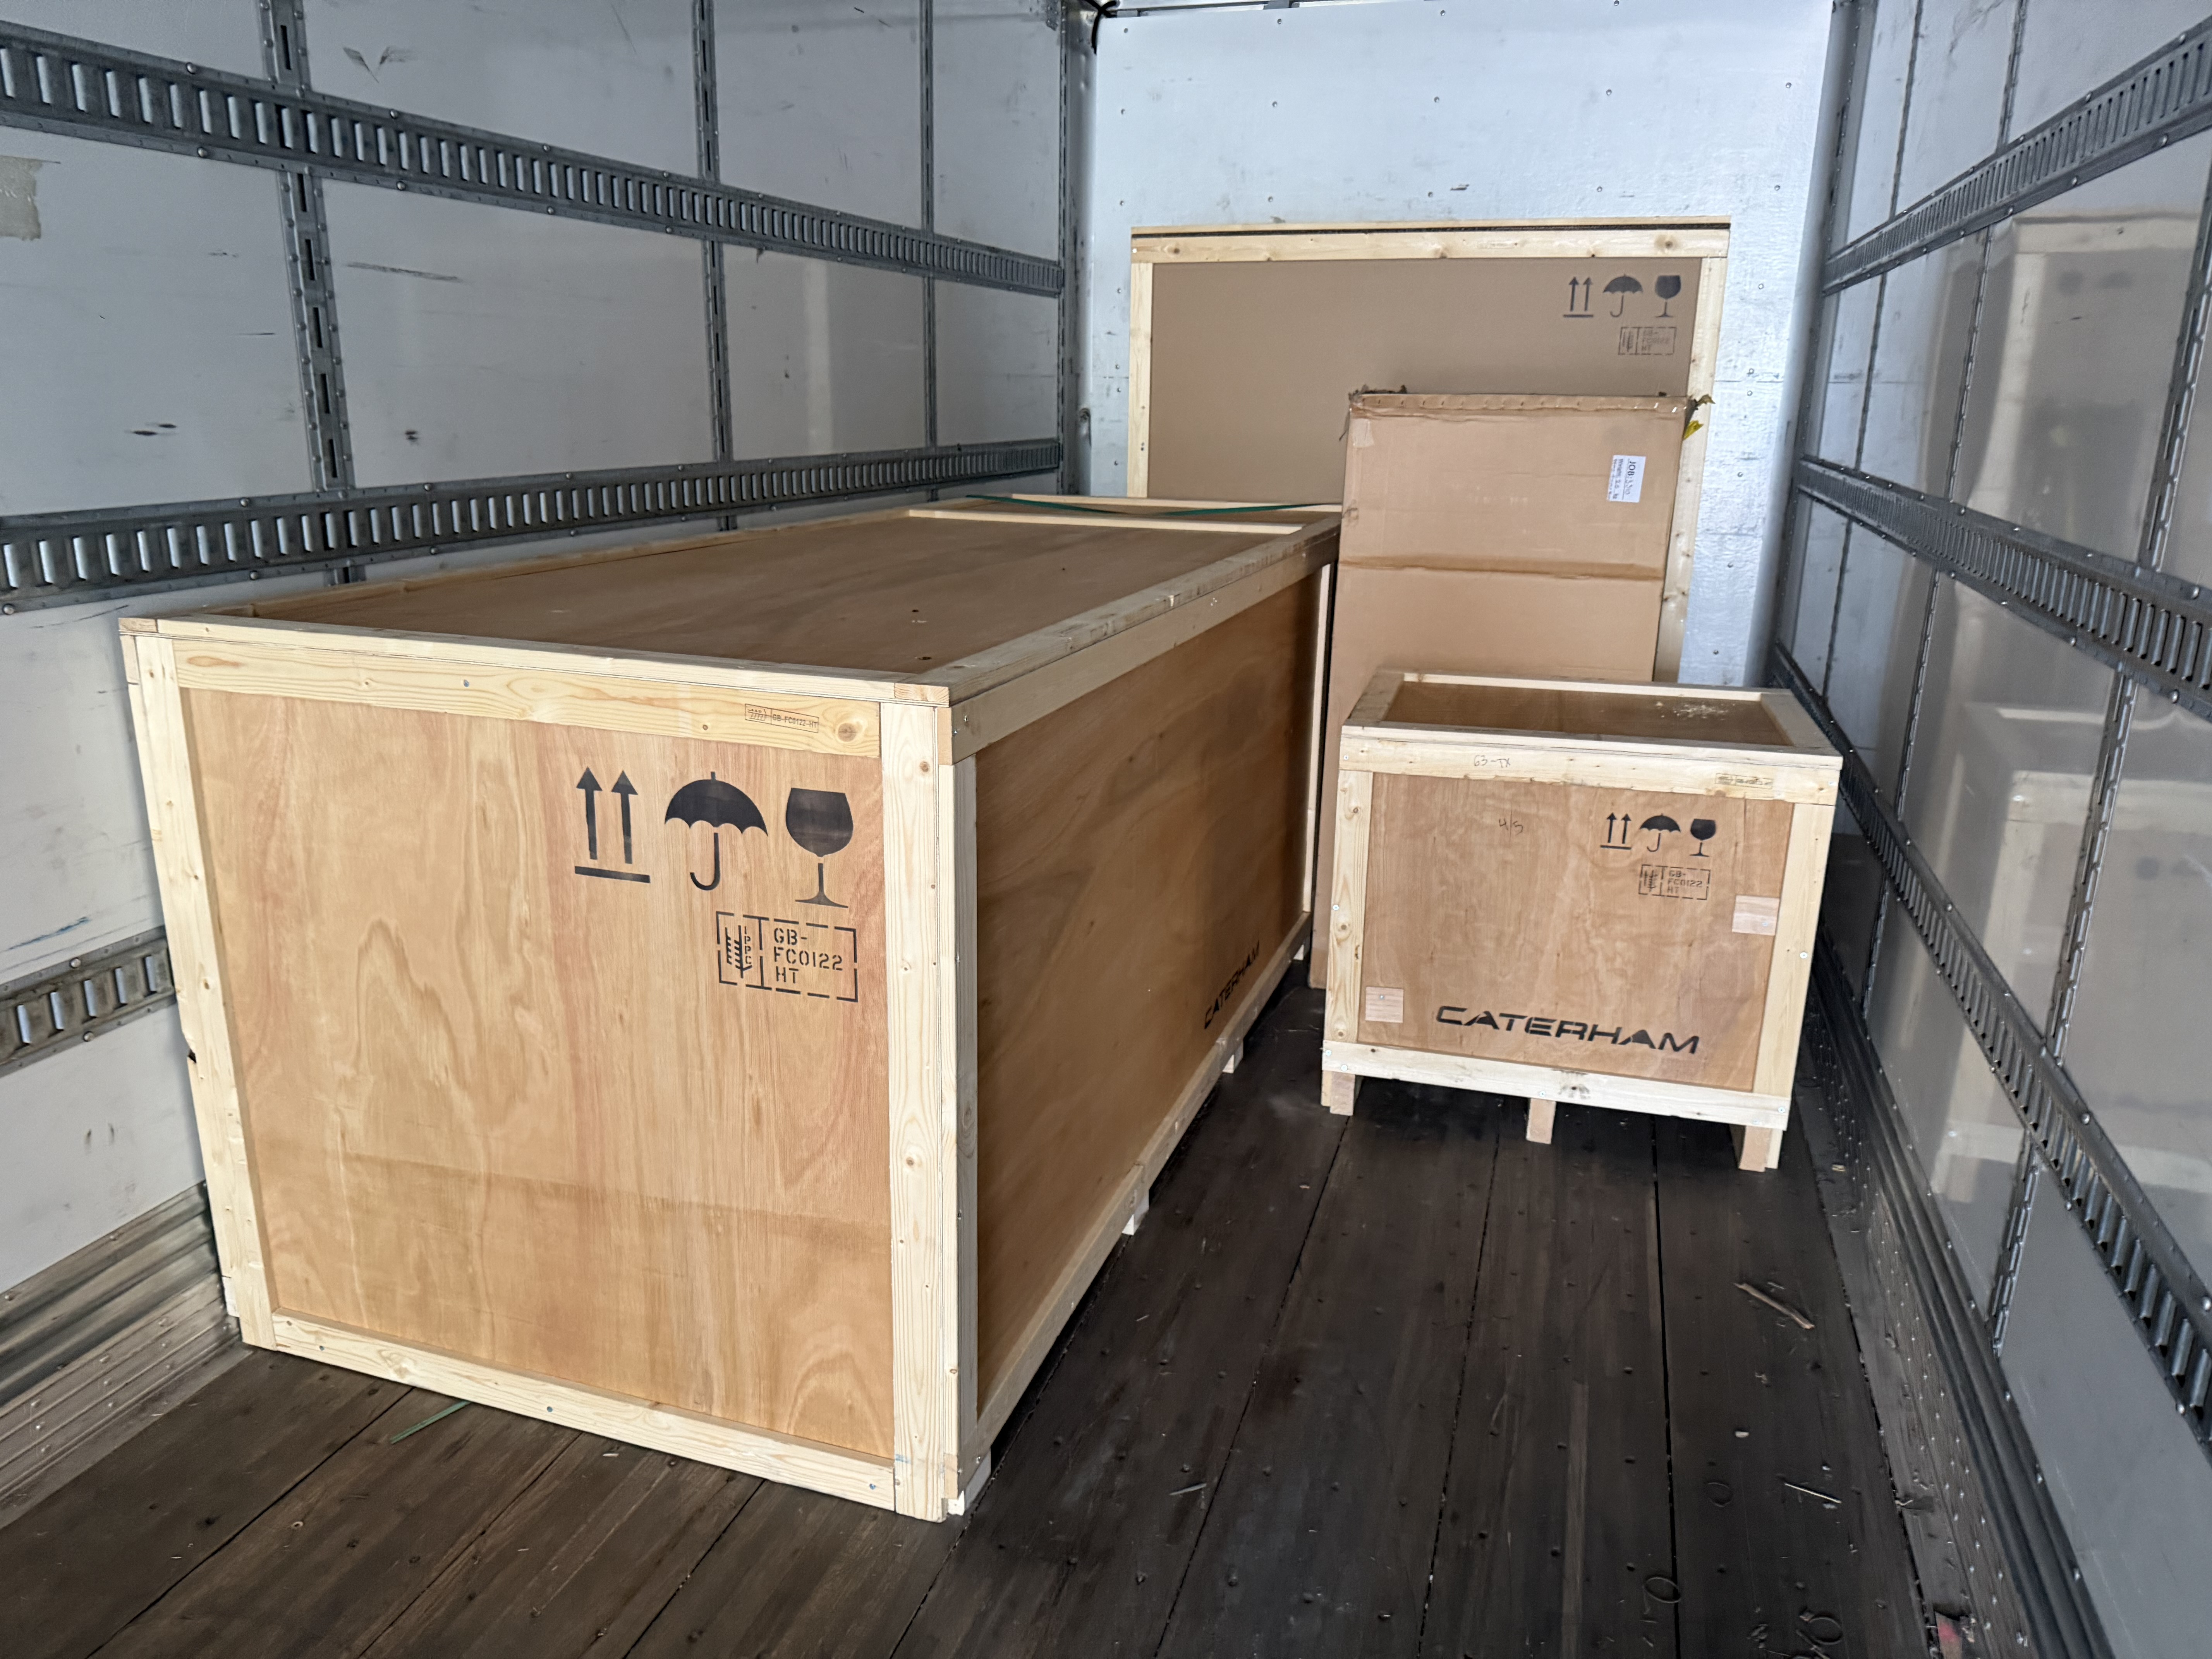
I ordered mine last November. It was completed in March/April, and took until November to get delivered. Have you tried building the Caterham Lego yet?
-

Photo Thread - USA7s HPDE October 17/18, 2026
williamwashere replied to Croc's topic in National Events
I love the sense of speed in that video; it's a great camera angle. -
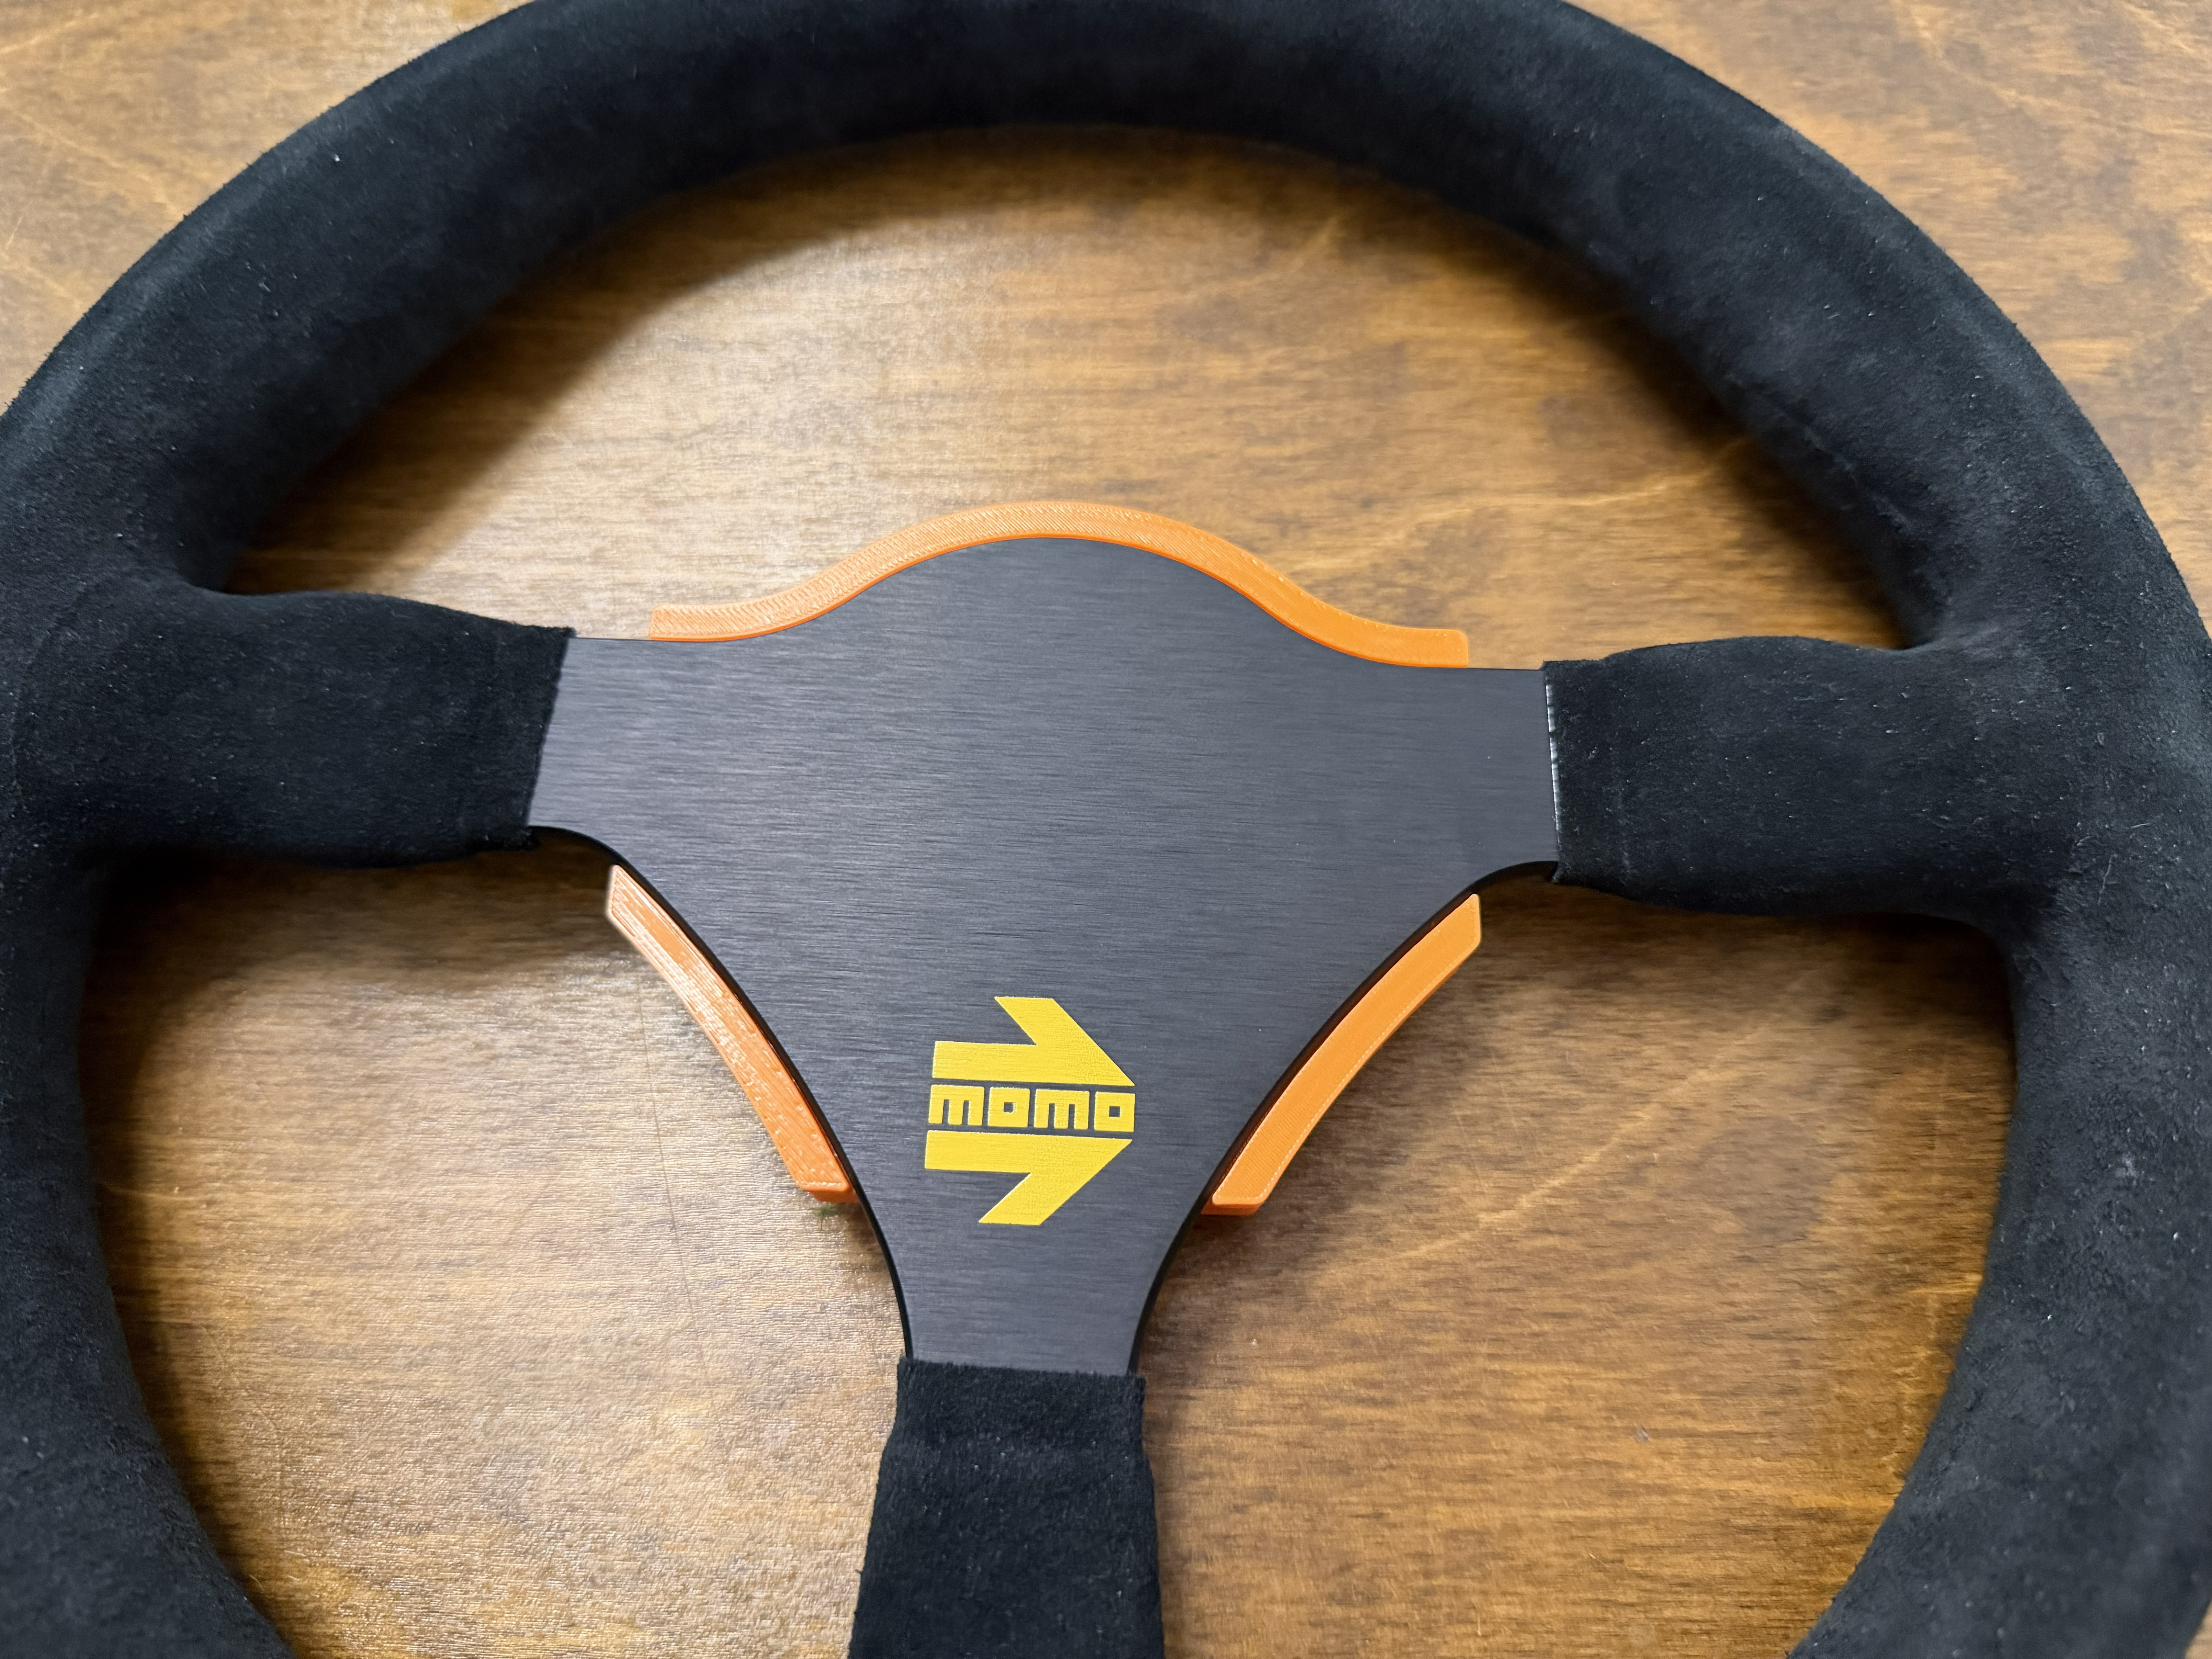
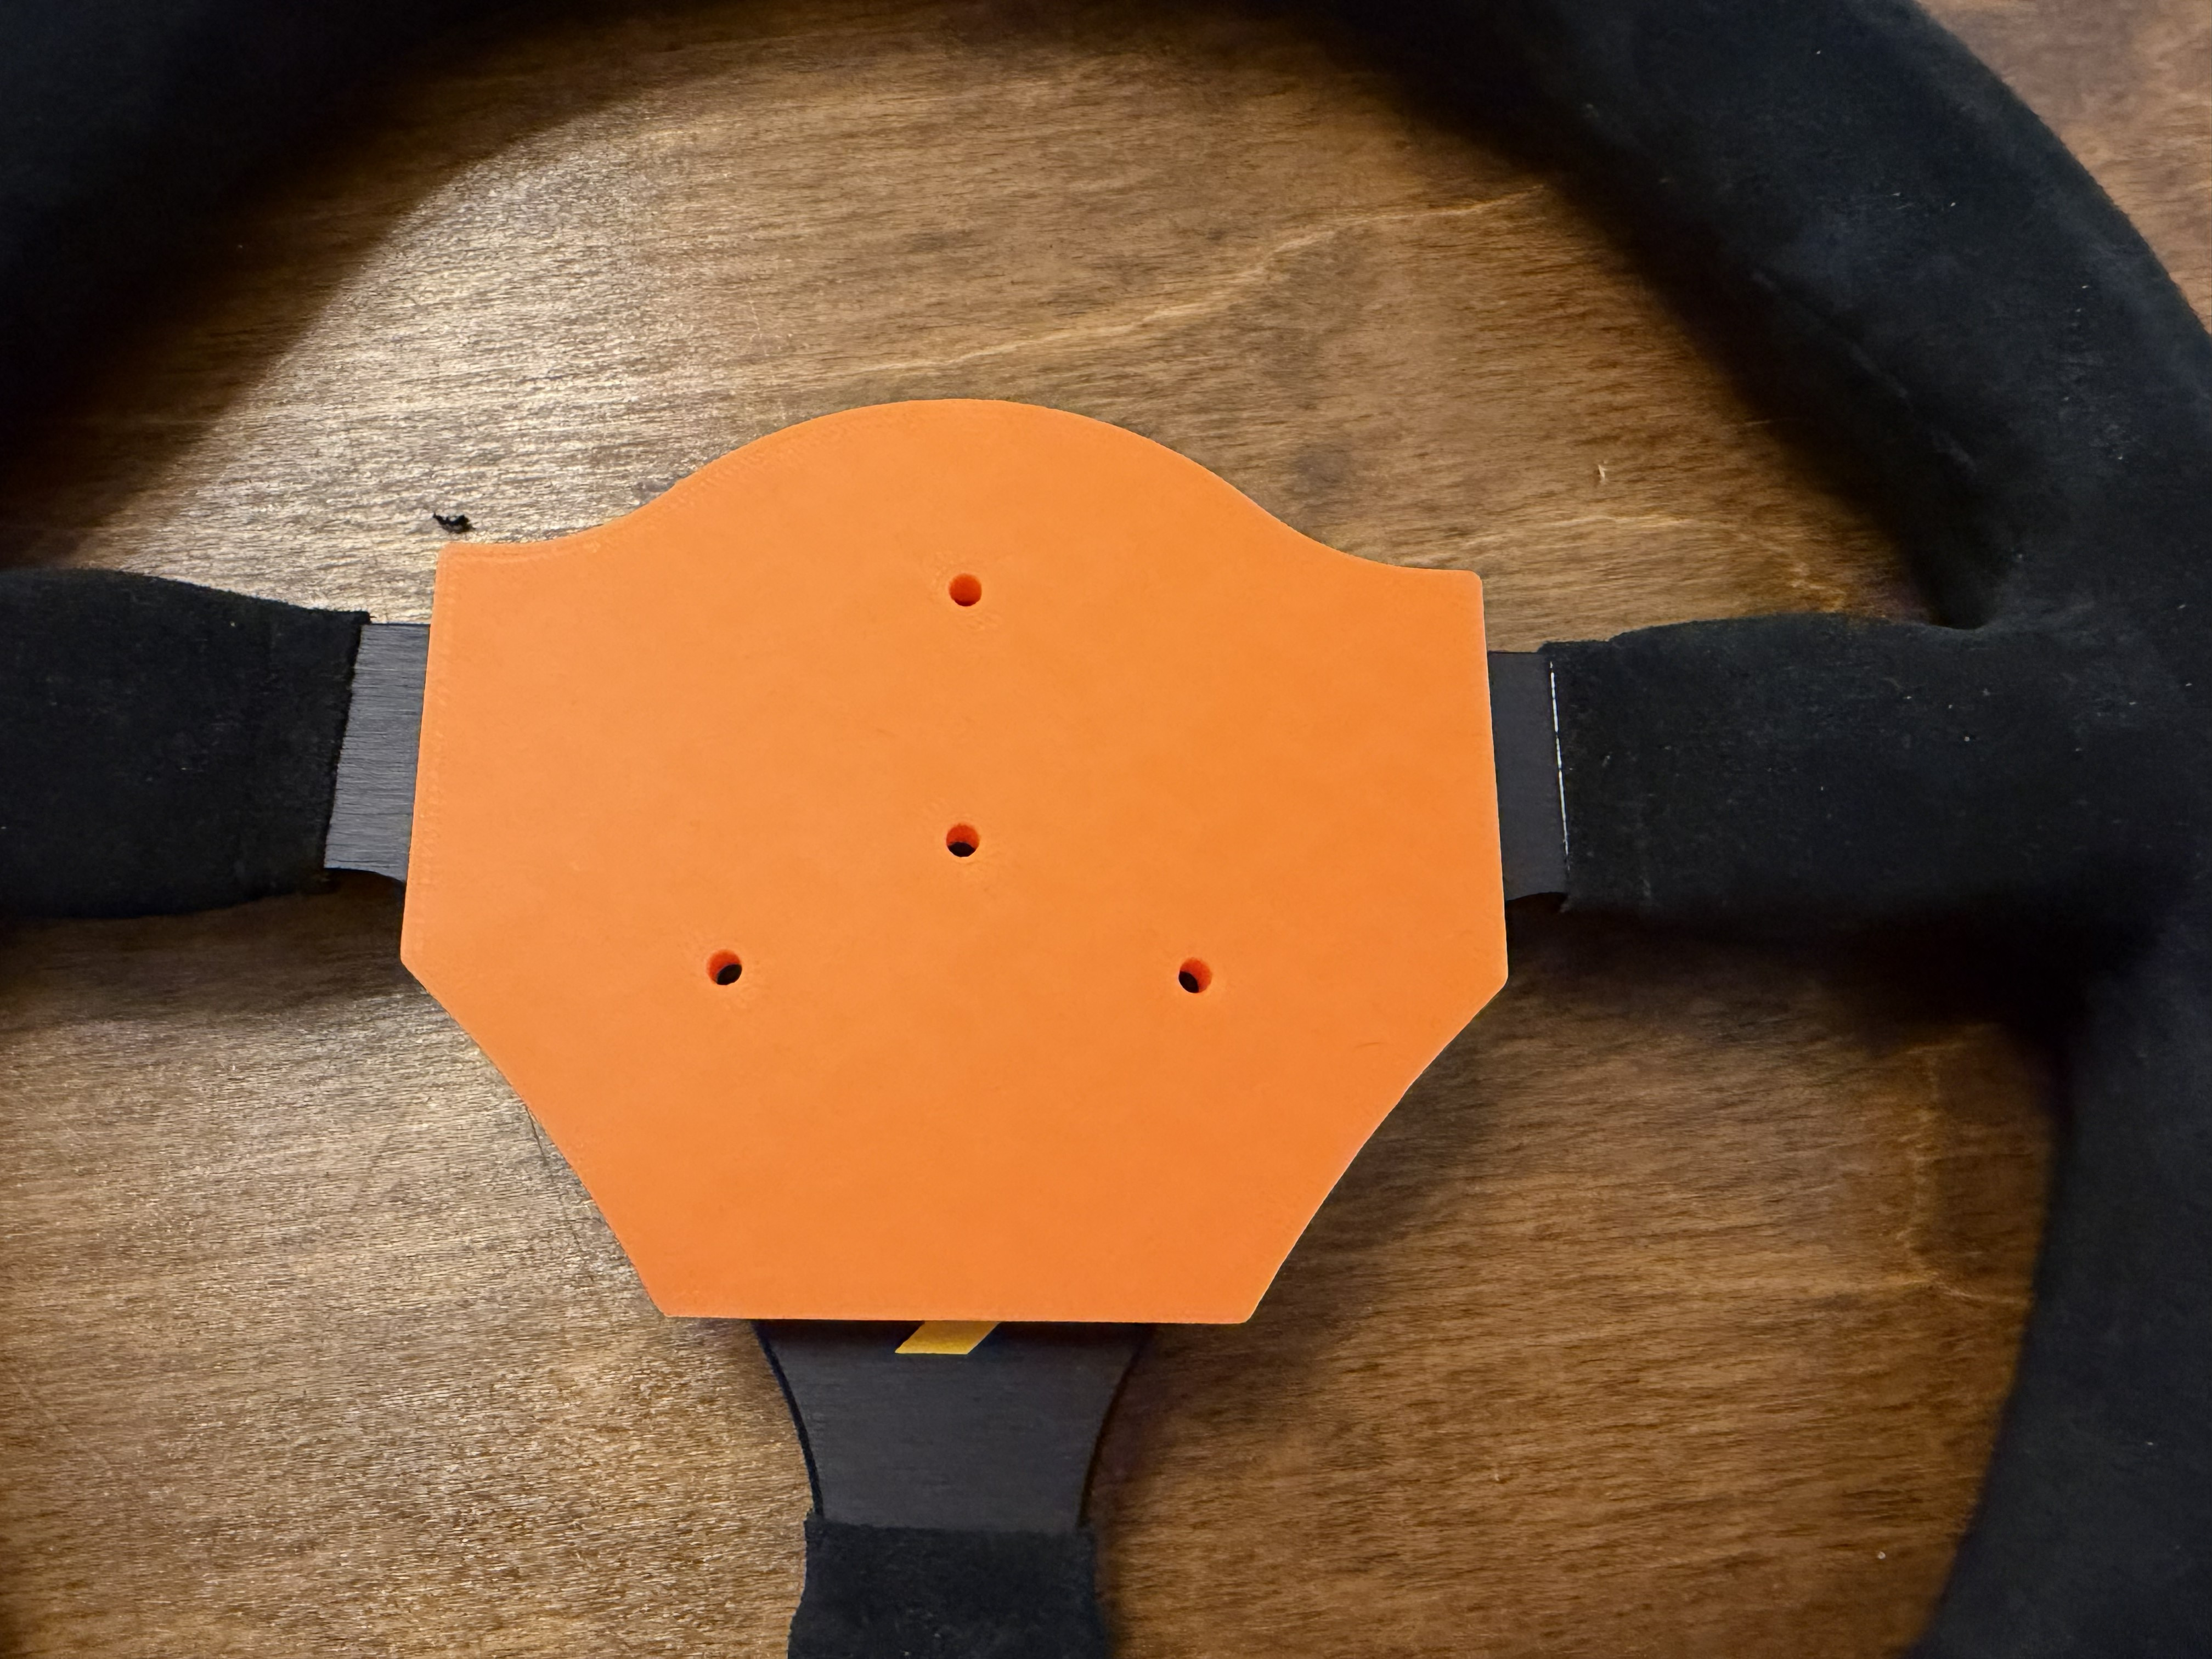
Everyone, I’m about to write a longer build post describing the process I used to finish my 420, and I’m about to install the engine now. During some downtime I wanted to share one of the tools I created for the build. In case someone is already working on theirs, I made a 3D‑printed jig to locate the holes for the Momo quick‑release steering wheel as accurately as possible. I thought I’d share that here as my first post. Hopefully this can help someone else while I continue with my build! I'm fitting a Lifeline formula-car quick release to the Caterham 290 mm suede Momo (Mod 26). The Lifeline boss bolts on with three M6 bolts on a 50.8 mm (2") circle. The wheel's centre is a solid 5 mm plate with no holes at all, just a tiny machined cone dead centre on the back, so the three holes have to be placed from scratch. I couldn't find a template online, so I made one with Claude (the AI) doing the geometry and the CAD. How it was made: The idea was a jig that locates itself: a printed plate that sits on the back of the wheel's centre plate, with three lips that hook over the plate's top edge and its two lower curved edges. With all three seated, it can't slide or rotate. That only works if the jig matches the plate outline closely, and getting the outline was the hard part. Attempt 1: I traced around the plate with a marker and scanned the paper. The jig built from that was too big, by about 1 to 1.5 mm per side on the lower edges, so it rattled. Attempt 2: Claude generated a 104 mm paper disc with a ring of 28 small coded markers (ArUco markers, like little QR codes) around the rim, plus two 150 mm lines on the same page so I could check my printer's scale with a ruler. Both measured 150 mm. I cut the disc out, put it behind the plate with the markers showing around the plate's edges, and took one overhead photo. From that photo, the markers give the exact scale and correct for the camera not being perfectly square. Claude then traced the metal edge, found the centre cone, and applied a small (about 0.5 %) estimated correction for the paper sitting slightly behind the edge being measured. As a sanity check, the left and right halves of the measured outline mirrored each other to about 0.1 mm. The jig was generated straight from that outline with: 0.3 mm clearance at the lips three 3 mm pilot holes on the 50.8 mm circle a 3 mm sight hole in the middle Printed on a Prusa Core One, flat face down, lips up, no supports. The fit on the wheel is excellent: it drops on and doesn't move. How to use it Check the hole pattern against your own quick release boss before anything else. The 50.8 mm figure came from retailer data, not a Lifeline drawing. Decide the clocking. The jig puts one hole at 12 o'clock and two below. The Lifeline only goes on the column one way, so make sure that orientation gives you a straight wheel with your boss. Seat the jig on the back of the wheel (the side facing the column) with all three lips hooked over the plate edges. It should sit flat with no rock or slop. Look through the centre hole. The cone in the wheel should be dead centre. If it isn't, stop; the jig isn't seated or your wheel differs from mine. Clamp the jig to the plate. Protect the suede. Drill 3 mm pilot holes through the three outer holes. Go gently; it's a plastic guide, not a hardened bushing. Remove the jig, open the holes up to M6 clearance (6 to 6.5 mm) in steps, and deburr both sides. self_locating_jig.stl

-
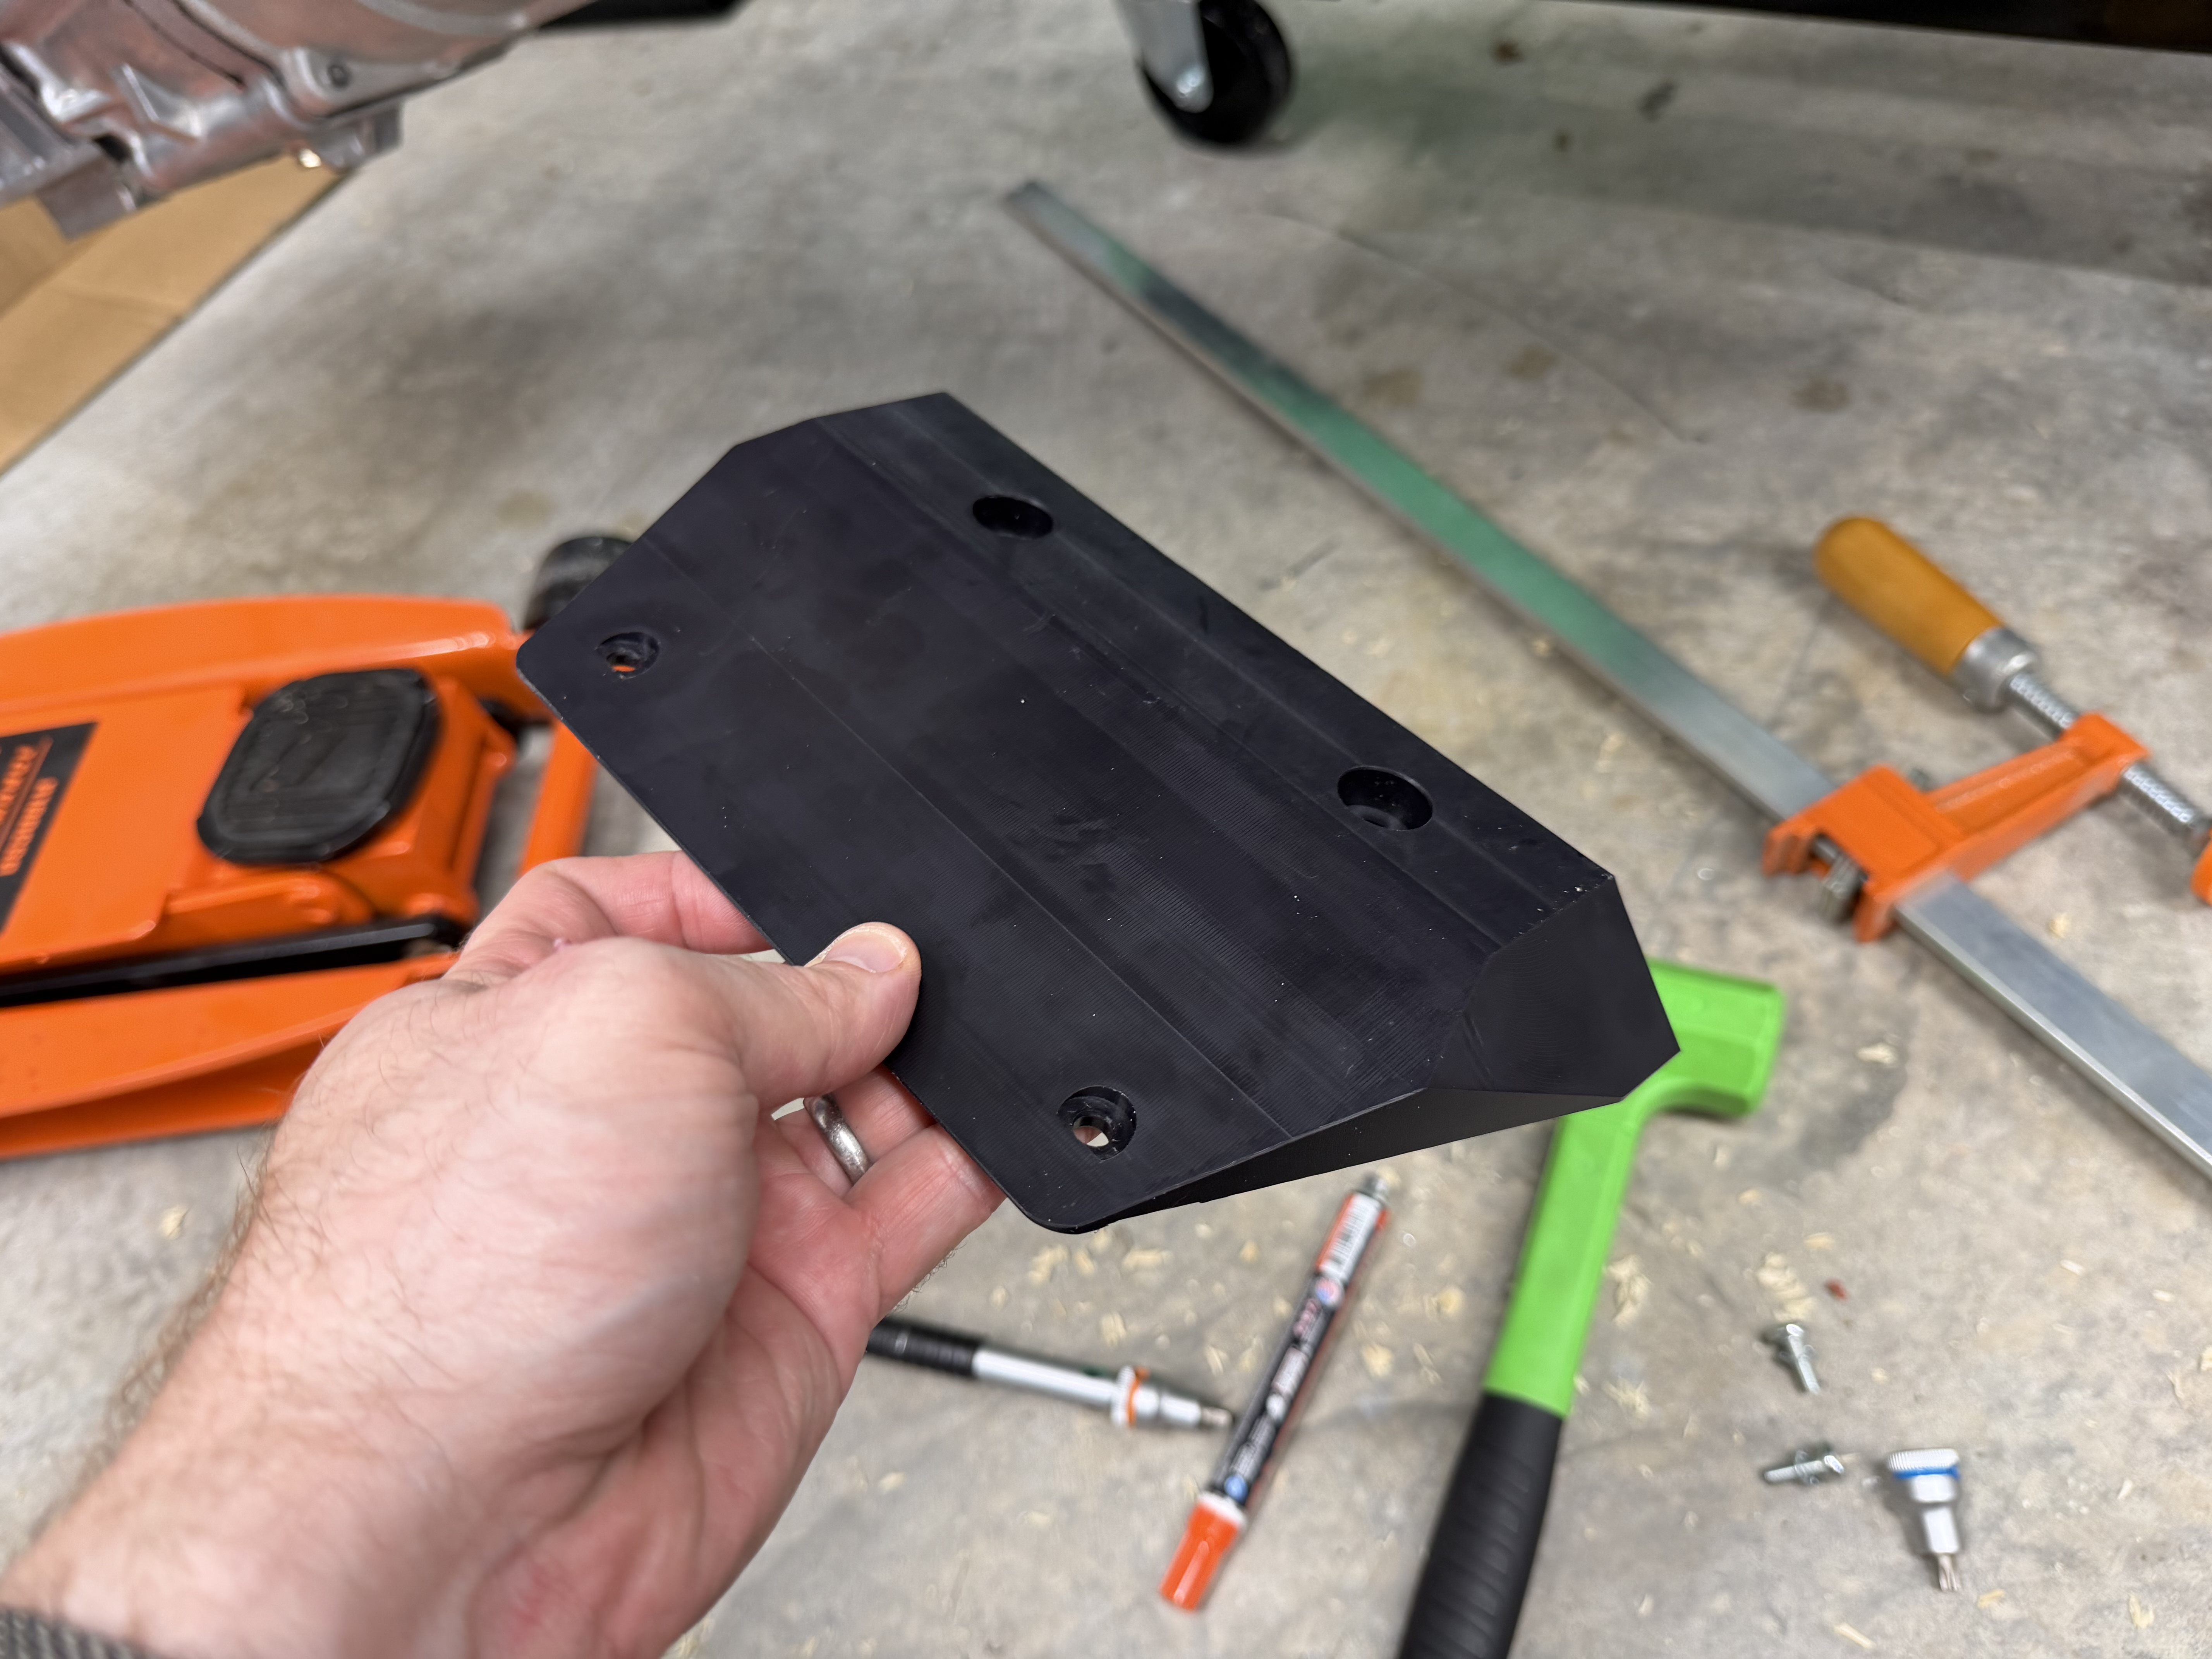
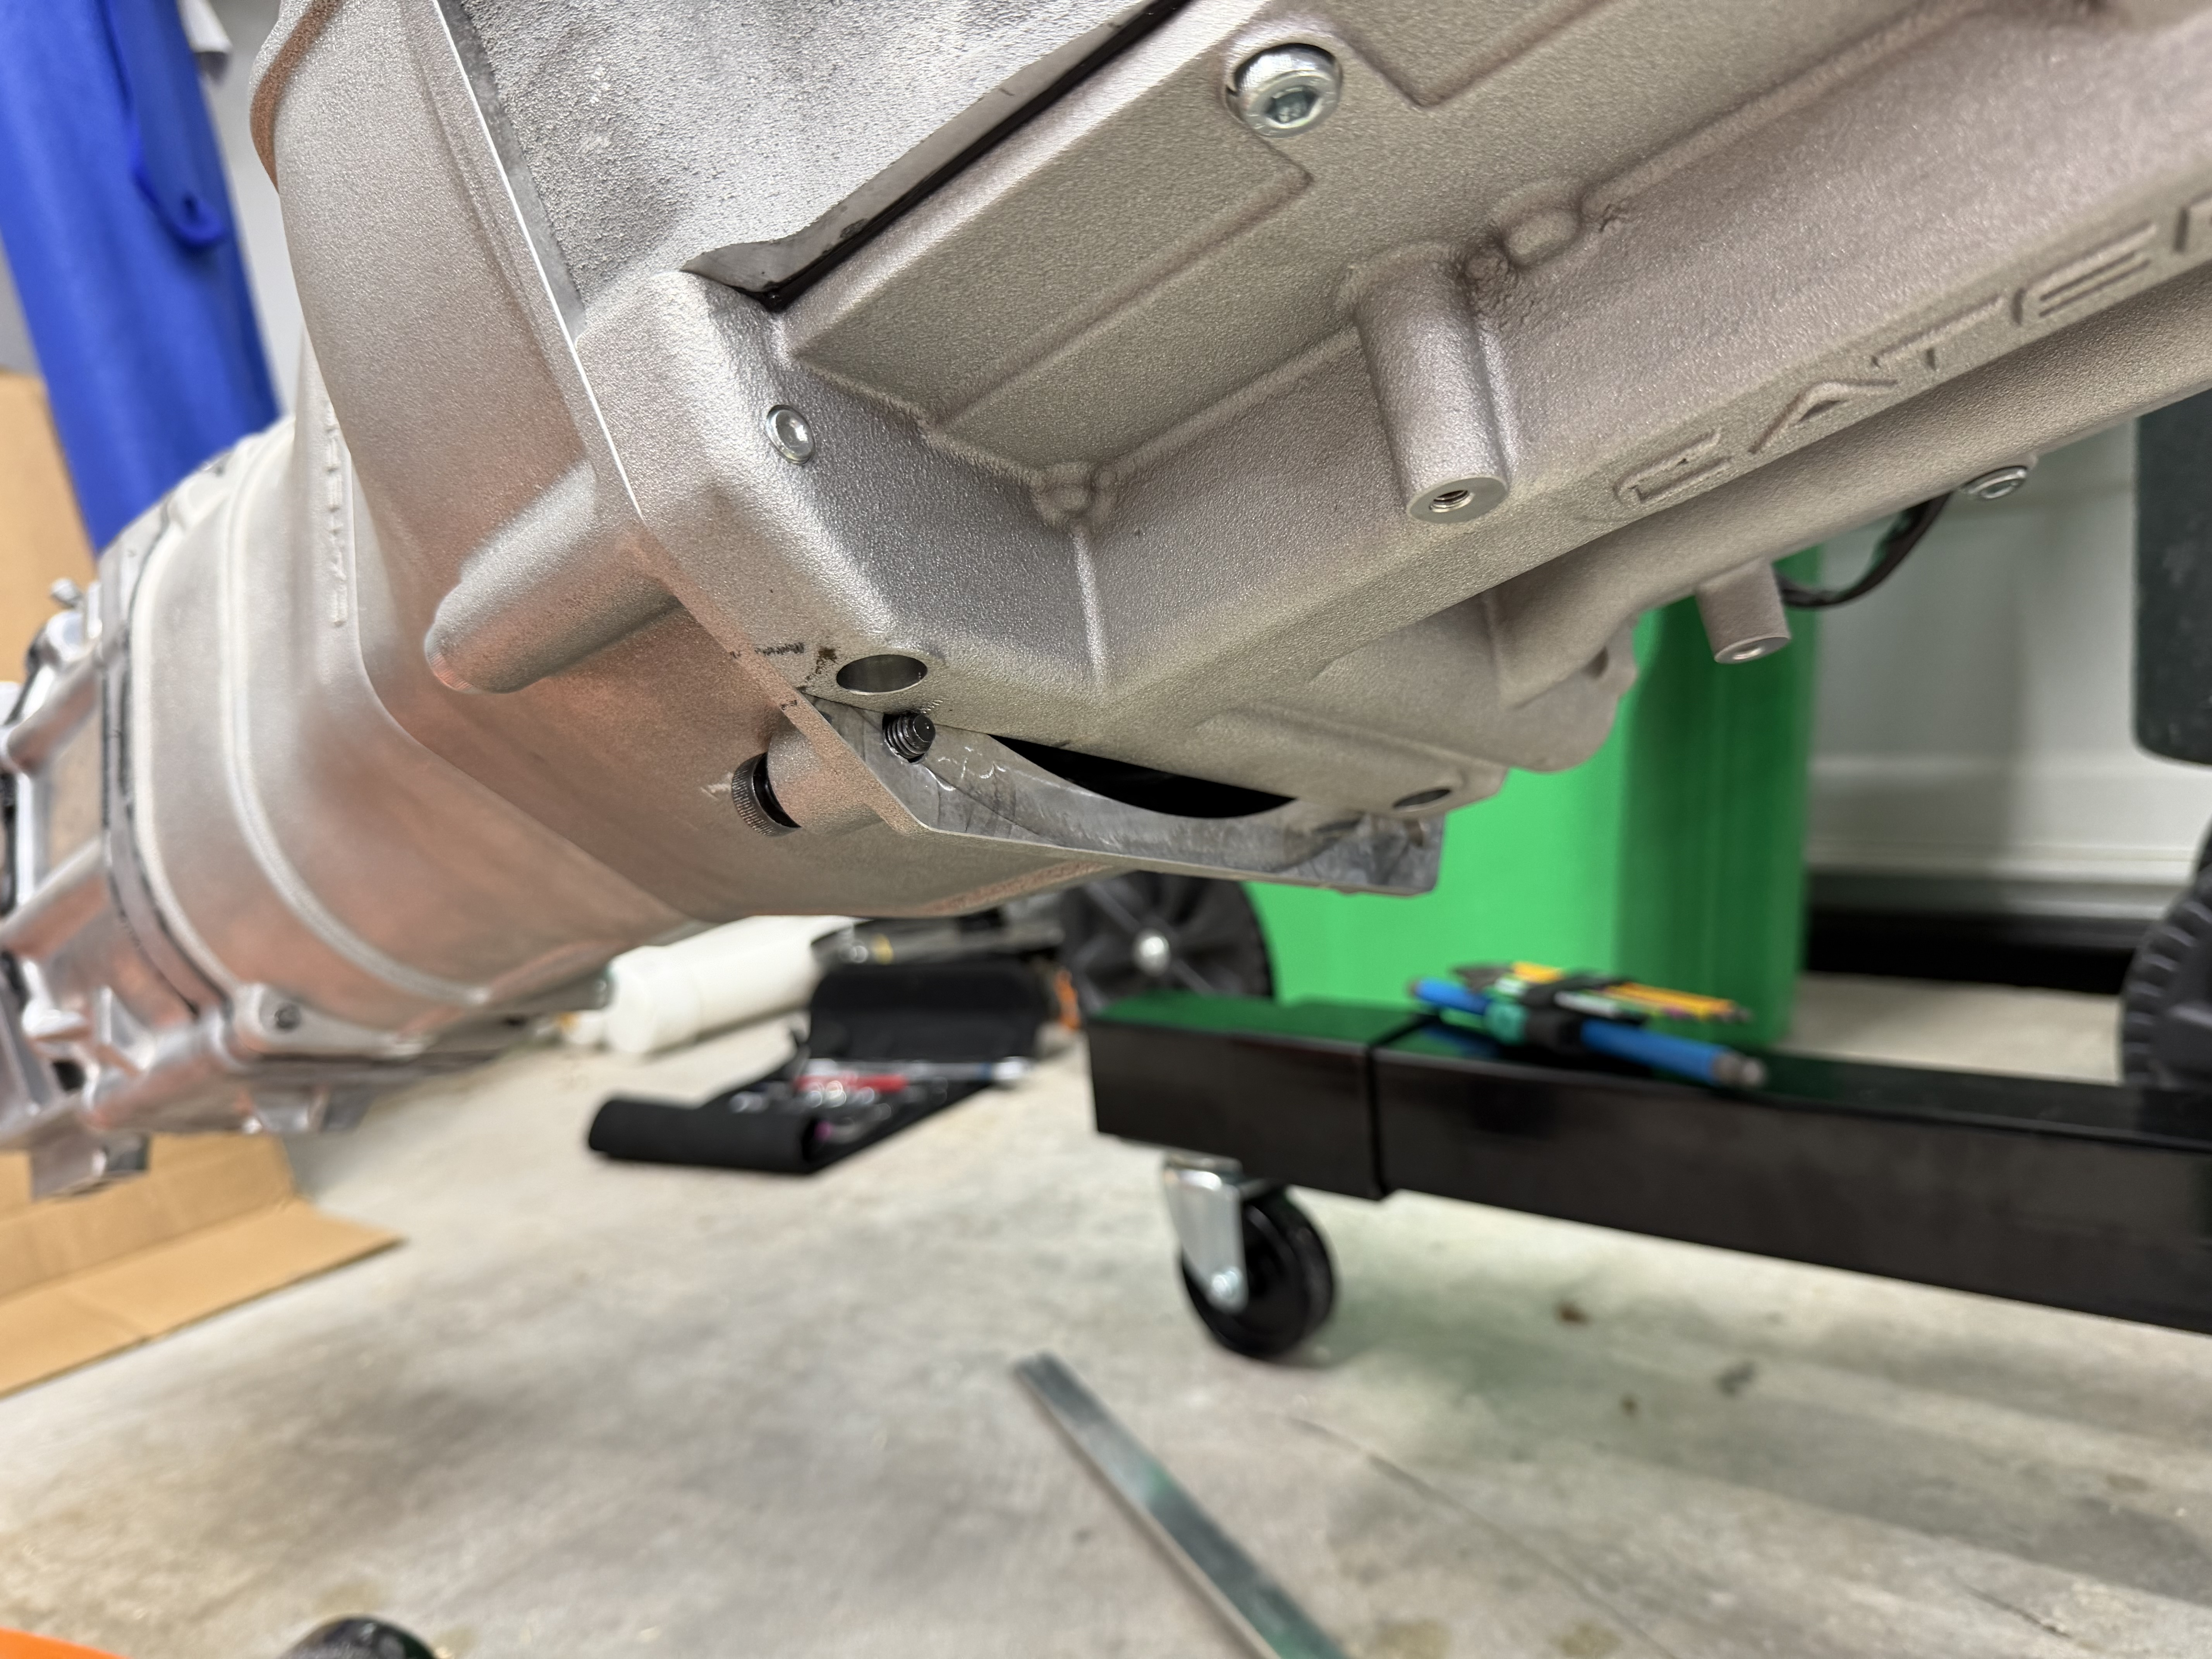
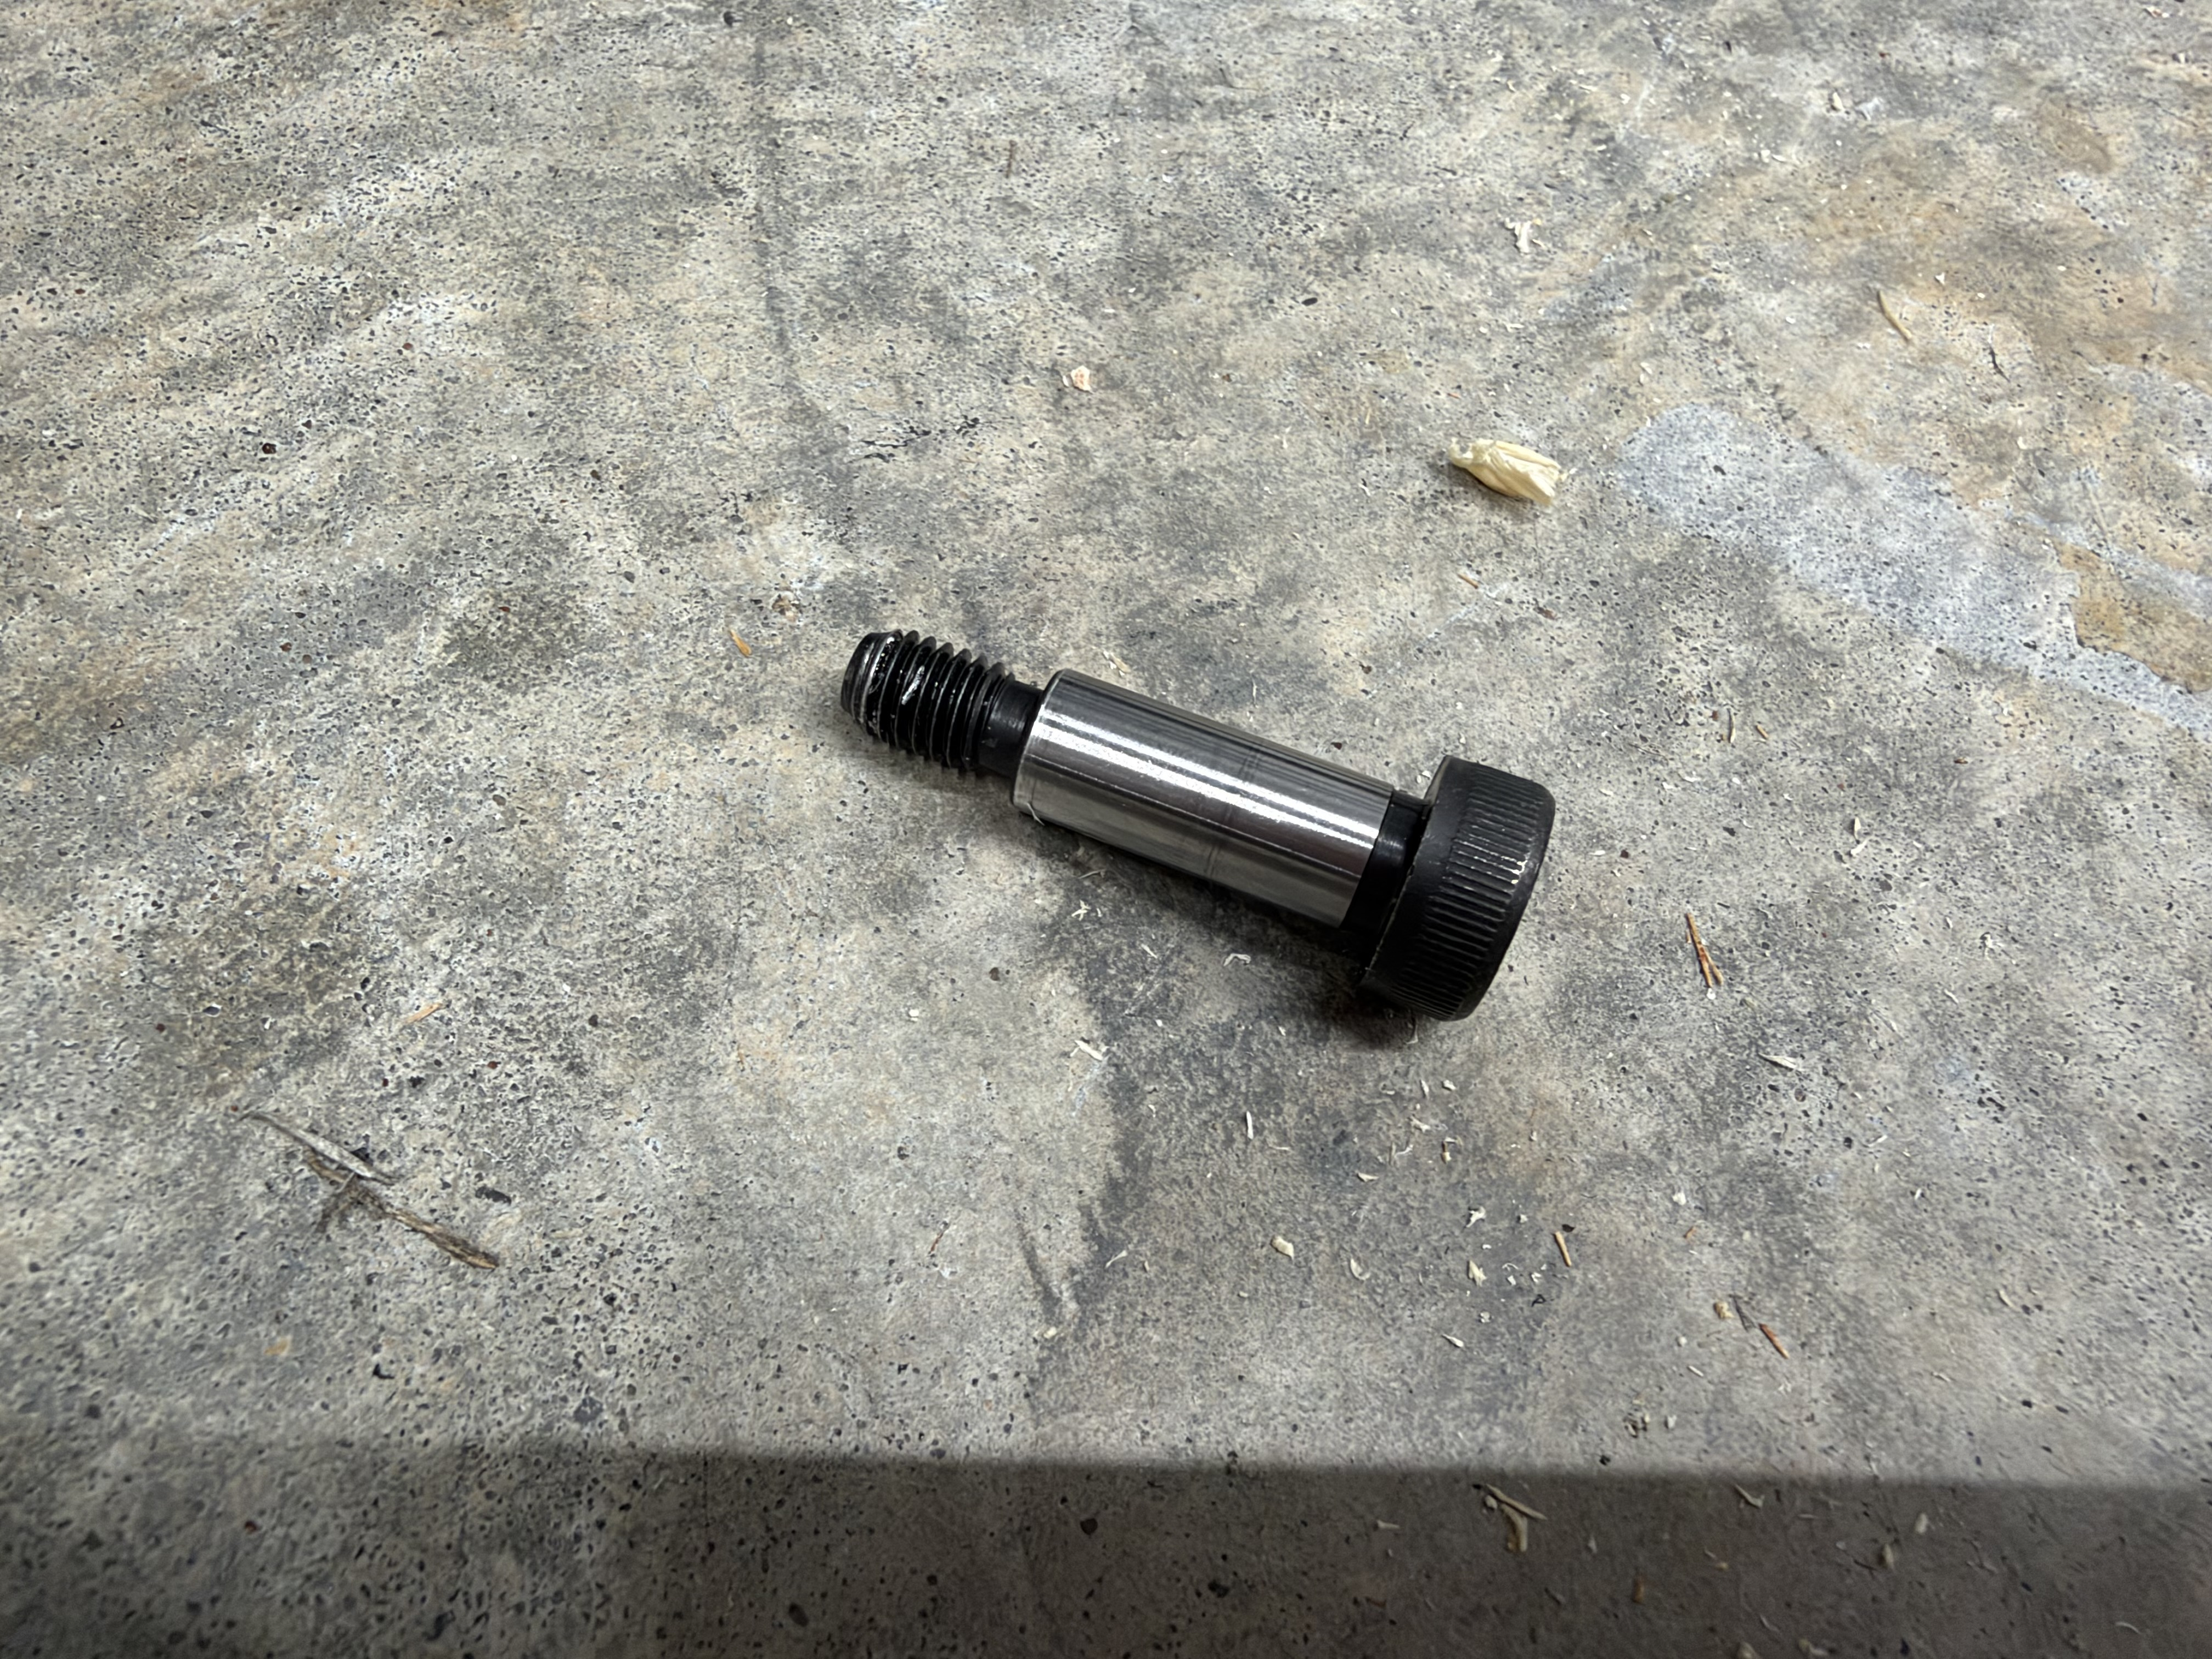
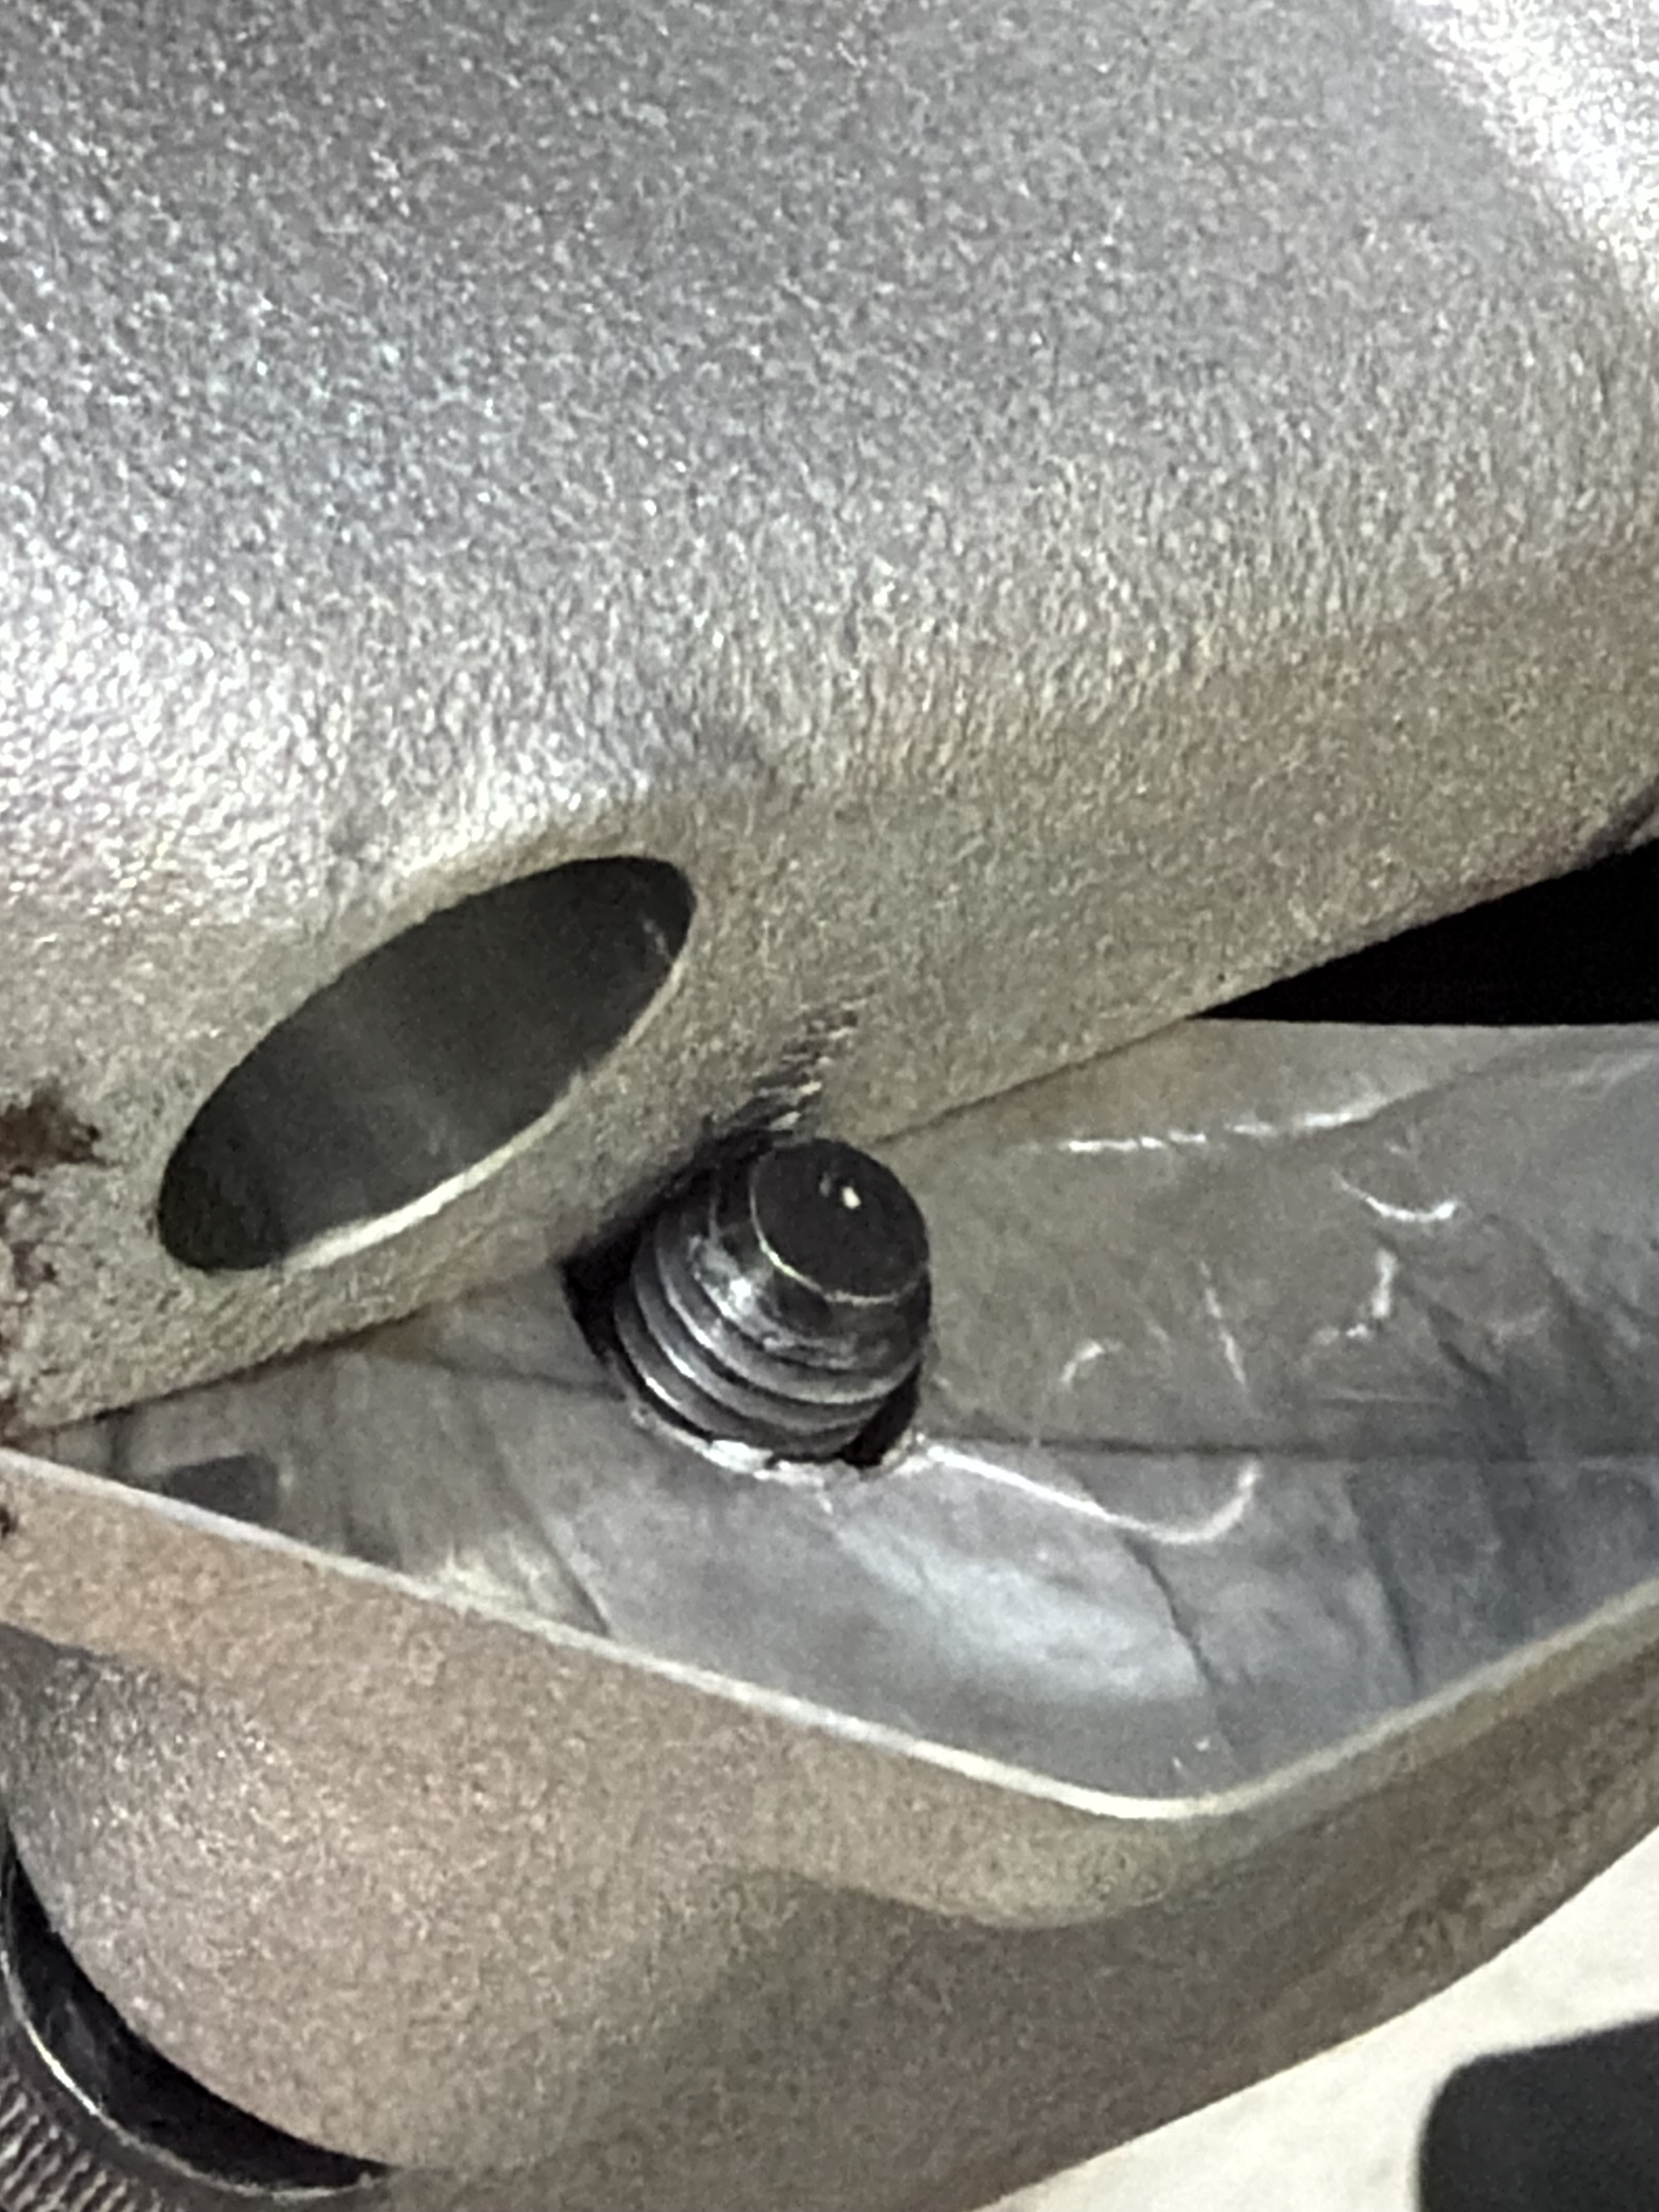
Thanks. I think I’ll try this today. Josh at Rocky Mountain Caterham said these were bolts 3 and 4, the hardest part of the build, and I can see why. He also suggested tapering the supplied shoulder bolts and heating the nylon guard so it fits a little better. I'll report back when I find a solution that works!
-
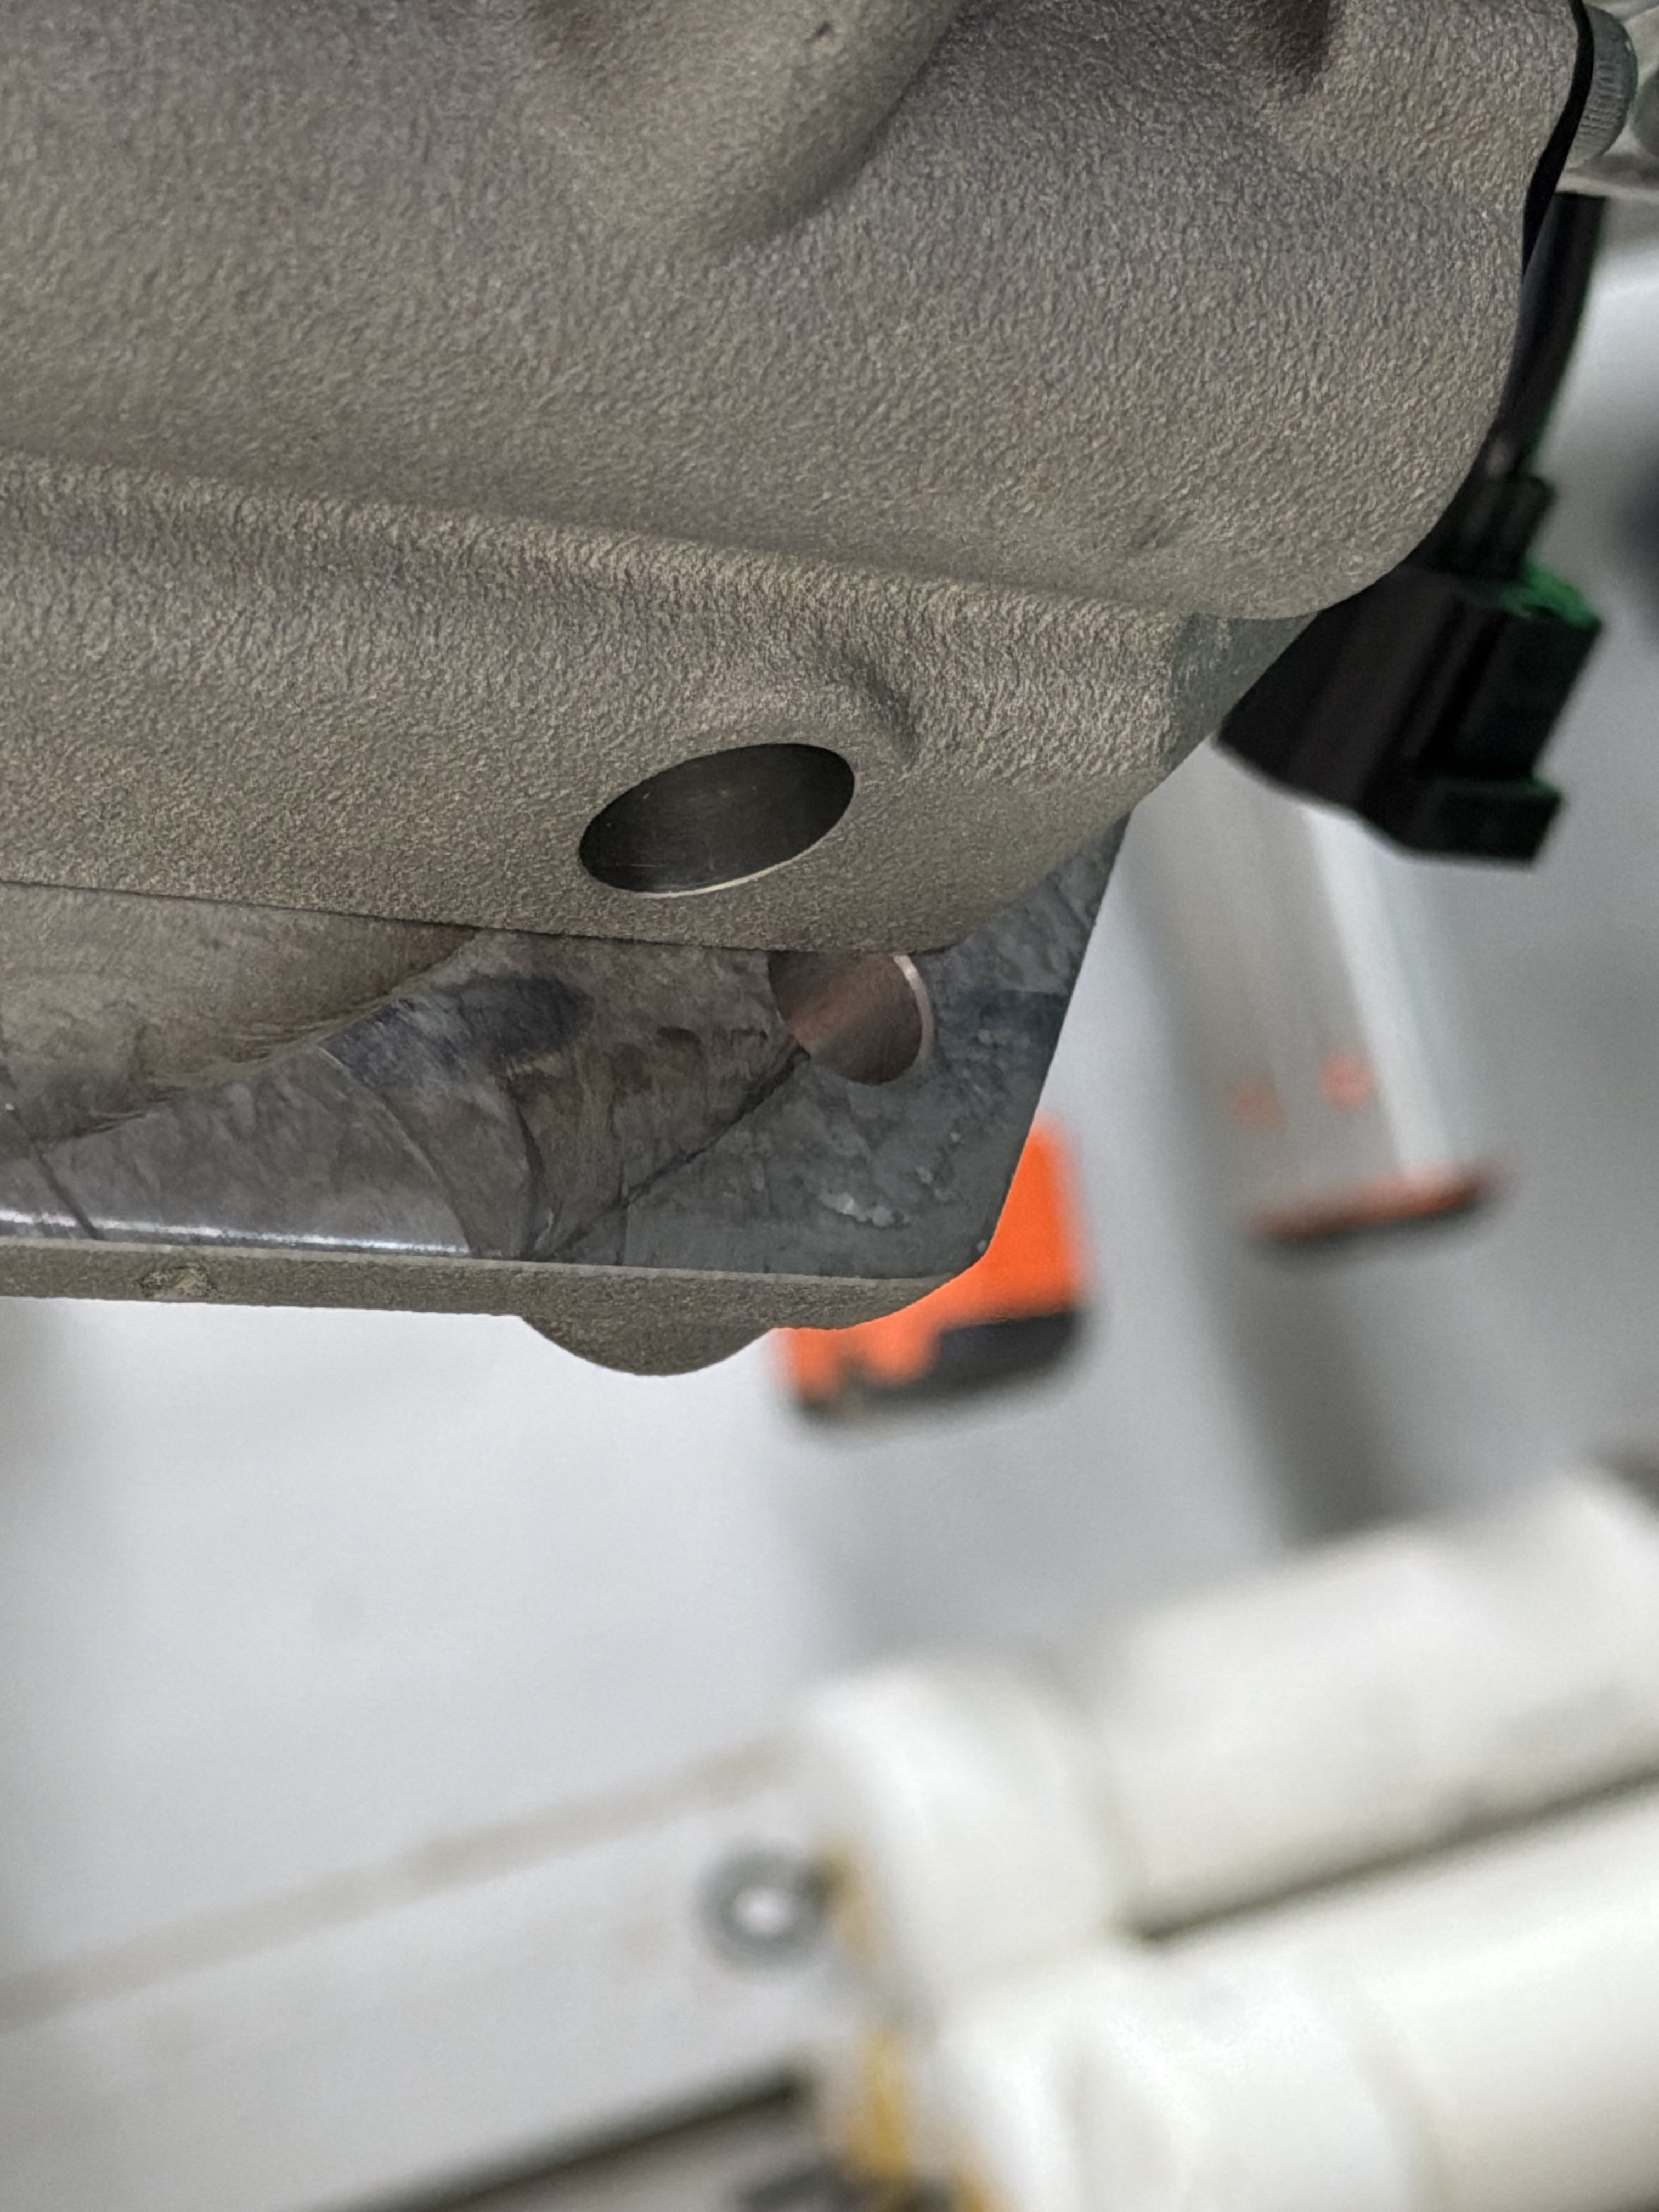
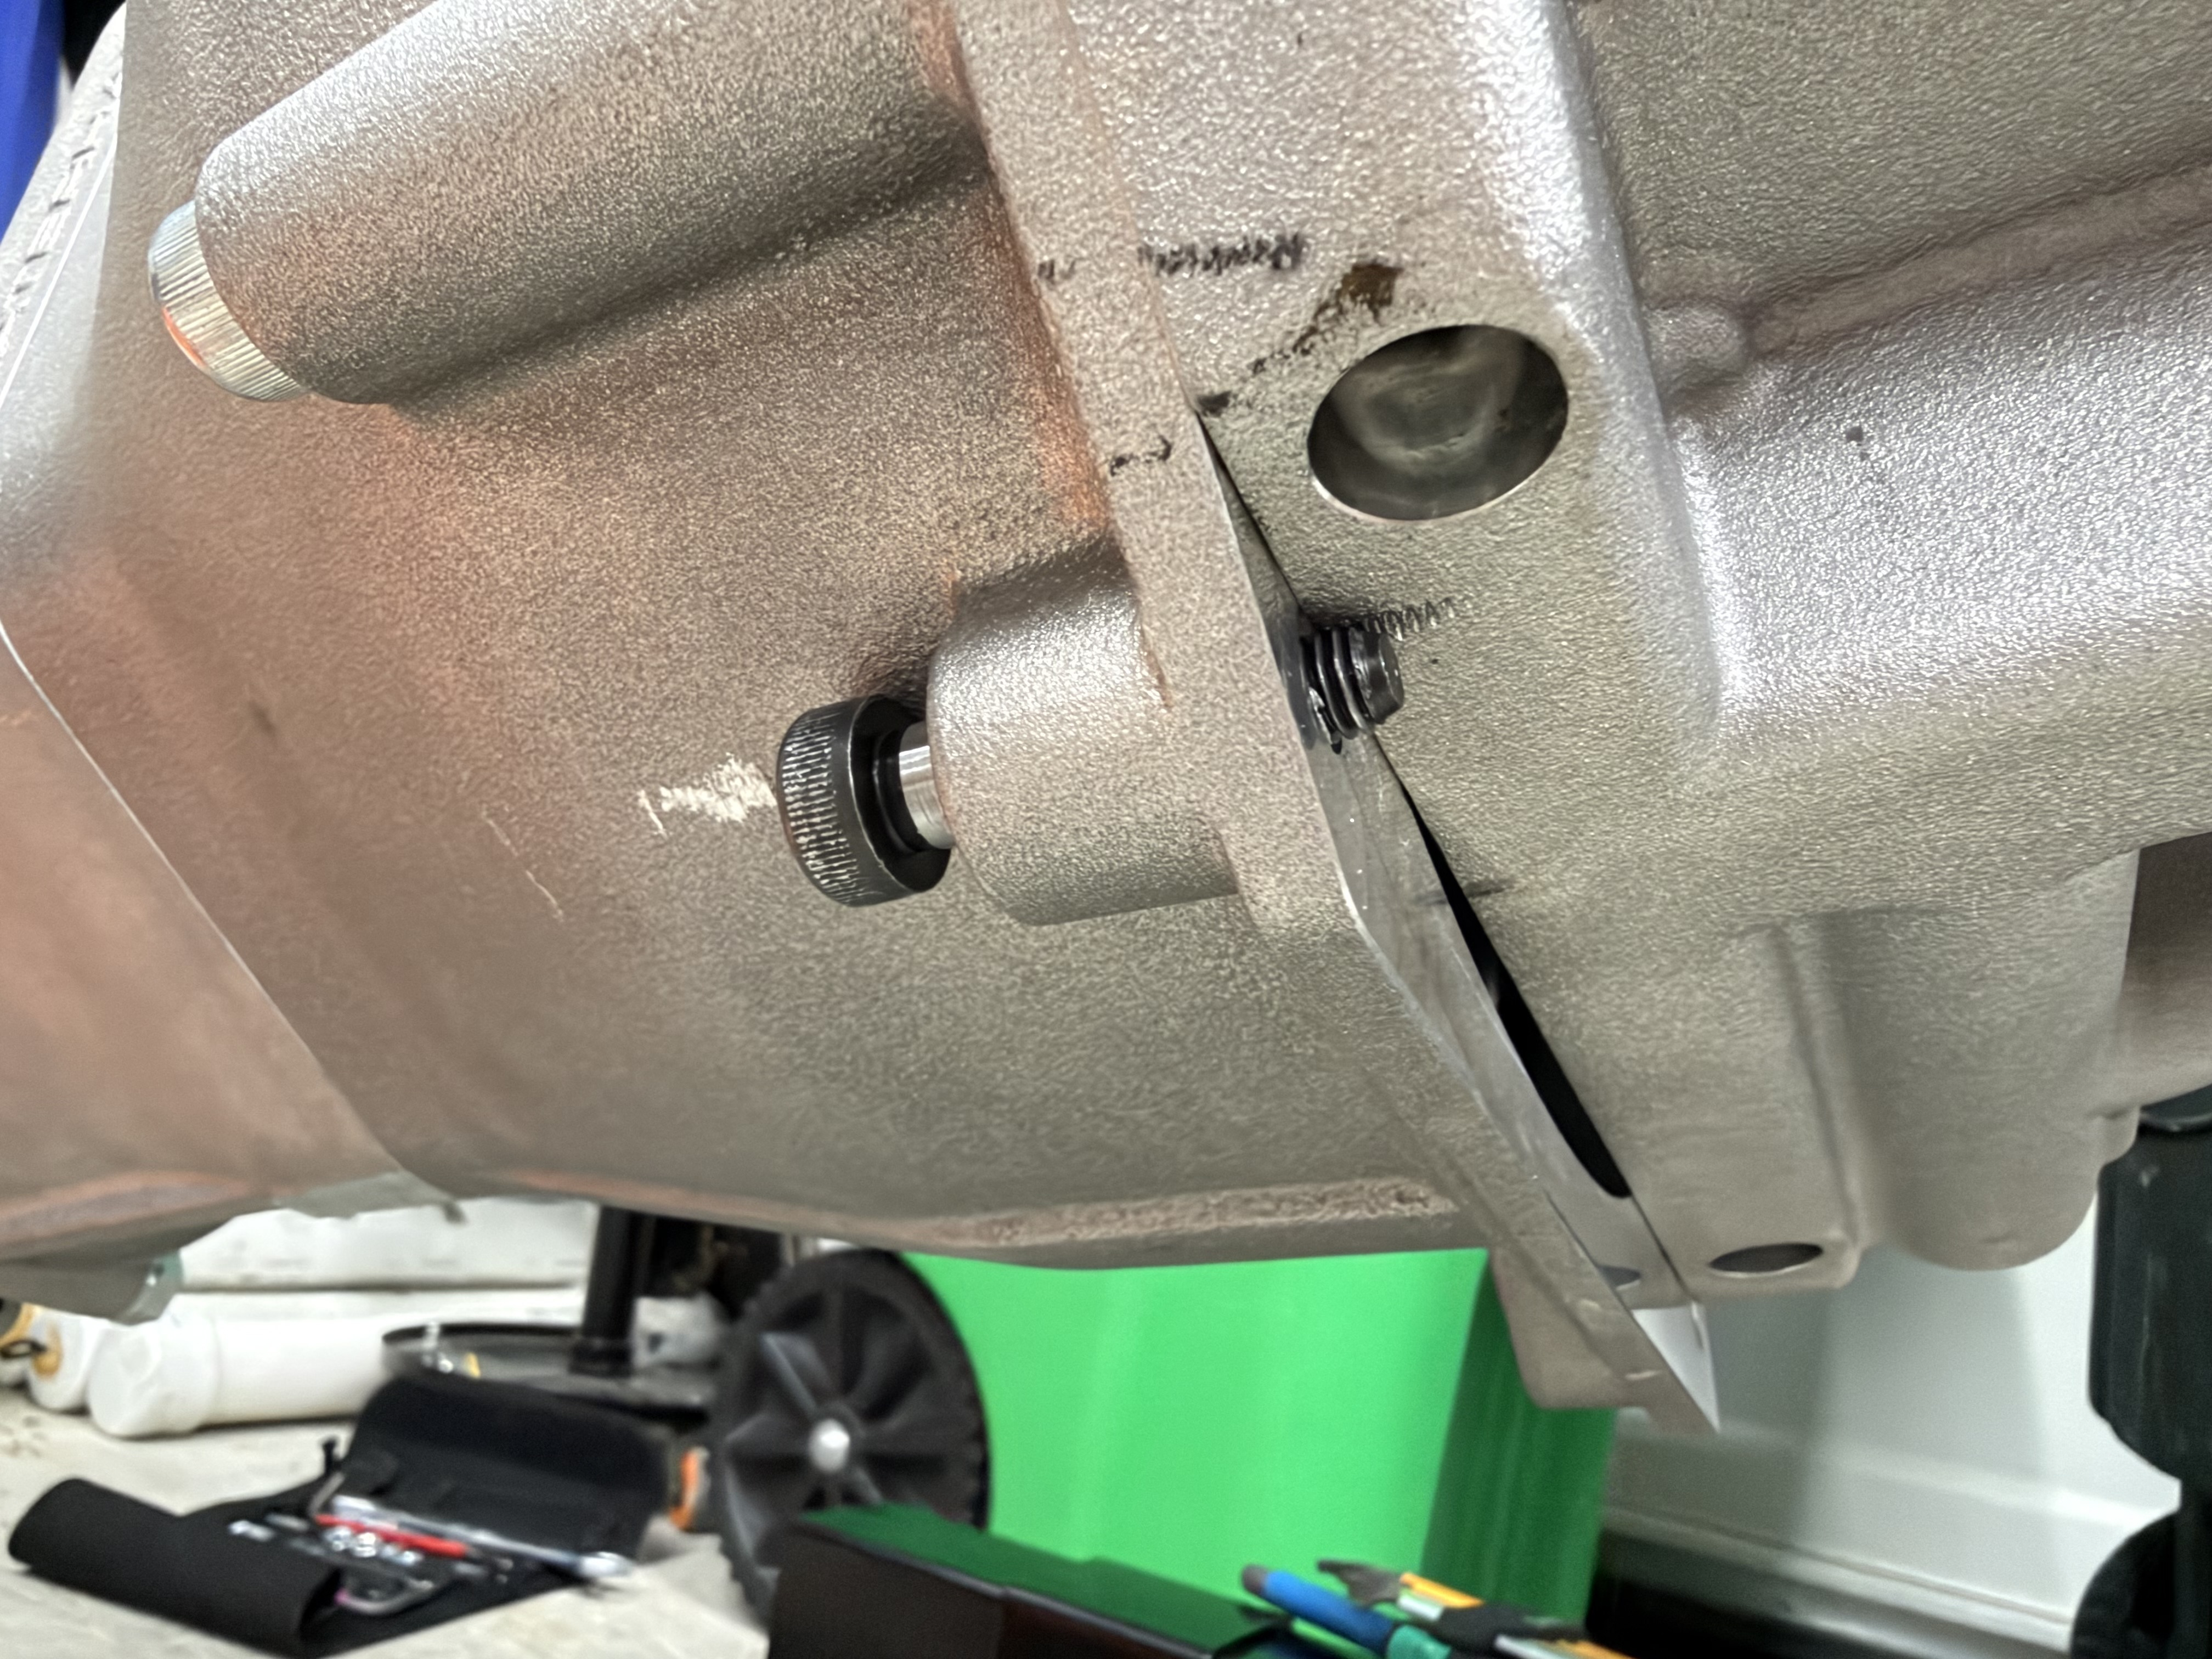
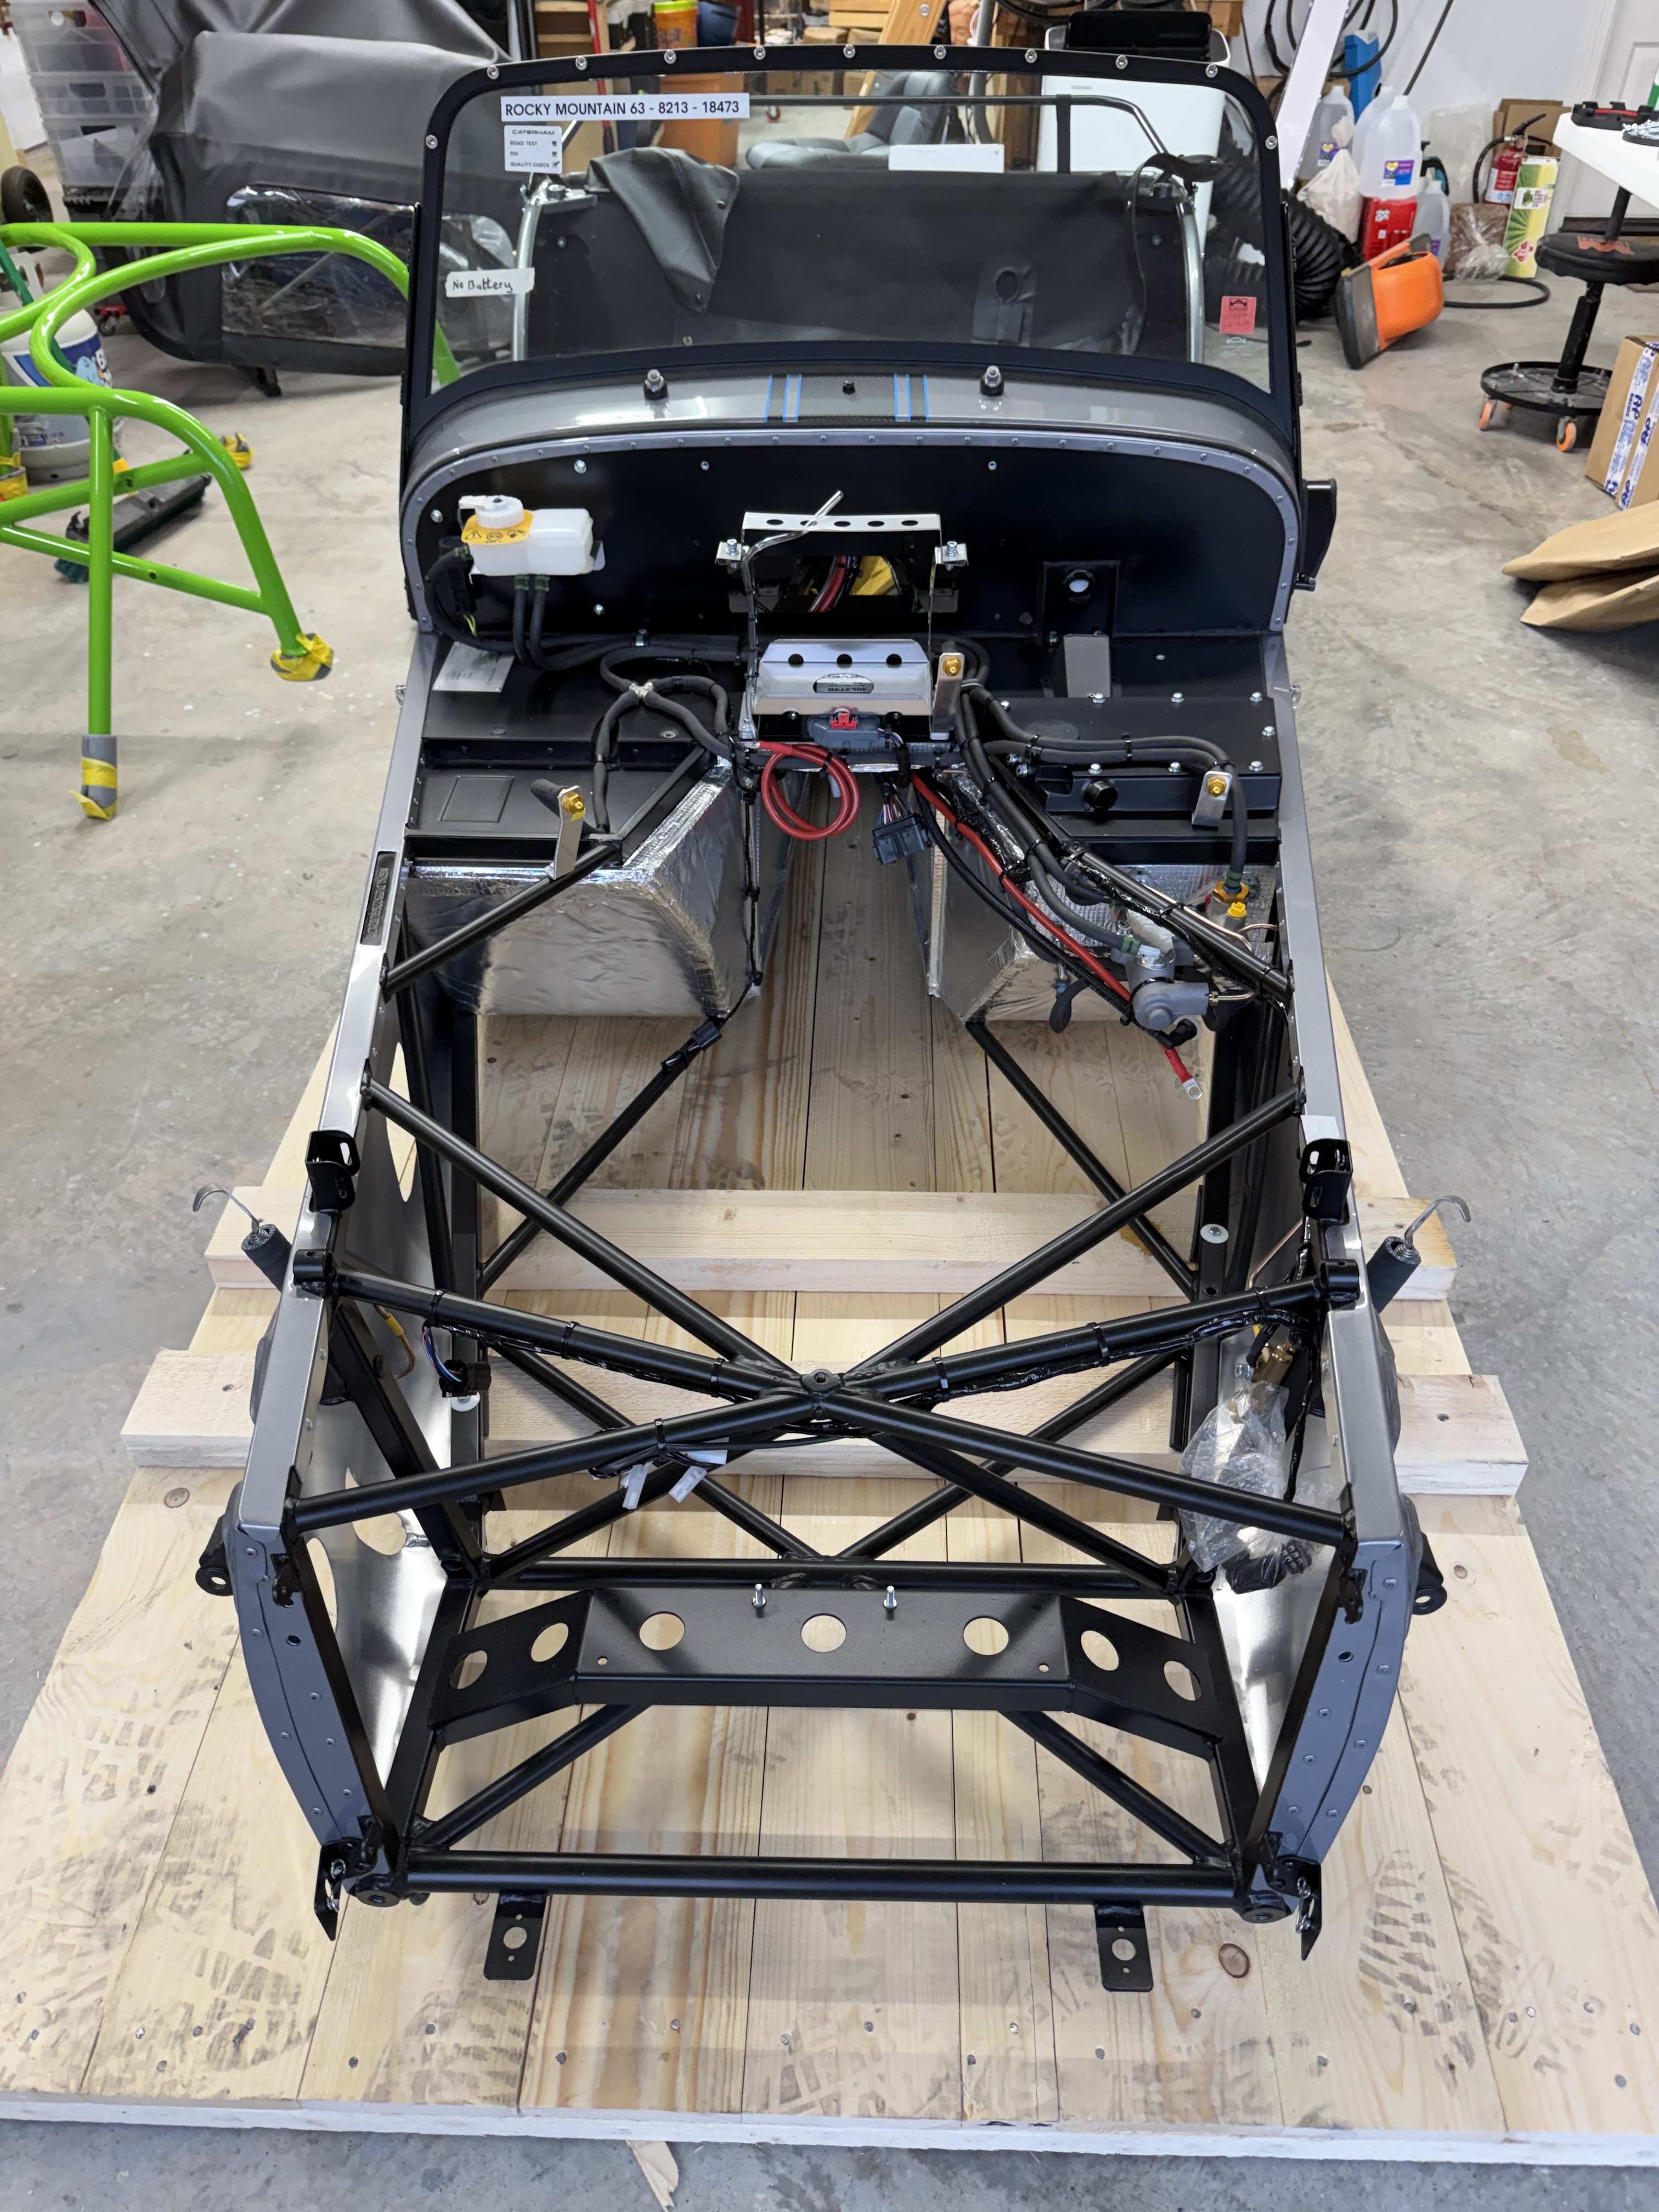
Has anyone tried assembling a 420R lately? Mine showed up without the dry sump guard installed, and for the life of me I can’t figure out how I could attach this without milling the bottom of the engine down. What am I missing? There is absolutely no clearance for this.
-
Photo of your car you took today
williamwashere replied to Xhilr8n's topic in General Sevens Discussion
First pics of my Seven I’ve gotten to take myself!
- 517 replies
-
- 10
-

-
ABS isn’t my first choice for this, it will eventually crack. I would expect noticeable brittleness in roughly 6–12 months. Light colors go fastest. ASA is the more stable option if possible. Just keep an eye on it and you have time to replace it eventually.
-
I reached out to Josh, and I actually caught him just as he was getting ready to order another set of brackets. If anybody is interested, you could reach out to him and get one.
-
Oh man that’s nice, I was hoping to avoid attaching anything to the paint so that fits the bill! My 420R is with Josh today actually, I’ll see if I can get him to send it along.
-
@Gene_W do you have pictures of the license plate holders Josh makes?
-
Wow, that looks awesome!! Great looking build.
-
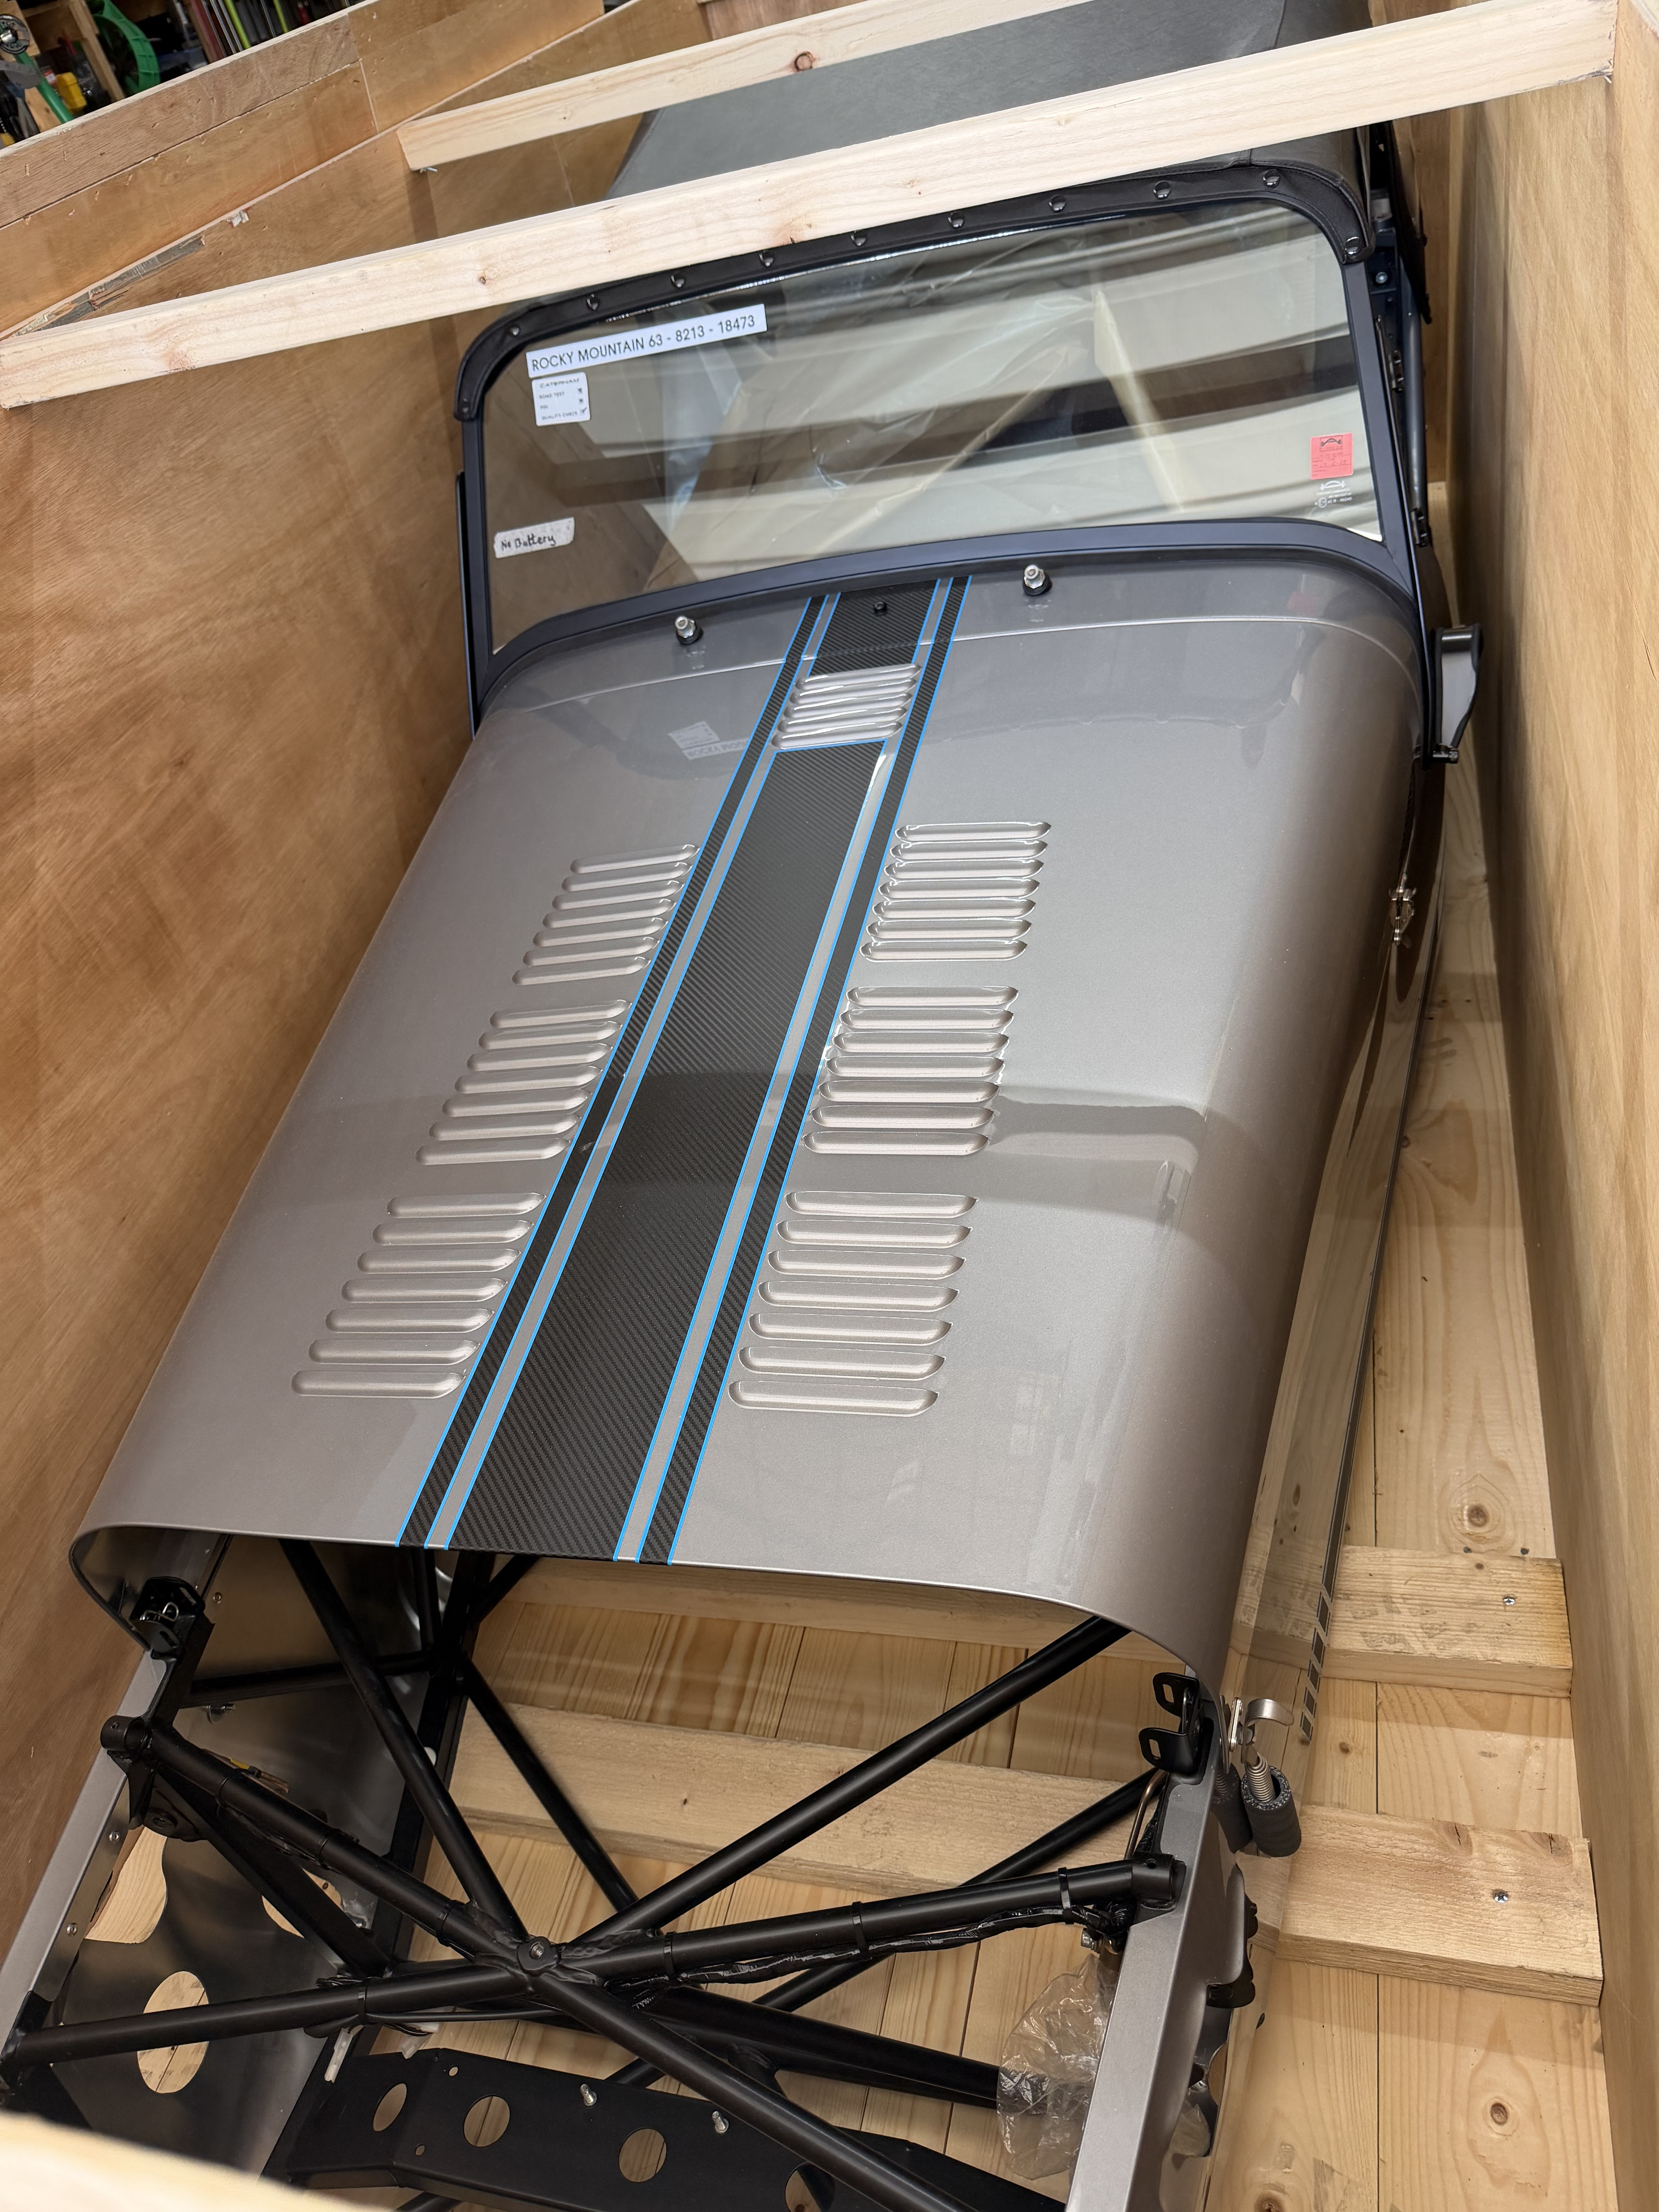
Factory tour and got to visit my car.
williamwashere replied to Exarkun1178's topic in General Sevens Discussion
I was reading the hood lines as a trick of the harsh shop lights, I think it will look very different in sunlight. What in particular do you see as issues with the hood @Exarkun1178? -
Photo Thread - USA7s HPDE October 17/18, 2026
williamwashere replied to Croc's topic in National Events
MSR Houston (https://msrhouston.com) is the only one I know of, and they're moving to a "country club" vibe. We'd have to see about renting the track I think. -
Photo Thread - USA7s HPDE October 17/18, 2026
williamwashere replied to Croc's topic in National Events
I'm so jealous. Where can we do this in Texas? -
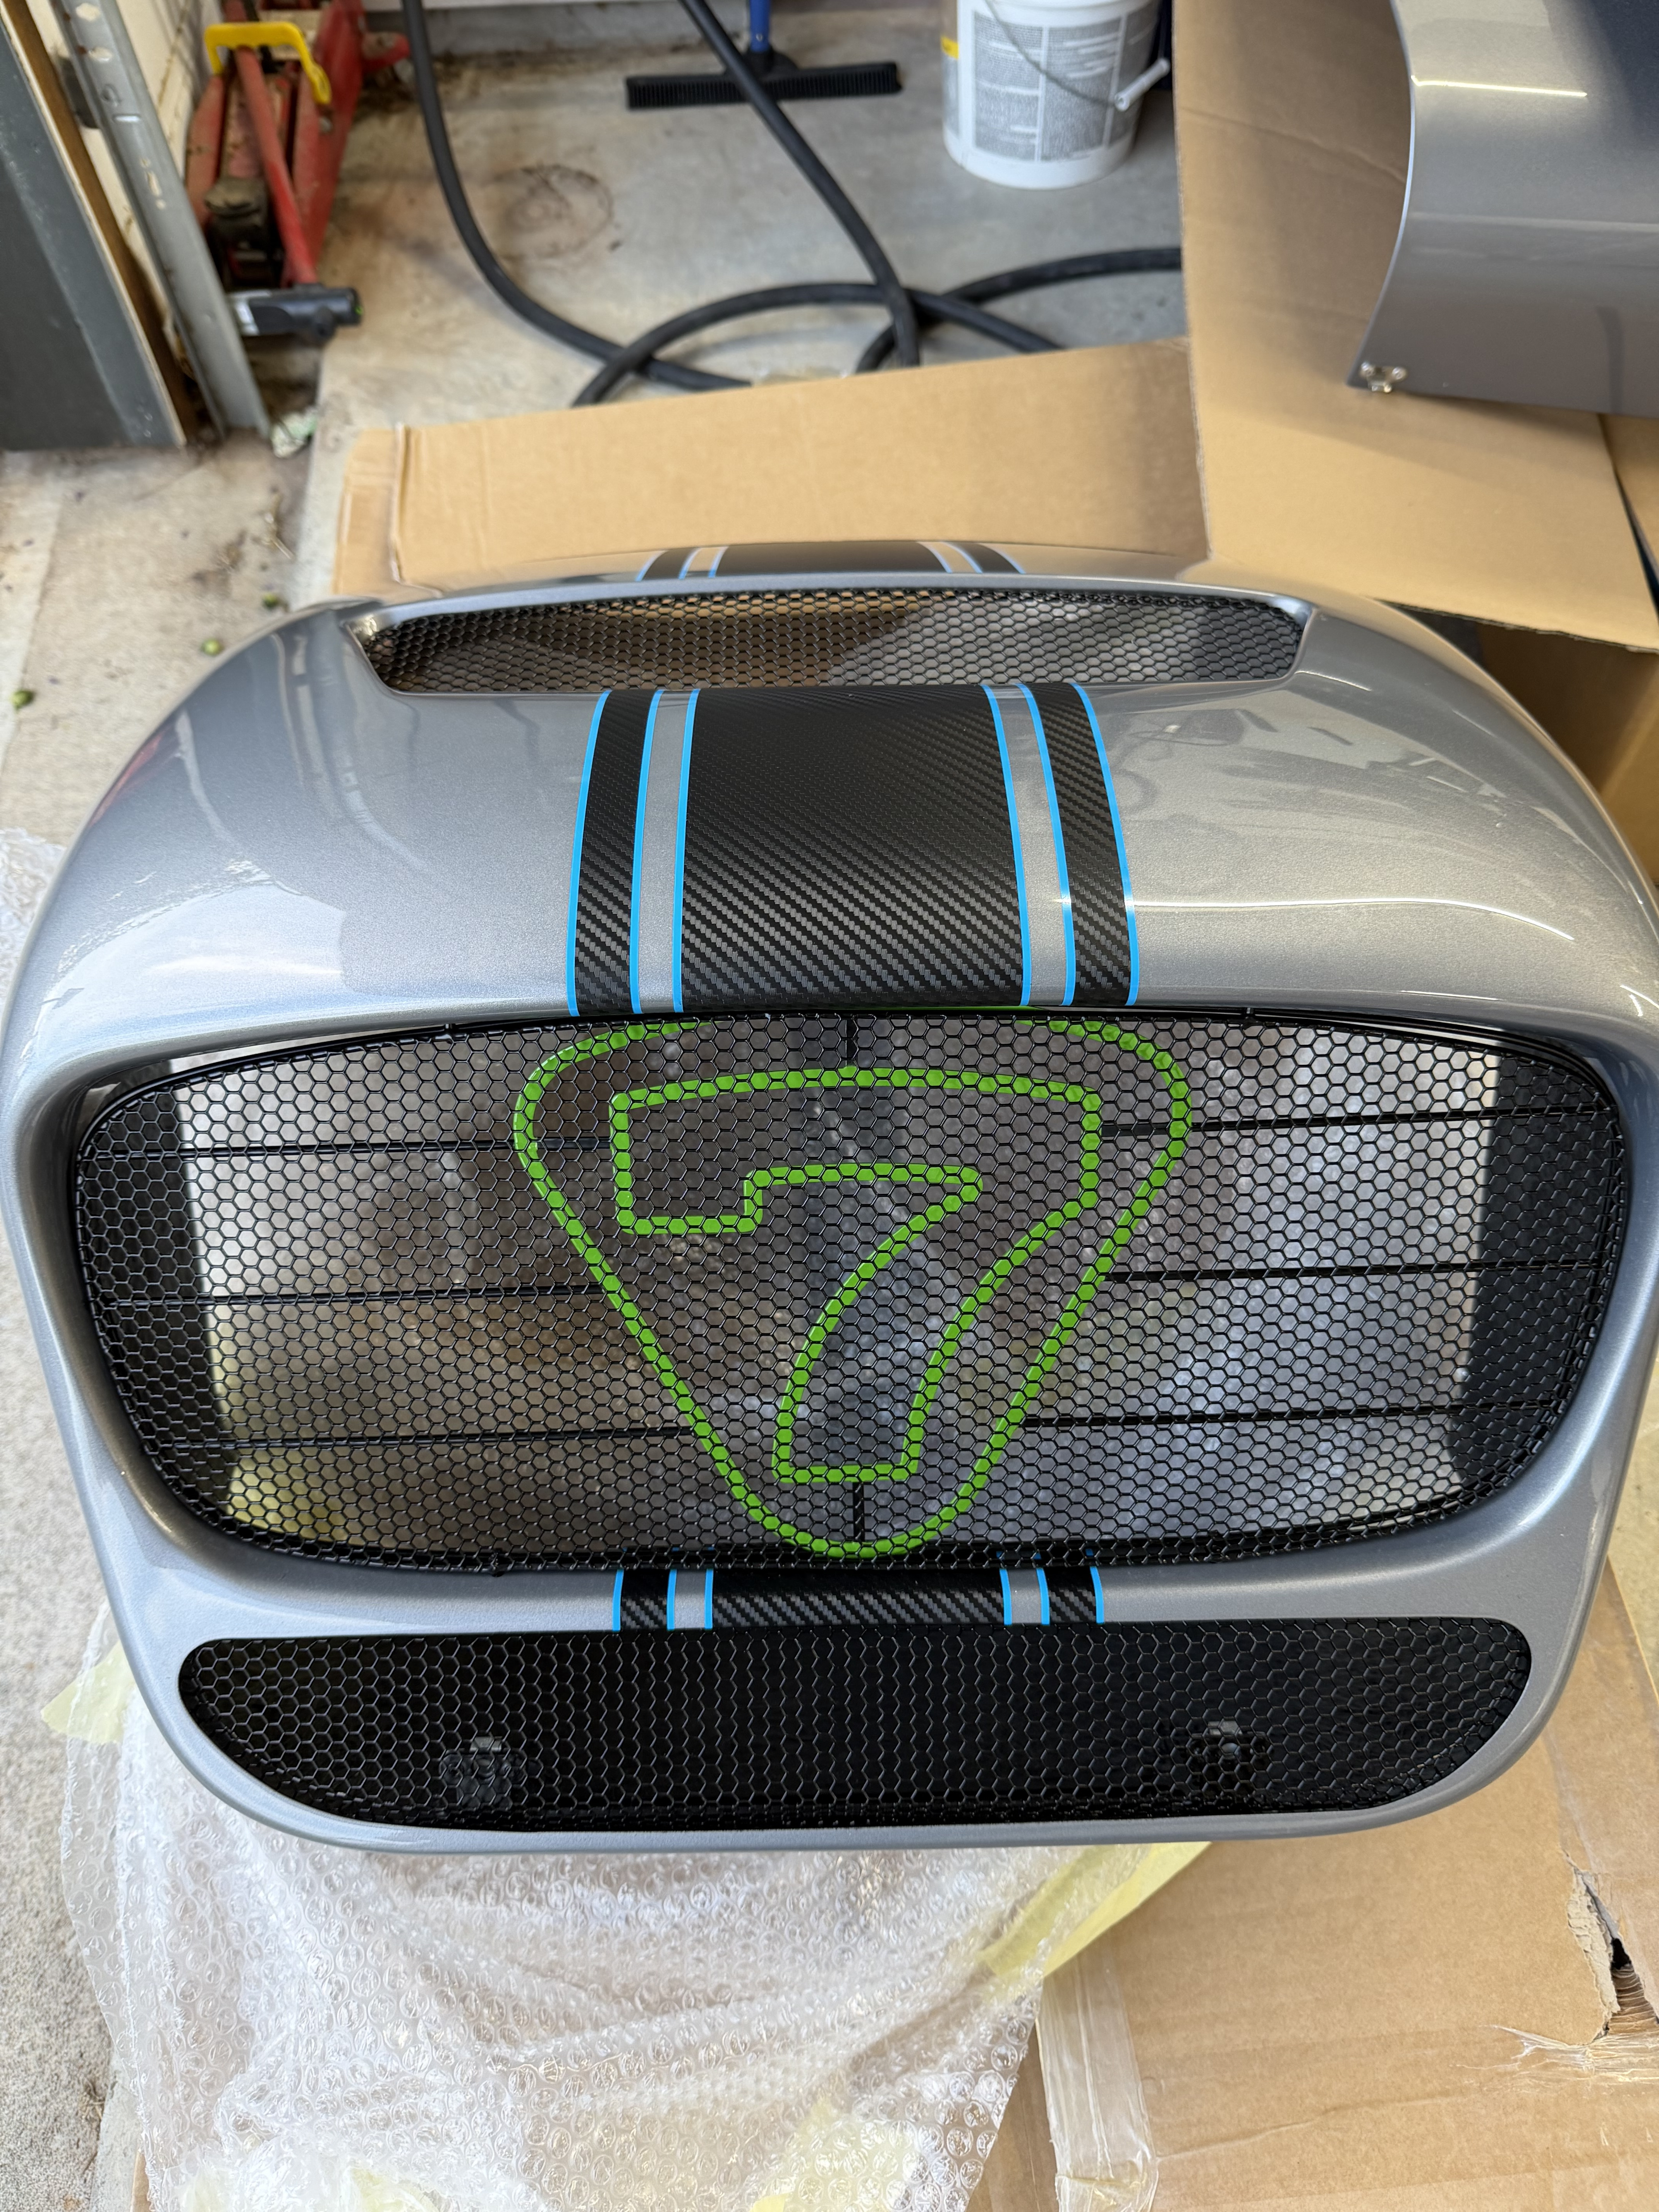
@jmaz That's so amazing! You're going to have such an awesome time in that thing. I love the color. It looks like you put it together really well, and for it to start so easily, you must have done something right. The white 7 on the nose is fantastic, and I love the triple stripes!
-
2026 Annual HPDE Hosted by NJMP Drivers Club - October 17/18, 2026
williamwashere replied to Croc's topic in National Events
Did you get their G1 or G2? Wasn’t sure if the G2 was worth it so I did get the G1. -
Hey, @TorqueSpec go poke Caterham’s marketing department too. I was emailing back-and-forth with them, they’re considering giving us a template or issuing a plaque for home-built machines. Would be nice if they finally got that finished.
-
Ferrari red + acid green is my favorite. I’d add some carbon stripes too though.
-
Photo of your car you took today
williamwashere replied to Xhilr8n's topic in General Sevens Discussion
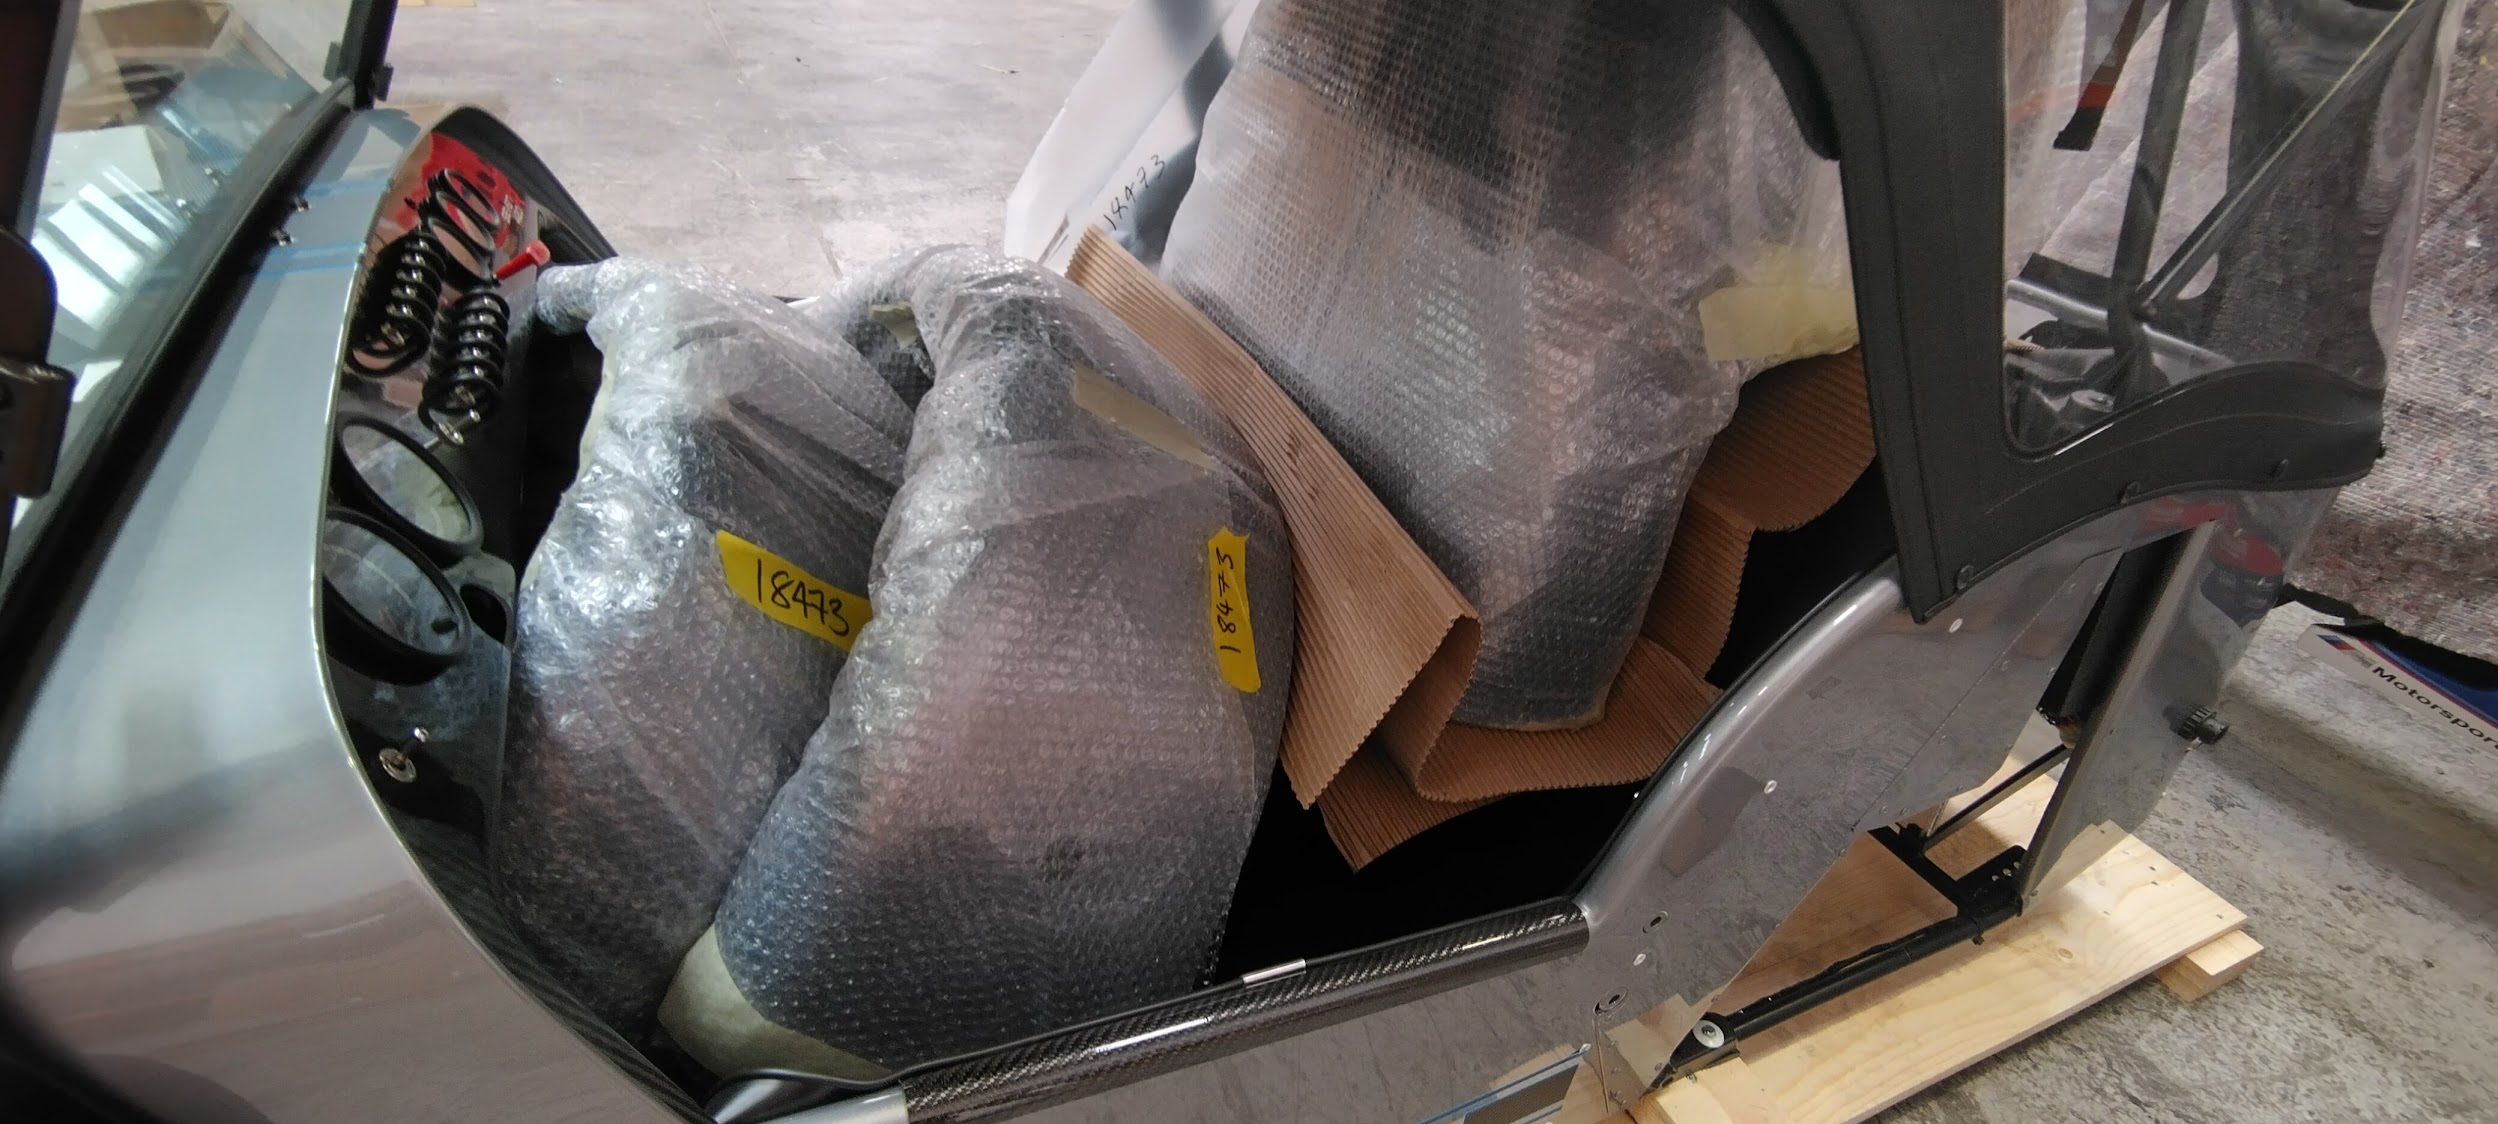
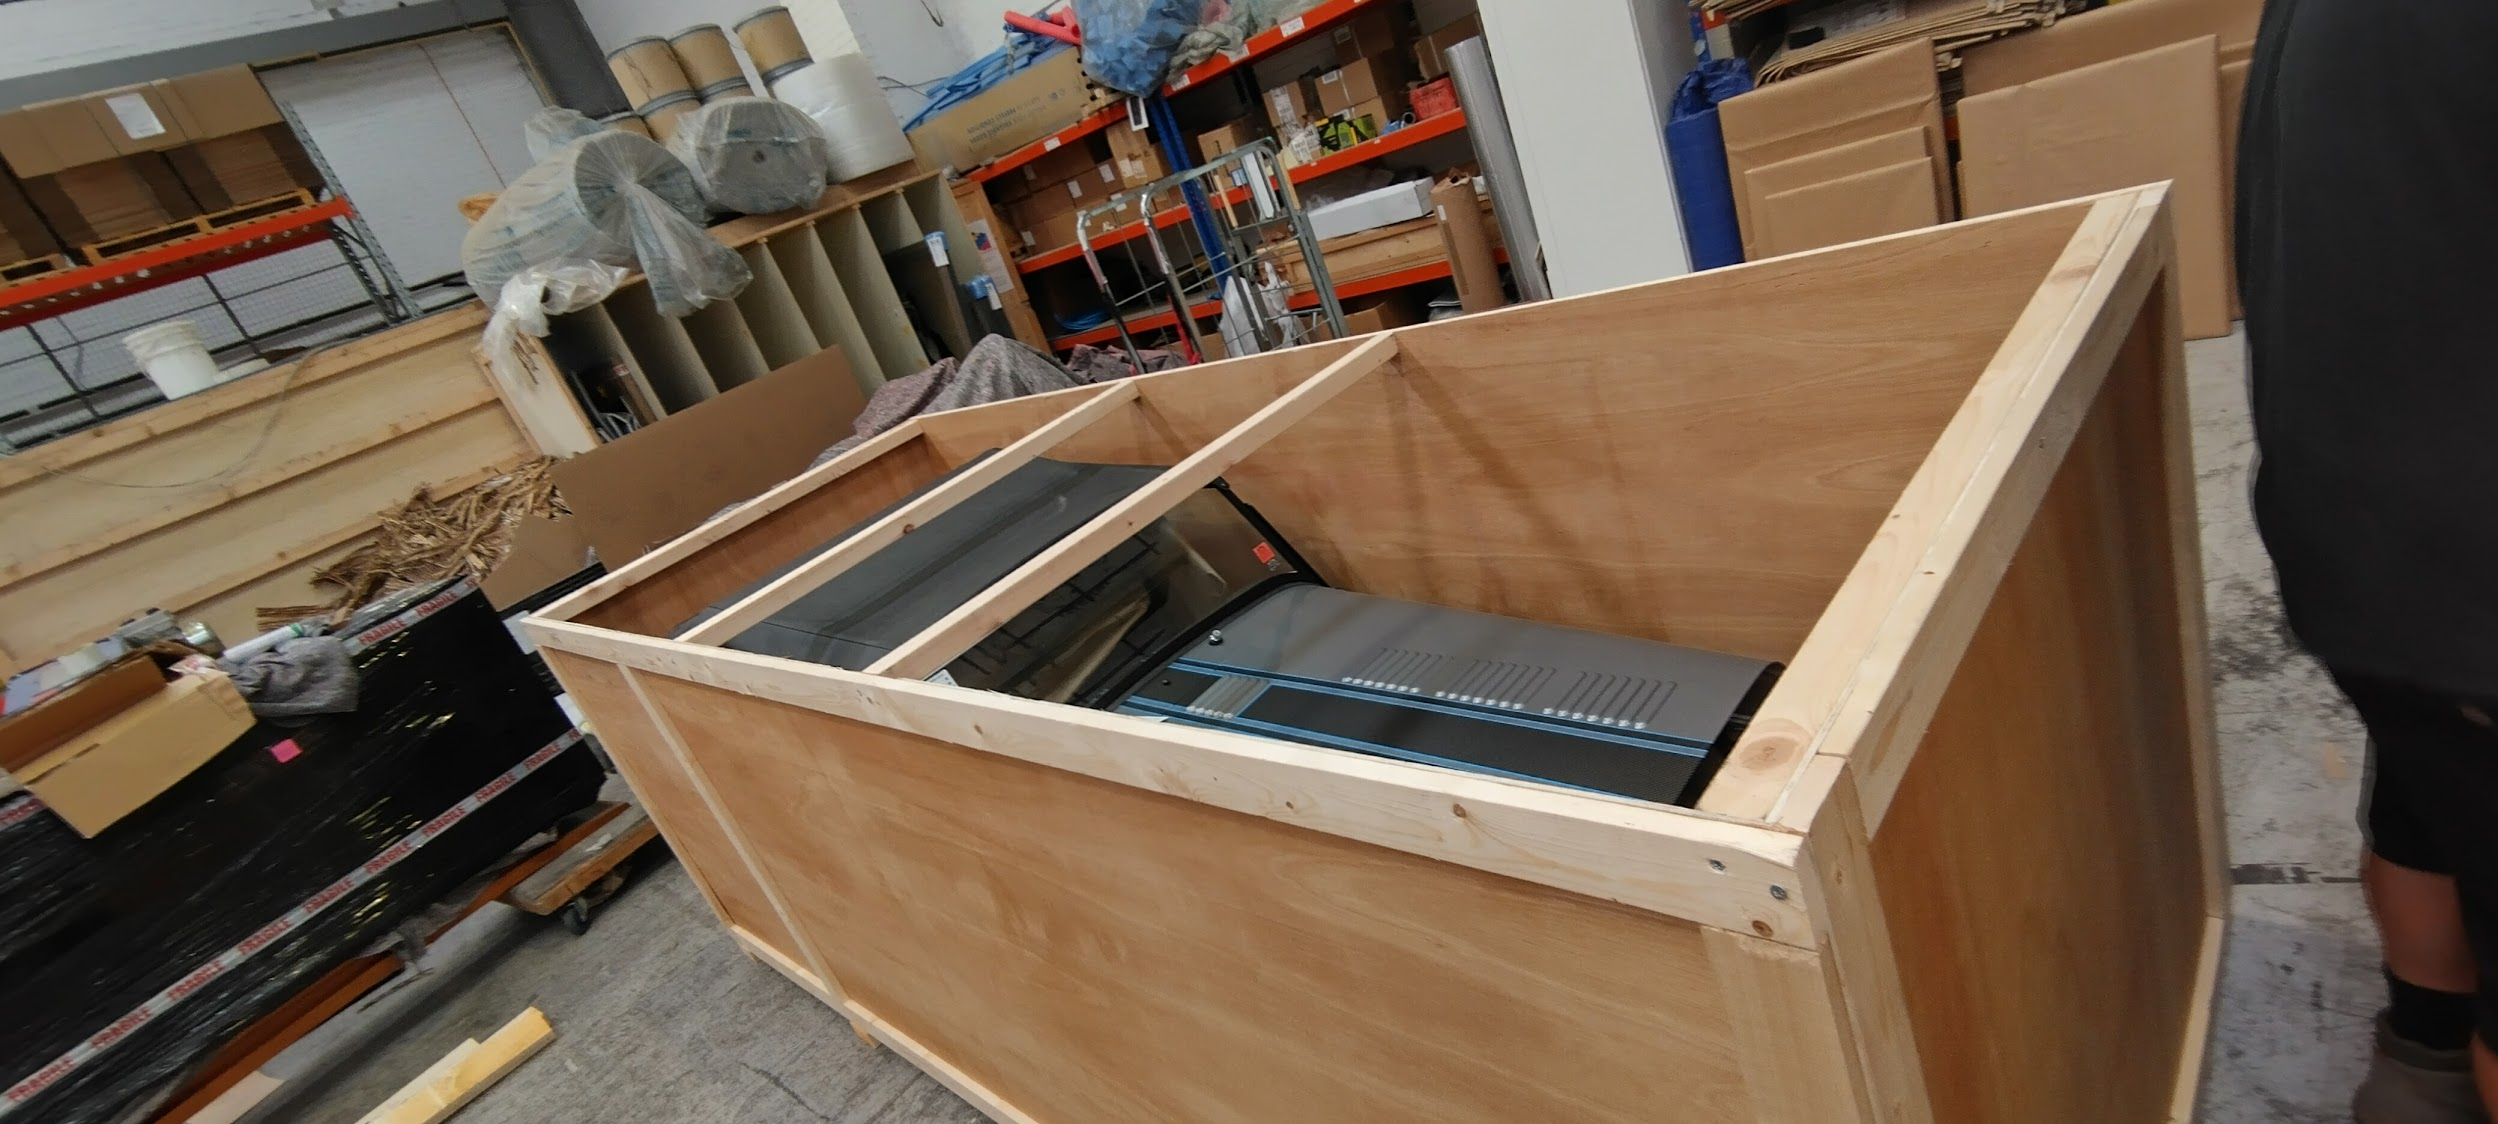
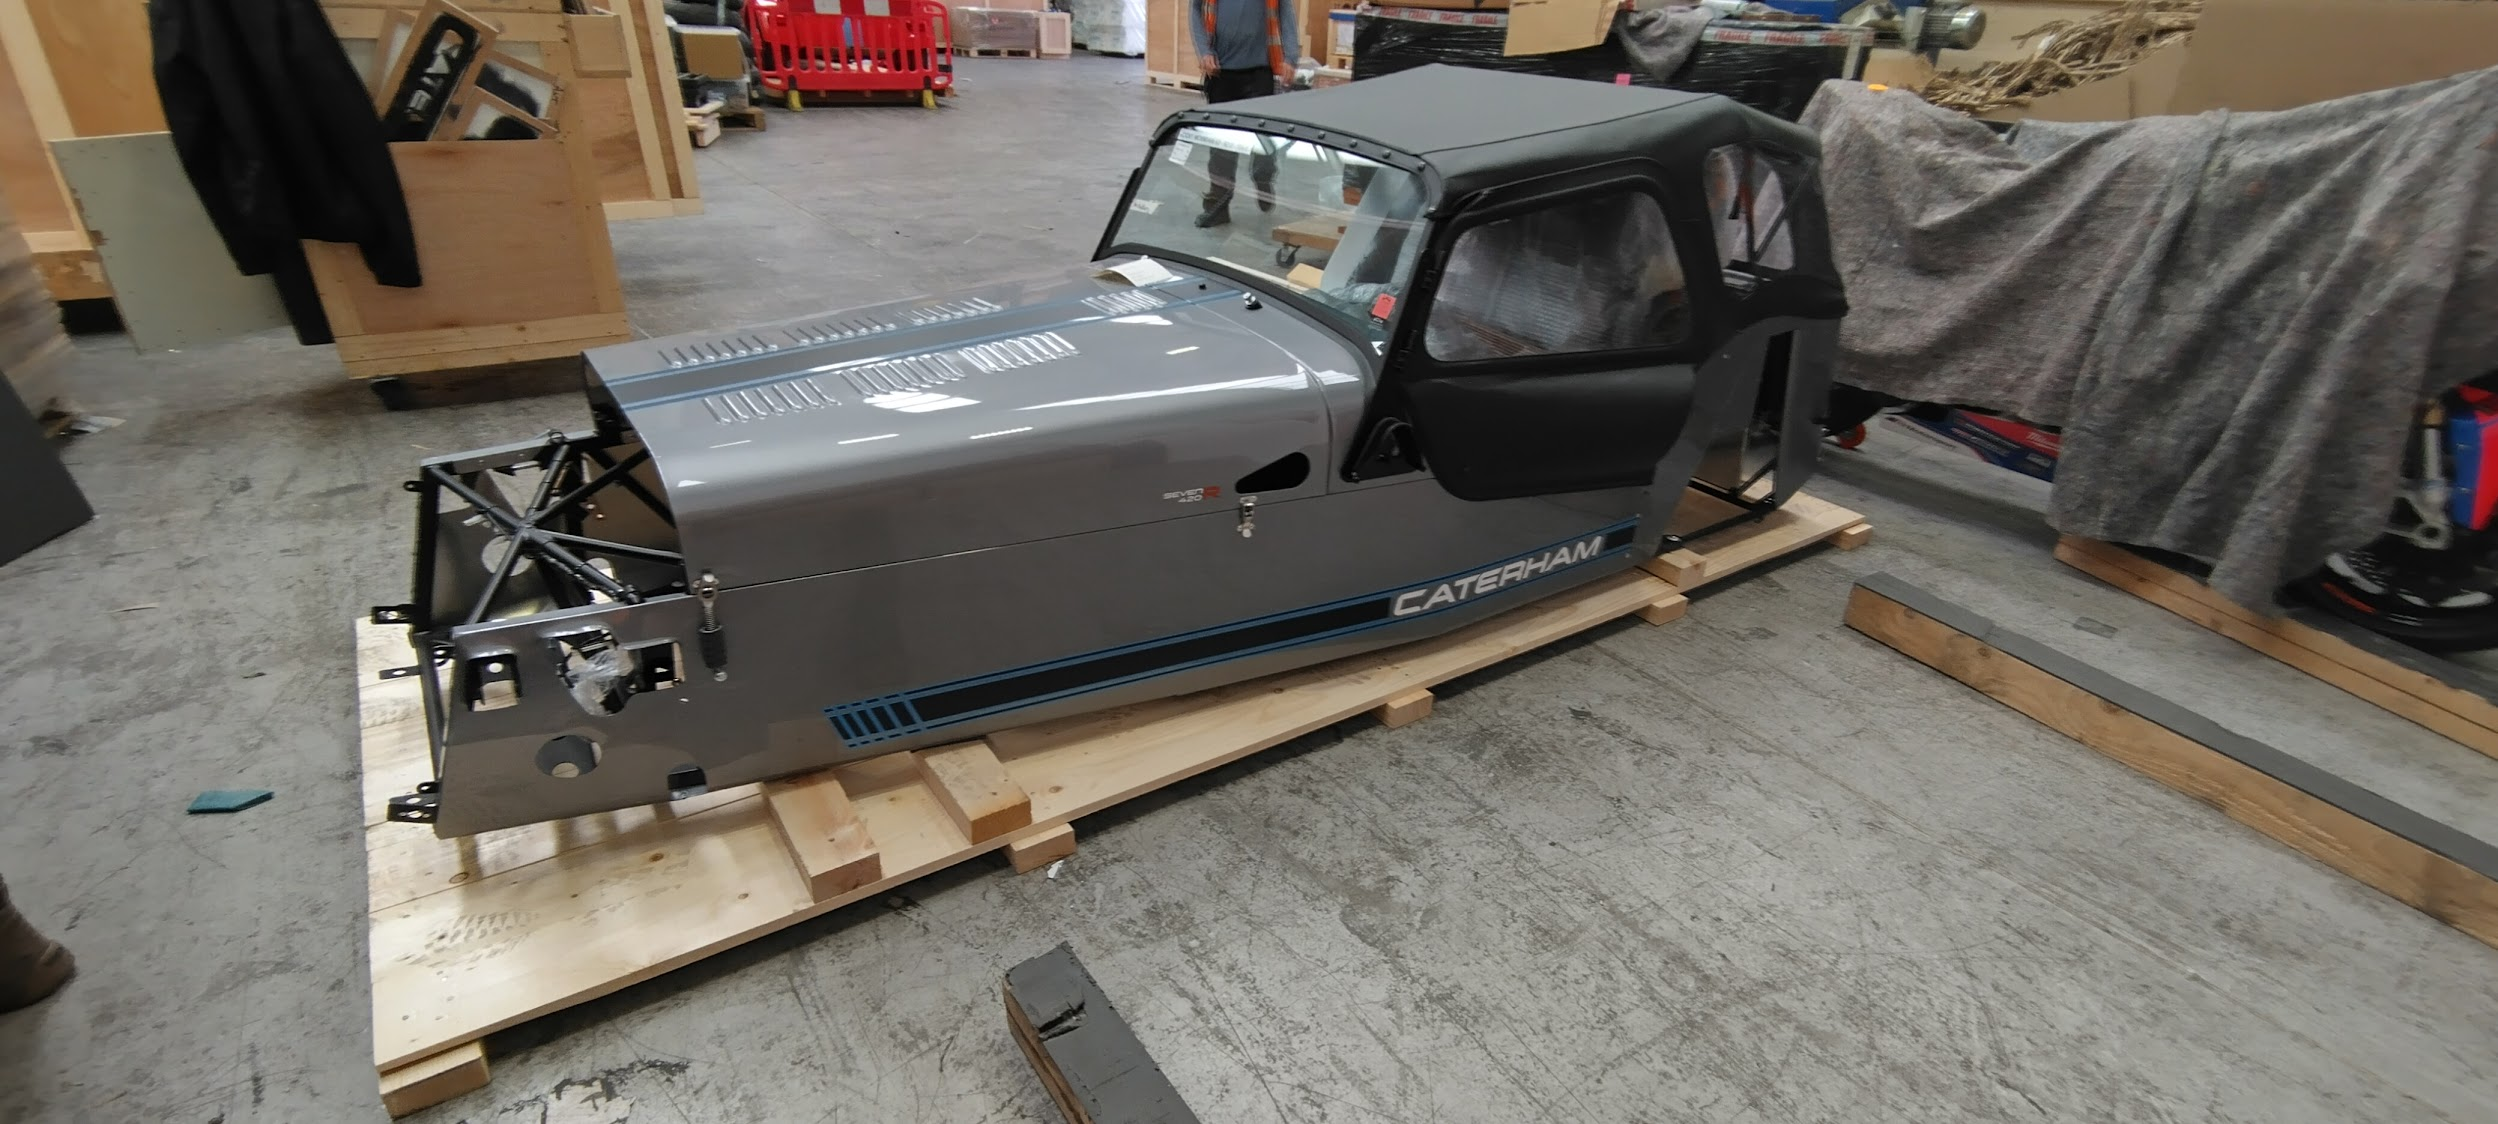
Received images of my 420R, getting prepped to be shipped! Might be in a container waiting on a boat by now!
-
Oooo, good tip on the syringe, I will have to remember that.
-
Photo of your car you took today
williamwashere replied to Xhilr8n's topic in General Sevens Discussion
That looks like it was great. With an unlimited budget, an Emira looks like a great car to have. Yours looked the best though! -
Oh man, I disagree on your assessment of "the youth" and what they're interested in. The newer generation is DEFINITELY into vintage. Vintage shops are all the rage, calling something "polyester" is saying it's fake and inauthentic, look at the backlash to AI in general. I see a lot of kids at the local high school buying Kei trucks because they're cool. I just don't think it's a fuel/powertrain thing, it's a price thing for the youth. You're totally right on the lack of powertrains though, that's a way bigger problem. The biggest bonus for running an EV conversion these days is the size of the packaging, it means you can fit more horsepower in a smaller package (see axial flux motors that are finally getting made), they'll be more interchangeable between vehicles, and that's going to open up a lot of options.
-
Good choice. That's going to look amazing.