wdb
-
Posts
703 -
Joined
-
Last visited
1 Follower

-
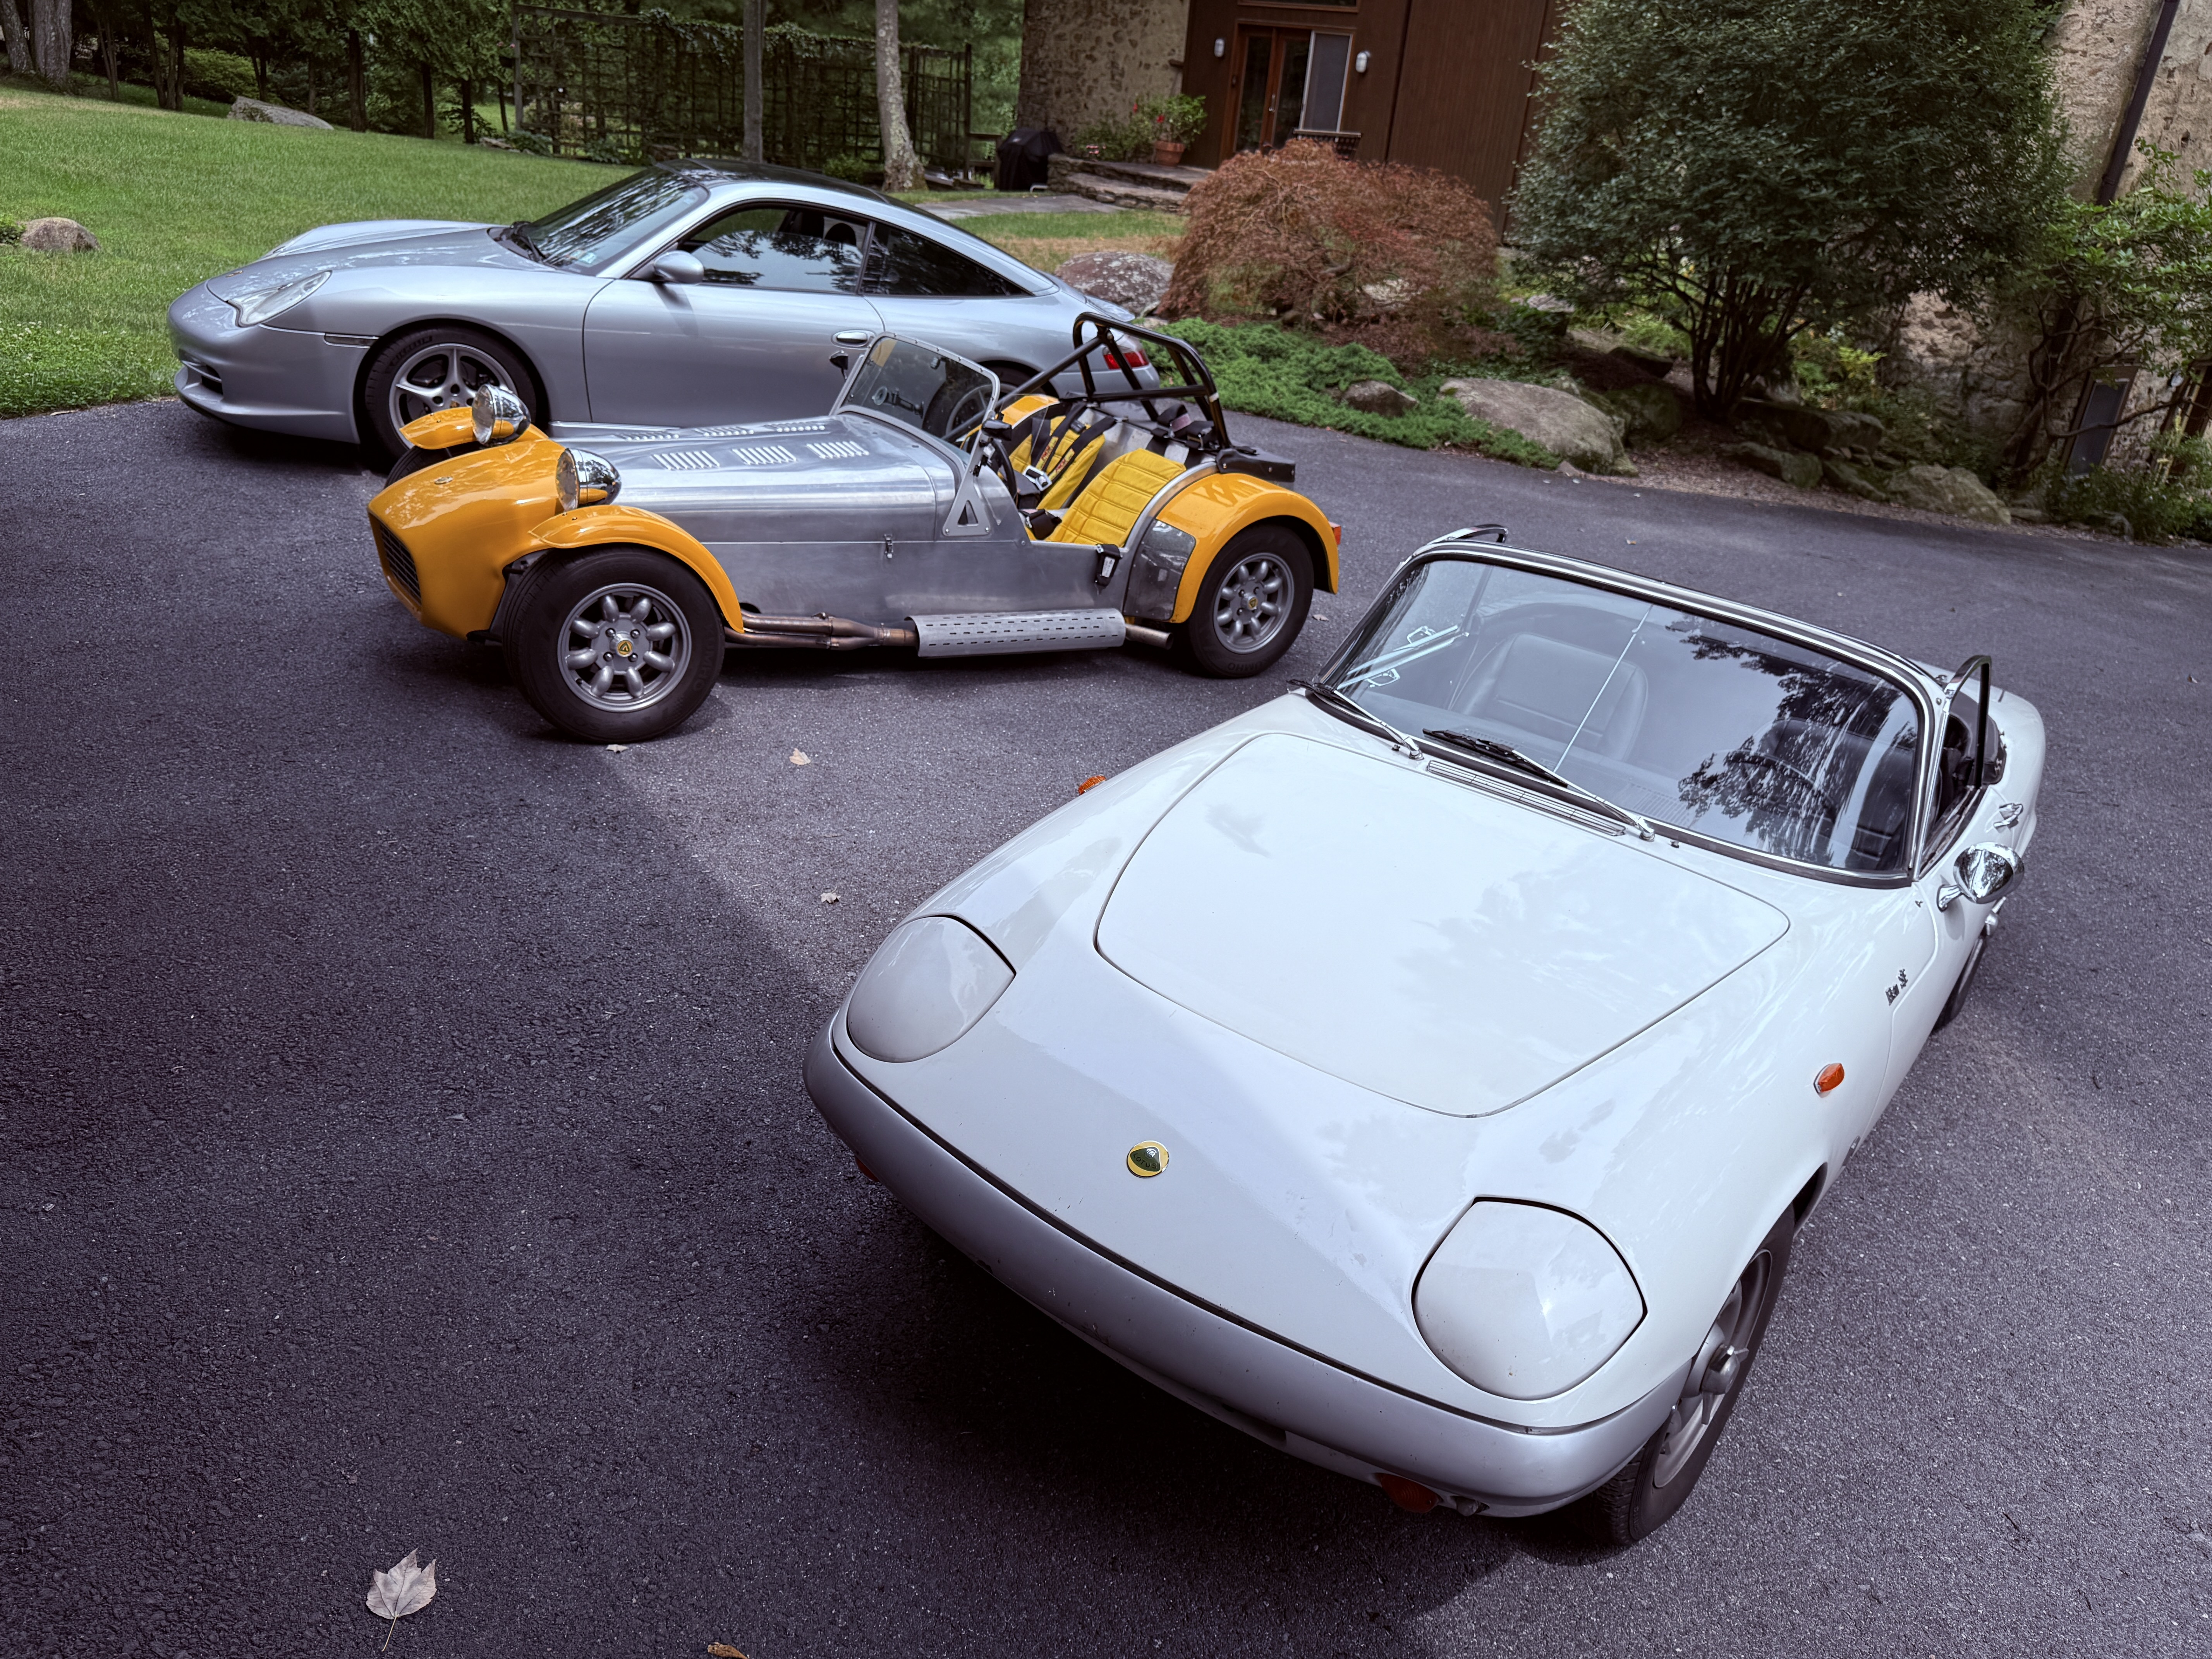
Love the yellow noses!
-
I had all 3 toys out of the garage at once today so that I could rearrange their parking spots. It's unusual for me to have them all here at the same time; most of the time one or another of them is being stored elsewhere. I took advantage of the moment to grab a few pictures.

-
I have not gone the 02 sensor route. It sounds like it could be a great tool, and I may end up there at some point in the future. But I've tuned a lot of carbureted cars in my life and I have some idea of what should go where so for now I'm going to keep doing it "old school". I also know one fellow with a wideband 02 gauge and he has proclaimed it to be nearly useless because the readout jumps around so much. I don't know the specifics of his installation so there could be some issue with it I guess.
-
@IamScotticus if I were to pull a guess out of my nether parts I'd say the hammering was done on tools made for the job. The point of all of it would be to ensure proper seating of the parts against one another. I followed Keith Franck's method of setting float height earlier this week. It did not quite completely get rid of the lean stutter at high-ish RPMs, but it is 95% better than it was. And it smoothed out the general running condition everywhere. Incredible difference. And I only had to do one carb. Prior to making changes I took measurements and I had the float level right where the manual states it should be; per Keith's method it was 3mm low. Thank you Keith! As to the measurement process itself, I used a dial caliper. I set the caliper to 25 mm, dropped the protruding stem into the jet opening, and it came back dry. So I set it to 26mm, dropped it in again, and so on until it came back wet. It's a stainless steel tool and the gas was either wetting a good bit of the stem or did not wet it at all. I assume the gas wicked up the stem a bit. To my mind the wicking didn't impact the measurement procedure because I was making 1mm changes. It either touched gas or it didn't.
-
The entire interior, the entire drivetrain... ...might be an interesting thing to consider getting a bare chassis and doing some swapping.
-

For Sale: Motion Control Suspension - 3-way Remote
wdb replied to CarYenta's topic in Parts For Sale / Wanted
WOW quite the setup. -
The Regular Summary of Classified Ads of Se7ens Found For Sale
wdb replied to Croc's topic in Cars For Sale
Also this forum has members nationwide and may help you find someone local to take a look at a car for you. Thanks for the post and good luck in your search. -
That's what the wiring diagram indicates, but I don't know the date on that.
-
The Regular Summary of Classified Ads of Se7ens Found For Sale
wdb replied to Croc's topic in Cars For Sale
And yet BOOM it's at $30K, with at least 4 people showing up to test drive it. I like the answer the seller gave to the "no vacuum?" smarm. "As for vacuuming the car, have you ever driven a Caterham? What exactly would the point be?" -
Another vote for CTEK here. I bought a used BMW E93 in 2018 and the battery was not in the best of shape. The E90 (and pretty much every subsequent) BMWs are quite sensitive to battery voltage and will throw all sorts of odd little fits if it is not just so. On the advice of a local shop I put a CTEK charger on it and let it do its "recondition" thing. It took quite a while! Over a week if I recall. But it worked wonders. I continued to use that same battery until 2024. (The E93 is about to go to a new owner in case anyone is interested. https://carsandbids.com/auctions/rNjgBN27/2007-bmw-328i-convertible )
-
Incredible timing. I was just thinking about this very idea yesterday. Setting it up square with the car is still the key, but not having those strings to deal with is mighty appealing...
-
BaT has a strange way of wording things but they are consistent and I think they believe it is part of what makes BaT, BaT. Don't worry about it. As a seller, just be responsive and civil. "The customer is always right" and all that. Don't take the bait from the inevitable trolls. Your pictures look good and the car is tempting, good luck!
-
Lithium battery will require a battery tender made for that type of battery. Have you tried a CTEK charger? I've had great luck with them on depleted batteries although I have never tried one on a fully dead battery. Also does your car have a kill switch? If so you might want to start using it.
-
Except when people leave a bit of gas in the hose, which then spills onto whatever you tilt the hose over first... ...so sayeth the voice of experience! My car was specced as a racer from the start. It has a fuel cell with a 2" long threaded neck sticking straight up, and a cap that screws onto it. The floor of the rear 'trunk' area has a hole (hacked) in it for access. I point the fuel nozzle straight down to fill the tank. First though I point the nozzle straight down at the ground, because there is almost always fuel in it leftover from the last person. I can supply pictures if anyone is really curious.
-
The 7 and I had our first encounter with one of the vapor capturing pump nozzles the other day. My filler is directly connected to the top of the fuel cell; I do not have the curved pipe that exits the rear of the car. There was no way for me to make the nozzle happy by pushing it into the filler opening. But I was able to pull the vapor capture shroud up with my hand and, presto, gas came out! It was awkward but ultimately successful. Good thing too because the station I stopped at before then was out of gas, and the car was nearly so as well.