All Activity
- Today
-
It wasn't me, but I remember the incident.. A throttle cable on a Crossflow, I think, came lose and grounded on the fan switch or water temp terminals. Result was a fire. I have heard of the R clips on the Triumph LF14 caliper guide pins coming off. Weber DCOE inspection cover wing nuts need drilled and safety wired.
-
Thank you @JohnCh, from the eyeball it does seem like it's not centered on the bottom bolts, but because it's implied and I split the washers I thought, it must just be shadows or bigger welding on one side skewing the appearance. But this makes me think it really might not be centered. I was trying to measure between the case and the inside, not easy. Measuring to the outside of the frame should be much better and accurate 👌
-
This has my vote so far

-
Then might as well have a steering wheel and standard windscreen
-
In case you split the washers evenly because that is implied in the build manual, that is not necessarily correct. When Caterham introduced the Ikea-style build manual in an attempt to make assembly appear easy, they left out information from the earlier, and more thorough written manual. In the case of the washers, the Ikea diagram shows the same number washers on either side, implying they should always be equally split. However, from page 129: "Measure from either side of the differential carrier to the outboard side of the chassis (outboard of rear ARB mount – 1” BOX) to centralise. During this process there will be a need to pull the bottom bolts out and use shim washers (item 21 in pack 30Z1067A) inserted in between the metalastic bush and carrier as necessary. You may now use the ½ x 11” top bolt (schnorr washer under the head). It is optional to grind a chamfer on the end of the bolt (threaded part 45 degrees x ½”) as this makes it easier to slide and locate the top bolt. Ensure there is plenty of copper slip used on the bolt. You will also need to space the upper bolt between the carrier and the metalastic with shim washers. Use a ½” nyloc nut and schnorr washer to fasten the bolt." You might have it centralized, but it would be good to check. The written manual is in the Library:
-
Sounds about right. The shapes are not the same as fabricated. Putting a big taper on the bolt and/or using pin punches are the tools for the job. That and a big mallet
-
Diff Day 1: diff wins Bottoms weren't too bad. I put one in to pull the diff to one side to them determine the total washers/shims needed in total. Split those in half and have an equal amount for each side, back the bolt out, then add washers and bolts. Top bolt, as expected, is going to need some finagling. Top left has a small gap, I can get one thick and one medium washer in while jostling the diff to make space, so that's tight. Top right has enough space for two thick and probably can squeeze a smaller one in. The bigger issue is simple getting the diff in line with the holes, it seems like it needs to go another 1/8" further into the car, but the front bolts naturally won't allow that. Possibly swinging the rear towards the right wheel well is what's needed, given the left side is tighter than the right, but again, the front bolts will keep it from moving off it's current line AFAIK. Not sure!
- Yesterday
-
I was going to go with an anti gravity but my dealer put an agm and bracket it. Which has worked thus far. When I dies I will likely upgrade to an anti gravity. But who knows with how fast things change. If my battery needs match this bracket I will circle back when the time calls. Looks great!!
-
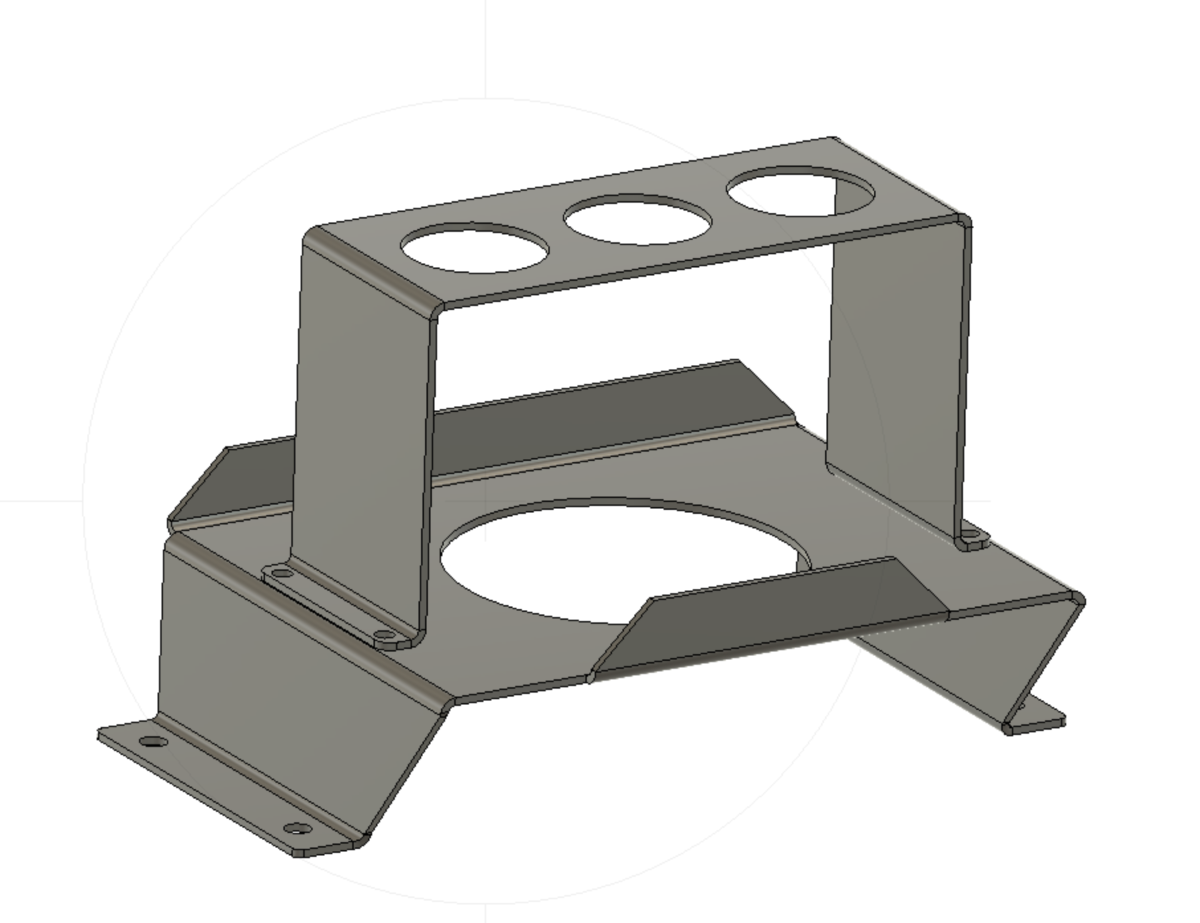
Here's the battery bracket design I've been working on while away from the car. It fits the Antigravity ATX-12HD battery laid down in the factory location. I validated it with a 3d print, seems to work fine. Its a little taller that the factory bracket to clear the ECU better and at the same time eliminate the aluminum shims that are a pain to align under the stock bracket. Plan to get this fabricated over the next week or so after I fine tune the lightening holes. If interested I could make a few for the community, or share the CAD.
-
Whether silhouette or front-on, I prefer the minimalist approach. Headlights are part of the distinctiveness, to me, and worth the extra busy-ness - rollbars not as much (IMO).
-
Oops, wasn't actually sure I wanted to post that one but it's out there now
-
Oh believe me I went down this path a bit but balancing readability with pleasing aesthetics is a bastard. Might noodle on it more later. I have plenty of practice from another design I did. Getting this one to look right is real hard though
-
I prefer the simplicity of this one. It just needs some color.
-
I'll tag creative department of the household into this for an opinion @FasterThanVov
-
I think this car outline with this logo is best combo so far
-
I think @Slonie silhouette is better there as it's a bolder line. It will pop
-
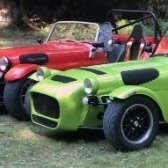
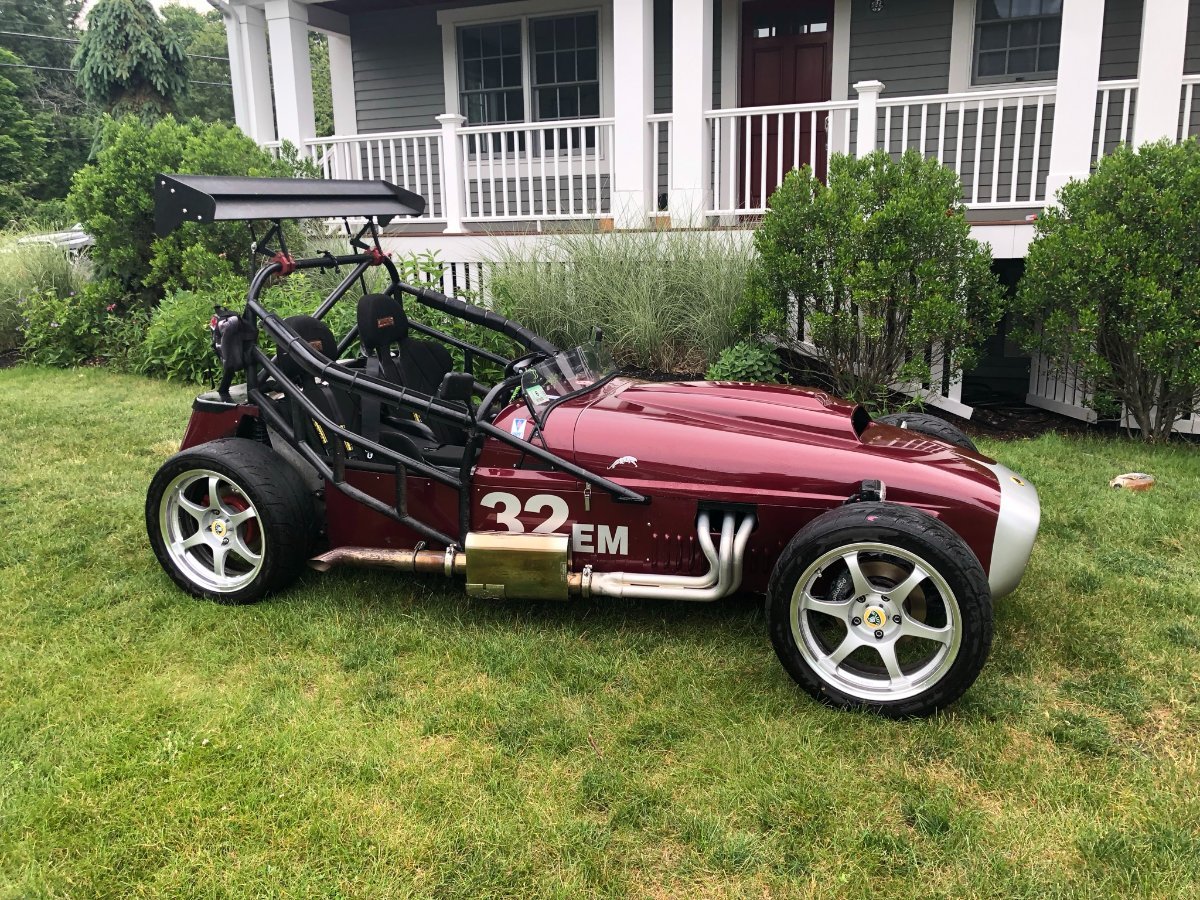
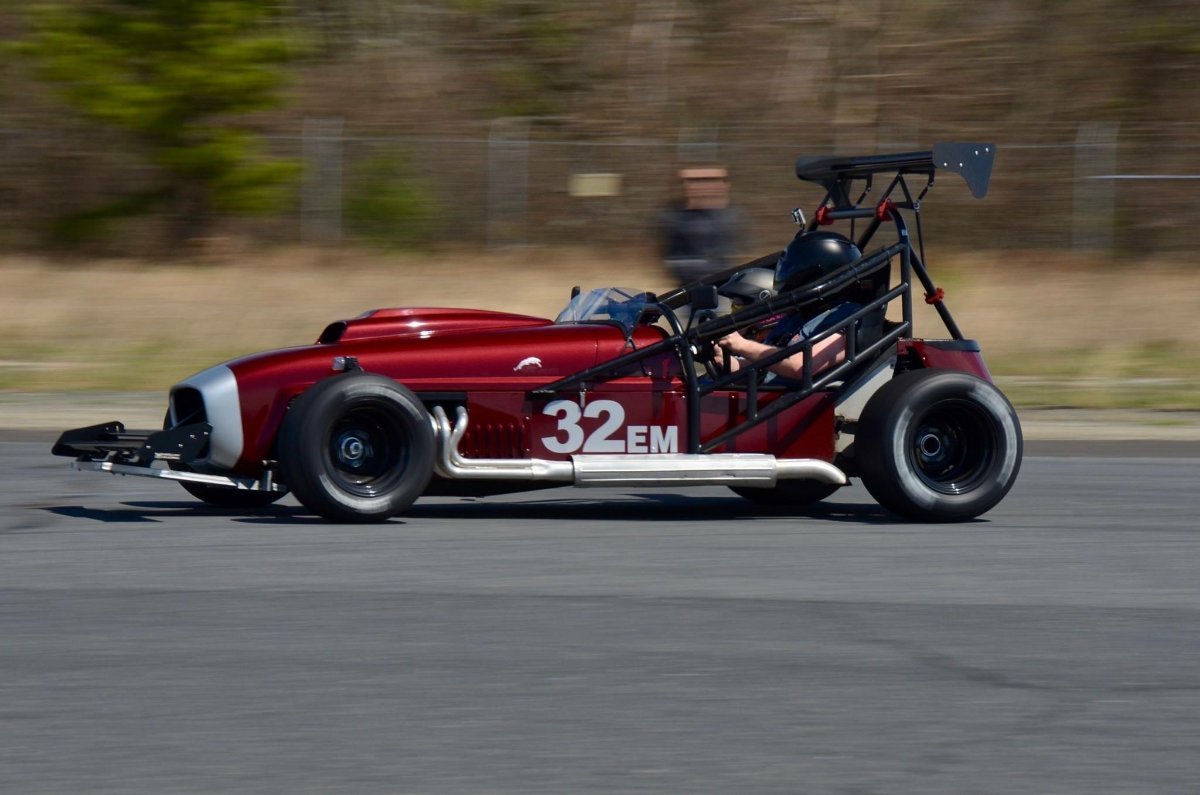
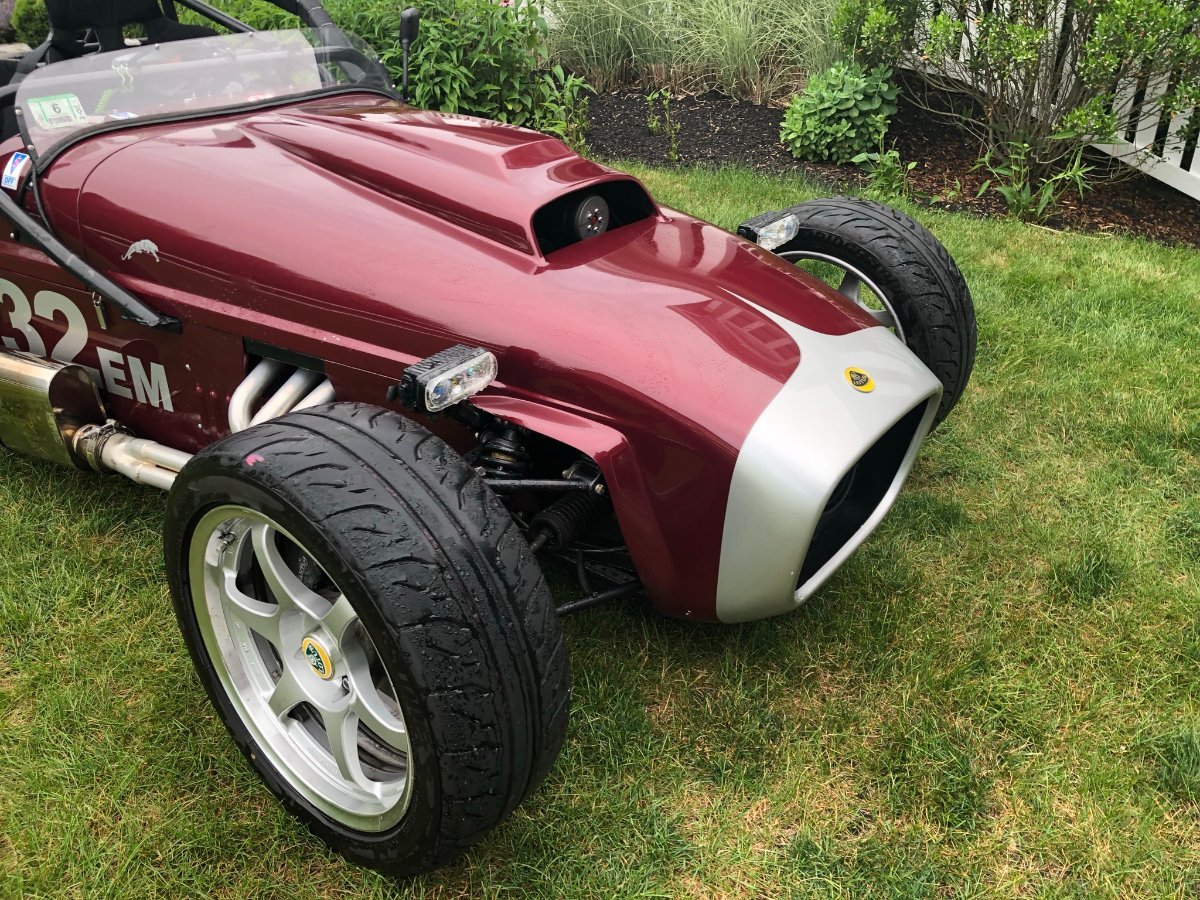
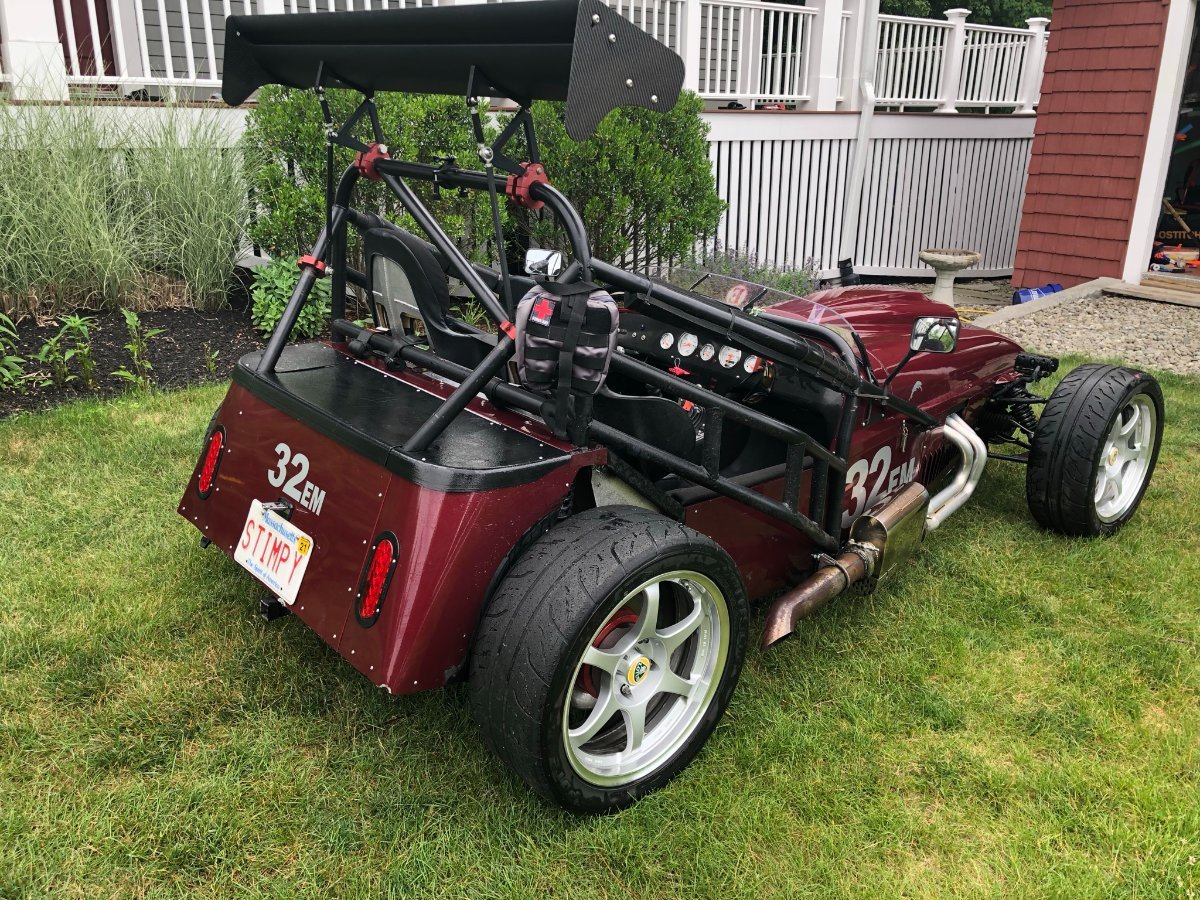
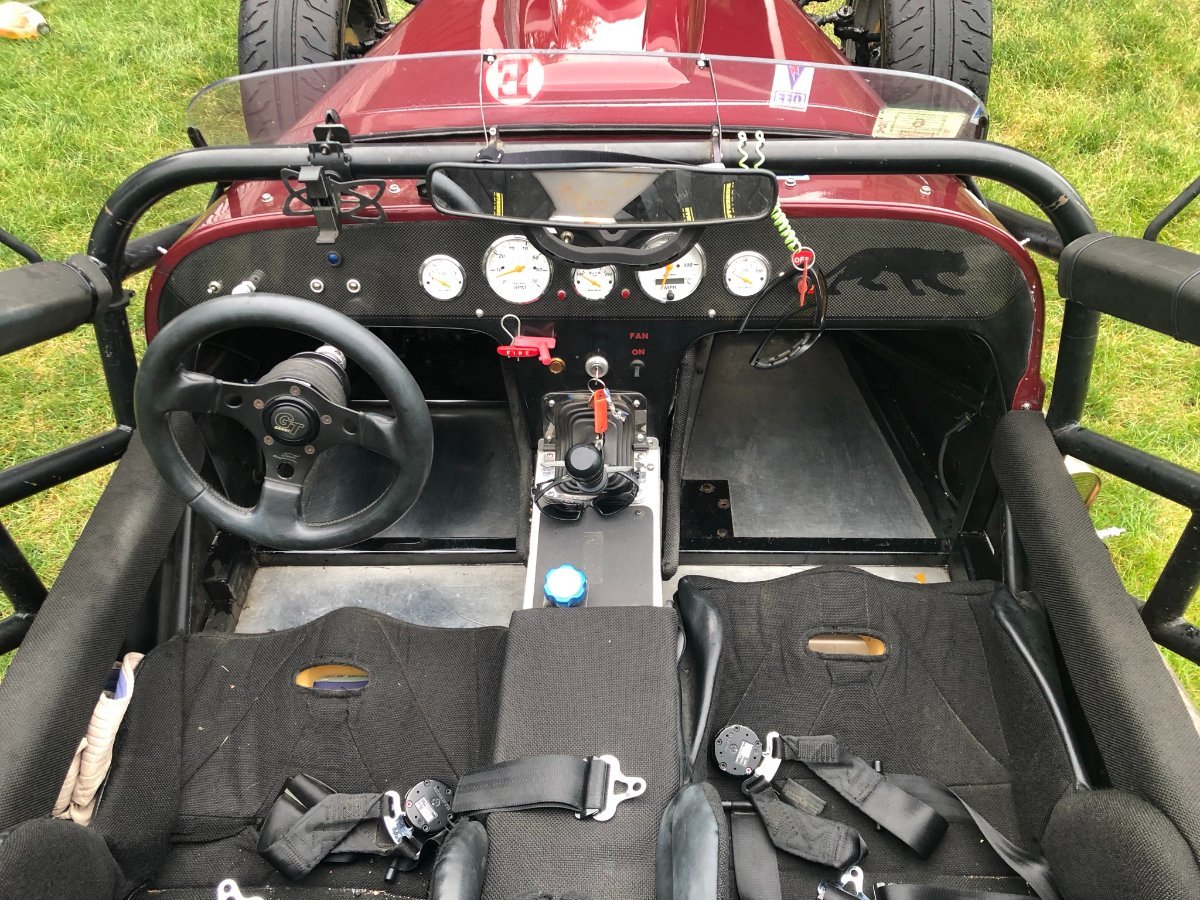
I have a stalker classic for sale. It was originally built in around 2004 with a 3.4 and was later upgraded by Sugar Grove Custom Cars to a new paint color and the GM L32. The GM L32 is the final (best) version of the Supercharged 3800 V6. This one is modded with a smaller pulley for more boost, headers, intake and manual throttle body. Estimated at 300hp. The car weighs in at 1500lbs Other upgrades include racing coil overs purchased from Brunton. Wilwood front brakes with brake bias adjustment (manual brakes) GM Power steering and pump GM rear disc brakes Remote oil filter (removed the low hanging filter and allows for an even bigger one) New stage 3 clutch (less than 2k miles) New rear end gears (3.08) from yukon Yukon axles Torsen Limited Slip I have 2 sets of wheels (17" forged SSR with RE71Rs as seen and set of 13" steel wheels for autocross) Ceramic Coated last year. Upgraded control arms from Brunton Car currently has mufflers on it in order to meet sound regulations at my local autocross. These have a V band and can be changed out. Seats are kirkey with 1.5" of extra memory foam. Momo steering wheel NRG steering hub quick connect Car is corner balanced and weighed in at 1520. The car is a blast to drive and with the mufflers the supercharger is amazing! (Video from inside the car) Car is located in Massachusetts and is titled as a 1959 Lotus Seven. Asking 20k I have extra parts that I can include for an extra cost. edit: I forgot to mention that I am selling this to make room for my new MEGA stalker!! (shows you how much i love this car and stalker)
-
I like that worse. ^
-
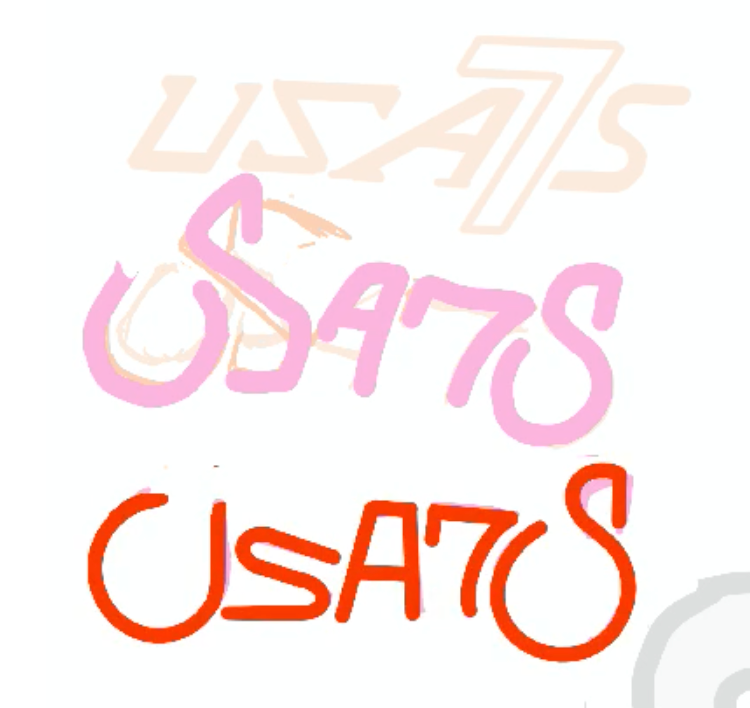
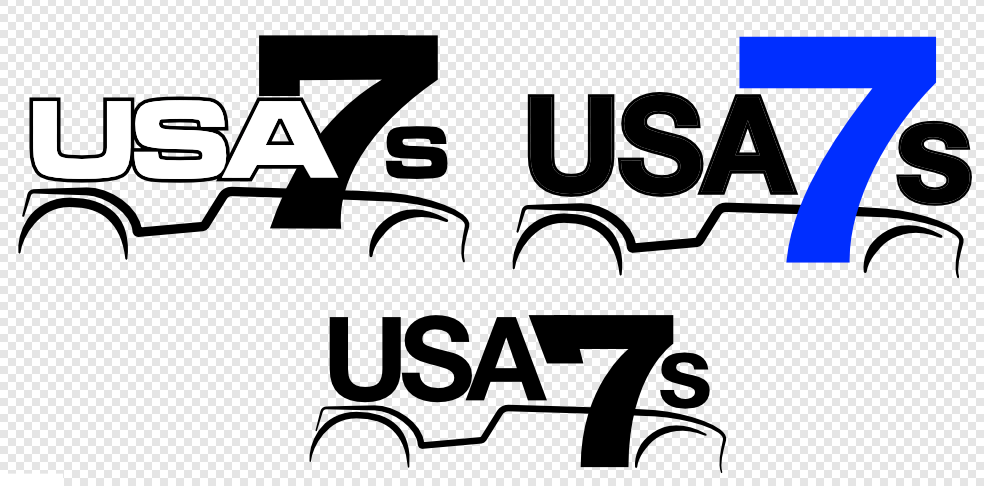
That idea applied to my further iteration might end up looking something like this (un-italicized the 7 too, and rebalanced the size of the car)
-
I like the style on the first one (top left) ^ with the overlap.
-
Thanks! It's a mixture. The Helvetica and Eurostile (favorite of Lotus later on) and Microgramma ones are stock fonts... And these ones started off inspired by New Zelek but were significantly modified: New Zelek would look like this without any tweaks. 1970s and 80s designers loved to use New Zelek as a jumping off point for logos and I'm no different...
-
I believe the 50mm set is standard TWM/Borla that was installed throughout the dealerships in US for this spec. Mine is the same set so was the other set sold here recently and what others have on their cars. Whether right or wrong this was SOP.
-
The size likely impacts the shape of the torque curve and idle quality, but it shouldn't make the car undrivable. However, it is worth mentioning given you're considering replacing them.
-
Thanks, once they are balanced, we will see how they behave. I was told they were 50mm, whether they are or not means little at the moment. Once they are balanced, we will see how they react to the street driving I am planning for now. I don't suspect we will be anywhere near redline or wide open throttle, but you never know, I might get bitten by the track bug again, maybe a little autocrossing instead of road racing, only time will tell. Bill
-
The front suspension is easy access, just jack up one side, make the adjustment and repeat for the other side. The rear suspension can only be accessed from underneath. I don't have the trailer space to put in a hydraulic lift so putting it on jack stands is the only option, which is time consuming, especially if I have to repeat a few times. Maybe at the end of the day but then I'm eating into beer time