All Activity
- Today
-
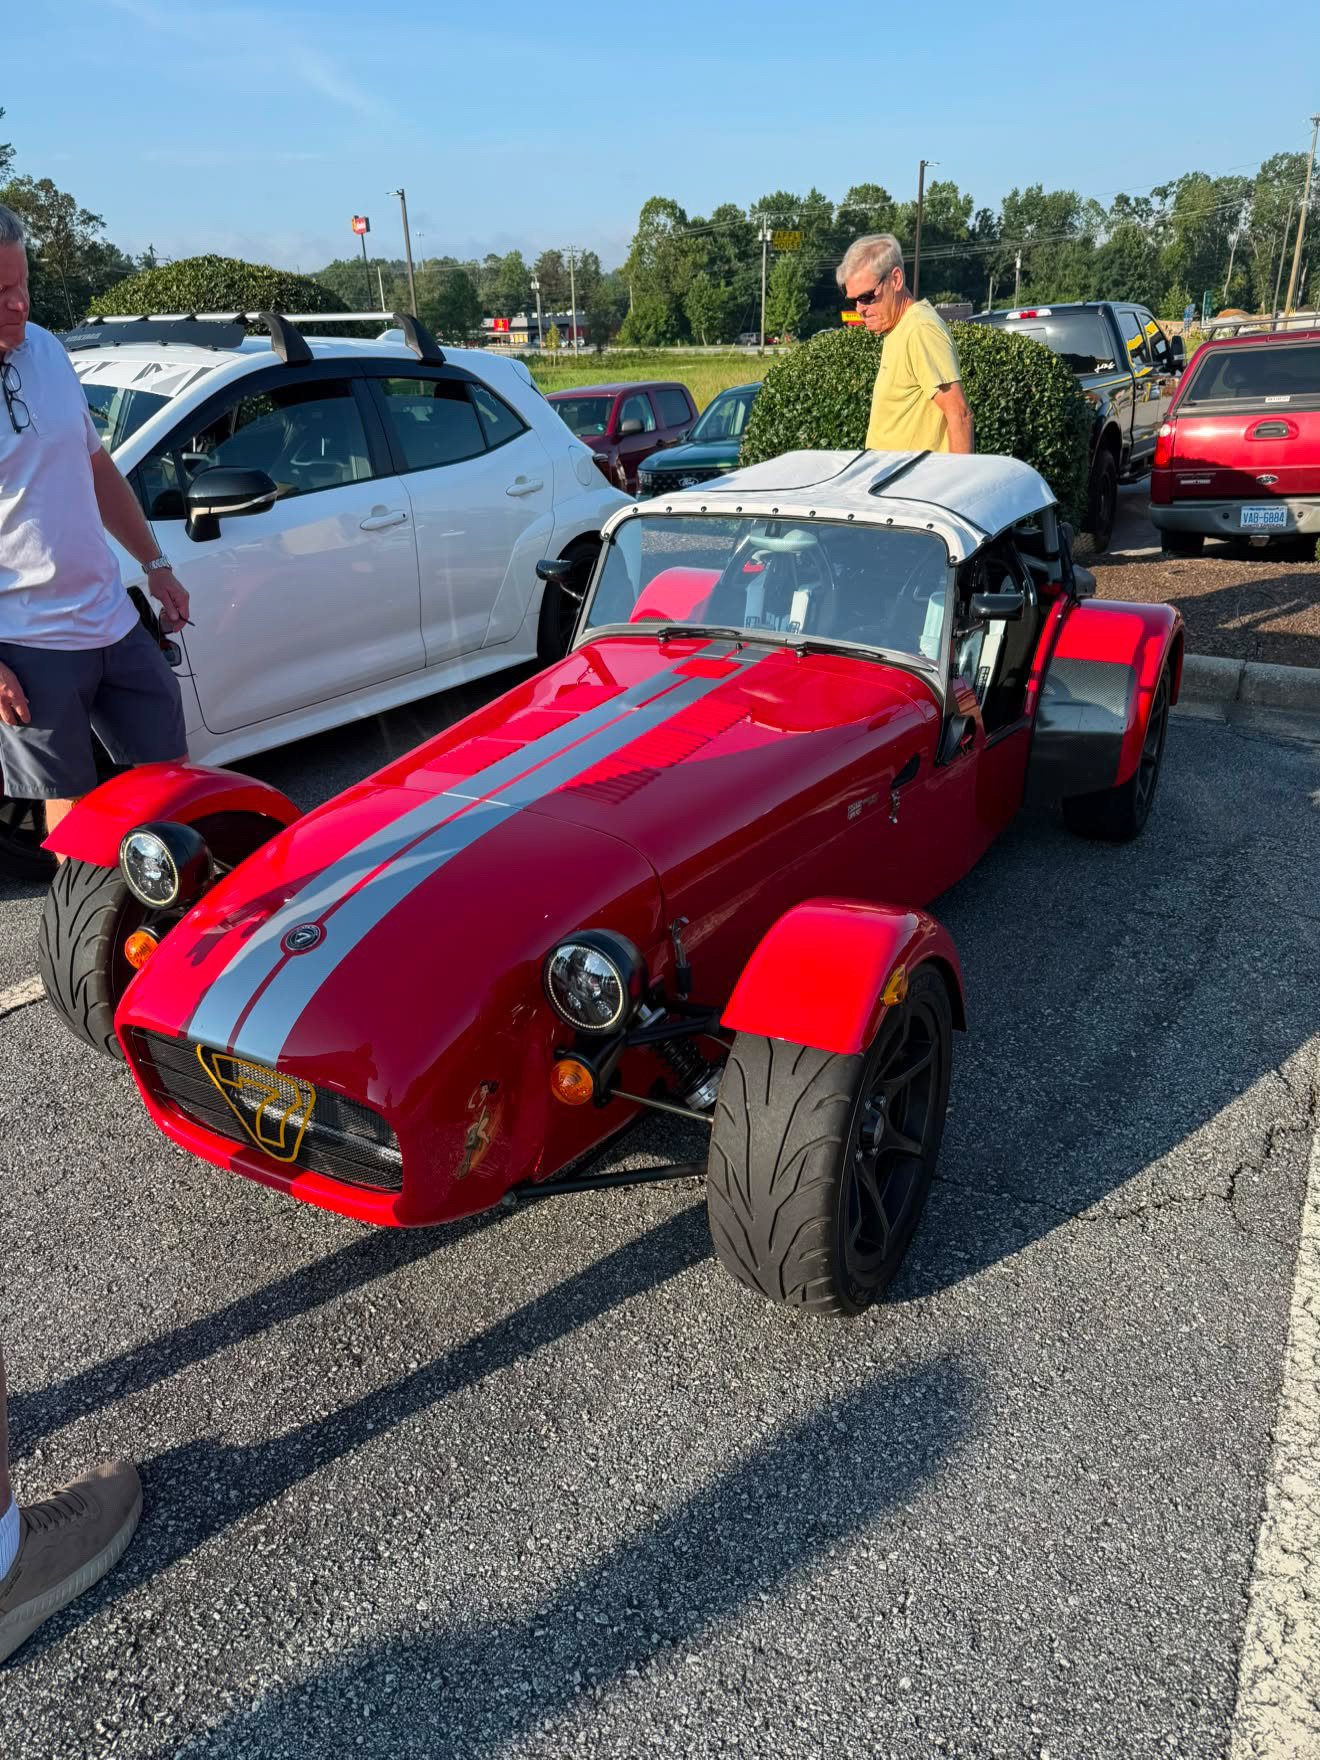
Cars and Coffee at Prescott’s yesterday

-

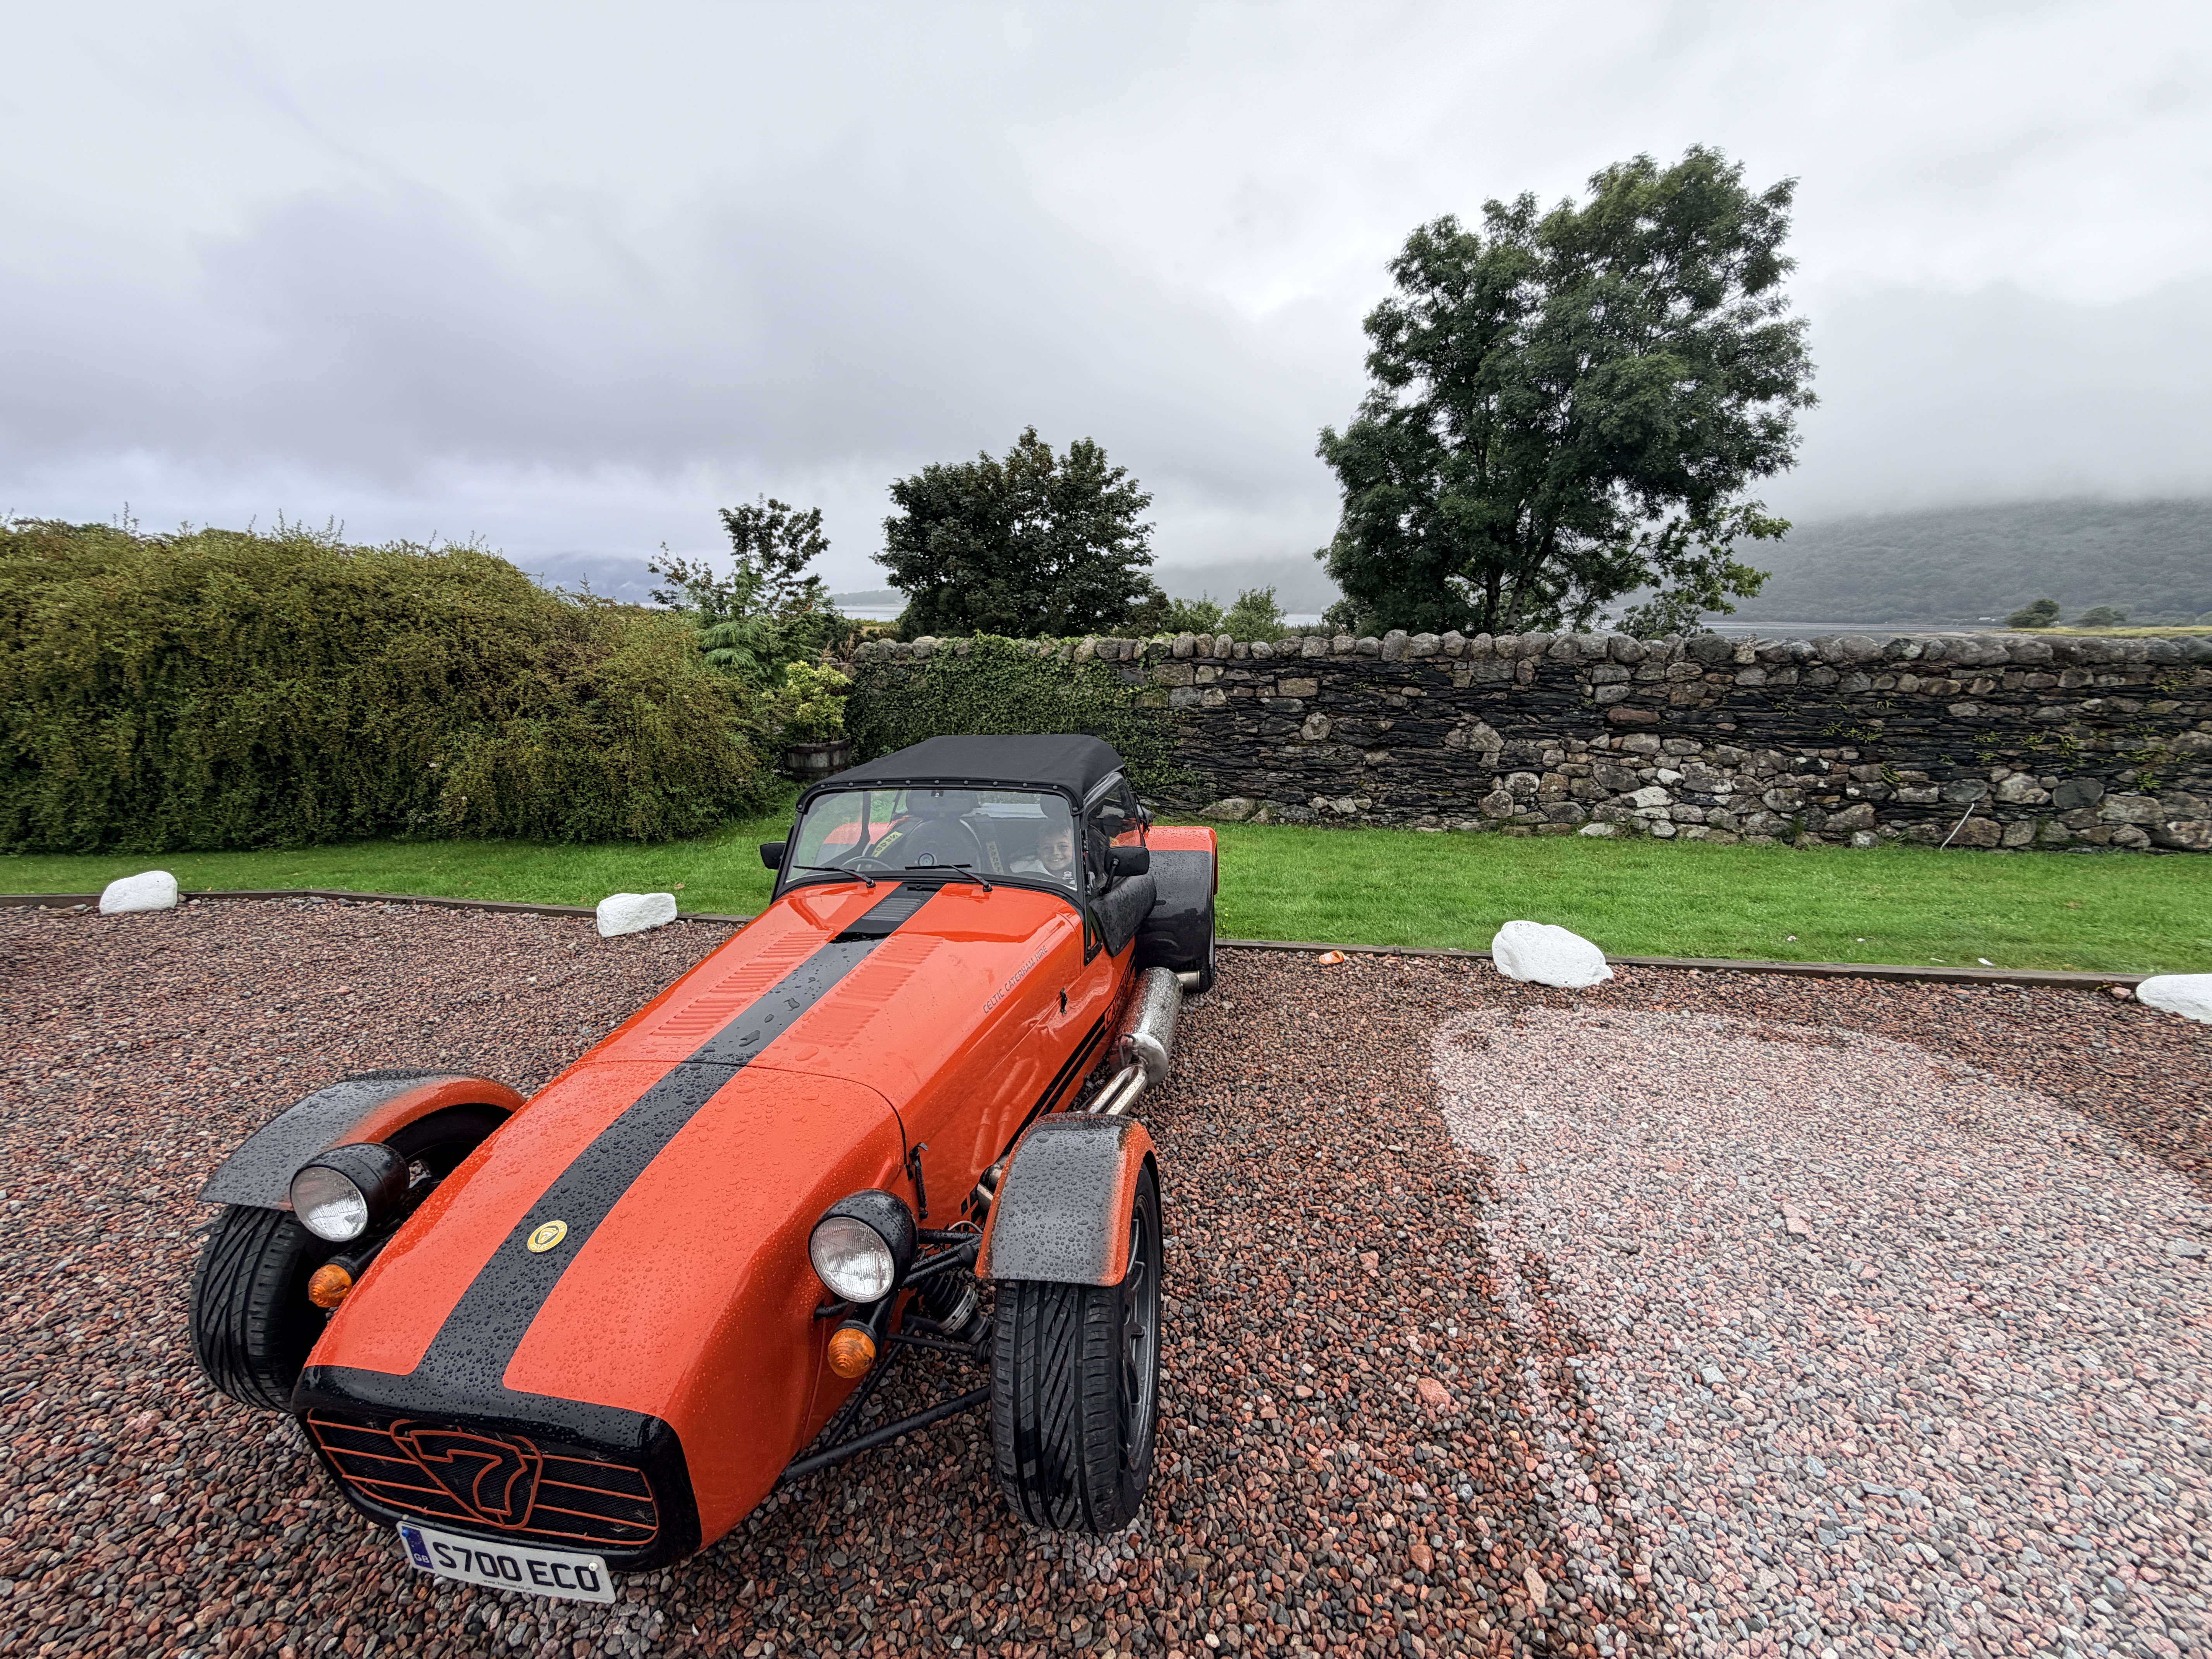
Photo of your car you took today
IamScotticus replied to Xhilr8n's topic in General Sevens Discussion
more! -
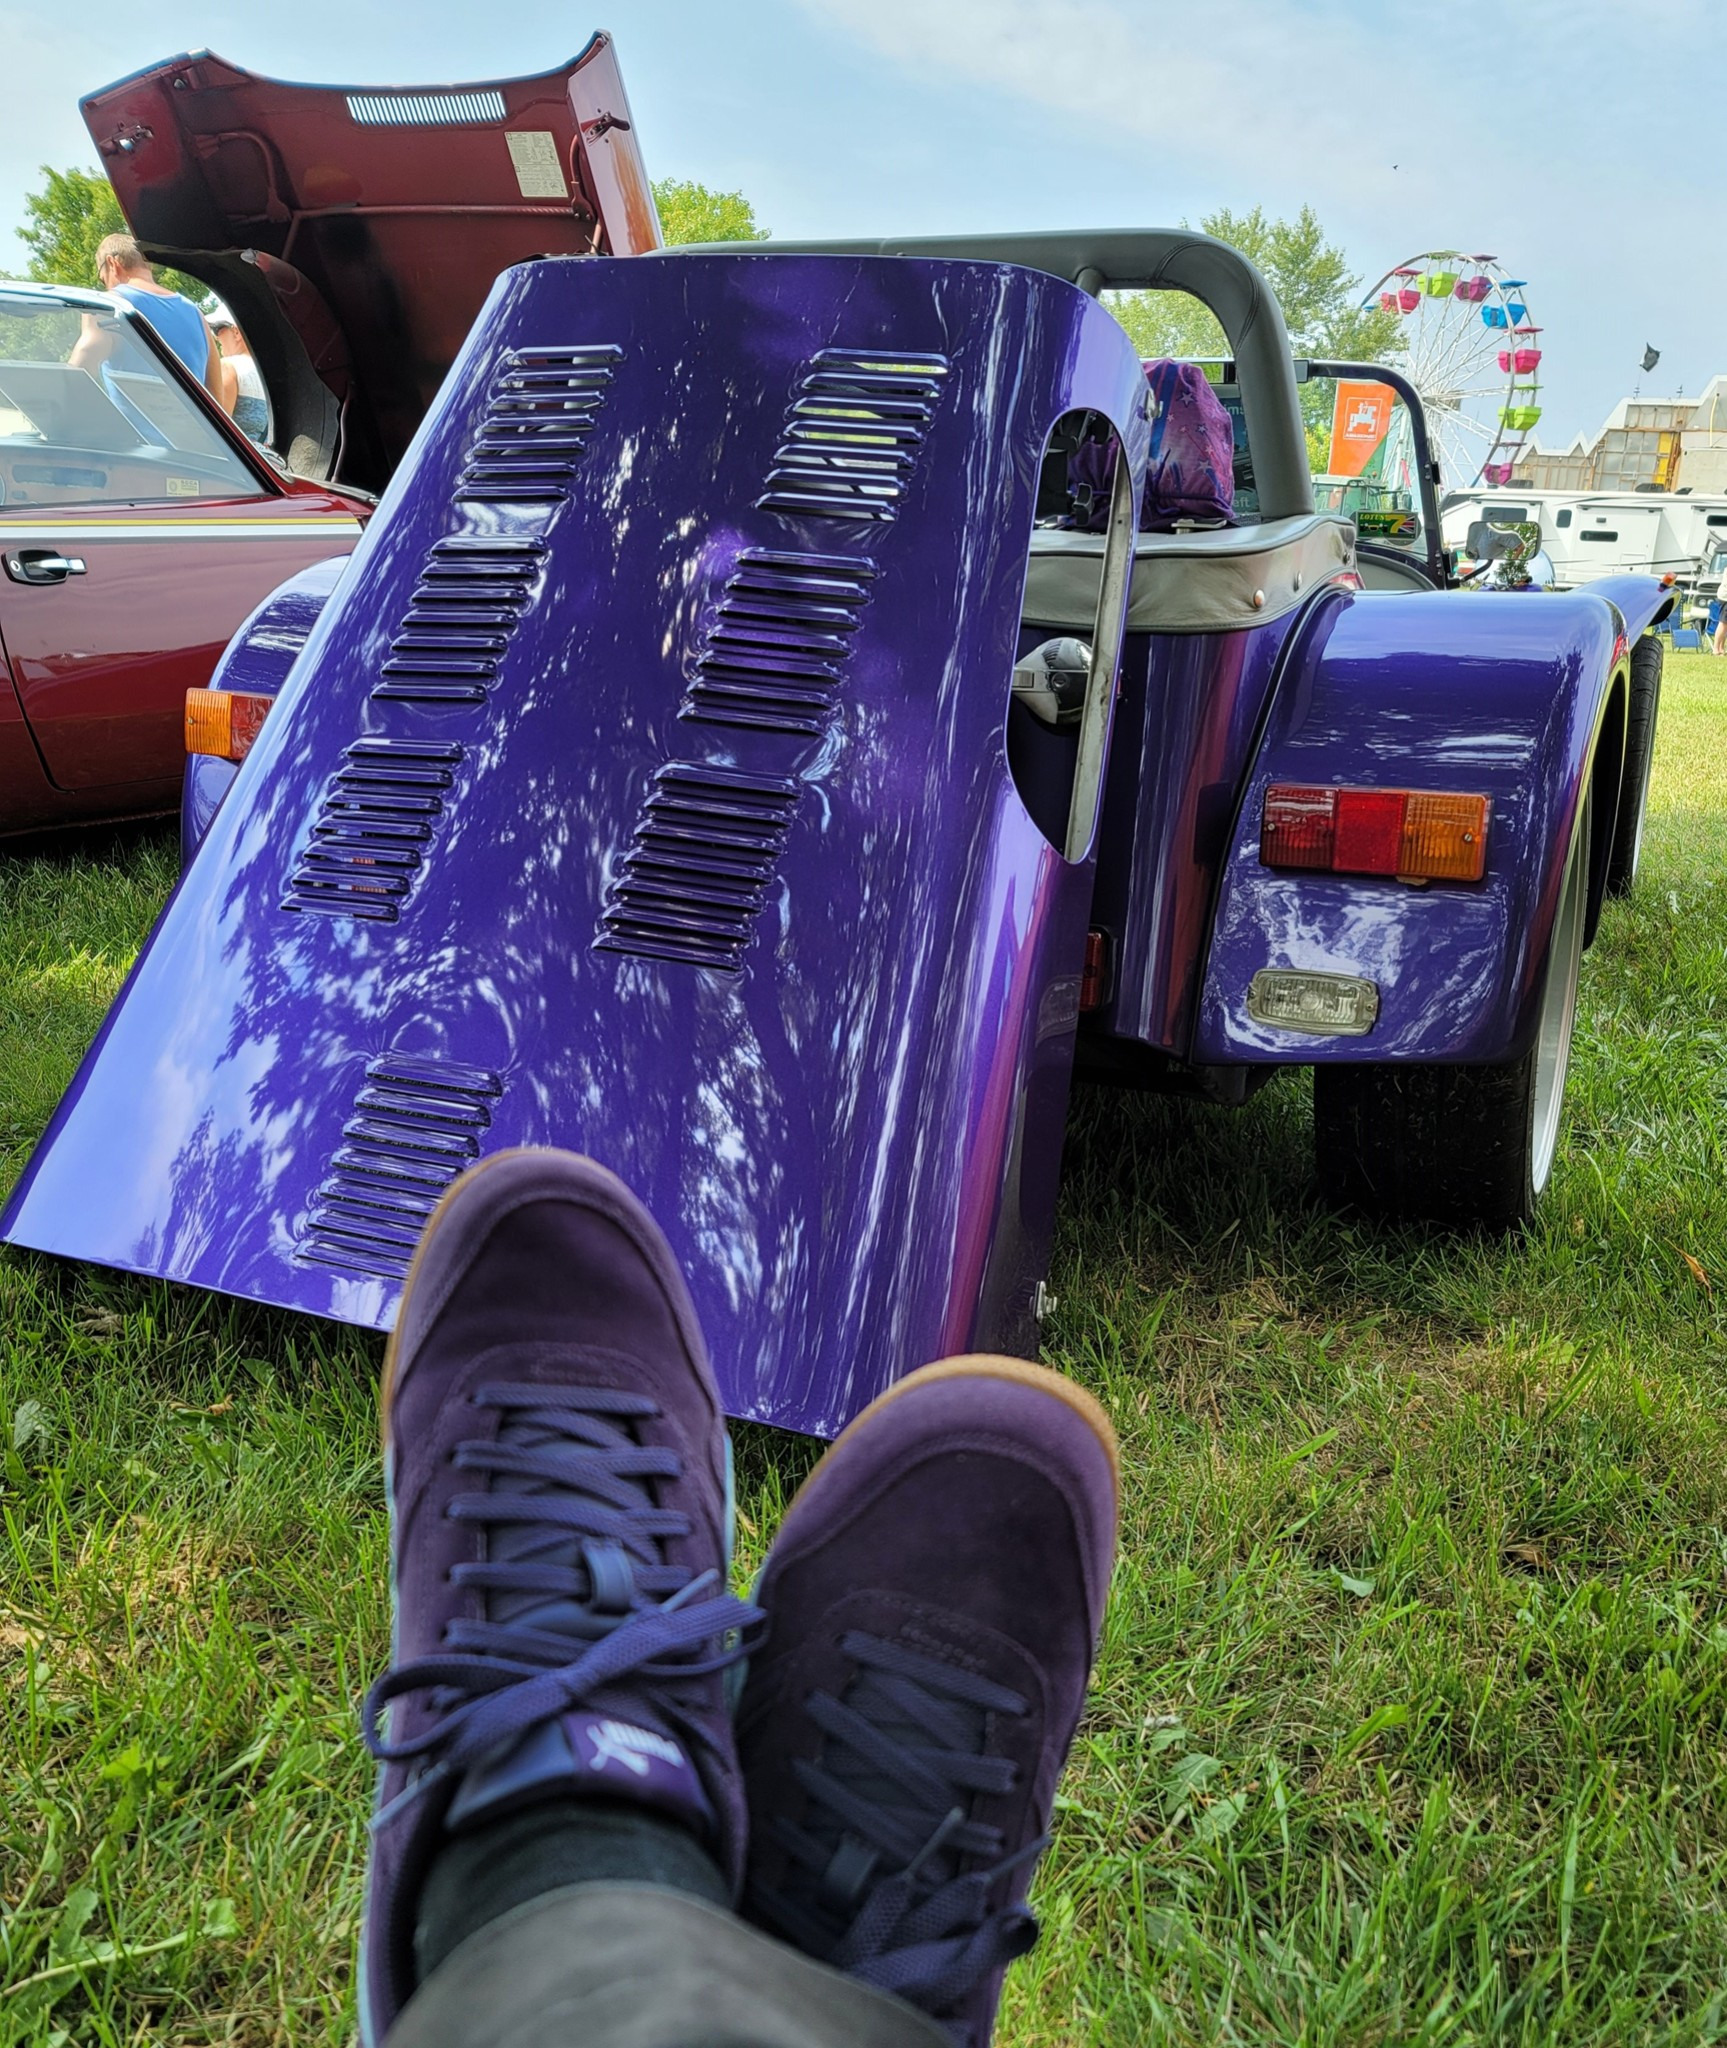
Relaxing at the Stirling Fair car show today.
-
Photo of your car you took today
IamScotticus replied to Xhilr8n's topic in General Sevens Discussion
Really nice color choice. I approve of the rollover bar matching paint. I usually prefer the RB to be the chassis color, but in your case, it works very well. Take note of the protection around the bonnet spring! consider applying a layer of protective plastic film behind it to prevent scratches. Heck, just PPF the whole car! -
No. I realized this after posting. This shouldn't be an issue...thank god. It should be too large to pass through the main jet. It could have come out one of the holes in the emulsion tube, in which case it would be in the bowl. I'll pull the cover off and have a look tomorrow.
-
Do you have a Lotus SB#? Arch made S3 chassis for Lotus late in production, didn't they? When did those start? Fortunate for you, you can MIG/TIG weld on a Uni-rad frame without worrying about any nickel bronze joint welds. Please start a project thread in the build forum with lots of pics! The "general" section is a black hole of everything. https://usa7s.net/ips/forum/41-build-threads/
-
is this possible?
-
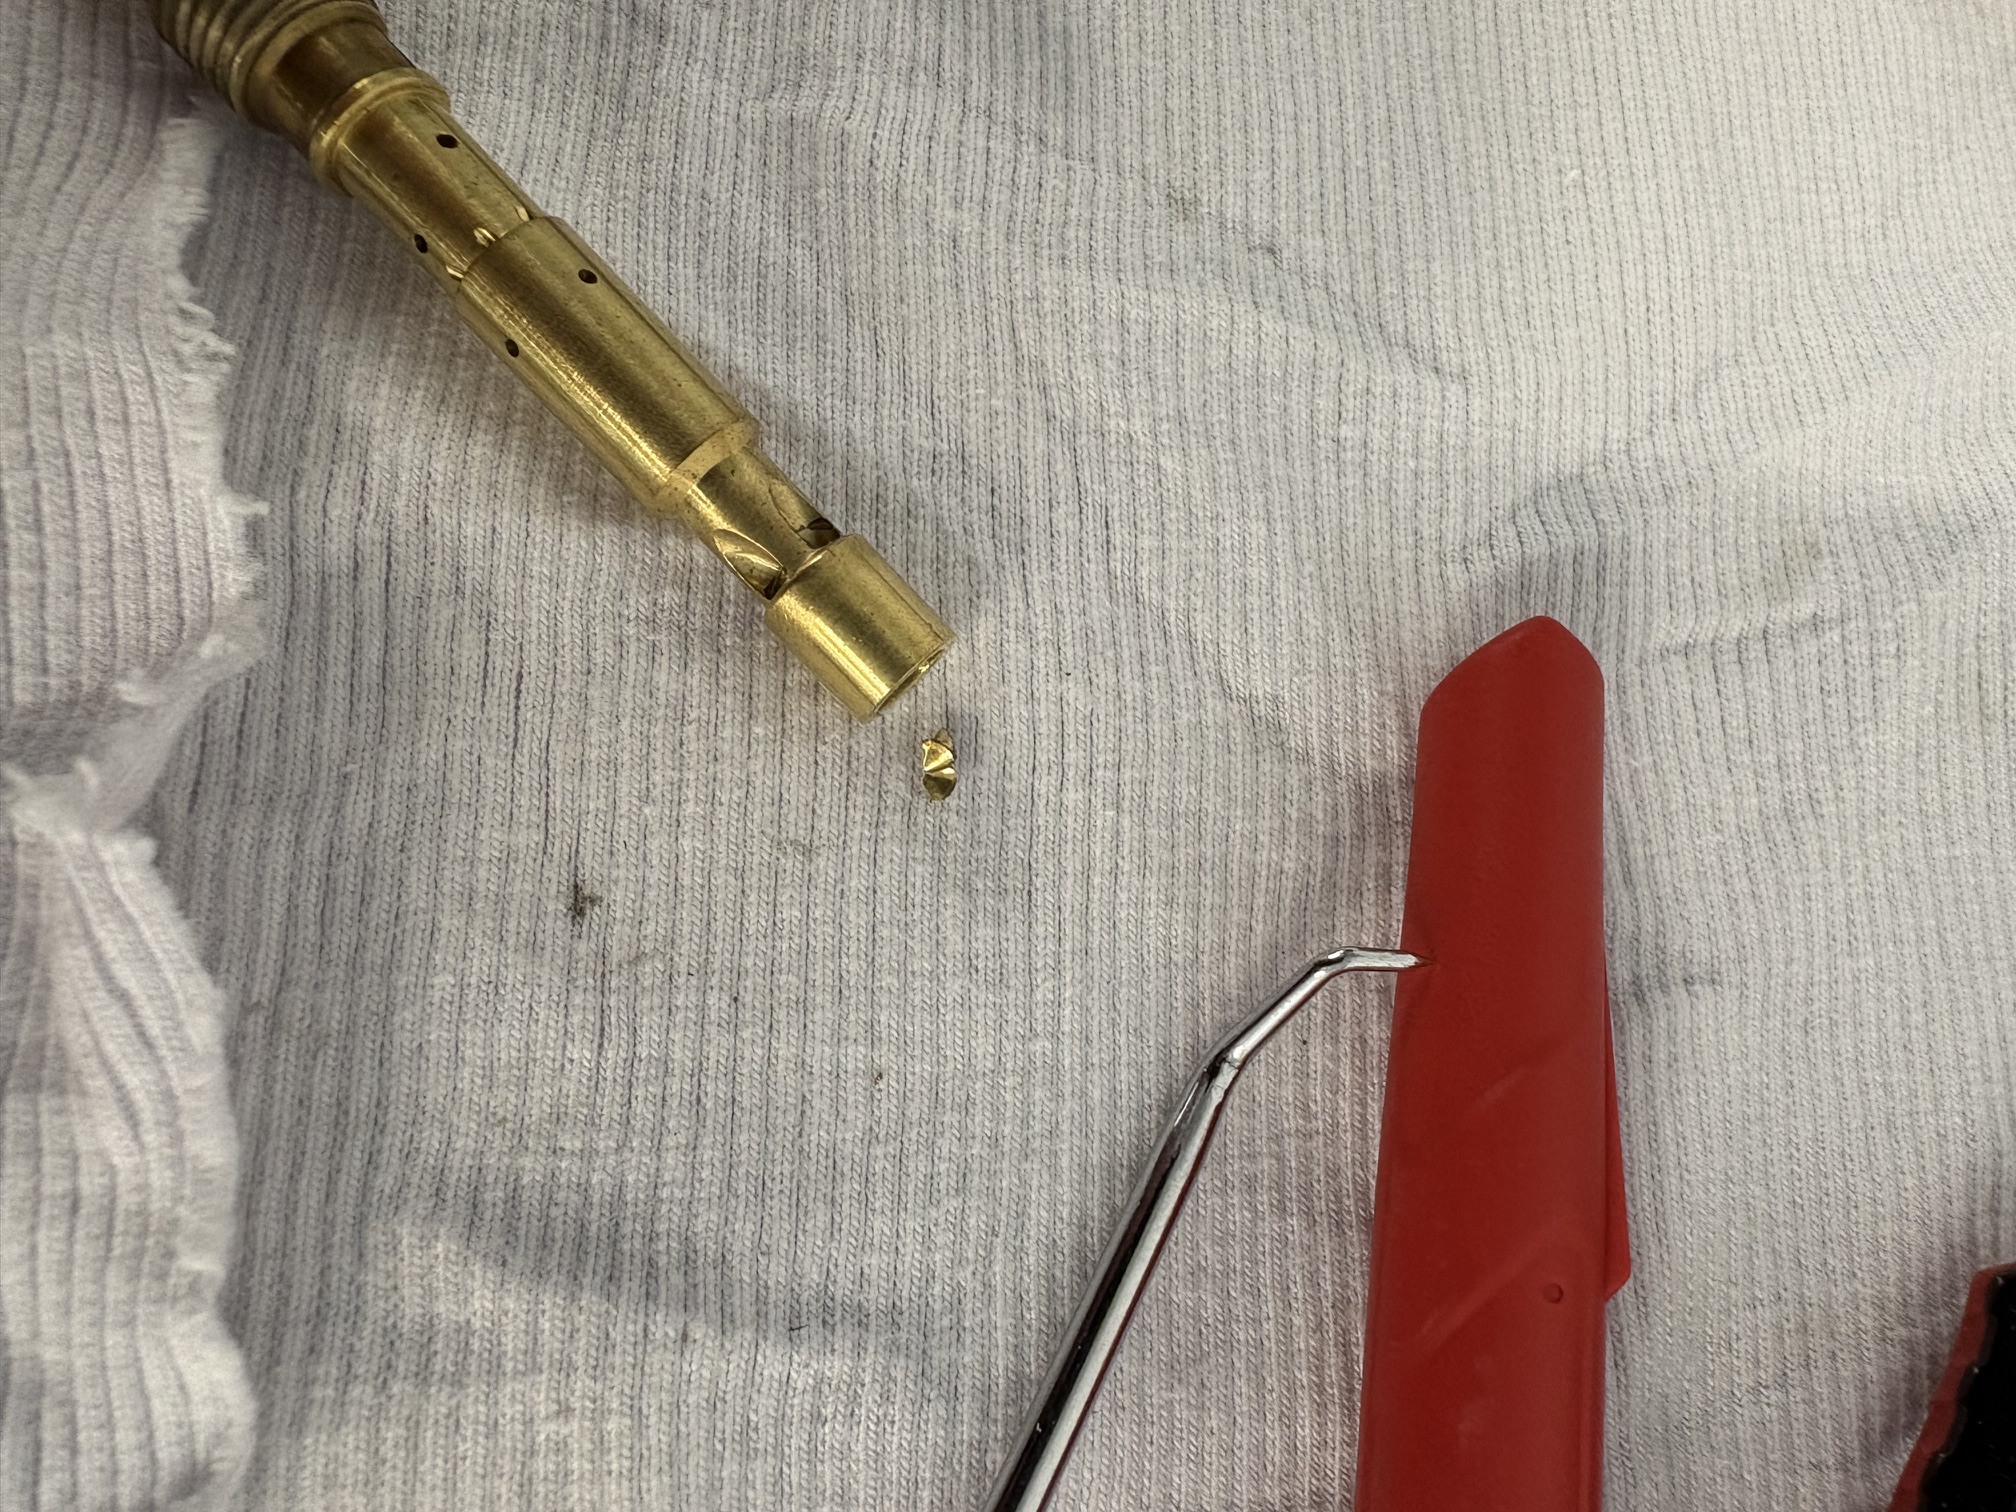
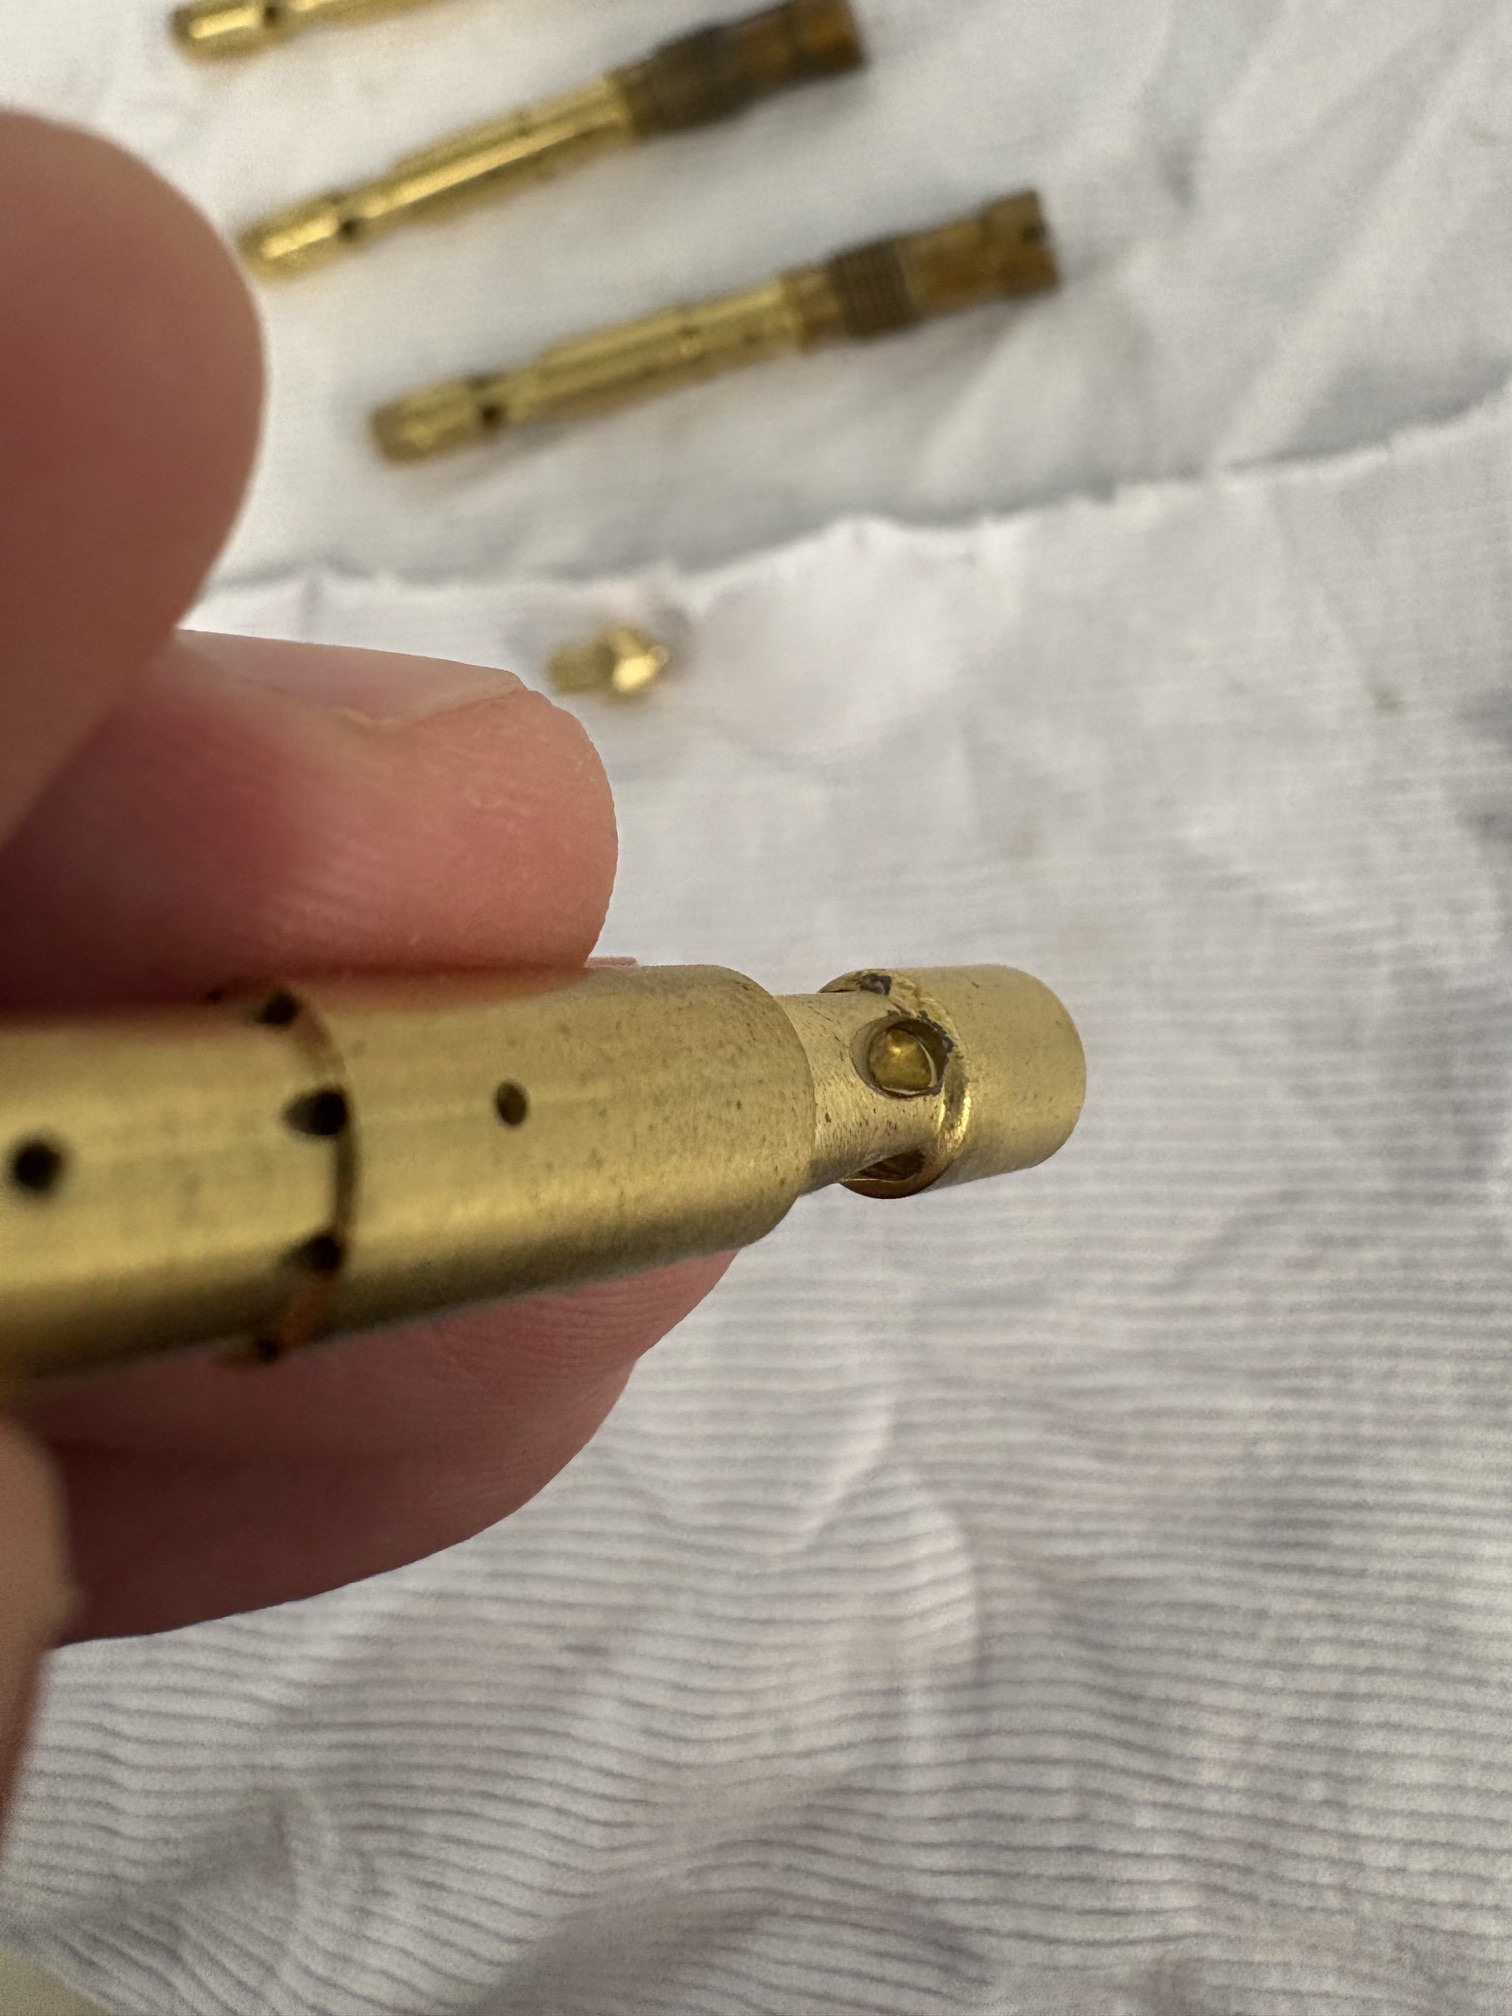
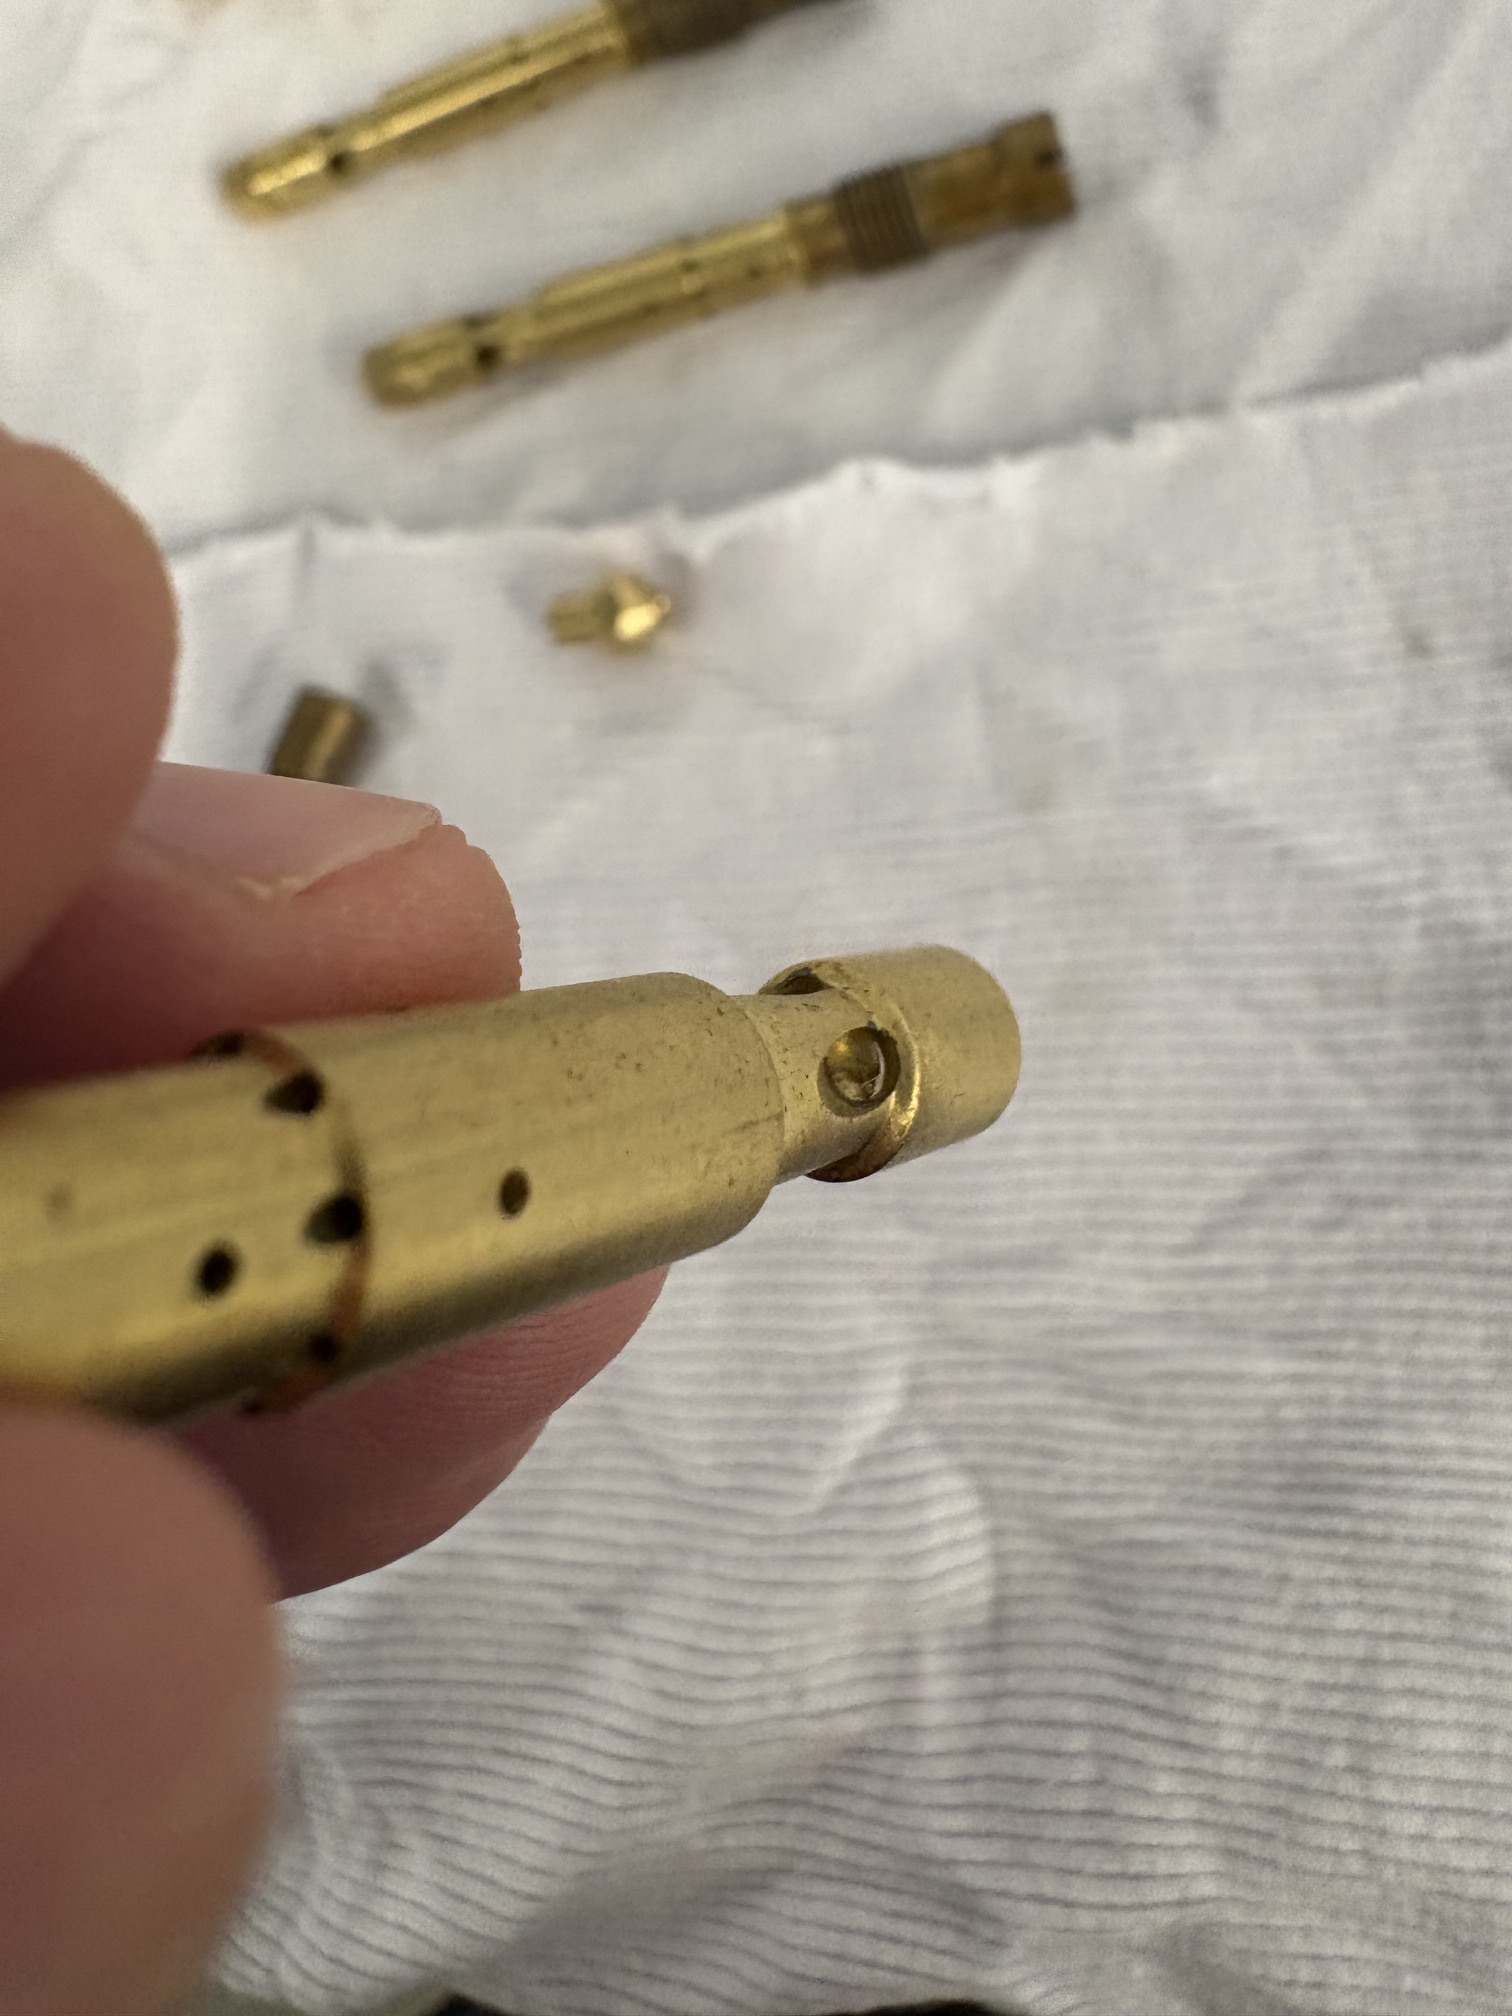
WARNING: Inspect all your genuine Weber components before installation. Their QC seems to be lacking. I received a bad banjo fitting a couple of weeks ago. The deburring was not concentric with the ID, and they removed 1/2 the sealing surface. Long story short, it would not seal and sprayed fuel all over the place. Pegasus was great and sent me a new one, which worked perfectly. Today, it was much worse. I was seeing some weird things with the F11 emulsion tubes that I tested. I had one cylinder spitting back through the carb but no other indications of a lean condition. This was only when the mains kicked in (weird). I decided to go back through things and try again. Upon inspection, it was clear there was a machining error in one tube. It looks like the bore for the main jet was not drilled deep enough. As a result, there was a bur above where the main jet seats. I was able to get inside and remove the bur, but the way it was shaped, it looks like there may have been another half-bur at one point. I am praying this didn't get into my valve train. The head was literally just done. Long story short, F11s, 45F9 Idle jets, 00 drain, and 125 mains run quite well. The bad emulsion tube threw a monkey wrench in my testing, but I am glad I found this combination.
- Yesterday
-

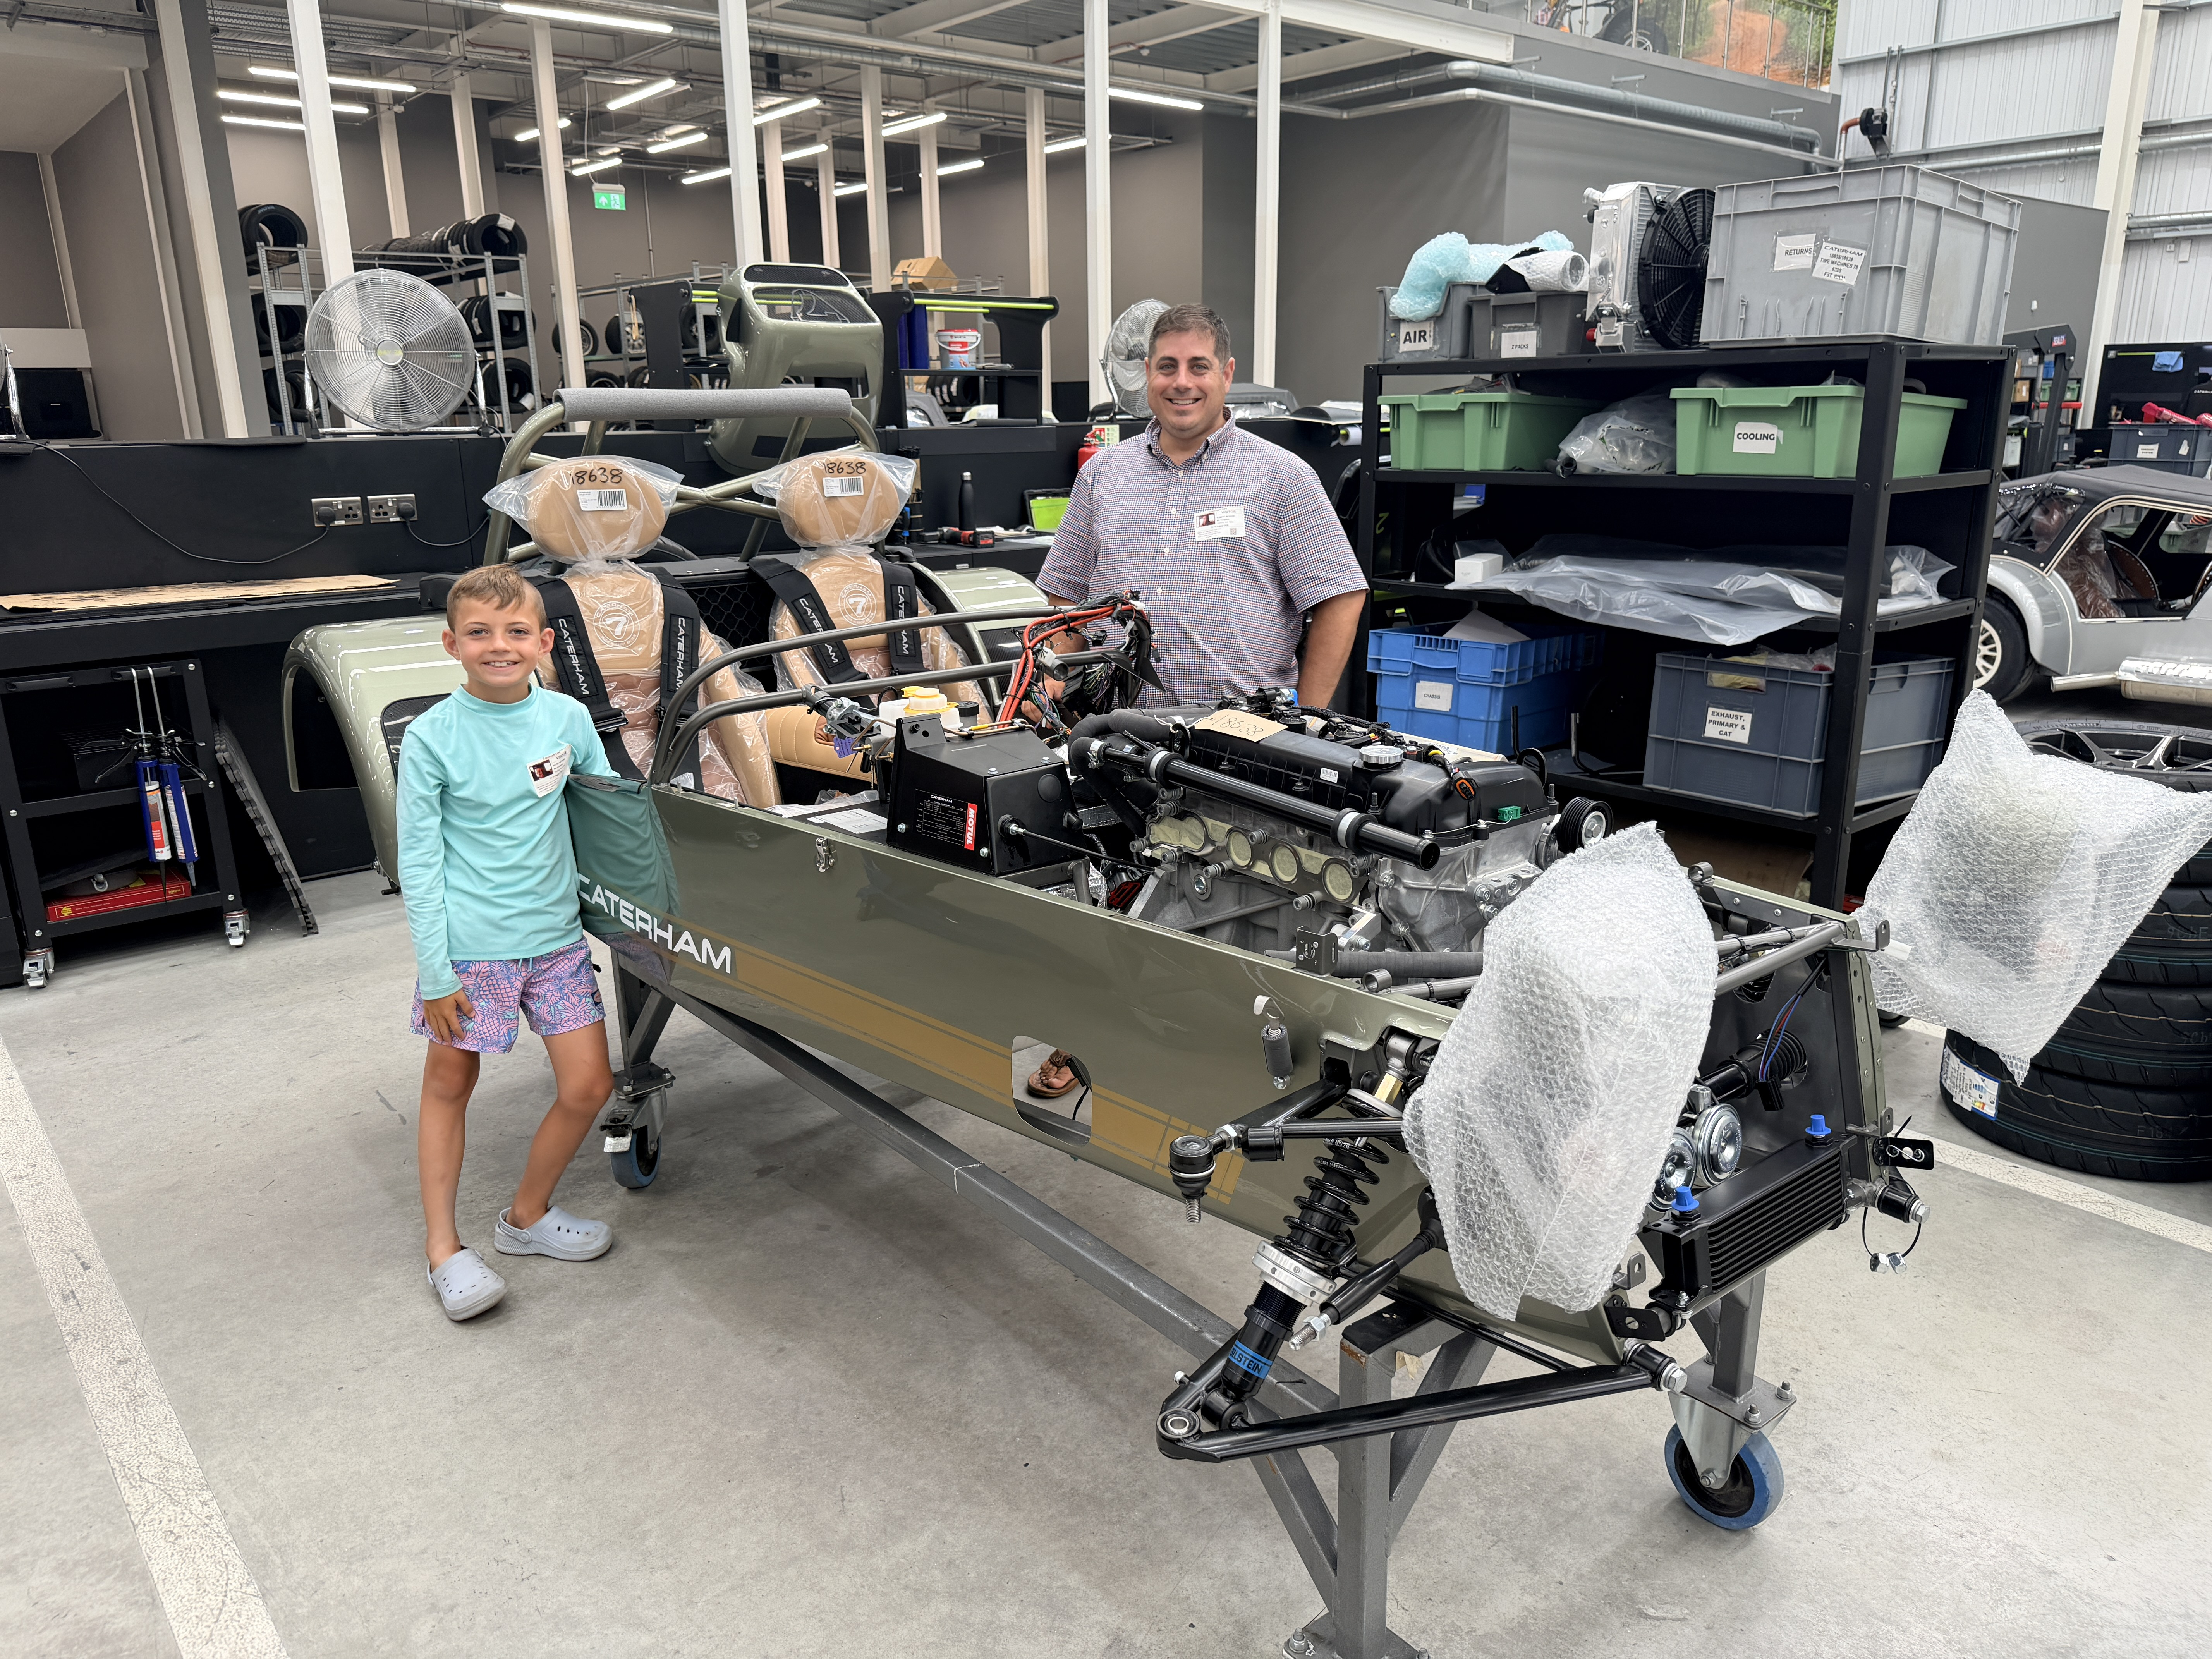
Factory tour and got to visit my car.
Exarkun1178 replied to Exarkun1178's topic in General Sevens Discussion
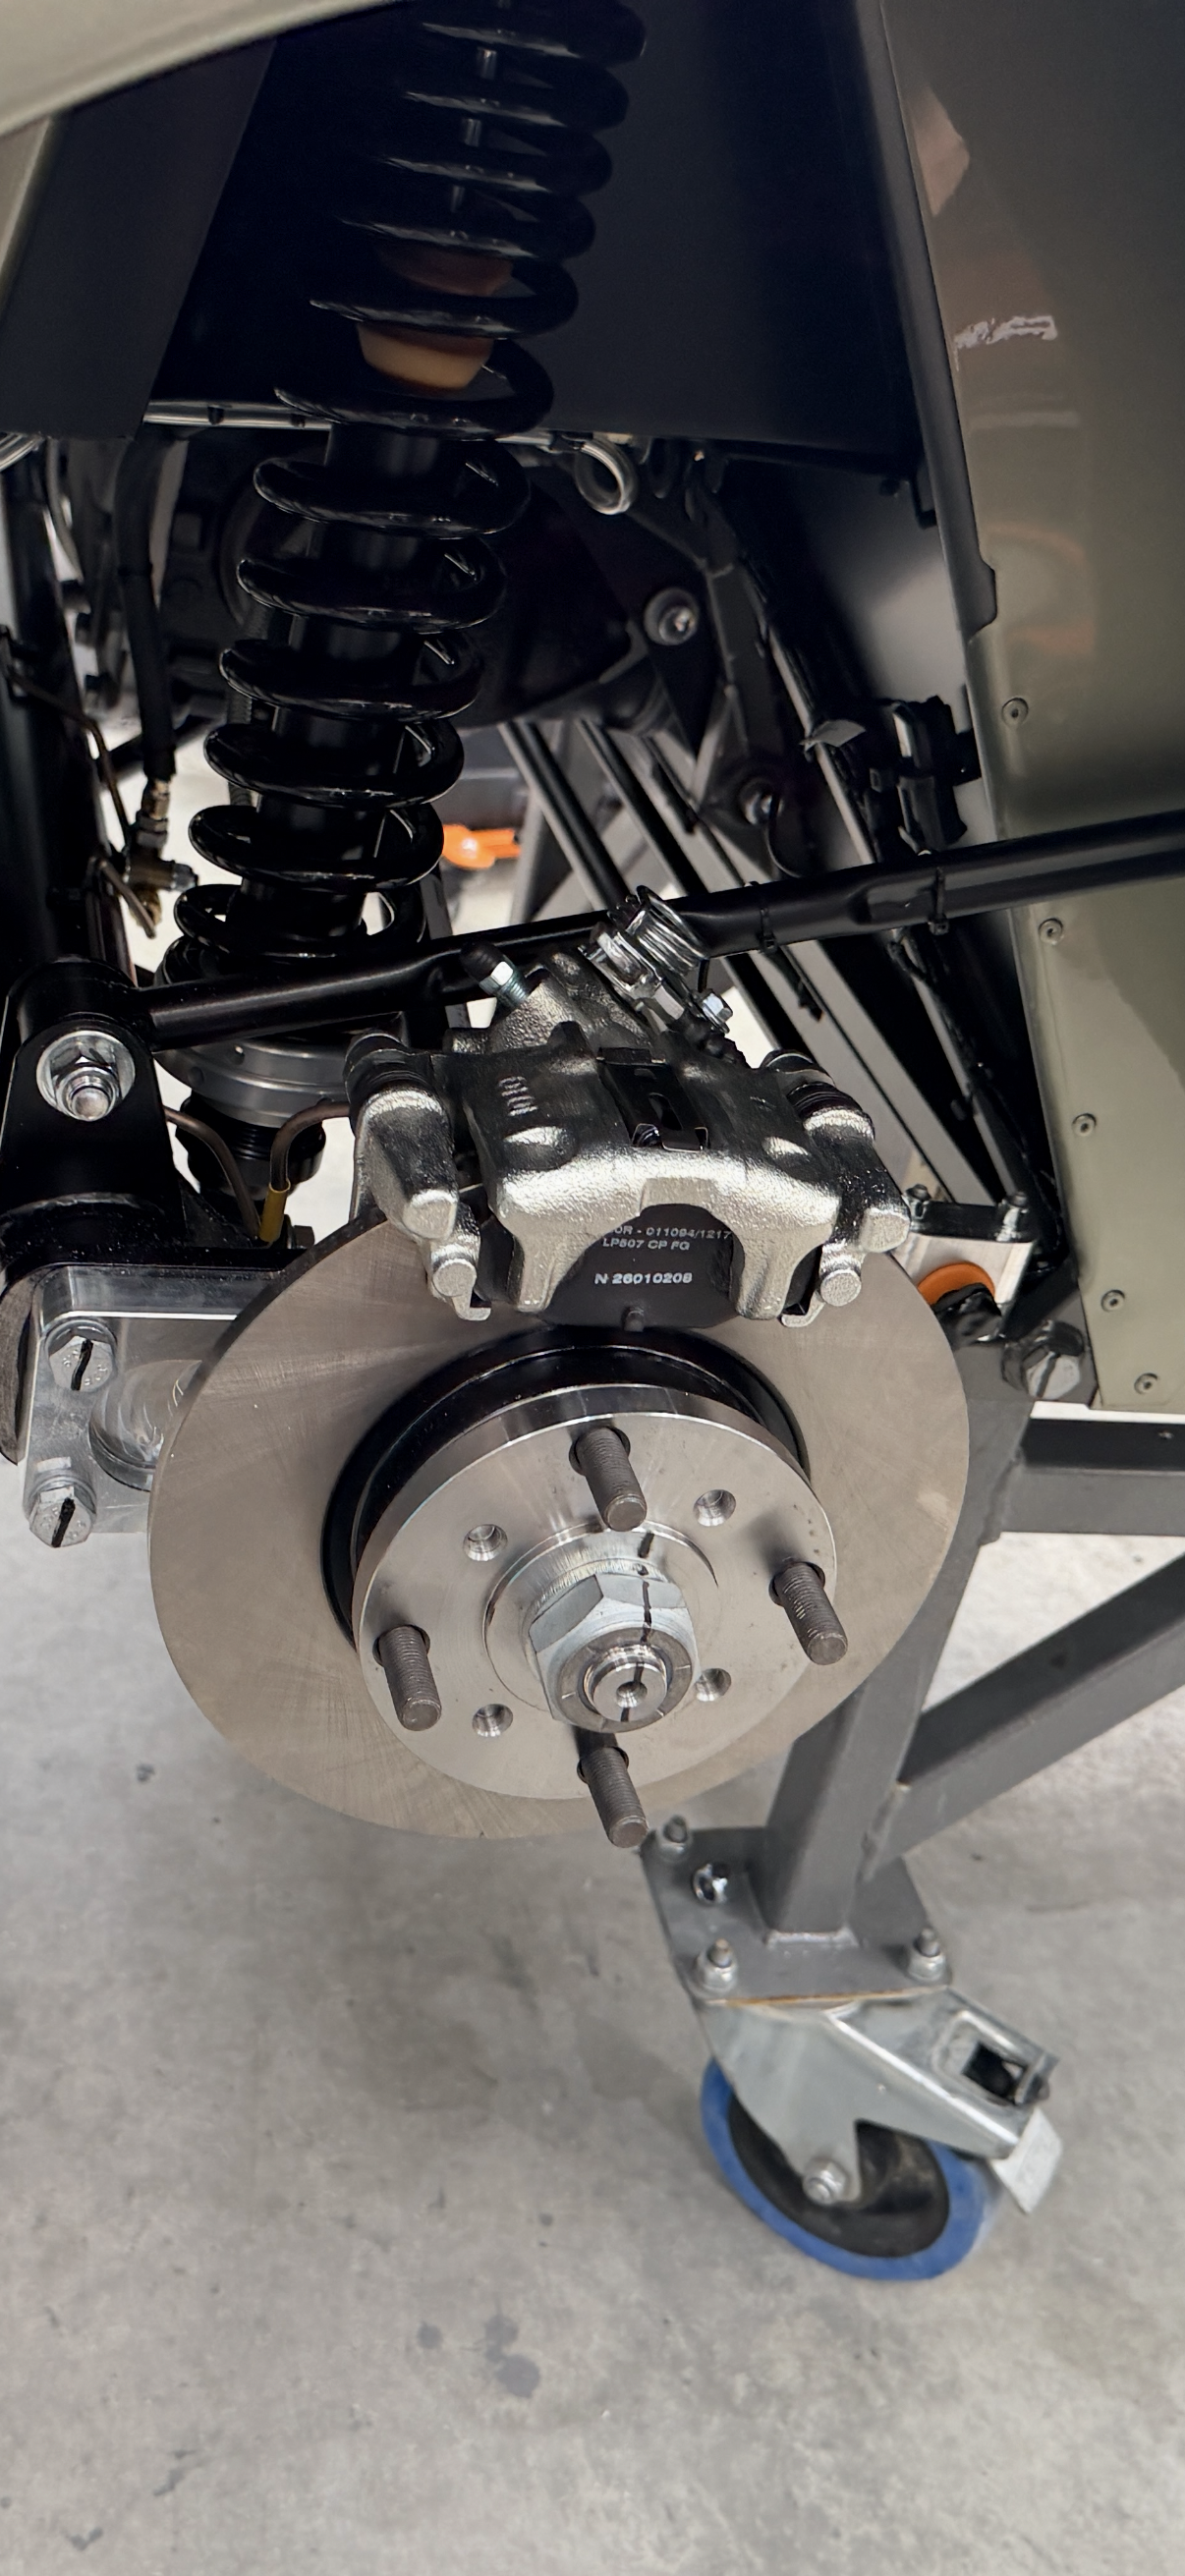
Taking a closer look at I’m surprised that the rear calipers don’t allow quick pull out pads looking like I’ll need to remove the center calipers to swap pads.
-
Hand brake was removed during the rebuild of the car. I use a wheel chock.
-
@theDreamer - yes, I sent a message to Lotus7. he's going to pop by tomorrow.
-

New S3 purchase - trying to figure it out - post 2 of 873 :)
theDreamer replied to Darcy's topic in General Sevens Discussion
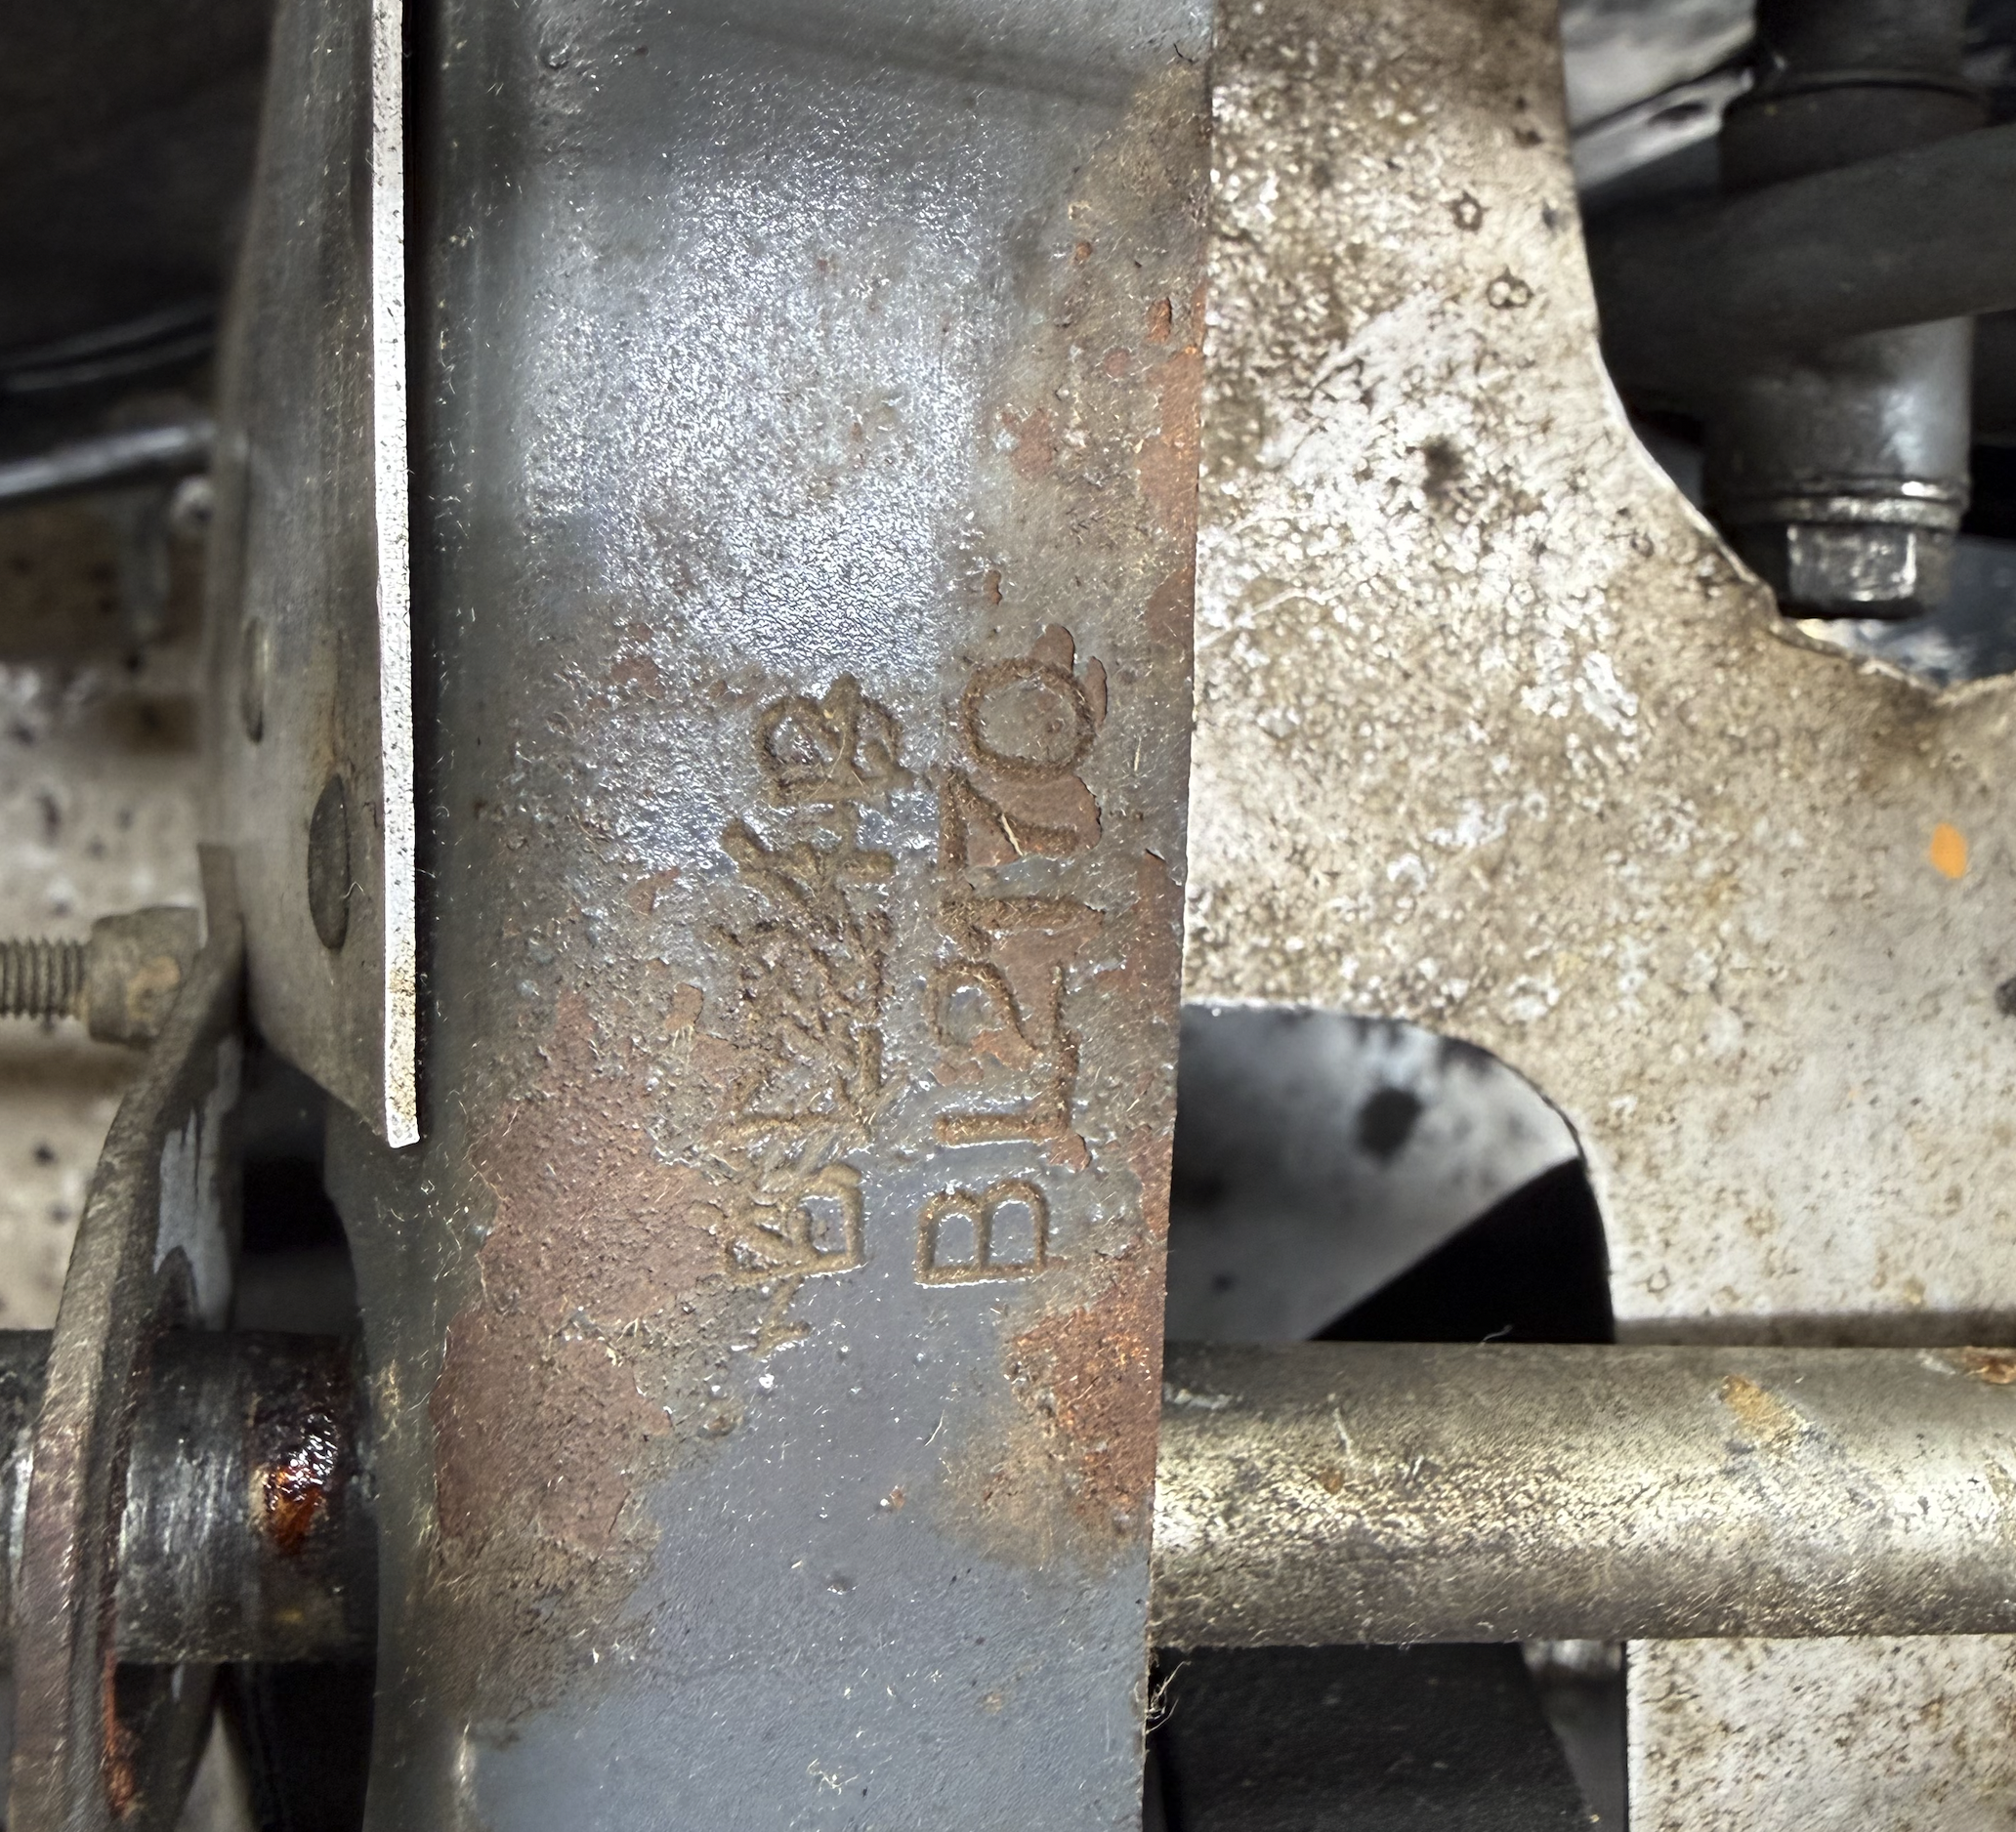
@Darcy As I’ve mentioned before check out this site: https://www.anglocanadianlotus7.ca/lotus-seven-frame-and-chassis-numbers/ I’d say you have a Universal Radiators chassis as I’m sure they are the only company that used that particular area to stamp their number. Yes most have just a “B”, but also “UB” which some take to mean it was a replacement chassis. The “L” may be like it is with the Lotus serial number meaning LHD, which would fit your car. Also as previously mentioned, forward this info, (Universal Radiators chassis number and lotus serial number) in text with photos to John Watson and he’ll give you what info he has. http://www.historiclotusregister.co.uk/theRegistrars/newperrinwatson.php -

Factory tour and got to visit my car.
williamwashere replied to Exarkun1178's topic in General Sevens Discussion
What an experience. I watched a bit of the race online, what a photo finish today. Seems like you need to hide a vinyl Nessie logo somewhere on the car when you get it! -
Photo of your car you took today
Exarkun1178 replied to Xhilr8n's topic in General Sevens Discussion
I realized for the first time I can contribute to this thread. (Taken yesterday)
-

Driver Safety Gear for Time Trials and USA7s@NJMP
CBuff replied to savagete2860's topic in General Tech
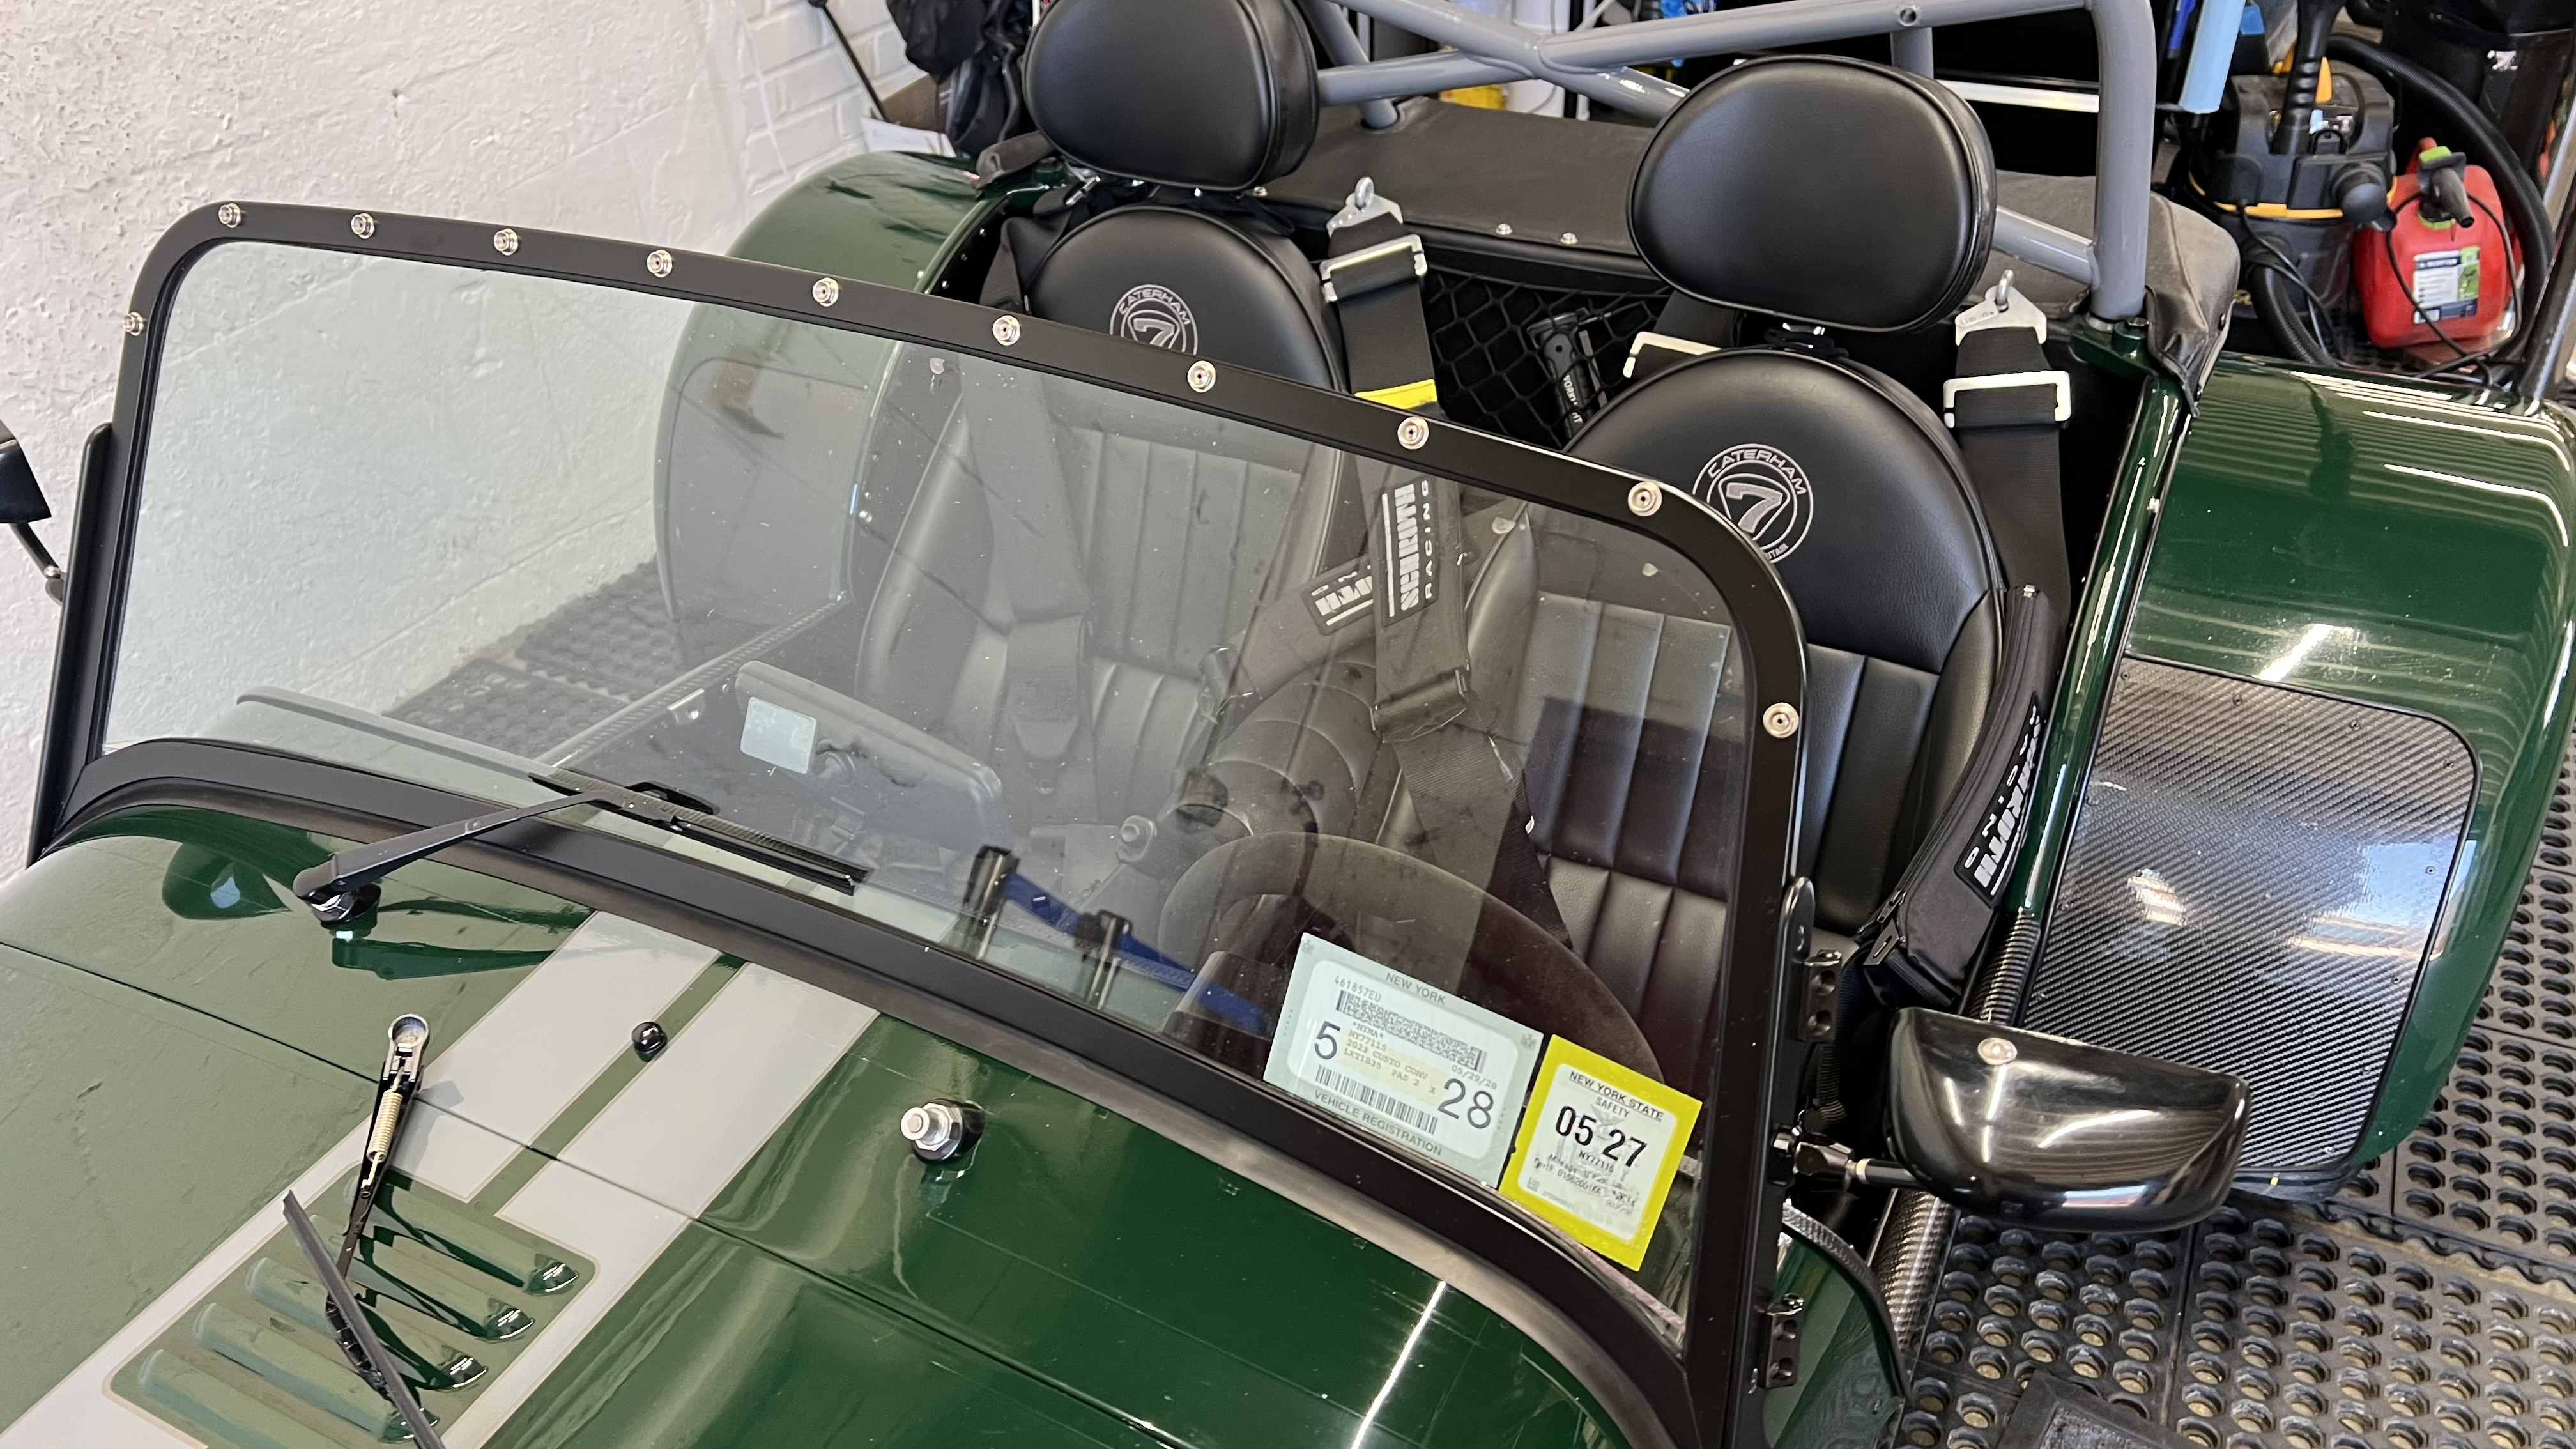
If you fancy giving hms more money. I got these harness pads, one for comfort and two to hide the yellow that doesn’t match anything. I do pull them off in track days as they interact with Han’s. https://www.hmsmotorsport.com/products/schroth-3in-shoulder-pads-with-racing-patch?_pos=4&_sid=82b77f9e1&_ss=r they also keep the uv damage at bay on the harness although with a 5 year dating it’s less of an issue.
-
That's bloody well clean and organized compared to my little two car garage. Should we start a "Bless This Mess" thread to see who has to climb over the most junk to get to their cars?
-

New S3 purchase - trying to figure it out - post 2 of 873 :)
Darcy replied to Darcy's topic in General Sevens Discussion
Definitely will fixing all rust, so paint matches for body, frame, engine etc would be great. -

New S3 purchase - trying to figure it out - post 2 of 873 :)
EdWills replied to Darcy's topic in General Sevens Discussion
Hi Darcy. Message sent to you. If you require a paint match for touch-up, please drop me a line. I found a source for the oil based paint (Graphite Grey) in Calgary. W -
I need one, it doesn't need to be new, just working. Scott
-
Hi @Darcy. Congratulations on your purchase. FWIW. Please be aware of any raised manhole covers (which seem common in my neck of the woods - Calgary), as that is what took my 1969 Series 3 off the road. I was sandwiched between cars either side of me taking a curve where the road was under construction for repaving. The collision with the manhole cover that was sitting about 3 to 4 inches above the road surface did a lot of damage. Lotus reckoned at the time that my sump clearance should have been 4 inches, but noted that my springs could have sagged. Apparently a bad batch of springs may have made it through onto the production line? I'm not sure that even 4 inches of clearance would have been that helpful though? I read somewhere that Mike Warner left Lotus after an argument with Chapman, and commenced the manufacture of alloy rims. When he returned to Lotus, the company introduced his rims to their product line. W.
-
Factory tour and got to visit my car.
Exarkun1178 replied to Exarkun1178's topic in General Sevens Discussion
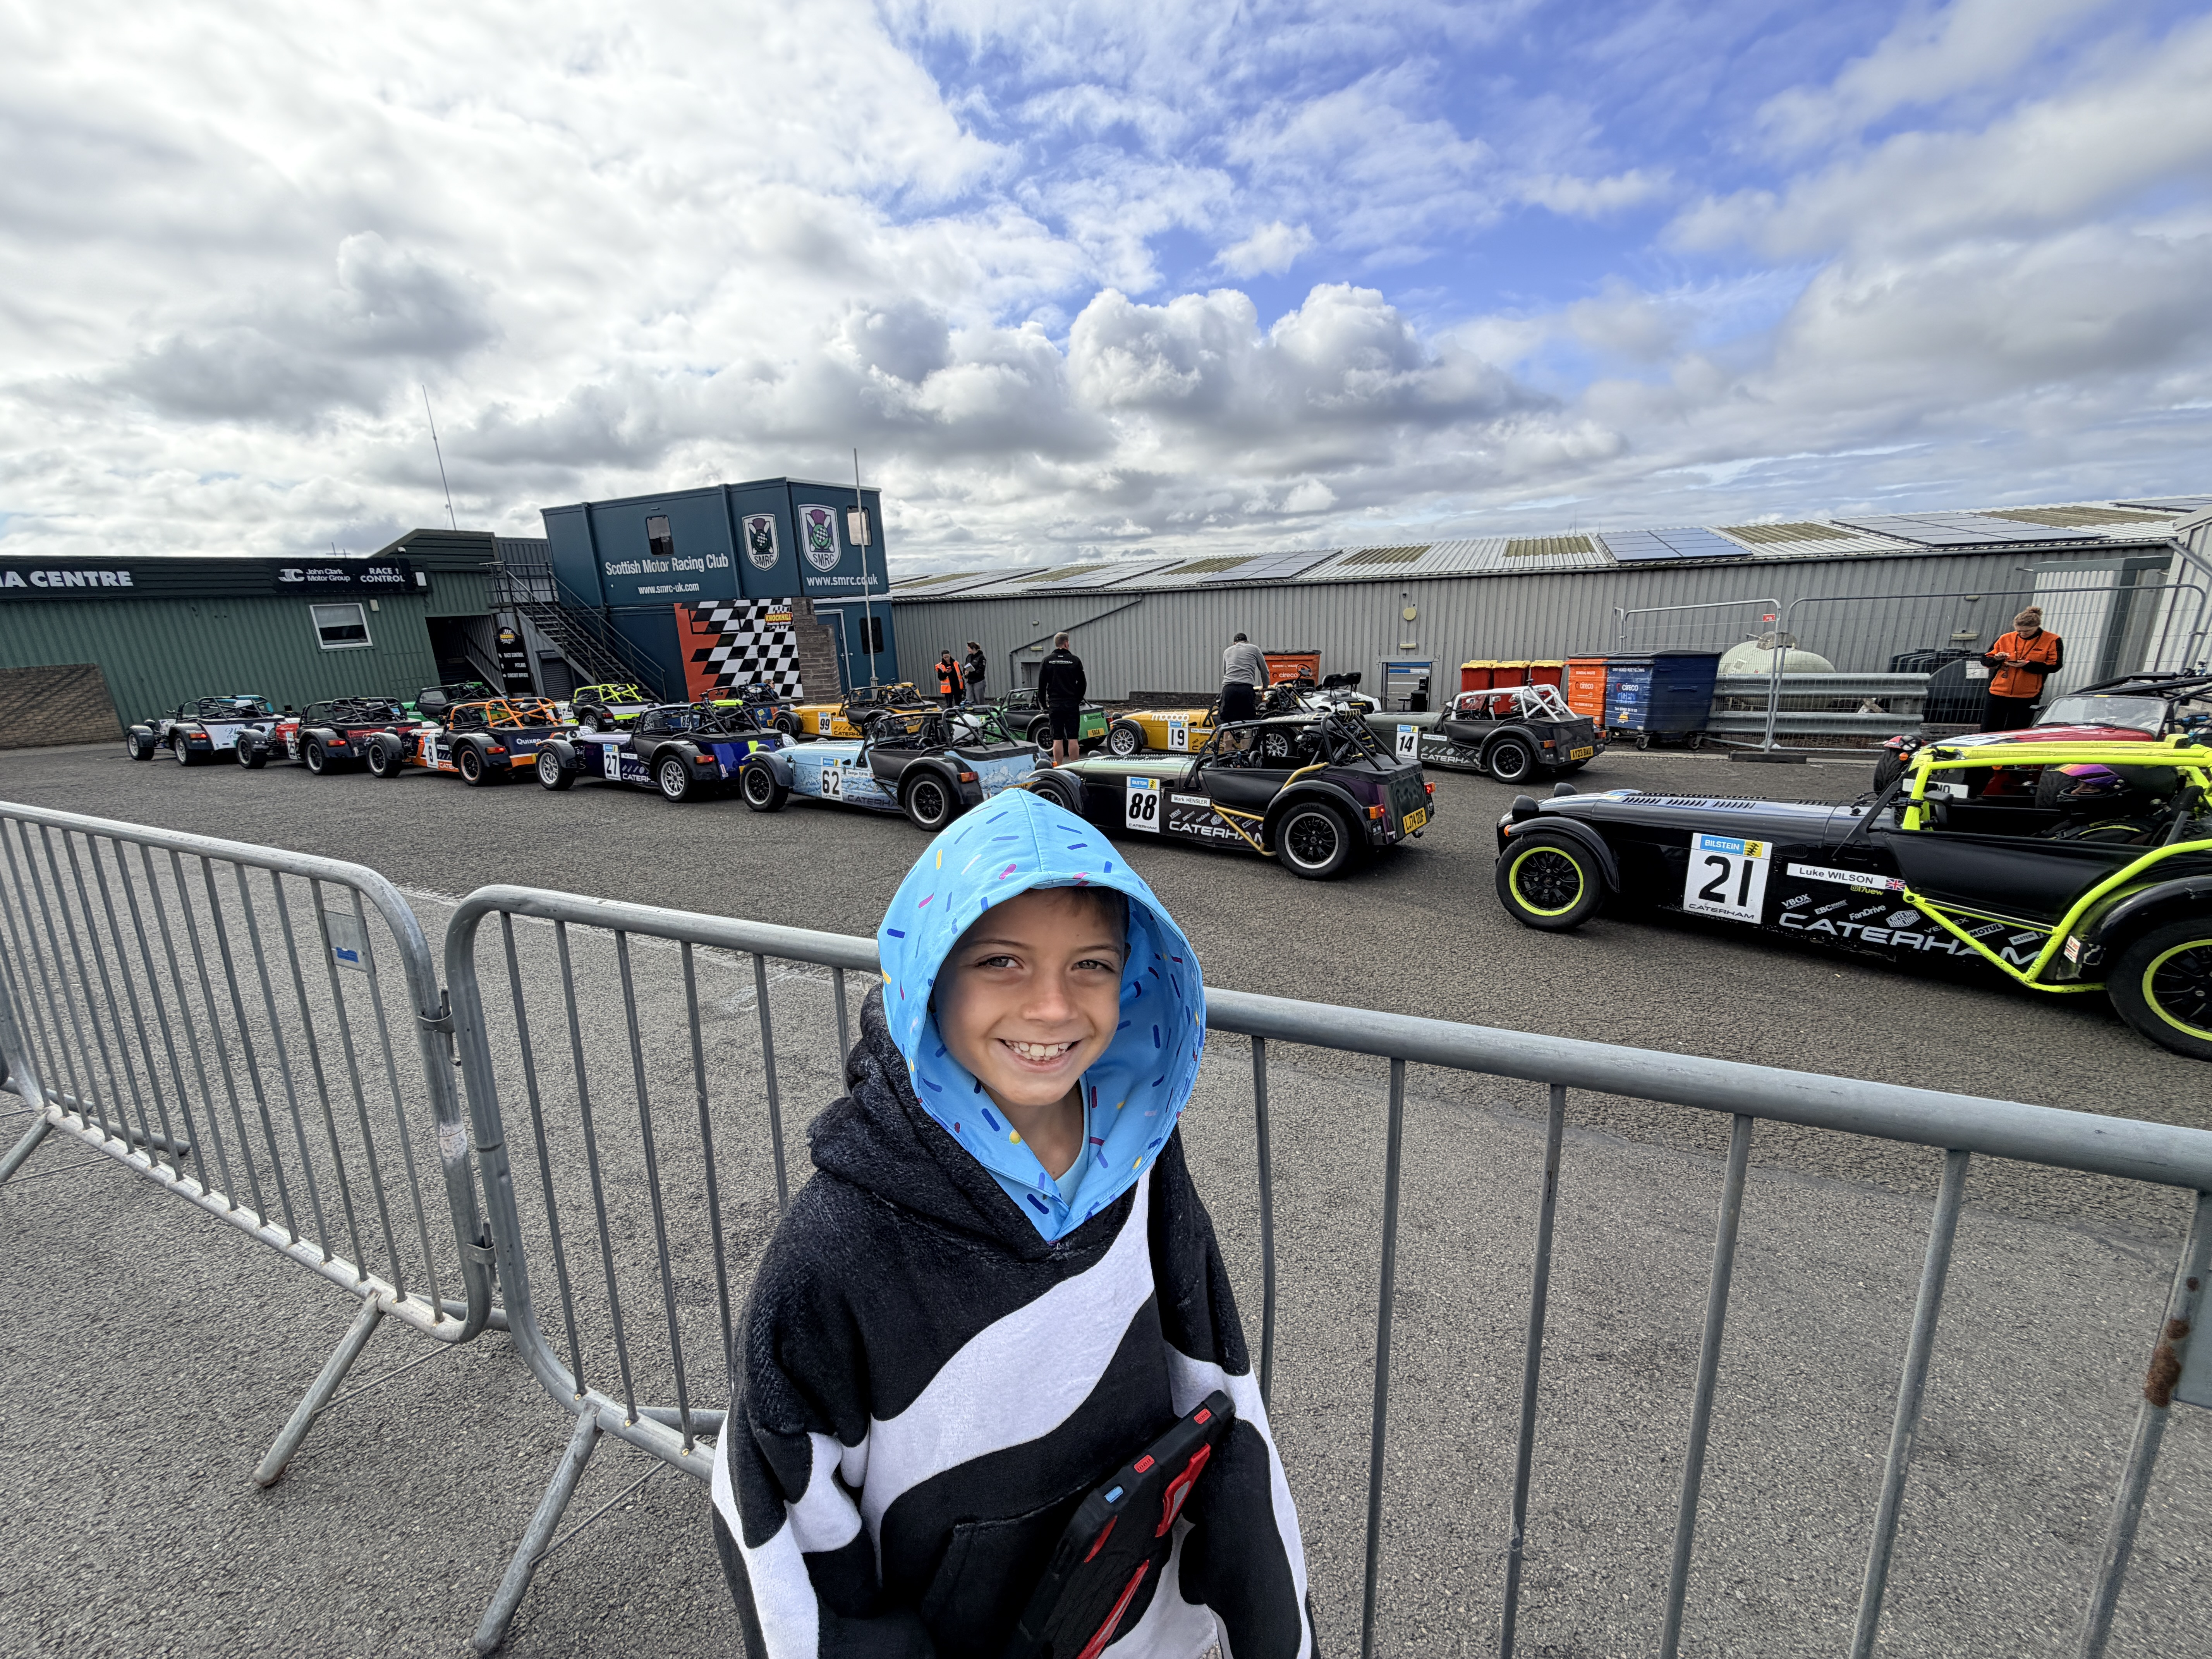
We picked up the SV from Ian at Celtic caterham- only a few minutes from the circuit. Then headed out north west. had some wonderful one lane mt roads. we ended up passing through Glencoe at its most ominous. Looked like some thing out of lord of the rings (except for the few spots loaded with folks stopping to film the valley. once we came out the north end. The sky lifted and the sun came. Stayed the night at Ballachulish Set back out for Knockhil, but not before my son insisted we look for Nessie.
-
Factory tour and got to visit my car.
Exarkun1178 replied to Exarkun1178's topic in General Sevens Discussion
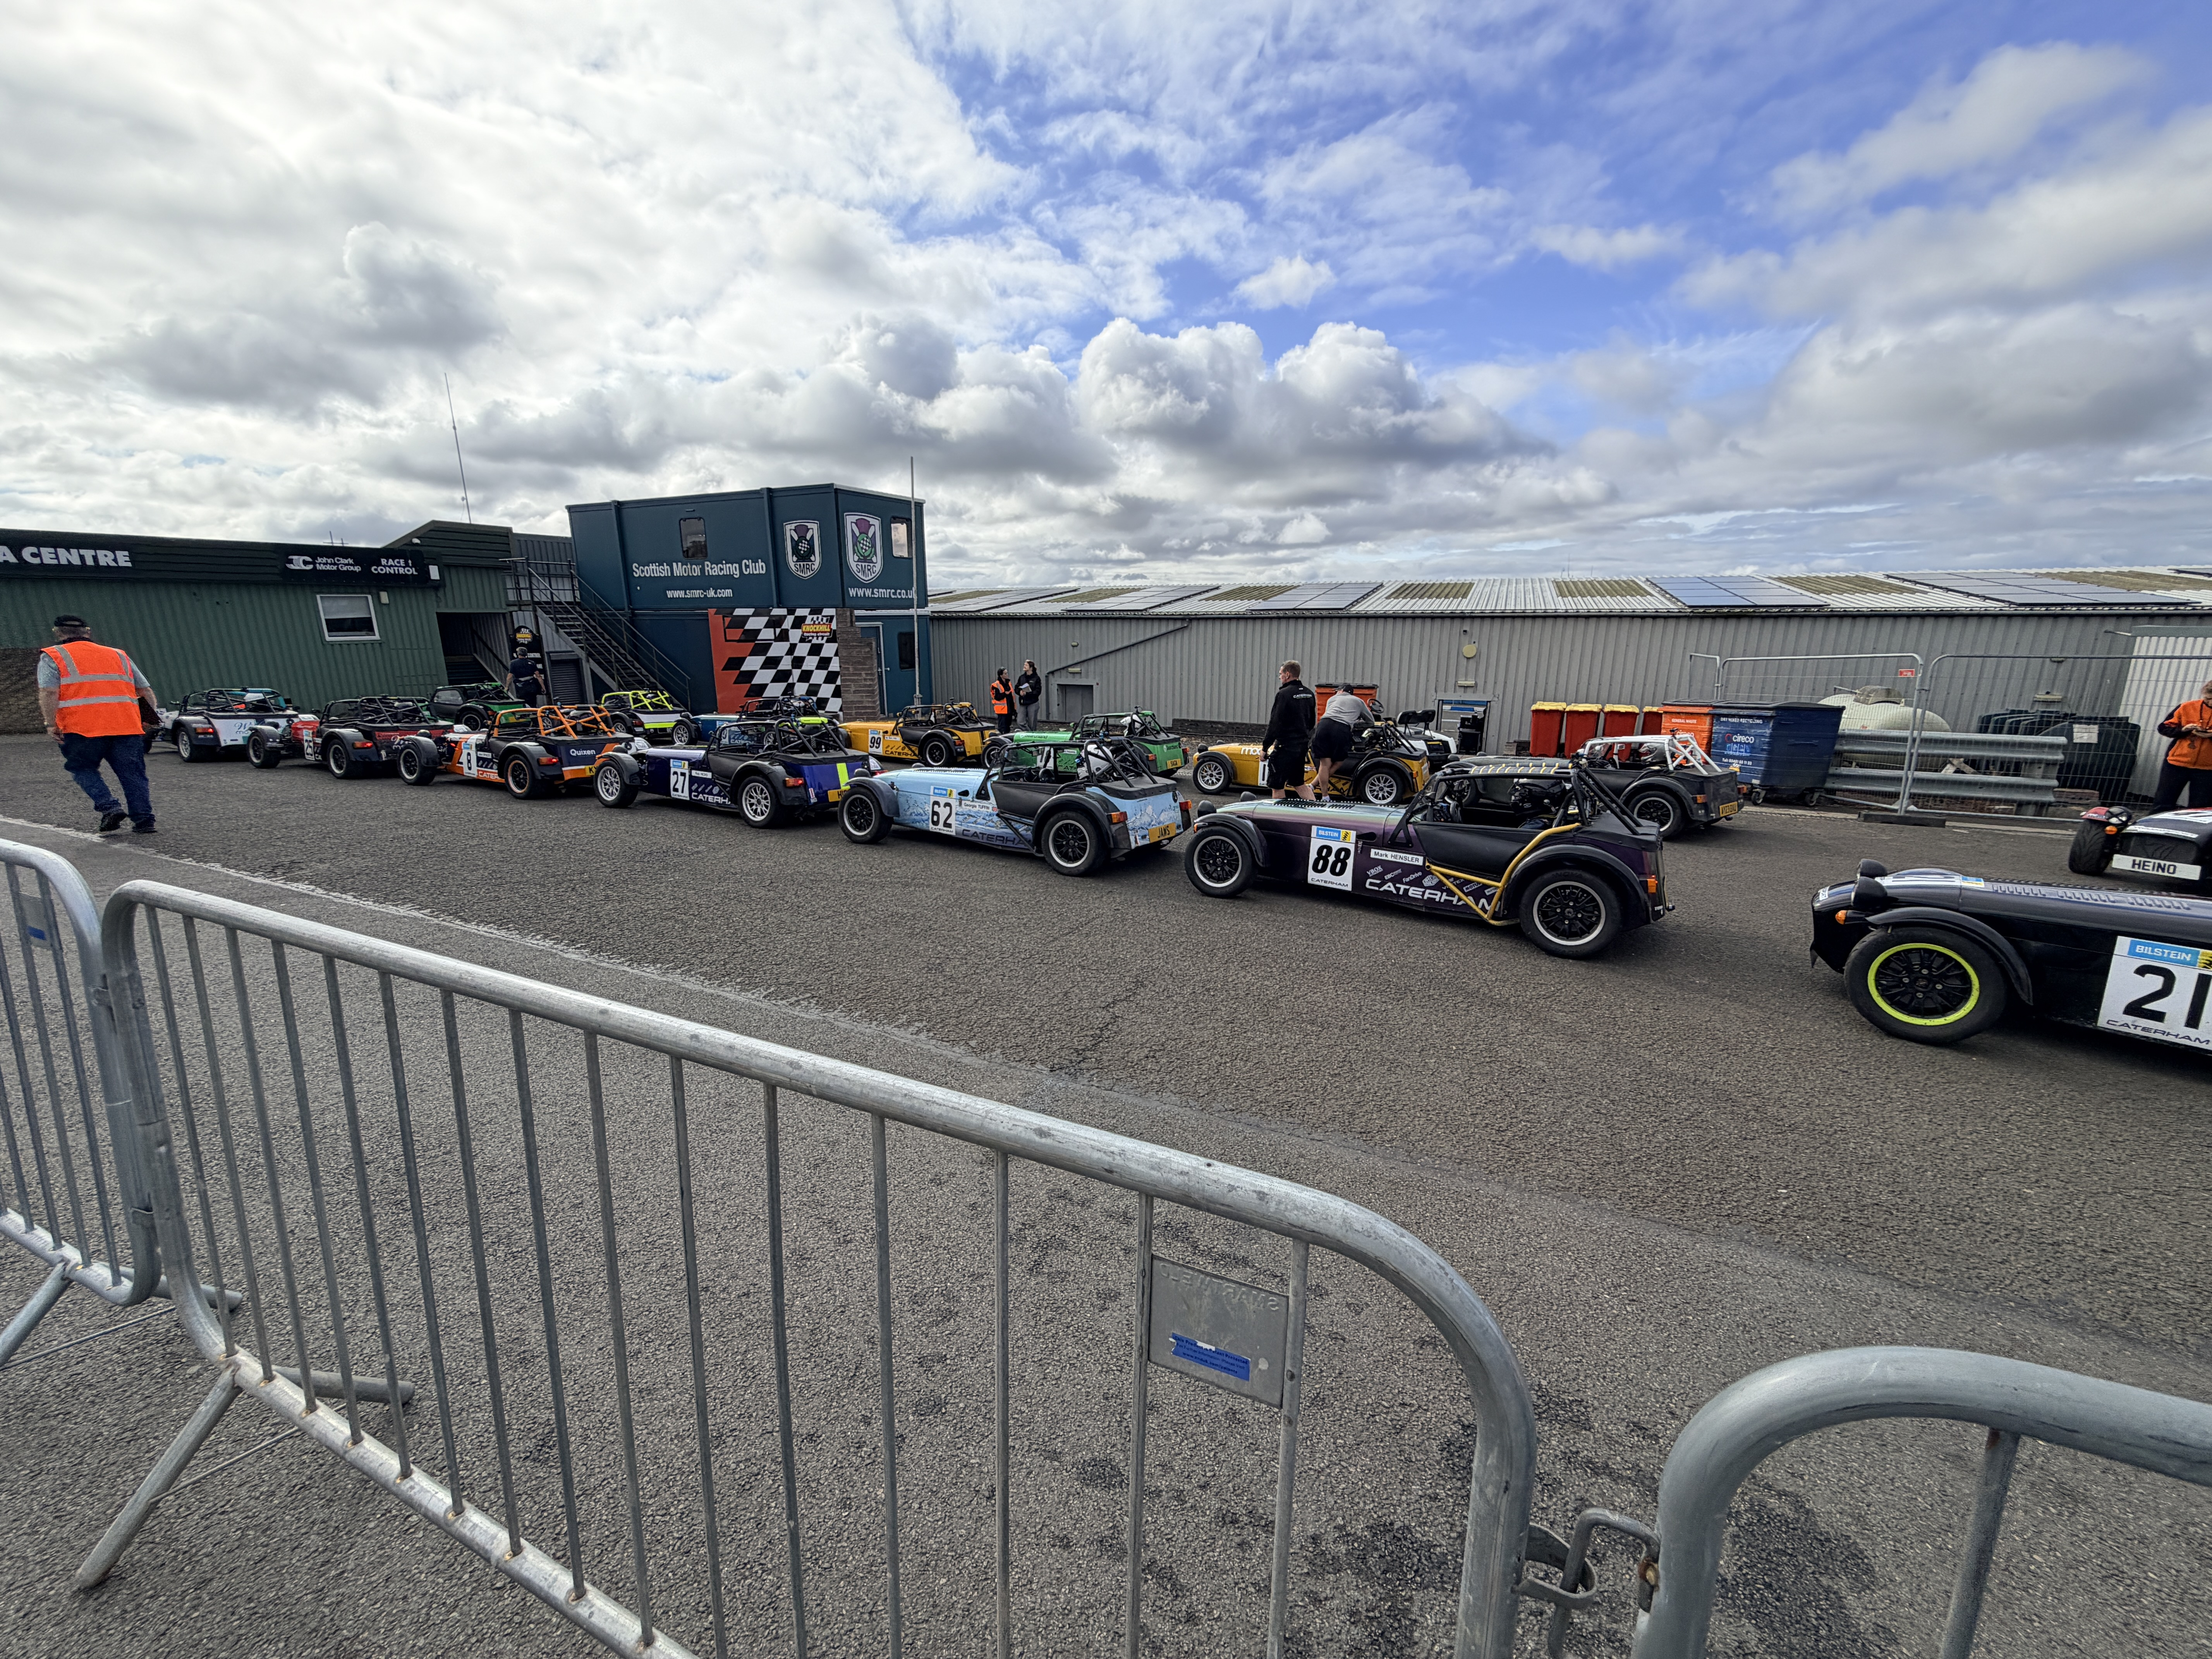
Weekend at knockhill was great. enjoyed watching the academy series. My son loved the 310R group. interesting thing at Knockhill. On Saturday the drove the track counterclockwise. On Sunday they went clockwise Both turn ones was great. And looked like everyone got all 4 wheels off the ground in another (on Sunday). Meet up with the Caterham folks including Callie, who arranged much of the weekend for us. IMG_6264.mov
-
New S3 purchase - trying to figure it out - post 2 of 873 :)
Darcy replied to Darcy's topic in General Sevens Discussion
You have to imagine the accent... Oy mate! You stamped the wrong bloody number on that bloody frame. Bloody 'ell! Put the right bloody number on the bloody car for xxxxx sake! -
Hi, Darcy again. I just picked up my 1970 S3 yesterday and I'm learning slowly. I see this number on the brace in front of the brake and clutch master cylinders. It looks like someone stamped a number, changed their mind, and stamped a new number. BL2170. I found a mention that Universal Radiators stamped with a B, but I did not see mention of a BL. Thoughts? Is this typical of Universal Radiators? I
-

Driver Safety Gear for Time Trials and USA7s@NJMP
savagete2860 replied to savagete2860's topic in General Tech
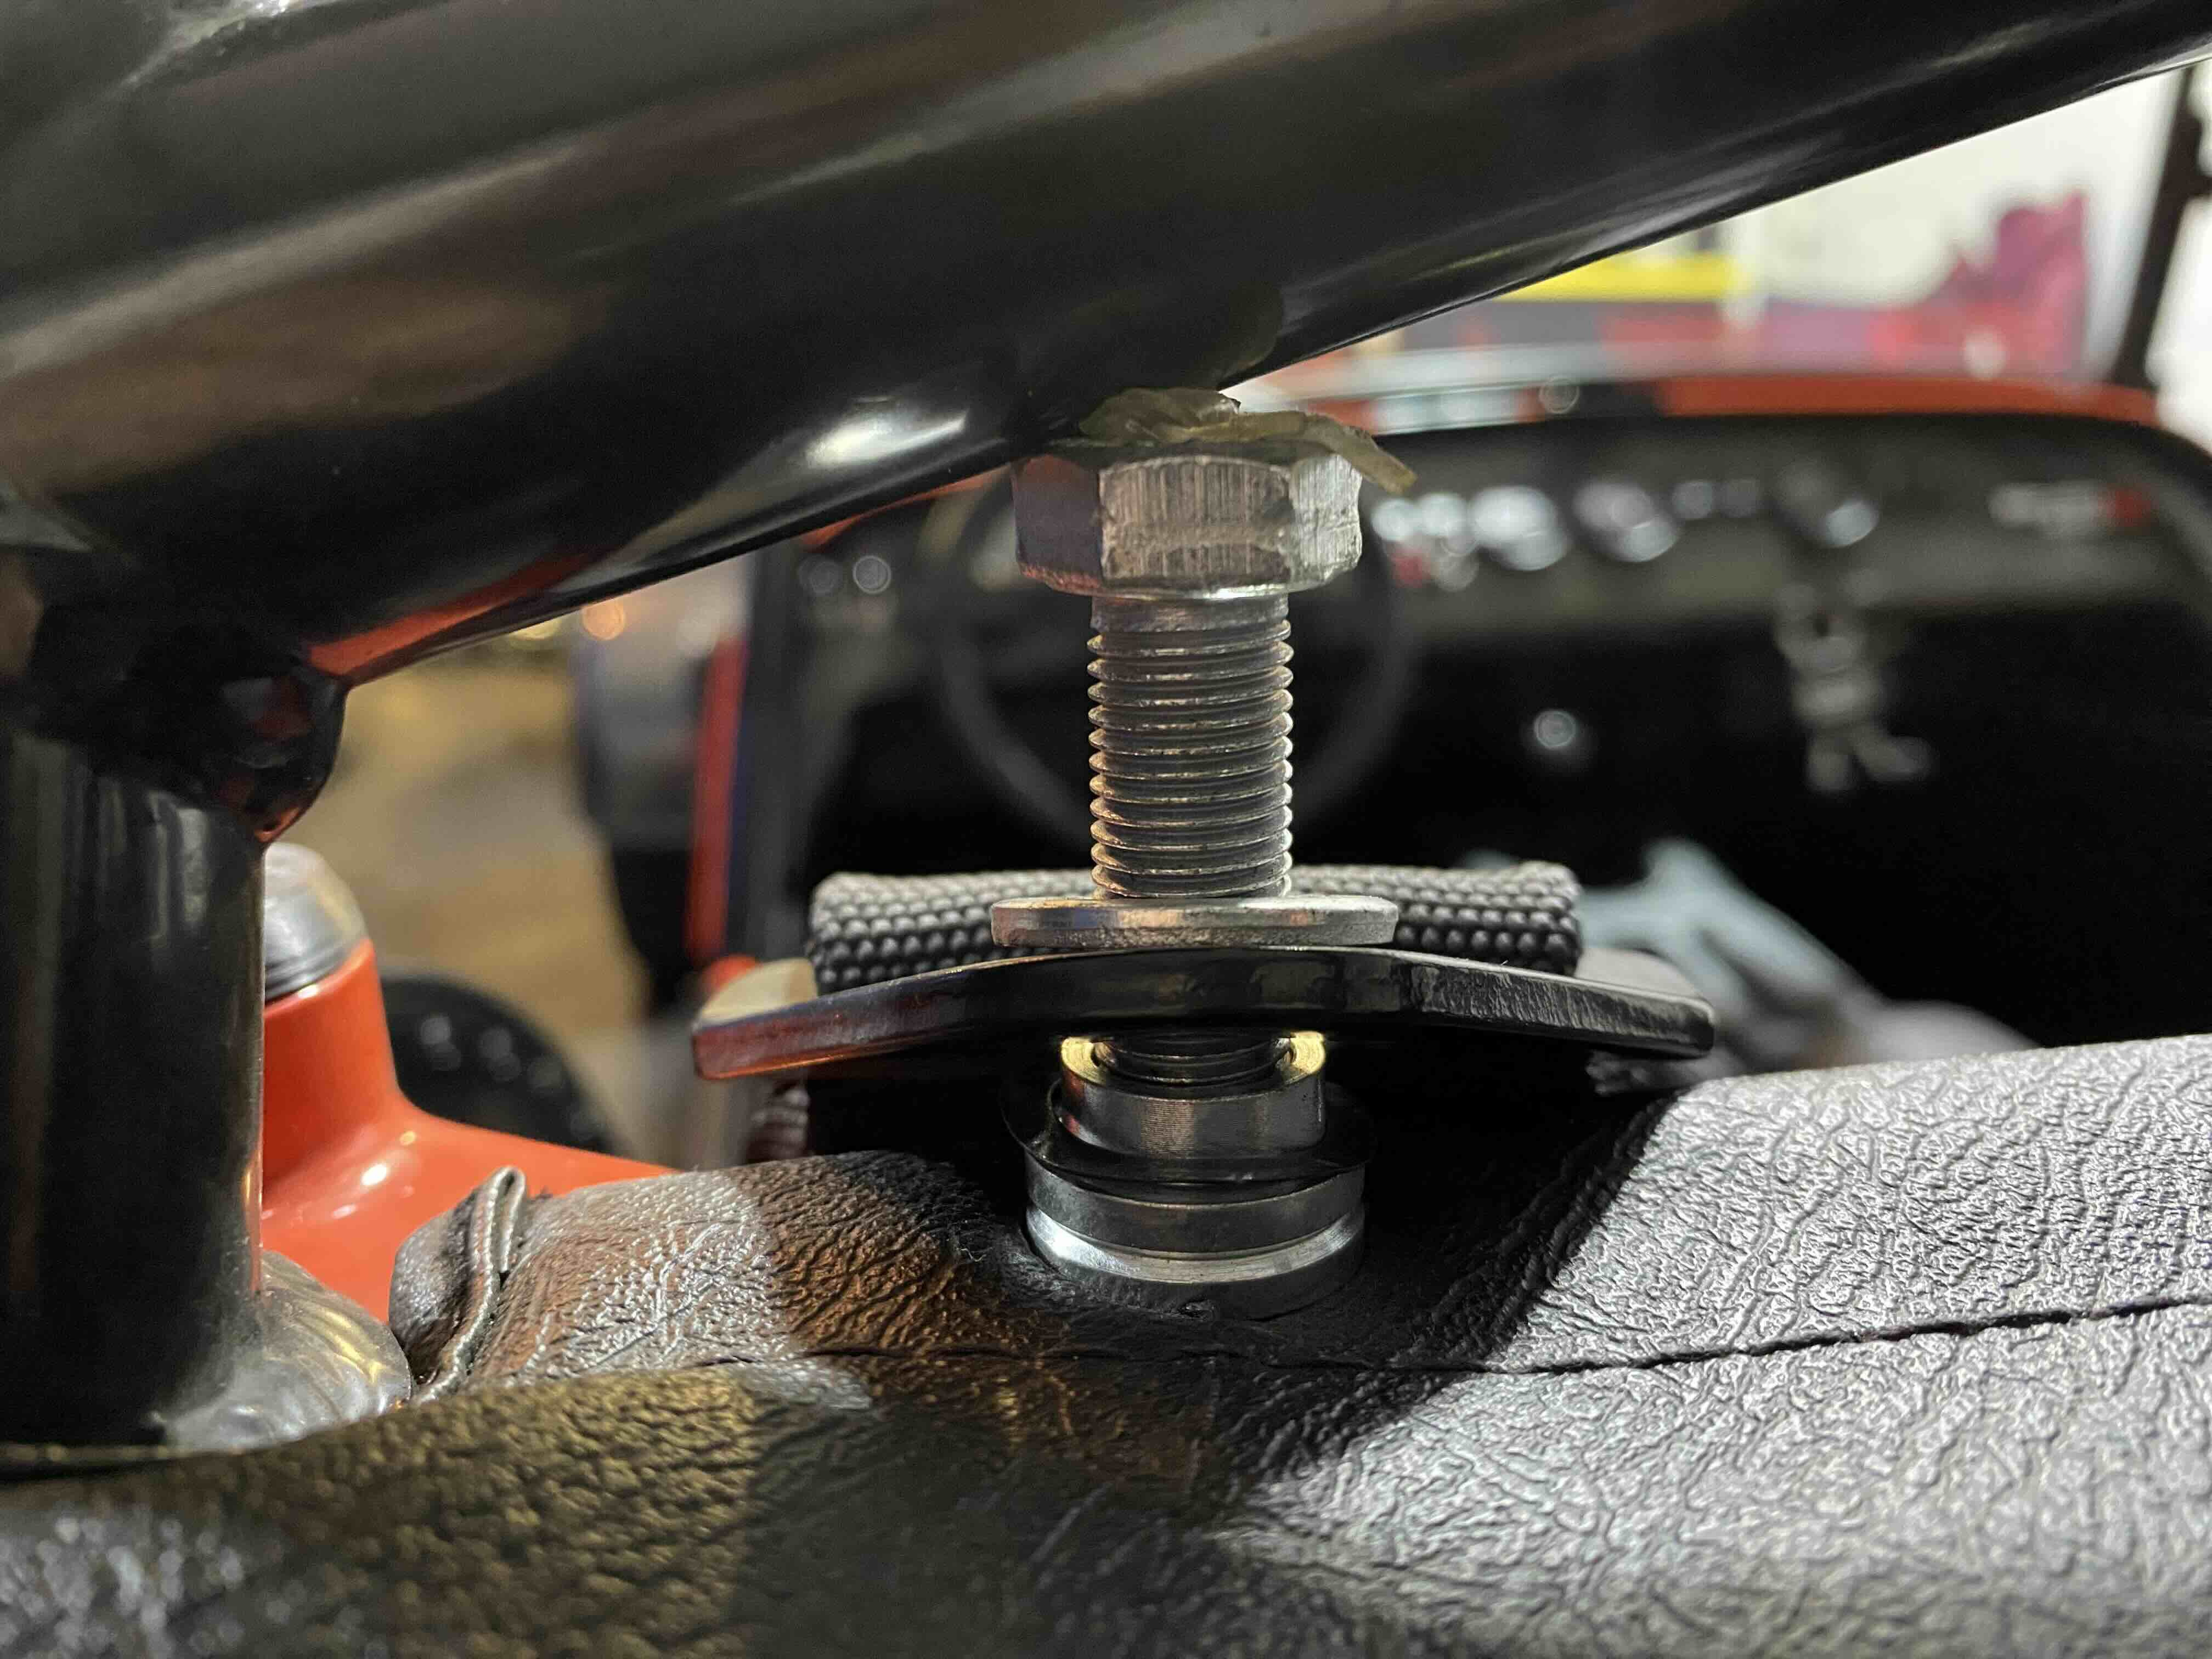
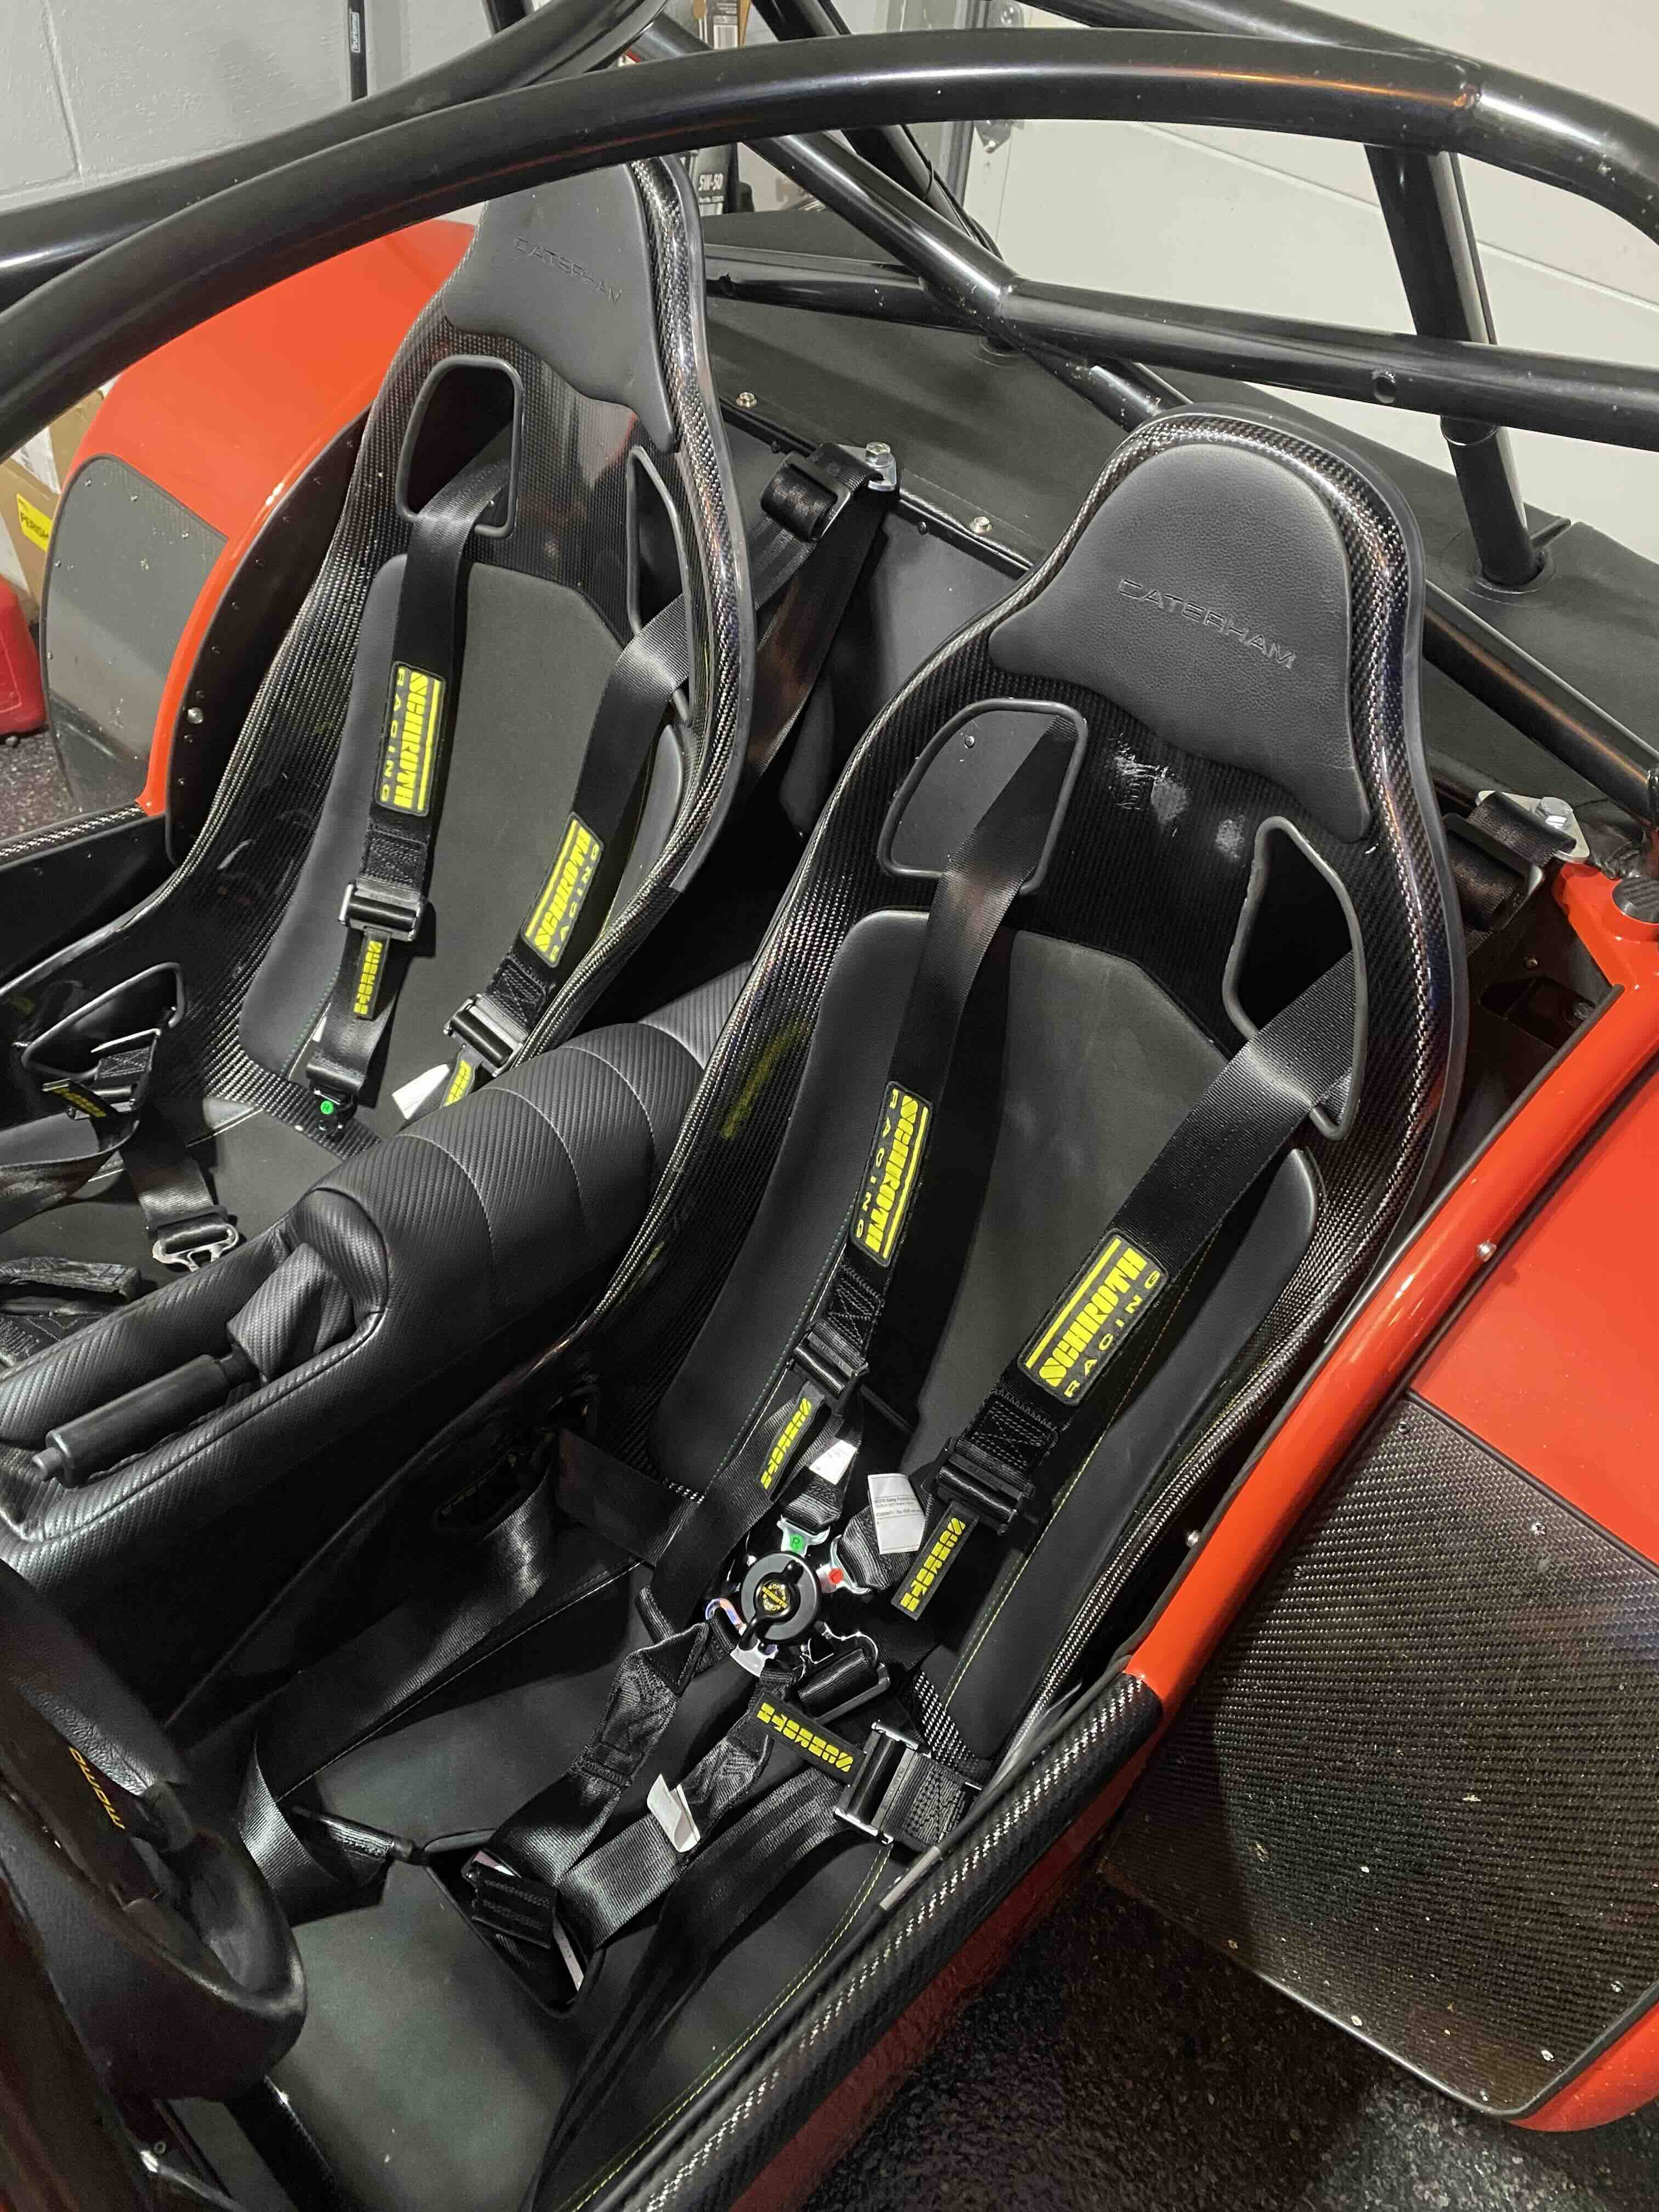
Thank you all for your help. TL;DR After too much trial and error, I finally have 2031 dated Schrotch Flexi 2x2 harnesses installed in my standard s3 chassis, lowered floors, and Tillet seats with sliders Caterham. Seats... I did not build my car, RMC did so prior to this ordeal, I have actively avoided removing the passenger seat even though I know there is a nice rock collection under there. I can hear every time I take a turn. On the drivers side seat there are bolts that come from the bottom that tighten into a captive nut on the tillet slider. I have removed this seat a few times - its a pain but not that a big deal. The passenger side is different. It has 4 of the most frustrating bolts I have ever dealt with and is pure misery. It has hex bolts going from the top of the seat slider into a nut and washer under the car. The sliders are interesting because there are bolts with a large head that mount the seat to the rail and then there are bolts on the slider with the same sized head that mount the slider to the car. This limits the slider movement because the bolt heads contact one another when trying to move the seat on the slider. This also means installing and removing the seats require bolts to be fastened/undone in a specific order or else you cant get to the bolts that need removed/installed. To remove, I had to slide the seat as far back as it would go and shove my hand between the bottom center of the Tillet seat and the bar running in front of where the seats mount. Its a very tight fit - there were a few times I thought my arm was stuck. If the rear slider and seat bolts didn't contact, the seat would have been able to go back a bit further and make this less challenging. At any rate, when my hand was in place holding the wrench I could feel my way to get a 6mm hex wrench in the bolt, hold it, and undo the bottom side nut with a 13mm socket. With the front bolts out, it allows the seat to slide far enough forward enough you can get to the rear bolts. Same process there there, but without hand and wrist pain gymnastics. This also required a helper for all bolts since you can't reach both the nut and the bolt. Putting the seats back in was reverse order. It is also 10x more difficult for the passenger side, primarily because you have to fully tighten the rear bolts and hope that the front holes line up. My pro tip for this is put the front bolts in upside down and leave them in place (if you can get them in place without falling out) and then do the rear bolts. Old Harness Removal This was pretty straight forward. 16mm wrench/socket for the stuff under the seat. Then the fun started. The outboard shoulder belts are long. In fact, they are too long to remove if you have a roll bar/cage with diagonals. I decided to cut the bolt but none of my cool power tools fit comfortably so I ended up using a little hack saw and sawed away for what felt a lifetime. New Harness Install For the install, I had to prep the harnesses themselves by removing the clip on end plates and replacing them with the b24 bolt in brackets. I also flipped the side lap belts to be in the pull up configuration since there is no room to pull down. I then used the existing belts to try and adjust the length to match. For installation, I followed what was on the car already (top to bottom) bolt head washer b24 plate b24 7/16" pivot sleeve car The factory setup had a wavy washer between the pivot sleeve and the bracket but I left that out for now. The sub belt mounts were a little different. The factory pivot sleeve is much taller than the replacements, so I also added some washers to take up more space. To deal with those bolts I had to cut, I replaced them with the 38mm 7/16 bolt from HMS https://www.hmsmotorsport.com/products/schroth-bolts?_pos=4&_psq=7%2F16+bolt&_psid=a425155e5&_ss=e&variant=47230555160676 It has a much shorter head than the factory bolts, fit under the roll cage bar and still leaves threads sticking out the side it goes into. Test fit and Finalize Install Once the belts were installed, I did some test fitting of the seat and sitting with the seats unbolts. This is the point I actually switched the side lap belt to pull up instead of pull down because I couldn't properly tighten the belts. Adjusting the sub belt with the cam lock took a bit of patience. I can get to the adjustment brackets at the Tillet seat opening so I didn't have to remove the seat at least, but getting in and out of the car over and over to make them right was not quick. This is one thing I am a bit worried about for instructors/passengers. It also forces use of the sub belt, which I found most people preferred not to use it when it was optional when just on the street. Once everything was adjusted, I bolted the seats back in. Final Results and Thoughts I do like the new belts functionally. They're easier to adjust and there is more room for clipping in my simpson hybrid s loops in. They also let me track at NJMP, so hard to argue with that for function. It is a completely other topic, but if NJMP wasn't mandating dated belts, I would have happily lived my life with the Caterham Luke harnesses. My particular harnesses have about 6 feet of excess belt for each shoulder strap. I tied them together and plopped it behind the seats for now. When tightened, the side belts have a lot of excess belt as well since I flipped to the pull up configuration and you lose the ability to pull extra belt out of the way. They can just be tucked somewhere so not a big deal though. If I was doing this again, I think I would have just went with Caterham Schroth belts (assuming they are actually dated). Belts and hardware, my exact setup was around $1500. That does not include the headache of figuring this out and the shipping costs to return stuff that I messed up on by being a bone head. The Caterham belts would have just worked, fit better since they're made specifically for our application AND you still get the gorgeous yellow color that matches absolutely nothing.