CarlB
-
Posts
492 -
Joined
Content Type
Profiles
Forums
Store
Articles
Gallery
Events
Library
Everything posted by CarlB
-
There are Esprit parts. There is also a very nice Esprit. Selling the Esprit is the first priority and sorting the parts that need to go with the car. I will keep you informed.
-
There might be. The first car to go was a very nice Esprit. I do not know if they got all the parts. I will try to find out. The shop is close to Frederick Md
-
I lost a friend who was in the race car preparation business. His wife now has to close the shop and sell everything. He started as a Porche tec and still did Porche work. He has every Porche specialty tool. There are 17 cars to sell. Two Lotus Europa's. One is a twin cam. There are a couple of SCCA production cars. A MG midget is one of them. There is a SCCA formula C car. There is an air cooled 911 targa that has a problem with the pedals, but the drive train and rest of the car are in good condition. There is a large quantity of Porche and Lotus new and used parts. He was in business for a long time and accumulated a lot of stuff. Do you need a Ford F350 tow vehicle or a trailer?

-
You might look at Performance electronics or Innovate motorsports.
-
You did not need to disconnect the drive shaft from the differential. When you put it back, use blue thread locker and clean the bolts and what the bolt screw into. The drive shaft will come out of the transmission tail shaft. There isn't anything holding it in. To get the engine out you have to have it on an angle and all the transmission oil will spill out where the drive shaft goes. My car has a ford transmission and they do not have drain plugs. Your car might have a drain. They make plugs to put in the hole when the drive shaft is removed, but make sure you have a pan under the back of the transmission to keep from getting oil everywhere. When you put the engine back it, you have to get under the car and start the driveshaft back in the back of the transmission before the engine is completely down in the engine compartment.
-
I have an older car, but it is probably the same. First you might not have to remove the column. My car is a 2000 S-3 with a Zetec engine. I did not need to remove the column until I added an extension on the water pump housing. I wanted to get a better fit for the hose. If you look just where the steering column comes through the fire wall in the engine compartment. The shaft that extends down to the steering rack goes in a tube that extends from the back of the steering wheel. A portion of this tube is cut away where the shaft from the steering rack sticks up the tube. The shaft has a flat cut on it and the flat on the shaft lines up with the part of the tube sticking through the fire wall. The shaft and the tube are held in place by a clamp. The clamp has two bolts on one side and a set screw and jam nut on the other. Losen the jam nut and back the Allan screw out. Then remove the two bolts. The clamp will separate in two pieces. At the steering rack end is a universal joint. Remove the bolt that clamps the shaft to the universal joint. You can then push the shaft back out of the universal joint. You can take the shaft out the steering wheel side, but it involves removing the lock and that is a big job. Much easier to remove the radiator and bring it out the front. I do not know your car, but I suspect removing the steering shaft is not required.
-
 I am going to be very interested in what the tariff is. When you go on line you get different numbers. Tariffs are a tax and these rates are ridiculous. Hopefully the courts will take care of it.
 -
From paying, I think it was about a week. It was either 7 or 8 days. He used FedX and they sent a tracking number when they picked it up.
-
I got a package from Redline today. I was expecting a call or email to pay the tariff, but the package came without paying the tariff.
-
We have, or had, a confusion about names. The steering rack assembly is made up of a housing, a round gear, and a rack gear. There are bearings and other things, but the basic function is controlled by those components. You turn the steering wheel and that turns the round gear. The round gear is connected to a long flat gear called a rack gear. All of this is inside a housing that holds it all together in one place. On the ends of the rack gear are joints that allow the tie rods to move up and down and side to side, but not in and out. What is centered are the joints on the end of the rack gear. When you project a line vertically through the center of the lower inner control arm bushing to the center of the inner upper control arm bushing the inner tie rod joint (joint on the end of the rack gear) should be centered on the projected line. The other part of eliminating bump steer is the outer joints, and the center of the tie rod end need to have the same geometry. If one tie rod is longer than the other the joints are not on the imaginary line through the suspension joints. When you hear racers talking about bump steering their cars, they are improving the accuracy of the components being in the correct alignment to each other. There are always tolerances, and the racers are trying to improve the tolerances. On regular street cars the manufacturers often design in bump steer to make the cars understeer. When you are trying to drive a car quickly you want to judge the tire slipping, and you are looking at very small amounts of slip. If the steering angle is changing because of bump steer the car isn't as predictable.
-
The tires are made in Portugal. I just ordered a bunch of stuff from Redline. I thought auto parts were 25%
-
What you are doing measuring the threads works. Someone said the rack wasn’t centered. I should have quoted that statement. This misunderstanding probably has more to do with the meaning of rack. The rack meaning the housing is centered. I measure the tie rod length from the blocks that hold the rack down.
-
I was just on NOVA"s web site and they list ZZR and ZZS tires like they are available. NOVA Motorsports.pdf
-
On my car with a quick steering rack the wheel turns about one and one half turns in each direction. Maybe a little more, it has been a while since I did it. Are you going lock to lock on turning the wheel?
-
On my car there is a small hole in the crossmember just under the steering rack. That is the center of the car. I spent a week measuring the pickup points on my car to see if it was strait. I am confident that Arch used that in their jigs when they made the chassis. I also measured to the blocks that hold the steering rack, and they are equal distance from the hole in the chassis. At one point I played with stock cars. They are always getting driven into walls, so you spend a lot of time learning to measure stuff.
-
Tom, I enjoy inviting myself over for some fun. Thank you - Let us know when you are thinking about going.
-
The issue with measuring total toe with toe plates or adjusting the toe on one side of the car is bump steer. When the wheels go up and down vertically the toe can change. This primarily affects how the car feels to the driver. It adds some unpredictable handling and driver confidence. If you draw a line between the upper and lower control arms on the inner and outer pivots, the tie rod joints should fall on those lines. That way the wheel can move up and down without inducing extra steering. Correcting this on a 7 is not hard. The way I do it is at where the steering shaft goes into the rack. Turn the wheel all the way in one direction and make a mark vertically on the shaft and housing. Turn it the other direction and make a similar mark on the rack. The wheel will turn more than one revolution. back out the one complete turn and the center is halfway between the two marks. Create a mark there. Use that mark to center the steering rack. Do a string alignment to set toe, or toe plates and make sure the tie rods are the same length.
-
When I got my car it had a blue rack quick rack. I got a new one and it wasn't painted.
-
Going over the hump at the start finish line you get airborne. We got lots of good advice to keep it straight so when you come back down you are still pointed straight.
-
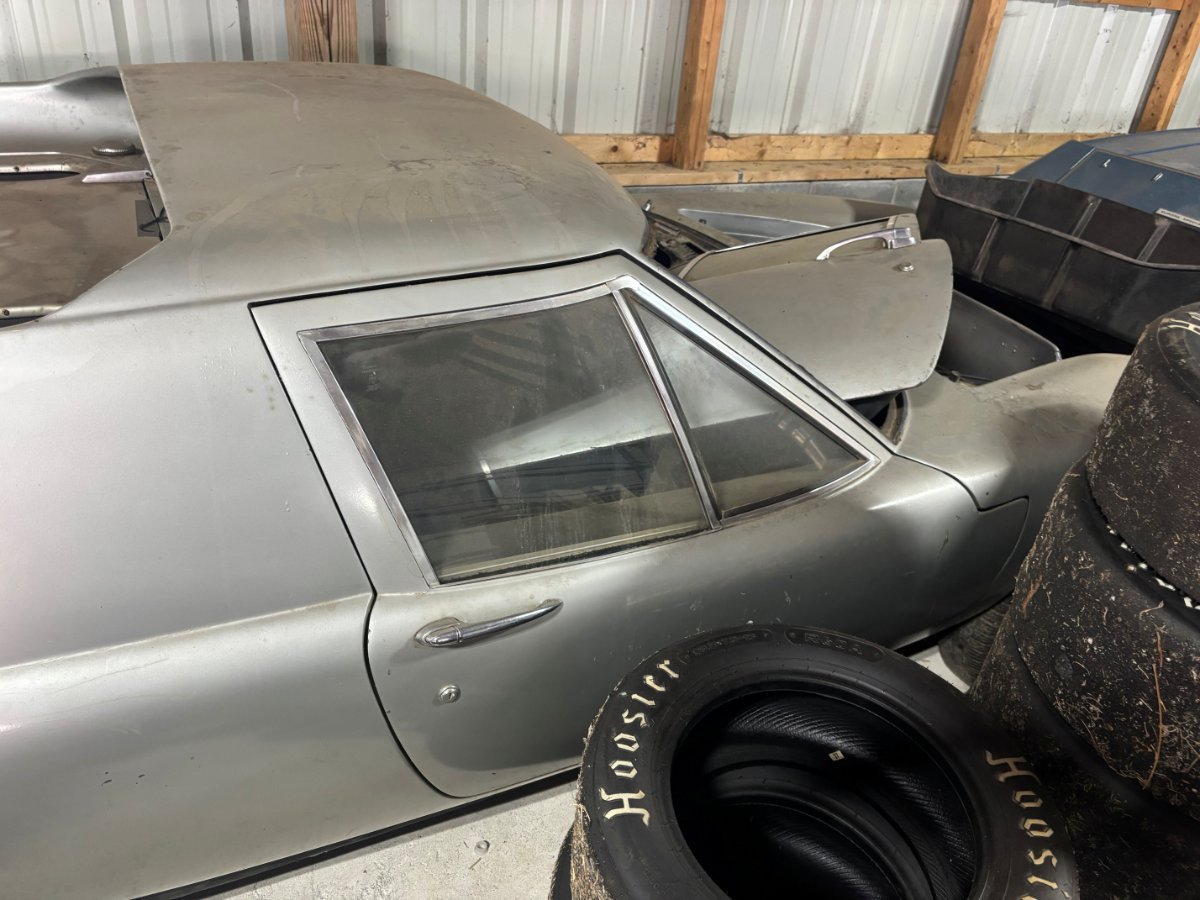
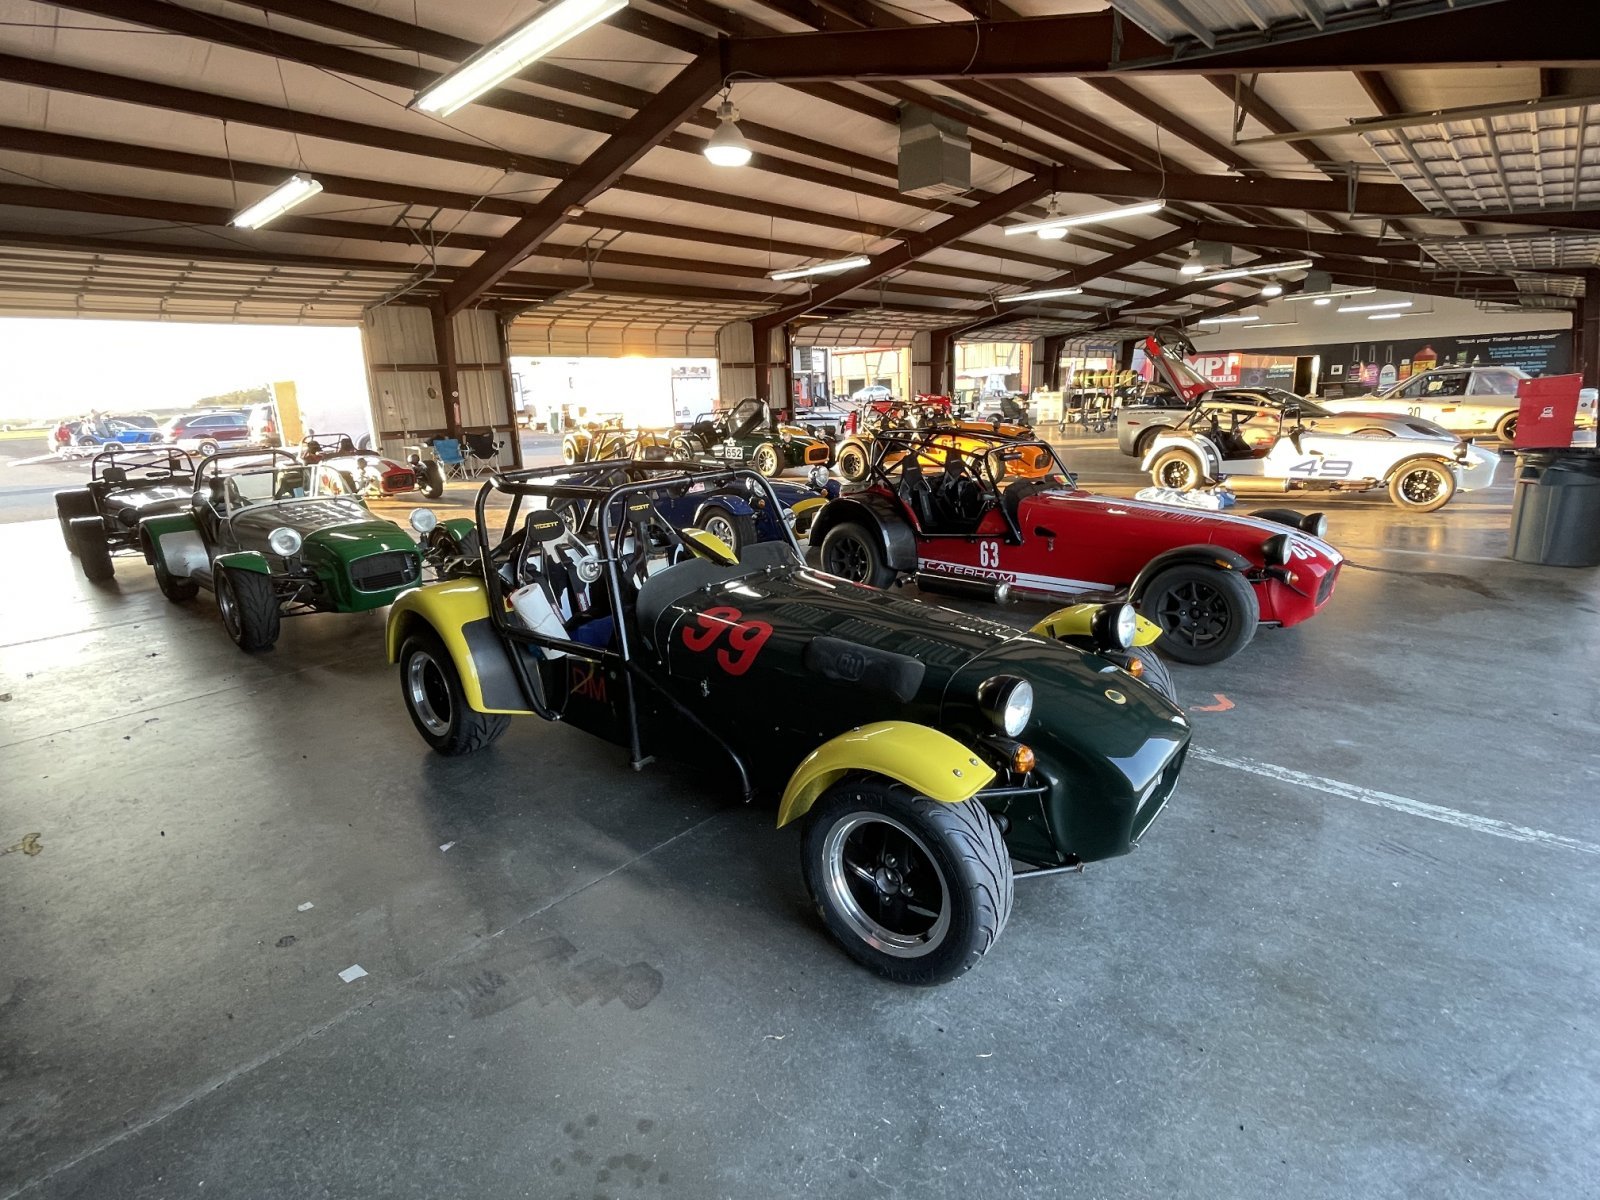
Summit Point has three tracks. Summit Main is the original and they have Jefferson and Shenandoah. I was there a few weeks ago and while the pictures or the adventure was nothing like what Croc has been posting I had a great time on a new to me track. The banked turn is really fun. It is at the end of the longest strait. You brake hard and drop down into the bowl. The second picture was especially fun in a Caterham. Out of the picture is a 180 degree turn that you double apex. Very late on the exit. as you climb the hill to the outside you can lift and point the car to a late apex and the curbs in the picture. That gets you strait for the next corner. Several people were asking how that car turns so fast. Nothing special about the last picture. I just liked it. Croc goes to tracks with beautiful views; I go to tracks that have nice views that include the law enforcement training vehicle junk yard.
-
I am disappointed to learn that there is going to be a Caterham there and I will not be able to make it. I am going to be on Summit main this weekend.
- 1 reply
-
- 1
-

-
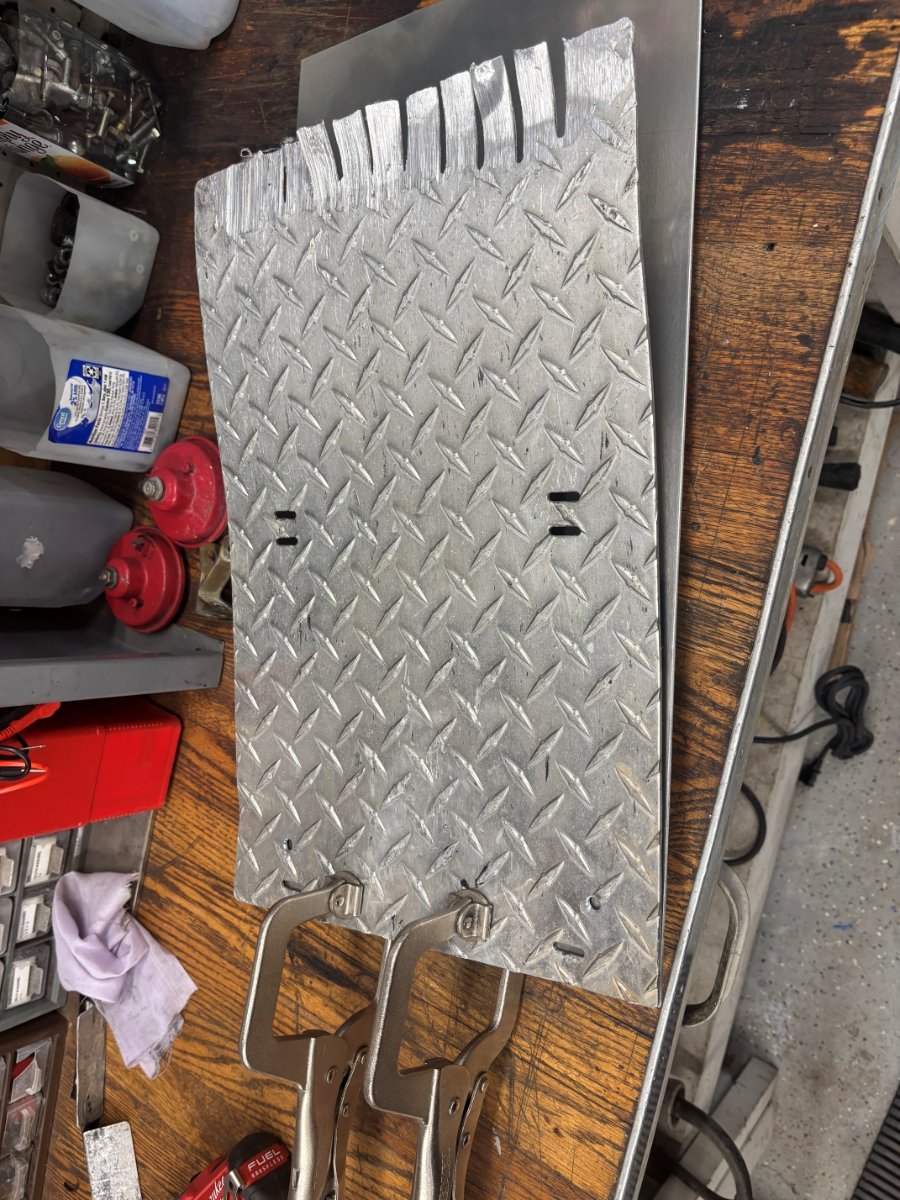
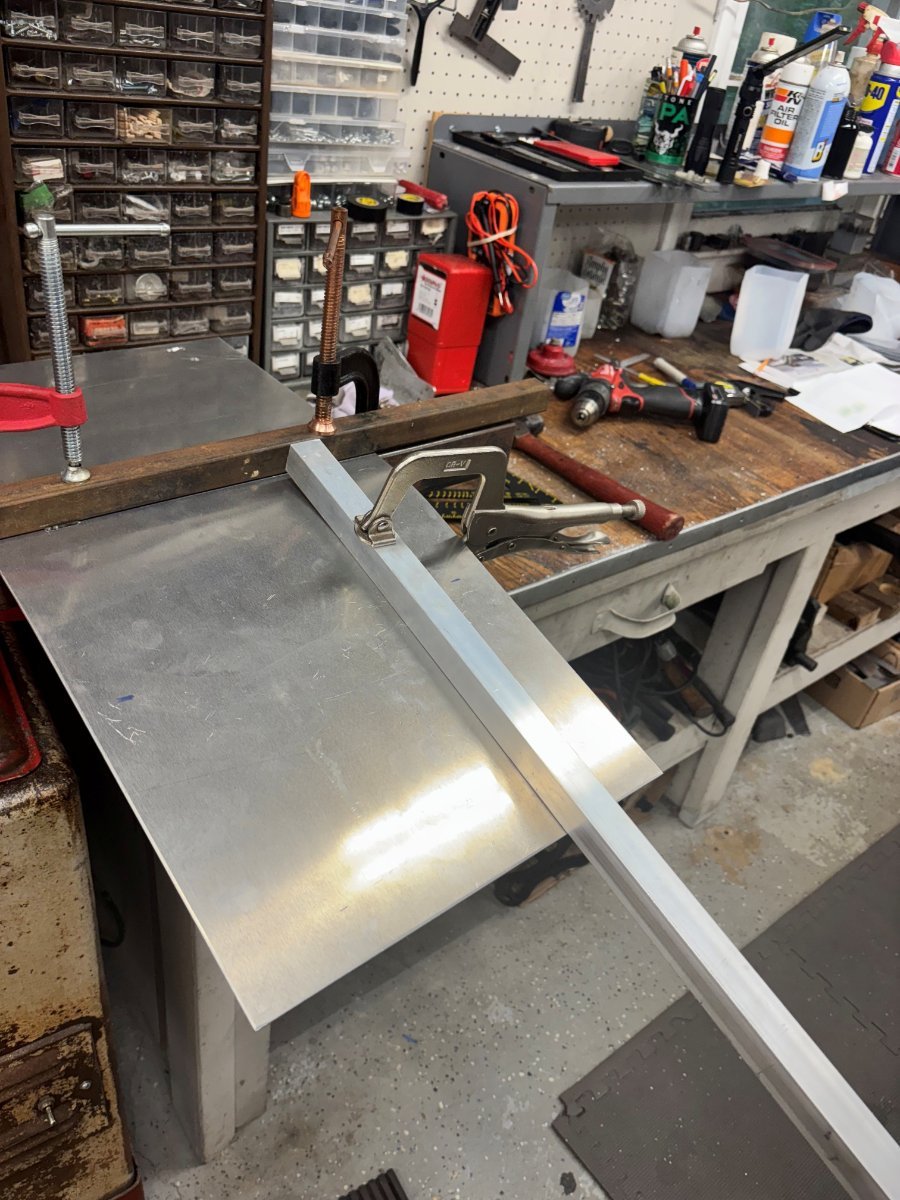
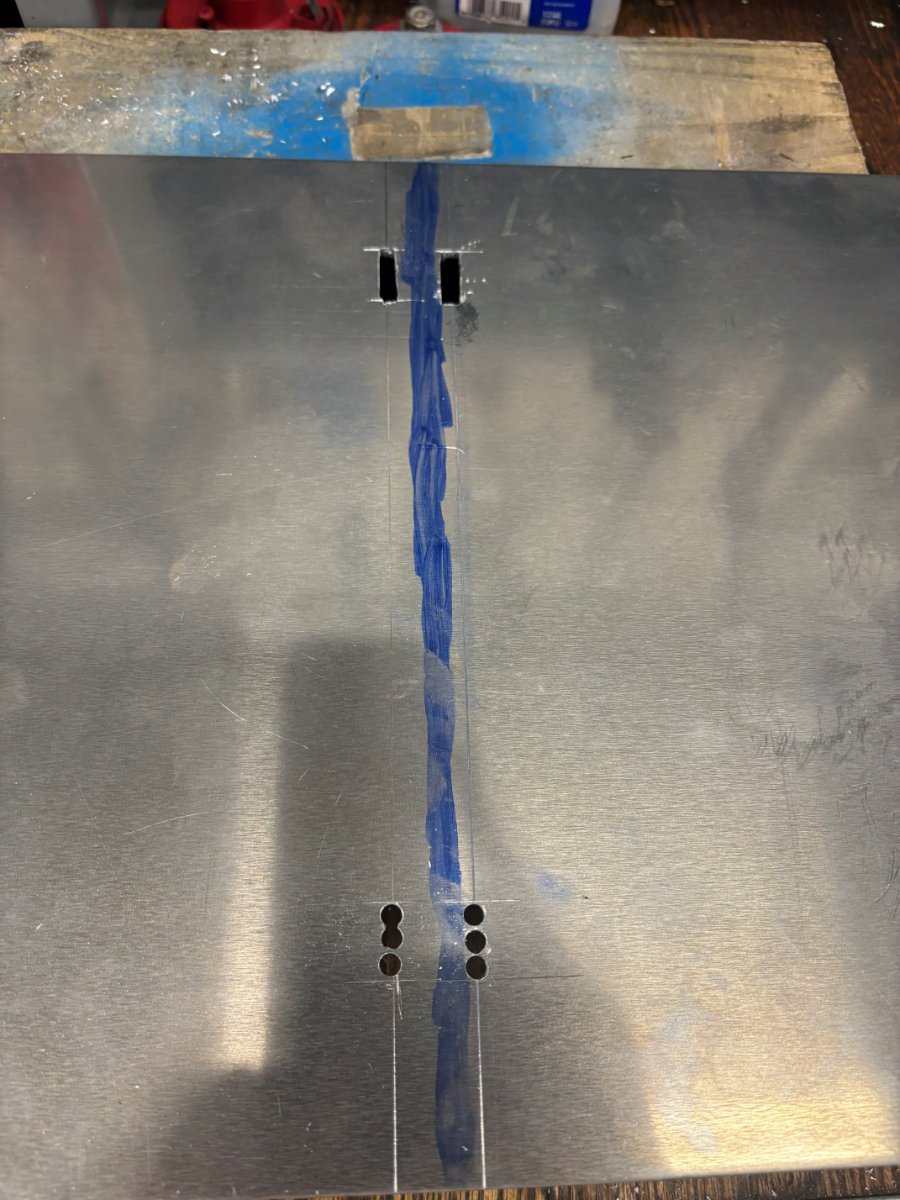
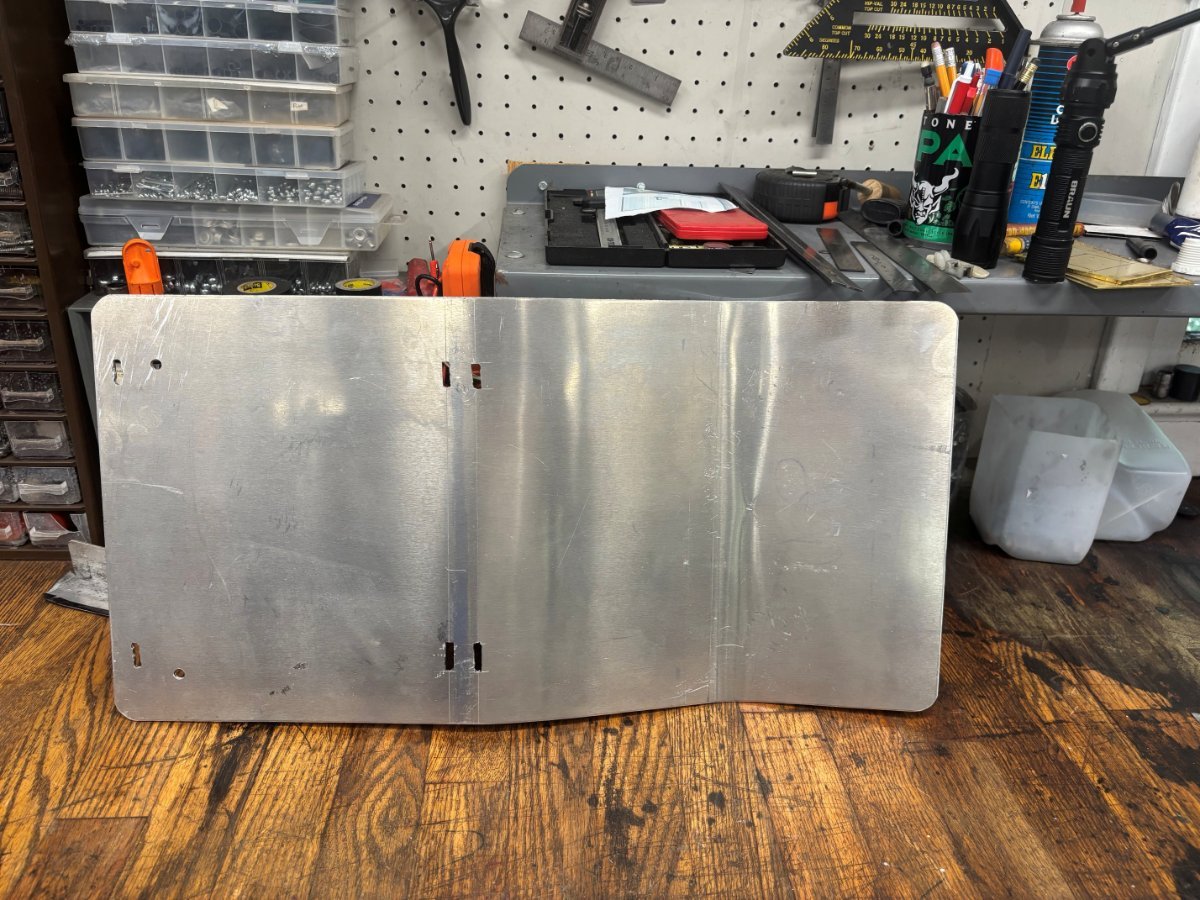
I recently went to Summit Point for a track day, and we were on Shenandoah. I hadn't been on the track before, and it has a very banked turn. The car was bottoming out, but I did not realize what was happening. I will post pictures of the track in the racing section. I really didn't damage anything except my skid plate. Here is how I made a new one. This is very similar to the one I got with the car. The original was made by or in George Alderman's shop. It is very simple and does a great job. The first picture shows the old skid plate. The car has a Raceline oil pan and the part of the old skid plate that now has fingers is the part that went under the oil pan. Raceline Zetec oil sumps have fins on them that match the voids between the fingers on the skid plate. Luckly not much happened to the oil pan. The next picture is how I measured for the new skid plate. The oil pan is the lowest point on the car and the skid plate attaches to two tubes in front of the engine. There are two bends in the skid pate to get to the height of the oil pan, and then you have to make=e the skid plate follow the bottom of the oil pan. The next picture shows how I bent the aluminum. First, I want to say I used 5052 aluminum. I could have used 303. Both can be bent without cracking. Do not use 6061. Almost all 6061 is heat treated, and it will crack. The aluminum is 1/8th of an inch thick. Under the aluminum is a 1X2 square tube that is supported in a vice. I clamped a 1-inch square tube on top and then used an additional piece for leverage (bending bar). If you want to build one of these do not clamp the bending bar against the bend line in the clamps. You do not want a sharp bend. The whole point is to make the oil pan ride up on anything you hit. Go slowly and make small bends by moving around. The metal will show you how it is moving. I should have done this picture before the bending. It shows how I made the slots to mount the skid plate to the car. I used the old skid plate to measure. You have to allow for the bends, or it will not fit. I do not have a mill at my house, so a drill and file got it done. The skid plate uses hose clamps or metal tie raps to attach to the car. Here is the finished skid plate. The round holes are where the oil cooler bolts down.
- 1 reply
-
- 4
-
-

-
Porterfield R-4-1 have a very high coefficient of friction. Great autocross pad!
-
I'm offering $100 to anyone who can solve my car's nightmarish issues
CarlB replied to Ted7's topic in General Tech
Someone already suggested looking at the grounding. I would agree with that and add. The battery ground should attach to the engine, and a comparable to battery cable ground wire should go from the engine to the frame. ECUs are grounded to the engine, and this is generally referred to as star grounding. Components move when the car is moving and something in the wiring is disconnecting. -
I actually like driving with the aro screen better than the windshield. With the windshield the air blows around the windshield and in your face.