IamScotticus
-
Posts
1,713 -
Joined
-
Last visited
Content Type
Profiles
Forums
Store
Articles
Gallery
Events
Library
Everything posted by IamScotticus
-
aww, just let them fray. i think its better to leave them loose.
-
WTB: Caterham Seats and Wheels
IamScotticus replied to Robert O. Urfer's topic in Parts For Sale / Wanted
see this https://www.cobraseats.com/seats.html?pid=20&cid=2 -
WTB: Caterham Seats and Wheels
IamScotticus replied to Robert O. Urfer's topic in Parts For Sale / Wanted
Hi Robert. We need to know the lug bolt spacing (PCD). -
Caterham IRS – Conversion for S3 and SV
IamScotticus replied to Vovchandr's topic in General Sevens Discussion
is there a price for the parts kit for DIY, -
Sweet. since you're good at making stuff, I want that rocker cover!
-
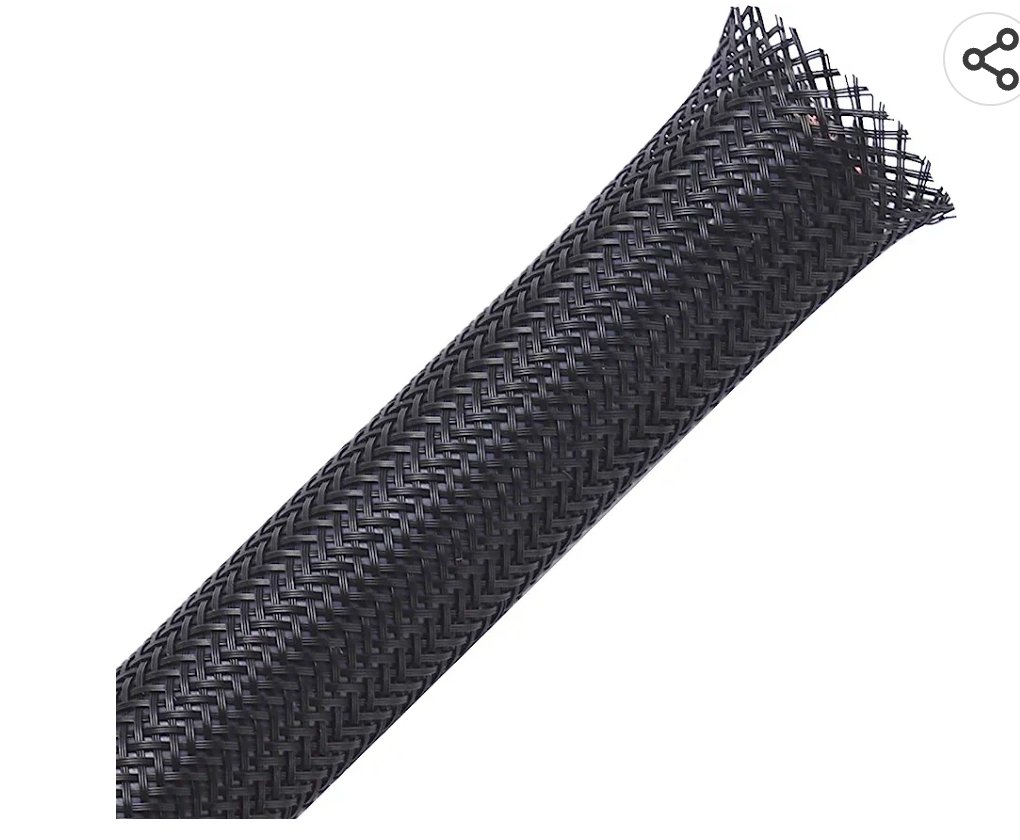
there's mesh hose covers to slip over rubber hoses. most of my vehicles have had them on coolant hoses from factory. i would use it on everything. Hoses need some movement to flex with thermal expansion, vibration , engine movement and shrinkage. Secure what you need but don't bind up too tight.

-
i noted the same on Yoram's car. optical illusions. the tie rods give it away.
-
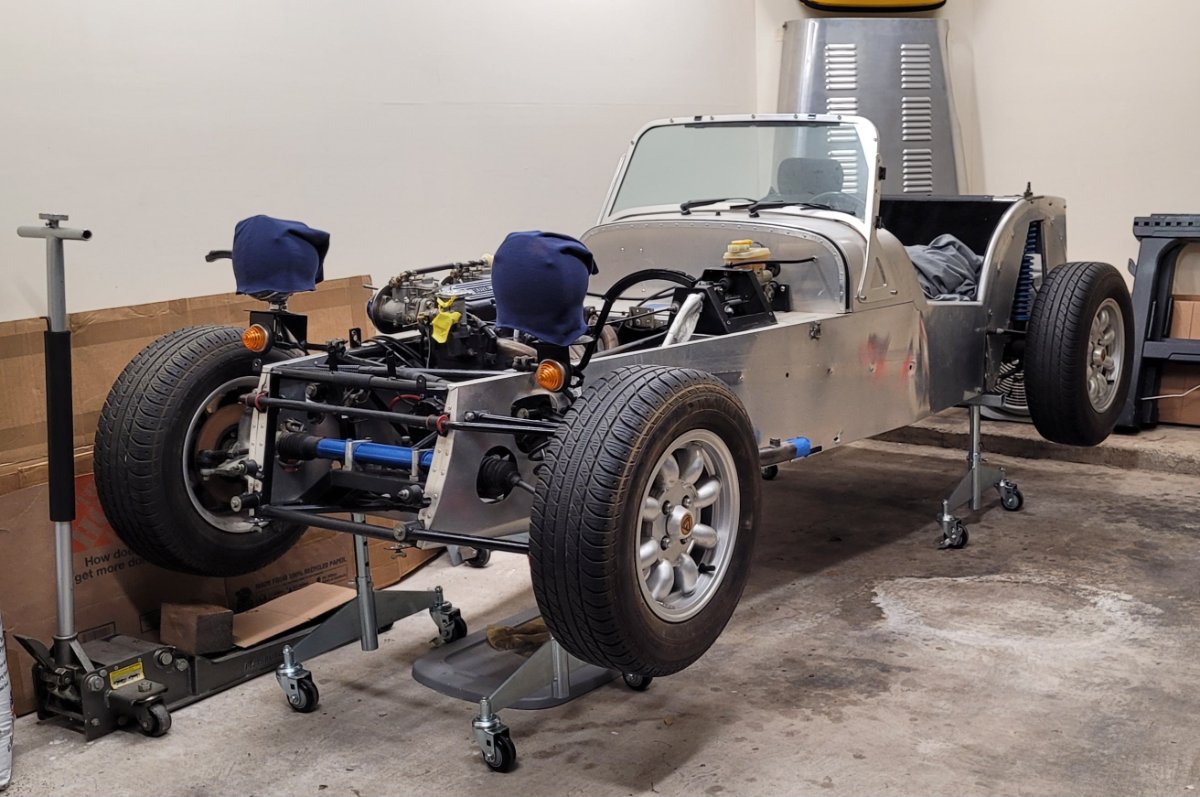
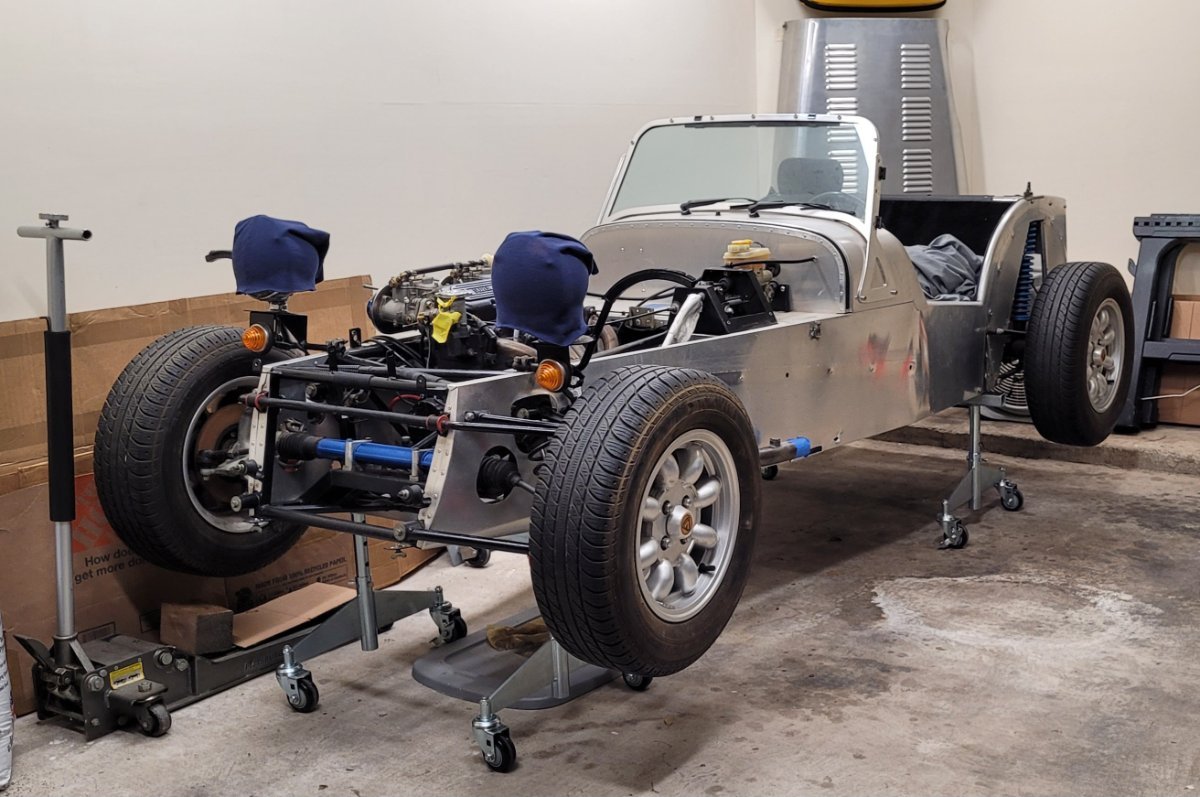
Big improvements here finally! Beater is up in the air, officially on the operating table.
-
Side mount? Easy? Sacrilege!
-
I remember being more sideways and higer... Im stuck in the 90s. could someone put up a pic of those please?
-
Yep. not happy with Dzuz down there and very fidfly to align. I will be considering altetrnative solutions going forward. Velcro? Rubber bands? Duct tape!
-
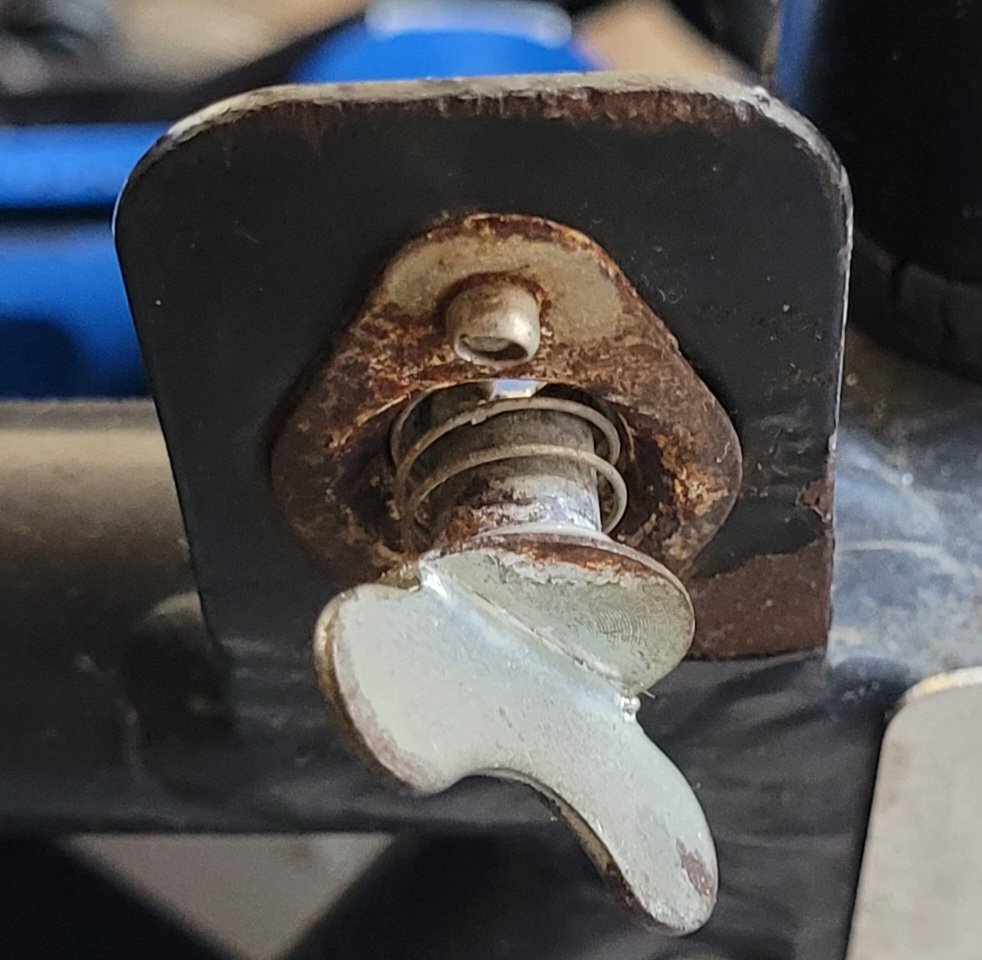
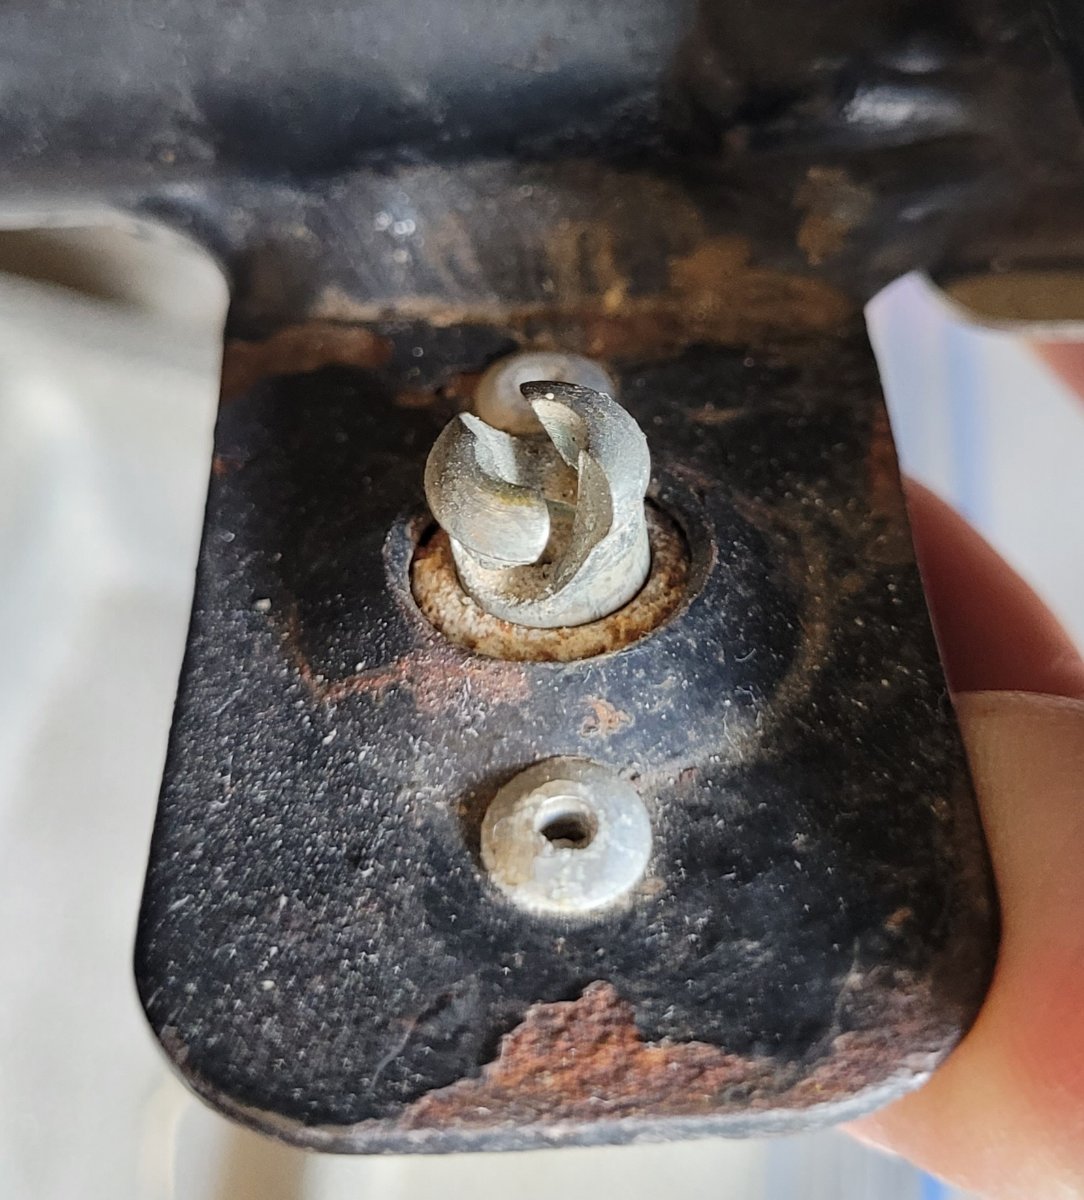
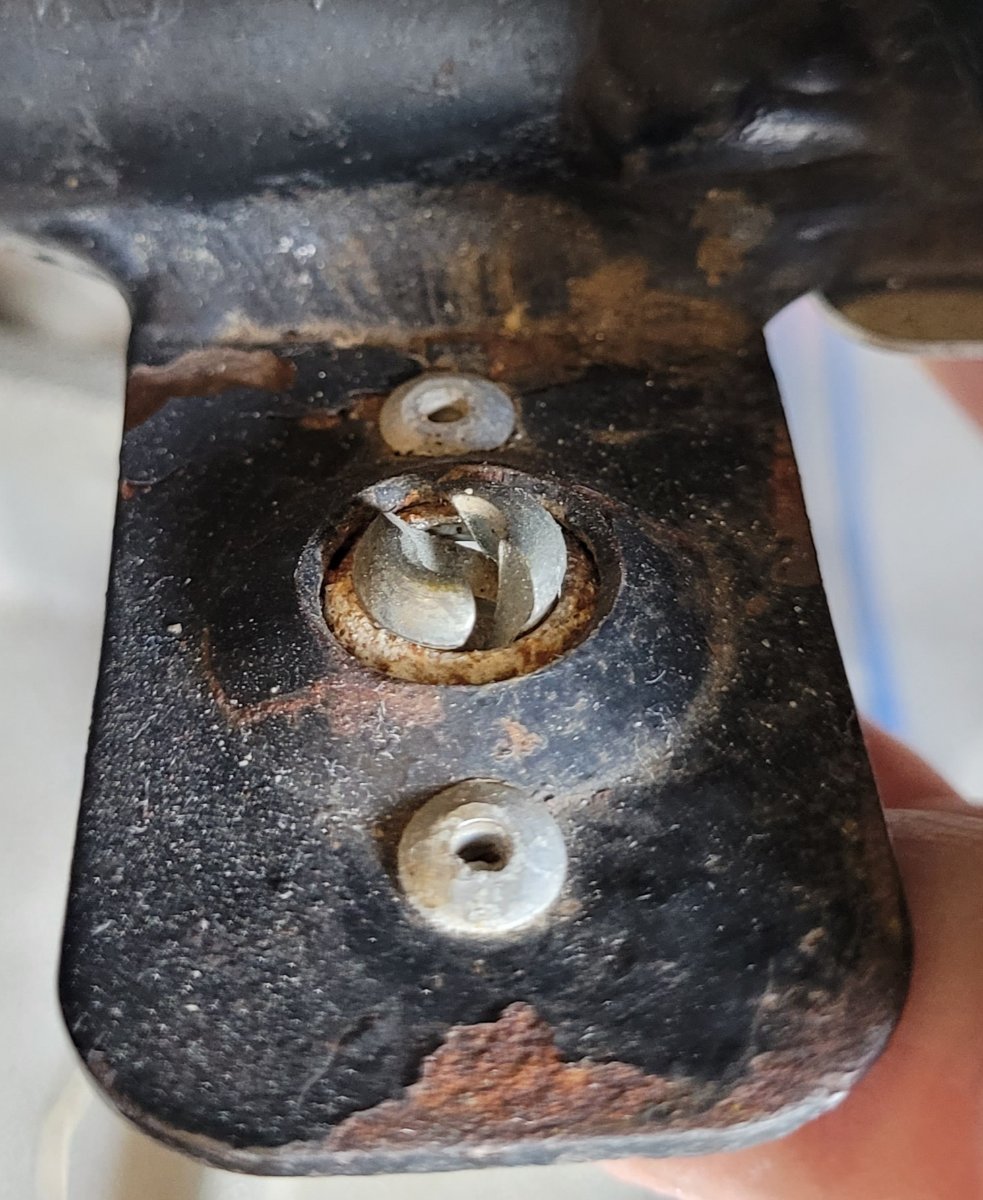
I will suffer the embarrassment for your benefit. Here is what happens after years of neglect and why Im recommending stainless here. Also, although your Dzuz are reversed in order, the captive concept is the same. Your screw should not have fallen out unless there was a constant pushing force on it for a long time. If they had released from the S springs or were never fastened to begin with, its possible they could have been worked through the holes. The winged screws are my addition. I drilled out the old rusty flush ones and riveted these in. Its really easy. You're working on fiberglass so make sure the rivits are light duty aluminum. You gotta know how to rivit if you own a seven.
-
When you know what you need replace everything with stainless steel, if it isn't already stainless.
-
Well I already learned noob lesson #1, when replacing a corroded emulsion tube from an internet vendor and paying the $7 in shipping, always get a matching pair, not just one. The new one won't be cut the same as the 50 year old tube its replacing of the same number. $$$
-
No, not the paper catalog. I only need trunions, spindle and brakes. On the Triumph forums there is much grumbling about Moss's felt seals being too thick. One cool dude pointed me to Spitbits for correct seals https://www.spitbits.com/store/21-HUB-SEAL-MK1-MK3-SPIT-2req-P5153.aspx As for the bearing races, they should be replaced with the cone bearings as a set. I am told they are easily tapped out with a drift and hammer on tabletop.
-
Cool.... I need it, with a good jet cheat sheet. From the website: The LM-2 combines an air/fuel ratio meter, a full-function 32-channel datalogger, and powerful software to deliver a complete tuning workshop for less than the cost of one dyno day. Whether you have a piggy-back fuel controller, race carb, aftermarket ECU, ODB-II tuning software, or a flash/chip programmer, an LM-2 is the tool you need to dial in maximum HP. The meter’s award-winning digital signal processing technology provides data on exactly how rich or lean an engine is running at any load. The LM-2’s self-calibrating circuitry also compensates for changes in temperature, altitude, and sensor condition. The LM-2 also features two fully programmable linear analog outputs to connect to analog gauges, dyno computers, ECUs, piggyback controllers, and other devices with analog inputs. With the provided LM Programmer software these analog outputs may also be defined by the user.
-
OK, I'll plan on feeding my thirsty Xflow more coolant. Lots of guys who know a thing or two put them on thier lumps and the Europeans have been on the closed system for decades now. Im not referring to a coolant overflow catch tank. Thats an open system that recovers overflow by vacuum in the cooldown cycle. Yes, my reluctant old school American but had to look it up too. From what I understand, a sealed system performs the same functions: maintains a system pressure, retains excess, purges air, etc. The main difference is the location of the pressure cap and the overflow tank must be at a high level. A closed system has the venting pressure cap on the overflow tank. The overflow is kept at the highest point and keeps an air space so it doesn't overflow. Its probably less prone to evaporate loss too. The closed system hook up is simple. There is typically a primary connection between the bottom of the tank and some point in the lower coolant flow. On a crossie that could be a T in the HWH line on the water pump. The tank willl usually have a small barb or two for any top side bleed or overflow ports. A typical one would be a standard radiator overflow barb in a thermostat housing. There isn't any critical flow science going on here. The tank is basically an air collection point that holds pressure as well as coolant that ebbs in and out of. There is an added benefit of the elimination of the old pressure cap return flow valve disc thing that should keep you awake wondering if its stuck. Thats one pesky failure point eliminated by just moving the pressure cap to the reservoir end of the system. So enuf selling the European system. The question now is what tank for my American Iron (which wasn't born here but I'll claim it). If anyone has more than three buckets of old Caterham parts, chances are good there will be one of those Vauxhall (VX) kit tanks that bolt to the the two brackets on the forward cross brace. I have one for some reason but I feel the hose route too exposed to the drive belt should it go slinging. I would rather have something neatly mounted to the scuttle wall or a bellhousing bracket. Regardless, Im going for a smallish translucent plastic pressure unit with parallel vertical mounting tabs and a 16 lb pressure cap. Currently looking through the Dorman catalogue. Suggestions are very welcome but no fancy AN stuff. Not racing.
-
Carb jetting is black art magic. Stay away!
-
Thanks, Will. Yes, I will try to make contact. Other issues with this conversion are height differences in engine mounting and the taller Caterham bonnet. I think the Lotus bonnet was about 1.5" lower and Lotus Xflow mounting may have been as well. A tall scoop on an already tall bonnet is too much. Then I may get lucky and not need a hole at all.
-
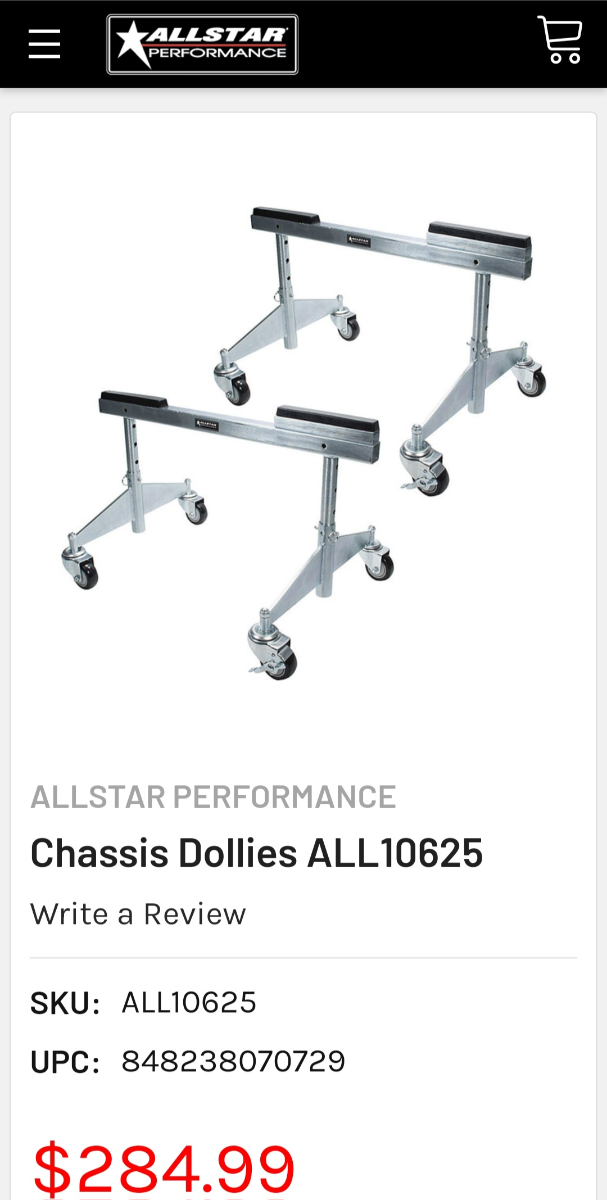
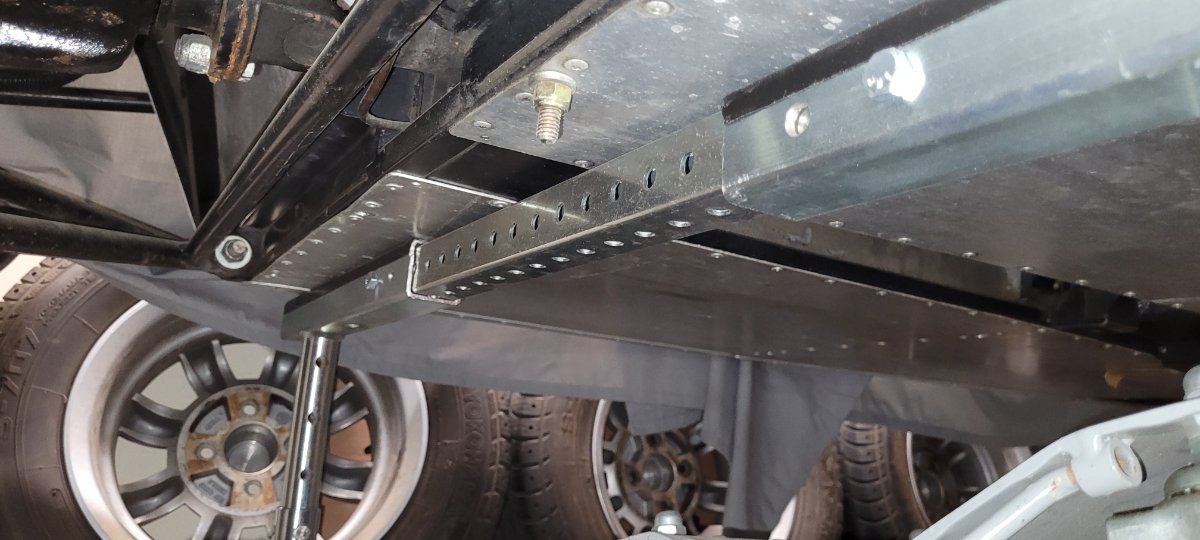
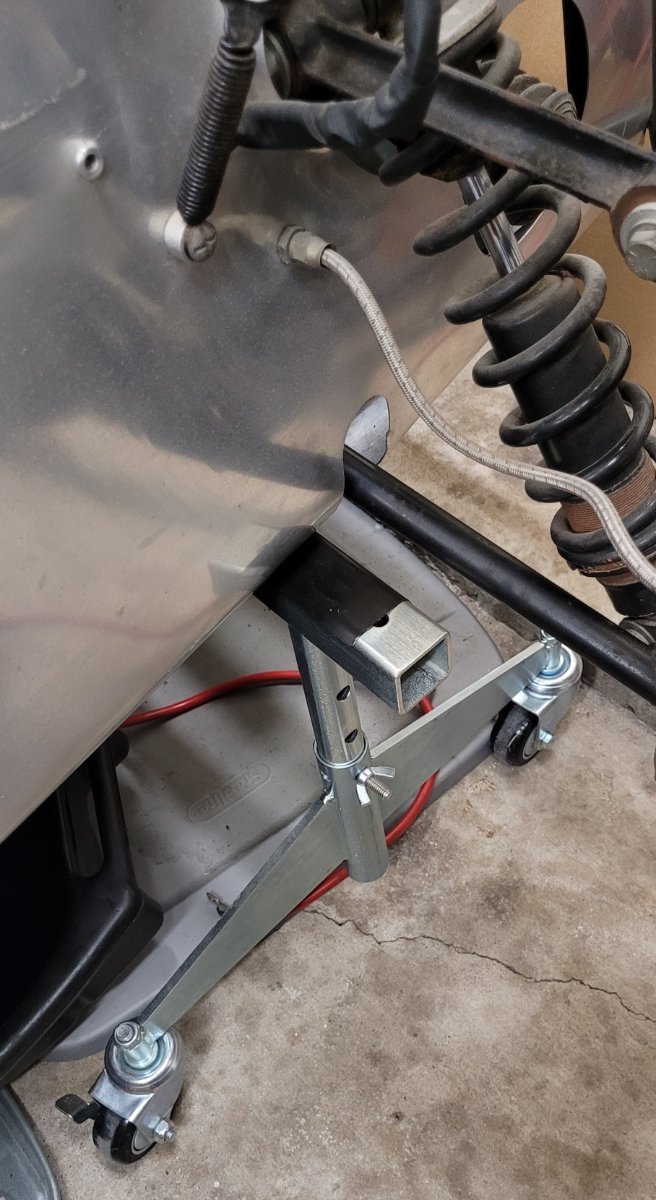
To conclude this thread, I have finally pulled the trigger on a set of chassis dollies. This is a big deal in Sevenship. So much can only be done off the ground and on the operating table. These are necessary equipment if the garage situation, or spouce situation, doesn't permit a full lift in the available space or budget. I looked at them all. I had preferred a set that has lower cross bracing to resist collapse when moving around, but those models don't allow rolling passage between the vertical posts, like on a creeper down the middle. The Allstar model is rated for the weight but without center bracing, so I kept looking at options. Then I figured I could construct temporary bracing to place on the legs to prevent flexing when moving (my garage floor isn't glass smooth). https://allstarperformance.com/chassis-dollies-all10625/ One of the niggles I had with most of the options were the lengths. Most averaged a 30 inch length wich leaves about 4" on each side at the rear. Not much, but to ensure perfect stability and even support I prefer a full length bar. I decided I could cut one bar in the middle and insert a square tube in the centers (I did). Cut one of the bars in half, put a three foot length of 1.25" square steel tube inside, spread the halves apart 13", drill holes on each side and insert bolts or pins to secure. If you decide this is for you, when ordering, check for free shipping. This item is just barely large enough to qualify for freight rate and some stores add extra shipping charges while others don't. Here's the end result
-
Thanks, Mv, I remember someone recommending that one but couldn't find the thread again. Yea, $70 is pretty stiff for what it is. I definitely want the volume. 175482284501
-
Liking the specs on this pump. it quiet, rotary and <4psi. https://www.cbperformance.com/product-p/3193.htm Any experience with it?
-
Where?
-
All good points. To NTP or not, a question every wrencher will eventually ask, especially when considering permanent alteration on something as dear as a Kent engine. We'll include VW 1600s as well. Theres pros and cons to both thread systems. Pipe: straight cut, easy to cut and repair, any depth, fasteners any lenght, must use a washer or gasket to seal against a shoulder, thin wall possible. NPT: angled cut, must use a thread sealant, requires larger area to install, useful where flat shoulders aren't possible, less likely to walk out. The thing I like about straight pipe is there's less room for errors with the sealing due to thread variables or sealing application errors. Just use the correct washer and don't over do it. The same can be said for NTP but NTP requires more experience; you can't have a specific torque value. Whether or not to use pipe or NTP may be decided by the other factors around the hole. Take my adapter example above... I was expecting to use it in the oil pressure sender port by the oil pump. After studying the oil galley more, Im looking at porting on the left (from the rear view) in ports along the rail. I understand that the mains are fed from that rail and the pump feeds it across the block via a very thin passage. I would like to know the exact size of that. There are potentially three points of entry on the left galley rail. If Ivey was able to get it, the new manufacture blocks will have a full porting boss forward of the engine mount. All this changes things a lot. With less restrictive oil porting, lower pump pressures and slower pump speeds can result in less cavitation and aeration and better lubrication with higher RPMs. I need a clutch cover and an expansion tank. Open or closed? I still want to do a downdraught conversion, pushing the limits of a 32/36 DG. Possibly run a FF hacked DG. Hey, I warned everyone in the title there would be the rabbit holes! I will go back and forth a lot on what im doing or not doing but believe me, although progress is slow, I not happy with just having a 7, I love the learning! I want to really know this car, everything. Im just glad I didn't do a lot of stupid things to it 10 years ago and have a lot of broke stuff now. I have a lot of catching up! But now Im almost too old for this damn thing! I sometimes warn people to not go the route of getting stuck in a pile of parts, and as I go through this refresh, I remember some good advice, to keep the projects short and the wheels on. Therefore, the car remin a 90% assembled state as the parts and plans come together. I do have a local vintage FF garage I can give the lump to if I have to. Now we need to focus on getting it back to a driver, but with appropriate caution...an AX block is something to take care of. My current project is assembling a comprehensive bullet point step-by-step guide for the full tear down to rebuild of the Kent engine referring from at least four authoritative sources including the tiny details and tips. No thread or torque indexes; they will be given at the step needed. That's called a Haynes manual, right? No, although Haynes will be in there, theres lots more to know needing to be compiled into one good guide.
-
When I acquired it all I brought the eng and car to BAS to go together the eng had a seized piston to be dealt with. Not sure how much bottom end sealing was new, but on my budget, "running car" was the order. At the least, a bottom end refresh. She leaks oil in the rear that may have been part to blame for the clutch grabbing. After sitting for 10 years, Im tempted to go for a full tear down, hot tank cleaning and rebuild just to make sure everything is flowing, and I can get my red engine. While out, I will get oil ports tapped for eventual dry dump. One thing leads to another and so I have a T-9 and prop shaft ready to go in. Trying to decide on a gear kit. The V6 1st isn't horrible, but a full kit would be nicer. The brakes need refreshing after sitting 10 years. I just acquired new fronts and am needing to inspect my master to see if its rebuilable. While collecting the refresh parts, I'm assembling dry dump items for phase 2 after I get a runner going. Phase 3 will be a Quaife ATB diff. All that during some body repairs. I am in a situation where the budget is slim and parts need to come in under cover of darkness... Then when the time comes to work, it needs to go together fast. It cant be an ongoing slog of wrenching in the garage for weeks. Somebody will have a lot to say about it. I hope this partly explains the progress pace.