NSXguy
-
Posts
216 -
Joined
Content Type
Profiles
Forums
Store
Articles
Gallery
Events
Library
Everything posted by NSXguy
-
The orientation was already established earlier in this thread. You’d only have had to compare the photo of the pump they sent you with the image I shared to see that their response was incorrect. These pumps (and all related variants) are not getting reinvented so the orientation has been the same since the early days.
-
Thats mint! Plans for it?
-
By the way, attached is a picture of an integral filter on a FF type racer for reference. -Dez

-
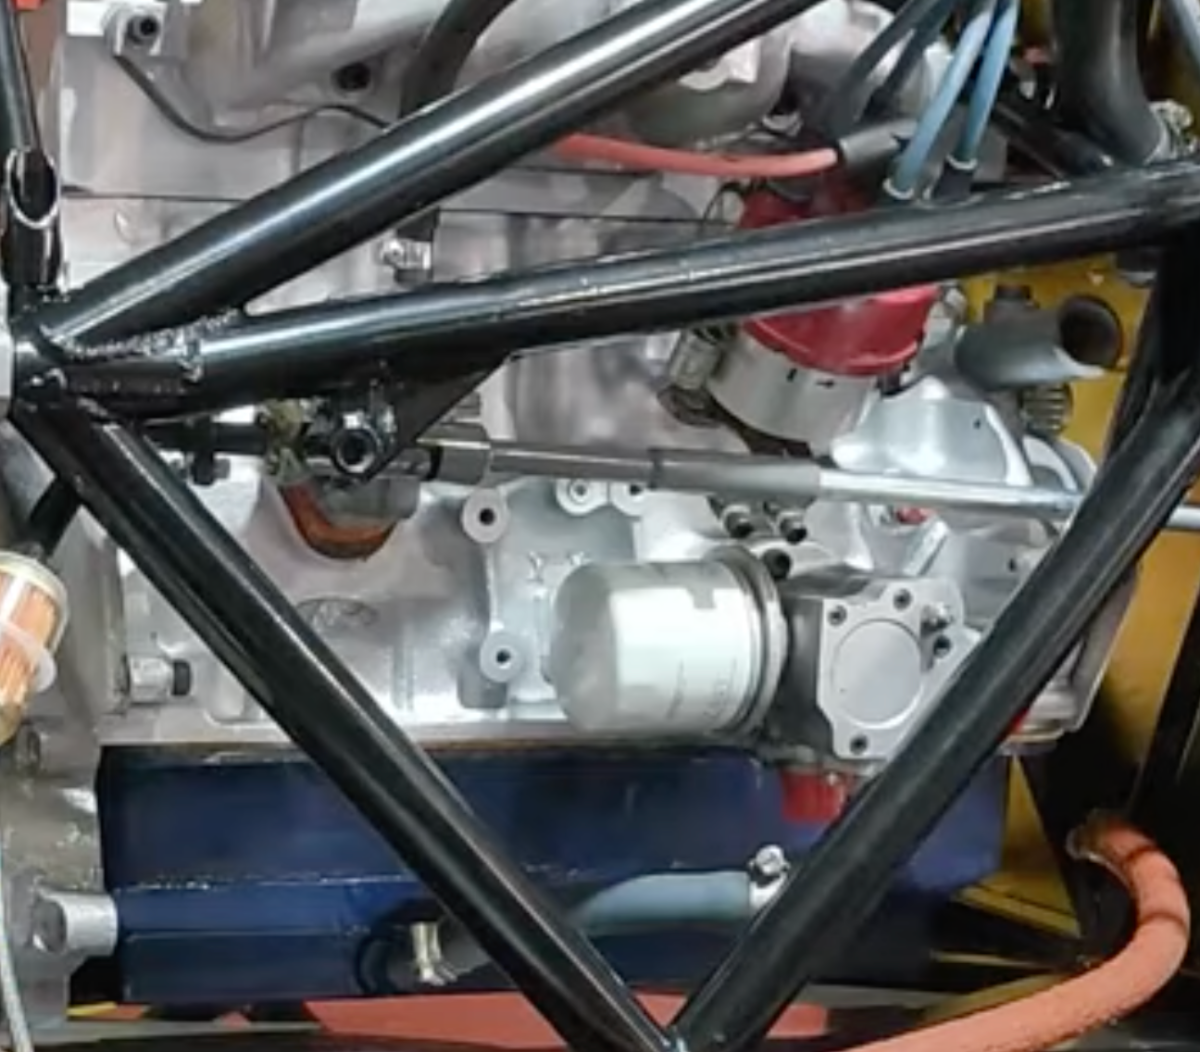
The mount you have is to be used on a Kent with 4/5 port dry sump pump (i prefer 5 port for ease) and remote oil filter housing. The intergral filter dry sump pumps don't work with the Kent in a 7 based care due to how the engine is supported as the filter is typically oriented such that it points towards the rear (gearbox); thereby fouling on the engine mount. However, they can (and often are) used on FF racers or similar along with the other vintage cam/timing cover mounted dry sump pumps. Hope that helps. Dez.
-

So, tell us a little about yourselves
NSXguy replied to slngsht's topic in General Sevens Discussion
Must be the one Adam recently imported. Nice car and congrats! I’m in CT -
that bung seems like it'll sit the sensor element way too high.. hope it's not an optical illusion.
-
https://www.amazon.com/gp/product/B00ZYNNBH2/ref=sw_img_1?smid=A1E2MGYDTPEYH7&psc=1 I've been thinking about ordering this one to play around with and see what would need doing to fit on the xflow. The architecture, mounting and specs looks promising enough... at worst, may need some modding, but shouldn't be too bad.
-
Anyone got one of these kicking about they fancy selling. i'm after one to modify for my dry sump conversion as Caterham doesn't stock these. Thanks Des.
-
1962 Lotus Super Seven Clutch Master Cylinder
NSXguy replied to TEM's topic in General Sevens Discussion
my very early cat s3 came with a .70 brake master (lockheed AP). the clutch master is 5/8. -
Save the Date - USA7s at NJMP Drivers Club - September 6/7, 2024
NSXguy replied to Croc's topic in National Events
Can’t wait! -
are you guys running open throttle bodies which will require Alpha N or a plenum with a map sensor which will require Speed density? Your hardware config will drive a different tuning strategy for each scenario.
-
They all do essentially the same thing . Maybe a slight difference in fidelity of data, features and what is included in the package. I have no recent experience with those two but both are reputable companies, so you should be fine with whichever you prefer. As long as it is not a narrowband sensor. I suspect they will all be using lsu 4.9 sensor elements or newer which is the way to go.
-
I use the AEM 30-0300 X- series on mine. Comes with everything you need to install including the weld on bung. you can use it as you intend. I originally planned to do the same, but as an EFI guy… I came to enjoy being able to monitor my afrs on the fly. The unit also has data logging capabilities (needs extra work/wiring to implement) also, in reference to your photo, you can mount it after the merged collector and after the slip on connection on the exhaust (that extra inch or 2) won’t significantly affect afr readings.
-
Not the best photo, but you want the sensor mounted as vertically (upright)and as close as possible after the merged collector to get accurate readings. While more aesthetically pleasing, mounting the lambda sensor close to horizontal or worst under the exhaust pipe(sensor element facing upward) will result in fouling from condensation after many cycles.
-
I think you should have your tuner or a tuner sort it out because: 1- if you need to do anymore more than cold start enrichment, then the engine wasn’t properly/completely tuned to begin with and should have a session on a dyno or street tuning with logs taken. In which case, it’ll get tuned at operating temp, then go back and clean up the cold start enrichment 2- cold start enrichment as I’ve referred to is not used for “cold starting” per se… in the tuning world it is called that but it’s actually Engine temp fuel compensation and is one of a few tables could be used to address poor atomizing of fuel at colder temps. there could also be a post start fuel comp table that also adds injector PW for a few seconds after the engine start and then phases out. The ET fuel enrichment runs much longer until you reach operating temp(typically should be 0 fuel comp after say 60/70 deg) 3- there is typically a different cranking table that dictates tps and fueling for cranking (starting) at different temps. an easy way to tell if it’s an airflow/fuel model issue is to check (if you’re running in closed loop) how much short term/total fuel correction the ecu is having to do. If it’s significantly off (>5%) then, you need to address. if everything is good mechanically and with the tune, you shouldn’t be seeing knock at those rpms as you should be no more than 20-25degrees. Is a knock sensor fitted?
-
You probably just need to tweak your cold start enrichment values to sort out cold start issues. There should be a fuel enrichment table based on engine temp ( which have probably not been dialed in if the car was from TX as the car/engine would not have seen the cold start temps you see in Iowa). This table is used to compensate for poor atomization and wall wetting effect of the fuel at really low engine (coolant temps)... that explains why it runs poorly at cold start and runs fine(better) at operating temp. PS- you should not need to make any changes to the ignition maps. If all of this is not intiutive; i suggest have your tuner sort it out. These days, there are solutions for remote tuning or you can take some logs, send to your tuner and they will make the changes for you to load back into the ecu. -Dez.
-
Petronix will be pretty good on a road car. I've tried 3 different electronic ignition systems on my xflow cat and the petronix work pretty much out of the box (assuming you're getting the matching flamethrower coil with dizzy). Also make sure you have good coil leads, that the your coil wiring is correct, engine at TDC cyl 1 compression (at proper orientation, rotor should be facing ~ 10 o'clock if you are looking down at dizzy and the wire lead coming out the dizzy should be coming out around the ~8 o'clock mark). The dizzy adds about 24 degrees of mechanical advance (no vac adv), so you can start with something around 10+/- degrees static depending on engine spec (targeting ~32-34 all by about 3.5k rpm). As long as your fueling is good, it should start and once warmed up, optimize everything to suit.
-
Apologies if i didn't catch the whole gist of the thread as i skimmed through it, but as i understand: 1-Car was running good (as in properly tune fuel and air models; if speed density, then your VE is spot on and you're running in close loop with minimal STFT corrections)? Typically in tuning lingo, Base file is typically just a start up file. should not be on a track on a base file. I assume the references in your thread may be down to semantics. 2- At the track, you had an accident with your wideband o2 sensor, leading to you making a hardware change (new o2 sensor) 3- Since installing said hardware, engine hasn't run the same. No other hardware or software changes? I'm not familiar with your specific tuning software, but generally, If the only change in configuration was hardware(new wideband), then the sequence would be, install hardware, reconfigure and recalibrate input in software, run car and verify your models are the same as before, make tweaks if necessary; rinse and repeat. Worth noting, if you tune/calibration is older and based on a different style wideband (say LSU 4.2 or other) and your new wideband is new style (say, LSU 4.9/LSU ADV) then you will definitely want to reconfigure; including controller if needed. Other tuning points. Generally you will initially tune in open loop, holding different variables constant or off (focusing on one element at a time), and once the model is good and stable, turn on closed loop and that should yield a pretty well manned running engine with mininal corrections in the background (STFT, LTFT etc). If my assumption in point #1 is that your car was already tuned (and not a base start up map), then you should not really need to go back to open loop, you should already be running in closed loop and just make any necessary tweaks. But going back between open and closed loop is not an issue if you know what you are doing.
-
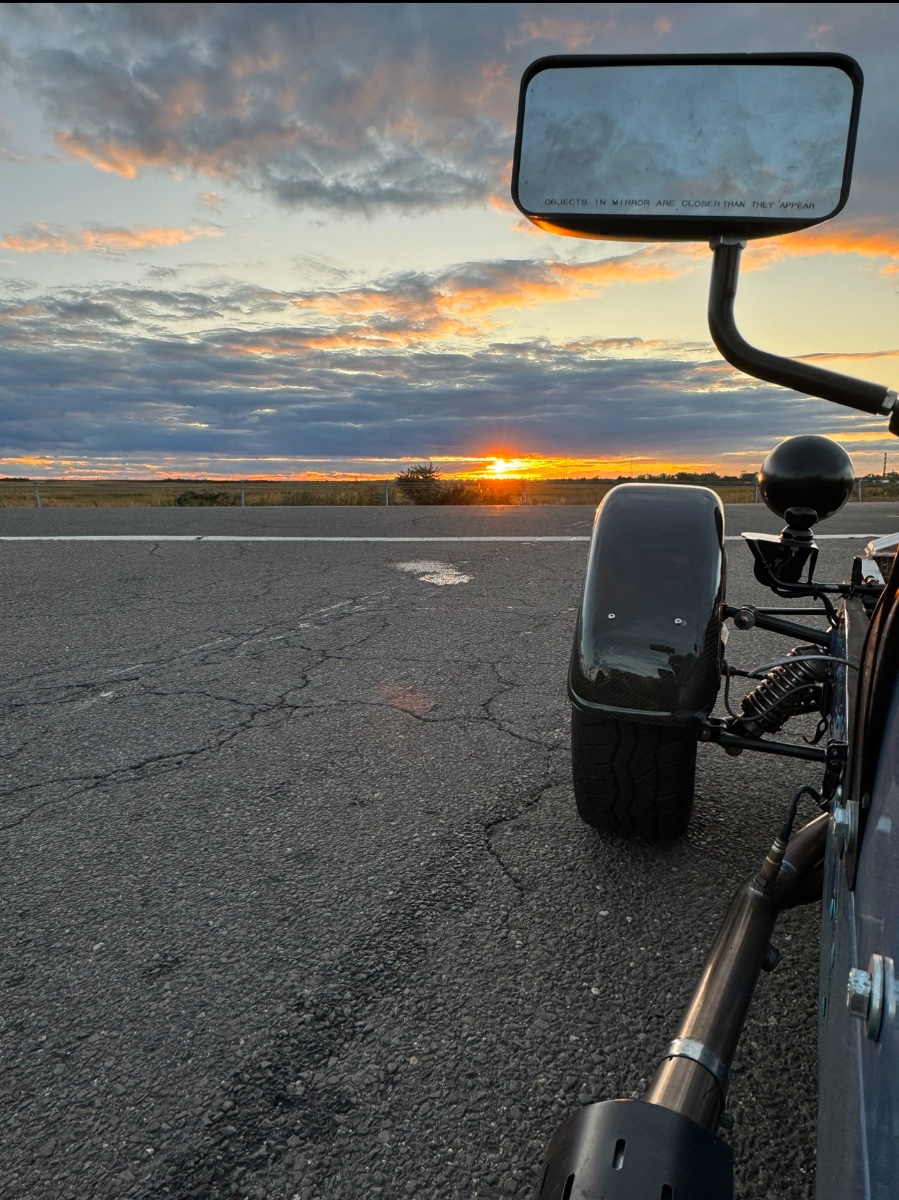
Random photo during one of my shakedown blats
-
I shared a doc here that should be in the file downloads that should help you sort any of the functions. It's actually for an 80s cat but i was able to use it to when i redid the wiring on my late 70s chassis (84 titled) cat. Some of the wire colors were off but the circuits were all there; should be pretty intuitive to sort whatever you need. The purple/purple black wire should be the horn +12 Actually here's a link to the file.
-
The arch chassis serial number on my very early cat was on the driver side(left) rear shock tower. If your frame has been painted, it might help to scrape until you get to bare metal. I had to on mine as I initially couldn’t find but alas there it was, under 2 coats of paint.
-
Adding/reiterating what has already been mentioned... Whatever setup you go with, always good to double check with a gauge that you are getting the required fuel pressure to the carbs. -you definitely don't need 6an lines (Ok for EFI, overkill for the carbs), 5/16 is what you want and most low pressure electric pumps come ready to accept that size line. -My setup- run a short hose of 5/16 from the tank to pump (mount the pump as low as possible). mine is mounted in the rear on a custom cradle. then another short 5/16 hose to a 5/16 hard line running from the rear through the tunnel (supports/hangers needed) to the engine compartment and as close to the engine. Once there, short pieces of 5/16 connecting to the adjustable (1-4psi FPR), then fuel filter and then carbs. - **Double check your Fuel pressure. I'm using: - Mr Gasket 42s fuel pump ( Previously had a Purolator 42s) - Many units to choose from. just make sure it is less than 4psi. I even like the unit MV8 posted. May try it out in the future. - Holley 12-804 adjustable FPR, again many in this style to choose from. - replaceable 5/16" inline napa filters
-
ive got a 1600 xflow in my cat.
-
John is local to me and rebuilt my type 2 box. I have a spare t9 and can probably find you one. Lots of friend in the Cosworth/Merkur scene.
-
@Bartman - mine is a very early Cat imperial chassis from the late 70s so similar to s2 in many ways, from my observations . That said, my front lower wishbone uses a 1/2”-20x 3.5” long bolt (nylock nut)in the rear and a 5/16x1” bolt in the front (use spring washer and plan washer here) hope that helps.