copy.jpg.dd4bdbb41ccb3ea8a585d1ad217ef61b.jpg)
.jpg.da03509438cc84820b8cf5d64db570ab.jpg)
Austin David
-
Posts
416 -
Joined
-
Last visited
Content Type
Profiles
Forums
Store
Articles
Gallery
Events
Library
Everything posted by Austin David
-
awesome! The literature wasn't clear if that pump was a true positive displacement or not. On inspection I can clearly see it has their "gerotor" internals, and looks like a check valve up top also. Thanks!
-
@JohnCh what model fuel pump did you end up with?
-
say more. Do we have leaves or did that happen already? I forget -- I used to work in the foothills but I've been lowcountry-locked since the covid
-
.thumb.jpg.885191d302e6c3704c848a8f5ac3a612.jpg)
Photo of your car you took today
Austin David replied to Xhilr8n's topic in General Sevens Discussion
If we're doing selfies...
-
In front of the shifter, I assume. I looked at placement in that area and didn't love it -- had to be too far forward to clear the shifter, and was too tall (phone too wide) to sit well. Have you figured something out?
-
That's fantastic. IIRC those are pretty good numbers from a 1.6. I don't recall the intake from the NA -- is that a new manifold, or did you just clean up the original really, really well? Interesting that they make you fit a bumper but not a catalyst. The paint looks good with sunshine on it!
-
Photo of your car you took today
Austin David replied to Xhilr8n's topic in General Sevens Discussion
having gotten it where you want it, how long before you have to go back to re-polish? is this like an annual medium/fine project, or can you keep it washed and waxed / coated, and go a couple years between applications? -
Are you required to have a bumper? The thing you made looks great but I'm wondering what others in Canada do. As a kit does it have to meet the modern specs, or can you skate by on the original 7s design (no bumper) ?
-
I already ran the fuel pump, and more or less followed your lead with the filter. Literally the cheapest part of this project, an inline filter costs about as much as a single AN-6 fitting. I just "need" to re-hang the pump (or maybe a new one) to get access to the last ~ 8L in the tank. I've had more success with PETG-CF and fuel over time, PA creep kinda weirds me out in an important application. I see there's also options for epoxy coating if it ever gets weird. Thanks for the added photos, those answer my questions!
-
@JohnCh -- I think I starved my "stock" in-tank pickup last weekend with a relatively calm left turn, 209 miles on the tank. After it stalled I let it sit a sec, it fired back up and no further issues; I was already on the way to the fuel station. For the record it took 7.463 up to top of the neck. I went back over your build and I think I understand your final in-tank setup, but I'd like to confirm: - positive displacement pump - hydramat, offset, directly on the bottom of the pump - pump hanging from a custom 3d-printed lid, ported for the two lines + a few passthroughs for the pump + gauge lines And I saw a note that the hydramat slightly above the tank floor Questions: 1) why not position the pump and mat directly on the tank floor? is it just an issue of getting the hanger exactly right, or was there another problem? 2) did the mat fit under the baffle, or did you need something small enough to fit on the left-hand side of the tank, before the baffle? 3) what material did you use to print the lid, and can you share the STL? Given the clearance under the boot floor I'm pretty sure I'd like to angle and offset the fuel lines, but I'd love to see what you ended up with. 4) I assume it is still working well after a few years (and hopefully many miles) of use
-
Great wheel choice, those look awesome
-
The Regular Summary of Classified Ads of Se7ens Found For Sale
Austin David replied to Croc's topic in Cars For Sale
*cough*vacation*cough* -
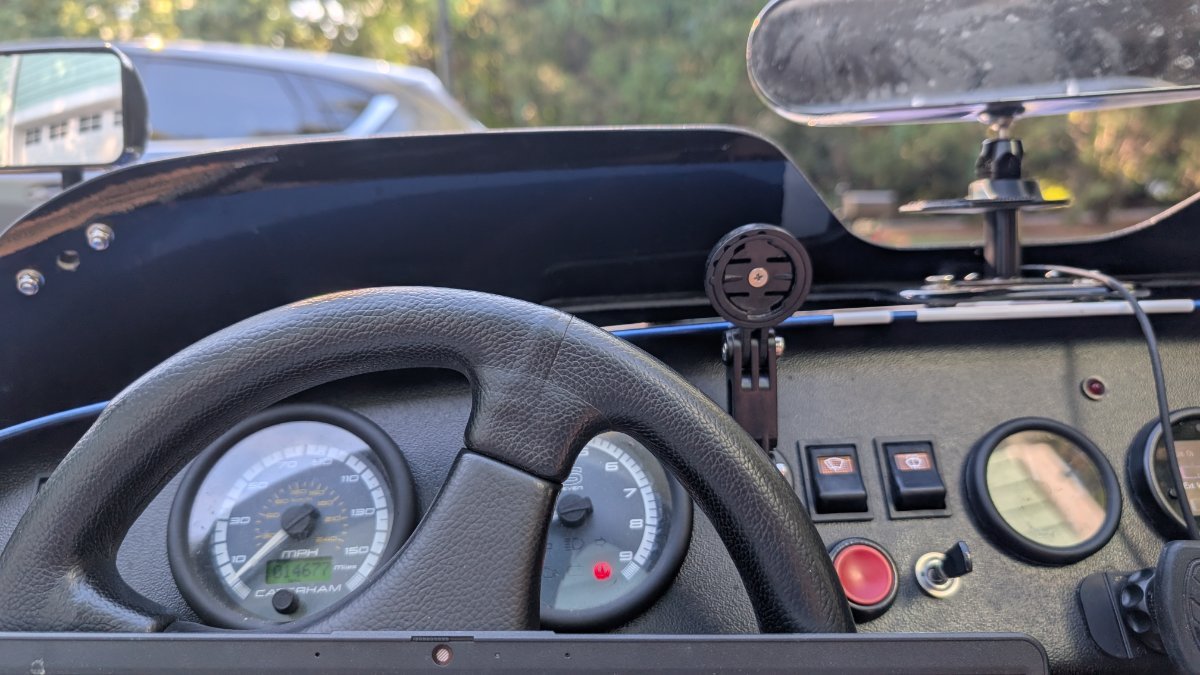
fwiw I also have hte phone, VHB-taped to the right of my wheel, approximately not blocking the oil pressure, water gauge, and blinker switch. I use a scosche magnet mount and the phone has not departed yet.
-
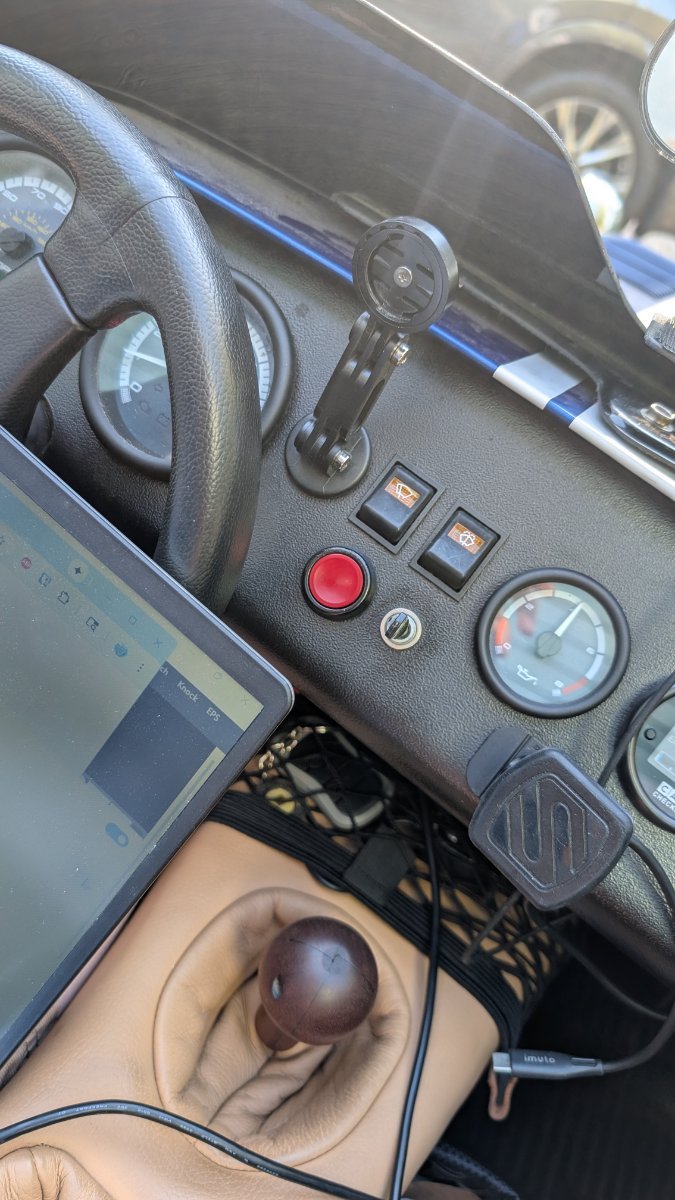
that looks great. I like the original mount because it can fold down and under my tonneau cover, which I use a lot. Grabbed a couple quick shots of the mount this morning while tuning ... note that I usually just leave the device attached, I had it off this weekend to charge it and haven't moved it back.
-
Mine (moto 1) is stuck on with VHB tape and the bracket. I could print whatever if you cover shipping. I like the bracket because it puts the gauge up above and to the right of the wheel, where it's closer to my line of sight.
-
2025 Western NC/Upstate SC/TN, let’s go for a drive.
Austin David replied to UglyFast's topic in Southeast
bumping this thread for a leaves viewing? Had the wettest summer imaginable (and not in the good way), looking forward to actually getting away from the house for Summer III / Fall Preview -
I was actually planning to use this for a trip up torward Greenville, and in the occasion that I talked one of my boys into going with me. For solo trips I definitely have enough space in the passenger seat. Hopefully if we get a good dry weekend I'll be able to get up that way in a few weeks
-
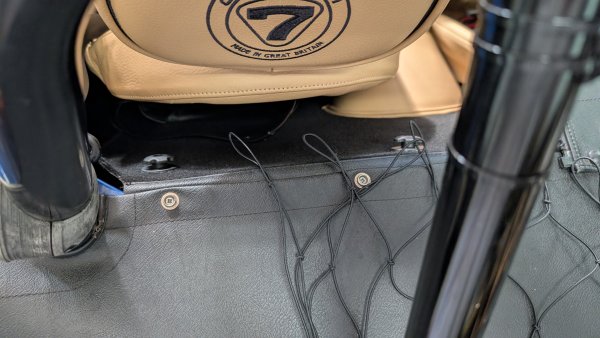
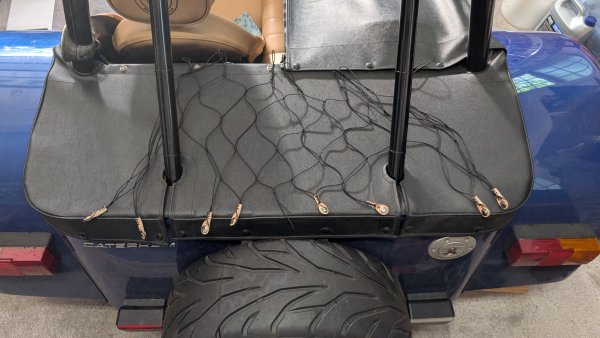
@UglyFast asked for pics, but maybe interesting for others? I made up a little cargo net for my boot. There are snaps to fit the aft-facing boot cover, then loops to go inside the cockpit on a few knobs i've got velcroed to the carpet. The material is 1/16" UV-friendly bungee, plus leather for the snaps. It's pretty stretchy, enough to stay attached and still pull over anything I can fit under the rollbars. The outer two snaps on both side have an extra gap to make room for the rollbar. The 1/16" bungee is light enough that it should hold just fine on the snaps without popping loose, but strong enough to keep my stuff from flying into the road. Intended use: loosen the boot cover and roll it up inside the boot Pack backbacks / duffels / etc in the boot, under the rollbar Stretch the bungee over the stuff, fastening in the back and front
-
From the album: Austins' album
-
idk what this is. hopefully I can edit later
-
-
From the album: Austins' album
-
From the album: Austins' album
-
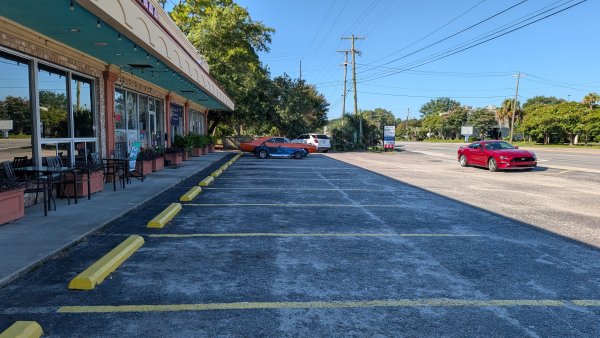
Photo of your car you took today
Austin David replied to Xhilr8n's topic in General Sevens Discussion
Neighbor and I went to a local car meetup on Sunday, parked in the shade. We saw this hilarious shot after the mustangs cleared out.
-
Duratec (2.0 Caterham): coolant tank, level?
Austin David replied to Austin David's topic in General Tech
I haven't touched the coolant tank since my last update, 1000 miles ago. Not even looking at it. I've been carrying 2L of coolant in case I need it, but temps have been stable and generally doing what I expect. The cap has been replaced, th tank is new (2021 car) and there are no nicks or scratches at the top. My working assumption is that I expect it to rest with coolant in the tank, and I have just been overfilling it. Performance of the cooling system seems fine with at least a thousand miles since I last looked. -
At request of @pethier some pics of the "final" install. The air filter is inverted, I haven't had luck sourcing a black one but it doesn't bother me enough to try harder. Overall it came out perfect at about 5'. If you look closely there's a gap at the bottom aft, where the hood swings out. I could have fixed it with more taper at the back (less cutting), but the #3/4 ITBs are still tucked in a bit so ...