JohnCh
-
Posts
3,406 -
Joined
-
Last visited
Content Type
Profiles
Forums
Store
Articles
Gallery
Events
Library
Everything posted by JohnCh
-
Loctite 648. I have 680, which is also used for tight fitting slip joints, but after looking into the specs, the 648 has much higher breakaway strength and that strength is not diminished to the same degree with heat (100C). Given these plugs are in the head which can get hot, and coming loose can lead to bonnet damage, it seemed a prudent delay. -John
-
I think it's a little late to tell me that -John
-

2023 USA7s HPDE at NJMP Lightning - CHANGED TO October 14 and 15
JohnCh replied to Croc's topic in National Events
The CSR (silver car) and Race nose cones also have the vent. A 620 nosecone adds a scoop for the intercooler. -John -
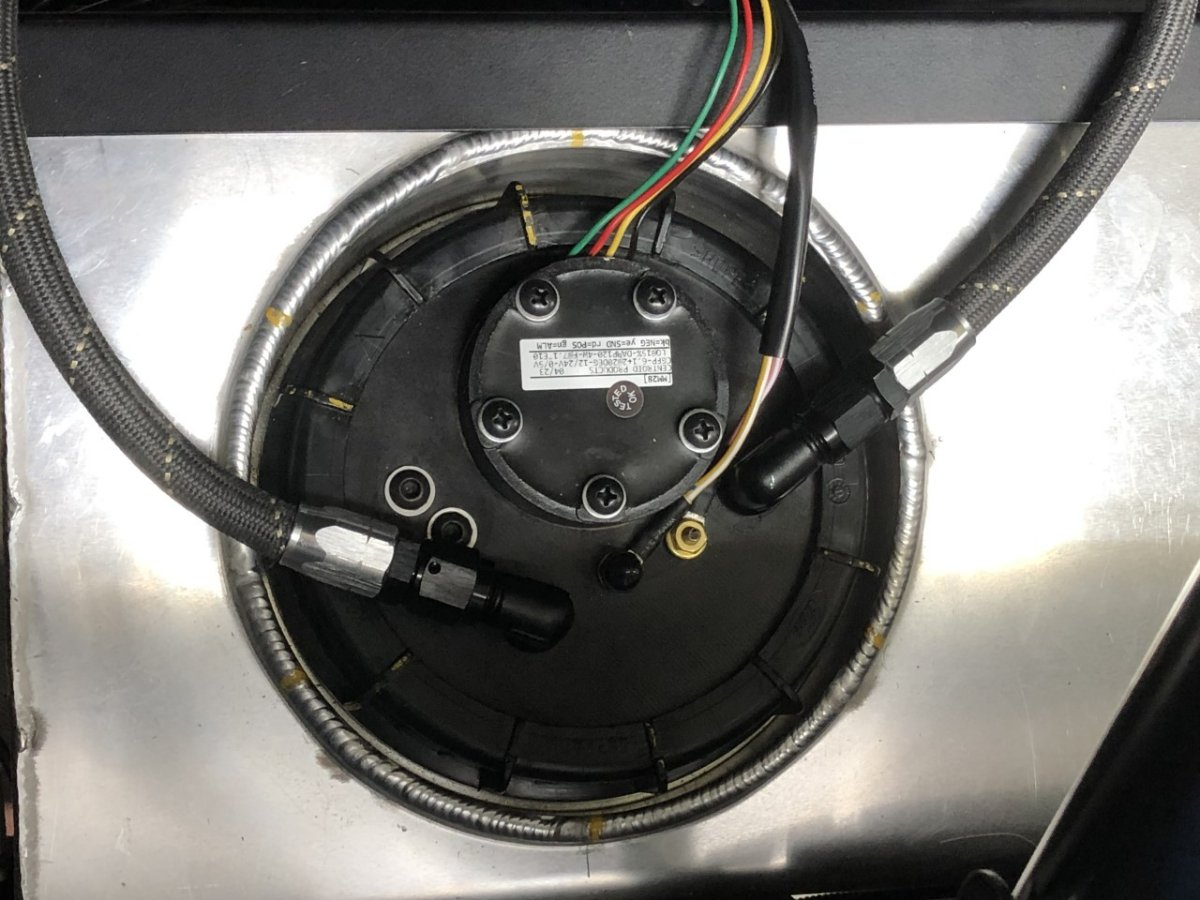
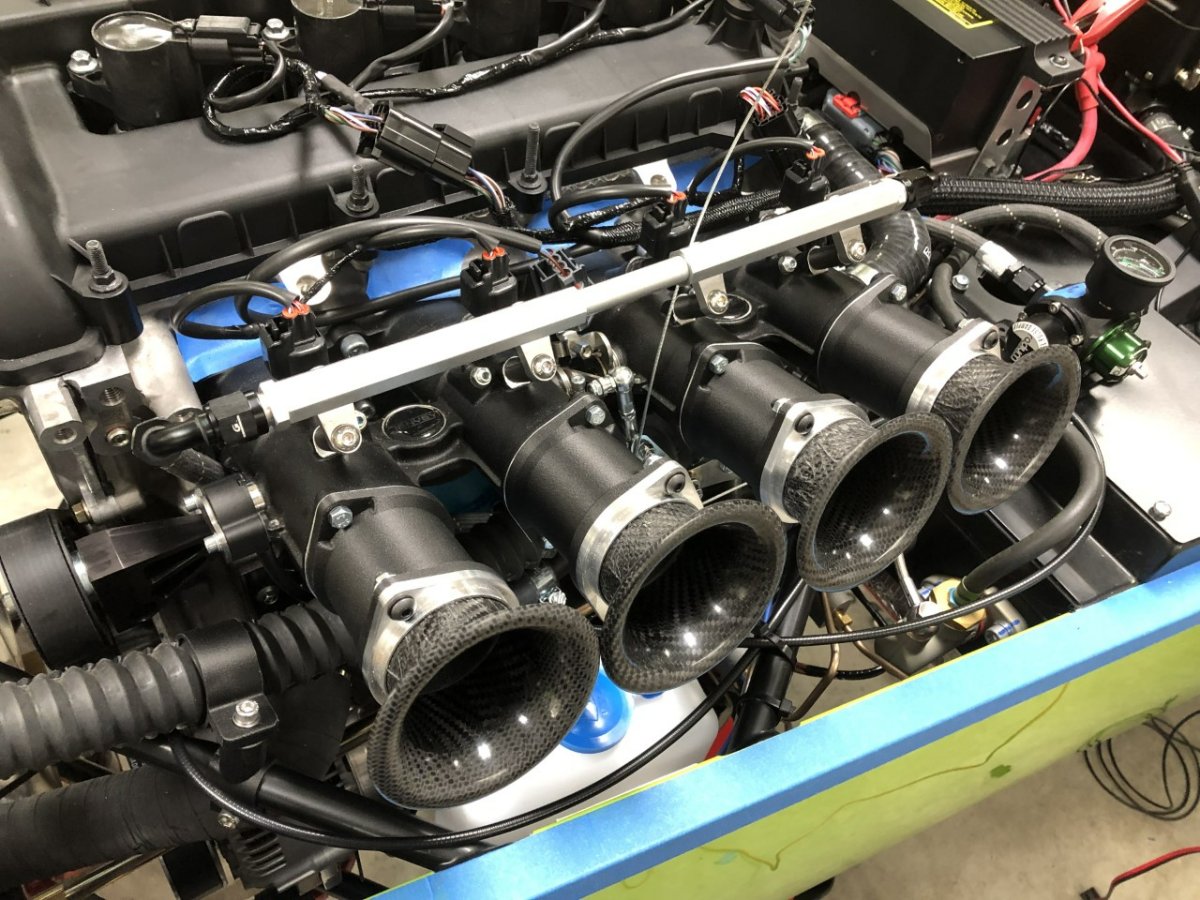
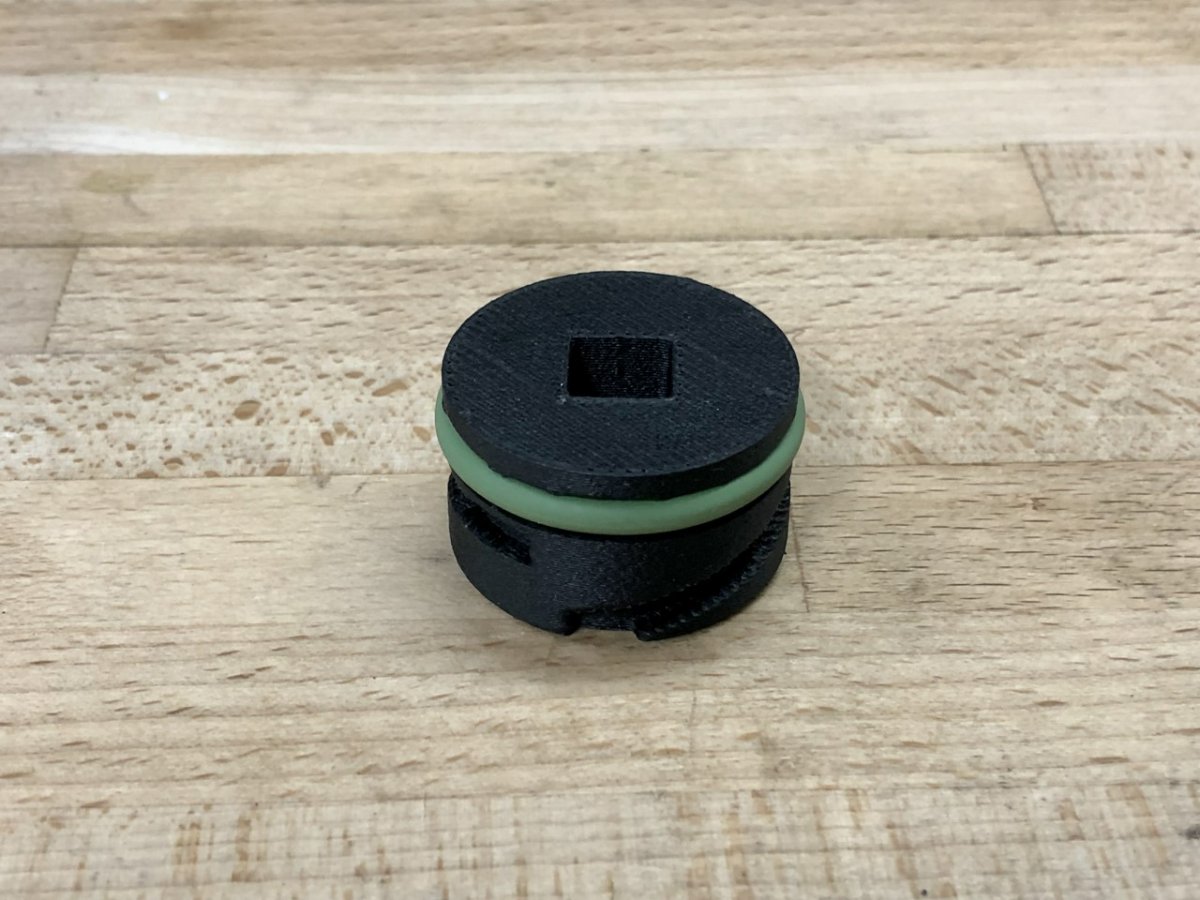
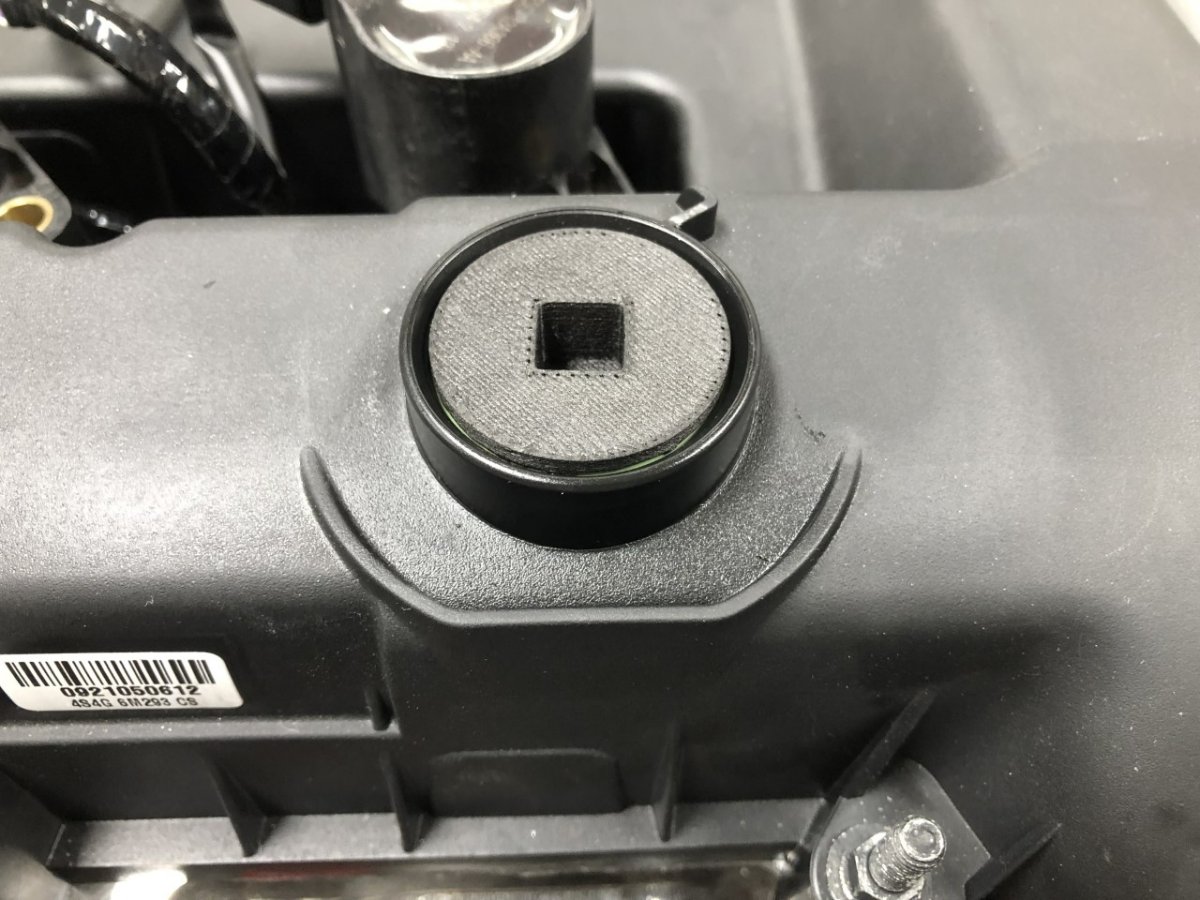
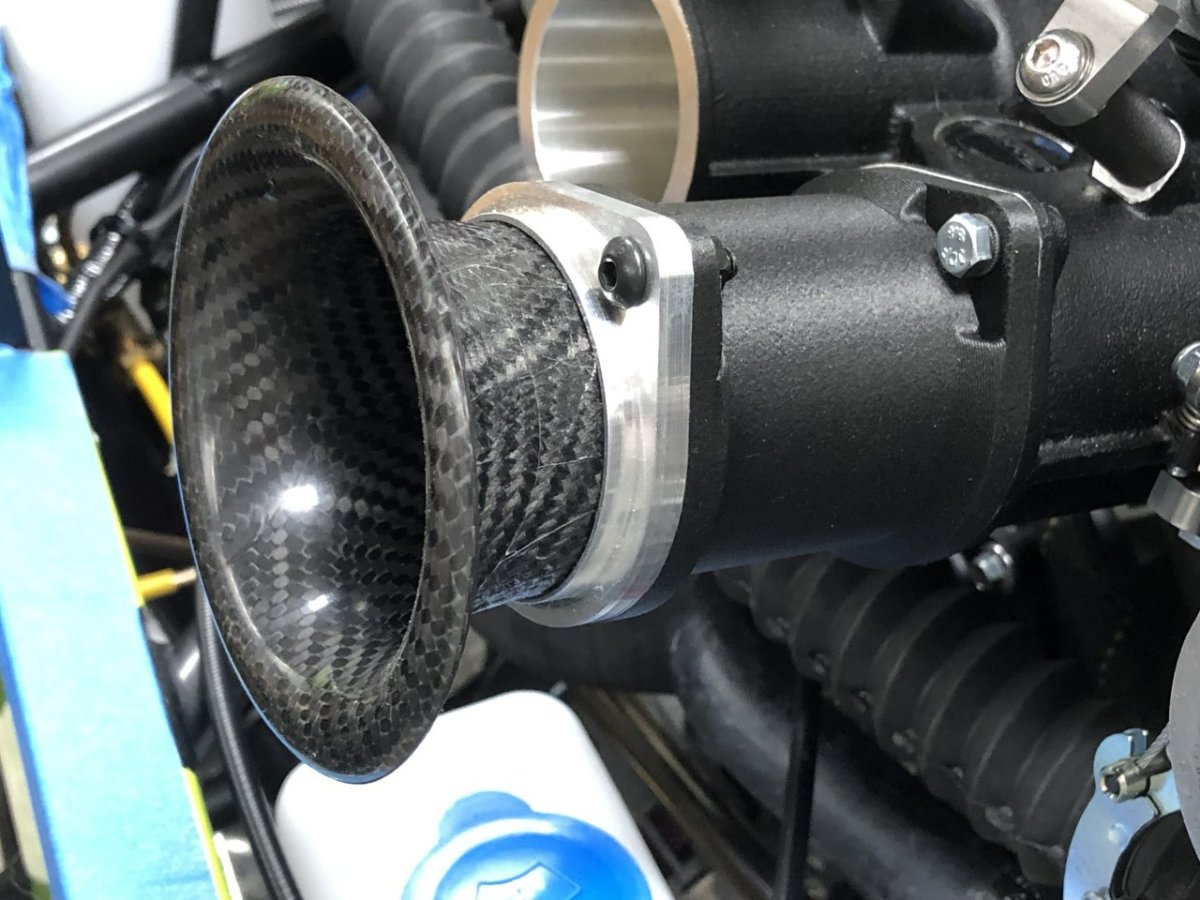
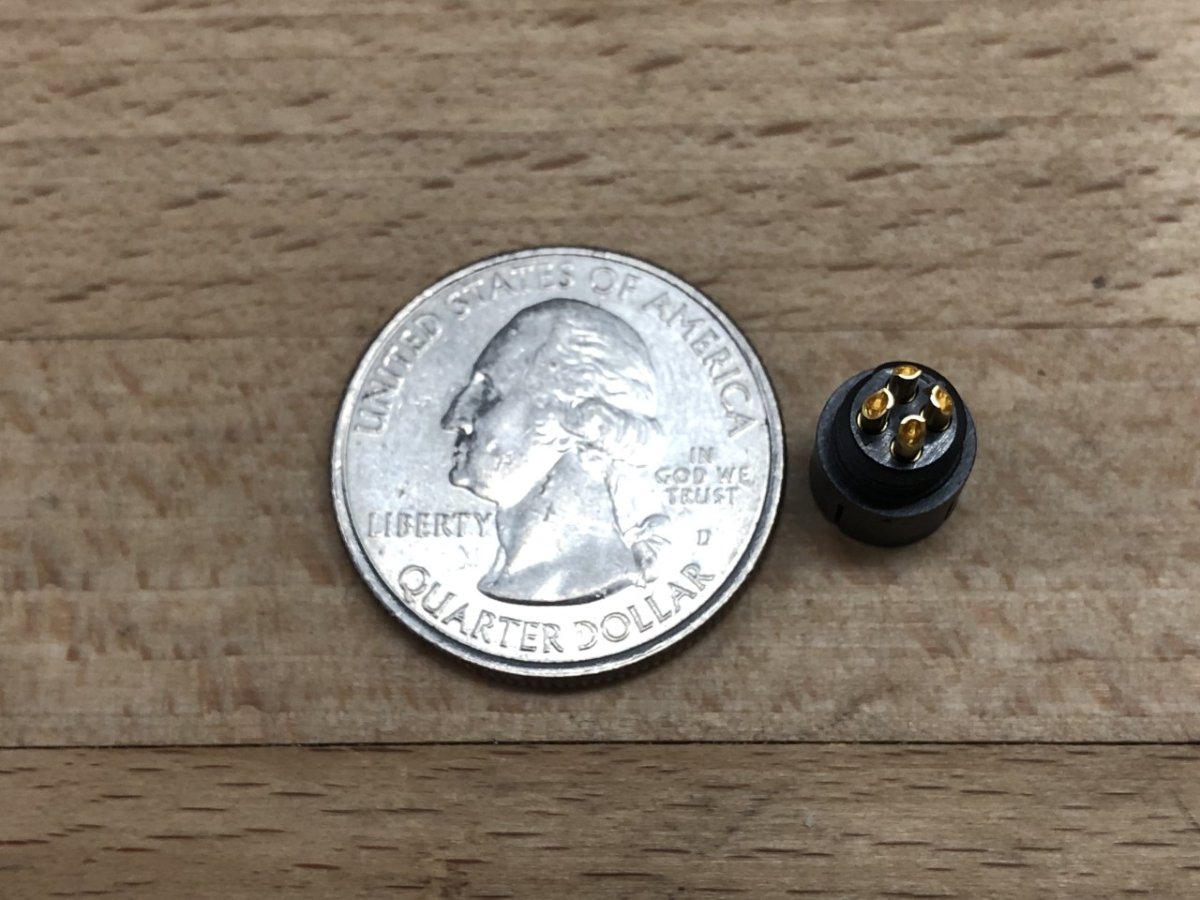
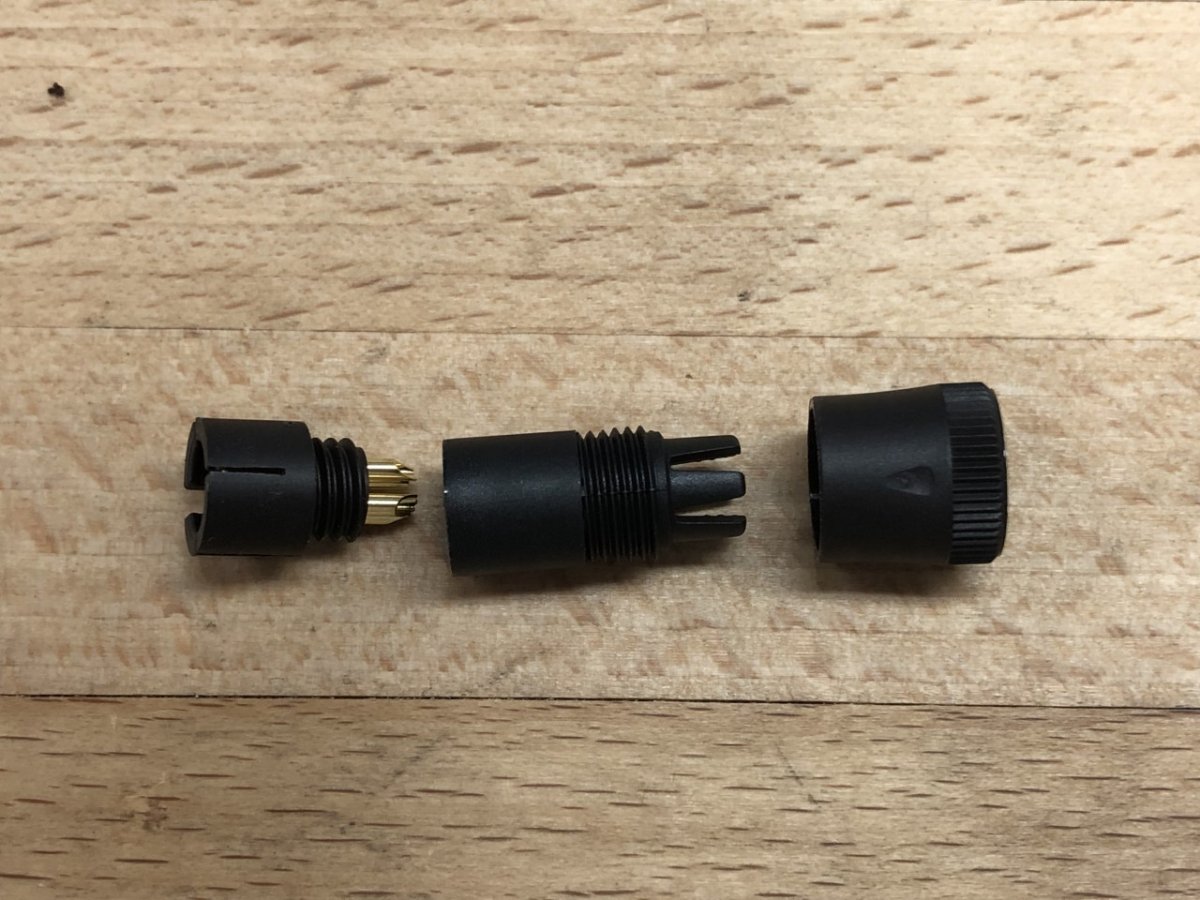
I did a number of things over the past week in anticipation of starting the engine this weekend. Unfortunately, that attempt will need to wait a few days. It turns out I forgot to order the special Loctite recommended to seal the aluminum plugs that block the unused injector ports in the head. On the positive front, I was able to speak to Variohm this week to get the calibration specs for the factory oil pressure sensor. They were very nice, very helpful people. With that information programmed into the AiM, it displayed the expected 0 psi with the engine off and reached about 46 psi while cranking. Having oil pressure at this stage was a relief. Next was prepping the fuel system. Which didn’t work. At all. After checking fuses and confirming there was no continuity between the pump and fuse box -- huh?? -- it dawned on me the fuel cutoff switch must have tripped. With that reset, the newly arrived capacitance fuel sensor worked, and the fuel pump kicked in. Aside from a slight leak at the pressure gauge, things were tight, and pressure was set to spec. Spark plugs -- which are something else I forgot to order earlier -- were gapped and installed, coolant was added and bled, throttle butterflies were set to 0.05mm and the TPS adjusted to 0.37v…and then I discovered the Loctite issue. Oh well. With time on my hands, I cleaned up some of the wiring under the dash (not that you can tell), added a Deutsch connector for power and ground for the AiM, and also did final prints for the new fuse box, oil filler cap, and air horn extensions. I'll save photos of the fuse box for when I do that install next weekend. -John

-
There are a lot of unused connections on current harnesses so that part is not a surprise. Reading the thread linked from your other thread about the unused connector, it appears Caterham only uses the MAP sensor for barometric pressure in the Sigma (not air temp like in the Duratec), so its absence should not be an issue at your elevation. -John
-
Thanks for clarifying. I cringed when I read that as full throttle and high revs with the engine still cold I just took a look at the factory map for the Duratec and there is very little coolant temp correction, but there is fairly significant air temp fueling correction. Based on your other thread, and assuming the Sigma map is similar, and like the Duratec, the Sigma also uses the MAP sensor as an air temperature sensor, I wonder if that is the issue? Check to see if the MAP sensor (should be in the back of the intake?) is plugged in. If it is, unplug it and make sure all the pins on the connector are fully seated. I've seen a bad connection on a new Caterham before caused by a poorly installed pin at the factory. -John
-
Is the above accurate or was the car already at operating temperature when you tried full throttle? If you had only driven it 2 miles at night, it's unlikely the engine was up to temperature. It could be that at full throttle, the coolant enrichment map was making a big fueling correction contributing to or causing the issue. Have you tried full throttle when the car is up to temperature? -John
-
After some correspondence with Caterham and a conversation with Variohm in the UK, I have my answer and posting it here in case anyone tries this in the future. The sensor is part of Variohm Eurosensor's EPT2100 series but is it a special configuration for Caterham. It outputs a linear signal of 0.1-5v and reads 0-7 bar, meaning it's 0.1v at 0 bar, 2.45v at 3.5 bar and 5v at 7 bar. -John
-
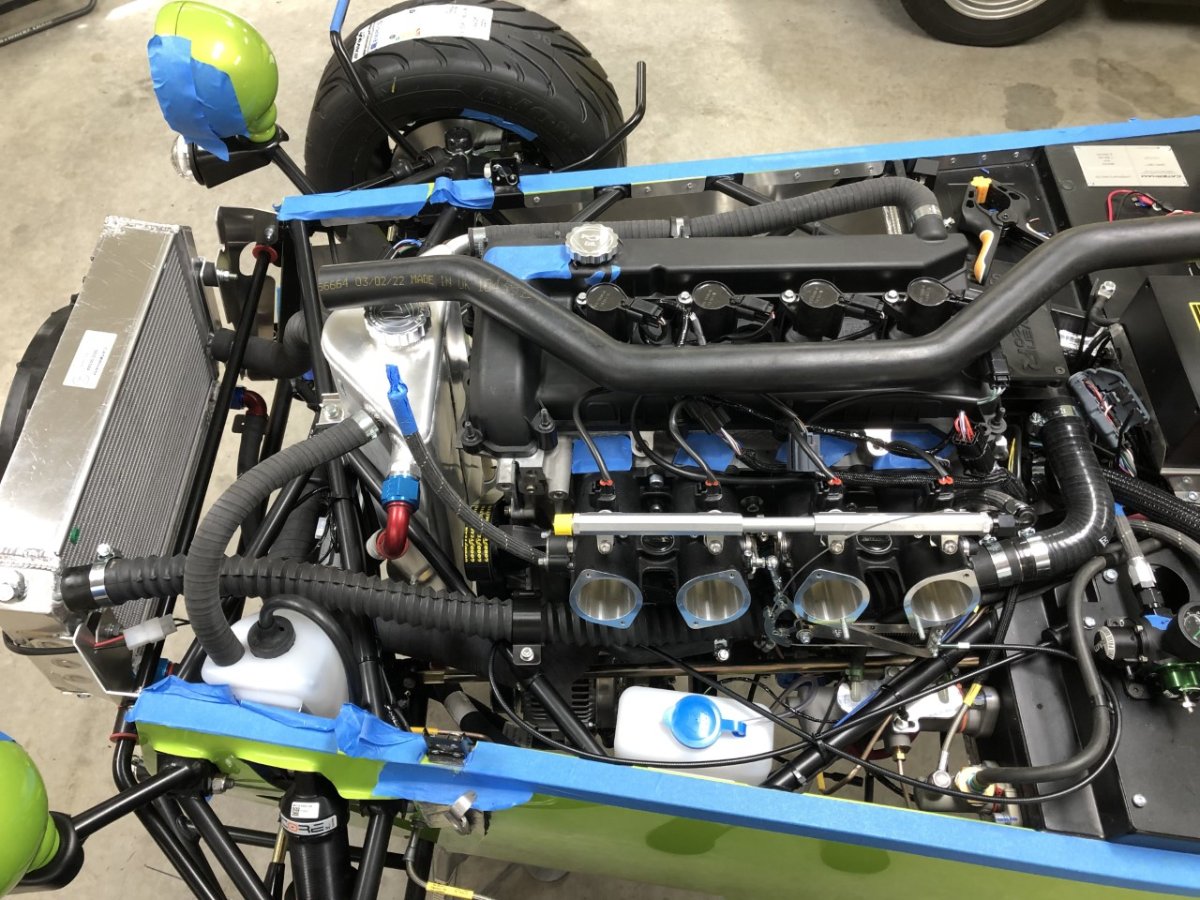
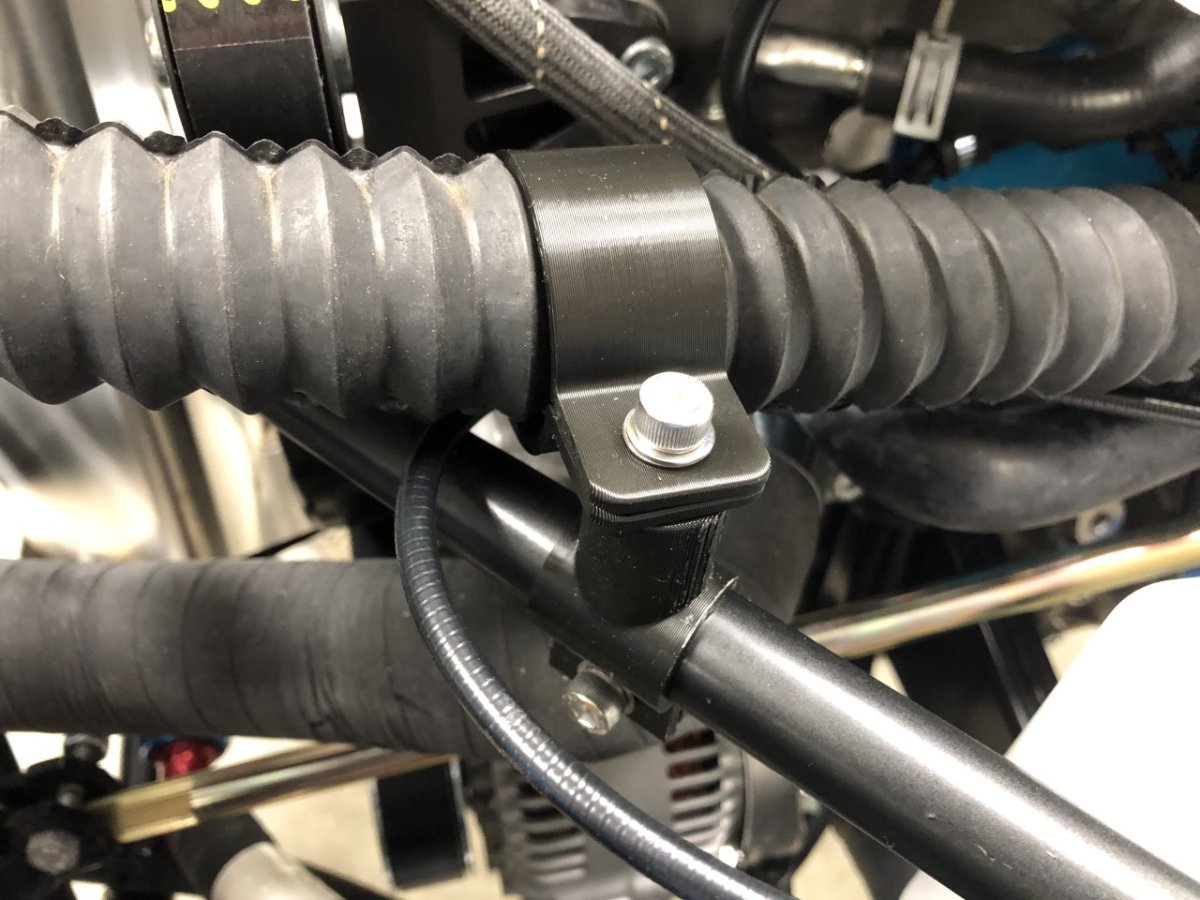
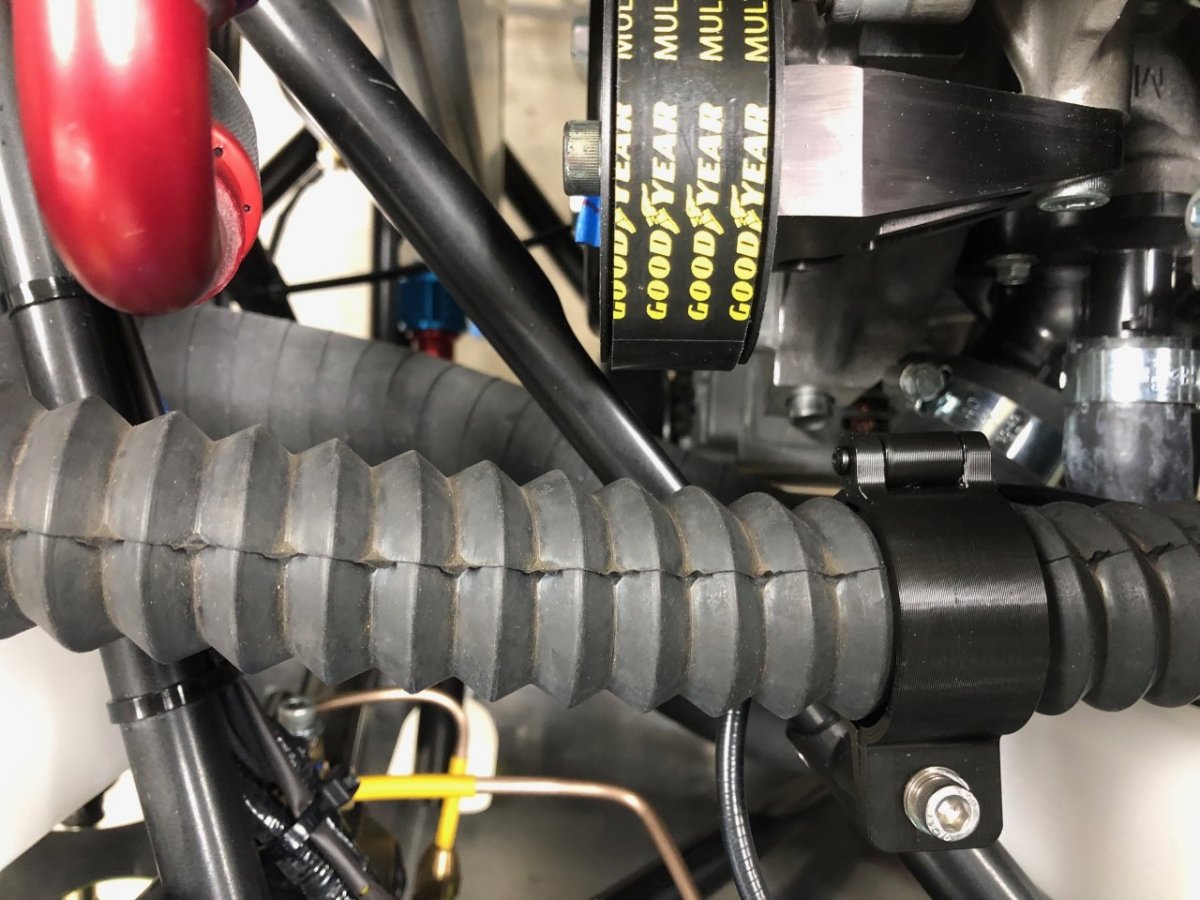
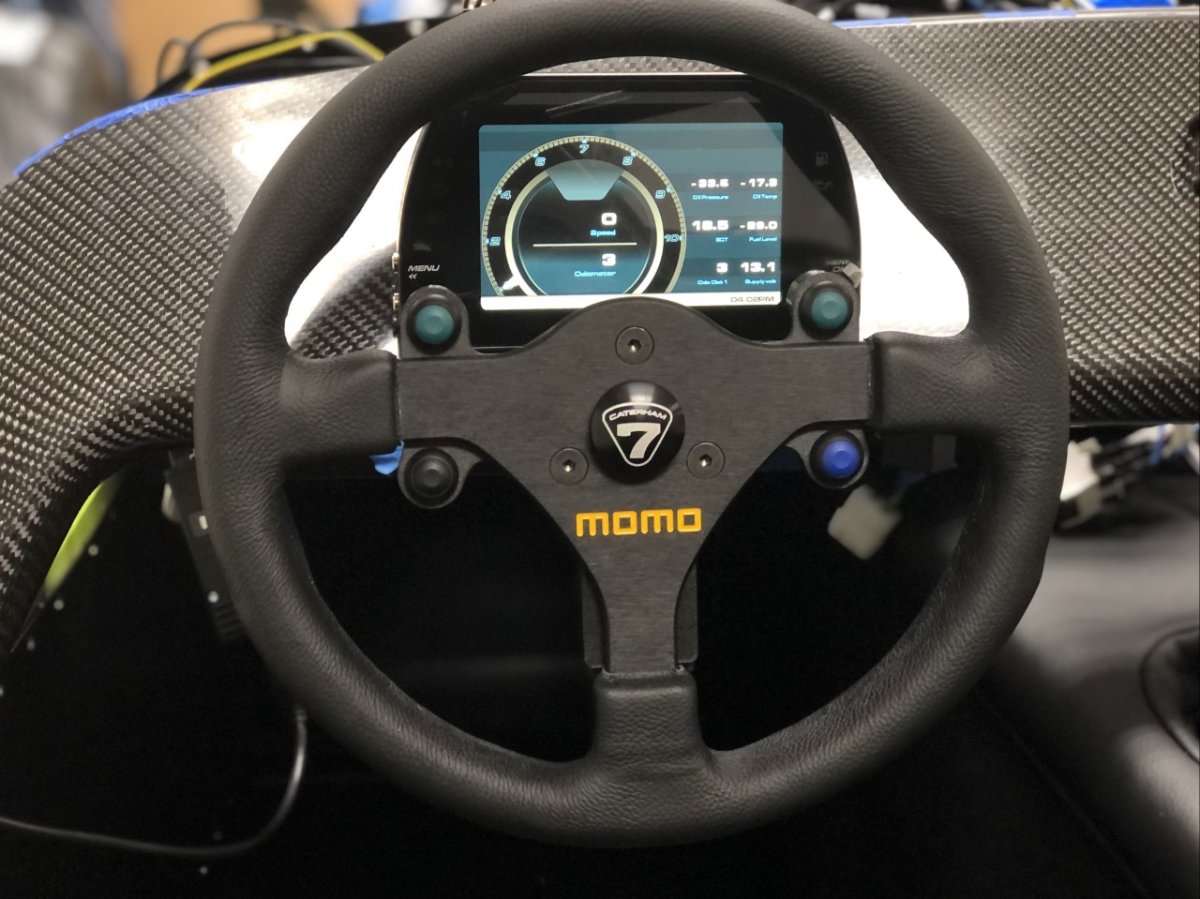
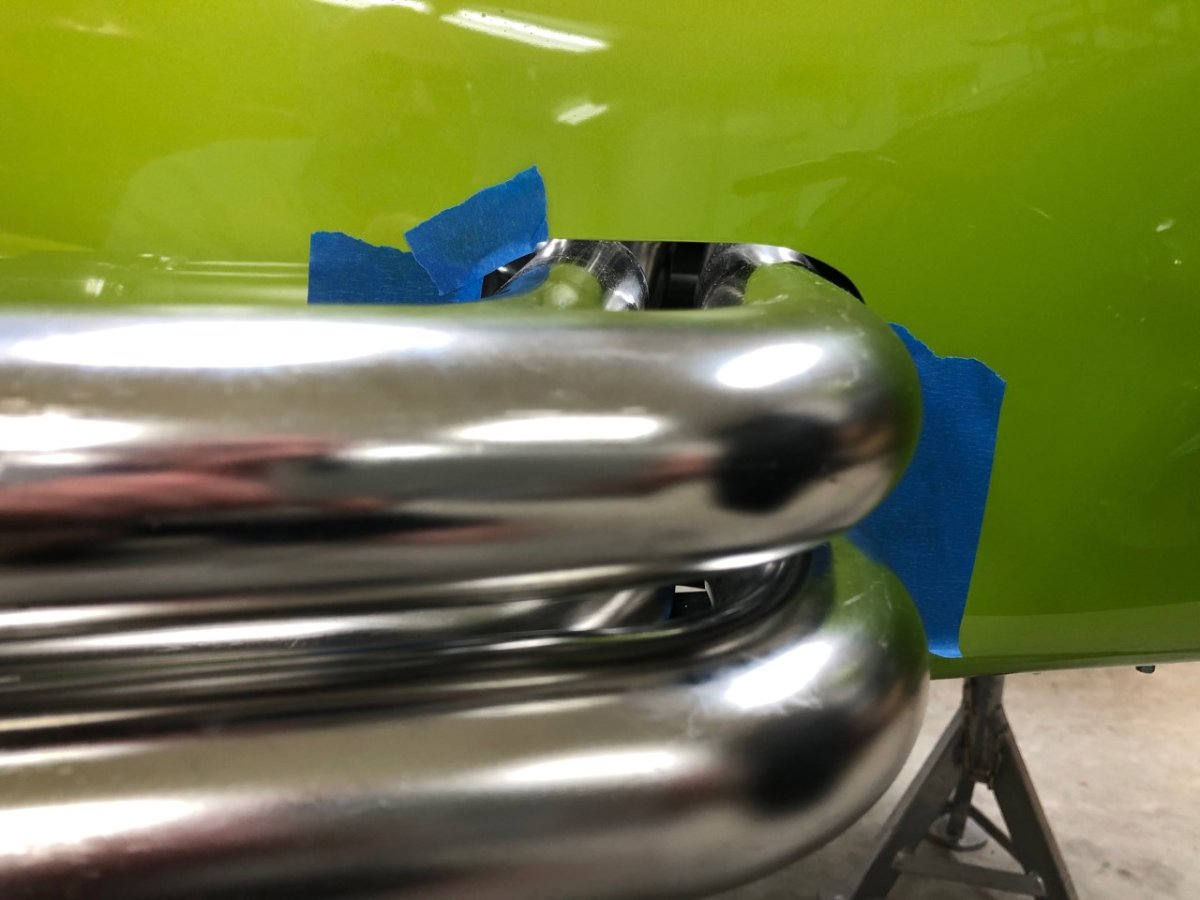
I'm approaching the home stretch and preparing for the first attempt at starting the engine. That means sorting out the upper radiator hose, hooking up the AiM, and finishing a number of other minor jobs. First, the upper radiator hose. The factory supplies a complex, molded hose that snakes under the intake and around the belt tensioner. Unfortunately, it won't work with my car due to changes required by the Jenveys; underslung throttle linkage and different belt tensioner. My initial hope was that cutting off the 90 deg elbow section at the back and replacing it with a longer elbow would create clearance for the throttle linkage, but that moved other bends forward, creating new interference problems. To resolve these, I opted for a Gates Vulco-Flex which is a convoluted hose that can make the gentle transitions around everything until it reaches an elbow at the back. The only issue was proximity to the tensioner pulley. There was only 1/4" clearance which would likely quickly go to 0" when the car was underway. A simple double bracket eliminates that risk. The lower portion clamps to a chassis diagonal and the upper part wraps around the hose to prevent it from moving closer to the tensioner. Next was finishing the wiring harness for the AiM, programming it, then setting up the MBE for CAN. Unfortunately, not everything is working correctly at this stage, but that was expected. I don't (yet) have the calibration data for the oil temp and oil pressure sensors, the tach is reading very high (7000rpm when cranking), and I noticed today the odometer shows I've already driven the car 3 miles despite the fact it doesn't run. On the positive front, the warning lights for turn signals/hazards and high beams work correctly as does the battery voltage readout. The AiM has a lot of sensors in its calibration library, including a Variohm oil pressure sensor. Because the current Caterhams use a Variohm sensor, I selected that absent of the actual sensor data. It's clearly not correct, showing -33psi when engine is off and reaching over 50psi when cranking. The positive is that the engine turns over and it appears to have oil pressure. I've been waiting to install the silencer until the passenger seat is in, but the seat runners have been delayed for a while. First, because they were out of stock, and now because customs has been sitting on them in Memphis for over 2 weeks. I was initially told not to worry about clearance issues between the primaries and side skin -- plenty of room to compensate for the 13mm taller engine -- and that seemed correct. Until today. With the springs in place to connect the collector and primaries, the clearance decreased to the point that it makes me a bit nervous: 2.5mm-3.7mm over the top two primaries. The Westfield has the same engine mounts as the Caterham. Starting it from cold to see how much the engine and the primaries moved during the lumpy idle phase and when the throttle was blipped showed virtually no movement. I'm hoping this means it will be okay. Unfortunately creating more clearance at this stage is potentially a lot of work as the dry sump tank is in the way of removing #1 (the one with the least clearance) and that is now full of break-in oil. I'll give this one additional thought. -John
-
-
Back in the game! And a (probably stupid) question.
JohnCh replied to Saudio's topic in General Sevens Discussion
I prefer to tell them the truth, which is pretty straight forward: It's a Caterham. Lotus made a car called the 7, then sold the rights to Caterham in the early 70's, who continue to produce it to this day. If they want to know more, you can add that they have evolved the car over the years to increase performance but have stayed true to the ethos of light weight. -John -
Does anyone know the Variohm Eurosensor part number for the oil pressure sensor Caterham fits to Sigma and Duratec cars? I need the specs to program an AiM display but unfortunately the sensor in my kit arrived with a damaged sticker that renders the part number unreadable. Thanks, John
-
So, tell us a little about yourselves
JohnCh replied to slngsht's topic in General Sevens Discussion
There was a forum member here several years ago who was also 6'6" and who fit in his SV with lowered floors. That doesn't mean you will fit or be comfortable, but it's certainly worth pursuing. Not everyone reads this thread (I know...it's shameful) so it might be worth starting a dedicated thread stating you are looking for an SV to try on for size in the Ohio area and indicate how far you are willing to travel. -John -
No apologies necessary! This has been a great conversation. Keeping it all in one place will simply improve discoverability for anyone having a similar issue in the future. -John
-
To avoid confusion, I moved the last few posts on the lifter issue to the dedicated thread on that topic:
-
I looked at a Caterham yesterday with this installation. The owner also added thin rubber edge trim around the perimeter of the plate which gave it a more finished appearance. It looked very good. I think I will go with this approach when (if?) I get plates. -John
-
I like APEM switches and use both their small push buttons and toggles in my cars. They are available from most of the major electronic supply houses (e.g. Mouser, Newark, Online Components, Digi-Key) as well as Caterham (for the 620 dash) and Car Builder Solutions. The toggles can be configured in a number of ways using this data sheet to generate the corresponding part number, or you can simply go to either Caterham's or Car Builder Solutions' site and grab the part number from the photos. This is the failsafe if you are looking for toggles for specific, common functions like starter, turn signal, or headlights, and aren't comfortable choosing between the datasheet options. I've found that availability and price can vary between the supply houses, so it's good to check all of them once you know the part numbers you want. -John
-
Sorry to hear about the delays. Although given it's a rolling chassis, you may skip all the other frustration that comes with buying a Caterham these days like missing parts, things that don't fit without excessive and creative swearing, instructions optimized to make things look simple rather than actually explain what to do, etc
-
Yes, leaning over the passenger then pulling up hard on the belts to strap them in definitely helps with the message to "sit down, shut up, and hold on!" When is your car due to arrive? -John
-
After reading @drhasegawa's post about hitting 130,00 km, I think I'd characterize the fewest miles travelled in 5 or more years as who loses, not who wins -John
-
I like Schroth's ASM technology and run their Profi II ASM harnesses on both the Westfield and Miata. My harnesses came set up for snap in connection, which I changed to bolt-in using the B24 bracket with matching SG11 shoulder bolt for the lap belts and the B23C bendable bracket with S65 pivot sleeves on the shoulder belts. Wavy washers and flat washers were also used as shown on the HMS site. https://www.hmsmotorsport.com/products/hardware-Harnesses I didn't do anything with shoulder belt spacing. Another nice feature of the Schroths is the ability to configure the lap belts for either pull-up or pull-down tightening. I have the Westfield setup for pull-down on the driver's side, but pull-up on the passenger side since I've occasionally had to help a passenger belt in. It's much easier to tighten their belts in that situation when you can pull up. -John
-
I forgot to add the picture of the AEM wide band controller in the last post. This is attached behind the battery and ECU. Easy to see the status lights, but out of the way. -John
-
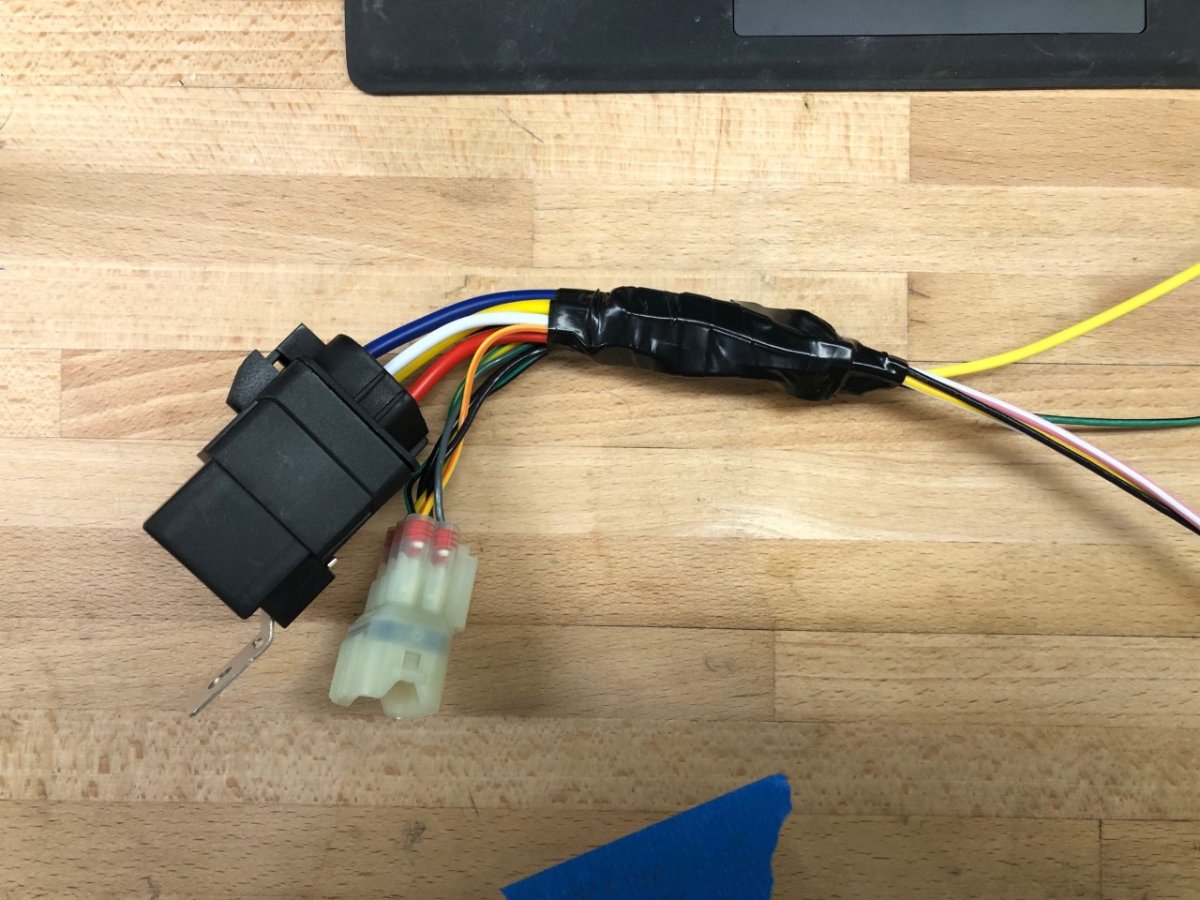
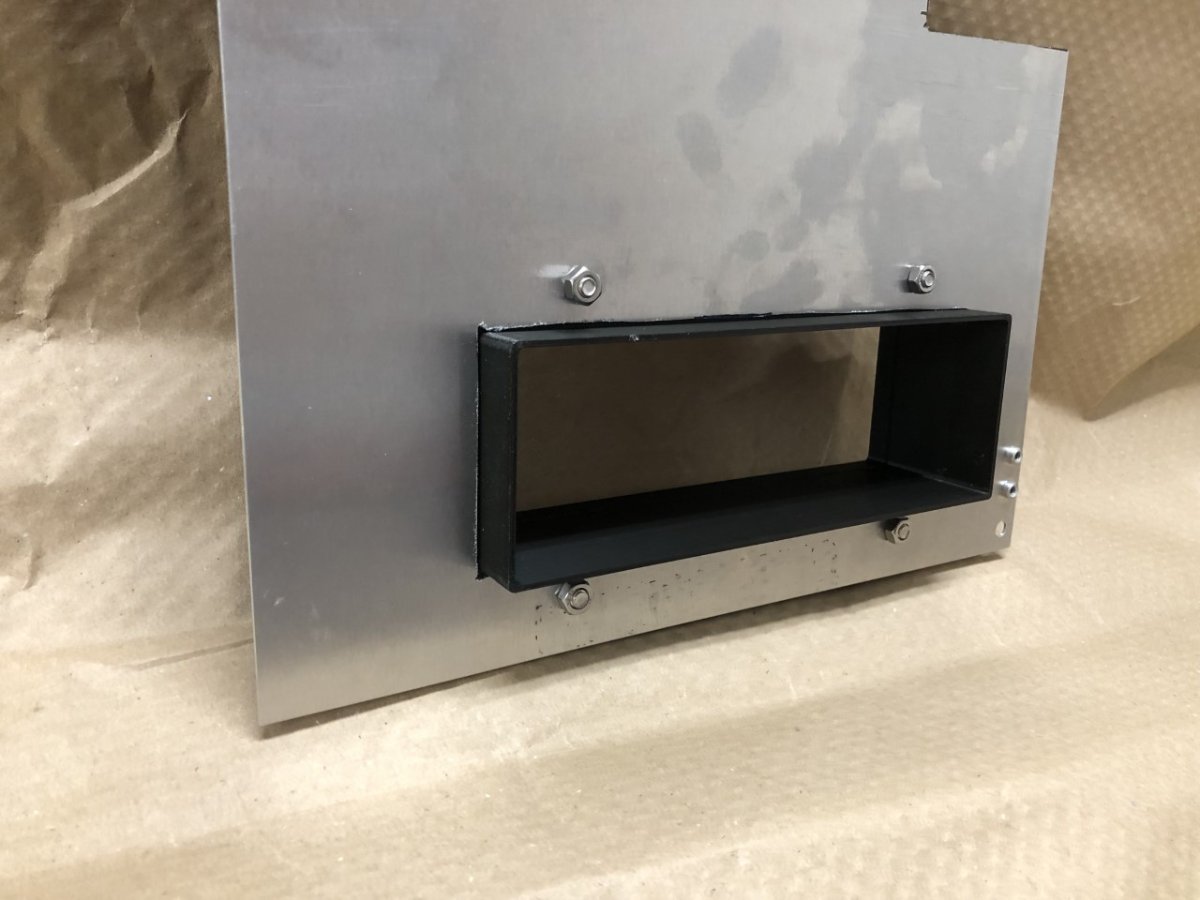
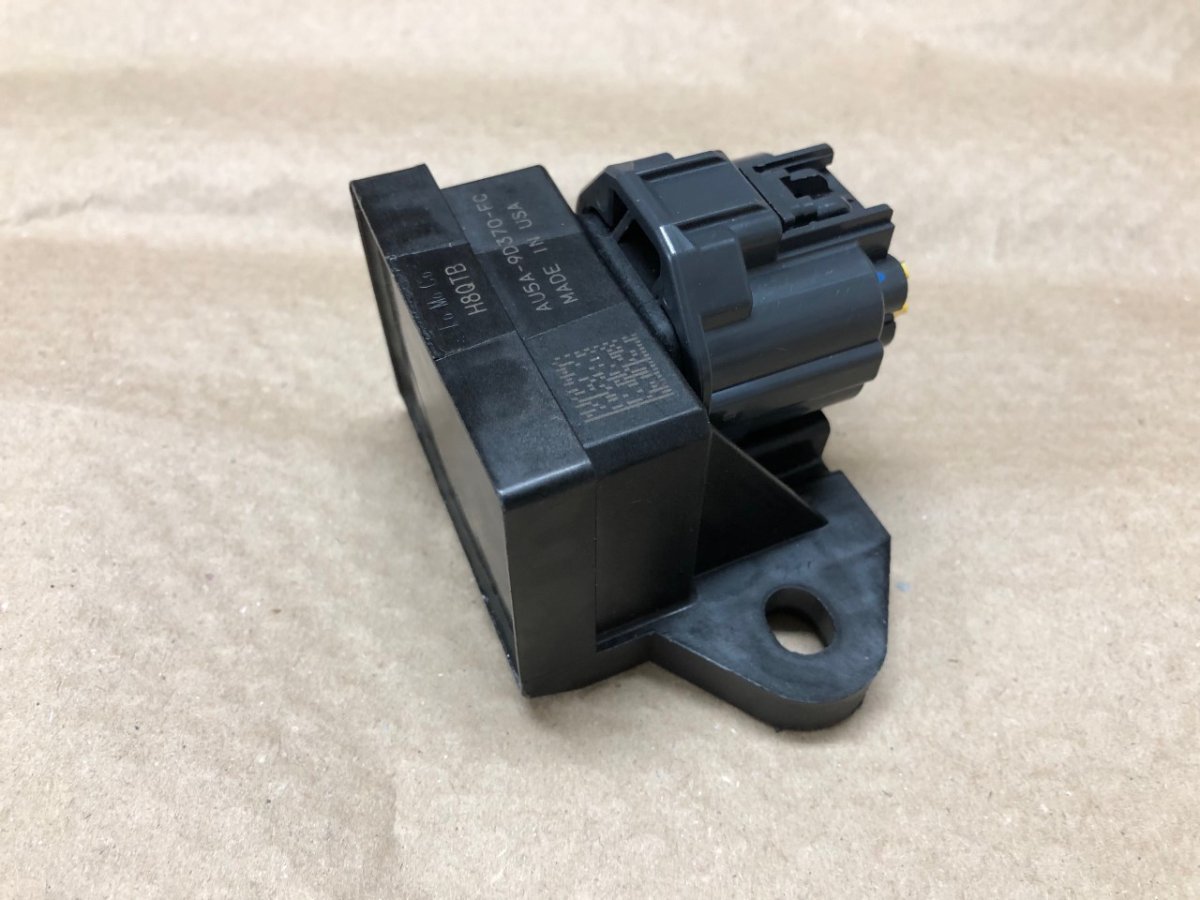
I had hoped to wire the AiM this weekend, but after looking at the required Binder 719 connectors and remarking to myself, "Holy crap those things are tiny" I checked the specs and confirmed they require 24-gauge wire to fit inside the hollow pin. I had cheap 22 gauge on hand that is known for being undersized which could be persuaded to fit after a few tries without stray stands sticking outside the pin. However, that approach didn't seem prudent. Good quality 24 gauge is on order. Although not the outcome I had hoped for this weekend, I was able to confirm which wire goes where for the various gauges and warning lights, and I also powered up the AiM to ensure it works. Aside from the AiM, the electrical is finally done. The fuel pump controller was changed for a second relay controlled by the ECU, the AEM wide band O2 controller was wired up, the engine loom connector for the TPS was swapped for one that works with the Colvern TPS fitted to the new engine, and DRL relay is connected and working. Factory fuel pump controller: Replaced by a relay still controlled by the ECU: With that work done, it was time to clean up the wiring a bit -- wires for some unused circuits will remain to ensure future flexibility -- and to work on the new mount for the fuse/relay box that provides access from the engine side of the firewall. The prototype was printed in PLA and the test cuts and installation was done using a spare sheet of aluminum the same thickness as the firewall. The factory fuse box will slide in from the rear then bolt to the mount similar to how the factory attaches it to the firewall. To keep things watertight, a Nitrile cord is glued into a groove printed into the top of the frame with a matching, but slightly shallower groove printed into the back of the lid. Black thumbscrews from McMaster Carr will hold the lid in place and provide quick access. I may make a few more tweaks to the design before printing in the carbon fiber nylon and may also add a mount to the back of the lid to hold a small fuse puller, but it's pretty close to final. -John
-
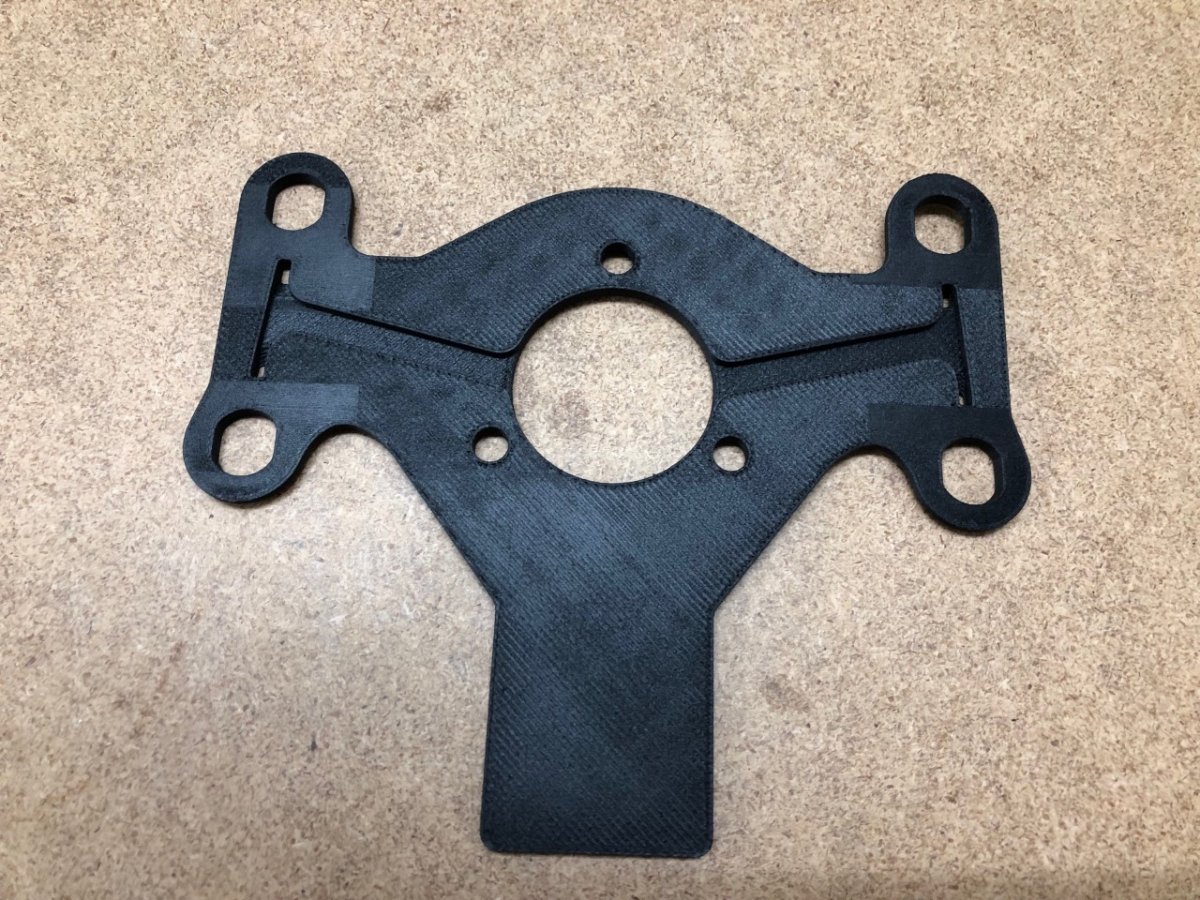
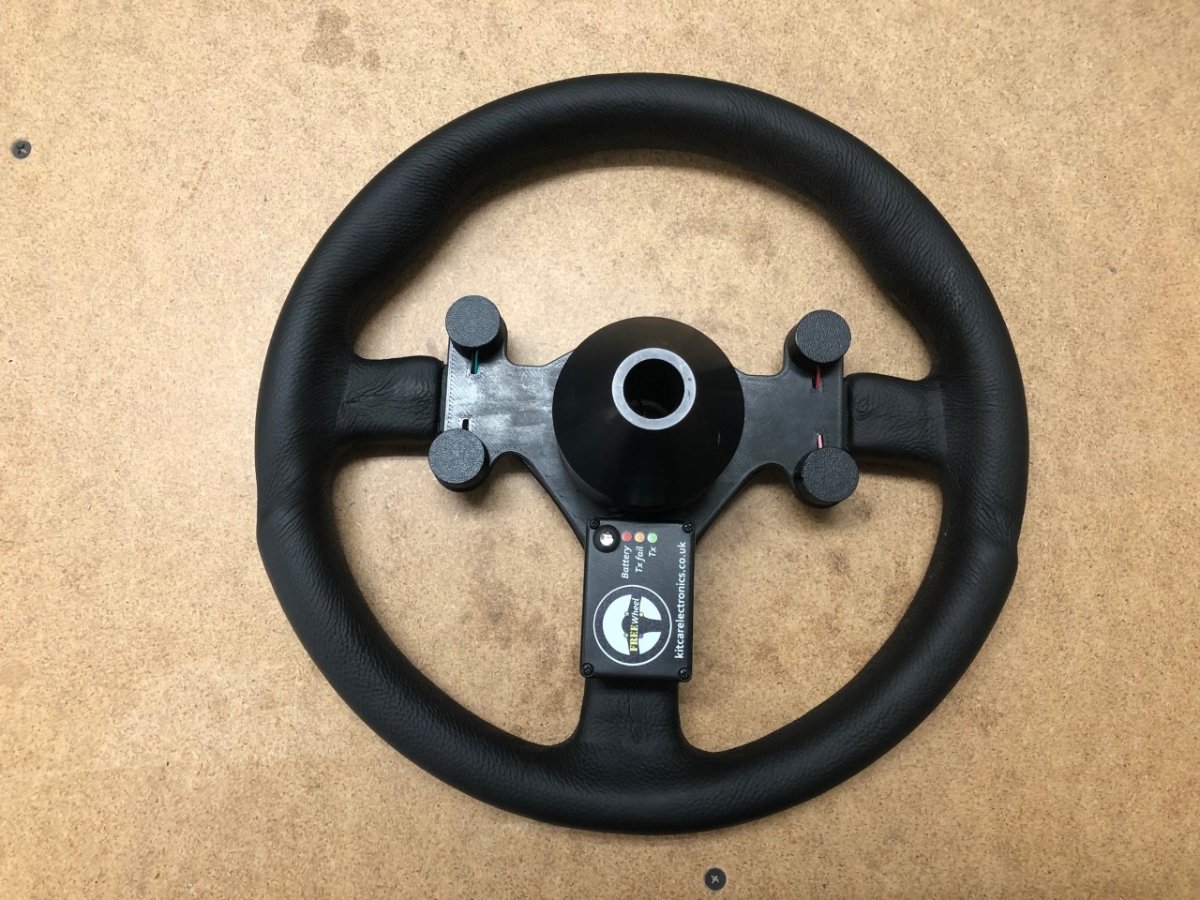
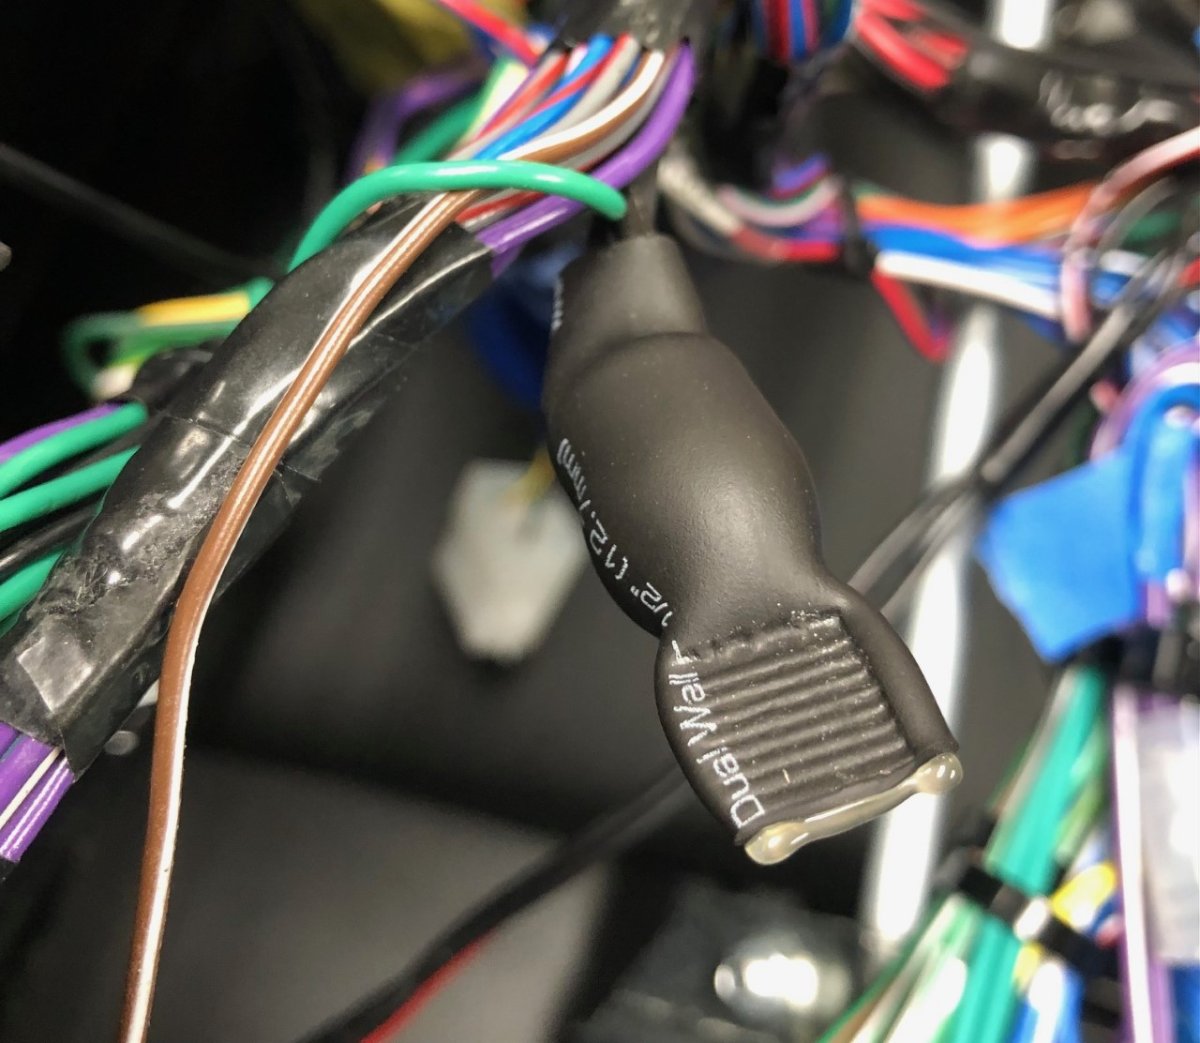
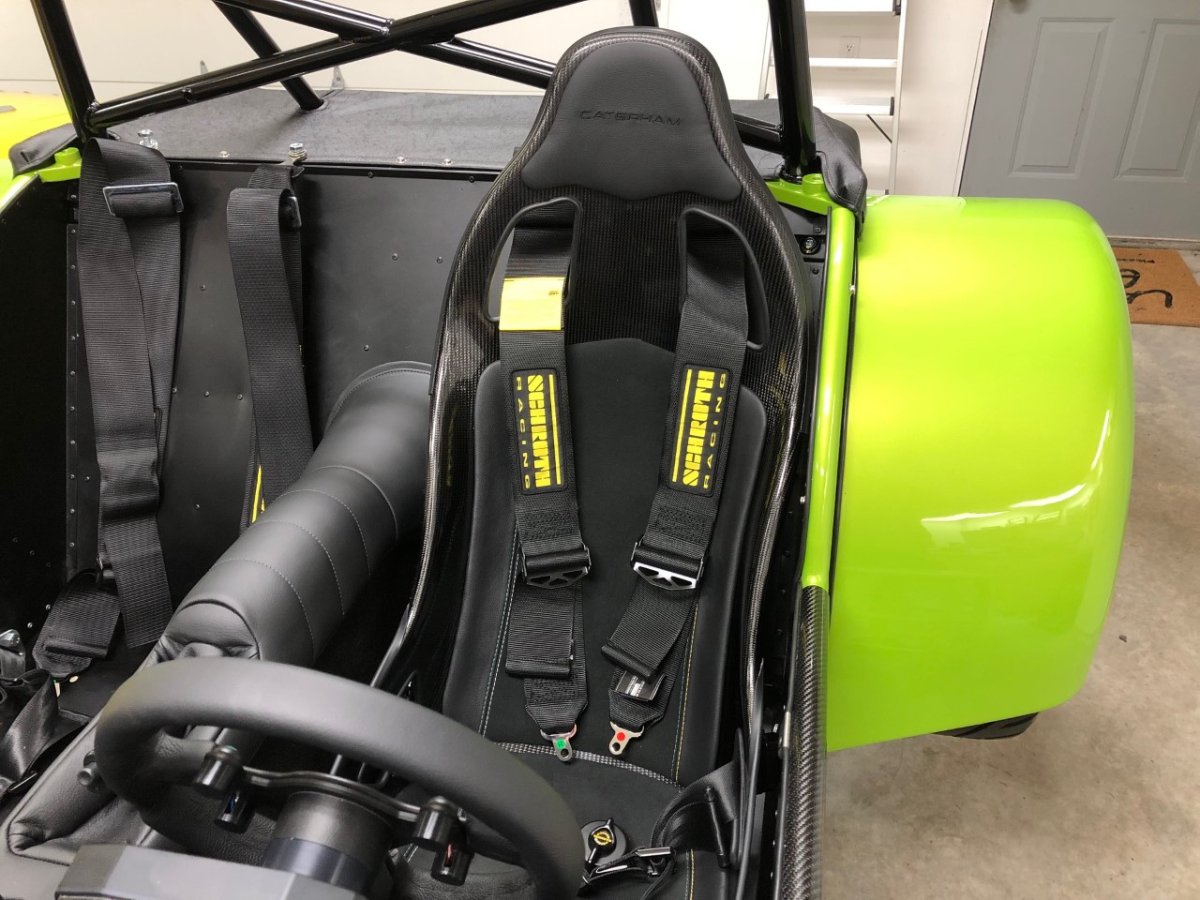
Just a few updates. The final versions of a several prototype parts were printed and installed: revised steering wheel switch plate and hub extension, redesigned battery hold down, throttle cable plug to accommodate the smaller ferrule in the Jenvey's throttle cable, DRL brackets, and fuel rail spacers. I also printed a prototype for the fuse box housing that allows access to fuses and relays from the engine side of the firewall. First version came out well, but seeing it the flesh has given me some ideas for V2, which I'll work on this week before posting pictures. With the steering wheel parts done, I could finally solder the push buttons to the transmitter wires. The initial switch plate design had grooves in the back to route the wires from the transmitter to the pushbuttons. The plan was to hide the wires with small covers on either side of the hub, but I decided to simplify by moving the grooves to the front of the plate and covering the wires with the back of the steering wheel spokes. The wires then poke through small holes to reach the back of the pushbuttons, which are then covered with small caps. I forgot to take a picture of the wires in place before attaching the plate to the wheel, but these two photos illustrate how it works. When testing the completed wheel, I had a bit of a scare: the horn was blaring regardless of the horn switch position. After troubleshooting to see what I screwed up between the last testing session and soldering, I discovered that first turning the key, then attaching the temporary ground for the Freewheel receiver would create havoc for the electronics. If the ground was attached before the unit received power, then all was good. I had an esteemed visitor from the East in the garage on Saturday to check my progress who was accidentally treated to this phenomenon when I showed him the wheel. Oops. The Freewheel auto-cancels the indicators using a configurable timer that can be set anywhere from 6-30 seconds long. This eliminates the need for the obnoxiously loud indicator beeper Caterham fits to the loom. Rather than cut it out, I topped it with a small dab of adhesive putty and covered it with heat shrink. Much better… The Schroth harnesses and driver's seat are installed. The passenger seat is waiting on backordered sliders from the factory. It looks like variations in production tolerances are to blame for the outer driver's side shoulder harness bolt not fitting under the rollover bar lower brace. The outer passenger side barely -- and I do mean barely -- fit, but the driver's side has about 3mm less clearance according to the calipers. I've temporarily used a shorter, spare lap belt mounting bolt, that I'll replace with something a little longer before finishing the car. -John
-
That looks like a fun curve! Are you running a 4-1 header? If so, what is the size of the exhaust? Did you have to go to 3" for those power levels, or are you at 2.75"? Thanks, John