papak
-
Posts
483 -
Joined
Content Type
Profiles
Forums
Store
Articles
Gallery
Events
Library
Everything posted by papak
-
Steering shaft shroud? I’m presuming the car is LHD.
-

Who is spotted? Can't tell the state
papak replied to Vovchandr's topic in General Sevens Discussion
I have to say that I like his color preference!
-
Are you looking for the aluminum headlight covers? If so, I happen to have a pair.
-
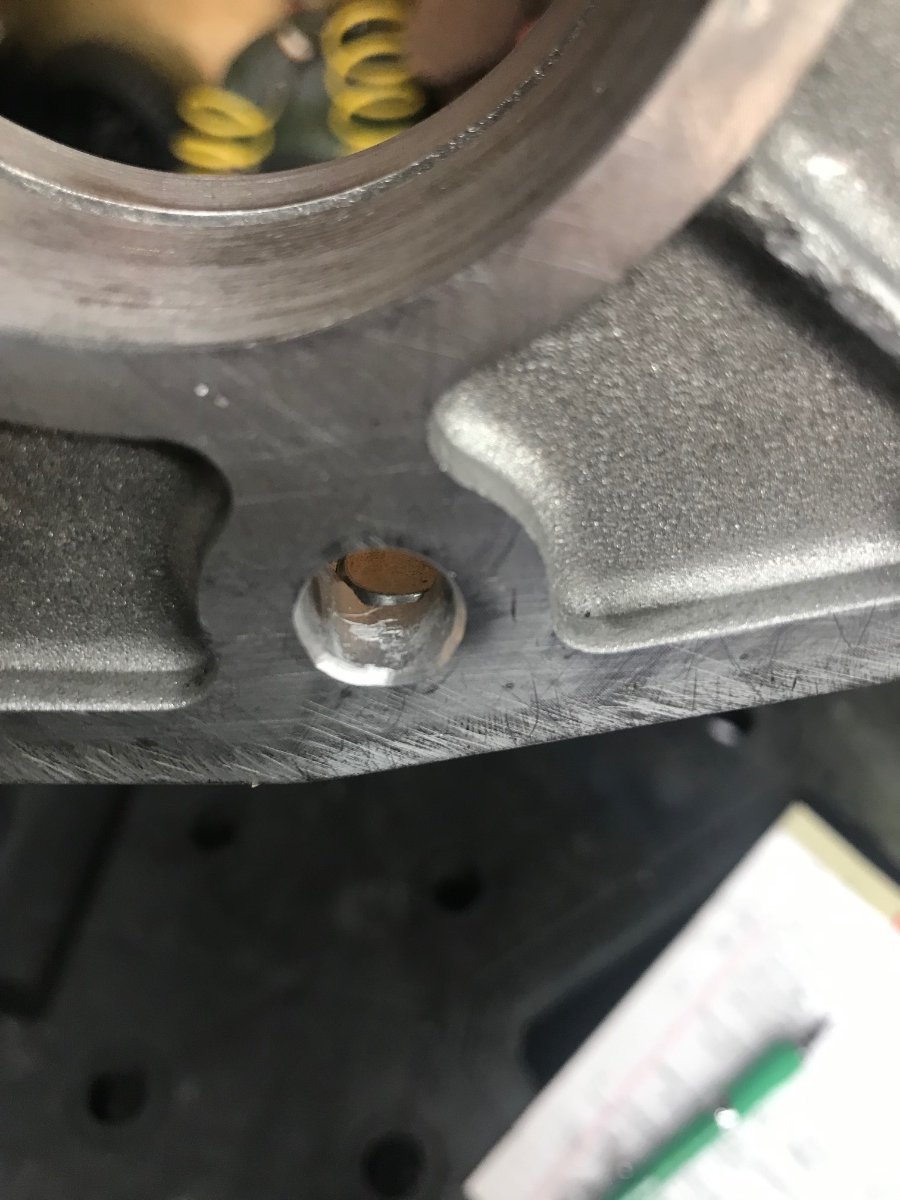
It sounds as if the centralizing spring isn't straddling the centralising pin in the tail shaft housing. Either the pin has fallen out or the spring is broken. We have to remember that these T-9s are on average 50 years old. The saddle, even if worn or damaged, would have little to do with the position bias. The bad news is that you need to remove the transmission to access this. The good news is that it's pretty easy to remove the tail shaft without having to get into the main section of the gearbox. Now would also be the time to drill and tap for a drain plug (also pretty easy as the tail shaft section is aluminum). You will need a new gasket when putting it back together. Try Chris Clanger at BGH Geartech in England. He knows these boxes inside out. and a great source for parts. If the saddle is damaged, Chris said to replace it with another plastic one. The brass one isn't worth the trouble. PM if you have any questions. My gearbox is a late model "N" from a V-6 Scorpio. Yours may vary a bit depending on the model.
-
The wiper parts are on the way to Peter.
-
Did Tom weld up the header himself? Great job! I have an earlier iteration and I still haven't decided if that three-piece header flange is a blessing or a curse. Motor envy!!
-
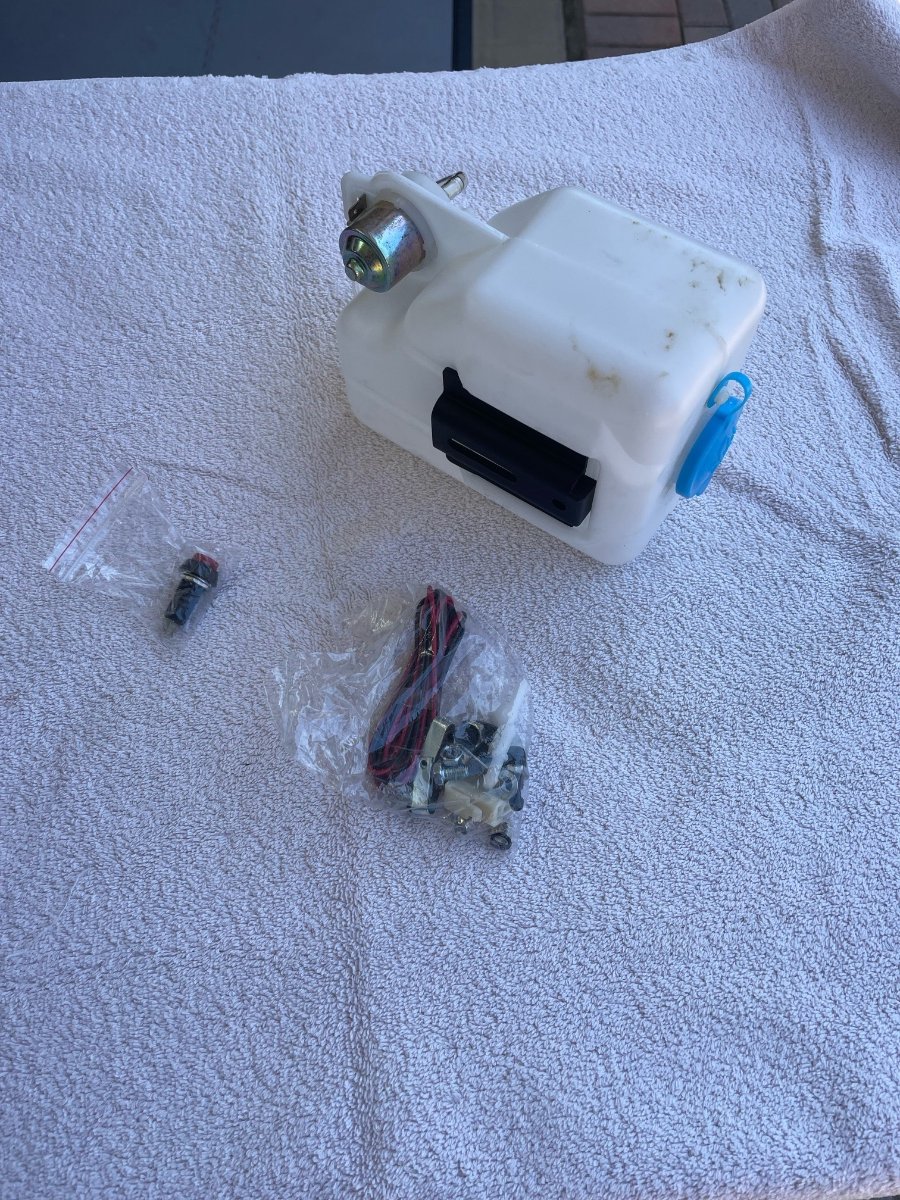
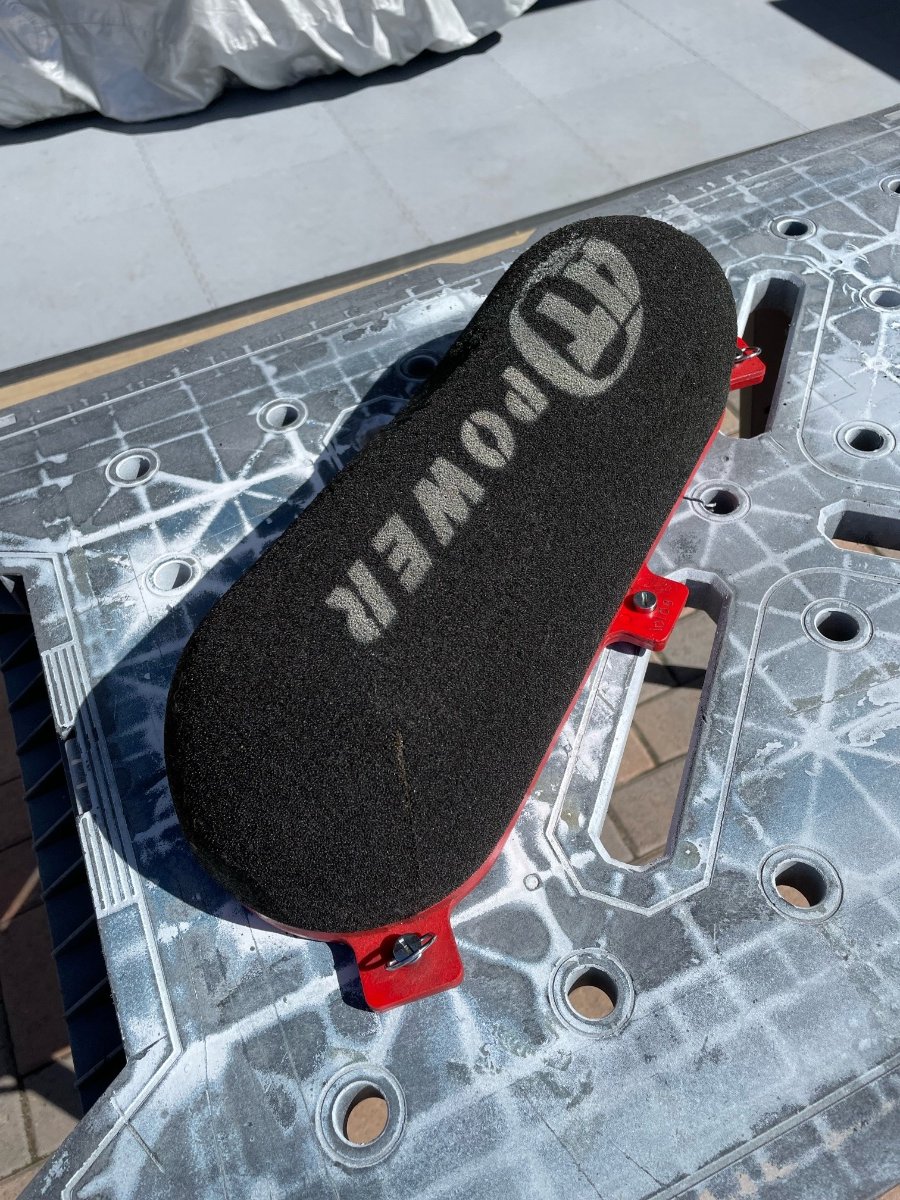
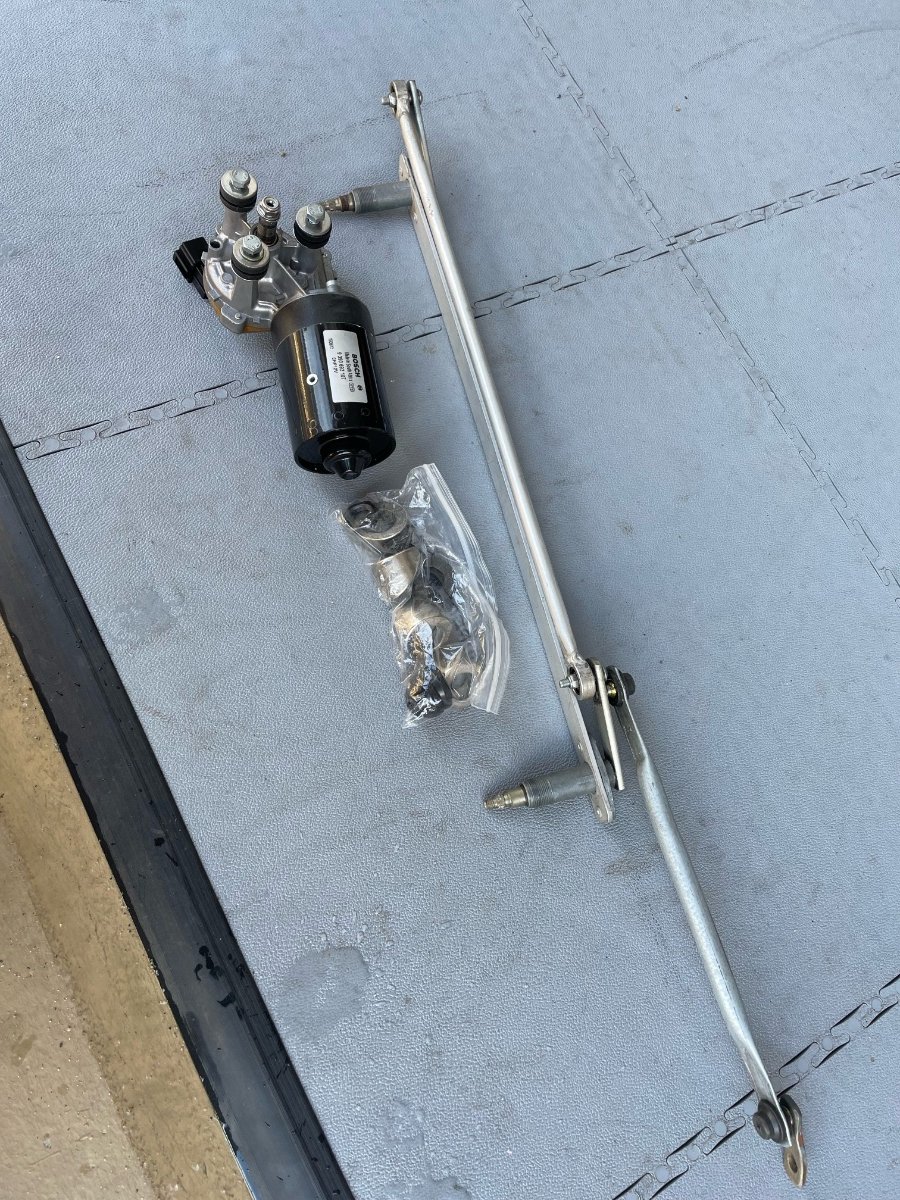
Further digging disclosed another air filter similar to the “sausage” but squared off. This one is new and unused but no backing plate. I also found a complete windshield washer tank and pump setup. Unused as well.
-
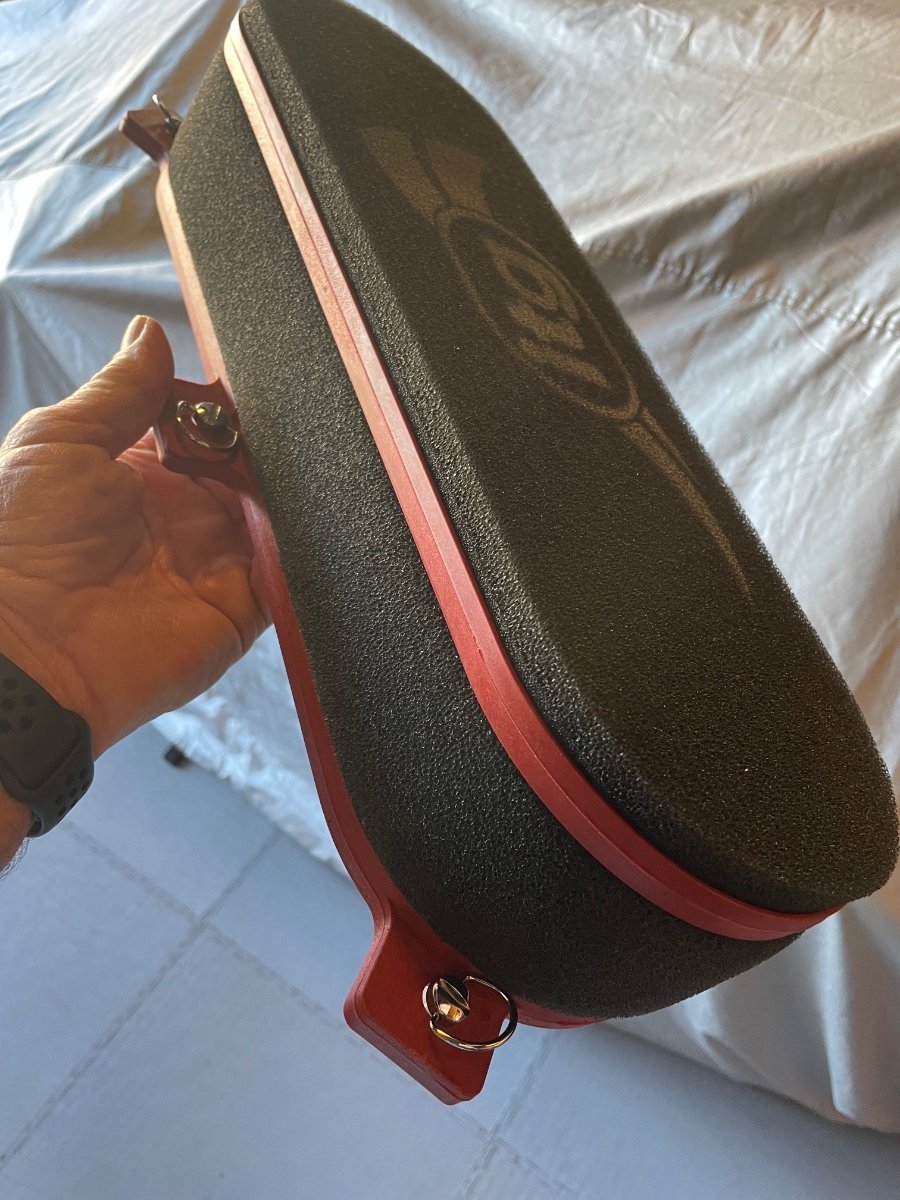
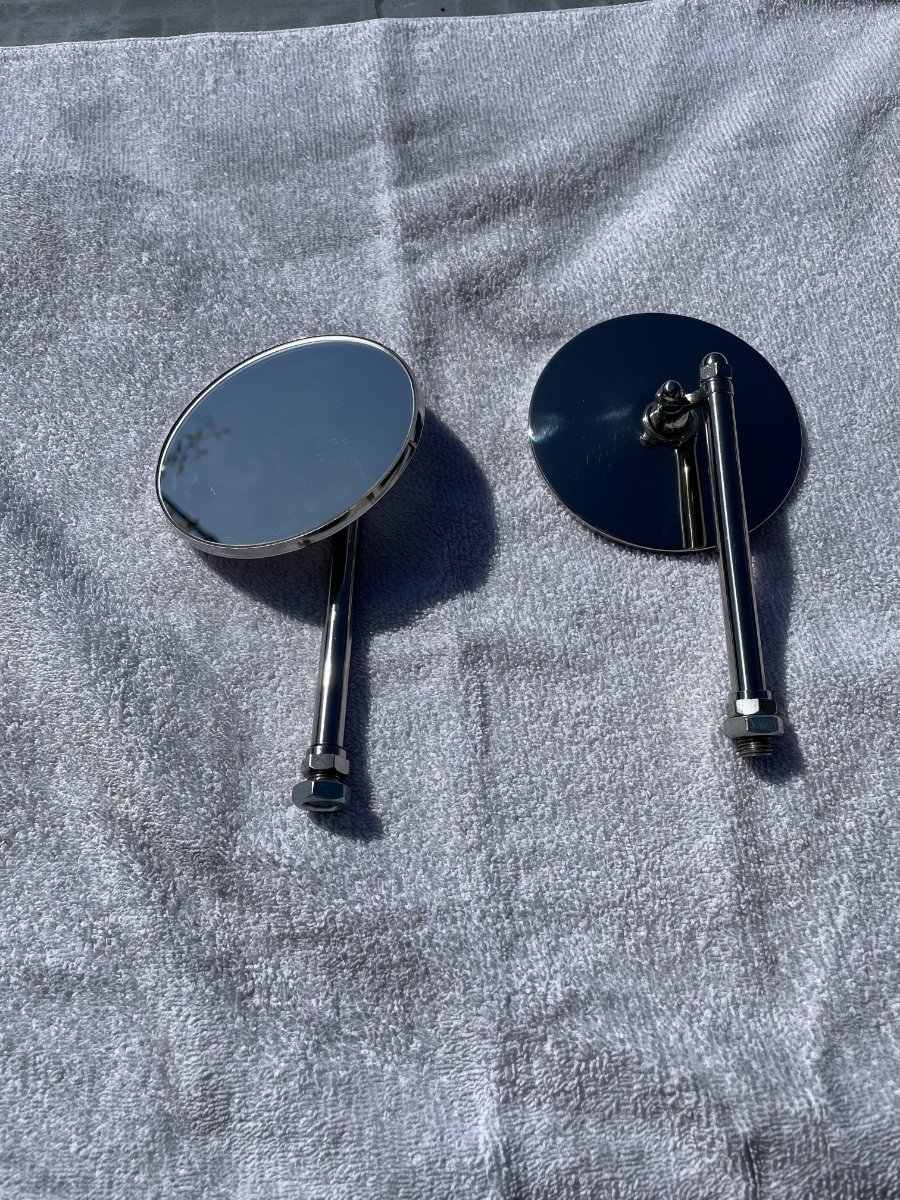
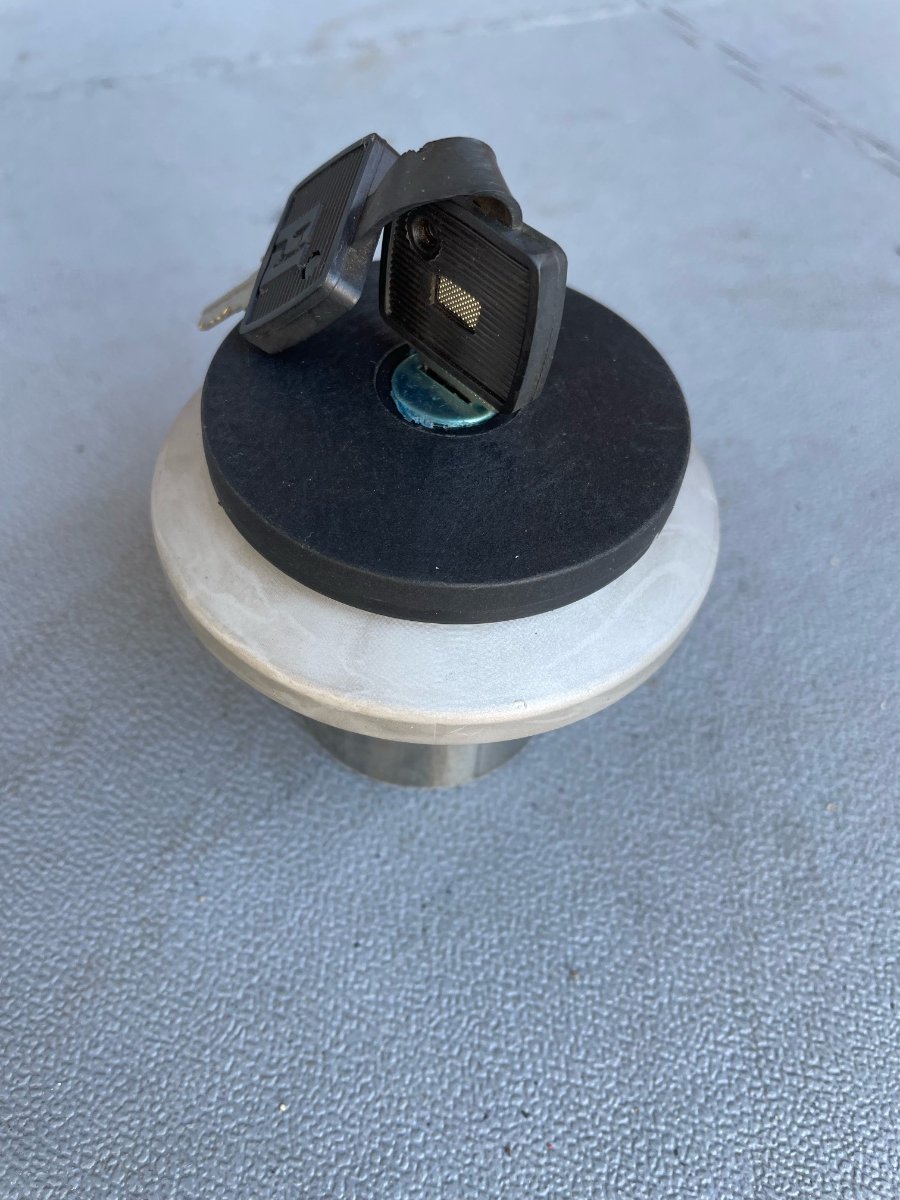
Spring cleaning! The air filter comes with an aluminum 4 port backing plate. Functional condition, not perfect. The mirrors are from Speedway, all stainless steel. The threaded mounting end is 7/16-20. Perfect condition. The gas cap is the original from my Birkin. 50mm/2" filler neck. Excellent condition. I went with Brooklands on my car. Excellent condition with all mounting hardware. All parts are free, just pay the shipping. I am in Los Angeles if you want a local pick-up.
-
I researched the rear rotor with Tom a few years ago. I have a later Birkin (2015 SS3XS) but the problem is probably the same. Birkin uses essentially the same hub on all four corners (the component pieces assembled a bit differently of course, front to rear). On my model year, they used a 2005 ROW VW Golf GTI rear caliper in order to provide a manual parking brake mechanism. In order to make the caliper work with the hub dimensions, they had a machine shop backcut the rotor down to the stated minimum rotor thickness (about 10.5mm as I recall). I had been experiencing a unique wear pattern on the rear rotors from new where the outer 2/3s of the pad made perfect contact but the inner ⅓ made hardly any. I eventually came to the conclusion that the inner and outer rotor surfaces are not perfectly parallel. With the piston being on the inside of the caliper, it exerts a bit more pressure on the inner side of the rotor and the caliper flexes a bit to accommodate this, hence the unusual wear pattern. After replacing the rotors once, I found a "workaround" by using softer rear pads (Porterfield RS-4 AF340). I see more brake dust from the reds but the wear pattern is more uniform now that the rear pads are fully bedded. I never experienced a real problem with braking capability, given the weight of the car. It was always a question of "if I assembled it correctly, why is it doing that?". Tom Carlin has always been enormously helpful and incredibly patient with all of my many questions over the years.
-
T-9s are usually available from John Esposito, Quantum Mechanics in Oxford,CT (john@quantummechanics.com, 203-463-88299).
-
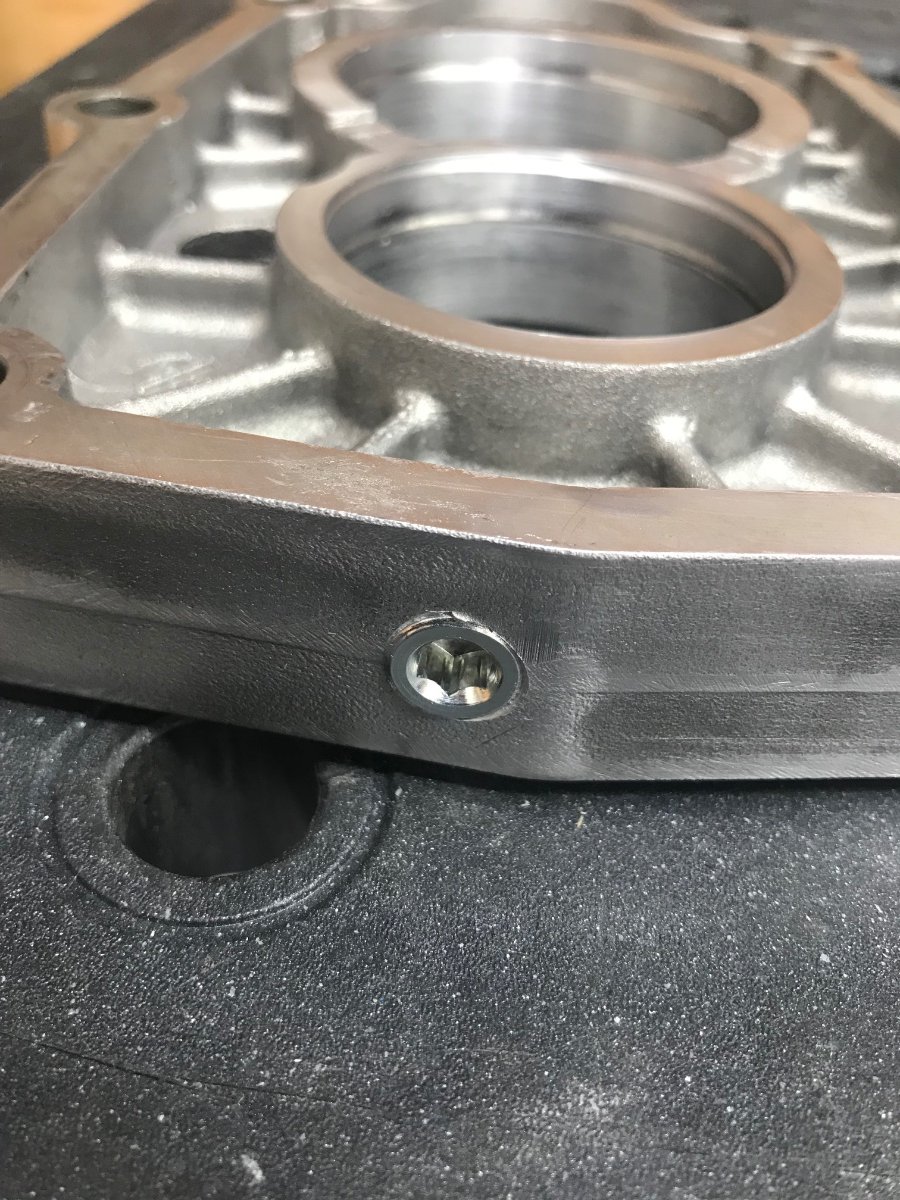
The drain plug mod is normally done in the aluminum intermediate plate. A ¼" plug using the appropriate drill and tap. You can use a dremel to assure a drain groove internally but it is about the lowest point in the transmission. If you're just removing the tailshaft, the disassembly is more easily done with the transmission standing on it's nose with the tailshaft straight up. PM if you have questions. .
-
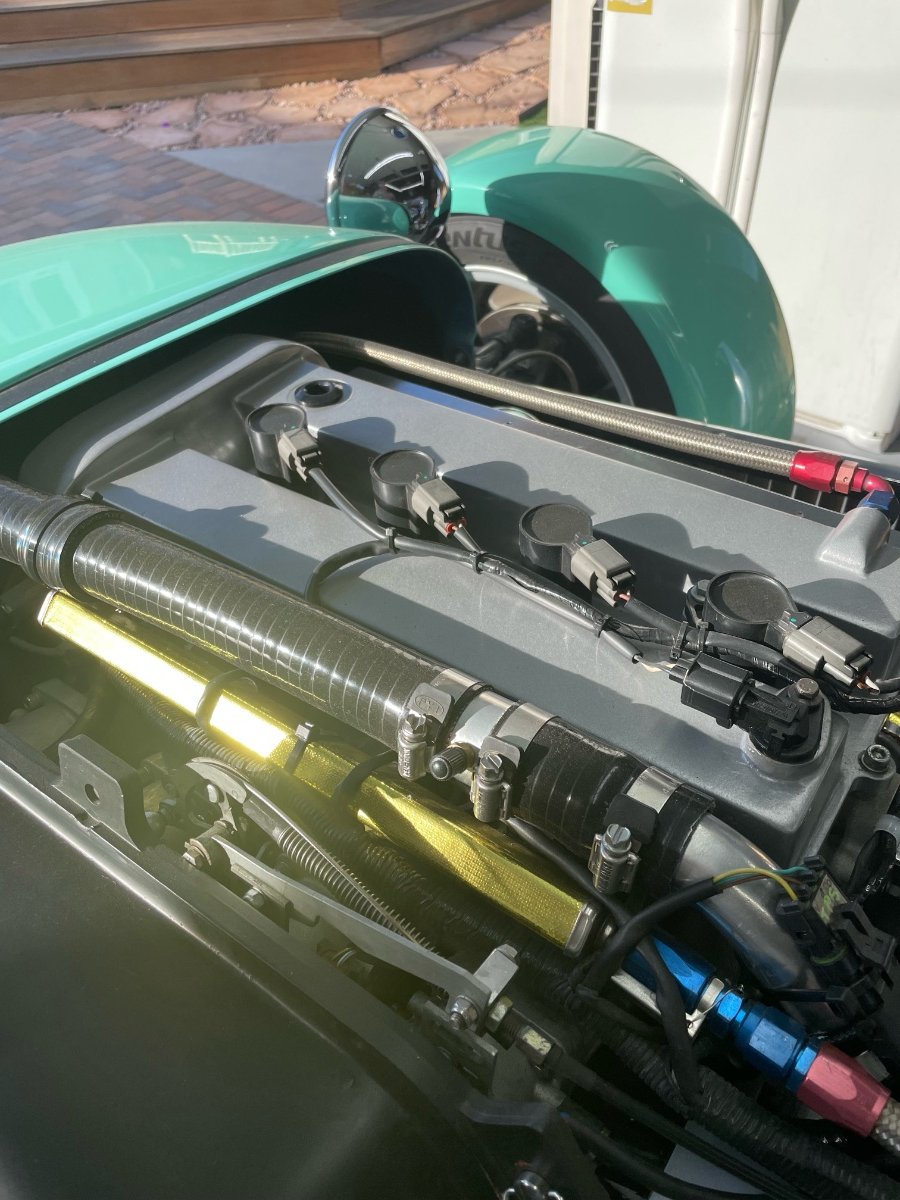
I've got it ready to install, just awaiting the Derale remote filter mount tomorrow. AN-10 fittings and some Earl's Pro 350 hose.
-
Thanks to all. I plan on making up a pair of -10 lines. Mountune makes a very nice takeoff plate for the project.
-
I'm planning on remotely mounting the oil filter from my 2.3 l Duratec to the firewall. The question is -8 or -10 lines. They will only be 12-14" long. Using a NAPA 1056 filter. What's the consensus?
-
Ingress that is one of the things that was updated when they designed the Duratec. It does make that a simple process.
-
If it's anything like the Duratec, a new CPS comes with a plastic alignment fitting that snaps on the sensor and assures perfect alignment with the teeth on the pulley. Not sure how it works on a Zetec.
-
Contact Tom Carlin, our Birkin guru. He had a batch of low profile cam covers done for the Duratec. I had the same issue as I installed a 2.3l in mine. The 2.3 and 2.5 are about an inch taller than the 2.0. The fill plug (14mm Allen) is beautifully machined and sits below the cam gear bump. Great piece!
-
Pegasus sells moulded rubber covers for the excess worm drive.
-
I went to a VDO GPS driven speedometer. When I rebuilt the transmission, I removed the speedometer gear and plugged the holes. In the photo above, you see that the boss in which the fill plug is located is elongated. in some of the cases, depending on model year, they drilled the hole higher for more quantity.
-
I would set it up on some blocking nose down to allow any excess oil to drain into the main case before reinstalling it. Then, when you add new oil, you will have a better idea of quantity. A certain amount does migrate back to the fifth gear cluster in the tail housing but there is a drainage path back to the main case.
-
According to Chris at BGH, 1.25l is plenty. Ford varied the amount over model years as they were striving to claim it would never need to be serviced. Hence, no drain plug. If you rebuild it, you can drill and tap the bottom of the aluminum spacer plate between the main case and the tail shaft for one. At the same time, weld a threaded bung at the right front of the top cover. This can serve as a fill port. Once you fill it, rotate the gears a bit and let it set a while. Then you can insert a dipstick in that port, mark the level and you will always be able to ease your mind regarding quantity.
-
Glad there that we have one more out here in California. Tom definitely does a nice job. I created a wooden buck and formed some stainless screening that serves as a very nice grill. The SS screening is available from Pegasus. Pretty simple fab job. You could easily mask and spray the "7" on it. Happy to ship you the buck if you're interested. PM me.
-
I rebuilt the T-9 in my Birkin because I couldn't find a shop in LA who actually knew anything about the T-9. Not particularly difficult but I had to get the parts from England. Given the current exchange rate, now is the time to do it. PM me. Kevin
-
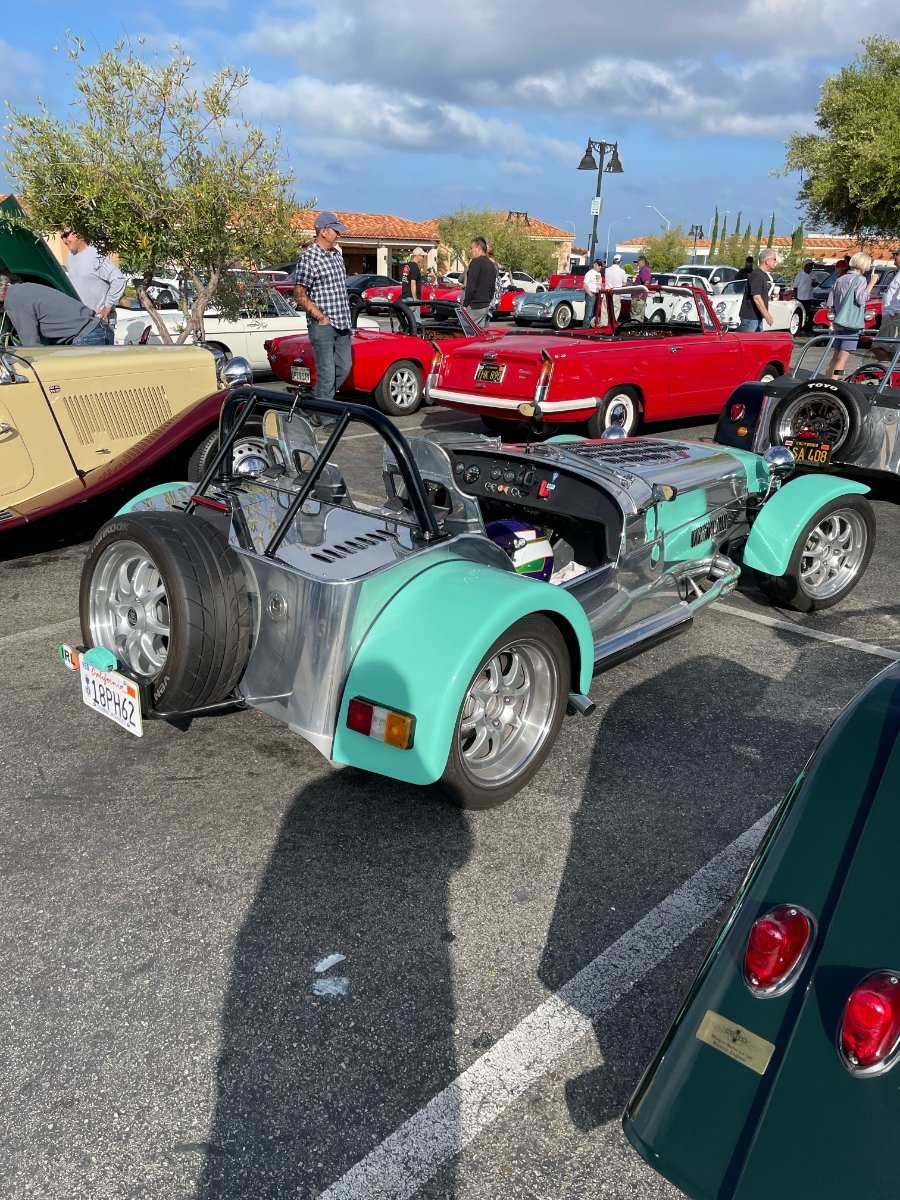
This car is a 2015 Birkin SS3XS. This is the wider bodied Birkin, similar to an S3. I don't believe that the nose will fit a Caterham.
-
Respayed. We sanded down the old blue, primed and shot a Porsche Mint Green. Water based (California, what can you say) 3 color, 4 clear.