
11Budlite
-
Posts
2,266 -
Joined
Content Type
Profiles
Forums
Store
Articles
Gallery
Events
Library
Everything posted by 11Budlite
-
Where are you measuring to, that seems like a lot? That'd be 6.5"-8" if my math is right.
-

Wanted- Taller roll bar for Birkin S3.
11Budlite replied to JB455's topic in Parts For Sale / Wanted
They run the broomstick to a structural steel tube at the front of the space frame, which would be near the nose cone. I think that's done even when you're running a windscreen because the windscreen doesn't provide any rollover protection. -
Wanted- Taller roll bar for Birkin S3.
11Budlite replied to JB455's topic in Parts For Sale / Wanted
You could check with GMT racing in Newtown. I'm sure they could fabricate something that would work well, but I'm sure it wouldn't be cheap. -
I would bypass the master cut off switch to rule that out as a potential issue. Not sure what brand Caterham uses but some of them have been known to cause problems.
-
It looks like it sold via the BaT auction on 7/27/25.
-
The Regular Summary of Classified Ads of Se7ens Found For Sale
11Budlite replied to Croc's topic in Cars For Sale
Thanks Mike. I spent a lot of time putting that together, but was very happy with the results. I was disappointed I had to sell it back in 2015, but I'm really enjoying my Caterham now! -
The Regular Summary of Classified Ads of Se7ens Found For Sale
11Budlite replied to Croc's topic in Cars For Sale
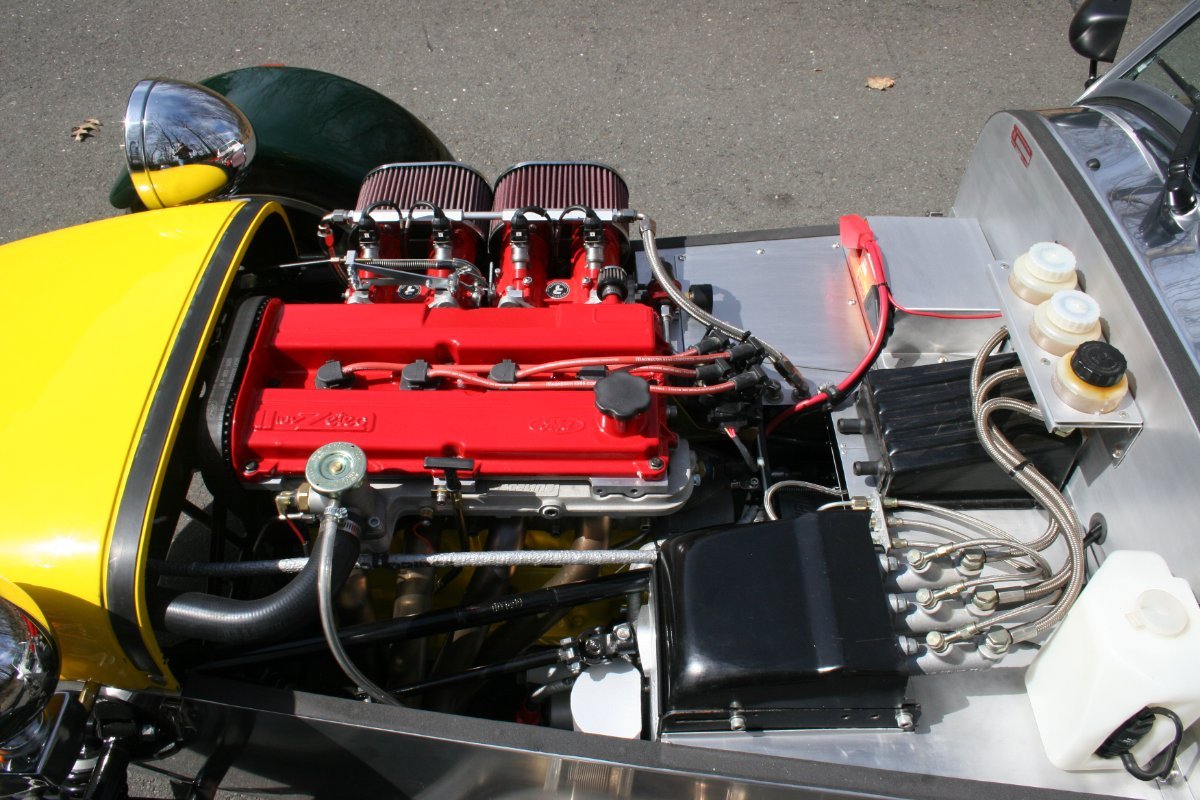
That's a Raceline water rail but that doesn't mean it's a Raceline engine or cylinder head. I had the same water rail on my Birkin with a Zetec engine but it was basically a stock Ford engine with some external mods. See photo of my Zetec from the earlier 95-97 Ford Contour design, called a ZX1. You'd probably have to remove the valve cover and check what cams it has, to see if it had more Raceline hardware in that engine.
-
Another nice video done by @CBuff from our day at NYST. My son had his #91 Exocet, our friend Tom had his #55 Exocet, Charlie in the #9 Caterham 420, and me in my #57 Caterham 310. It was a really fun day!
-
Could it be that brake fluid was sloshing around the reservoir/cap and drained down while it sat idle, or maybe it was overfilled a little to start? The reaction with the PPF seemed to indicate that it was brake fluid or similar. I'm not sure what road yuck was on track that day but I would think other cars would have been affected as well.
-
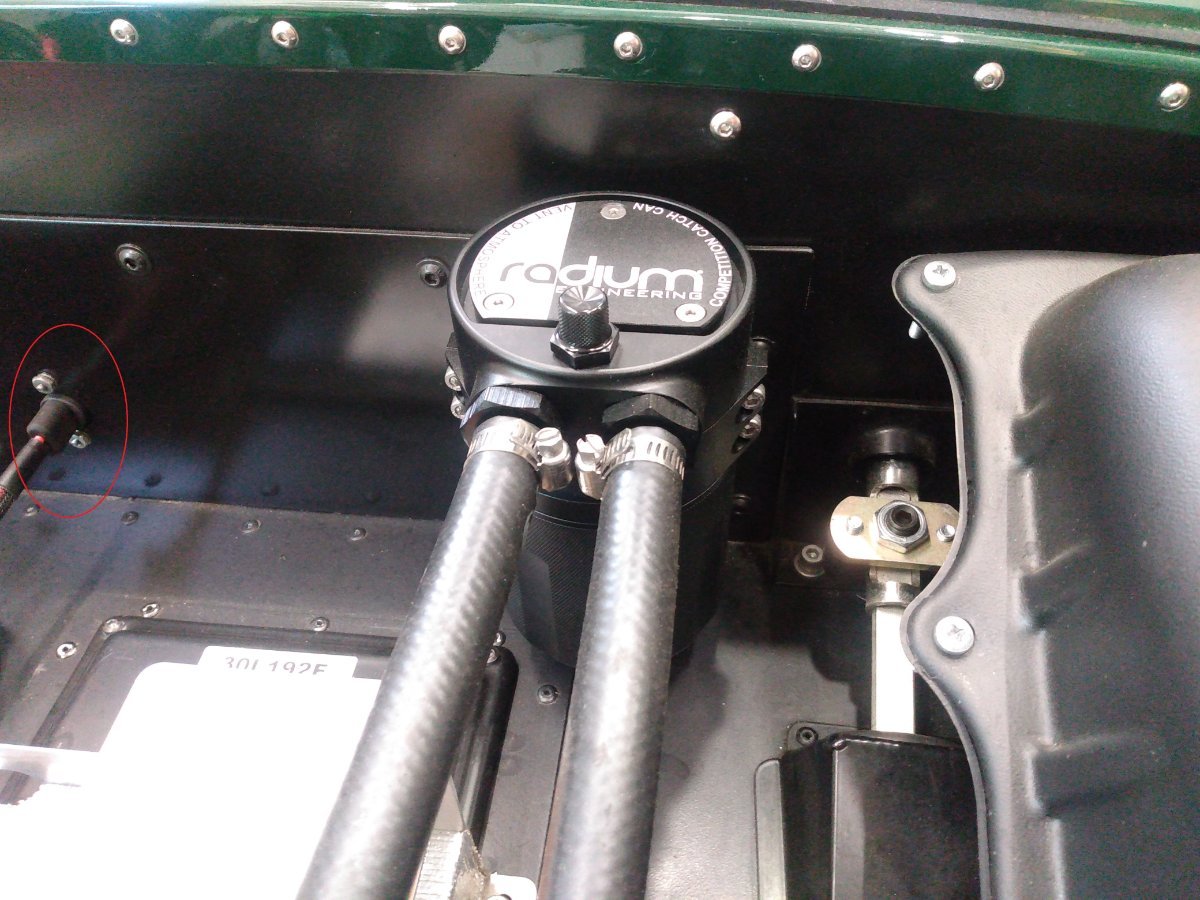
Battery tender magnetic attachment
11Budlite replied to Xhilr8n's topic in General Sevens Discussion
I mounted a bolt-on connector designed for a BT to the heater blanking panel, that way I can charge the battery without taking off the bonnet. It's circled in red in this photo. Even with the heater you should be able to find space under the dash to run a connector.
-
900 miles on the clock, list of items to look at
11Budlite replied to hyper7's topic in General Tech
That's the way mine is too. I looked into that issue when my car was completed and supposedly that's the way it's designed. -
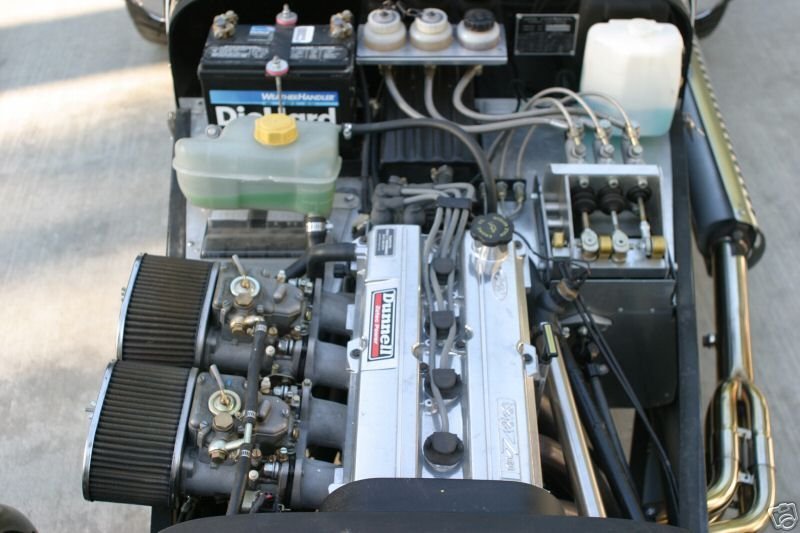
There is an adjusment with the pushrod of the clutch M/C to move the pedal. I can't remember what position I had my pedal box mounted in on my former Birkin, but I was able to adjust everything to get the clutch to release properly. Here's a photo of the M/C pedal assy that shows the adjustable pushrod setup. Yours should be the same or similar, you just have to take off the black cover to access it.
-
Thanks Charlie, it was great hanging out with you. That was a fun day!
-
 This should help: https://nasaprototype.com/
 -
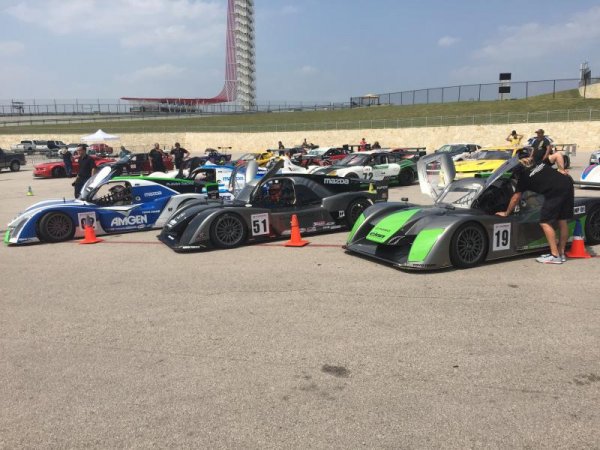
That's good to hear! My son and I were there on 8/28 testing out a new track toy. Looking forward to going back on 9/7.
-
No, the T9 didn't come out until after 1973 when production was taken over by Caterham.
-
You are correct. You can support the eng/trans on a Birkin and lift the body over it, because of the removeable crossbar in the transmission area. It's held on with 4 bolts IIRC. Not possible on a Caterham because of the fixed crossbar..
-
I know the Duratec could be different, but for my Sigma-powered car it's a little bit louder but I never measured the difference. To me it sounds better, but it is still not close to the loudest car that I run with on track. No problems passing any of the sound limits at the tracks I frequent.
-
MassTuning is now running 4 different groups: Novice, Intermediate, Advanced, and Expert. They allow ride alongs in Intermediate and above.
-
I'm scheduled to be there with my Caterham. I think my son and our friend Tom will be there with their Exocets too.
-
When I switched to the race wingstays (P/N 76101, 76102) with Hoosier R7's this past winter, there was almost no clearance and I'm sure they would have rubbed at the first corner. I was able to bend the wingstays to gain enough clearance that they didn't rub at all at my first track day. I had to bend the arm in two places on each arm of the wingstay. The first bend was to get the clearance to the sidewall of the tire, and the second was to bring the upper portion of the arm parallel to the tire tread. After the first bend, I had to shim between the tire and the arm to maintain the sidewall clearance. It might be an option for you but YMMV.
-
Thanks Croc
-
I couldn't find anything else stamped or etched in the housing.