sf4018
-
Posts
377 -
Joined
Content Type
Profiles
Forums
Store
Articles
Gallery
Events
Library
Everything posted by sf4018
-
It was plumbed in by Caterham, there’s a handle on the dash. So I put 5 gallons in, set off the pump for a second but no gas flow or pressure. Maybe I have to put more fuel in or bleed it somehow?
-
Plumbing finished, may fine tune later. Just gotta wire up the pump now.

-
Great video and excellent driving!
-
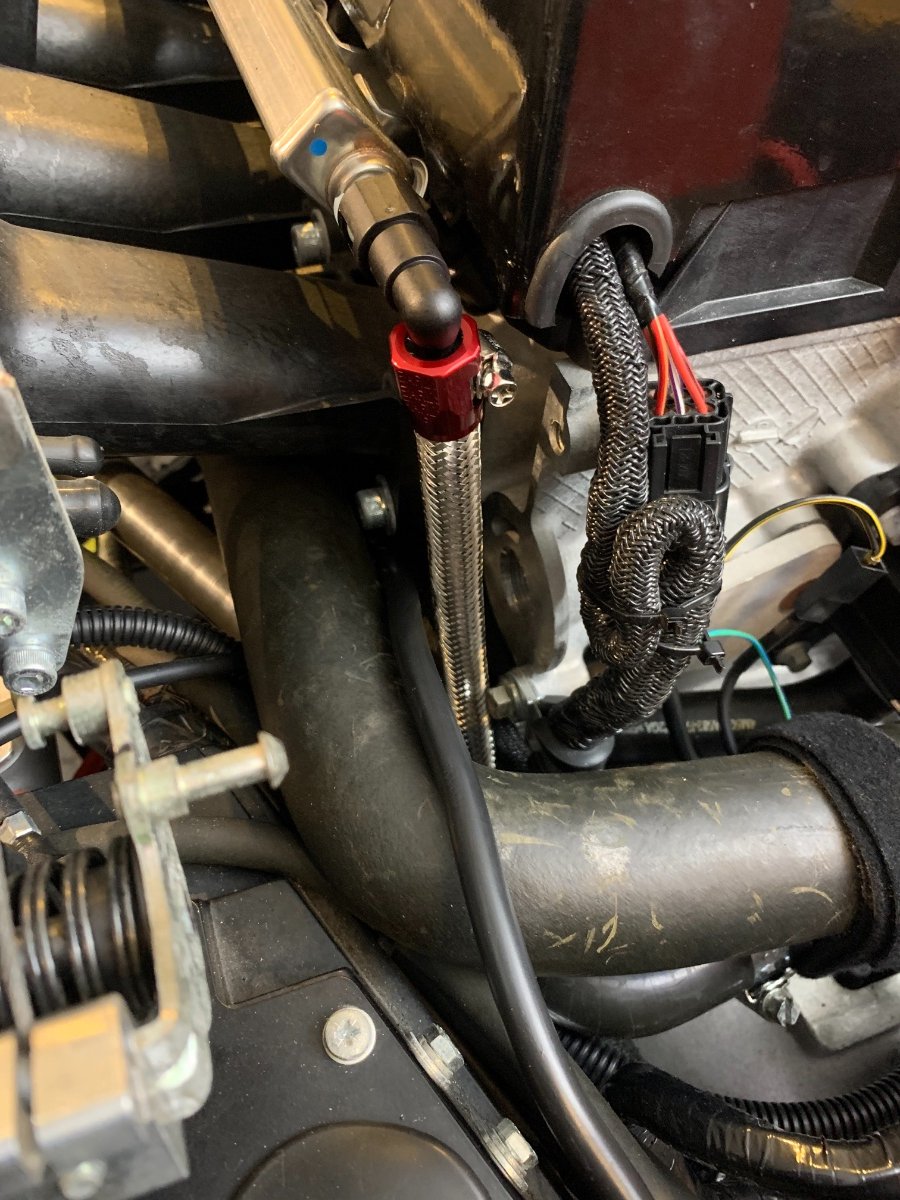
The new ECU is in, started the plumbing, starting at the engine and going back. 5/16” fuel line quick connect connector, 6AN hose clamp, 7.9mm stainless braided high temp fuel hose… Although the internet said to use hose clamps not cable ties for fuel lines I used the latter like the original installation, seems fine to use for the tunnel… For the exit point from the tunnel above the LSD I didn’t feel comfortable snaking around the hose like the old one because it’s quite a bit larger diameter and didn’t want to risk pinching it, so I cut a notch in the wood above the LSD to use as an exit point. It’s cut to the right a little to make room for the fire extinguisher on the left…
-

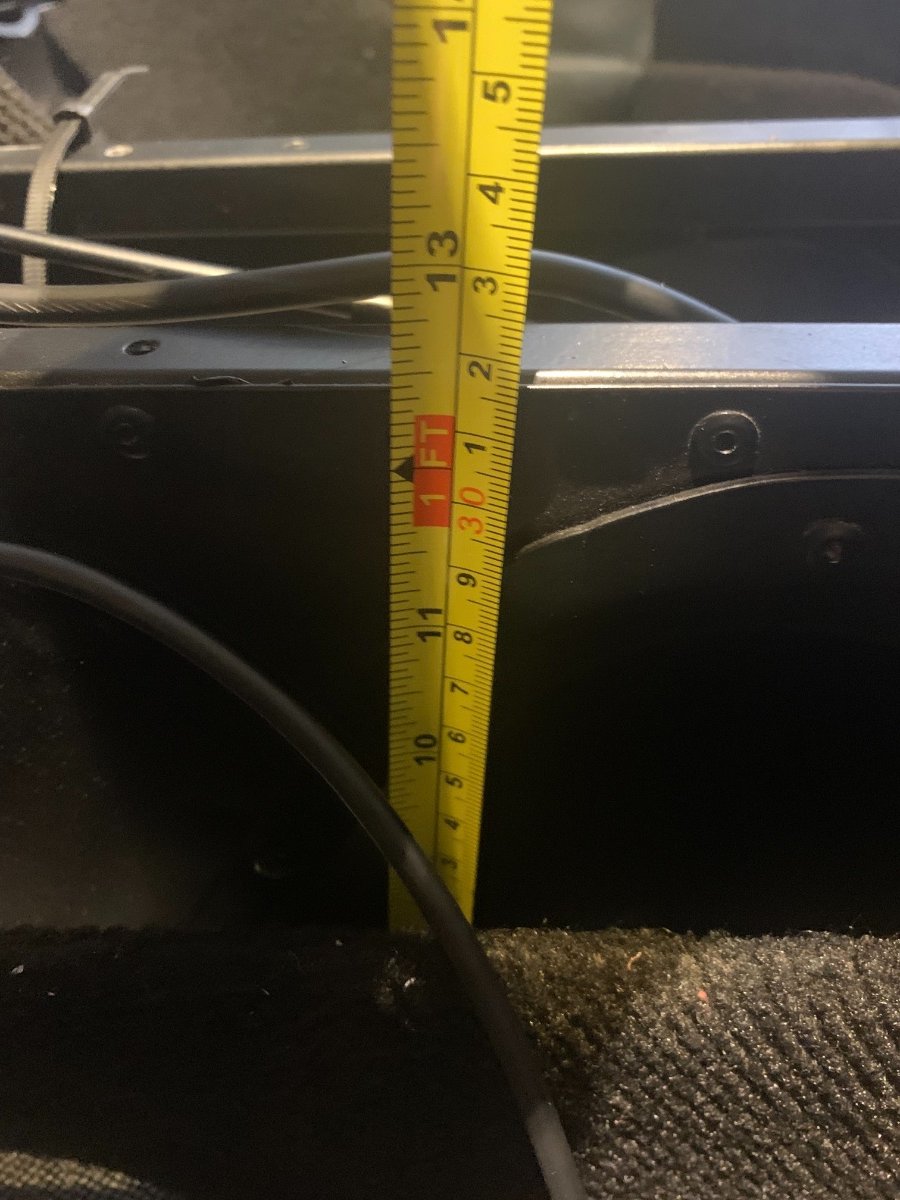
Minimum console height on SV with lowered floors
sf4018 replied to kayentaskier's topic in General Tech
317mm from the top to the lowered floor. Note that it’s not straight down, there is a ridge at the lowered floor section at least for mine.
-
If the temp bumpers are expensive I would just go a scrapyard get some comically large bumpers like F150 for $20. They won’t be able to deny it just cos it looks stupid.
-
Bumpers are so hard to mount reliably.
-
I'll be headed that way for a visit in the next few months. If it gets out of pre-order status we'll figure something out.
-
Best chance of cool air I would guess would be running a duct to the side of the radiator, it would have to be closable if it rains though.
-
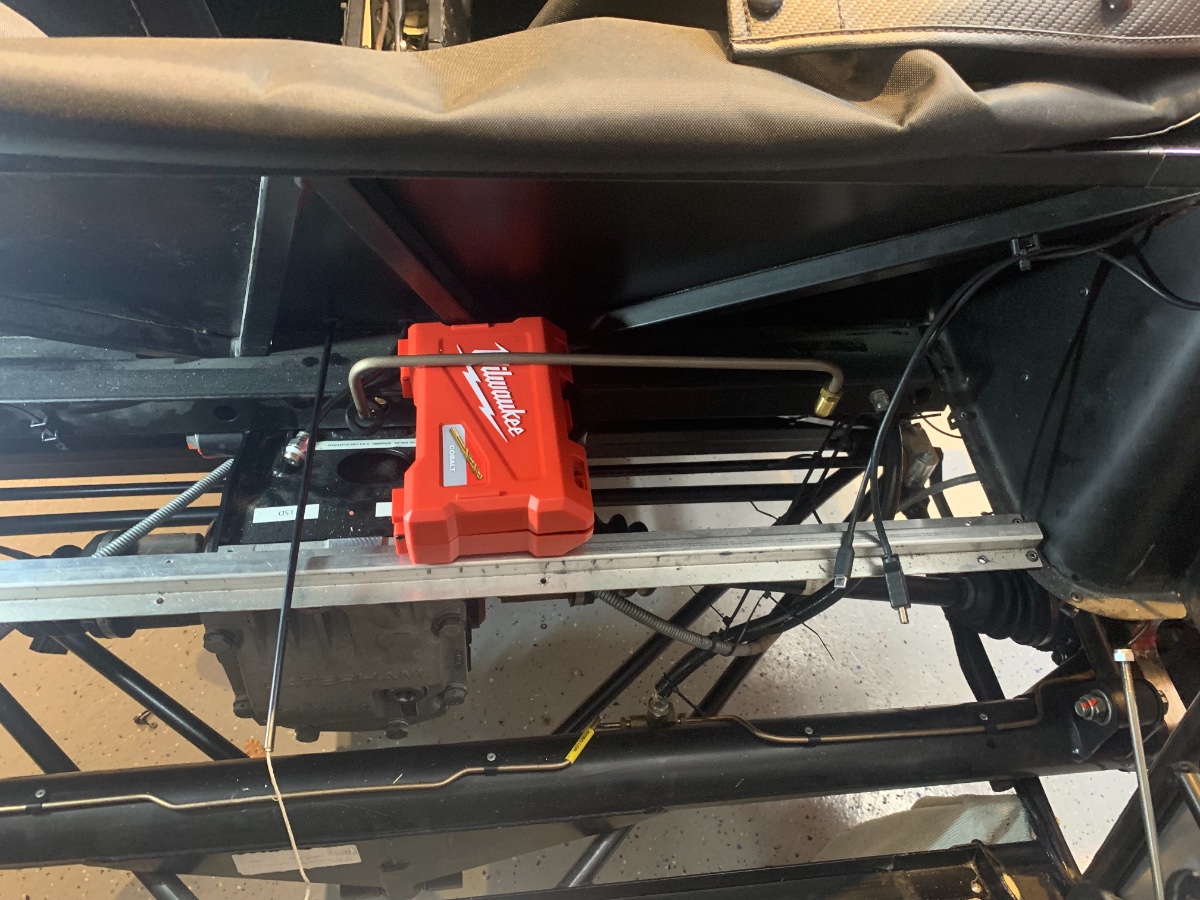
Some issues with the copper pipe that Caterham sent… 1. The rear exit looks fine except the connector goes back down which is odd… …it’s not the end of the world but will mean some hassle finding the right elbow/banjo connector to bring it back up and keep it away from everything else going on down below. Seems awkward. 2. Using this pipe means 4 connection points instead of 2. 3. Even though it’s installed in a pretty well protected area it would seem rational to want to put a protective cover over it. The old line was a crappy hard plastic tube with a shroud. I’m leaning towards using stainless braided flexible 7.9mm tube that will run directly from the tank t connector to the engine rail. Easy install and only 2 connection points. The tube is rated to 250F so should take the heat, and the braid should protect the tube from stuff hitting it. I checked the cover of the old fuel line and other than dust it’s in immaculate condition so I don’t believe there’s a particular risk damage from stuff flying around from the road.
-
Short update while waiting for the ECU. I thankfully figured out how to remove the old fuel line without removing the drivetrain…I removed the tunnel cover, then drilled out the rivets that fixed the top cover at the rear between the seats. The fuel line is just zip tied to the frame, so I just cut them off and pulled the line out. Pretty easy after all. It’s still unclear whether to just run some new flexible 7.9mm tube where the old one ran or install the copper pipe that Caterham sent. I’ll figure that out tomorrow.
-
Ok thanks guys, I’m gonna go the ECU path.
-
SBD recommended this ECU https://www.sbdmotorsport.co.uk/MBE9A4-mbe9a4-ecu--fuel-injection-up-to-4-cylinders.html they said they provide the starter map but I would have to tune myself. No idea how easy or hard that is to do. Not sure if the hardwired IO is standard or needs reverse engineering as far as pinouts. On the positive side it will mean greater control in the future if it works out. Are there too many unknowns or should I press forward with the ECU for those in the know about ECU config?
-
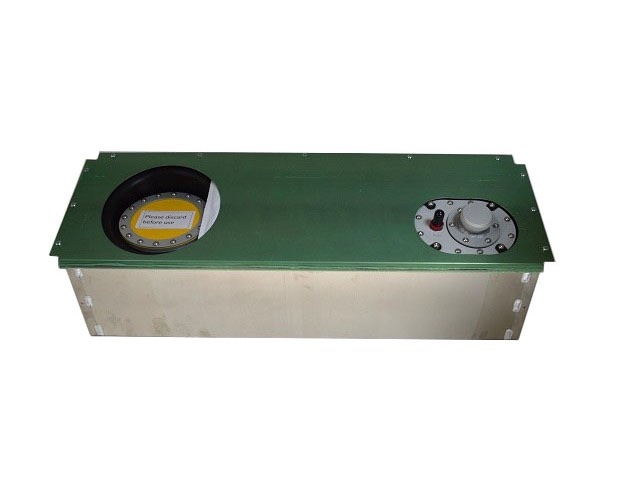
Traveling back to reality…. Options are: 1. Keep new bag tank/external pump/constant fuel pressure setup but use an unlocked ECU (not supported by Caterham) and figure out programming. 2. Caterham proposed retuning gear sent for a refund and shipping this new bag tank pictured below that has the same internal pump setup as the original tank I pulled out. The advantage of this is the electrical is plug and play and no ECU swap. Tank is much smaller though. I am a programmer in a past life so don’t have a problem with programming (I supplied some of the info to purple meanie fella about the CANbus stuff) but don’t know anything about ECU itself right now. Opinions?
-
I’m gonna check back with them next week when I get back to see what they come up with. They did suggest an alternate bag tank with internal pump that might work, but I gave them the rest of the week to see what paths can be taken. Gut feeling is if their race 420Rs have some different components like cams and other stuff on the top that would suggest the standard stuff isn’t quite sturdy enough for what I’m using it for perhaps, so I may push for that. The engines gonna have to come out anyways.
-
About to fly off on vacation got this message from Caterham… “Looks like we have some crossed wires here with regards to your car as originally (a long time ago) when we spoke, I assumed your track car was a race car and the tank therefore would not be an issue. However as you can see from one of our engineers below, turning a car from road using “fuel on demand” is the first problem, map would be another as the 420 race cars have different cams etc as well. Other than undertaking what would be a re-mapping process and much more I really can’t see a way around getting this to work. I can see no other way than returning the tank and parts for a full credit and running either a replacement standard tank or some after market version (if you can find one in the US). Apologies for the confusion and mis-understanding” The fuel line to engine is already cut so it’s gonna take some major disassembly to put everything back the way it was. What a gigantic disaster, I’m gonna lose this whole year
-
Dumb question - I just replaced an internal pump with an external one on my 420R - do I need to change something on the injector or ECU?
-
It’s 15 gallons, completely fills the housing.
-
This is the plumbing concept, hopefully it’s correct…input welcome!
-
Bag tank completed prior to insertion… tank installed and braced…
-
Thanks for the pics, the switch is a good idea, I’ll add that. Do you have a fuel filter in the system? They sent me one but their pics didn’t show one.
-
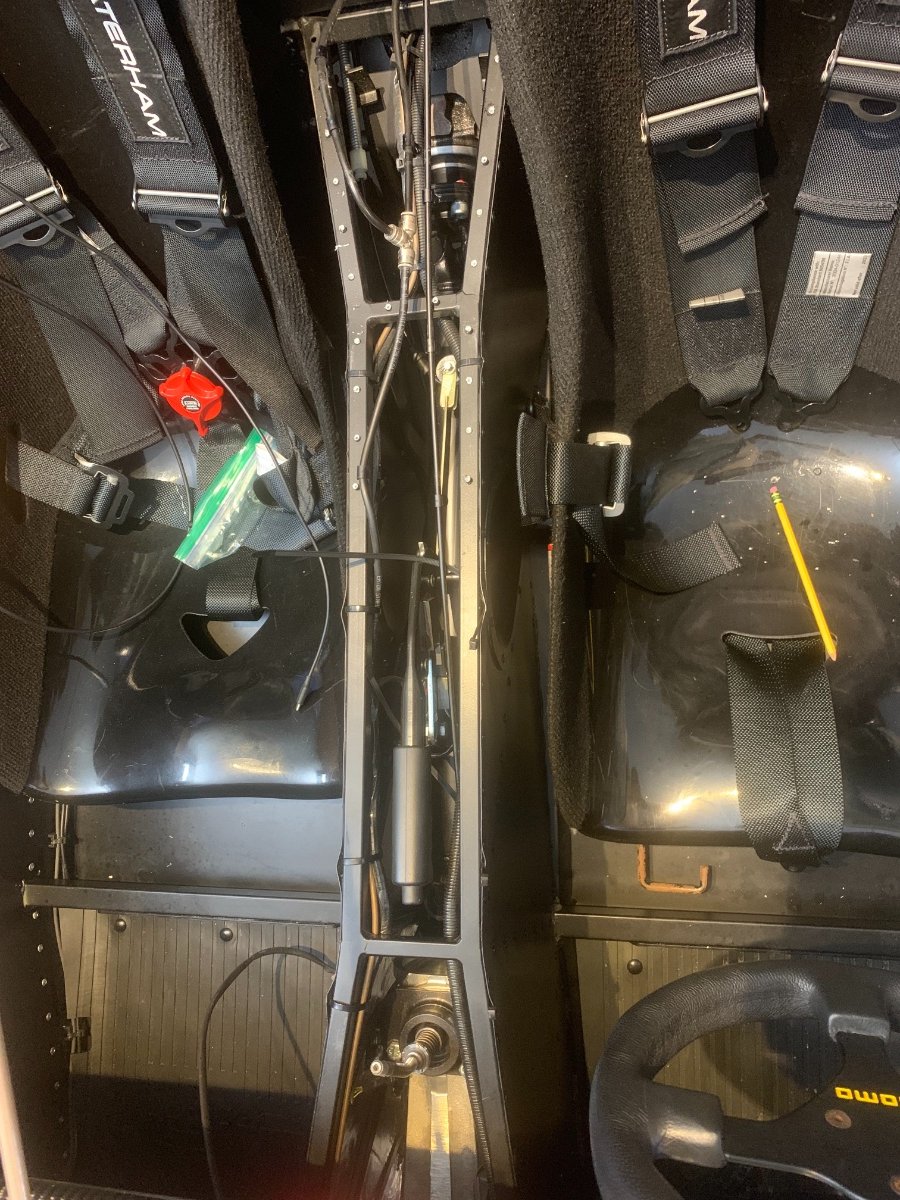
Missing parts came in finally so I’ve got this weekend to do as much as possible before vacation or otherwise out of pocket for the next month. Added 2 strips of angle for the new tank to sit on, which is bolted on the old tank brackets. It’s a tight fit but it does fit. Glued on rubber cushions and then added some stoppers on the strips to stop any lateral movement of the tank… Note this is only needed for SV width. Next is mounting the pump. I removed the bag from the container, then placed the container, tank to pump pipe and pump in mounting bracket and mocked up to position it correctly then marked off where the holes should be drilled. Bolts face out and the bolt heads taped up to prevent chaffing of the bag…
-
Hope you have more luck than me getting parts quickly, I've been waiting 4 weeks for a pressure regulator!
-
Season 2 has started 🍿.
-
When you get to plumbing, the purple meanie build is a great reference... Build Session 17.5 : Caterham 420R Water and Oil Overview | PurpleMeanie