-
Posts
633 -
Joined
Content Type
Profiles
Forums
Store
Articles
Gallery
Events
Library
Everything posted by SENC
-
-
Great article, thanks for sharing Anker. Interestingly, the very same COSCO Vietnam was loaded just a few weeks later, the first week in December 2019, with a 1965 Seven in Southampton, to embark on an 18-day journey through European and US ports before arriving in Savannah, GA. So, that ship has carried at least 2 RHD Sevens from the UK to the States! My import process was similarly easy, and registration process similarly challenging. In my case, the NC DMV took nearly 12 months and a full-on records search and inspection by the theft department before it was finally registered and licensed - though some of that time certainly had to do with the early 2020 impact of covid on office closures and staffing issues. But all ended well and as it should have.
-
...and glad to hear Vlad!
-
Good luck, Vlad!
-
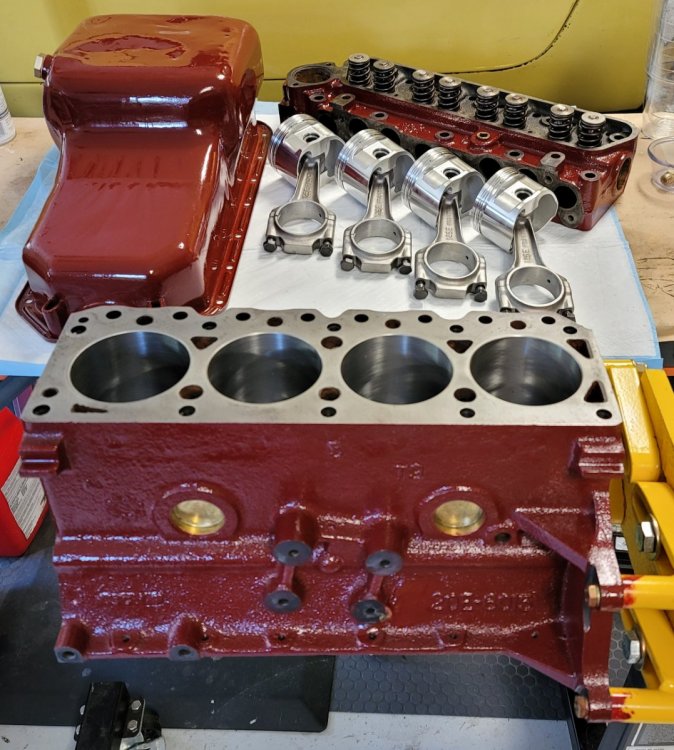
Finally a little progress... put in a new camshaft (fast road, slightly more lift than the A2) that fit and spins as expected, and then got the pistons in.
-

XFlow randomly stops running, why and how to fix?
SENC replied to TexasDreamer's topic in General Tech
Slightly poor ground at chassis on cable from battery is what did the same to my Elan - took just the right circumstances to cause the issue so seemed similarly intermittent. -
On rebuild, my existing camshaft was very tight on rotation at 2 points. After fully inspecting the bearings (new) and the camshaft, identified some indicators of stress on the rear journal that had it very slightly out of round - so, in search of a replacement. Does anyone have an old stock A2 camshaft laying around they'd consider selling, or have any leads?
-
Are they useable with positive earth and generators?
-
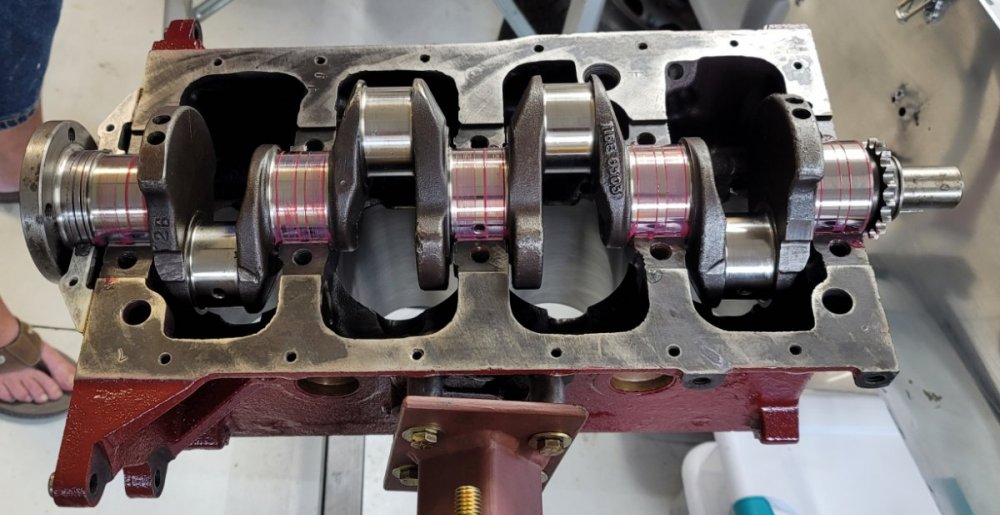
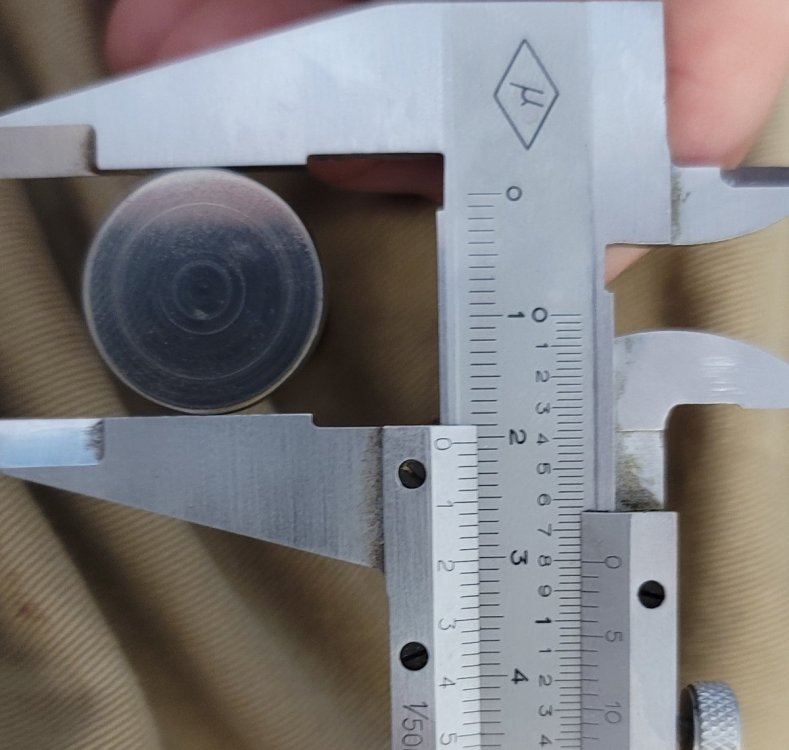
Progress, and a temporary halt. Crankshaft and oil seal installed (using the BestGasket GraphTite rope seal product). The crankshaft was in good shape and only required polishing, so found some nos vandervell bearings in the same +20s as I removed. All torqued up and ready. Ran into an issue with tappets, though. Having discovered a couple spots of corrosion on the face of one, I'd ordered a replacement set - but didn't notice until fitting that the head has an OD of 21.5mm where the ones that came out have an OD of 20.5mm. Found this as I tried to fit the camshaft and realized the tappet next to the central boss for the camshaft wouldn't seat fully. Unfortunately, I've only been able to locate 21.5mm head tappets, so off to the machine shop to get my new set turned down to size.
-

The Regular Summary of Classified Ads of Se7ens Found For Sale
SENC replied to Croc's topic in Cars For Sale
Not that anyone here would be fooled, but be wary of this one - marketed as largely original, it is hard to find anything original in the photos. Clearly wrong chassis, scuttle, hood, dash, tunnel, etc., etc. About the only thing Lotus I see is the id plate that someone riveted into place somewhere along the line. That said, it may be a great and fun car - just don't want anyone thinking it has any particular historic value. EDIT: I sent a note to the lister and to her credit she has responded with good questions and seems to be changing the listing. -
Attaching a couple idle circuit maps that may be useful, if you don't already have them. Does the engine transition from idle to cruise (at slow throttle increase) ok and does it cruise ok? This key function of the progression circuit is fed by the idle jets and circuit, so if performing ok at those stages then I would think the only place a blockage could effect idle and not progression would be in the small chamber between. A blockage further upstream from the progression holes should cause issues on that cylinder right up until the main circuit becomes the more dominant force (3k rpms, or so, I think). Good luck, and keep us posted!
-
I would hunt for carb leaks and do compression and leakdown tests before jumping to conclusions. I had a similar symptom, turned out to be weak valve springs on #3 allowing a slight internal leak that reduced vacuum at idle (which, of course, meant the idle mixture screw had no effect when adjusted in or out). Bottom line, could be a vacuum leak (failed o-ring, throttle shaft shift, butterfly wear, leak around the idle mix screw, etc.) just as easily as a clogged idle circuit. The idle mix screws, in particular, can leak more than you'd expect - put some EZTurn or other fuel line lubricant/sealant on the threads to help with the seal.
-
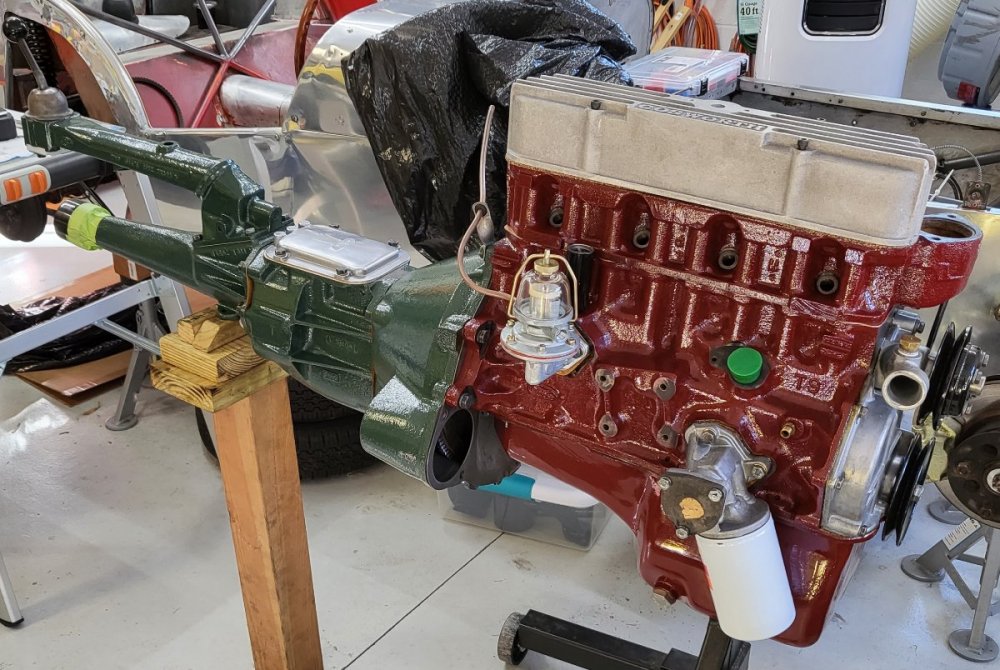
POR-15 Engine Enamel, MG Maroon. This is pretty close, I think, to the way the 1500 Cosworth engines were originally painted - or in the same color family, anyway.
-
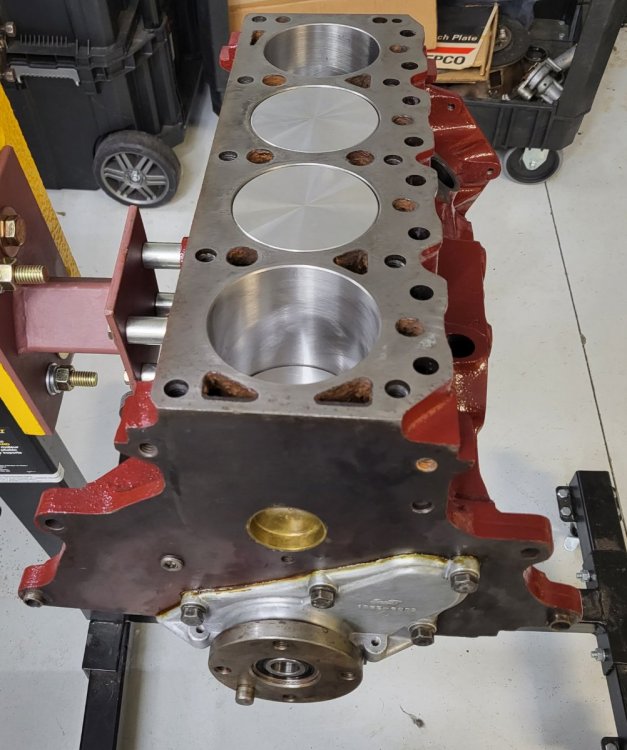
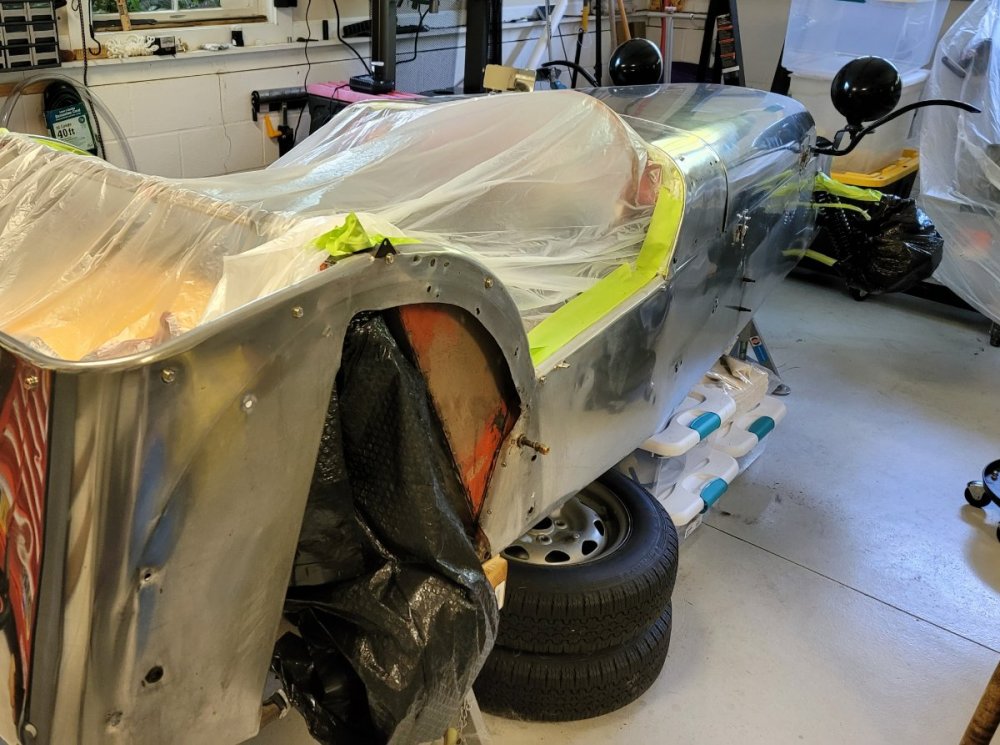
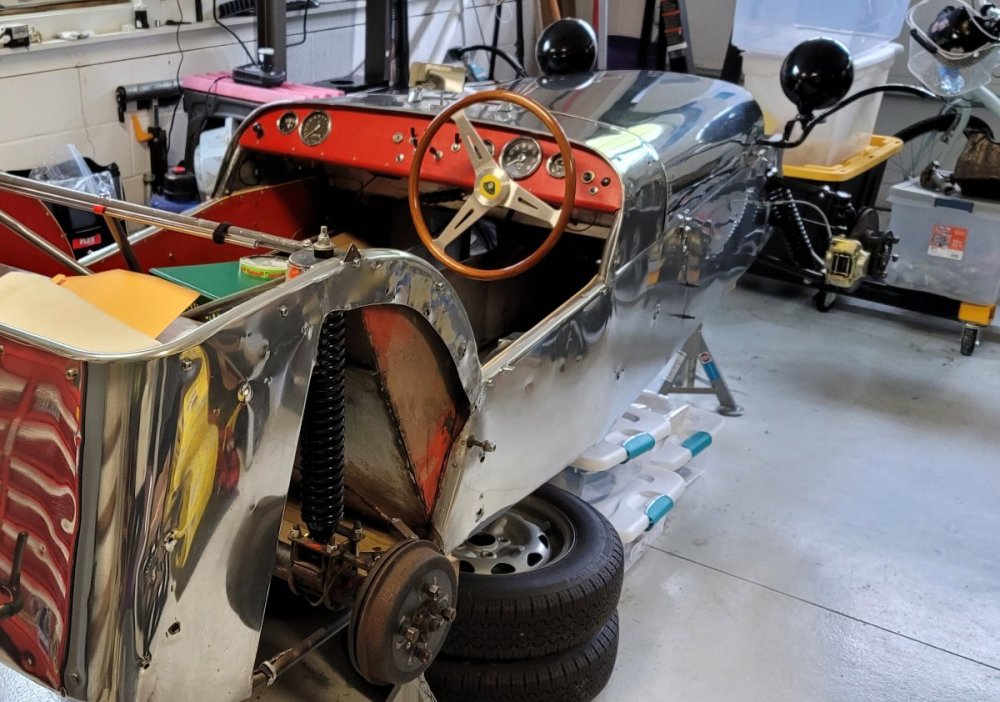
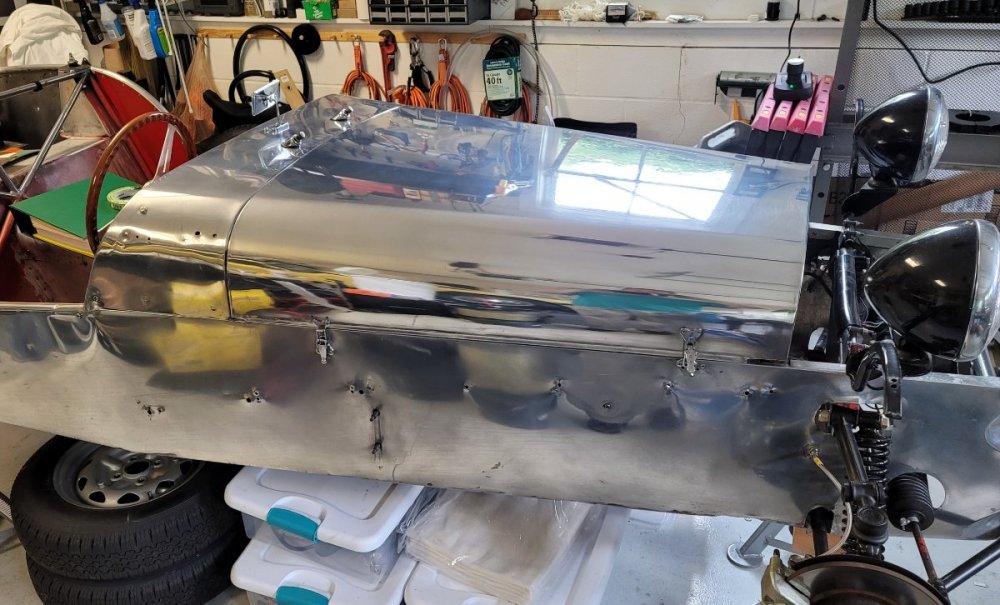
I tested the sealant on the hood, but it added a bit of cloudiness/haze, so I wiped it back off with mineral spirits and will just go bare. I'm happy with how it looks, far from perfect but a big improvement. Finally got my block back from boring and honing. Getting paint on things and hoping to find time in the next few weeks to begin re-assembly.
-
Remember that the thermostat doesn't necessarily impact the ultimate running temperature and it has very little to do with overheating (unless it is stuck closed or to high a temp rating), it is there to help the engine warm up to its designed operating temperature more quickly. Early Sevens, mine included, didn't have a thermostat - they were open flow - a flow advantage once warm, but since coolant flow through the radiator initiates at start-up it does take longer to get to a good operating temperature. Ie., there may not be a reason to put in a higher temp t-stat, unless you just want to raise the temp further before allowing coolant flow through the radiator. And a lower temp t-stat will not prevent overheating, it only means the coolant flow starts earlier.
-
If not pressurized, then a longer tube won't do anything because the inverse would also be true and there would be no vacuum to suck coolant back in... If pressurized, then you could be low on coolant just due to repetitive dumping of coolant into the recovery tank/overflow voir without the ability to recover it. Easy to tell looking at the underside of the cap.
-
Doing my part, just changed my phantom 1 star to a 5 star rating.
-
It is a bit of an experiment, for sure. The recommendation came from a well-known car detailing guru, not because he has done a lot of aluminum work but he was sharing a recommendation from a colleague that does a lot of Harley Davidson work and that swears by it as the best solution he's found for the aluminum bits. Note, this isn't a thick/hard/"permanent" coat type of sealant - rather a wipe on, much like using a ceramic sealant or even wax as a protective sealant on paint, so it will wear and when its is time to polish anything remaining will polish right off. Pinnacle Black Label Diamond Wheel Coating (pinnaclewax.com) is the product that was recommended. Logically it makes sense to me that a sealant should reduce oxidization (in addition to making waterless washes more effective) - but I do wonder how long it will last and whether it will wear evenly or unevenly. I'm also a long way from an expert on this, so welcome any contrary thoughts, experience or advice!
-
A dirty and sweaty Father's Day weekend, but satisfying nonetheless. Polishing took a full 12 hours. Still far from perfect, and the areas exposed to road rash are rougher than the rear, but fun to see it shine without the oxidization. I still need to put the sealant on it, in hopes it will preserve the finish a little longer, but needed a break from wiping so finished the day by replacing the propshaft u-joints instead. Progress.
-
To be reasonable, an offer would have to be above your asking price! Put it on craigslist for $4k and it will be gone for over $3k in a week. If I didn't have a trailer, I'd drive down there myself!
-
Thanks Chris! I'm going to work on it a bit more this weekend, so let me get a bit more done before I start giving how-to advice... but I will say the guidance I was given on starting with a standard rotary polisher, 7.5" wool pad, and Nuvite IIF7 was spot-on. With the size and depth of scratches in mine the Nuvite IIF9 (more aggressive) would probably have even been better, but to really remove them would require wet-sanding and my goal wasn't getting it to perfect - just to a good state of clean. And because of the flaws, I could probably skip the final polish with the IIS. I'll let you know how I get along this weekend. The big test will be how it holds up to prints, etc. and how often it needs to be polished. I've gotten a recommendation from Mike Phillips (autogeek detailing guru) to try Pinnacle Black Label Diamond Wheel Coating to seal the aluminum, so will be trying that in hopes that I can limit polishing to once a year. I am told that polishing aluminum gets easier every time you do it, as the process helps "heal" aluminum. I'm skeptical (and lazy), but we'll see.
-
Progress! Gets me excited about getting my bits returned to start reassembly! And, yes, that is a proper car on proper blocks!
-
Thanks, it was kind of fun to see more and more reflective detail. My concern with polishing is that it may show fingerprints more than oxidized as I get in and out, remove/install the bonnet, etc. I've had a recommendation from a detailer to use wheel coating designed for alu wheels to seal it, so may give that a try - if I find I'm having to polish or clean more frequently to keep it up, it will go back to the oxidized look quickly. My intent is to spend more time using it and less time cleaning it!
-
Restraint. I remember that, vaguely. Not generally seen amongst Seven owners. You might rethink your decision now, while there is still time. Otherwise, welcome to the roller coaster (the old school pre-Nader kind), you'll have more fun than you thought possible on four wheels!

