
7Westfield
-
Posts
419 -
Joined
-
Last visited
Content Type
Profiles
Forums
Store
Articles
Gallery
Events
Library
Everything posted by 7Westfield
-
I'm with Russ on this one, just look at the way the belt sits in the pulley - 1st picture I'd start by looking at that lower mount
-
Thanks I have a JDM tuner near me and he uses Haltech, but could do MS if I want. Problem I have with H is they dropped the Elite stuff, and then it starts getting pricey. A xflow "fun project" doesn't warrant that score 1 for MS I'll give Link a look
-
Has anyone here used a Haltech ecu? or Megasquirt? I'm considering trying one on a xflow.
-
then your aero drag goes from one barn door to two?
-
I tried a rear panel for the first time yesterday. It seems to cut down the turbulence and has a small effect on noise as well. With or without wind deflectors was pretty much the same. I did notice that the deflectors were held out about 45 degrees, so there's some positive pressure behind the windshield trying to get out. All in all. it's a plus I'd like to use a half hood. but with my non-standard windshield there's no way to attach the front. I may try making half doors, over the winter
-
Vov....you can get your Hans recertified. Paid about $90 last year for a new tether and sticker, took him about 10 mins
-
I wonder if the 2 sides being connected with no ground was the problem each was trying to ground thru the other, so everything lit up
-
Interesting that it has K L in the number I thought K was for a Ford Kent engine, and L for LHD that's how mine is Being #6, I wonder if it's the oldest Westfield "7" left out there
-
Series ONE SEVEN - Suspension / Engine Coponents WANTED
7Westfield replied to Chris D's topic in Parts For Sale / Wanted
have you tried GMT Racing? -for the suspension gmtracing.com I ? if you have a spridget rad, stock ones all seem to have in + out on opposite sides maybe it's a racing unit....you might try Clancy Schmidt in Lawrence KS he has made/sold racing spridget stuff for YEARS -
BTW it was Caterham that sued Westfield
-
Welcome interesting car...lots of differences compared to mine...chassis # in the 70's Do you know if it was built here, or brought in done? I don't know when they started selling them here, but #6 would seem too early for a kit. Too bad they painted all the aluminum strange front fender setup, looks more like a copy of a Lotus 6 different headlight mounts and rear roll bar mounts evolution in action! is it LHD or RHD? I can't really tell from pics what type of wheels? those look like mine--Mistrals I'm guessing a BMC A-series powertrain? join the Westfield club wscc.co.uk

-
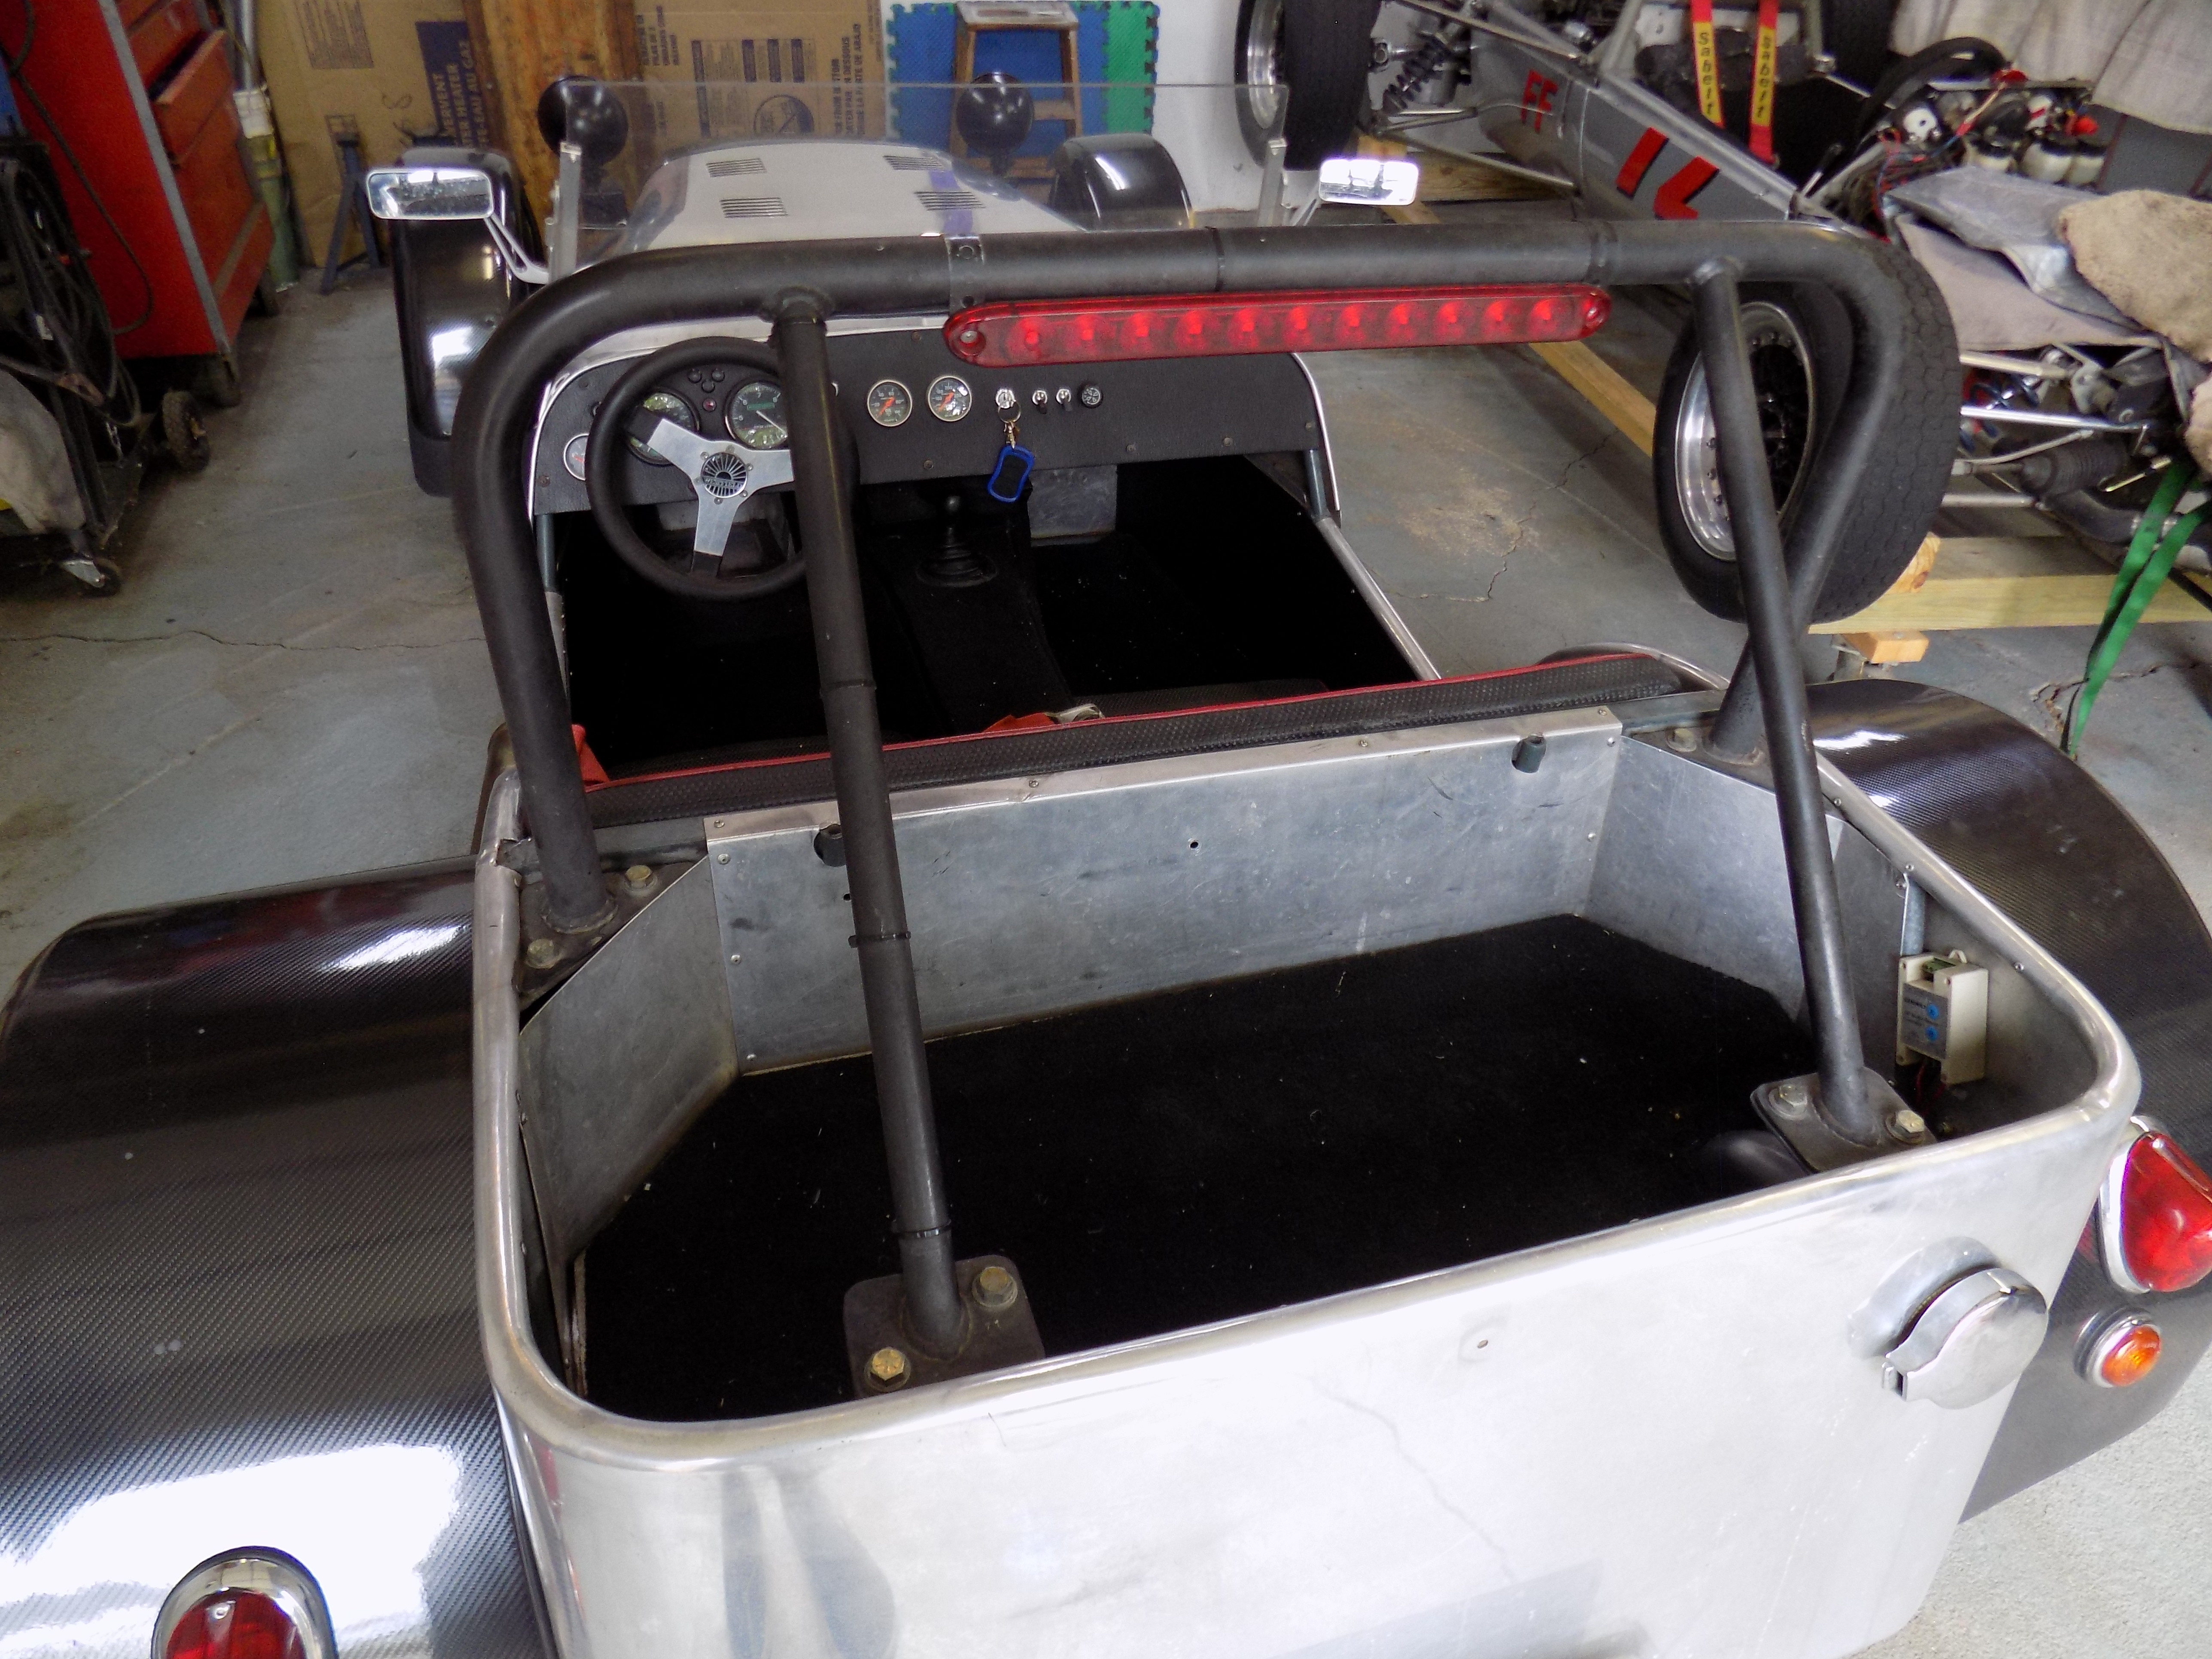
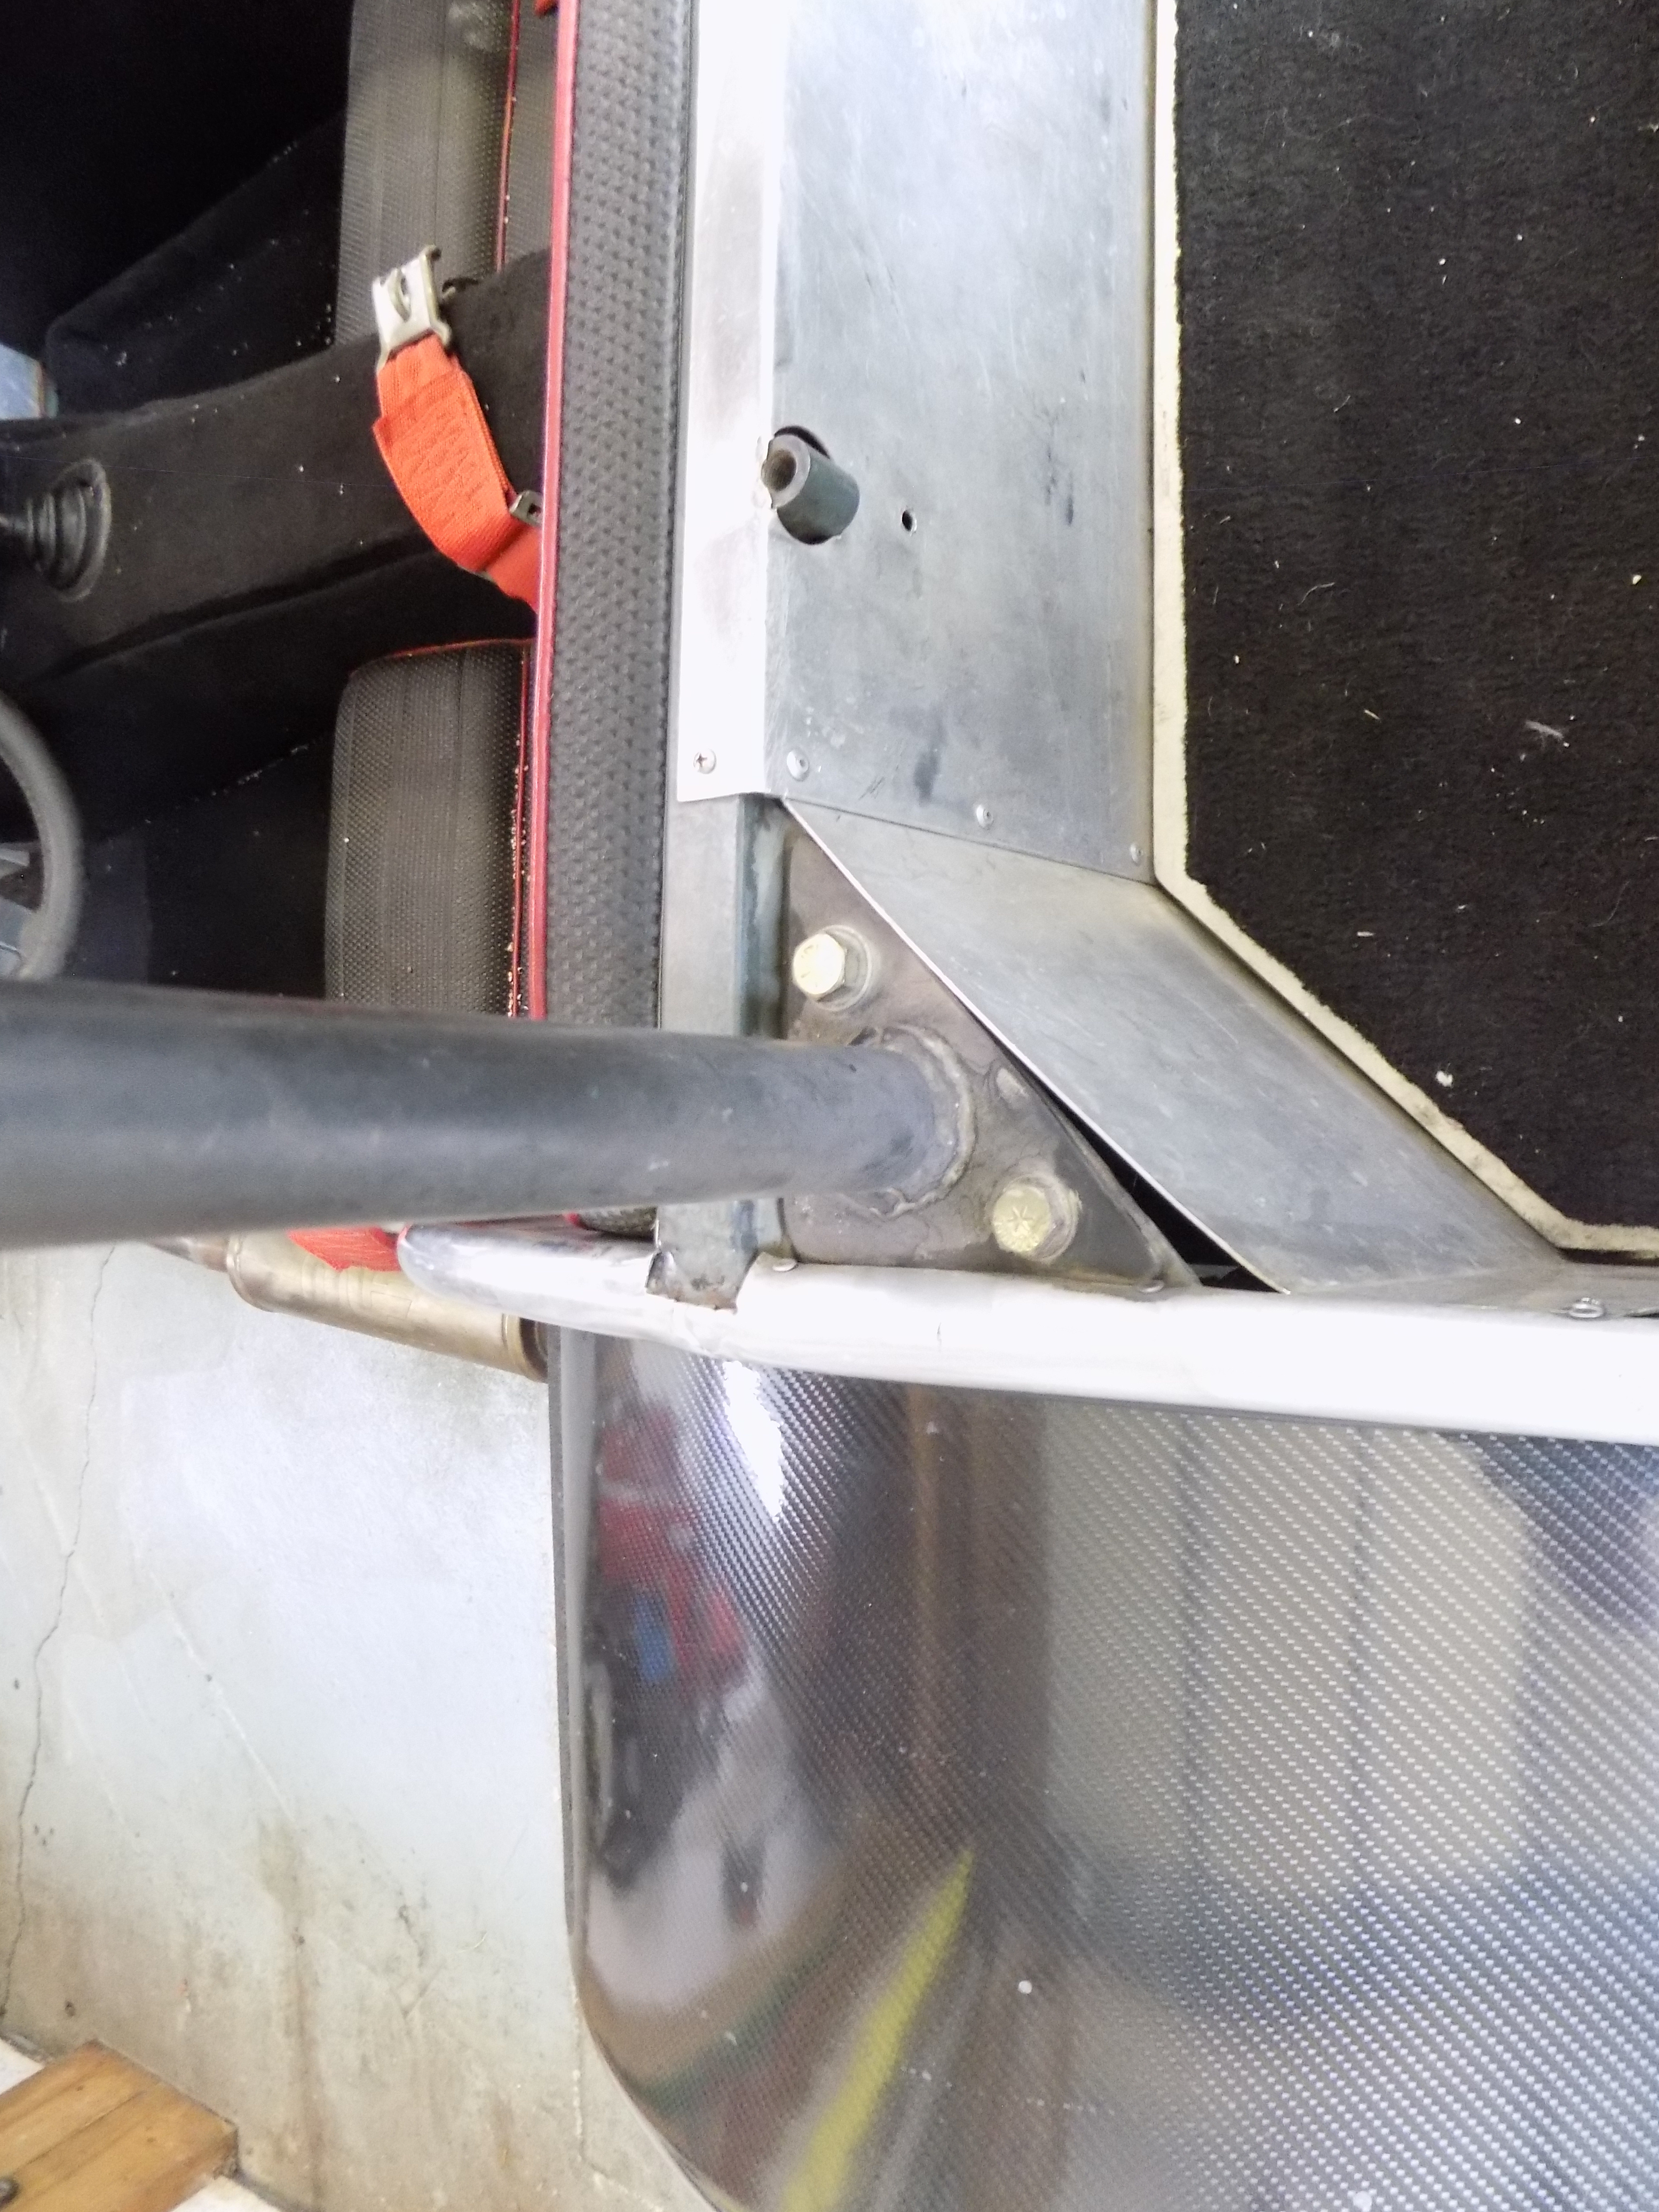
If you install a roll bar tall enough to do any good, it will be taller than your top frame. Here's pic of my Westfield stock bar. It's 16" tall, and doubles as top frame. I had to build a taller one when I used the car for my vintage driver school in 1993. It's 22" tall, so there's no way to put the top over it. If it will do you any good, I can probably have it -the tall one- in Appleton in November
-
crossflow should be 1/2-20 hope they didn't bugger the threads
-
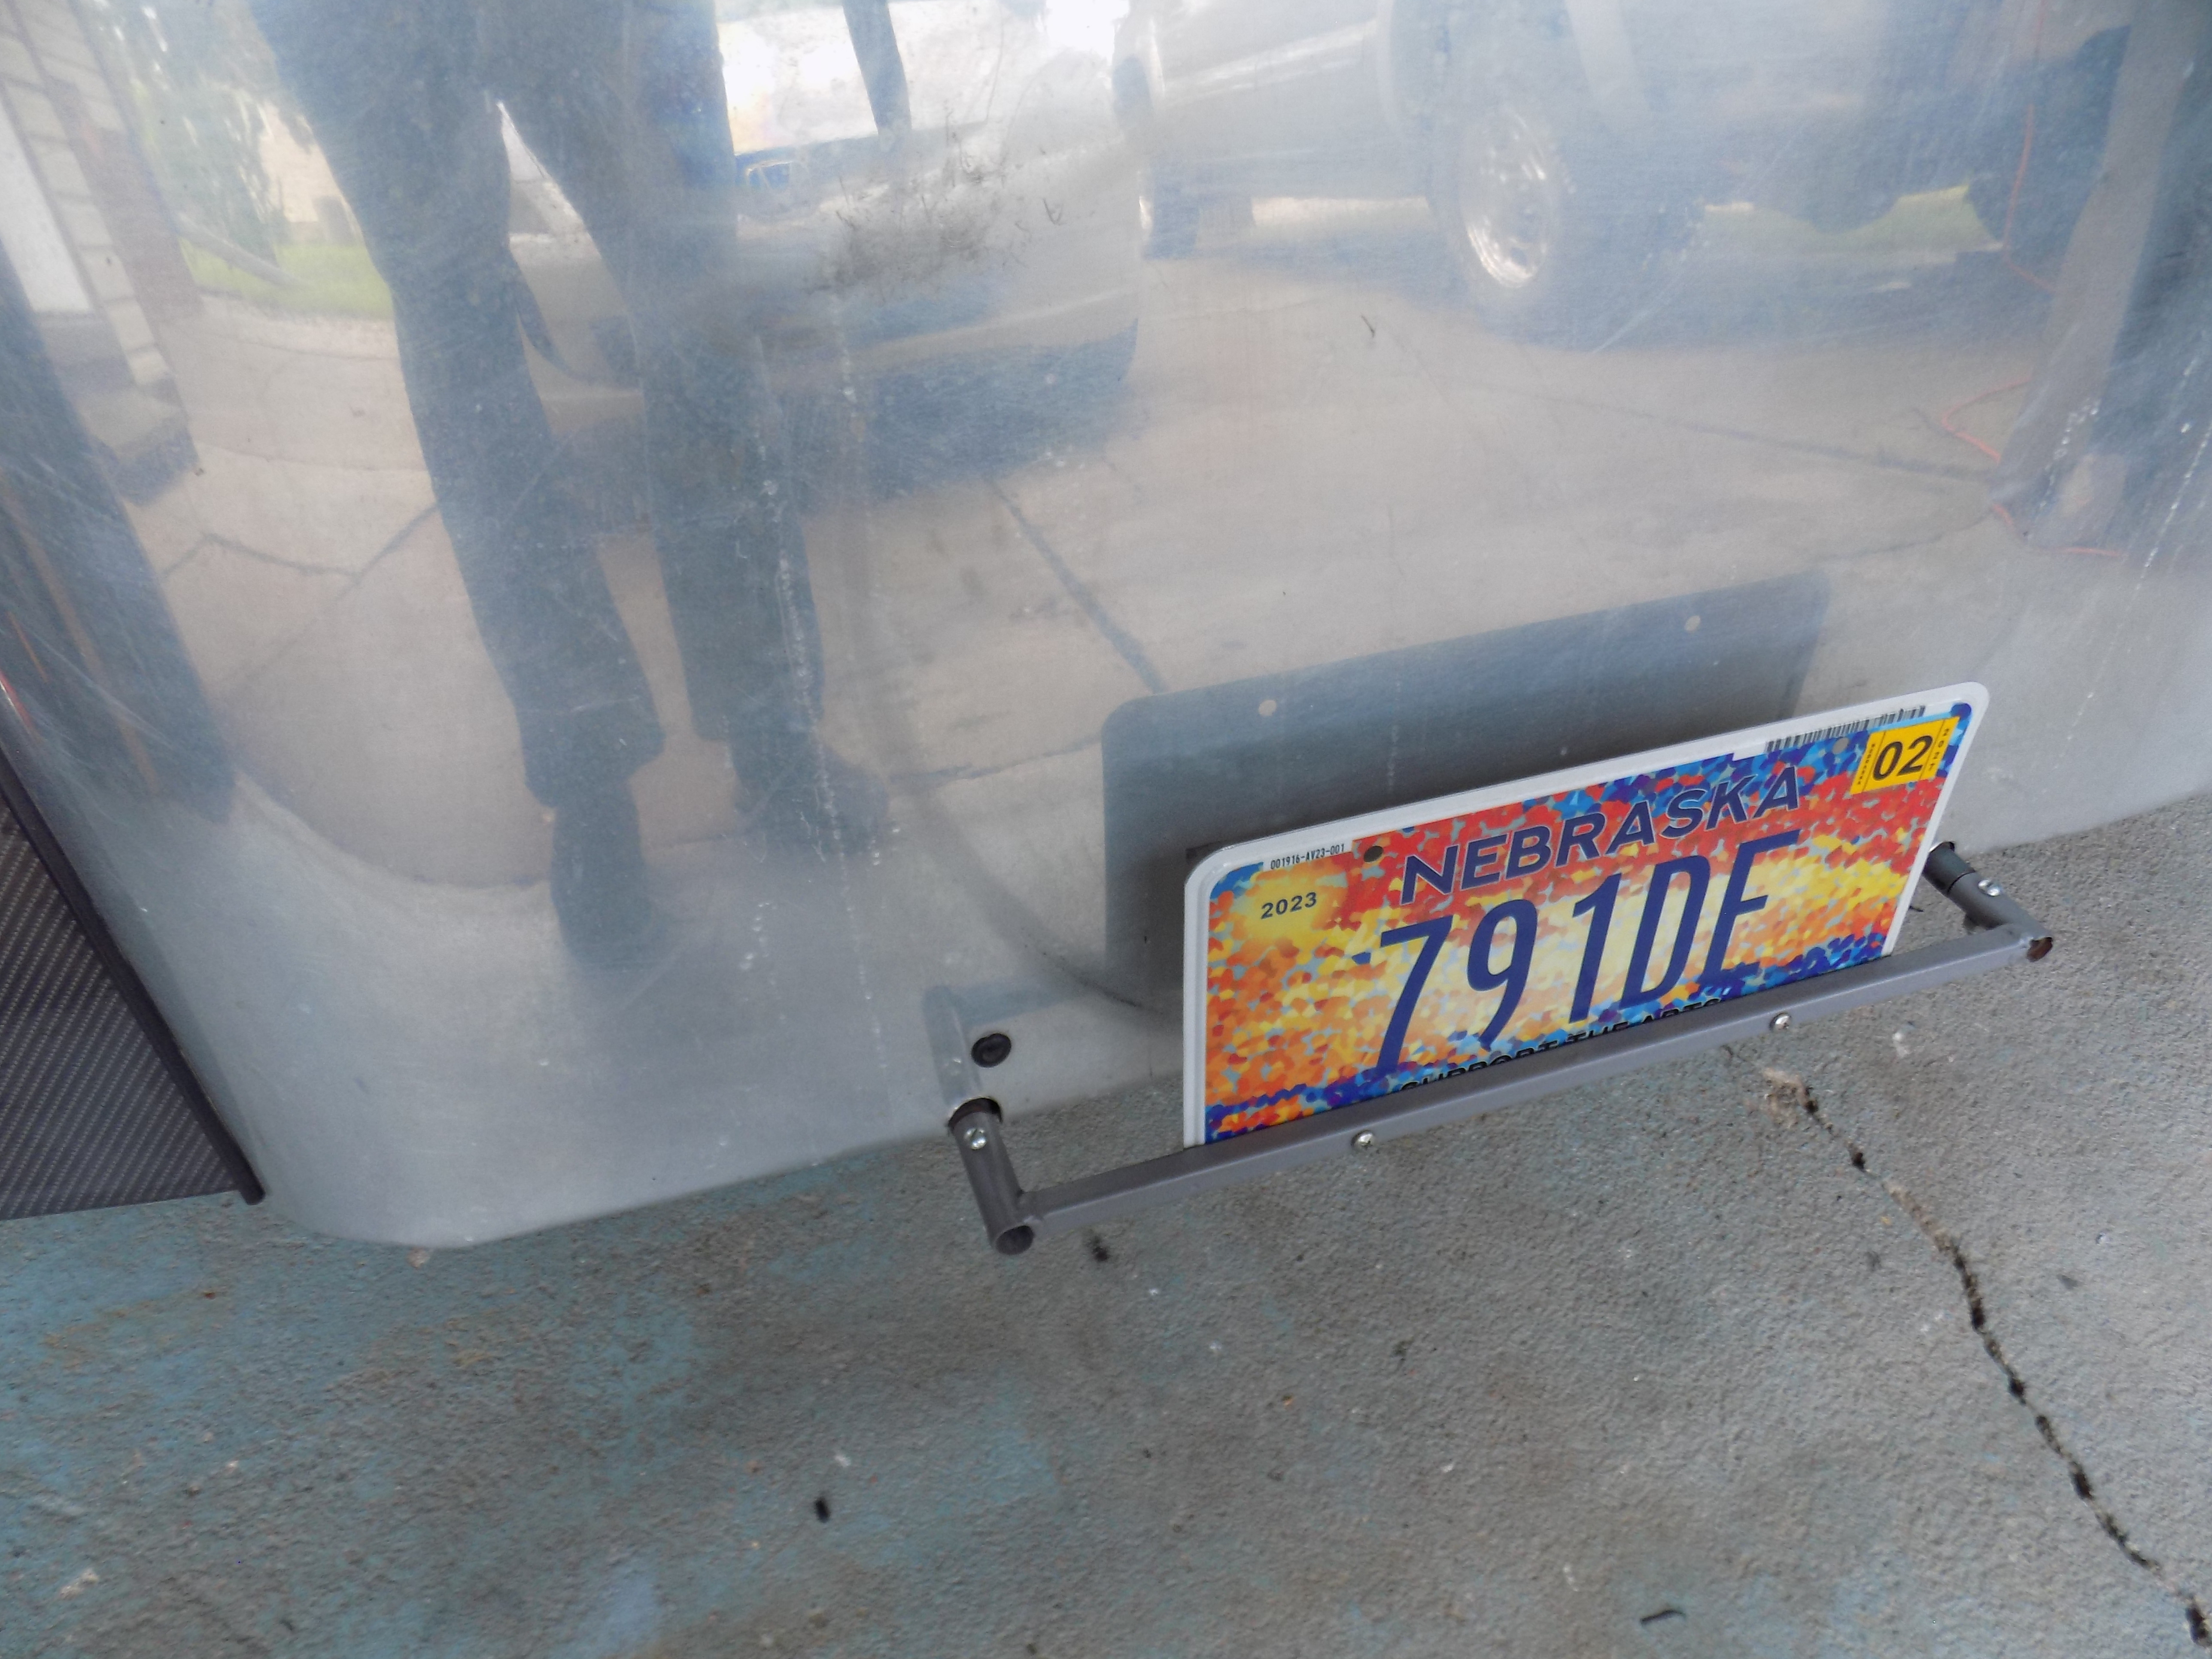
The Westfield has 2 little stubs that stick out about an inch, and the rig bolts on over them. I just built a shorter one to hold the plate, and can switch back if needed
-
because you don't drive the type of car Gavin & Co like LOL
-
I-80 is about 1250 feet in Lincoln
-
A few years ago, I added a beeper to mine, because the light was right behind the top of the steering wheel. Had the same issue Fixed it with a pair of diodes feeding the buzzer, one from each side
-
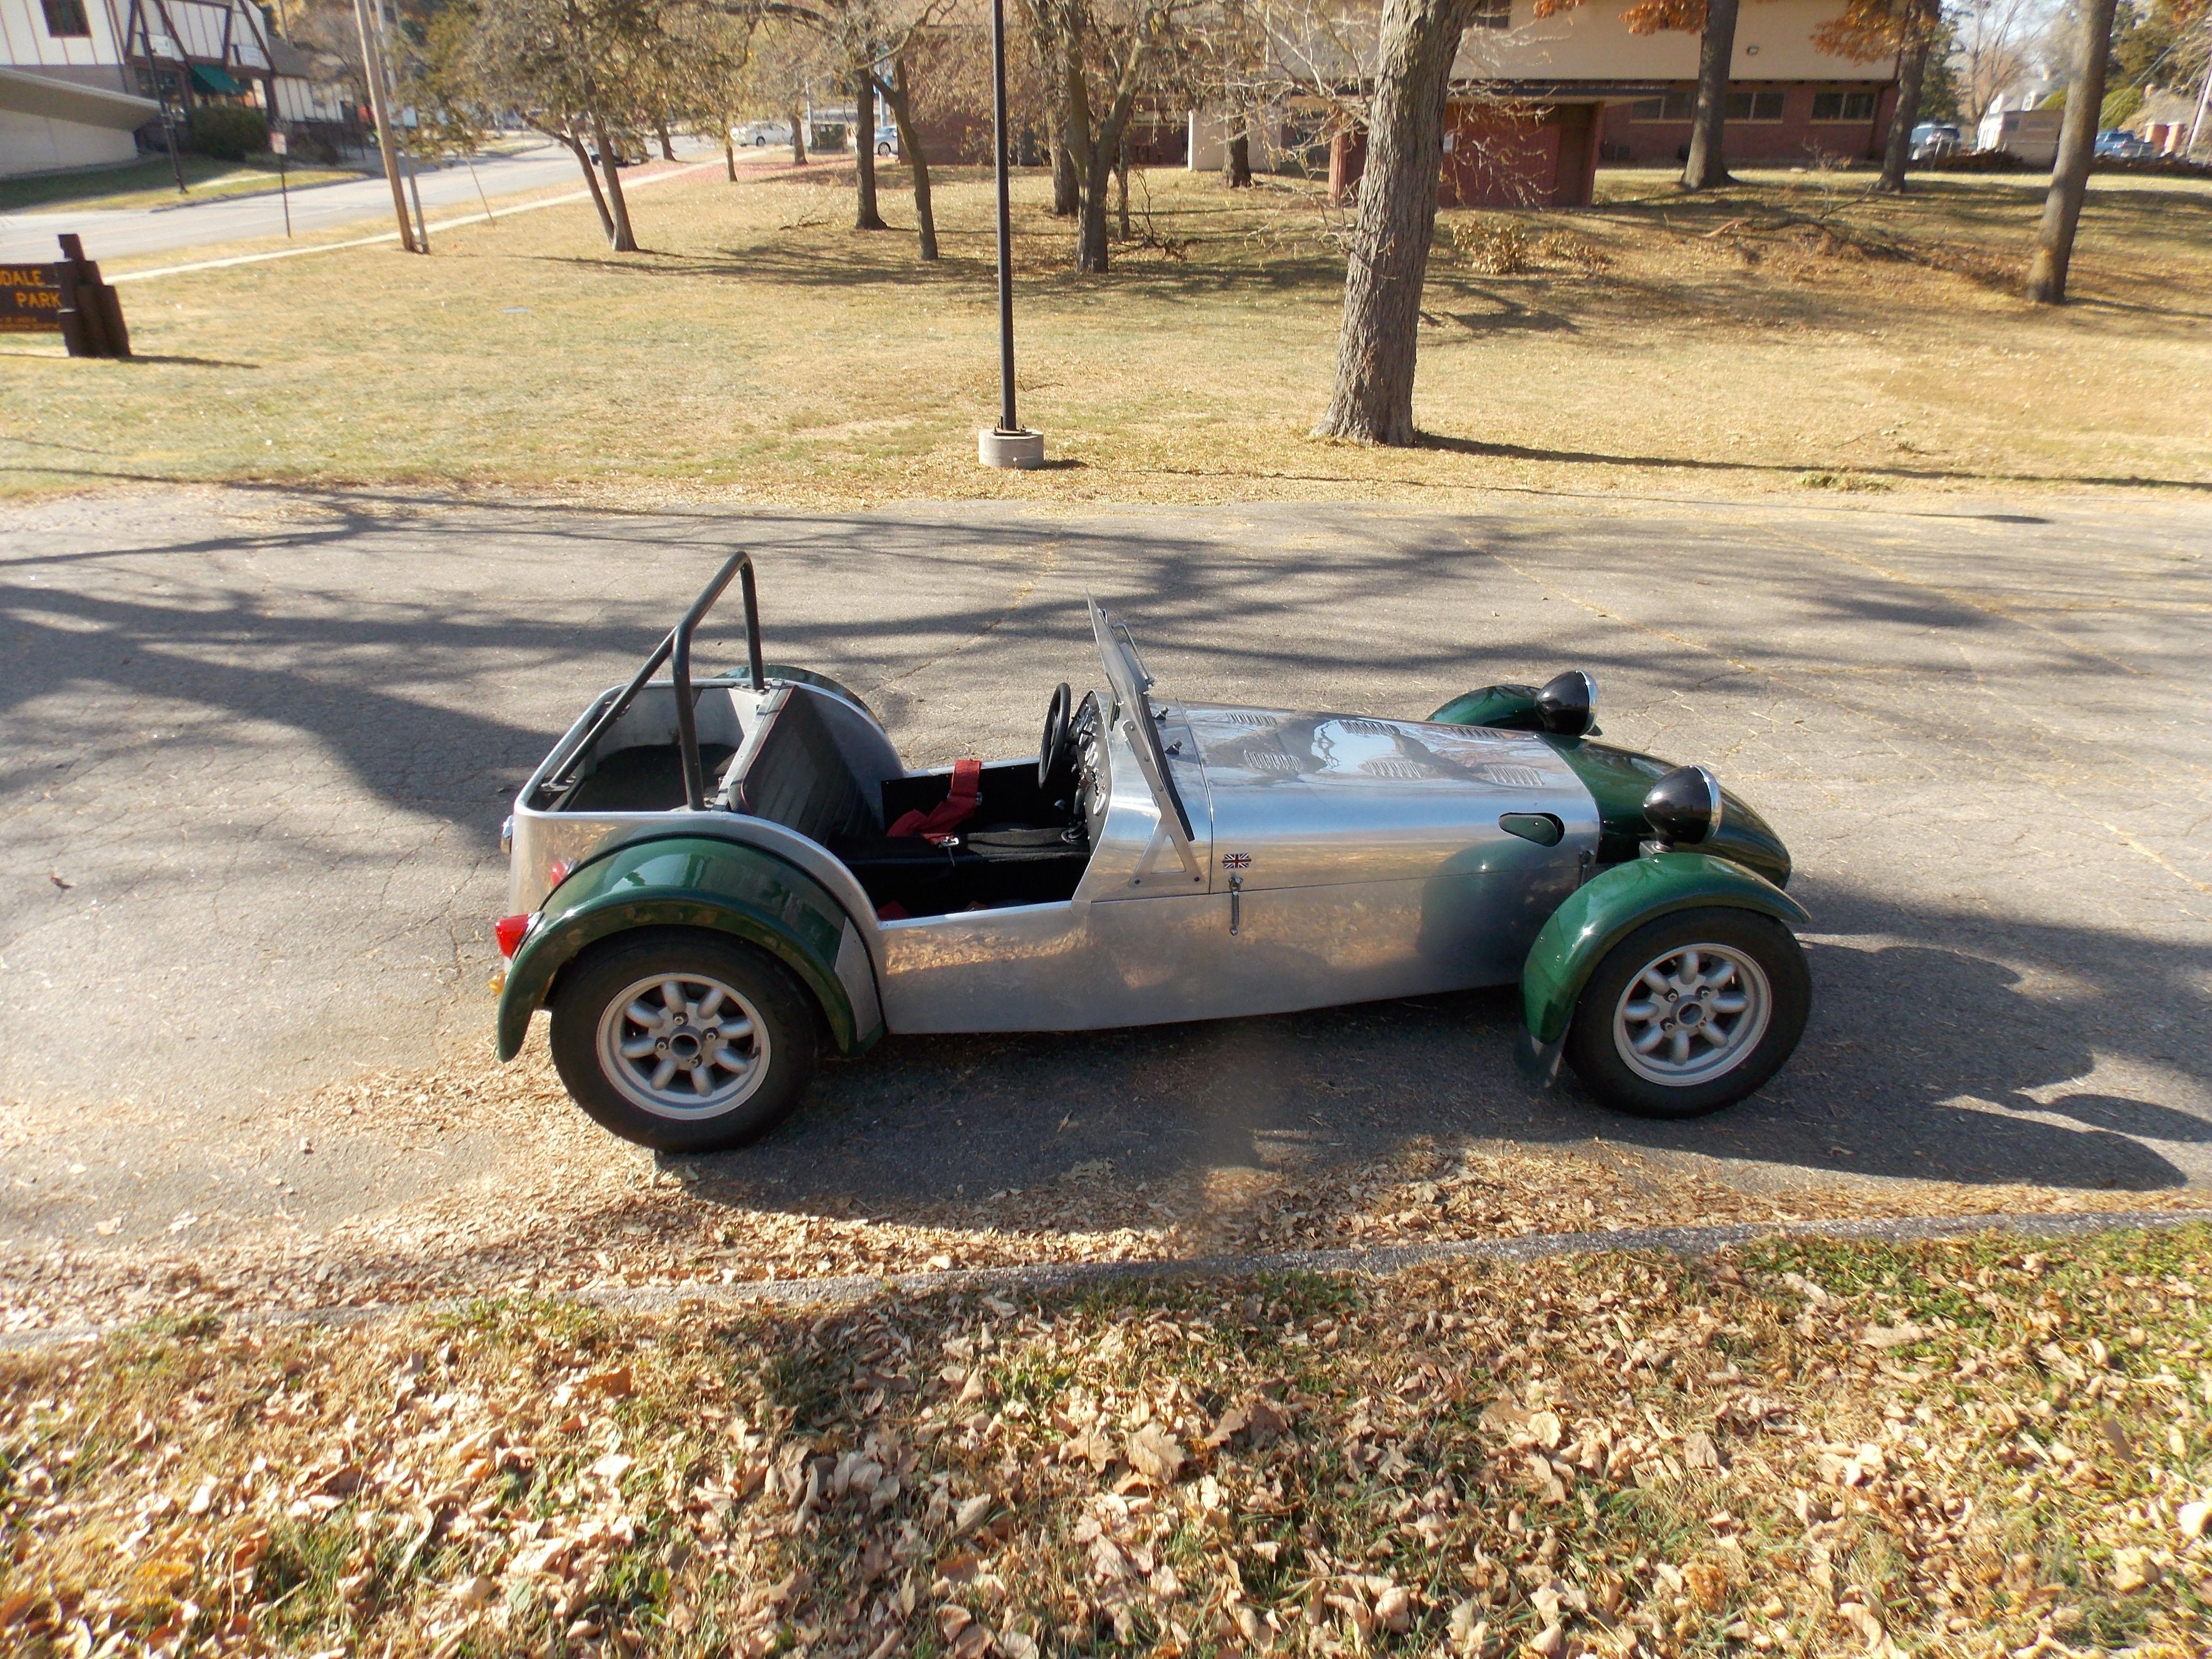
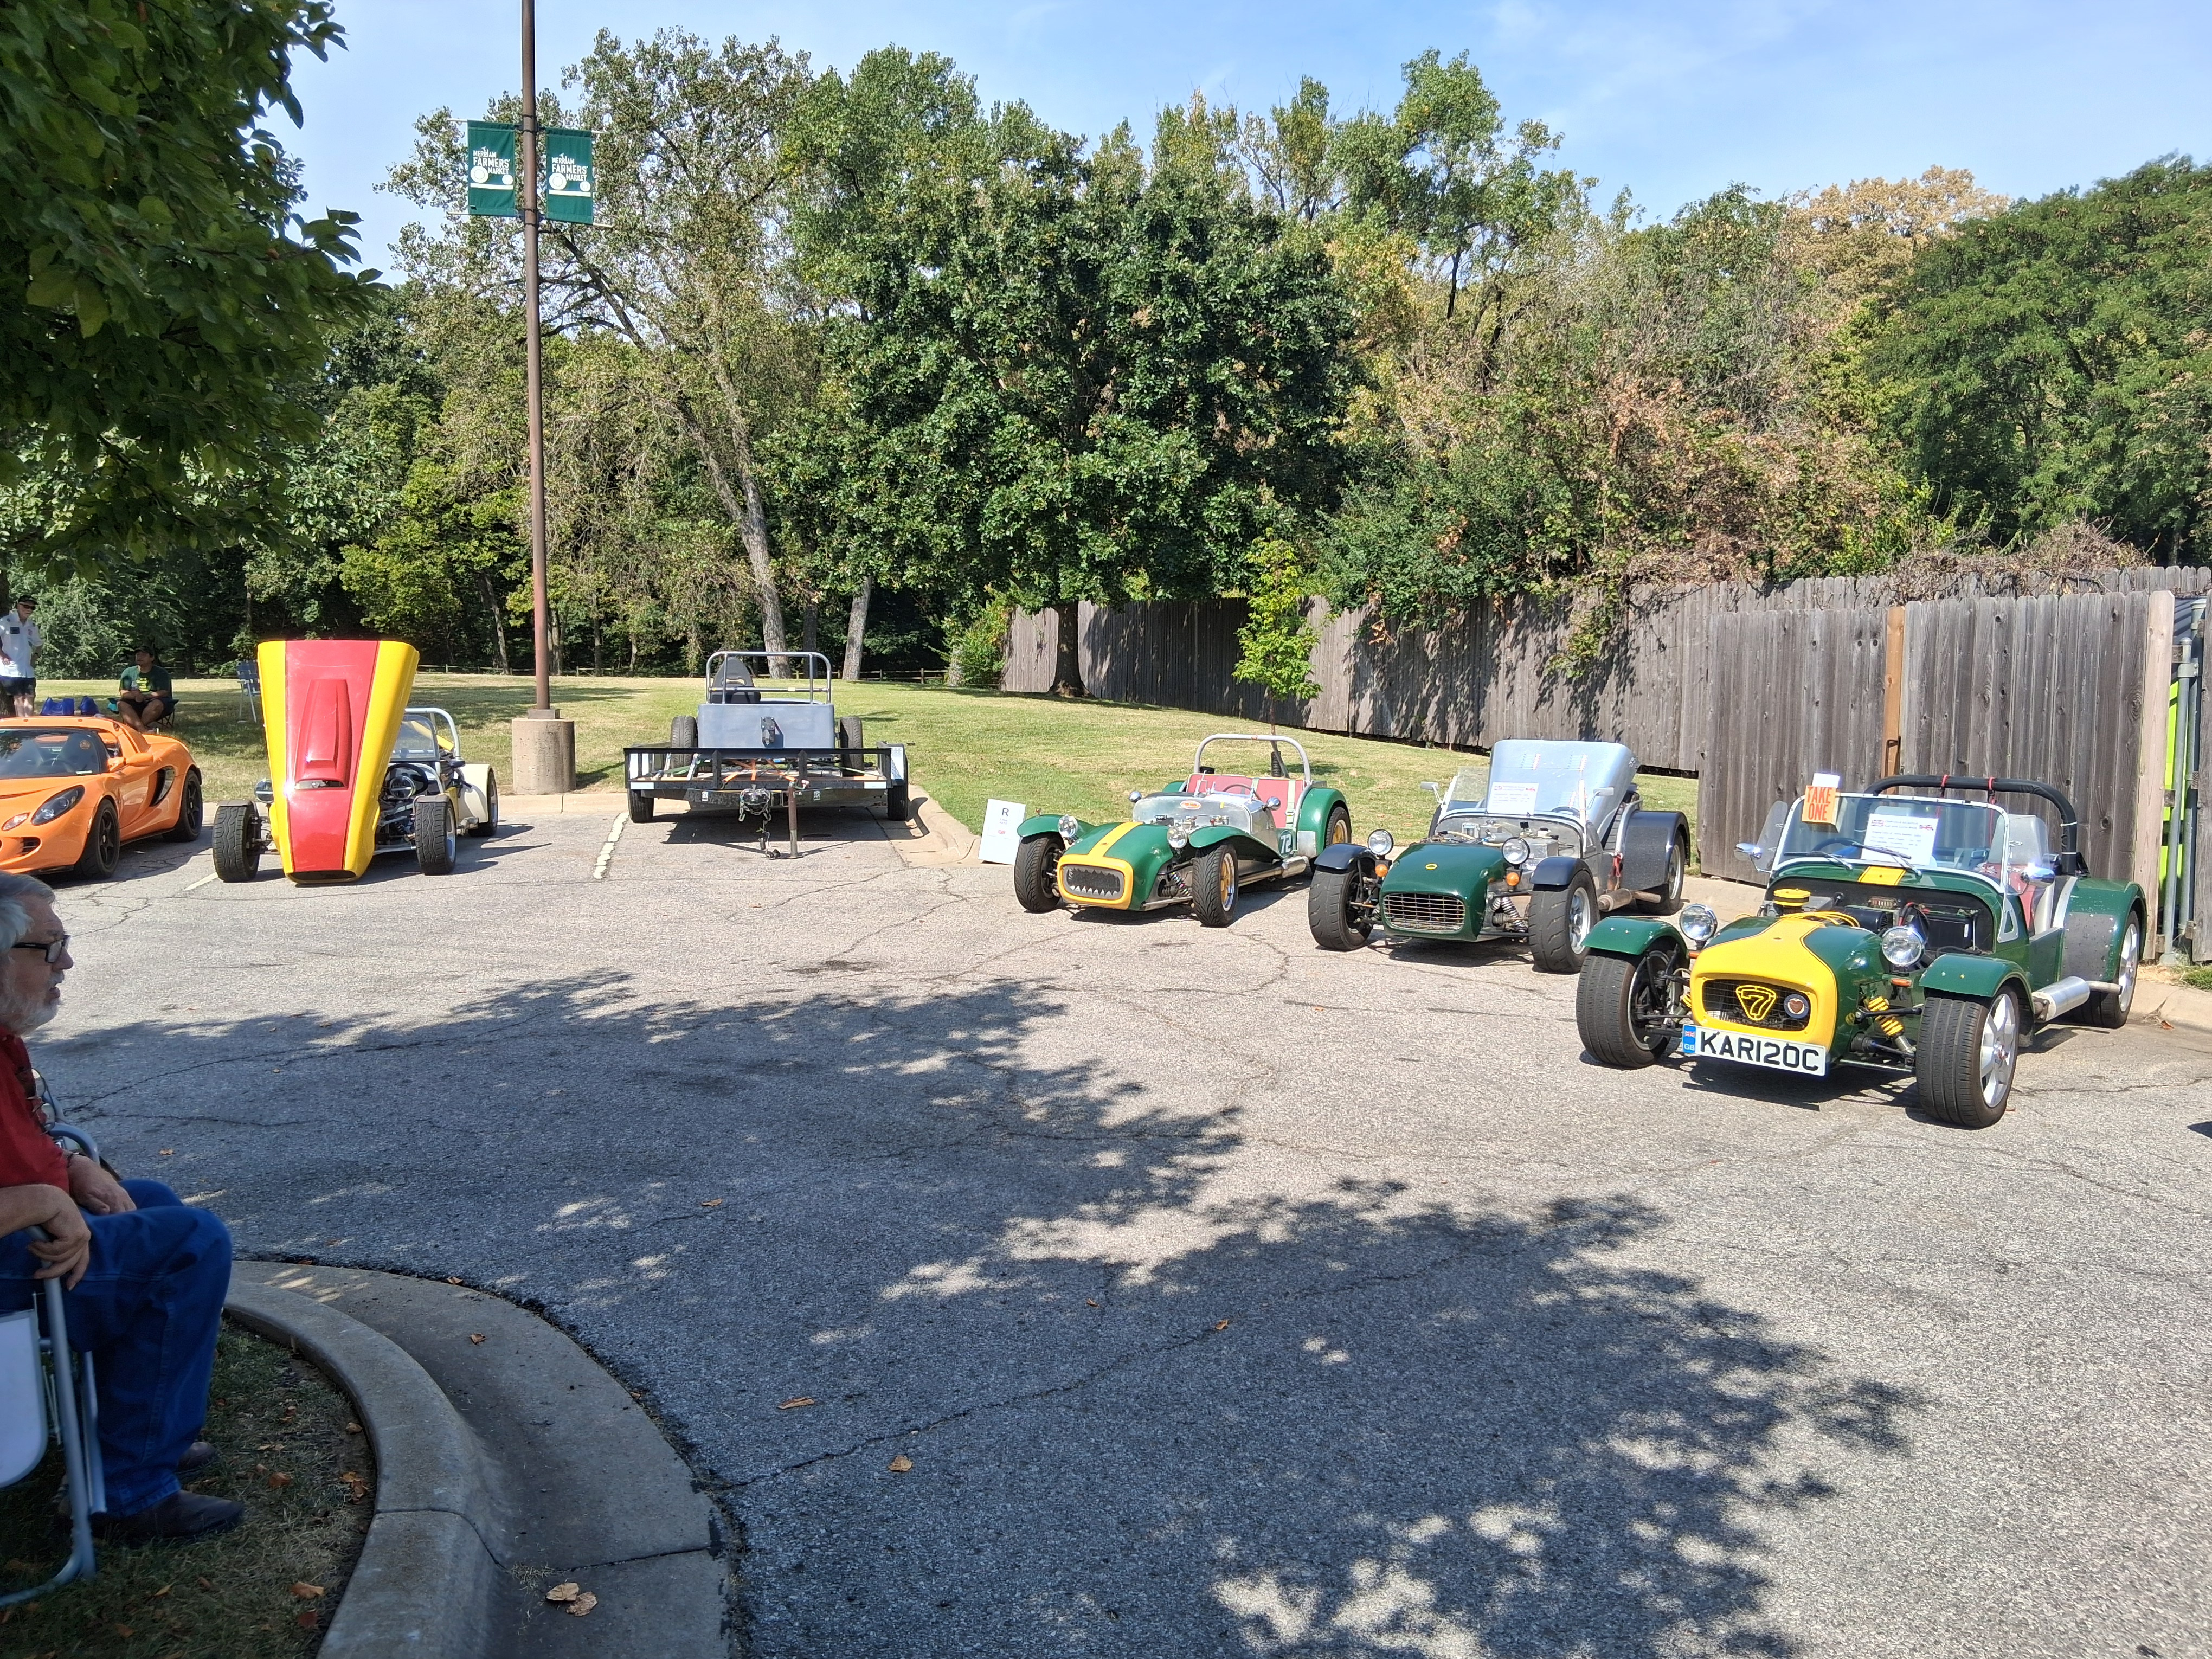
All British show in Kansas City yesterday from the right Russ's brit built locost my Westfield 7 a real S2 "America" locost project w/Miata donor locost w/ GM v6
-
I couldn't find a diagram of the steering column in an S2, but if it's like my Westfield, you'll have difficulties. The wheel is too close to the dash for any QD adapter I've used. And, there's a flange welded to the end, that the wheel bolts onto, which would need to be cut off, and the wheel will end up closer to you. If I were doing it, I'd certainly fab a new shaft to mount the QD on, and not muck up the original check the ID of the QD, you might have to sleeve it to fit the shaft
-
FWIW you can get valve covers without a hole/cap Burton has them pricey Dave Bean or Ivey ??
-
this is similar to the can I used on mine mount it as high as possible https://www.ebay.com/itm/286815733808?_skw=oil+catch+can&itmmeta=01M0DPEJP41N0H19G0E1EH6CAT&hash=item42c78cc830:g:9LcAAOSwQuFkEXpI&itmprp=enc%3AAQALAAAA0GfYFPkwiKCW4ZNSs2u11xDvAUbi4%2FCnjDXpZqkVb1vQelnDIxAnNV%2BwJKZvcVbLyVoySB96KTaDMxkd8rQwn%2Fzabj%2B56mc8DNsyef%2FC22q5CTCr0lkgAJ86DmVfVNX85TEJxY2raRpAHUkrLLeecOUUr18N%2F7BJeaIU00RWnOoQLId%2BIvczoabQmBiJKRgCaJtuzuSuUIiqnTOpHihUMWfzNIoqMleUKQJ87lyvab4s%2FLfB1Lk6aI1xi%2BCnF6FFRRVq83CqO0Vlq1CtgW18qWM%3D|tkp%3ABlBMUMqruraDaA
-
go for it that's how mine is vented, and also most of the Formula Fords in the world it's probably 1/2" npt or maybe 3/8
-
Handbrake on Westfield was mounted on side of tunnel, dug into my thigh I switched to electric, with a fleabay linear accuator Too slow for "emergency" but fine for "parking"
-
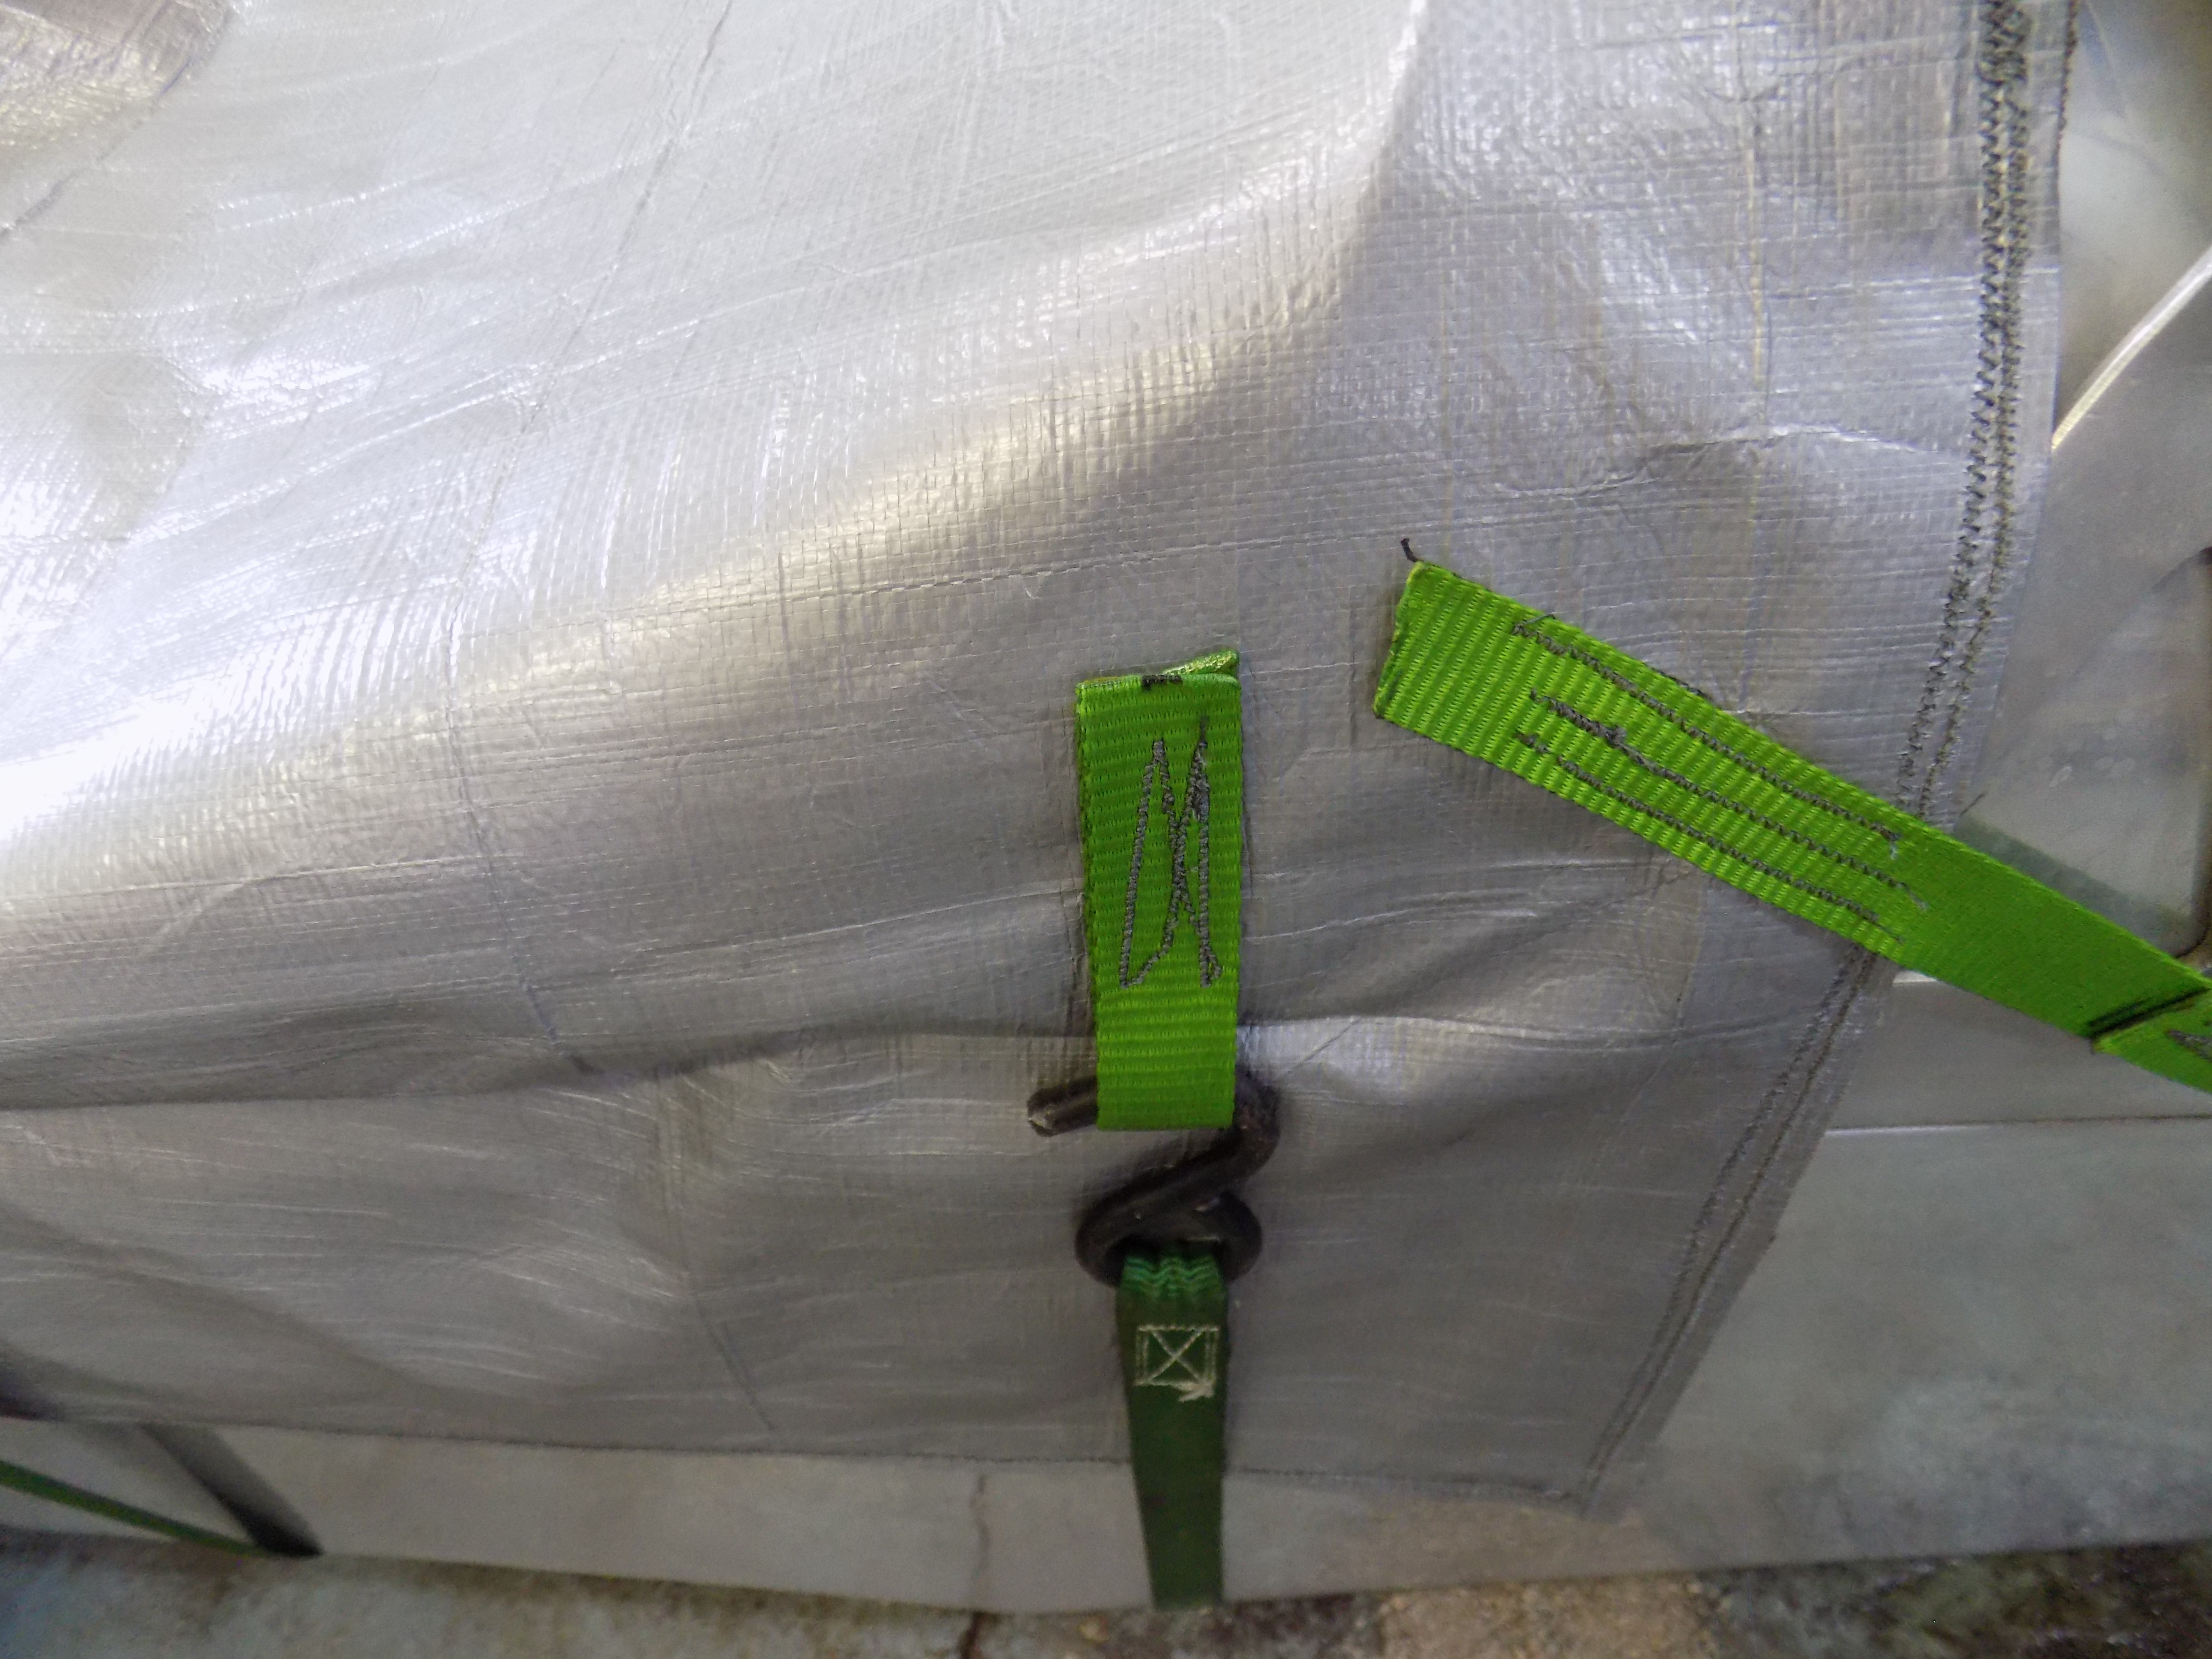
just stitched a loop on
-
Barely... I took a silver Menards tarp. backed it with some cloth upholstery fabric I had on hand. and added loops for ratchet straps Def not pretty. but it's only for trailering, and I avoided installing any snaps