JohnCh
-
Posts
3,406 -
Joined
-
Last visited
Content Type
Profiles
Forums
Store
Articles
Gallery
Events
Library
Everything posted by JohnCh
-
Thanks, the tires arrive from Caterham mounted to the wheels, so this person only balanced them. Interestingly, although none of the tires follow the convention (yellow dot near the valve stem) and were clearly mounted randomly, the wheel with the missing weights was closest to correct. -John
-
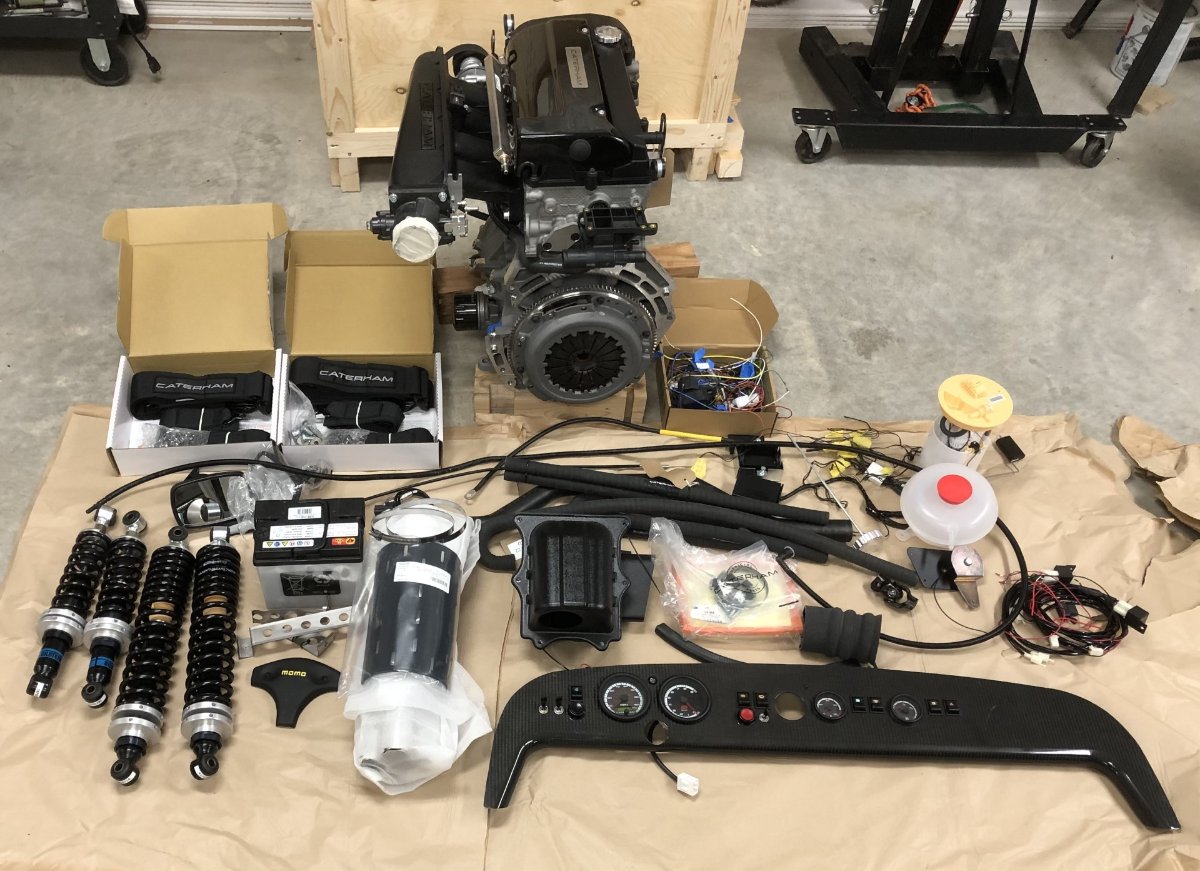
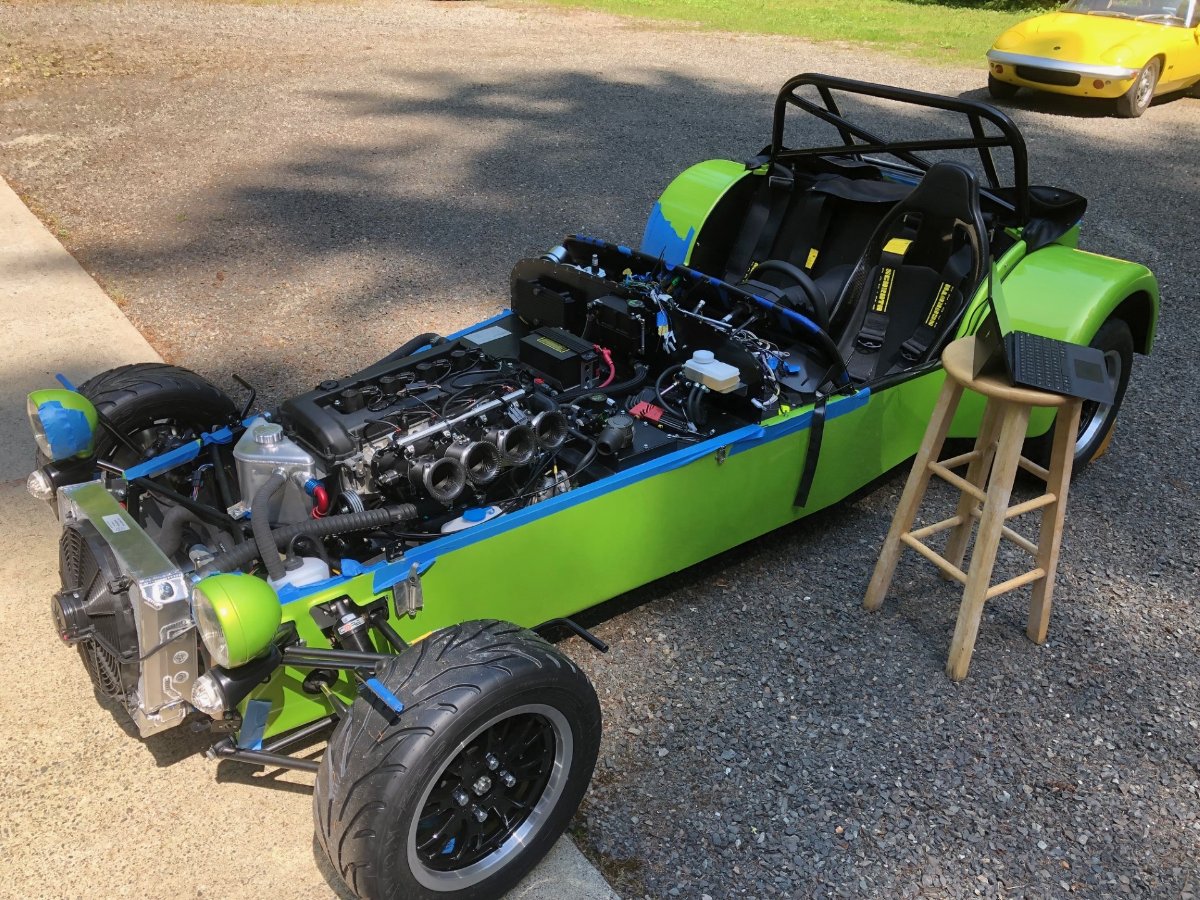
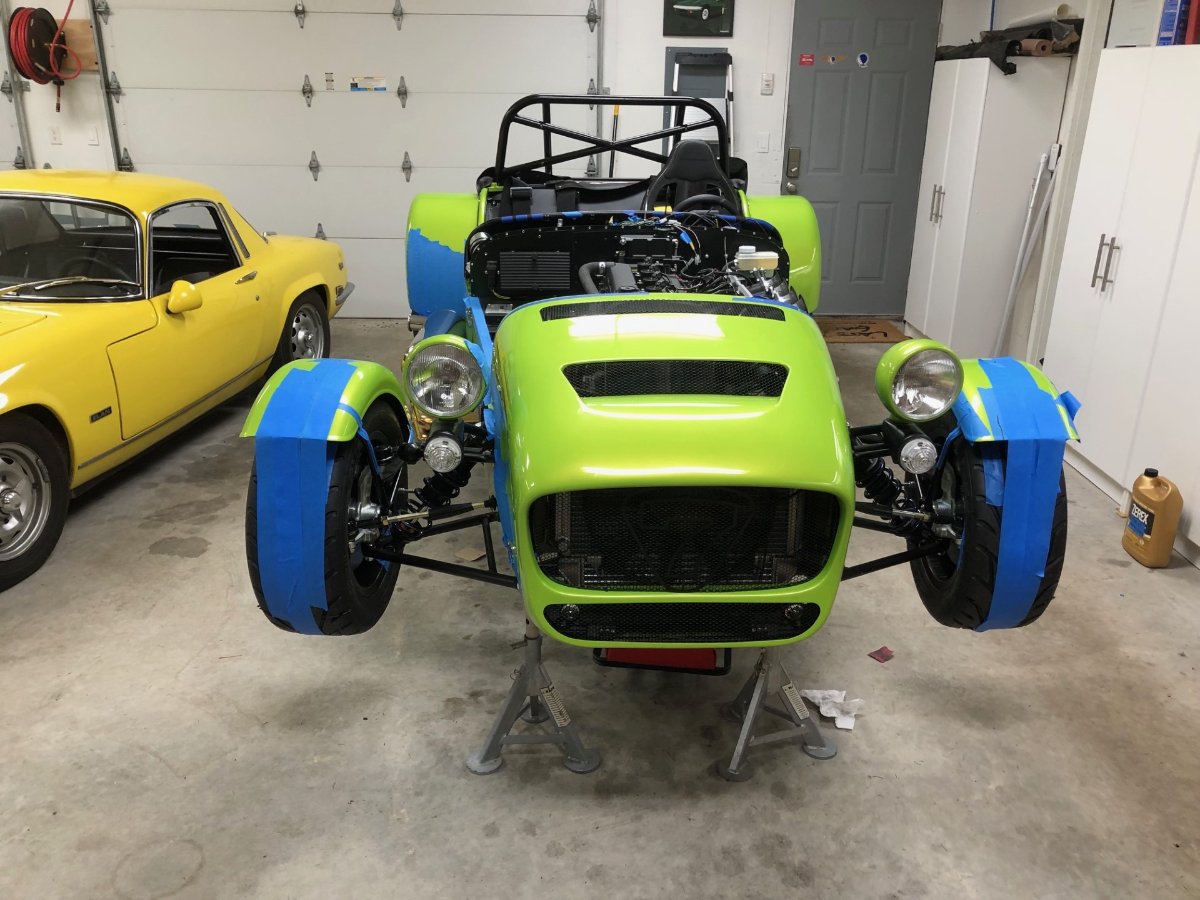
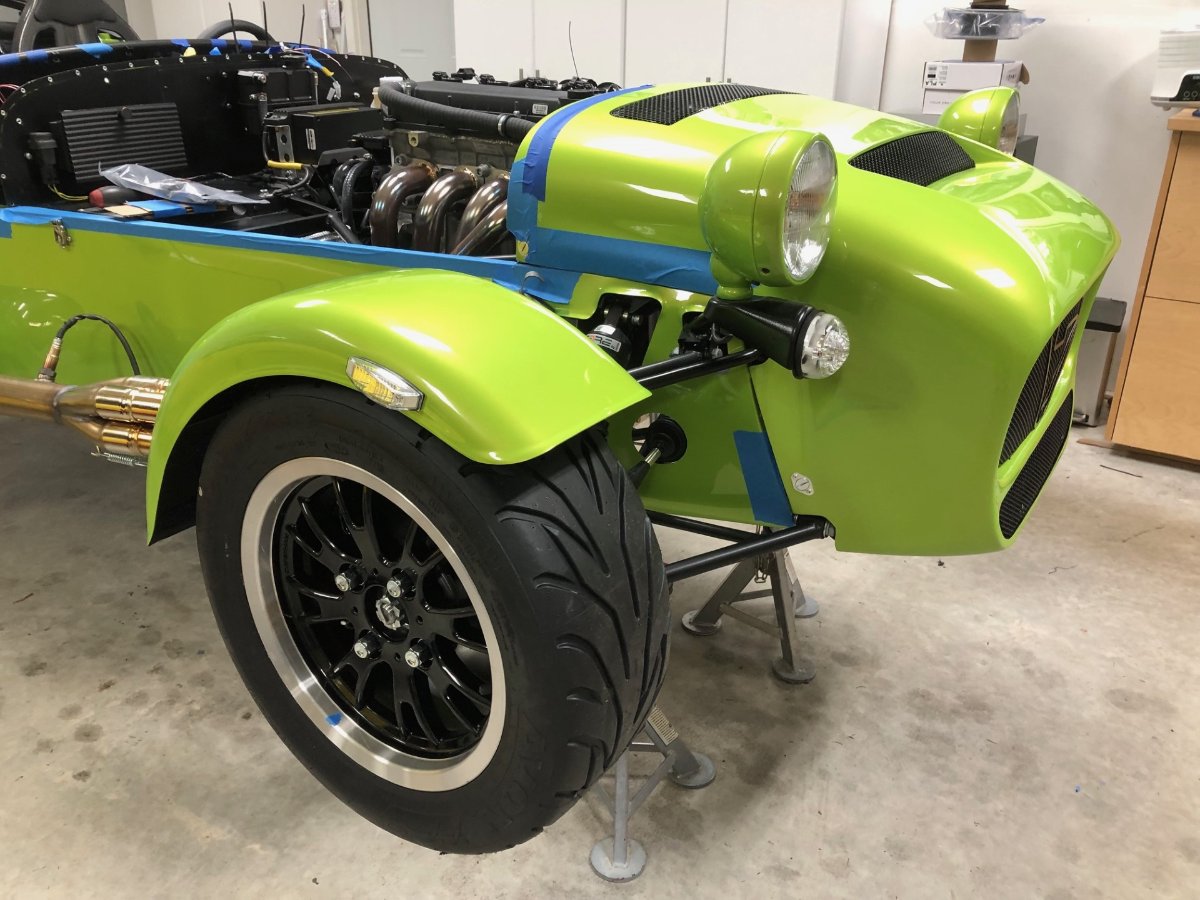
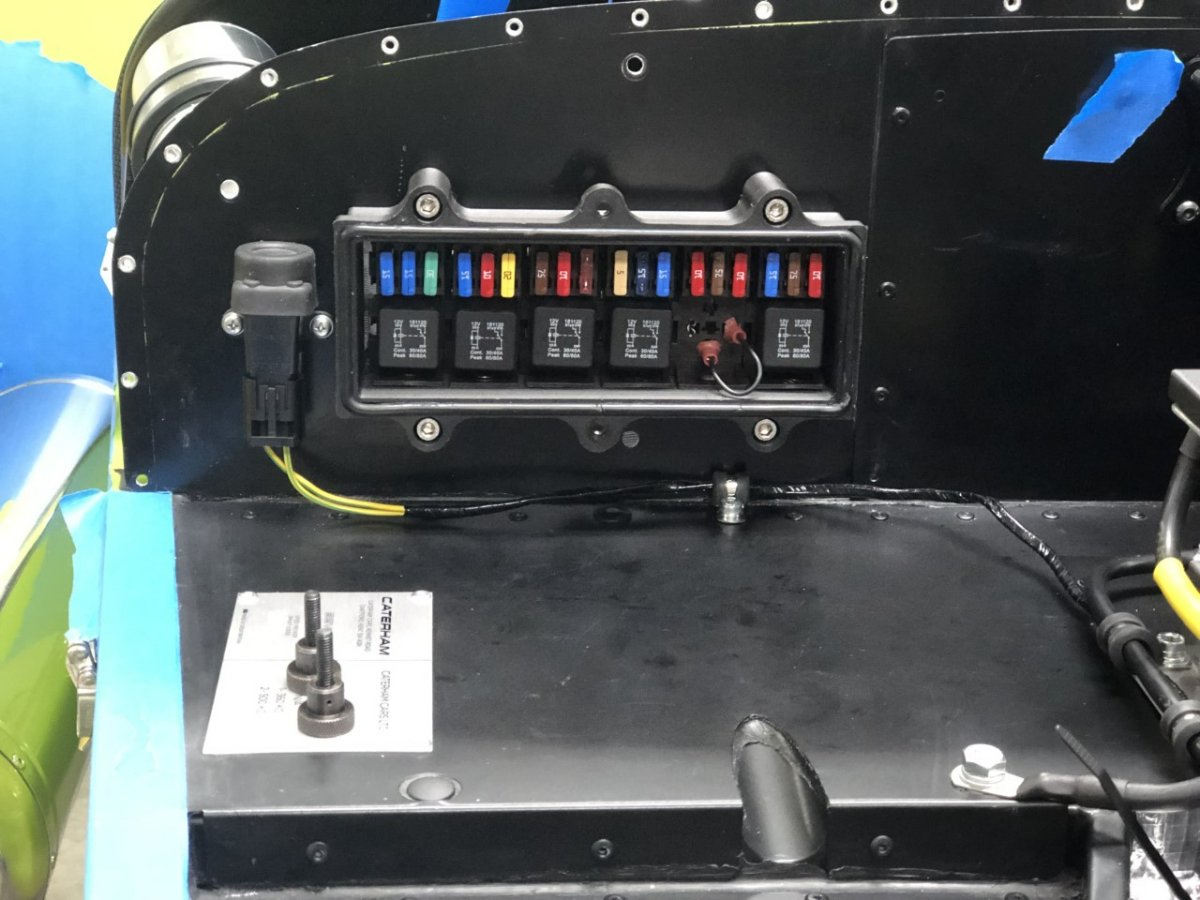
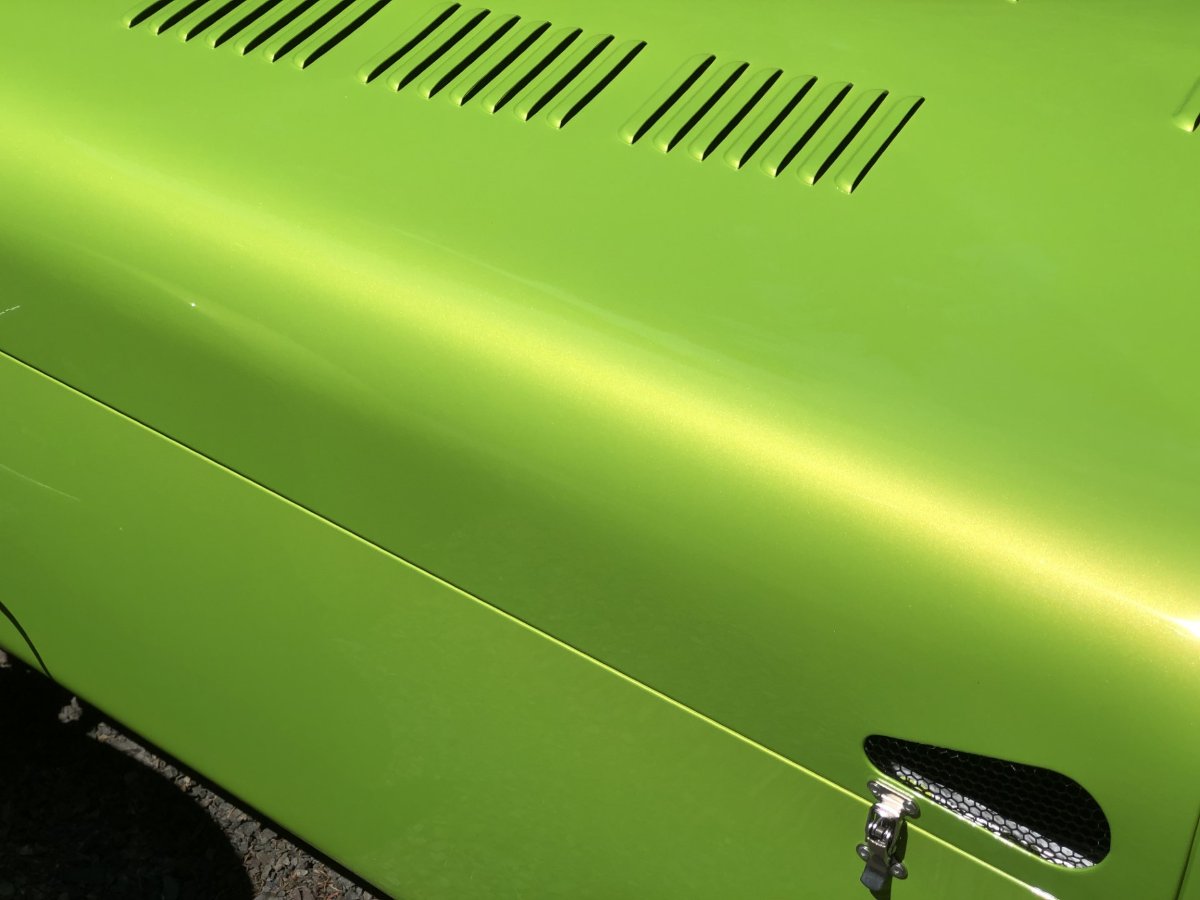
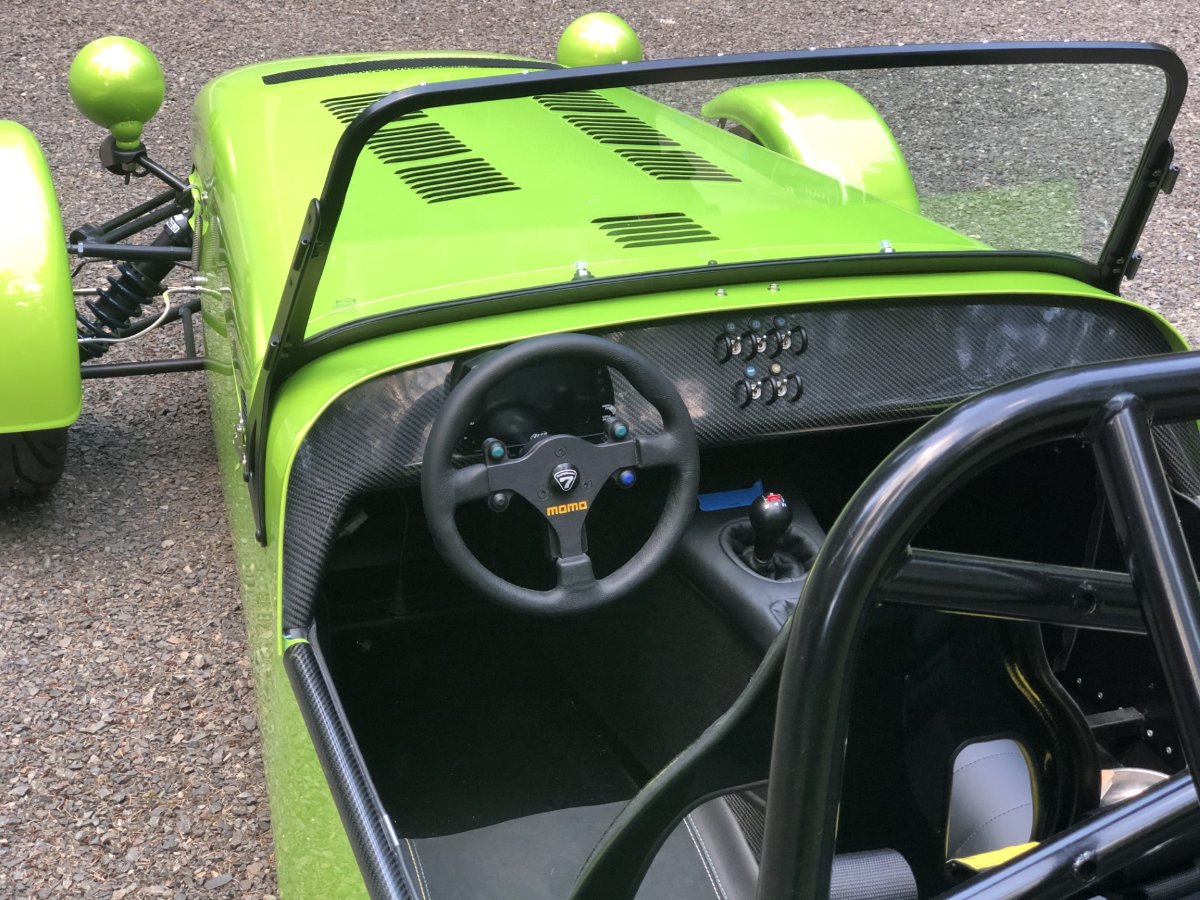
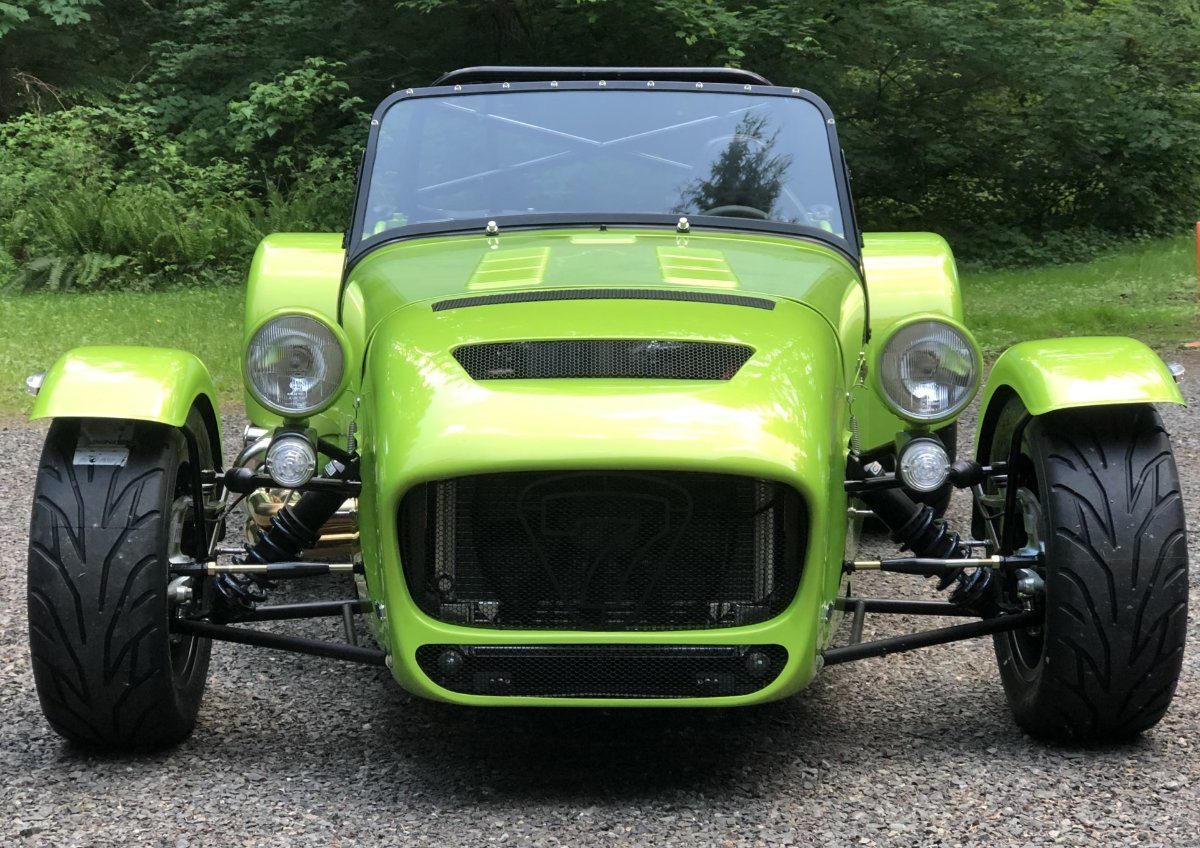
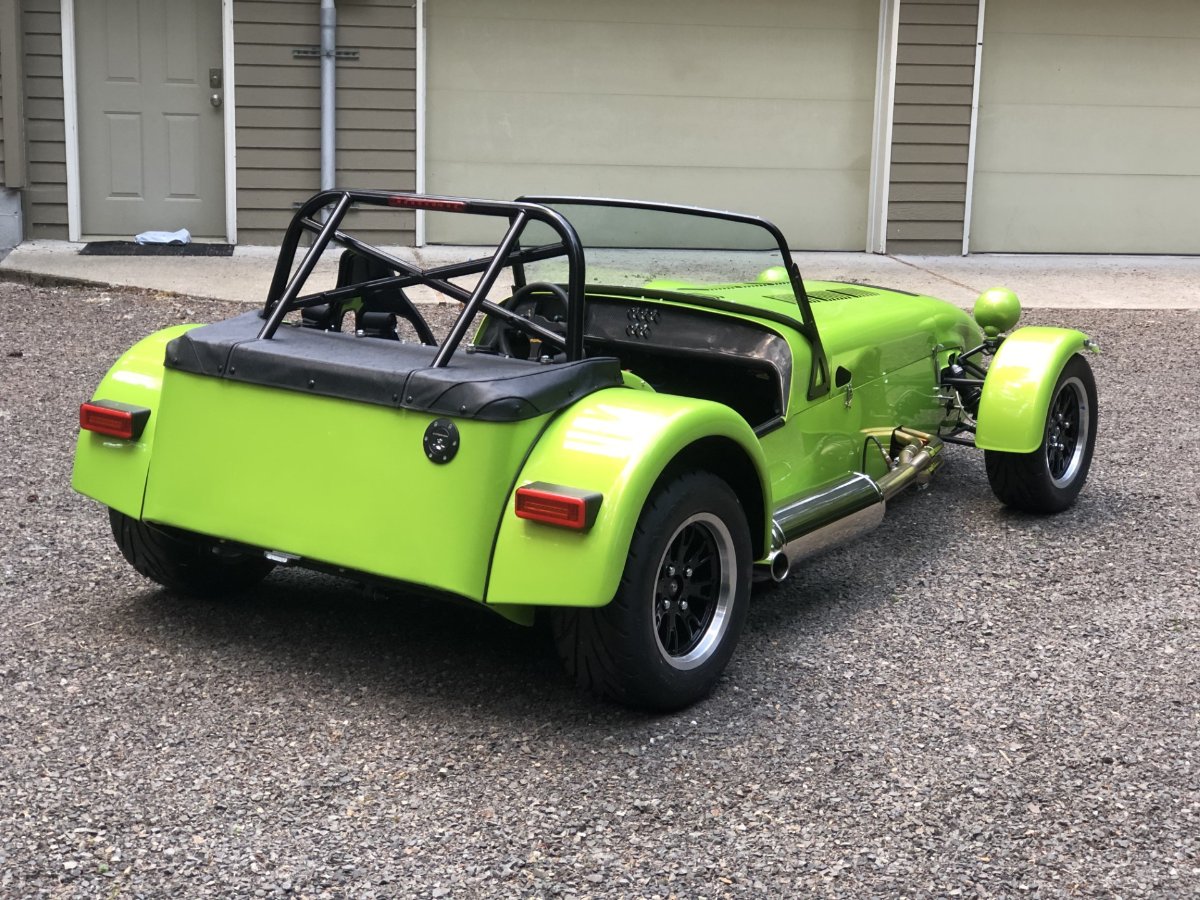
The car drove and stopped under its own power on Saturday. However, with no air filter, it was only a 200' round trip drive up part of the driveway. The special order, no-logo ITG air filter ordered in mid-March was supposed to arrive in April or May. It arrived at Pegasus last week, but apparently it was the wrong filter. I'm waiting to hear back from them on next steps, but unless ITG can turn things around this week, it looks like I'll have Pegasus send the logo filter tomorrow or Wed. In the interim, I need to spend some time learning Easimap. As I've written before, this color is really hard to capture in photos, but this one is pretty close. You can really see the yellow highlights on curved surfaces: When preparing to lower the car from the stands, I found this under the driver's side front tire. I suspect it fell out of the rim while the wheel was tilted during the removal/installation process when attaching the front wings. Putting the weight back in place (the rectangular shaped area with no dust) there was clearance to the caliper. It was tight, and might not be sufficient for driving, but certainly not an issue for pushing it around. When the car arrived, there were weights on the bottom of the crate, so at least one wheel was affected, leading me to pay to have them all rebalanced. Given this happened again, there might be some coating on that wheel that interferers with strong adhesion. It's been suggested that I knocked it off when mounting the wheel, but I just don't see how I could have been that ham-fisted with such a light wheel and not notice it. Particularly given I've been removing 13" wheels with tight clearances to 4-pot calipers on the Westfield for many years without issue. Looking at the weights, I also don't see evidence that occurred. After 5 weeks, FedEx has finally determined my passenger side seat rails, and aeroscreen/windscreen quick-change retaining brackets are lost. I'm not sure when Caterham will send replacements. For now, the passenger seat will be fixed. Once the car has covered some miles, I'll pull the scuttle to finalize the wiring, affix the knee panels, make a panel to cover the back of the relocated fuse box, swap in those quick change retaining brackets, and fix the various issues that will inevitably arise as the shake down miles pile on. Other than those known items, the only things left are cutting a hole in the bonnet for the missing air filter (yes, scary), swapping over the adjustable runners on the passenger seat, installing the wipers (blades were missing from my kit) and pulling the tunnel cover to attach the glove box. None of those things will stop me from putting miles on the car. Now that the car is nearly done, I started to go through the leftover parts and throw away some boxes and packaging. The photo below shows what I found. Missing are the oil pressure gauge and ECU, both of which are with local USA7s members for troubleshooting purposes. At some point, most of this goes up for sale. -John

-
I just tried it, and it worked fine with no error message. If it happens again, please send me a PM so I can investigate further. Thanks, John
-

Version 1.0.0
93 downloads
Assembly and maintenance guide for the Series 4 Seven. Full of technical information and exploded parts diagrams. -
That's expected behavior. The Downloads section is locked down so we can ensure that we don't have duplicates, things are categorized appropriately, are appropriate for the site, and aren't egregious copyright violations. The process for submitting something is located at the top of that page: Thanks, John
-
Are you referring to attaching an Excel file to a post or were you trying to add it to the Downloads section? Thanks, John
-
See help topic here: I'm looking forward to hearing how the drive went today. Cheers, John
-

ABC Fire extinguisher "corrosive problem" with aluminum
JohnCh replied to Vovchandr's topic in General Tech
My guess is that someone who doesn't know how to use a fire extinguisher is going to walk up on the fire slowly rather than jump right on top of it like the person in the video. That behavior is exactly what Element recommends. If you are worried about your scenario, I would ignore the Element simply because it operates like a road flare rather than pulling a pin and squeezing a trigger. How many people know how to use a flare? -
ABC Fire extinguisher "corrosive problem" with aluminum
JohnCh replied to Vovchandr's topic in General Tech
I read the instructions when I bought mine a couple of years ago. Seemed a small price to pay for the form factor If his review stated "here's what happens if you use the Element like you would intuitively use a traditional fire extinguisher" then his review would be useful. But as it stands, it's just a PSA for reading directions. -
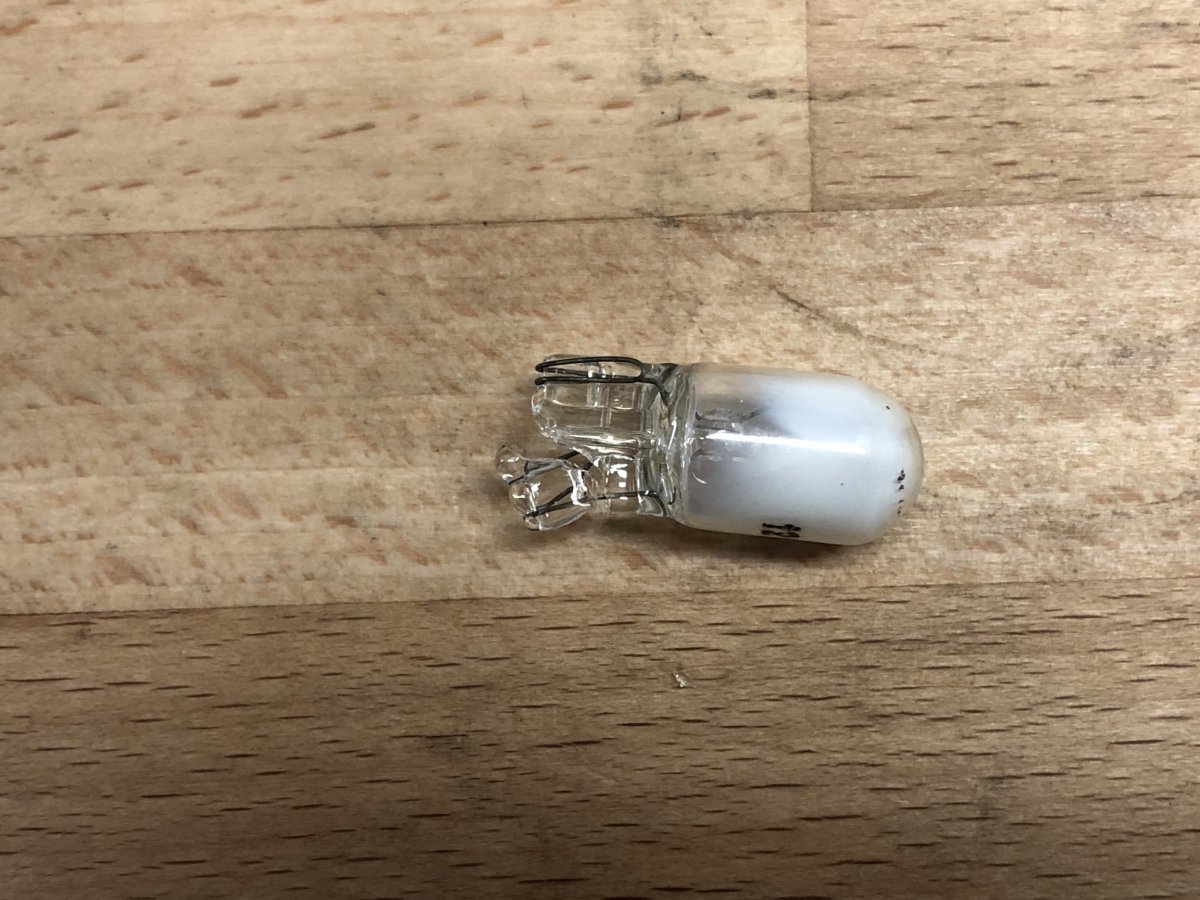
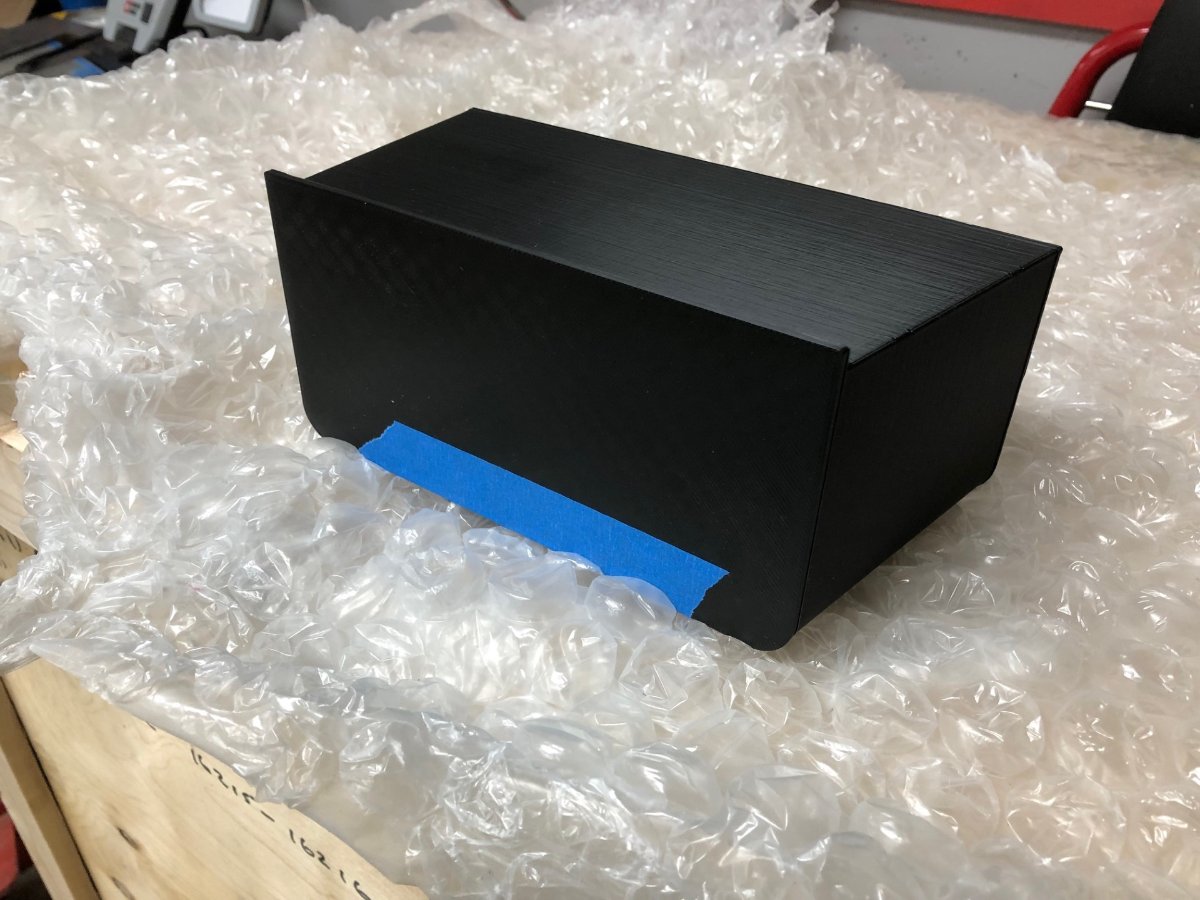
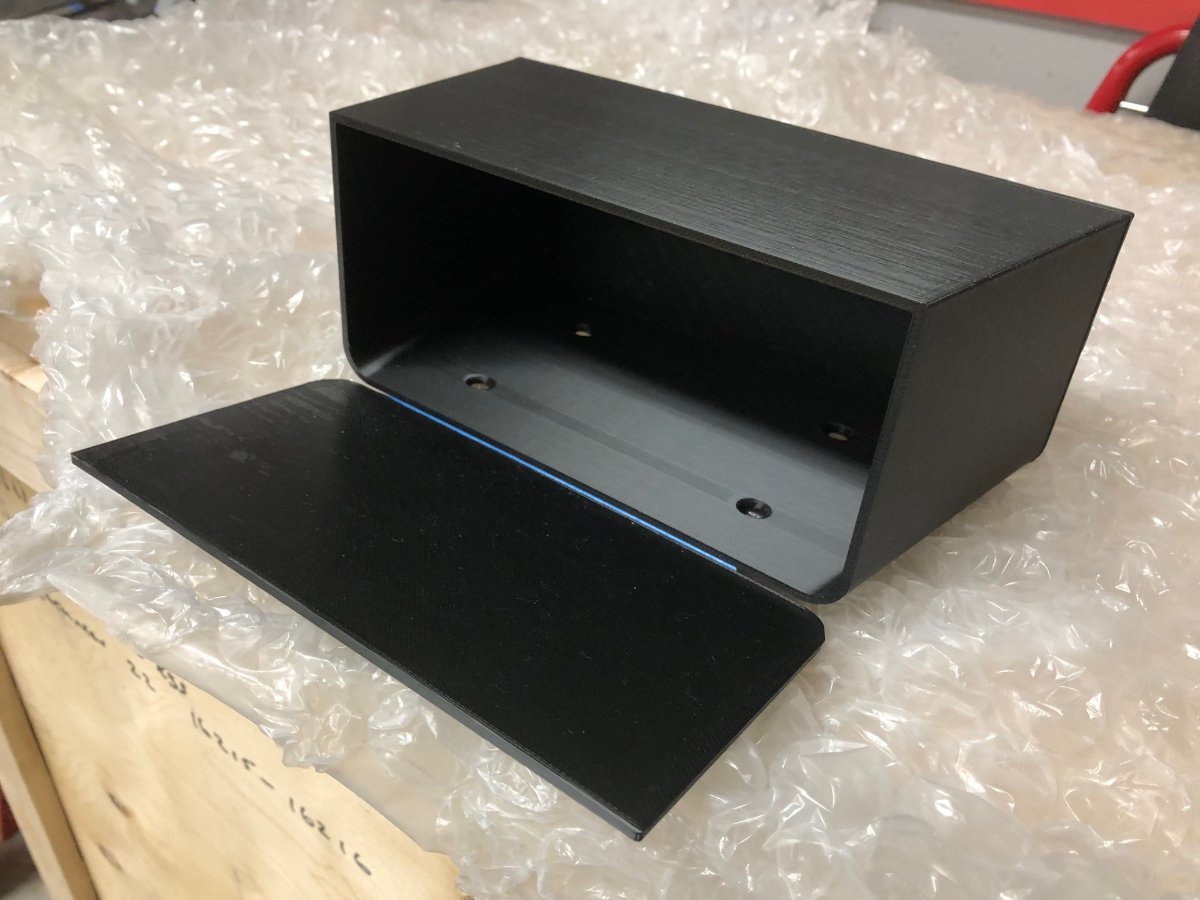
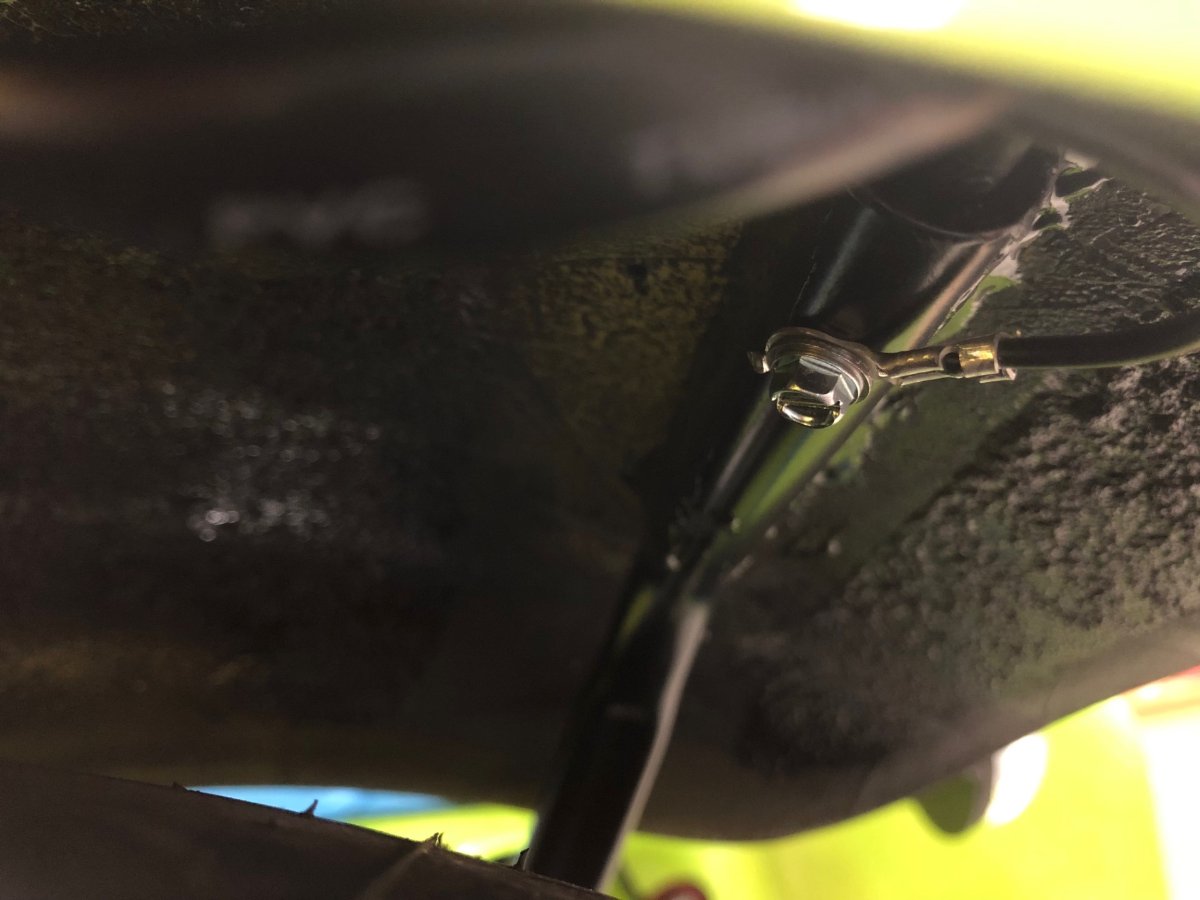
Cam break in happened at the end of last week; 20 minutes at >2000rpm. Prior to starting that procedure, I lowered the radiator fan switch-on speed in Easimap from 90F to below ambient to confirm it was working. I returned it to 90F, but that seems a little low for a Duratec. Is that the factory setting? The Check engine light came on again, but this time there was no information about the cause in Easimap. One possible reason was the air temperature. The display for that reading turned red at anything above 40C. Red seems bad, but 40C intake temps don't seem that extreme. That reading was also inaccurate. It was 80F outside, the bonnet was off and the sensor was sitting on the shelf in front of the scuttle. I can’t see the localized air temp more than 85-90F (29-32C). This will be another question to add to my list for SBD. The front wings are on and repeaters installed. I opted to use 3M Epoxy and followed Pokey's excellent writeup here. Of course, it they fly off at speed, that credit turns to liability When attempting to attach the repeater ground to the underside of the stay tube, it was a little bit of a struggle. Very tight and the screwdriver was beginning to slip. Not wanting to take a chance on stripping the head, I replaced them with hex head sheet metal screws that were shortened on the grinding wheel to avoid damaging the 12v+ wire that runs in the tube. It seemed a better approach and allowed me to safely torque the screw. I also discovered why the side light bulb in the driver's side headlight never worked. It arrived in the socket looking like this. Easy fix. My original plan was to hang the glove box above the tunnel cover from an under-scuttle shelf, but given all the wiring, I wasn't able to find a good location so I've decided to attach it directly to the tunnel cover. Aesthetically, I still want it to appear as if it's floating about 1/2" above the tunnel. Short legs through which the screws pass should do the trick and wont' be visible. Here are a couple of pictures of the first attempt. The whole thing will be covered by black leather that matches the tunnel cover and will hopefully blend in. I need to alter the dimensions just a bit for the final version but it's close. The air filter is still a week or two (or three?) away from arriving, but I hope to have the rest of the car ready for its maiden drive by the end of the weekend. -John
-
ABC Fire extinguisher "corrosive problem" with aluminum
JohnCh replied to Vovchandr's topic in General Tech
It's hard to take that result seriously since he didn't follow Element's instructions, and in fact did it exactly like they say to avoid. I can't link directly to that portion of their FAQ, so I'll post the relevant section below in its entirety: "Unlike a dry chemical extinguisher that combats a blaze by depositing a large amount of solid powder on the fire, an Element extinguisher fights a fire by releasing a gas. This gas attaches itself to the oxygen surrounding the fire robbing its ability to stick to the chain of combustion (without affecting ones ability to breath that oxygen). The goal is therefore to use the gas coming out the Element extinguisher to create a ‘cloud of containment’ around a fire. Creating a cloud that prevents any outside and un-attached oxygen from getting to the fire is essential and is the same strategy that should also be used with a Halon/Halotron or CO2 extinguisher. The two worst things you can do when fighting a fire with a gas extinguisher is to be too close or to rush the process. Being very close to a fire means that a cloud cannot be formed blocking any new oxygen that will continue to feed the flame. This is particularly problematic in an isolated pan situation where being too close will only chase the flames around. Rushing the process by moving the extinguisher around a lot also prevents a cloud from being formed and diminishes the performance of the extinguisher. The best technique is to take advantage of the long discharge time offered by the Element extinguisher and to approach a fire from a moderate distance progressively getting closer to its source. During the approach, move the extinguisher slowly around the fire always directing towards the center. This will contain the fire and allow the gas the ability to work. Tight areas with lots of pockets (like the engine bay of a car) brings out the strengths of the Element extinguisher as the gas, which is heavier than air, will fill all the voids not directly accessible; both putting out a fire and preventing a re-flash. " -
Thanks, there are some impending updates that might fix it, but I haven't been able to set aside the necessary time to troubleshoot potential issues if things go wrong -- it's a big backend update. Hopefully I can get to it over the next week or two and can then open a ticket if GIPHY is still not working.
-
Thanks, it still shows as configured correctly in the admin panel, but it is a third-party service so they may have made some changes that are incompatible with our current software version or they could be having issues with their service. Any idea when it was last working? Thanks, John
-
Thanks! I'll take a look at this when meeting hell dies down.
-
Thanks @sf4018. Are you using the 9A9 or 9A4? I'm using the latter, and have CAN enabled for the 420R native outputs (ECT, RPM, and Battery) but the oil temp sensor isn't wired into the MBE so nothing to output. I just did a search and found that AEM makes a sensor that will work and includes a very detailed resistance to temperature chart. For $50, that might be the easiest path forward.
-
I've searched for a Bosch cross-reference using some of the more common manufacturer's specific part numbers, but no luck that way. I'll see if have better luck searching for Bosch replacements using some of the car models that use the sensor. BTW this is one of the lists I've found: https://www.autodoc.co.uk/car-parts/oem/md091056 Switching sensors may be the final solution, but I first want to exhaust other possibilities. That sensor came with the car and consequently is plug and play from a wiring perspective; a simple one wire connection with the ground through the body. I like that simplicity. I also didn't realize getting the sensor data would be so hard. I hadn't considered building the map via the gauge. Great idea. I have that sitting on a shelf. I'll look into that option as well. Thanks, John
-
I know this is a longshot, does anyone know the calibration data for the temperature sensor Caterham uses for the coolant gauge and oil temperature? (parts store link here) I need this data to configure the AiM dash to accurately display oil temperature. Apparently, it's a very common sensor used by a number of different car manufacturers and made by several sensor companies under the generic part number MD091056, but no one seems to publish any of the data. I've already checked with both US and UK AiM support, a few Caterham specialists who install AiM dashes, and sensor manufacturers without success. When testing the resistance output at a few temperatures between freezing and boiling, it became clear this is not a linear output, which means mapping it myself with any accuracy isn't really an option. Thanks, John
-
. I am all too familiar with this The 9A9 is a lot more sophisticated than the 9A4. My challenge with Easimap is I'm used to the Emerald software which complicates my learning curve. It's not just learning how to use it but unlearning how I expect things to work given that prior experience. Please let me know how the mapping session goes with Steve.
-
I was very surprised at how easily it started and how well it ran. Hopefully that means the rest is reasonably close. I supplied them with the ignition map for my current engine which has the same compression ratio and a little less cam overlap and does well on local fuel, but they did the fuel based on their engines. @Bartman, are you having SBD do any remote tuning? I'm curious how well the logging and self-mapping work compared to the Emerald which makes that process pretty easy. The tach issue is resolved. There is AiM documentation from 2018 that discusses wiring CAN for the Caterham 420R. It indicates to select "Caterham 420R" from the ECU drop down list. It turns out that the MBE must have had some minor tweaks since then, and for current cars, MBE 9A4 should be selected instead. BTW had a bit of a scare when I tested this. The engine wouldn't start. A quick glance at the fuel pressure gauge showed zero pressure. It looks like the vibration from the air saw when cutting the opening for the fuse box had tripped the fuel cutoff switch. Another simple fix. -John
-
Thanks Bruce, I'm pleased with how it came out. I agree about the harness. It's a mess. To be fair to Caterham, it appears they have a single loom made for all cars and all markets. I'm sure that helps with the cost, reduces risk for a specific loom being out of stock, and eliminates another opportunity for them to install the wrong part in the wrong car Of course it also means there are a lot of unused wires and connectors for a given car. At some point in the very distant future, my plan is to rip out the harness and replace with a PDM. -John
-
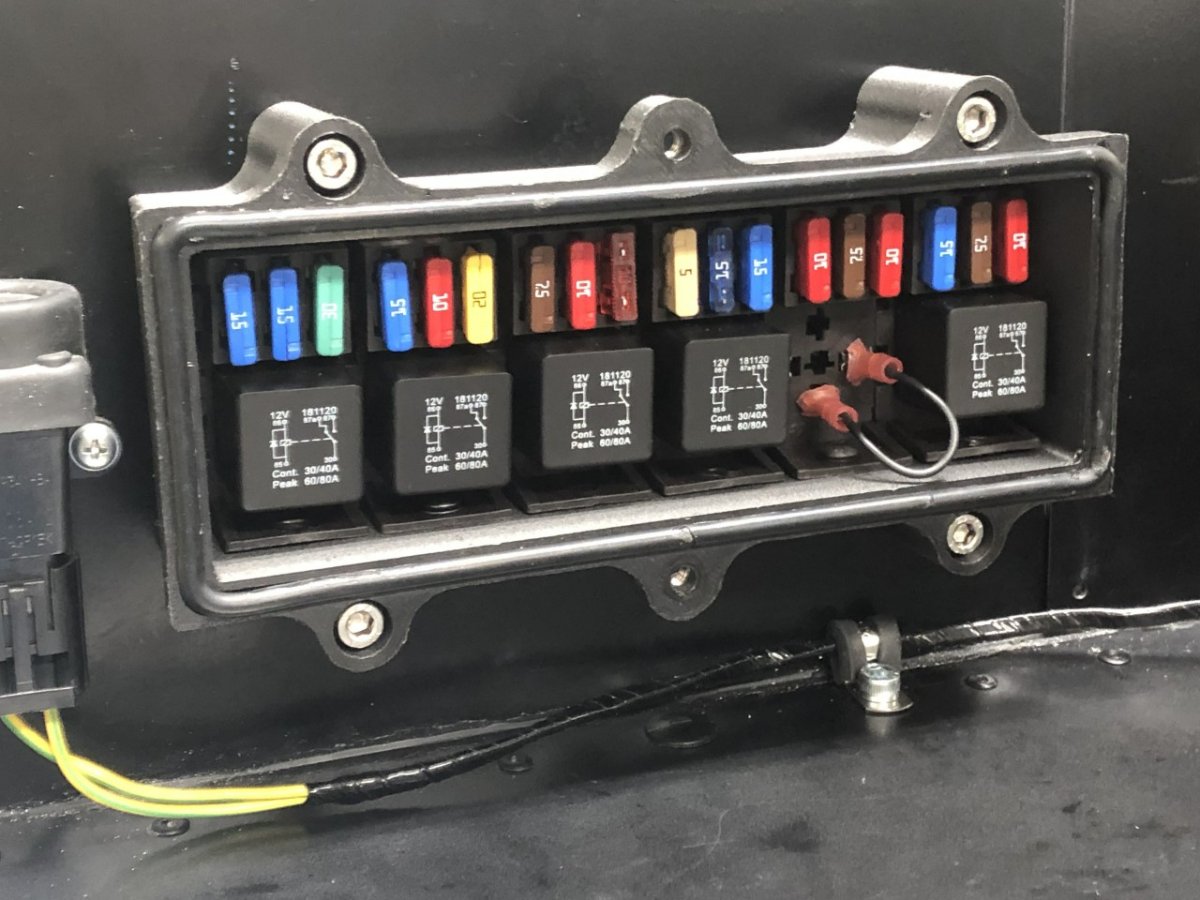
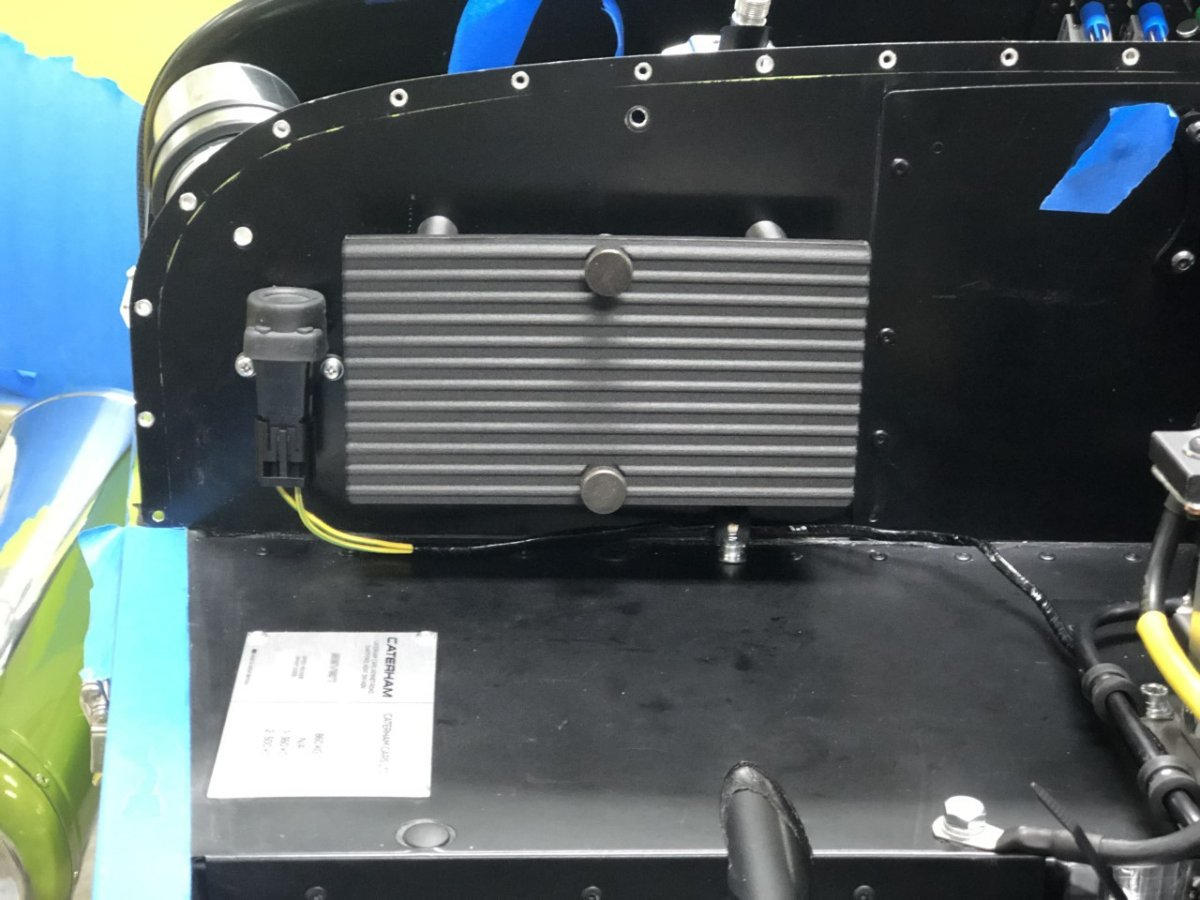
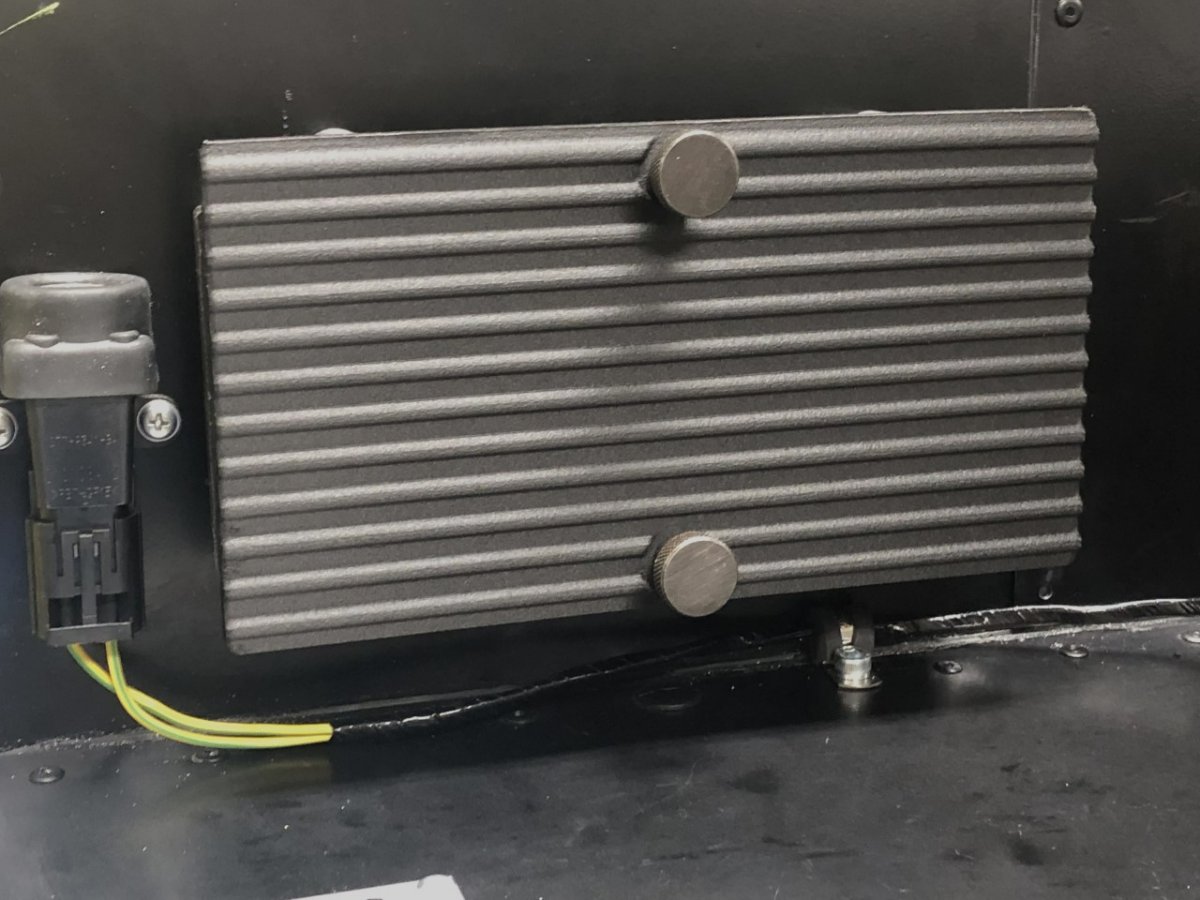
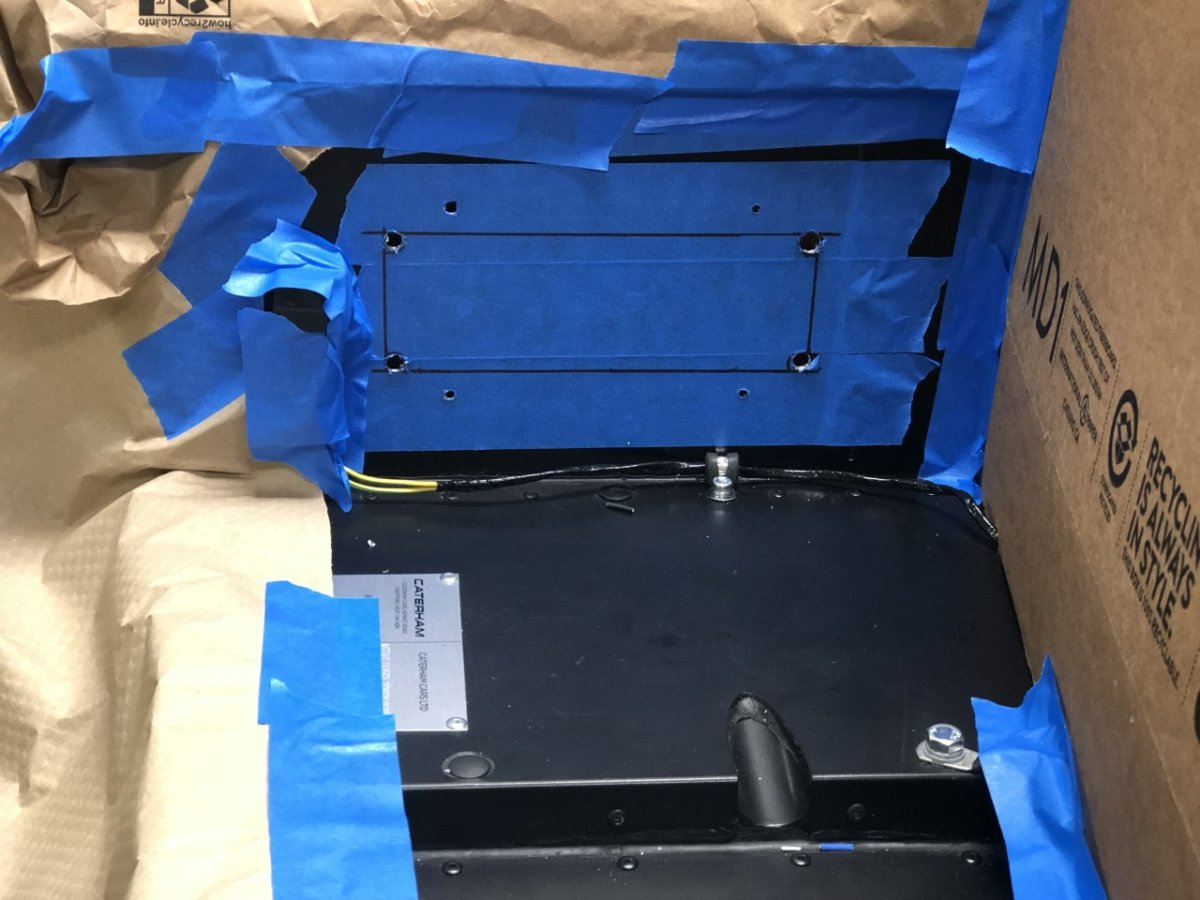
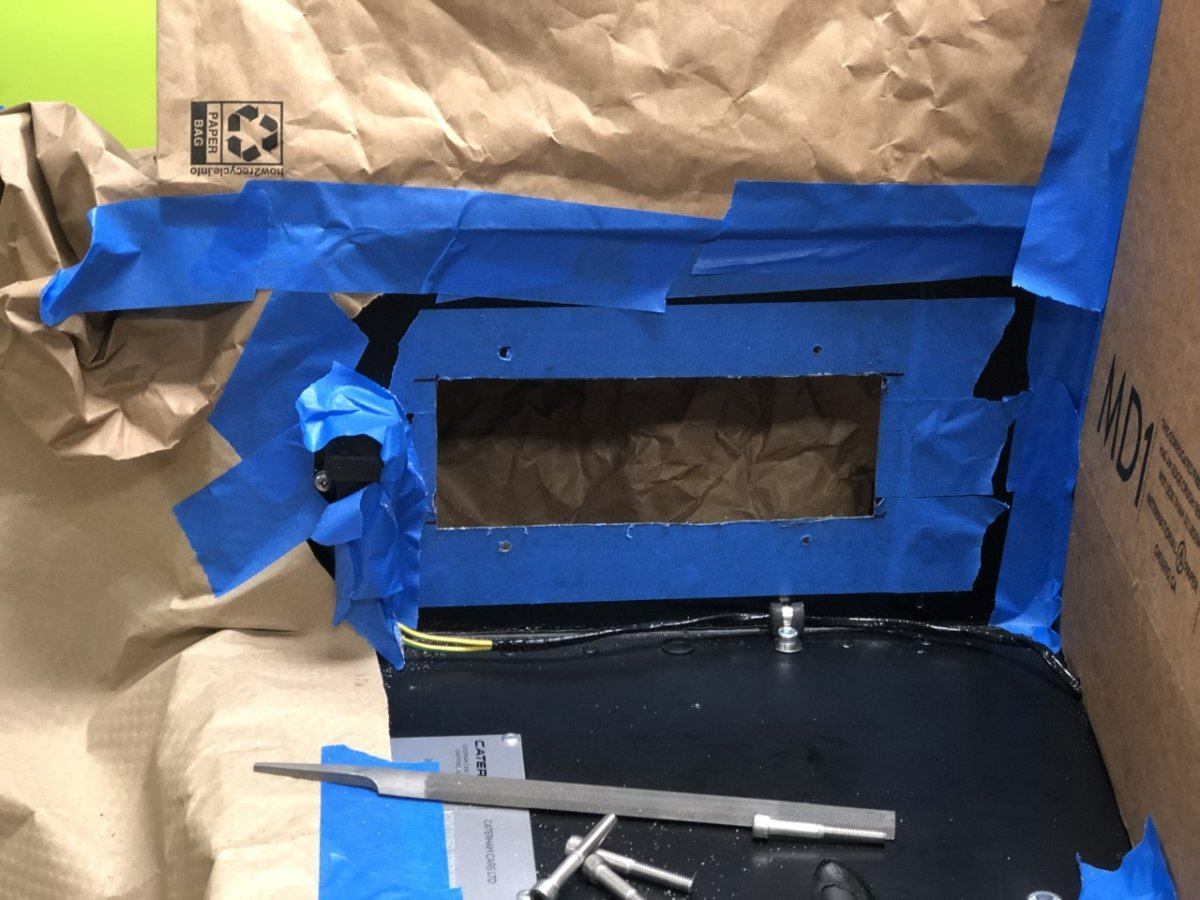
I realized when I started the engine this afternoon, I still had the fuel pump relay bypassed that is normally controlled by the ECU. Therefore, not a good test of the system and another attempt was warranted. This time, I also hooked up the laptop to check out what the ECU was seeing while the engine idled. The car still fired up perfectly with the relay in place, and while the AiM still showed the tach pegged at 10k rpm, Easimap showed it was 850 rpm, and apparently reading correctly. Easimap also showed the reason for the CEL: Rad Fan 1 Relay Fault. Not sure if there is actually an issue or the ECU is looking for something that isn't there, but it is a question for SBD. Next, I plugged the AiM into the laptop to check a few things. I didn't see anything configured differently than the instructions and the live screen showed that other data from the ECU sent over the CAN Bus was reading correctly. That's good news. I have a feeling I either missed something obvious, or the MBE had a change that moved the RPM output to a different channel than indicated in the instructions. I've sent a mail to AiM support to see what they suggest. With that out of the way, I decided to finish the fuse box install. That required cutting a hole in the firewall. It's the kind of job I always approach with trepidation because it's an opportunity to showcase my spastic tendencies. Fortunately, it come out great. Very pleased with this and it will make changing fuses and relays a lot easier. -John
-
I had a few minutes after eating lunch so decided to see what happens when I pressed the starter toggle. I turned it off quickly to avoid running the engine at low rpm before the cam break-in procedure. Before doing so, however, I glanced at the AiM and noticed the tach was way off and the check engine light was on, but the beast started immediately and had a nice idle, so I'll call that a win for now. Next step is buying some support time from SBD to go over some open questions and also get some guidance on identifying what triggered the CEL. -John
-
I'm sure @Crocwill be along soon to correct that misperception -John
-
My point was the design brief is tightly coupled with acceptable complexity. If the design brief contains a principle that supportability must continue for X years, then that would factor into the decision. Bottom line: know what you are trying to accomplish, know the constraints, and know how you value different things that are part of the process and outcome. That helps optimize the solution for you. -John
-
I'm a big believer in the simplest solution that meets the design brief, but that latter point is important. An old updraft carburetor is a lot simpler than a sophisticated electronic fuel injection system, but there is no question that if the design brief is to maximize power, fuel consumption, and drivability, the more complex EFI solution wins. If the design brief, however, is to allow the engine to run and make problems easier to diagnose, then stick with the updraft carb. -John
.jpg.b4028d1e8fc306933a902ac6a2fedba0.jpg)
.jpg.1854711576818704ea8d133c9b7fcab0.jpg)