Dave W
-
Posts
297 -
Joined
Content Type
Profiles
Forums
Store
Articles
Gallery
Events
Library
Everything posted by Dave W
-
If the diagram is correct? I would not think that having the temp sensor in the heater feed line would be ideal. I would verify the location of your temp sensor first. DaveW
-
Yupper we have metric threads!!! I do not understand that logic. 95% will use AN fittings on the tank, but we need a adaptors? DaveW
-
I would guess that all your fittings are on the tank are JIC i.e. AN, and that you need a 7/8-14 drain plug. A metric 20mm thread actually has a pitch of 2.5. I would 2nd the use of a drain plug with an o-ring or sealing washer. DaveW
-
You could add baffles around the upper sides and top of the rad to force all the air thru the rad. Also you may not have enough open spaces behind the rad to allow the air flow to easily exit the engine bay. Try a run with the hood off and see what effect it has on the running temp. DaveW
-
John There is an early American Seven here in South Lyon that has not been on the road for probably 10 yrs. I have not talked to the owner in in 2 or 3 years, but it might be for sale. It has the small BMC motor. I [or we] could check to see if they might want to part with the Seven. DaveW
-
I will actually drive my car if we have dry roads, may be 3 or 4 times during the winter. [i need a Seven fix!!] and yes I have a heater. I put the car in semi-storage. Tires 30+ psi, battery tender, full tank, and a car cover. But once a month, if it has not been on the road, I'll push it outside and run it for 15 minutes. I agree with inchoate, the biggest problem in the alky in the gas. DaveW
-
Yupper! I see what you mean. Someone forgot to tell the track designer that when you hit a barrier that close to the track racing surface, you typically bounce back into on coming traffic. Not a lot off run-off or pull over areas in a several places to prevent a pile up. $*#%T happens, you need a way around, to prevent a pile up. DaveW
-
The odds are very good Rick. We should meet up and trade lies. Maybe we can share secret Seven type road info. I know of another Seven in AA, Dave Watkins has a Dax Rush. I've also seen Sevens in Milford and Brighton. I'm usually free on the weekends, but this coming weekend is booked. Daughter is graduating this Sunday from U of M. Dave W in world famous South Lyon
-
What is amazing, is that the 3 sets of strings are not twisted all together! DaveW
-
"Doesn't mesh" just might be an understatement! Unless you can get a new ring gear for the flywheel, I see a new flywheel in the future. You should be able to get the starter pinion gear. The only way to get the correct teeth engage is grinding clearance and rotating the starter so you get full engagement. Is it possible that you have the wrong starter with a smaller pinion gear? One that has 9 teeth Vs, 10 teeth or a smaller spec. Dia flywheel ? I've seen different size flywheels on the same engine type, one for a FWD or a different one for a RWD. Dave W
-
You can not go wrong with a K&N cotton filter. They will last a life time and will flow about 50% more then a foam filter. I would look into locating the filter so it can draw in cold air, or fab a cold air box that ducts in cold air, if you can not extend the air intake tube forward so it is in front of the rad. Adding a cold air box on my Seven made a noticeable improvement. DaveW
-
Foam filters are NOT very effective and a lot more restrictive when compared to your cotton filters. I would suggest that you add a short extension so you can pit up cold air in front of the rad and add a cotton filter. Dave W
-
Do not get me started on insurance. Every 6 months, AAA would increase the premium on the Seven. The price more then doubled in 8 yrs. I had 4 cars with AAA, and when we drop an under 25 driver they raised the premium on the other three car!!! After that, I switched the Seven to American Collectors Insurance. Very little restrictions and only a 1/3 of the cost. If you are looking for insurance check these guys out. Dave W
-

Ongoing electrical problem - anyone want a challenge! ;-)
Dave W replied to hairball29's topic in General Tech
When designing the first Z06 aluminum frame it was found that the electrical grounds attached at the riv-nuts connections would build up an oxide between the aluminum and the riv-nut case. The solution was new drive screws and an 18mm thick aluminum button welded to the chassis for all the electrical grounds. If you have an aluminum chassis, extra care is needed when making grounding attachments because of the oxide layer on the aluminum. Dave W -
Try these guys for bushings englishparts.com Engel imports [866-467-1776] Their P/N 119451 Replaces suspension bushing: Y419, 611-075, QHY419, & Y16 1.35 each + shp Dave W
-
Another small and lite Wt option would be the 40 Amp Denso that is fitted to a Daihatsu and Suzuki bandit. P/N A073, also Tractor Spares Co. P/N 196300. but you would probably have to change the pulley, I'm assuming you have a "V" belt. Dave W
-
Starting a Locost Lotus from scratch
Dave W replied to Johnny Tsunami's topic in General Sevens Discussion
Johnny Nice start and the model will help in the planning and fab of the project! Search Ozzies mods, for added structural improvements to your typical Locost frame. Do you have a donor or have a particular donor you plan on using? Where are you in SE Michigan. Dave W -
Robert It may take a few outings to get use to manual brakes, if you have alway had power brakes. I do not think you should be in a hurry to go to assisted brakes on such a lite vehicle. After a couple months of driving if you still think braking effort is to high, you could look into changing the pedal ratio or master cylinder size. But both changes will increase you pedal travel. My bet is you will get use to the brakes rather quickly. Dave W
-
Loudes13 Are you located in Michigan, [i see Gingerman reference]. I'm in SE Michigan. I have a bump steer gage if you would like to use it. Dave W
-
What state inspection do you have to pass? I used the standard Caterham rear lights. My police inspector only checked for function and not the DOT markings. If your state inspection process is that nit-pic, you probably will have to raise your front head lights to meet the min height requirements. Have you talked to some one who has already gone thru the same state inspection? Dave W
-
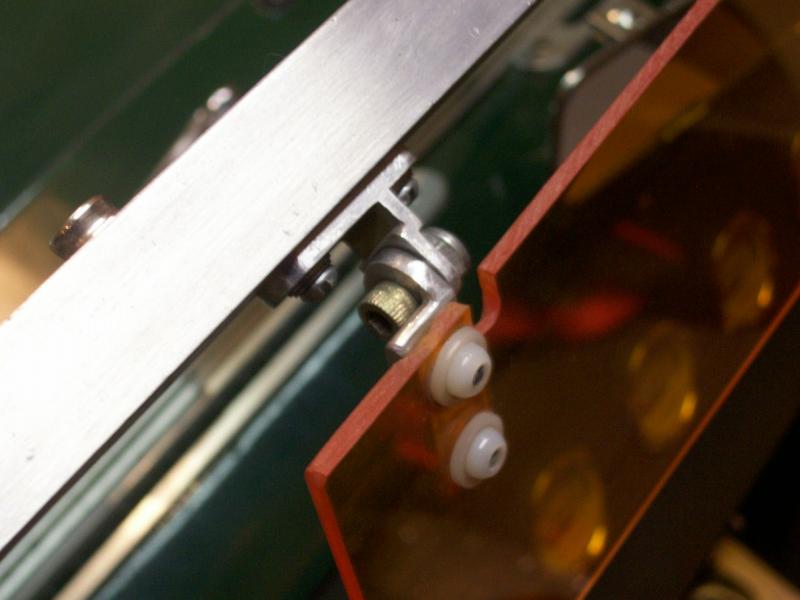
If you go the sun visor route, I would recommend designing a bracket using an extruded aluminum Tee section that bolts to the windshield frame. Mount [2] alloy Tee sections for each visor to the top of the windshield frame via two 6-32, tapped holes for each bracket. The design should allow the sun visor to swing either down or up above the windshield using see-thru plastic for the sun visor. Typically the Aluminum windshield frame is made from 1/8” thick channel stock, so you can just tap two 6-32 threads into the windshield frame to fit each of the Tee mounting brackets. You will need a total of 8 threaded holes in the top horizontal channel area at the desired spacing depending on the width of the base of the extruded Tee stock you are using. If you do not have an aluminum extrusion, you could just as easily fabricate the brackets from steel. You will need to tap the aluminum windshield channel before installing the glass into the windshield frame. Each Tee section hinge will need a single pivot hole for a 10-32 screw that uses a Ny-lok nut to allow for adjusting of the tension/friction on each pivoting hinge. For the bottom half of the hinge that attaches to the plastic, I used left over the windshield frame channel material. I cut off one side of the channel to make the four “L” shaped sections for the top half of the hinge that the plastic visor attaches to. These “L” hinge brackets where also taped with two 6-32 threads. I installed the plastic see-thru visor material to the lower hinge section using nylon screws and washers as a safety measure. I would recommend that you find some 7” or wider plastic for your visors. Narrow visor material that is less than 6 inches wide will not help late in the evening because at sun set you will need a visor that covers most of the small windshield. As a side benefit, once installed the visors actually help reduce some of the wind buffeting when set at a 20* to 30* angle above the windshield, which will help direct some of the air flow over the cockpit area. [i would attempt to drill and tap holes in the windshield aluminum frame, with the glass already installed in the windshield frame] I found a material supplier “Pop Display” in South Bend IN 46614; that fits the bill for material that is excellent for a see-thru visor. Green Acrylic Plexiglas sheet that is 1/8” x 48” x 7 7/8”. Their part No. 2092 for $14.50 plus shipping. They will also cut it in half for shipping at no cost. Their phone number is 574-233-1934 or you can contact them at http://www.go2pop.com . The Plexiglas comes covered on both side which helps prevent scratches while fabricating the visor. The attached photo show my first visor which was too narrow, as mentioned, for the late evening sun sets, but shows bracket fabrication. Dave W

-
The shiming is not for the scale thickness but the floor pads. You needed to level the set-up surface. Your typical garage floor in not level but slopes towards the door. I had to shim almost a 1/4" front to back. Once you have fabricated the leveling pads, make a note right on each pad as to which location the shimming pad is built up for and mark the floor locations. You are going to end up with four different pads thicknesses to get a level surface in your typical garage floor. Try to get all 4 pads within 1mm level. The lateral movement is not that great if you are just lift an 1/8" clear of the surface when changing out the scale. It will take a lot longer, probably 2 hrs Vs 1/2 hr, if you had professional corner wt set-up to use. Dave W
-
When I corner weight'd my Seven I only used one bath scale. I just made three spacers the thickness of the bath scale. You need to make sure your set-up pads are level. [ may have to shim ] It takes more time to move the scale to each of the wheels, but the wts where repeatable within 1lb. Dave W
-
Kurt Contact Russ "trailsmangasgas" over on the LocostUSA forum. I believe that He had the same problem with a crossflow a couple years ago. Dave W
-
A botton head bolt should help resolve the clearance issue. If you can not find one locally, try McMaster Carr. Dave W