All Activity
- Past hour
-
I had to cancel my registration. Very sad. Work is really getting in the way of my play time.
- Today
-
.thumb.jpg.885191d302e6c3704c848a8f5ac3a612.jpg)
Photo of your car you took today
Austin David replied to Xhilr8n's topic in General Sevens Discussion
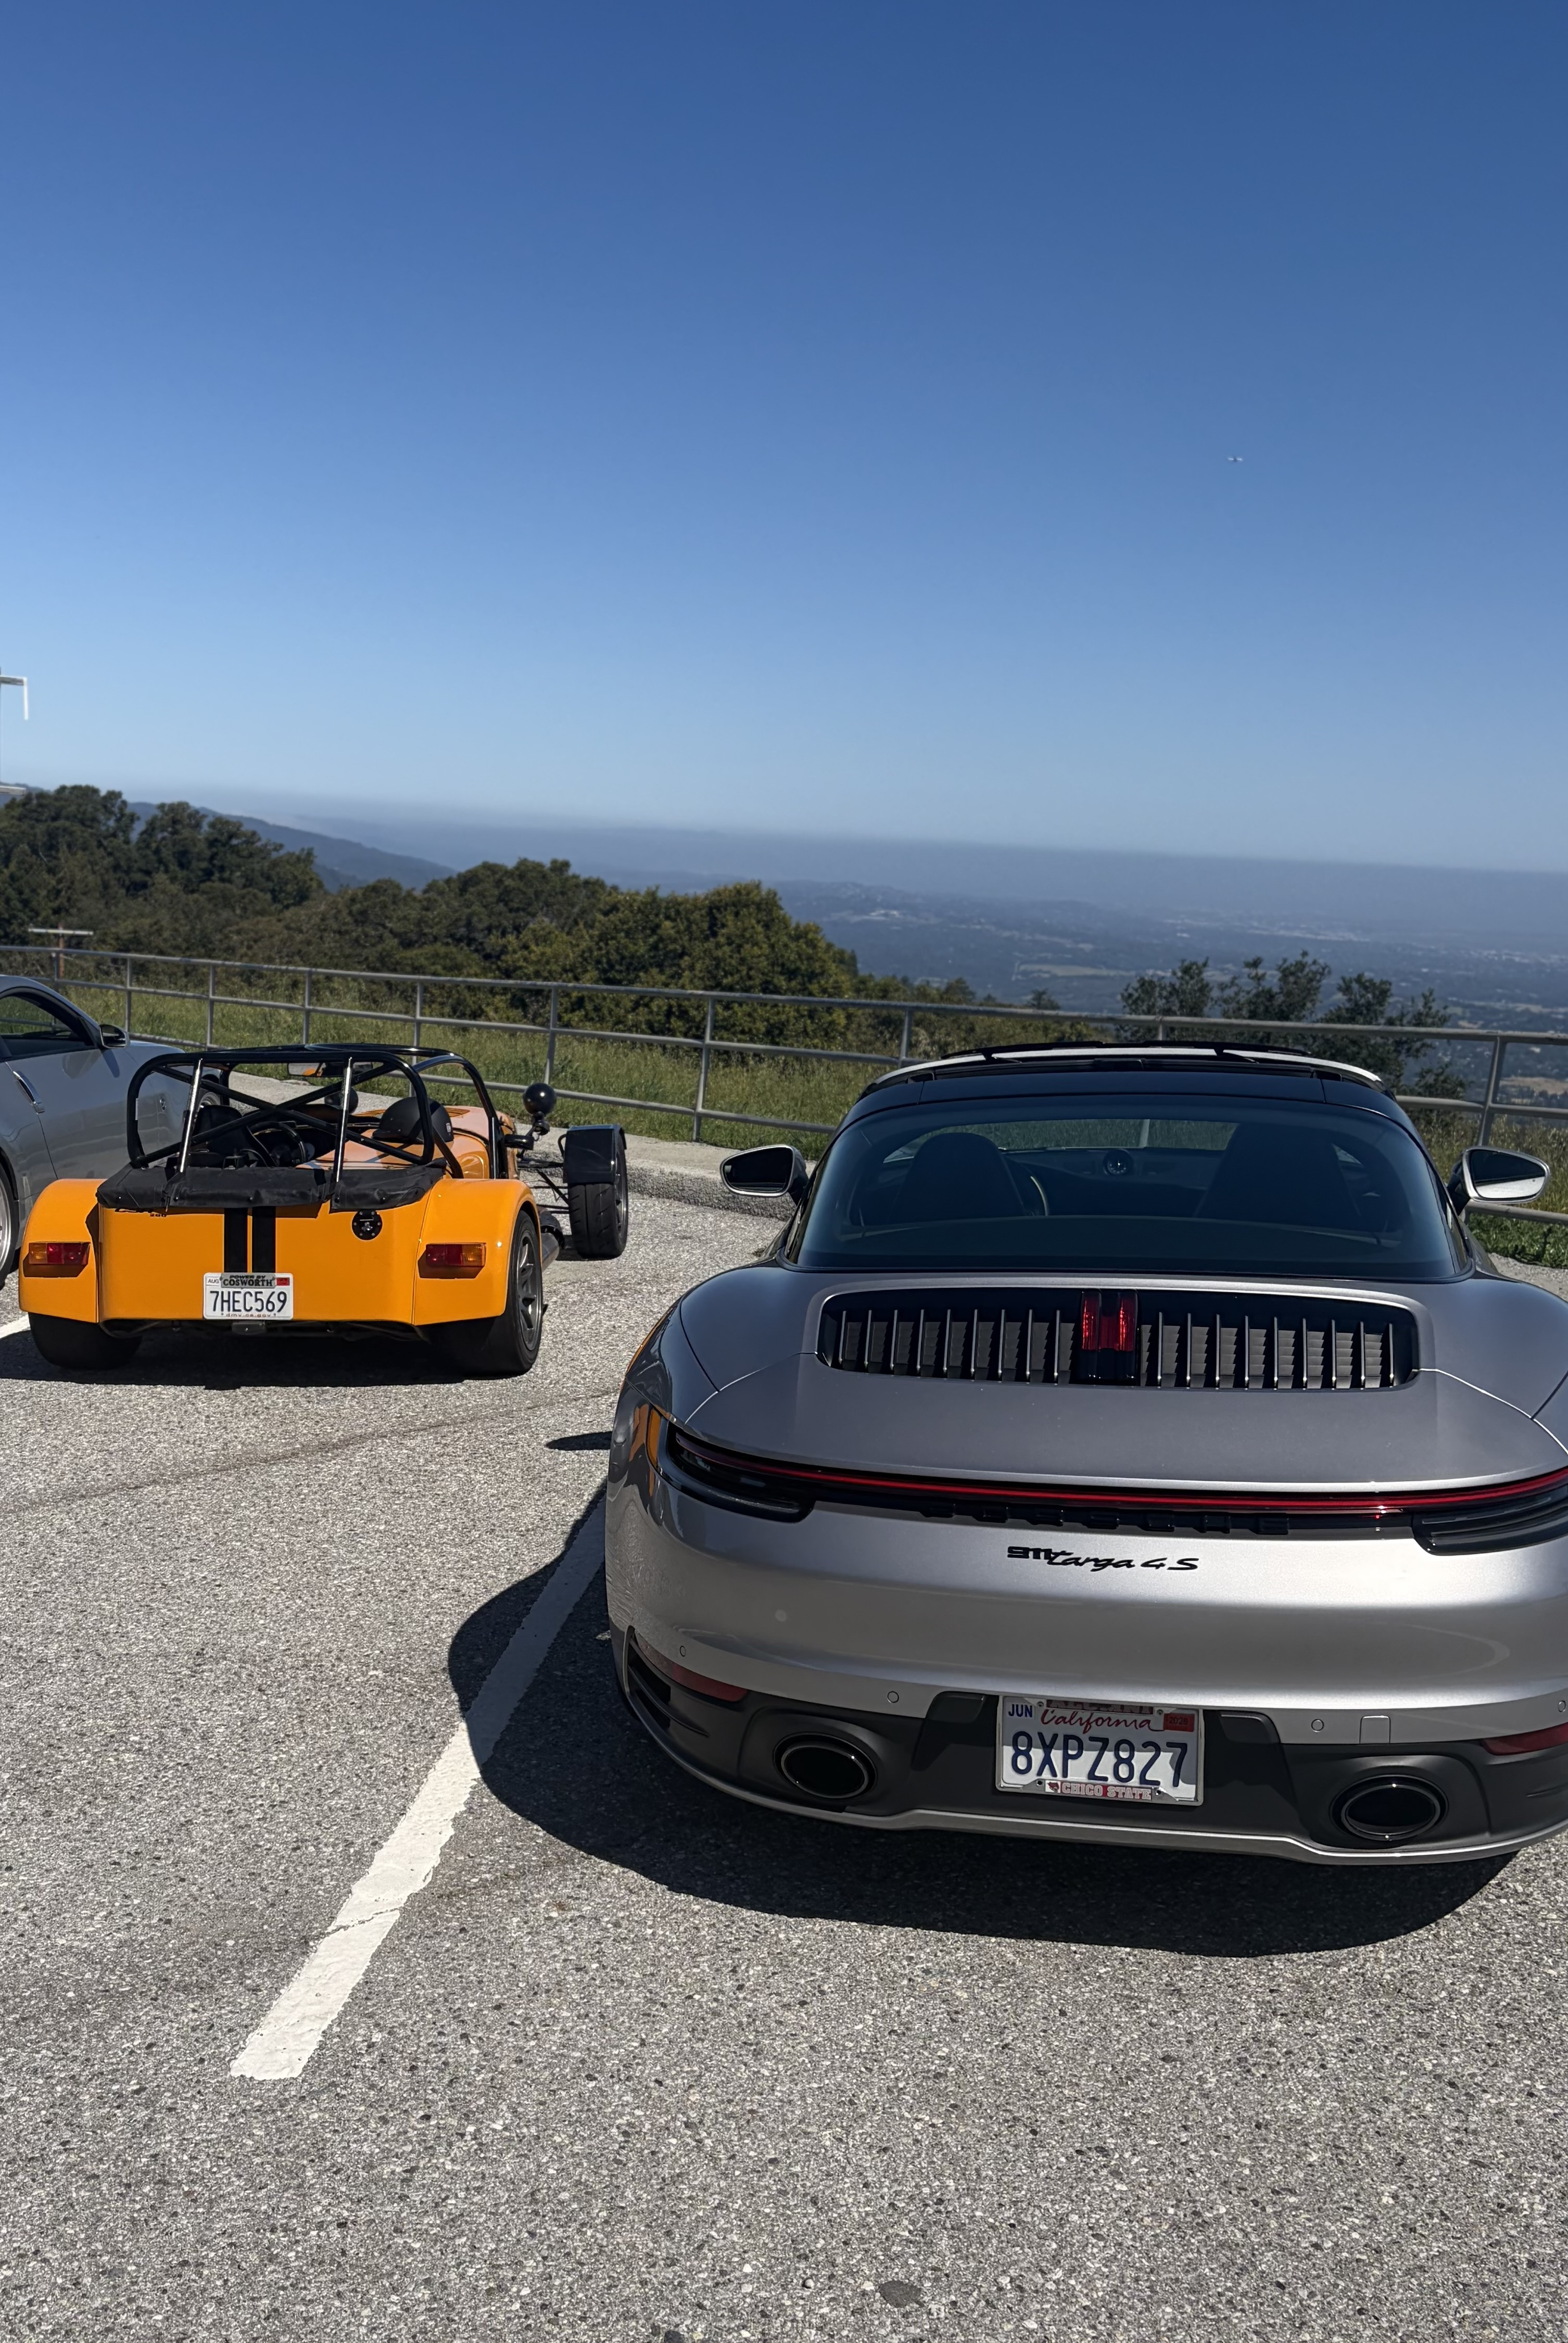
Observatory? The backside is great. Y'all have such great roads... -
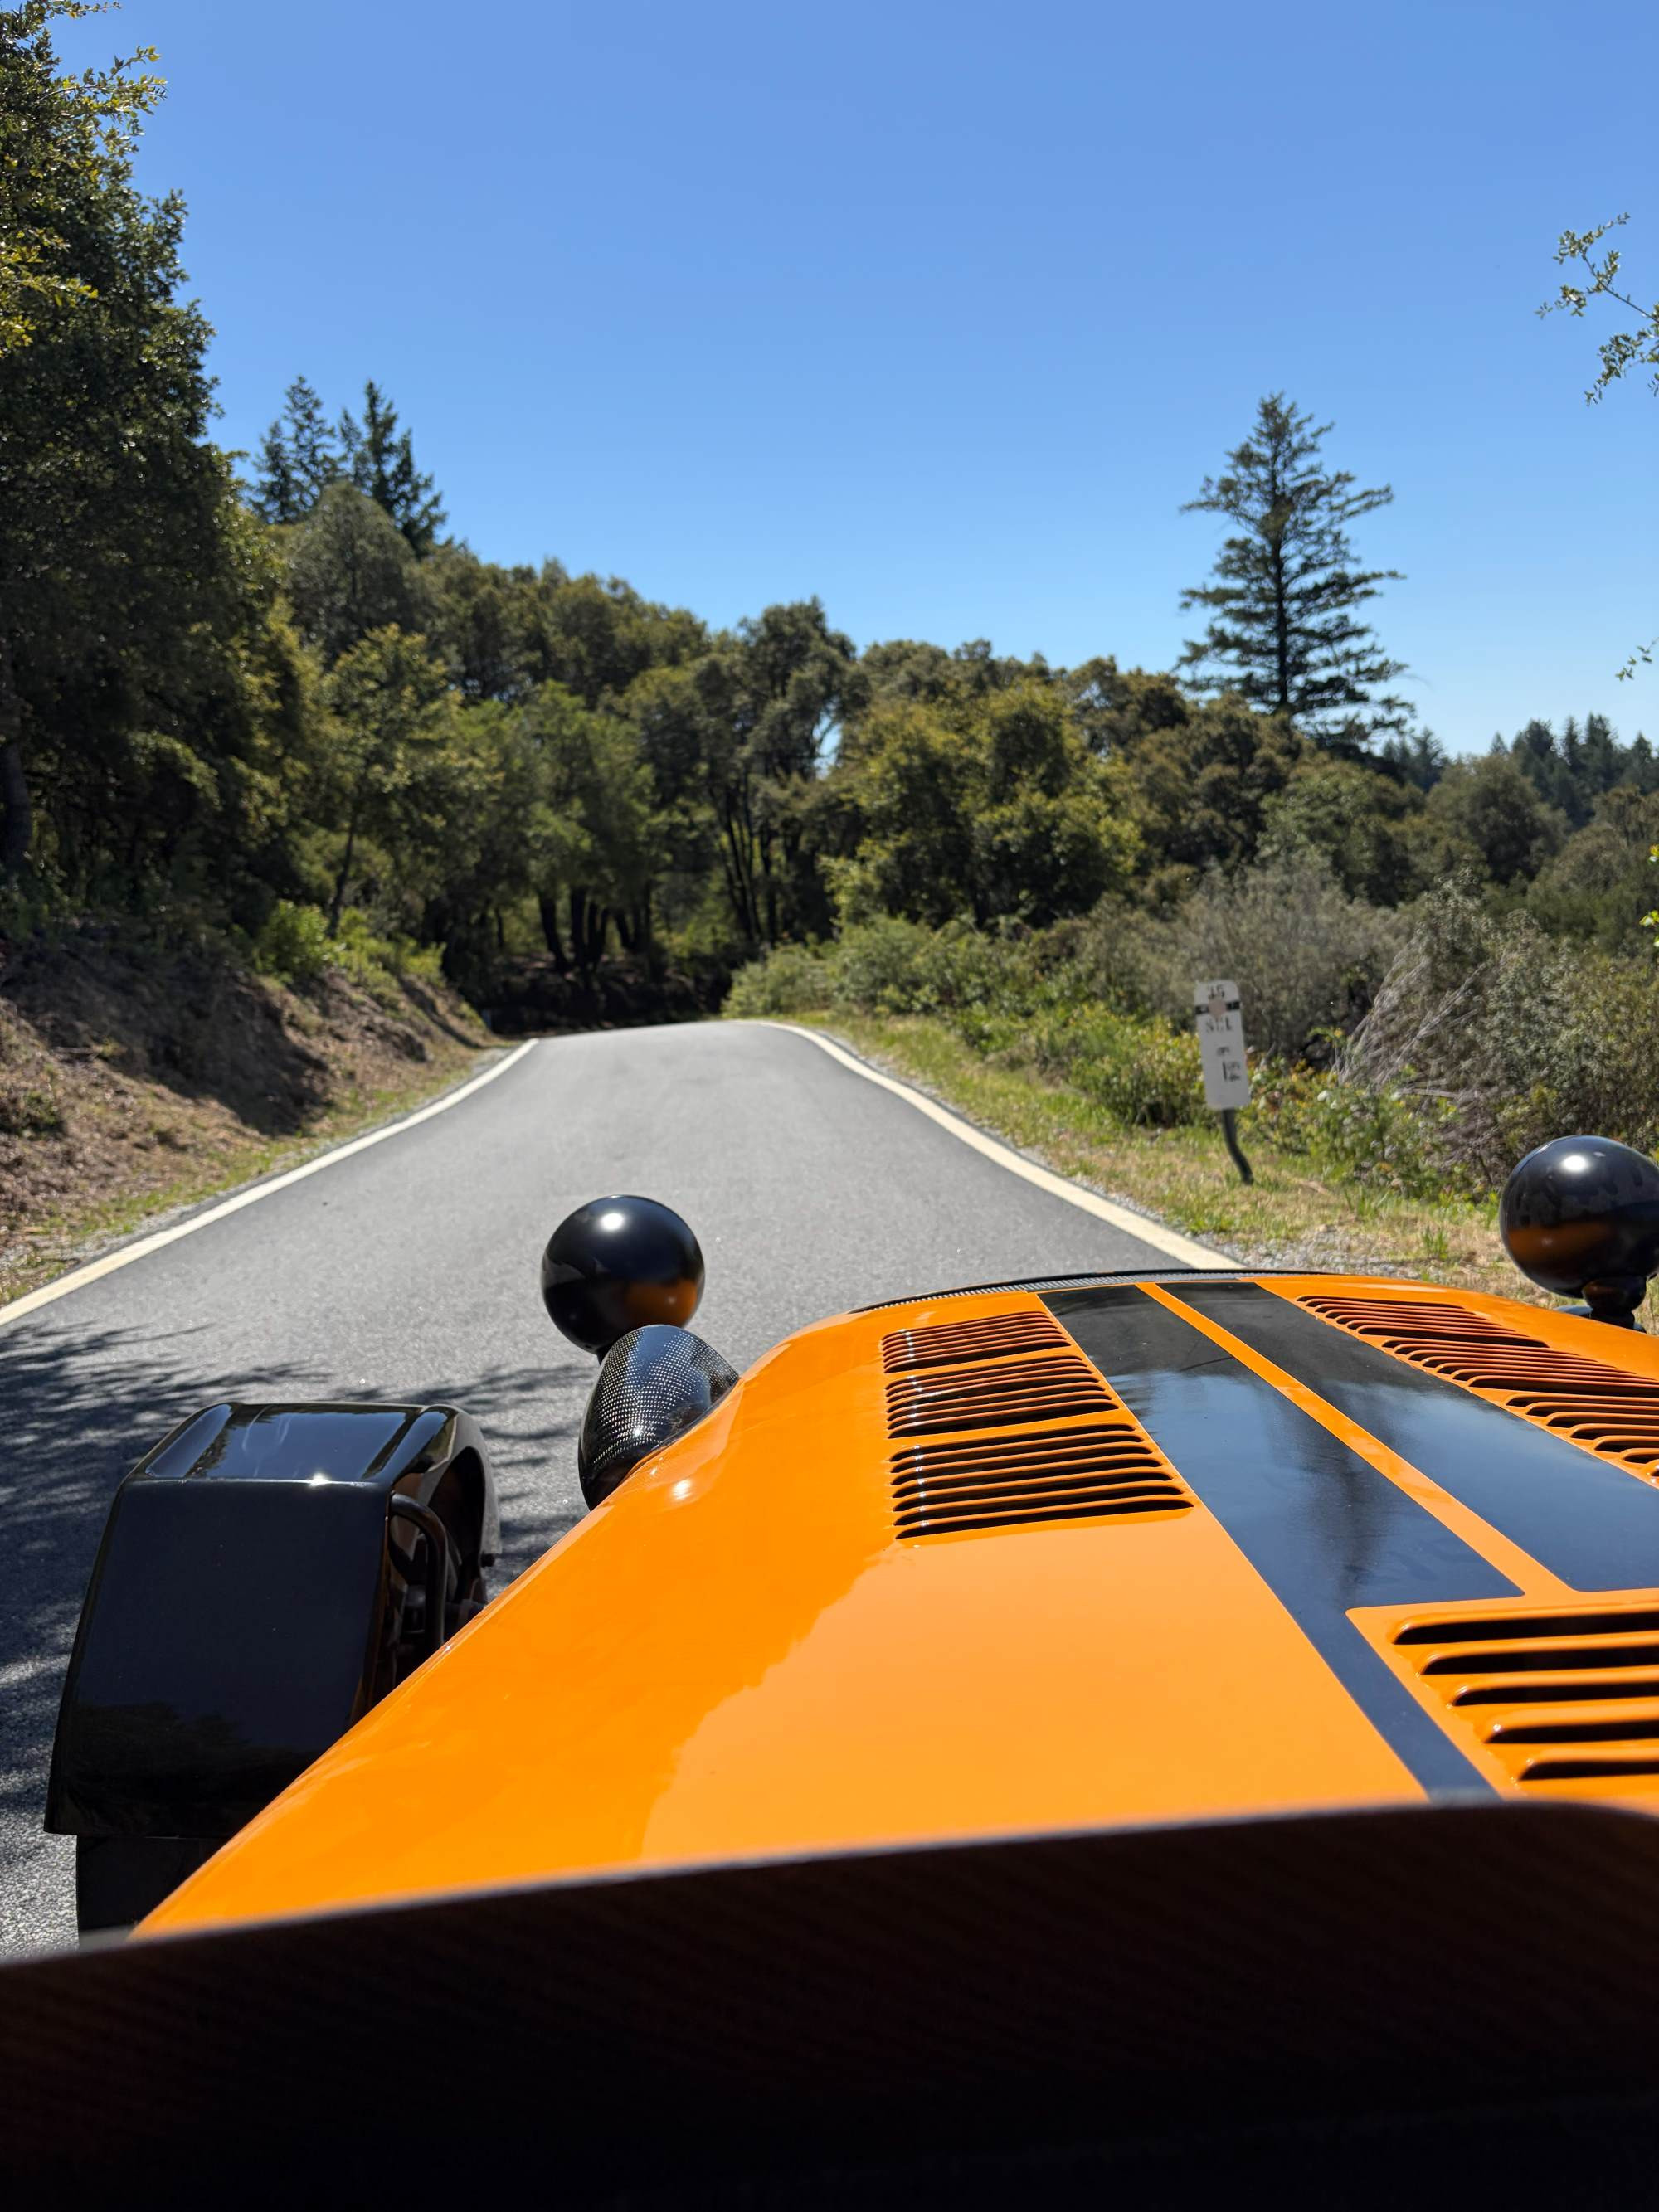
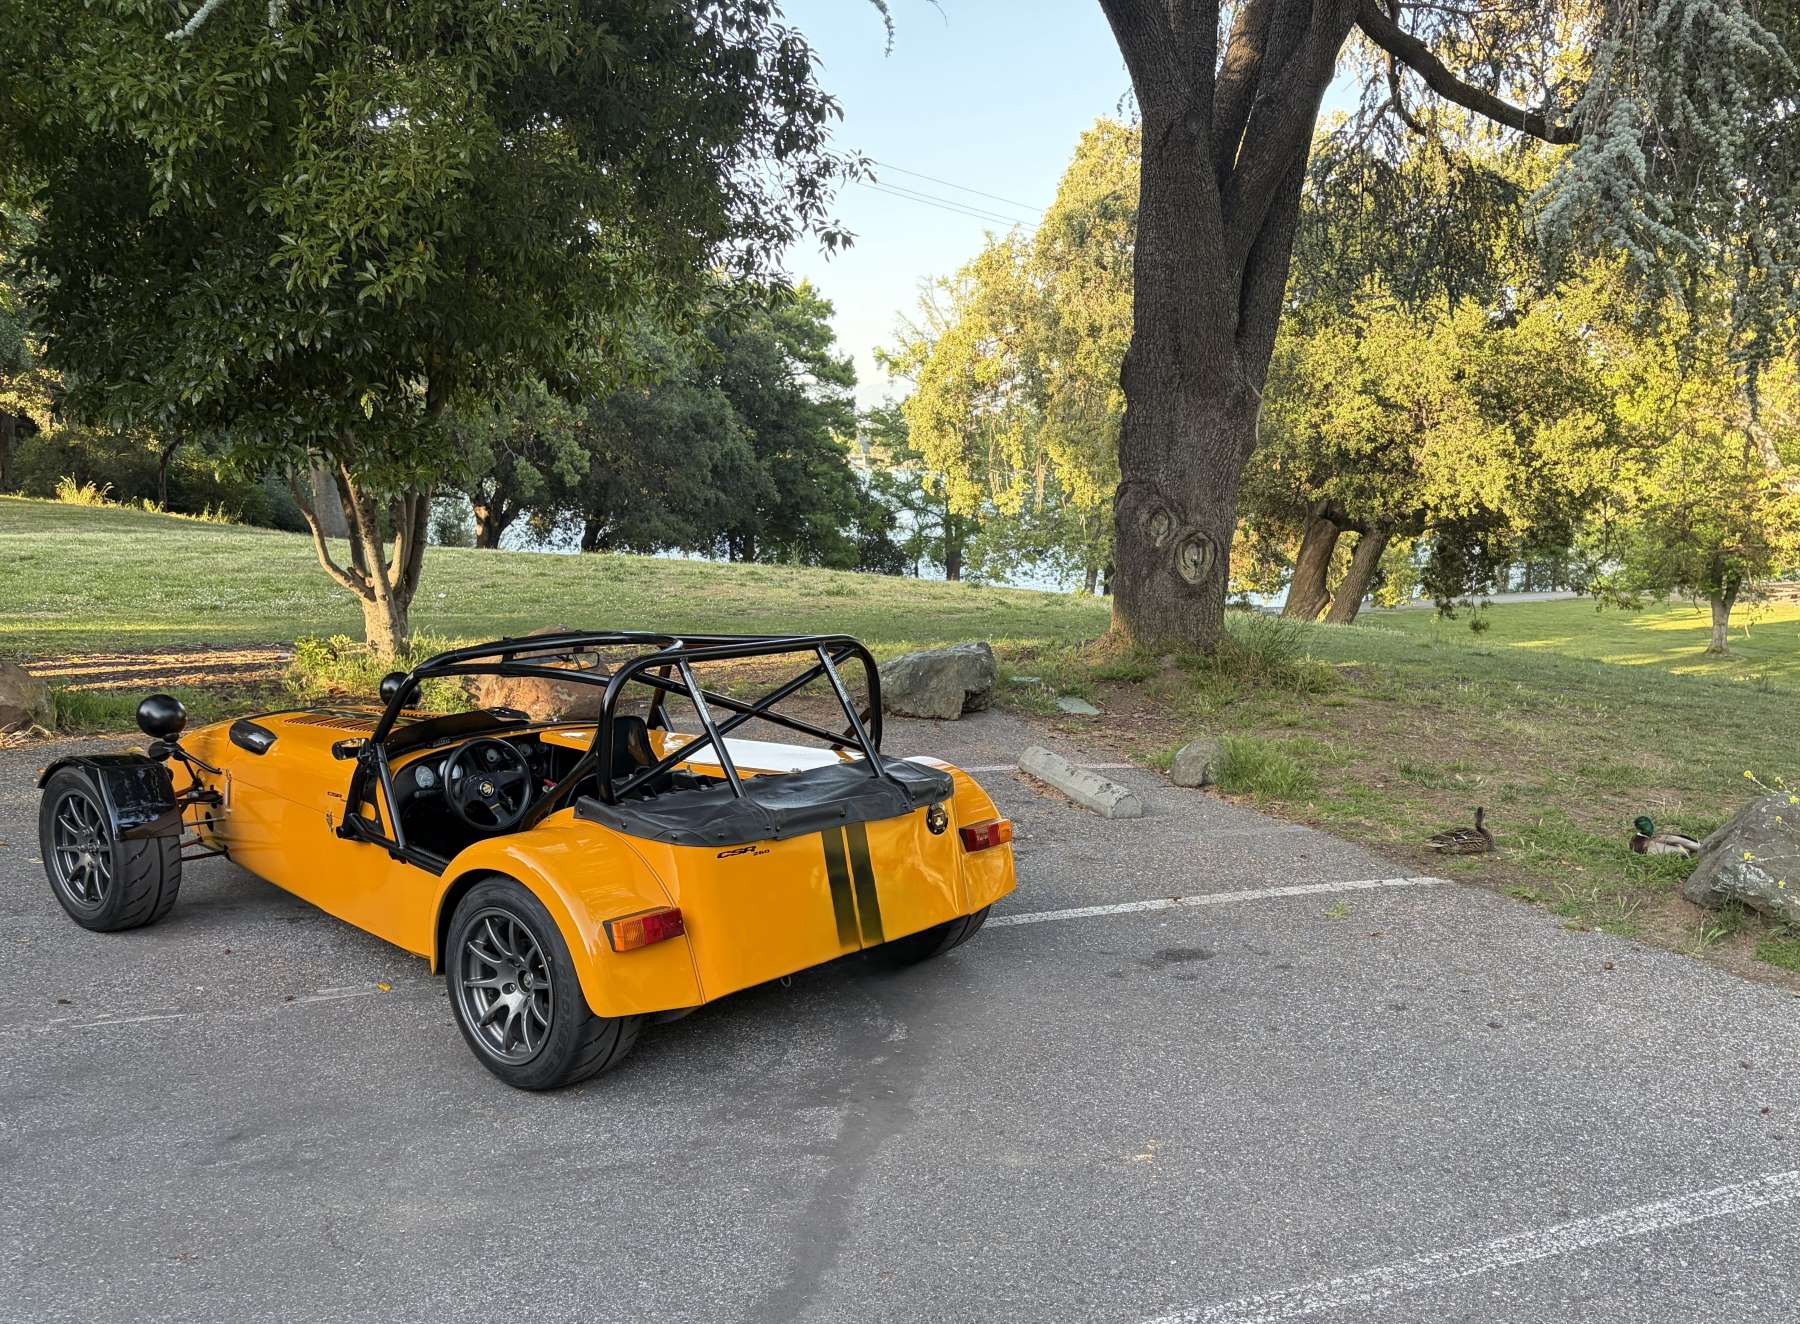
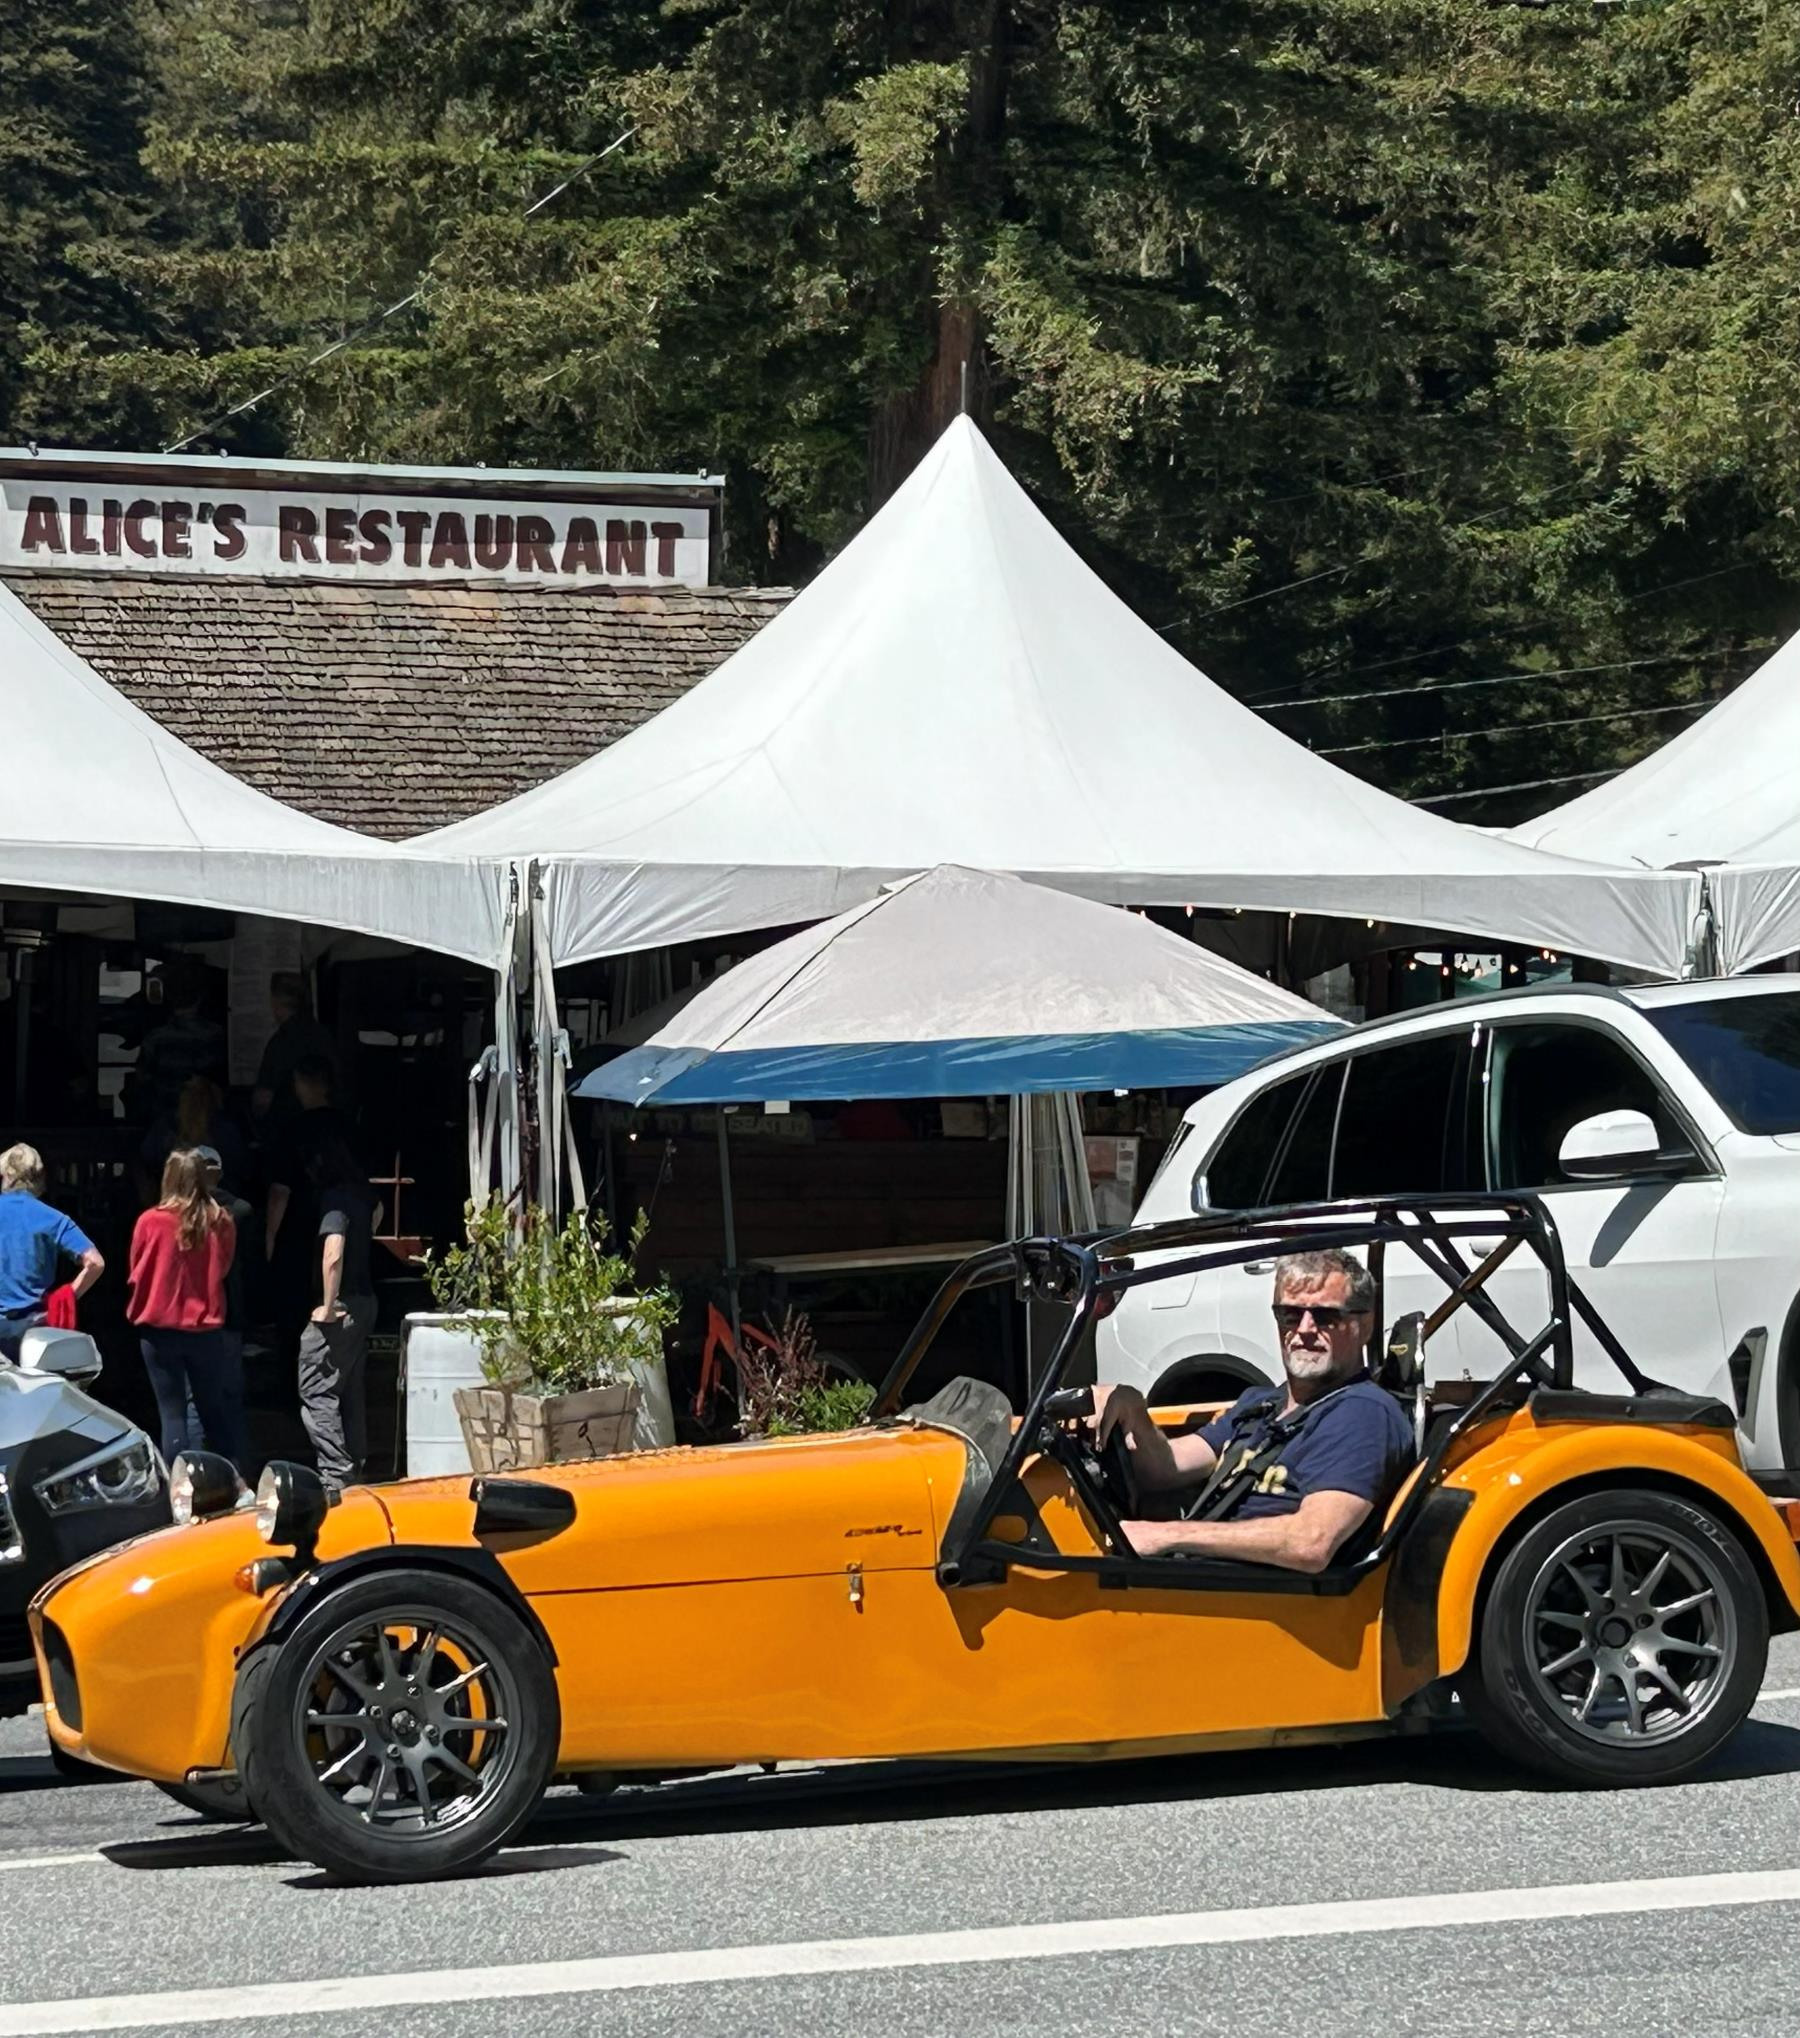
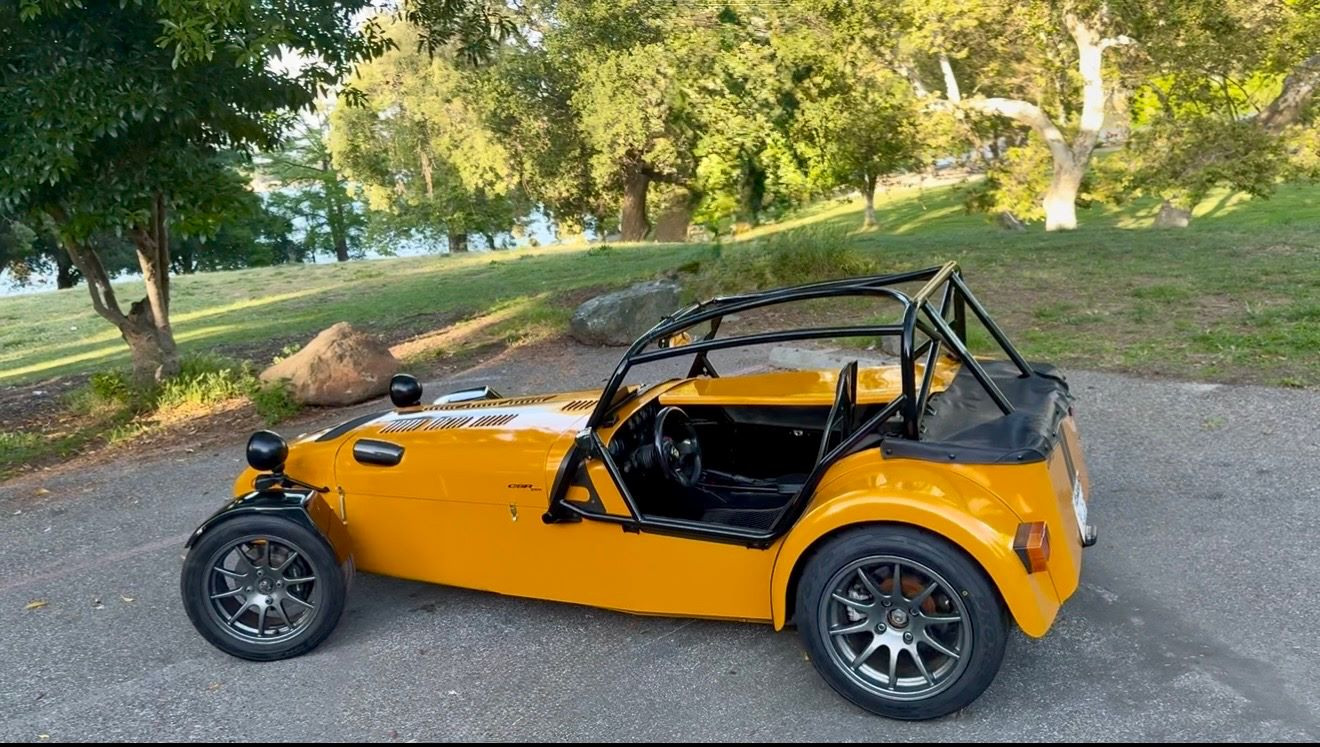
Epic Blat yesterday in the CSR with a couple of buddies. Parked to get the best view over Silicon Valley. 80 degrees, blue sky, double espresso and 260hp is life-affirming!

-
Does the green Elise belong to a guy named Rob? Nice double rainbow.
-
I used Concord DMV and Martinez CHP office. I think they both are great. Just make sure you ask for the ones that understand SB-100. You can go to DMV first with all the paperwork (without your cat) , and get a temporary operation permit that is good for a few months. Then you can insure and drive the car around and get the BAR inspection for smog waiver, Vin verification at CHP, and back to DMV for the inspection. Be prepared for multiple trips to DMV:)
-
When are you passing through NM? Maybe you already have.. There are a handful of cat owners in the northern part of the state, not too hot up here yet - high around 80 and still very cool over night. if I was driving a cat across the country (and had the time) I'd be staying at least central, if not north of that; back roads as much as possible. I-40 would be very uncomfortable. Nothern NM a cross into southern Utah, staying to the north as long as possible before dropping down. Godspeed, safe travels!
-
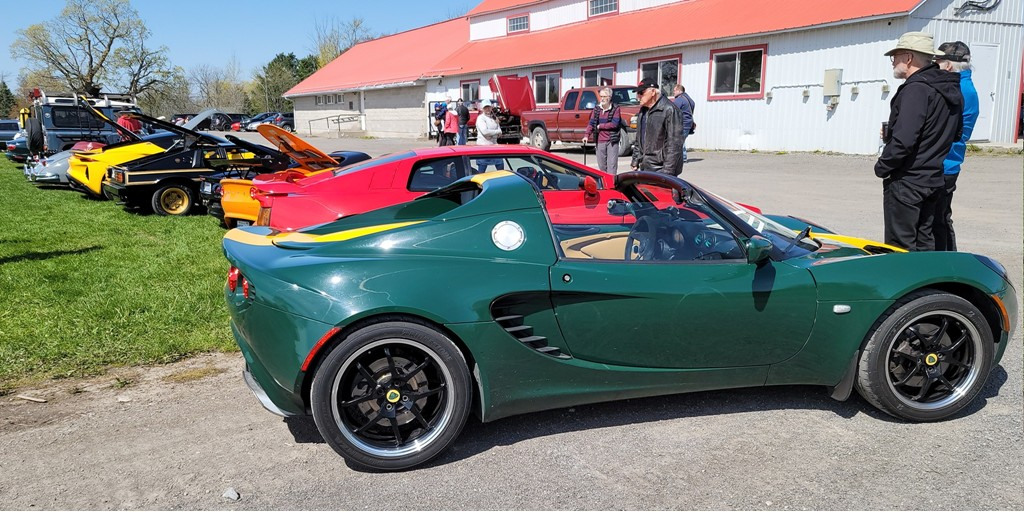
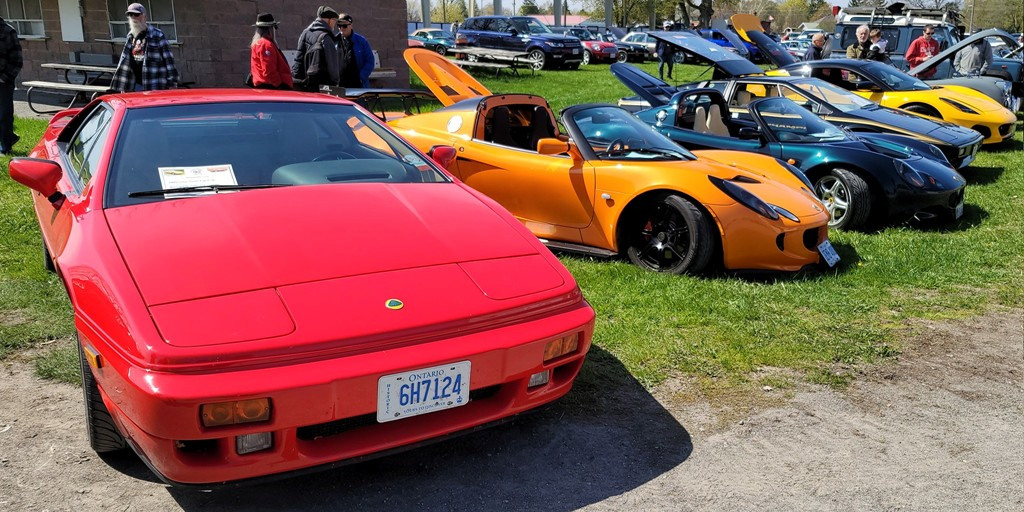
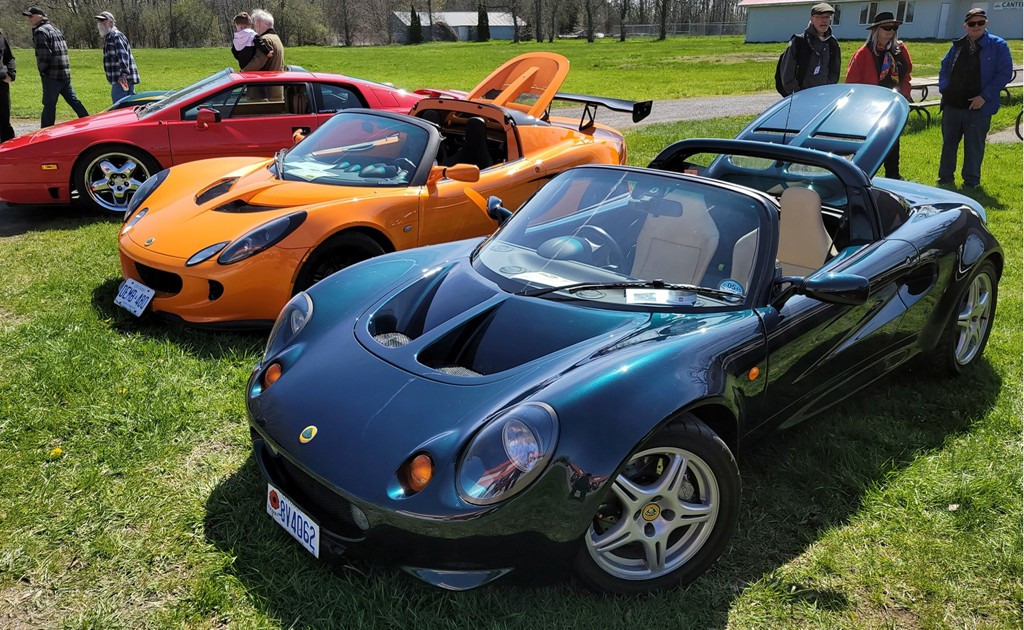
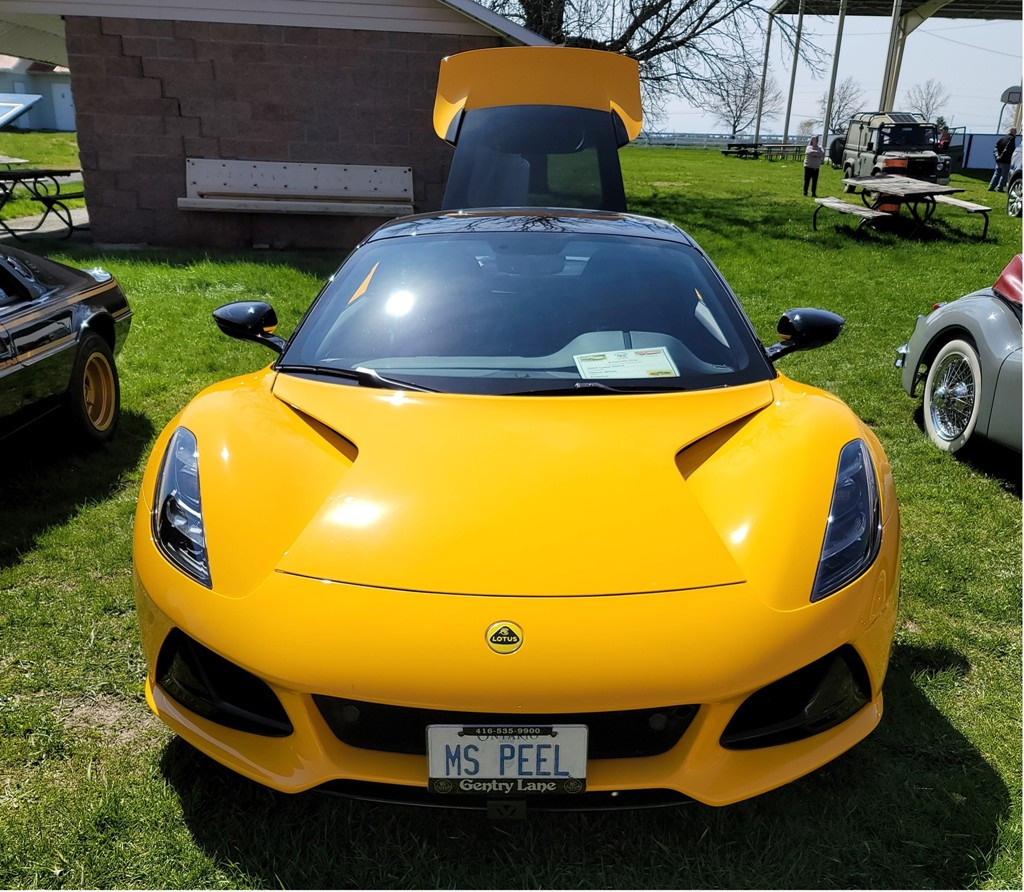
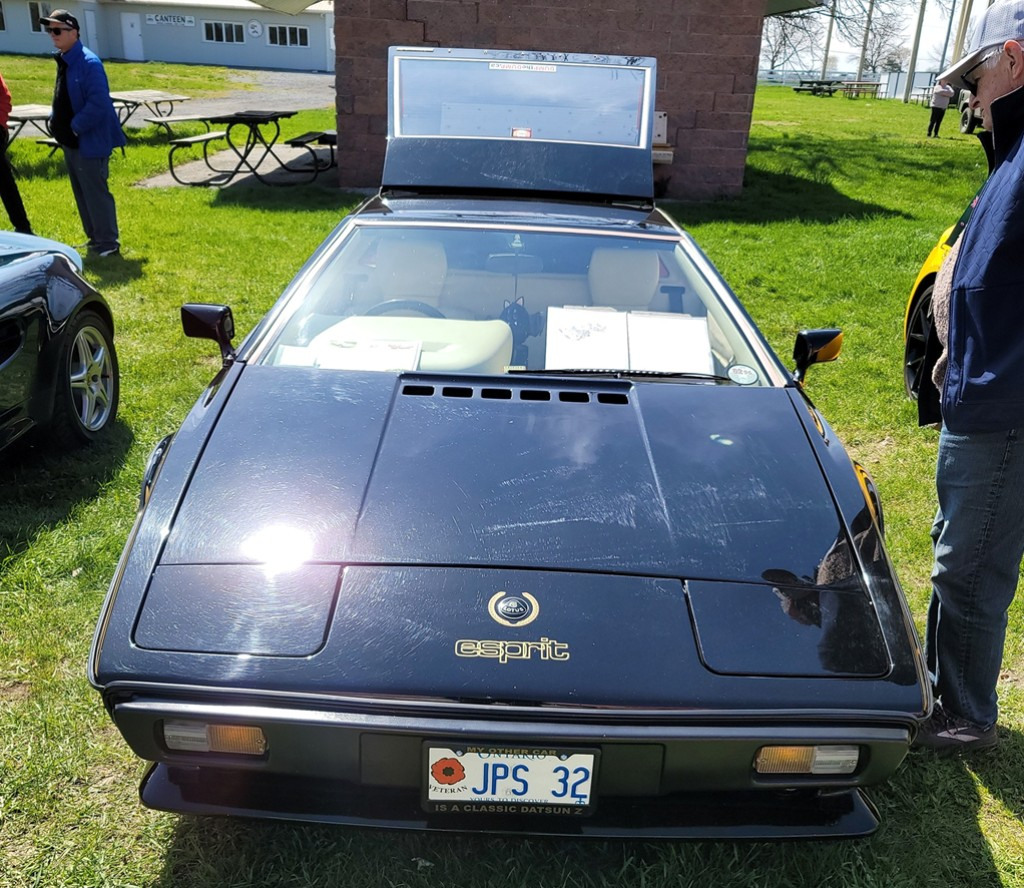
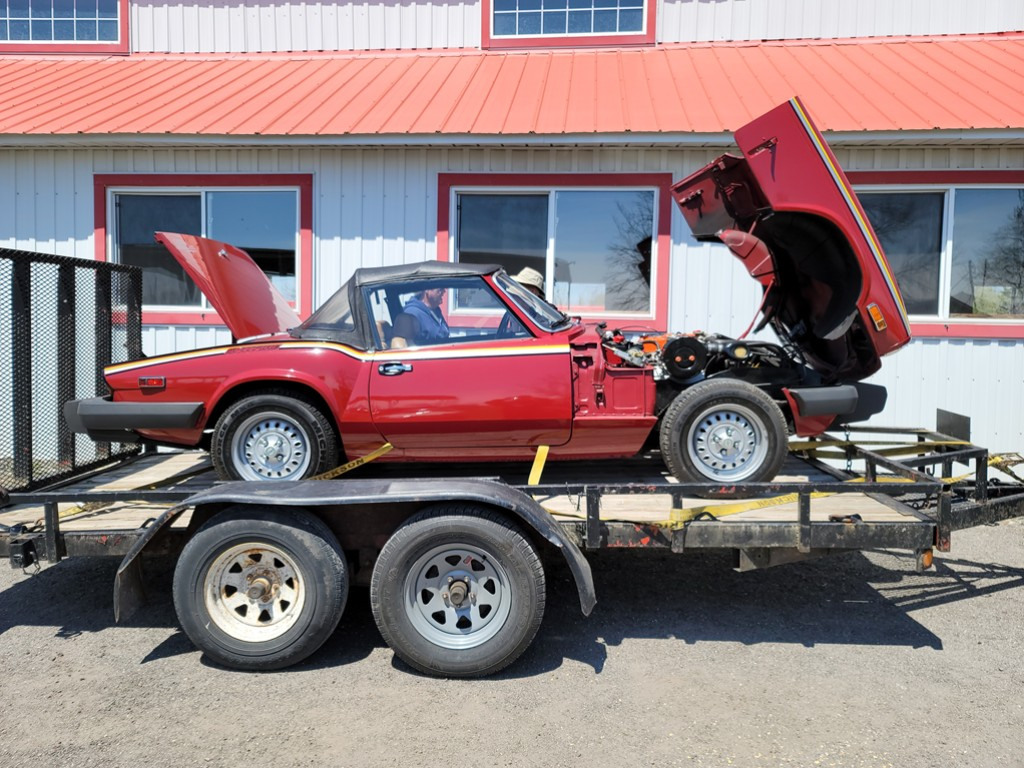
Not a photo of our Caterham but in keeping with the above Lotus photo I’ll mention this show and the attending Lotus. The Boot and Bonnet car club had their spring Autojumble this past Saturday and the weather was great. We had a good turnout of Lotus with 3 Elise, 2 Esprit and one Emira. Unfortunately not a single Europa or our Caterham. It is back in the body shop to fix the cracked fender. It was supposed to be finished in time for this show but the tint hasn’t shown up. After all the rain, both real and figuratively speaking, there was a rainbow at the end of our day. The wife won the sealed bid auction for the one owner, 20,035 kilometer 1981 Spitfire. Her bid was $19.80 higher than the next closest bid. (Secret tip for closed bid auctions, always end with an odd number.) In the wife’s case she used the car's build date of June 1980 and it payed off. We’re off to pick up the Spitfire in a few minutes. I’ll put the story in the “Other Car’s” section.
-
Yes do lock the steering wheel in place; I use a scissors jack and some protective material to push up on it from below. As to friction at the tire surface, there are inexpensive means of reducing it. A piece of plastic sheet under the tire is one way. Another one I've heard about is two pieces of linoleum tile with some grease smeared on them. That one sounds a bit messy. I'm sure there are other ways just waiting to be discovered. And of course one can always get alignment plates...
-
When you get ready to set the toe, to keep the steering wheel centered, fab a simple fixture to clamp the steering wheel to keep it perfectly align while adjusting the rod ends. With a DIY alignment methods there is too much friction at the tire surface.
-
If I had a nickel for every time that I missed the point i'd ... probably waste it all all on cars. No offense taken or intended, my friend. Good luck to all of us as we continue to tame these cars that are so amazing and so frustrating.
-
Jmaz ... I just installed the steering column and your post gave me one of those "I'm so dumb" moments. In my case, I reasoned that since the tie rod ends were 12 turns out ... I *assumed* that meant they were both the same distance from rack center and by measuring the wheels straight ahead (ref. rotor edge to front lower wishbone bolt) I could set the wheel straight and then insert the lower column in the rack at that position. Done. But, of course there is that assumption in there ... Long story short (the detail is updated on my blog post) based on your comment I went back, taped a zip tie indicator to the steering hub and looked for how that ended up when at full lock each way. Sure enough it was almost (but not quite) even; full lock right was about 15deg right from vertical whereas full lock left was about 5deg left from vertical ... I was close, but no cigar. So, disassembled (hey, loctite works!) and moved the lower column one spline CW and, bingo, I was there!
-
x Sorry, your tangent threw me and I assumed that was a generalization. I should have read it more closely. I took the car for a longer drive today and can confirm that vibration is now reduced to inconsequential levels. When it did vibrate, it wasn't enough to distort the view, and the rest of the time, it was rock steady. After more than 25 years of se7en ownership, this is a first.
-
Finally got my S2 home to AZ from Florida. It's not finished but is no longer just a jumble of near worthless parts. The left clamshell is not Lotus, has a curved mounting surface and no depression for the clamp. I will therefore need an appropriate replacement and will consider a pair if that is the only alternative. Additionally, the windscreen stanchions have gone and I'll be in the market for a pair.
-
The build continues to progress at a very gradual (comfortable for me) pace. No problems so far. Steps completed to date include front suspension, engine+trans, roll bar, steering, heater, throttle cable, front lights (although not yet connected to the Econoseal connectors), other engine electrical connections, 4-point belts (will install crutch straps when I get them from Josh at RMC as part of my original order), Next on the list is radiator+fan install and engine plumbing. Here are a few things I've noted with some of the recent work: Headlight Wiring: I could have done a much better job of making the wires a more even length prior to heat-shrinking everything. At some point, I'll probably re-do the pins to shorten and even out the wiring into the Econoseal connectors. I'm debating whether to put the stock headlights in place or spend the money now for LED upgrades before final headlight assembly (I'm considering the Morimoto Sealed6 lights, wired for turn signal + DRL function). Steering Centering: Trying to center the steering (in the process of installing the steering column) by counting steering U-joint rotations between full left and right lock didn't seem precise enough, so I used the method shown in https://www.youtube.com/watch?v=HEPW0Zz8qoU which involved sliding the boot(s) off the steering rack, and then measuring the distance between the steering rack stops. It might be enough to measure the distance at full stop in one direction and then just divide by two, but I measured both sides of the steering rack to play it safe. The maximum travel was 10 cm on each side, so I set a distance of 5 cm per side to center the steering. U-joint and Steering Column Alignment: It's recommended that, if necessary, the steering rack be rotated on its long axis to get as straight as an alignment as possible along the steering rack U-joint and the lower steering column. Even with the rack mounting brackets very loose, I was having trouble rotating the rack until I realized that I also needed to loosen the lock nuts at the tie-rod ends so that the rods could rotate along with the rack. Probably should have been obvious, but I'm finding that, for me at least, I'm saying "duh" to myself quite a bit during this build. Upper Steering Column Bush: Most people note that it takes some force to push the rubber bush with its white insert into the dashboard opening for the upper steering column. I struggled with this for awhile until I noticed that there were some small spikes of powder coat in the dashboard's bush housing. After lightly sanding those off using a Dremel with a drum sander bit, and also using the suggestion of inserting a 1/2" ratchet extension through the bush to provide something to push against, the bush went into place with moderate force applied (https://caterham420detailedbuildblog.co.uk/2020/01/29/steering-column/) Battery Cables: the kit came with two black (ground) battery cables of different lengths. I wasn't sure which was meant for which grounding point, but only one of the cables (the longer one) has a fitting with a big enough hole to fit one of the transmission tunnel bolts through if you decide to use that as a grounding location.
-
Took it to the All British/European car show. Hung out with some real Lotus cars.
- Yesterday
-
I absolutely agree with your points about windscreen mirrors. In the past I have had several vehicles with vertically-stacked quads. I have switched the lights around so the low beam is on the bottom. Not only is this kinder to other drivers, but also works better in fog and snow. I believe the decision of car makers to put the low beams on the top in vertically-stacked quads was a bonehead decision, especially in trucks. When I was writing about the blue coating, I was not writing about a windscreen mirror. I was writing about the wedge-mirrors stuck to the side mirrors on my Cayman. The scope of these mirrors do not cover vehicles immediately behind me, only vehicles in adjacent lanes close to me.
-
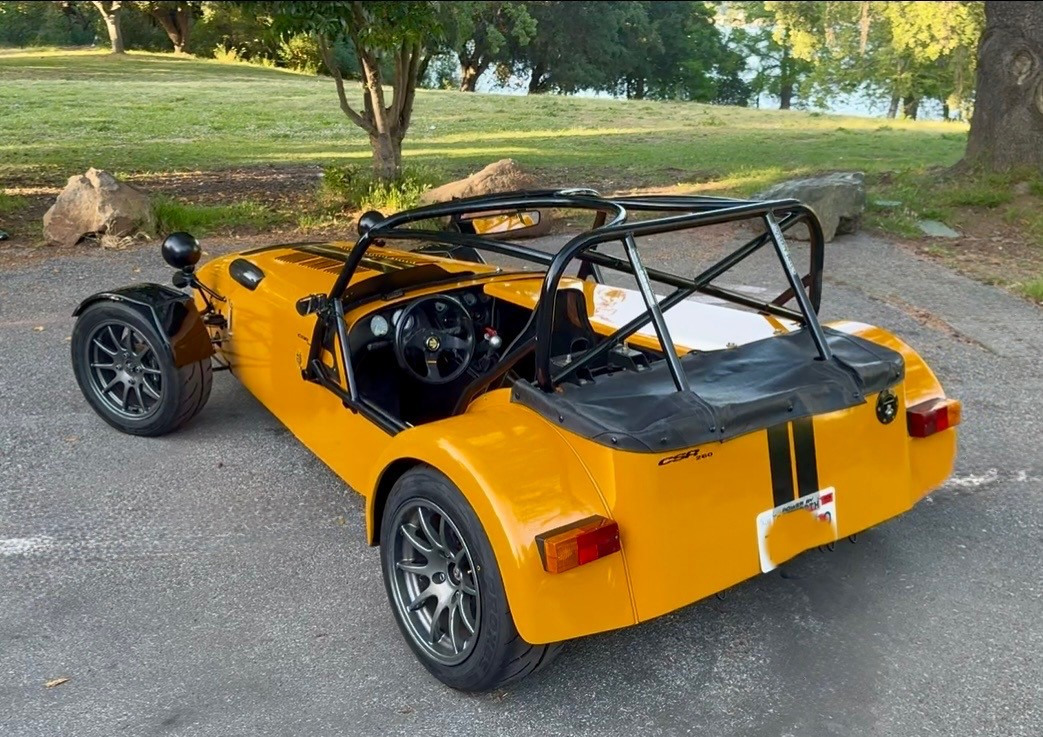
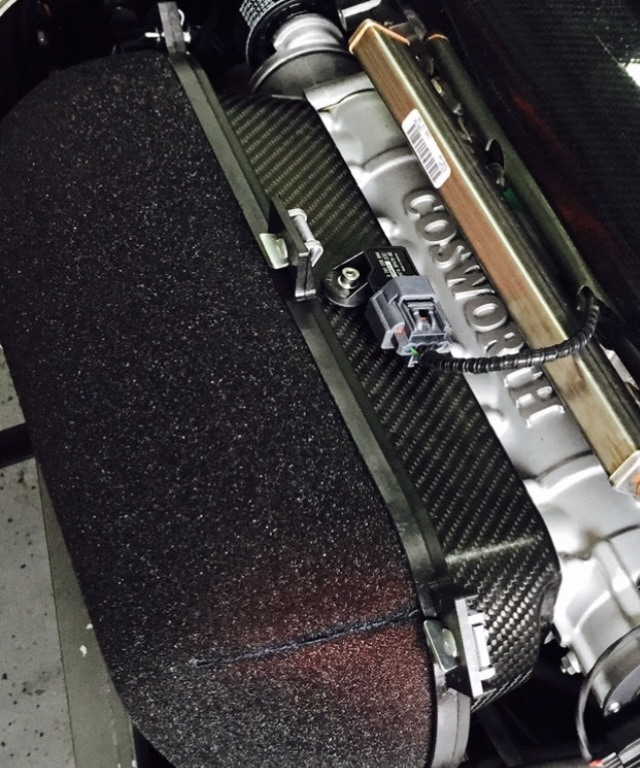
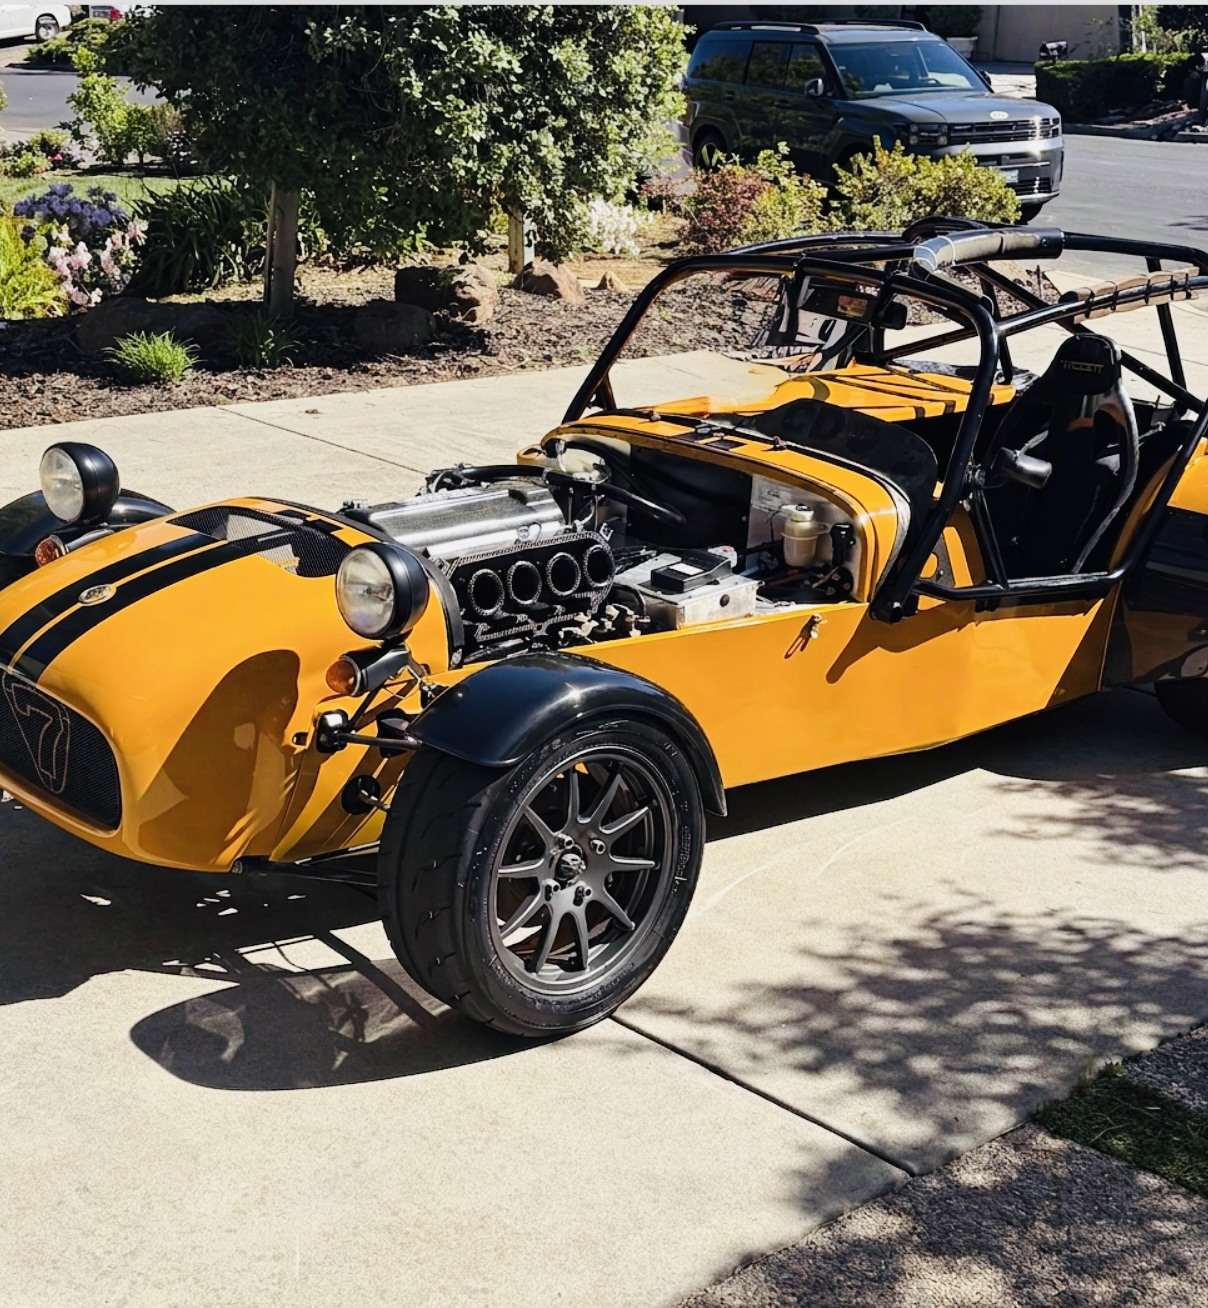
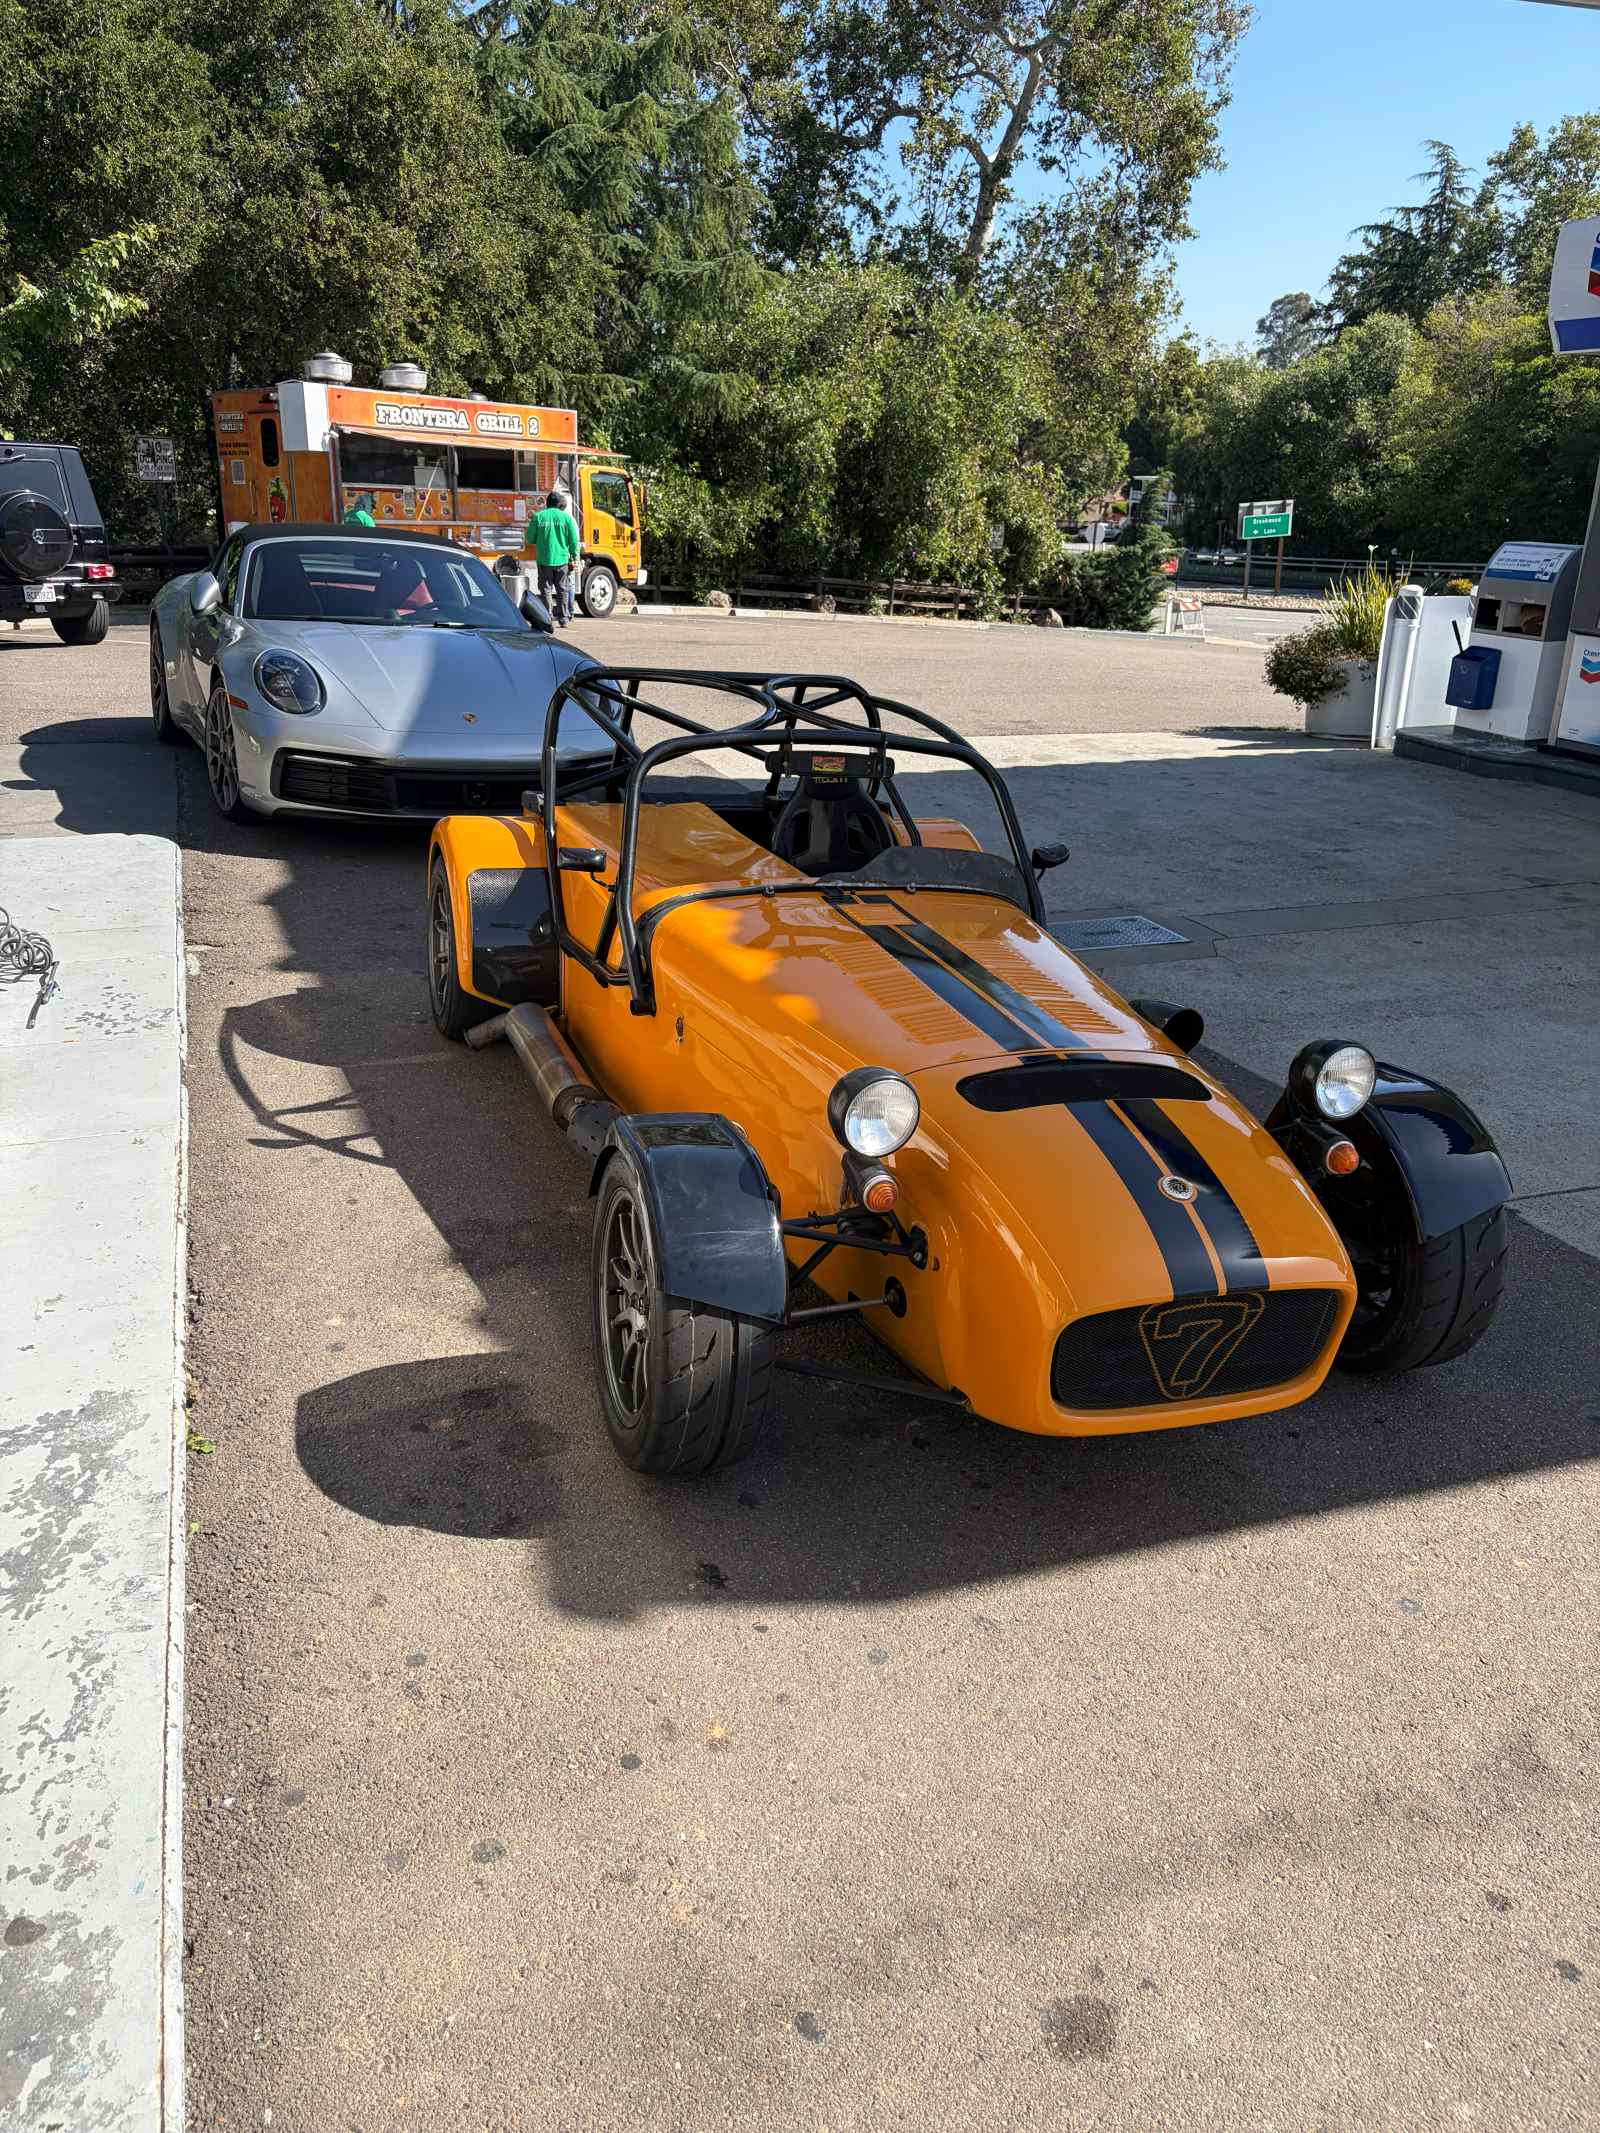
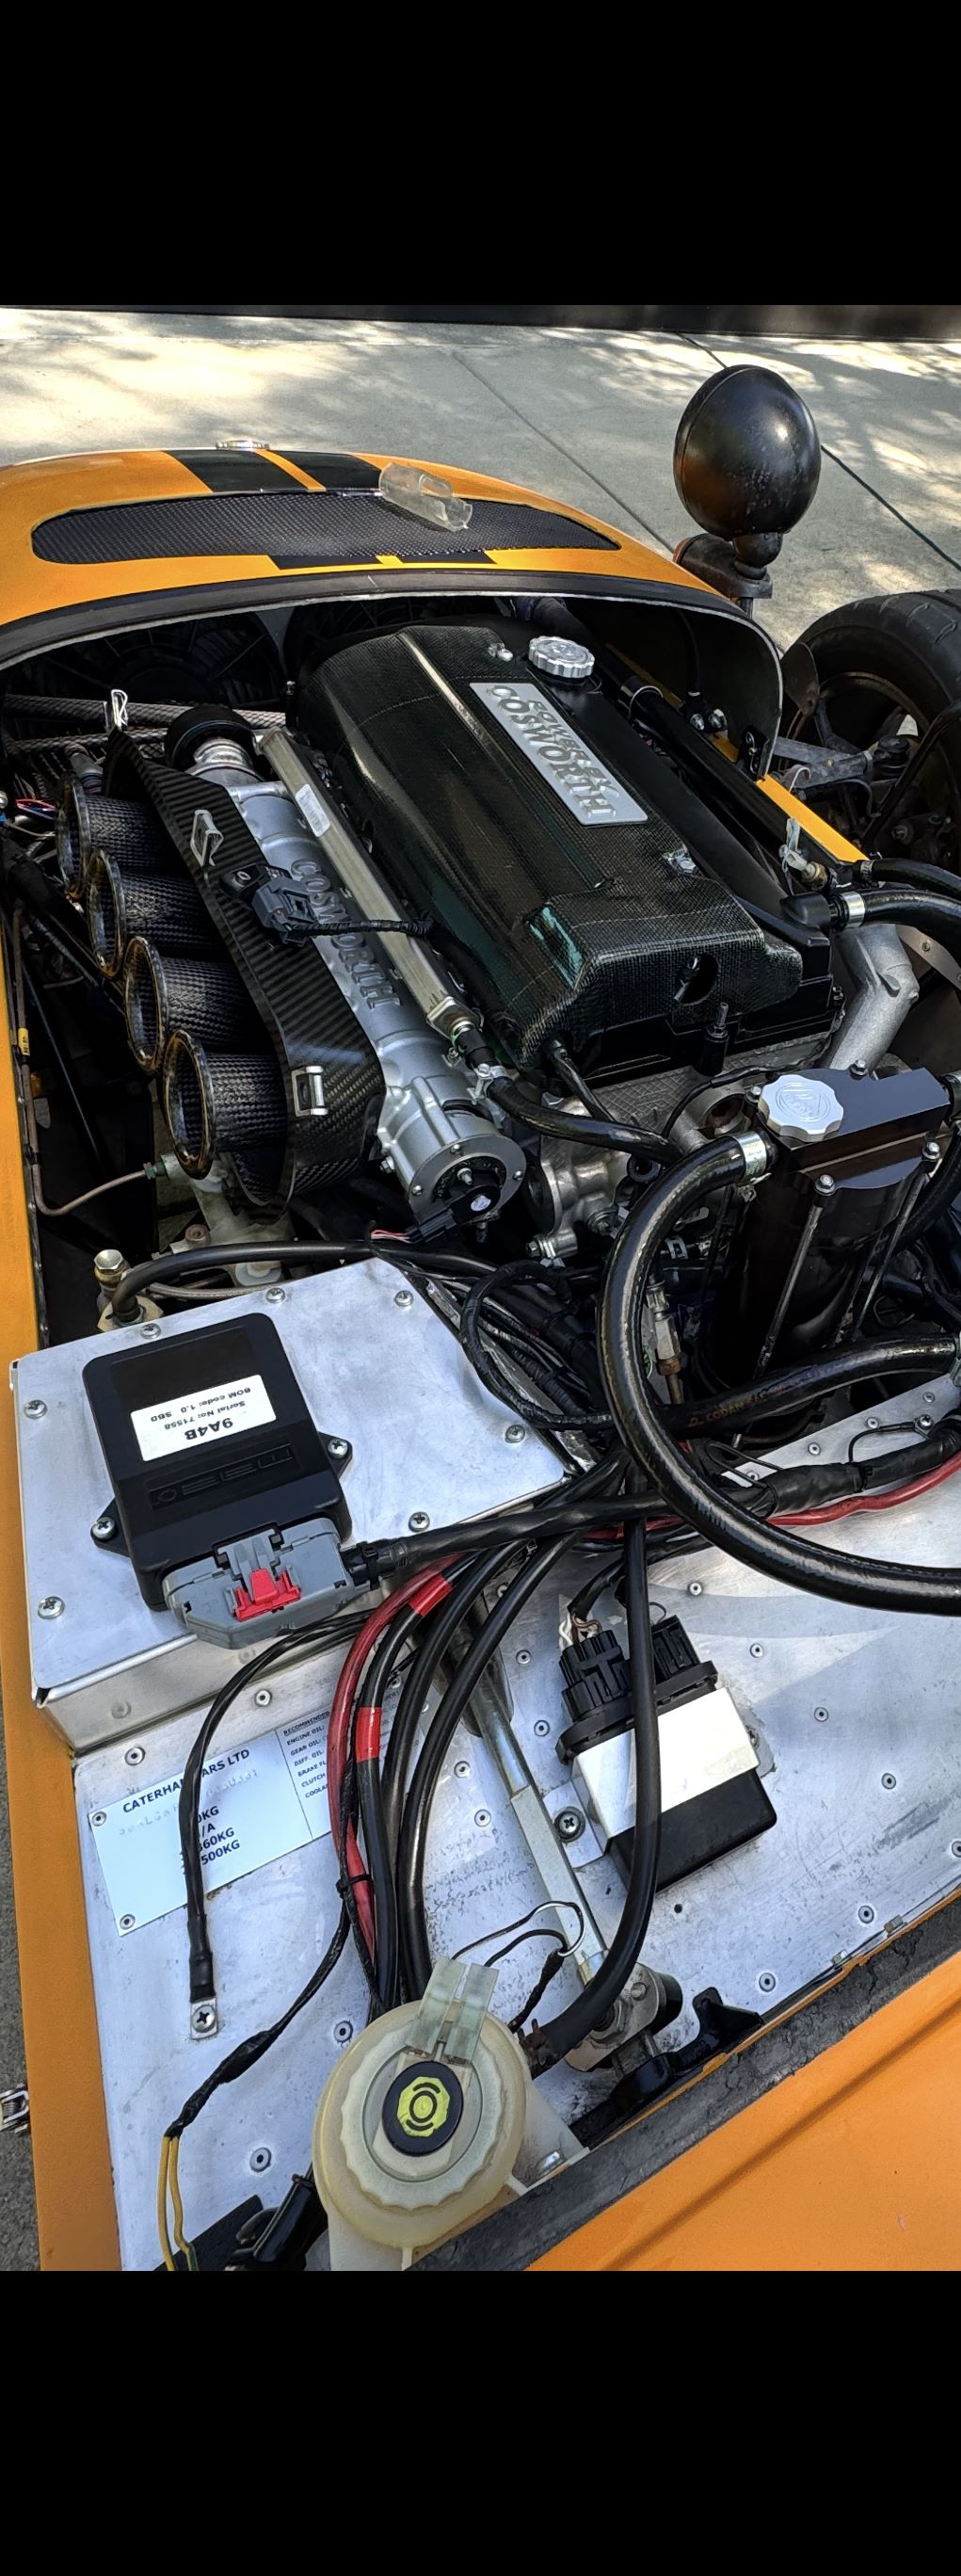
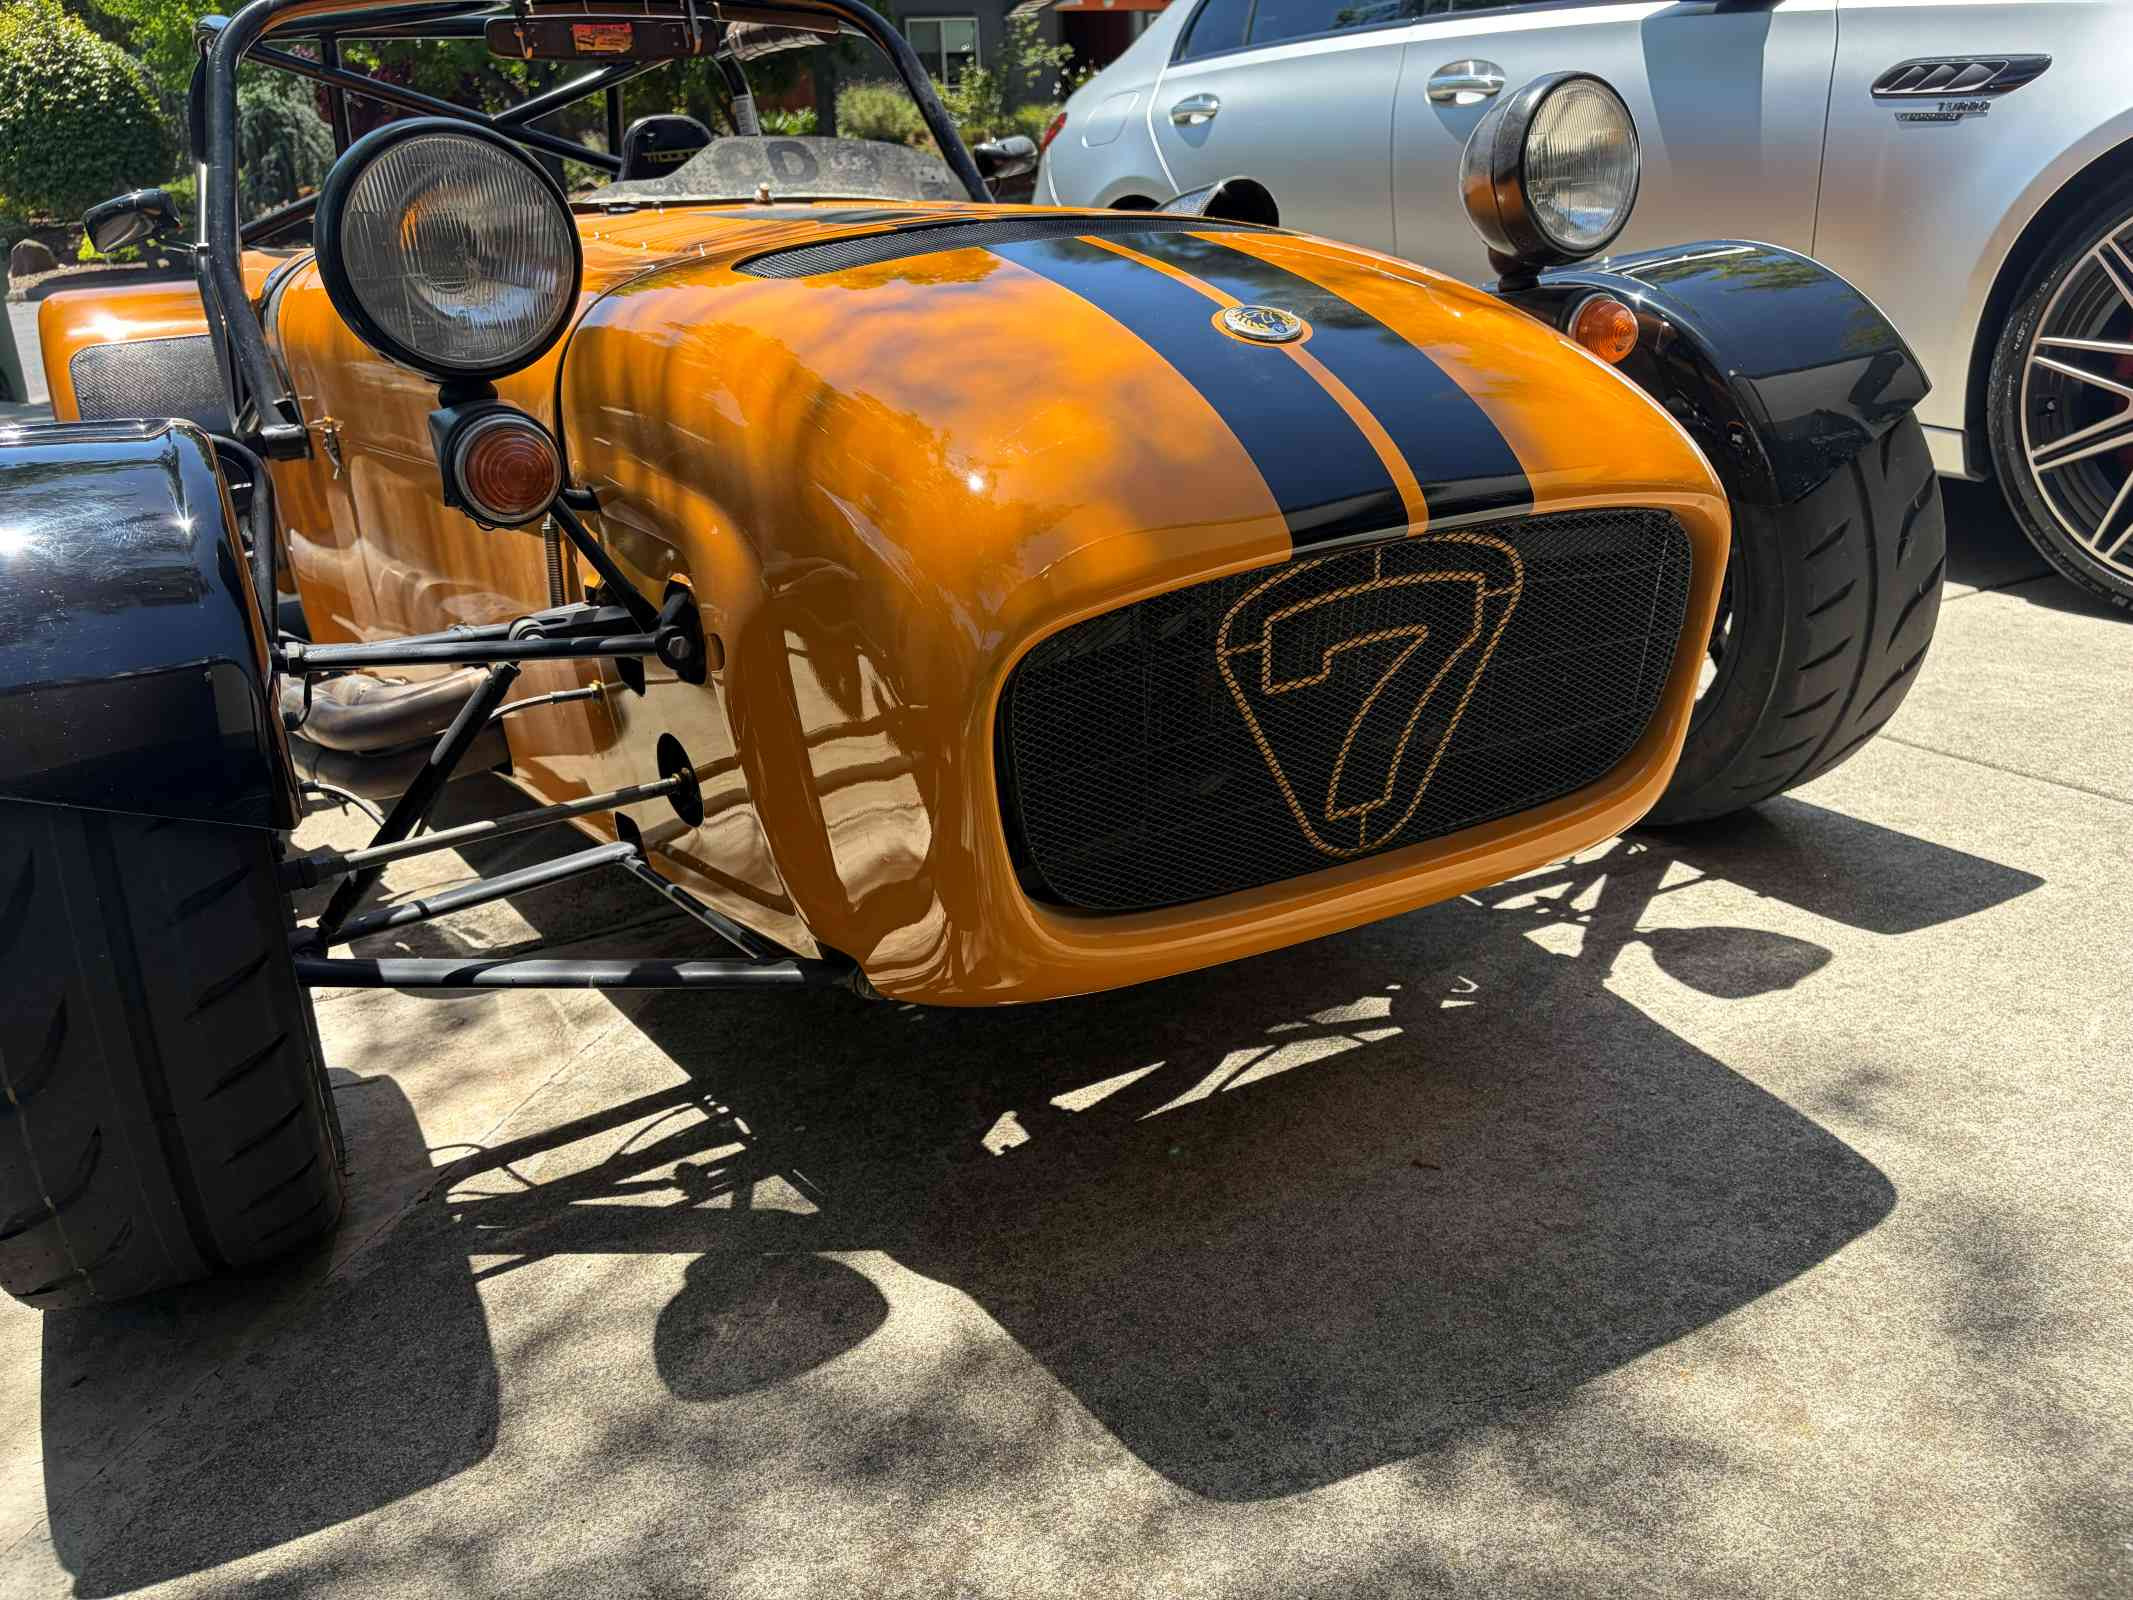
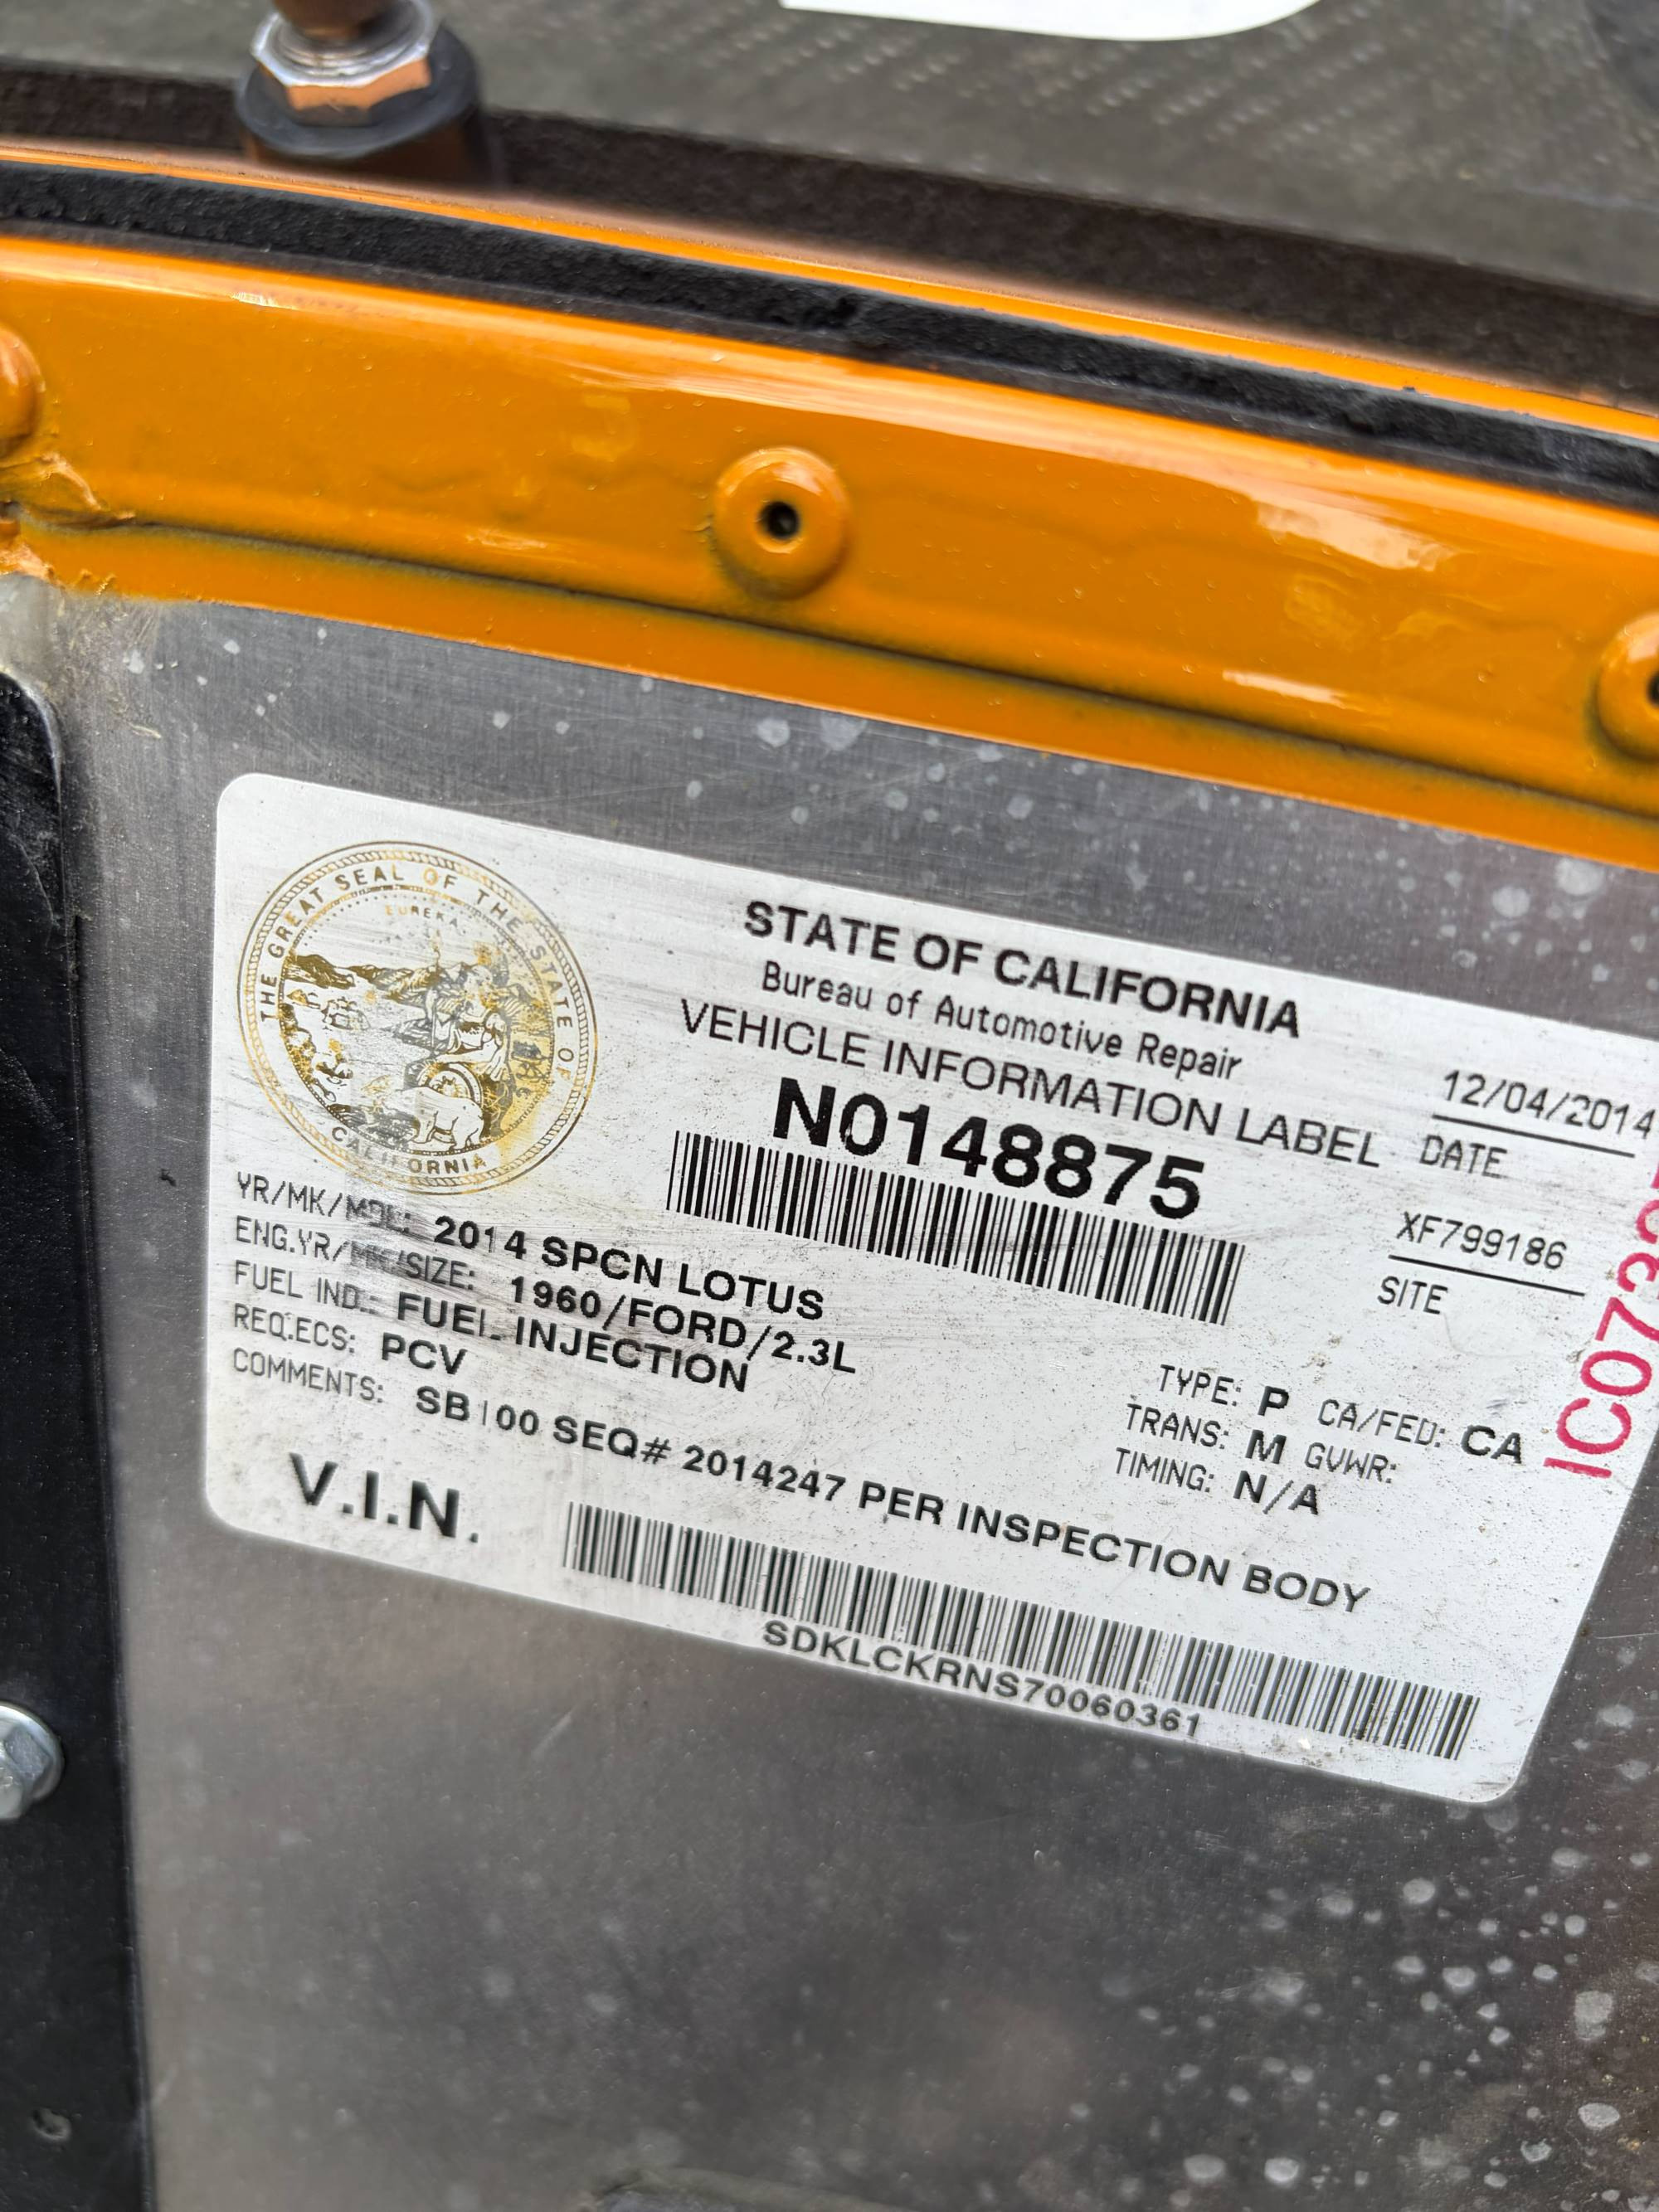
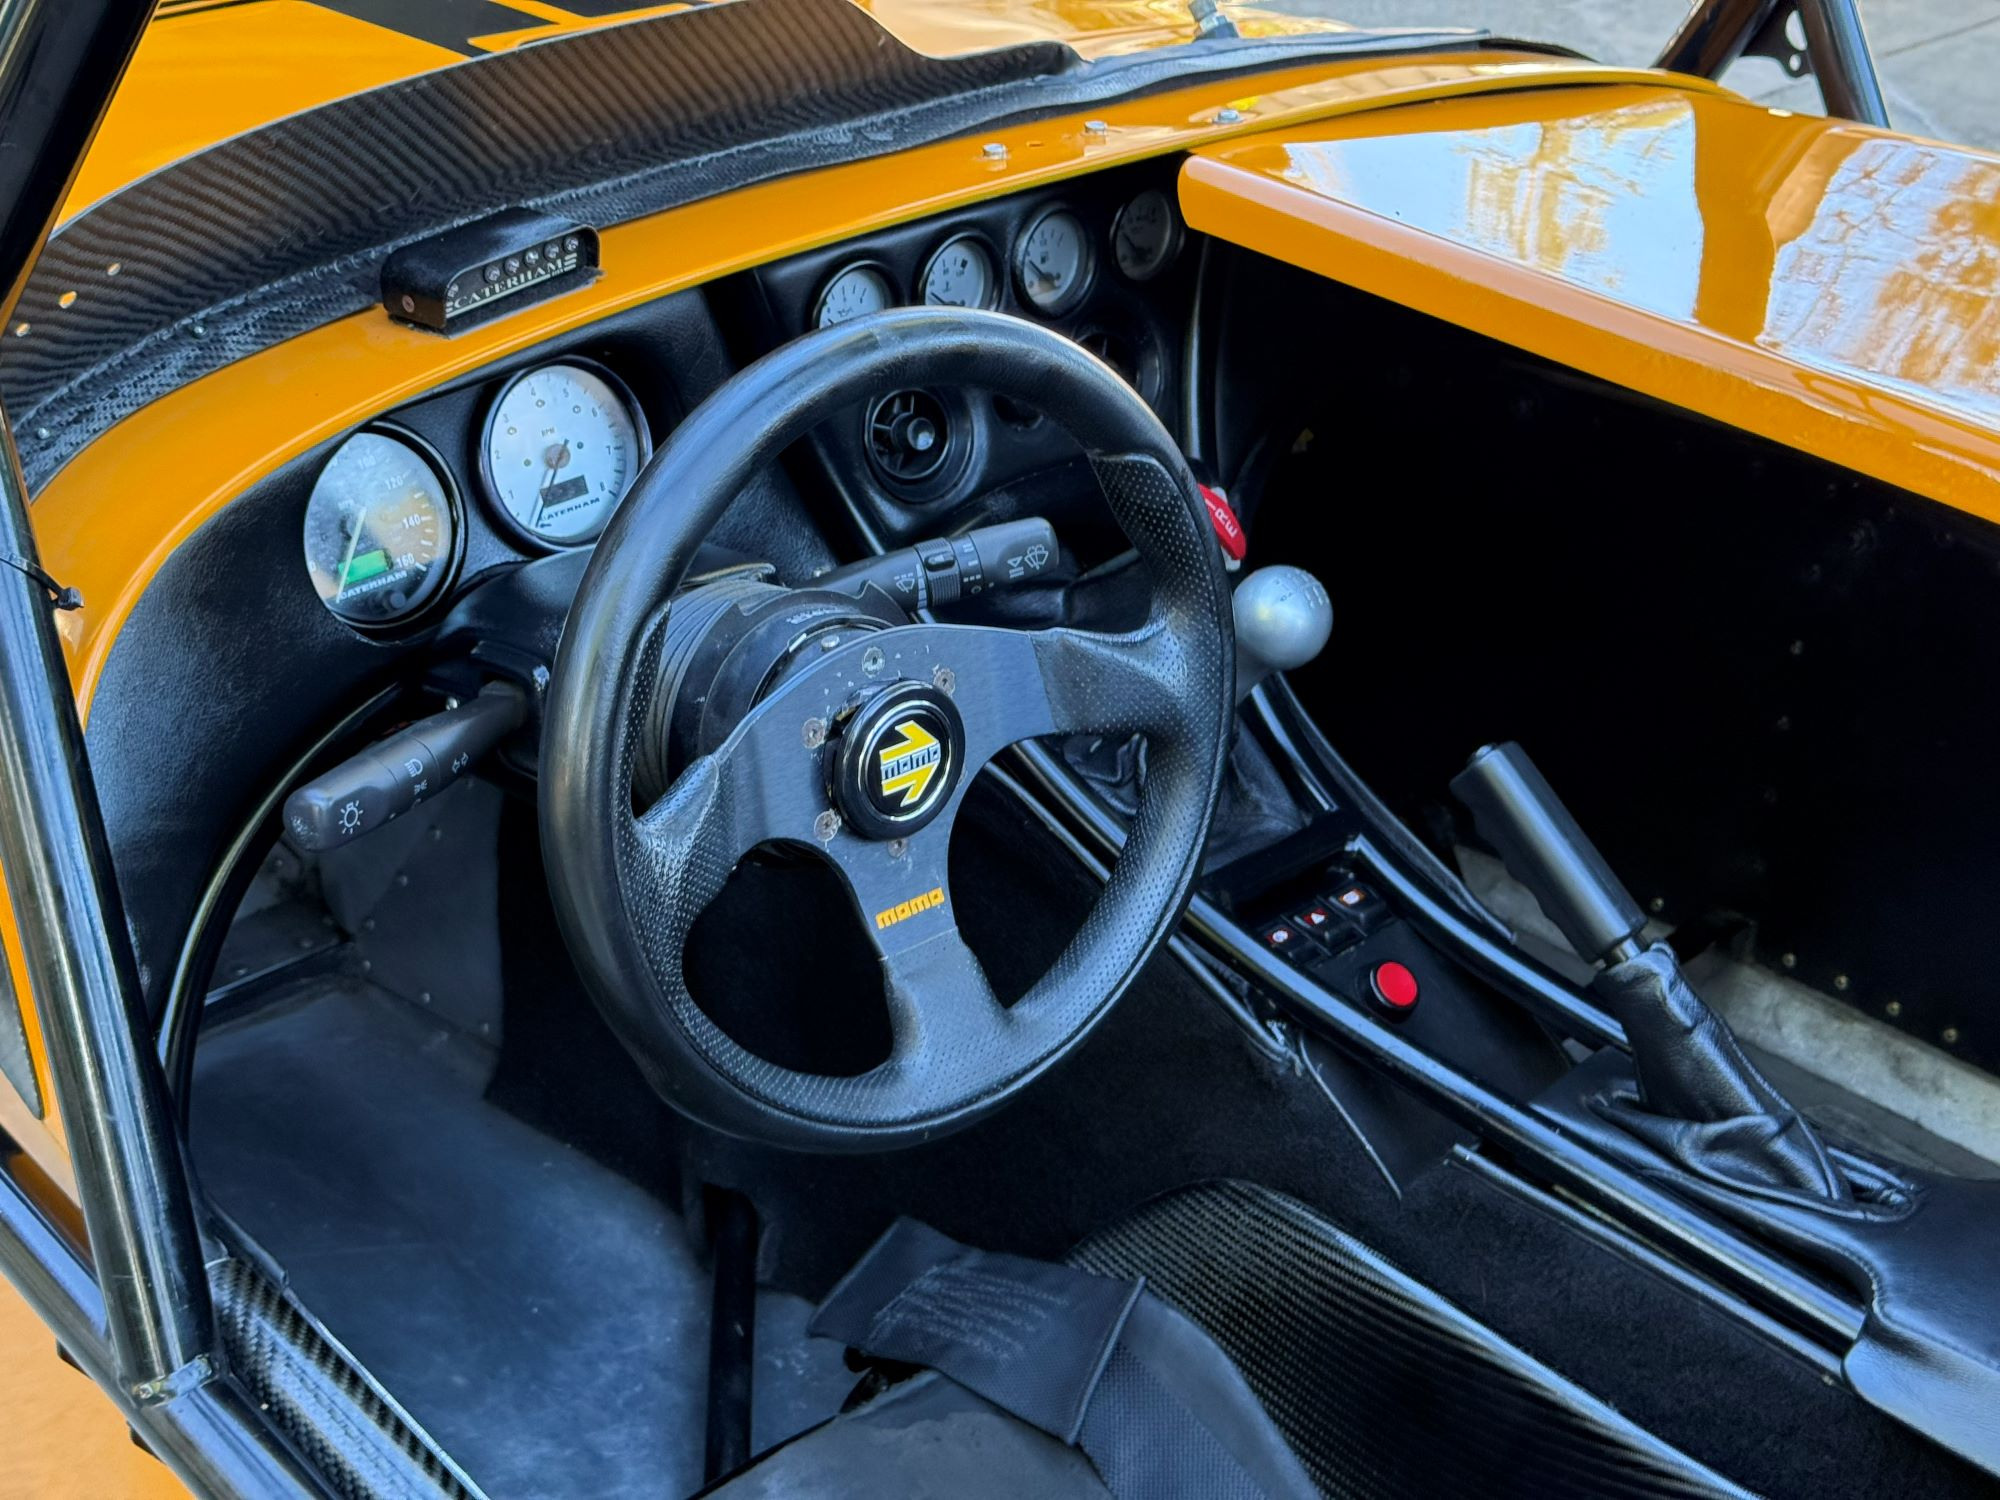
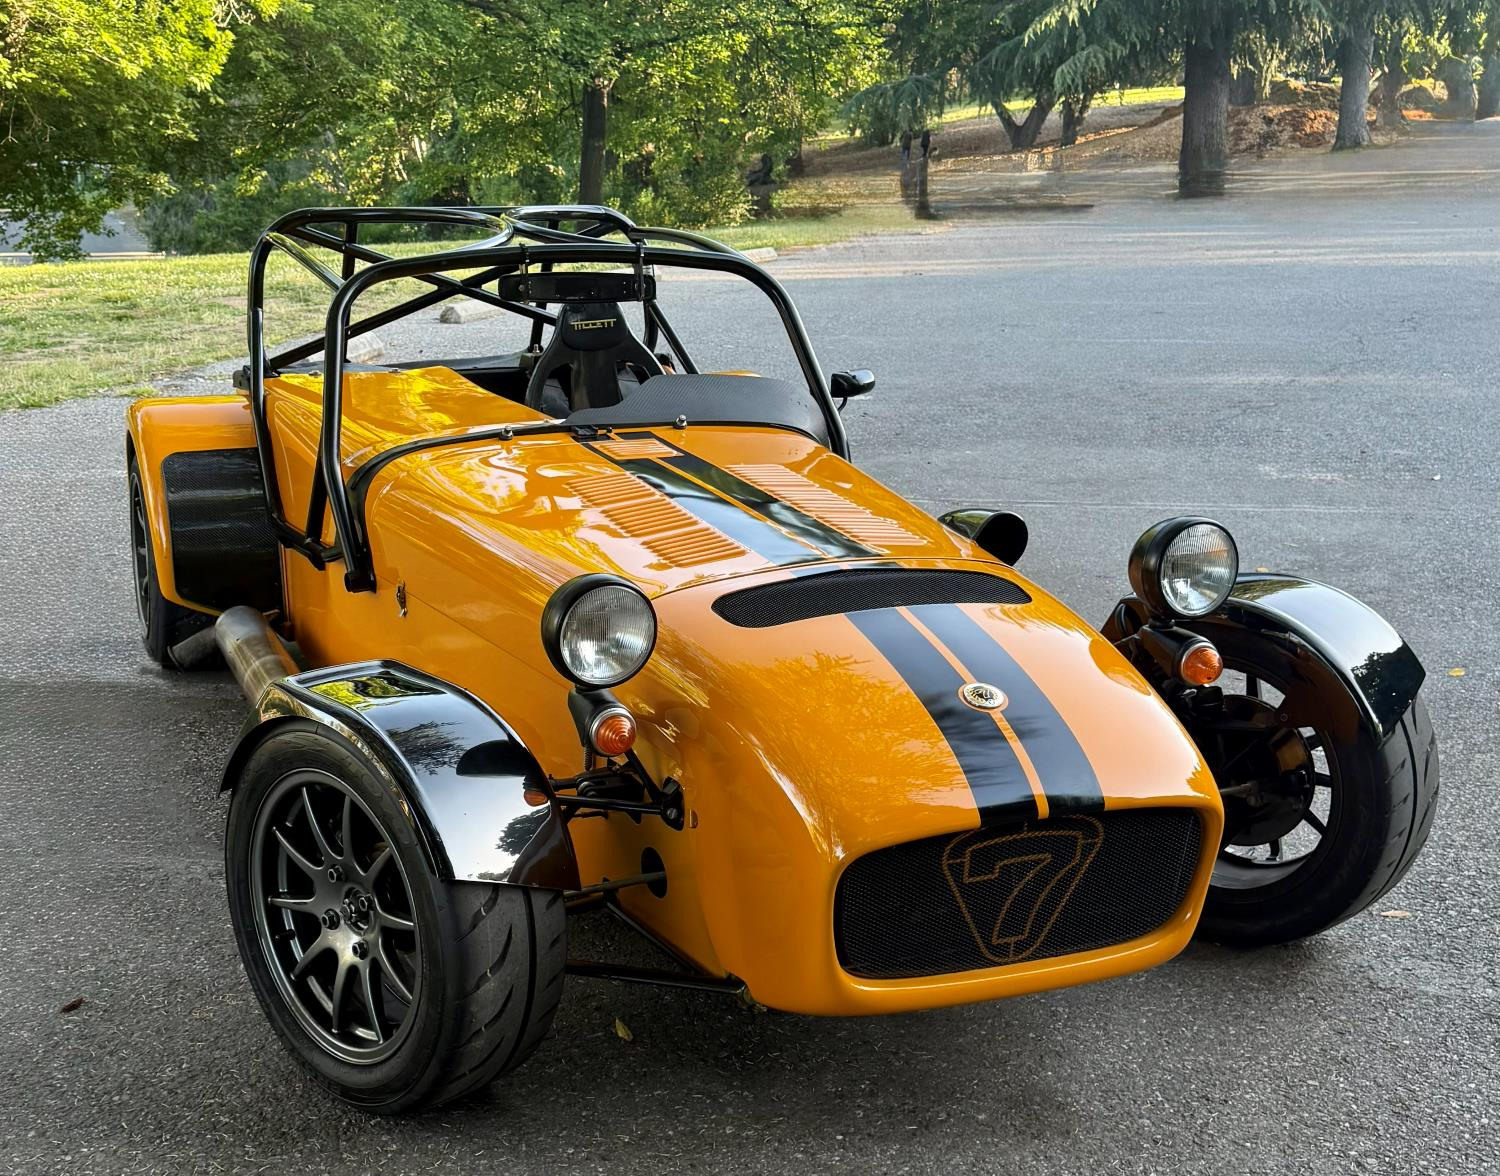
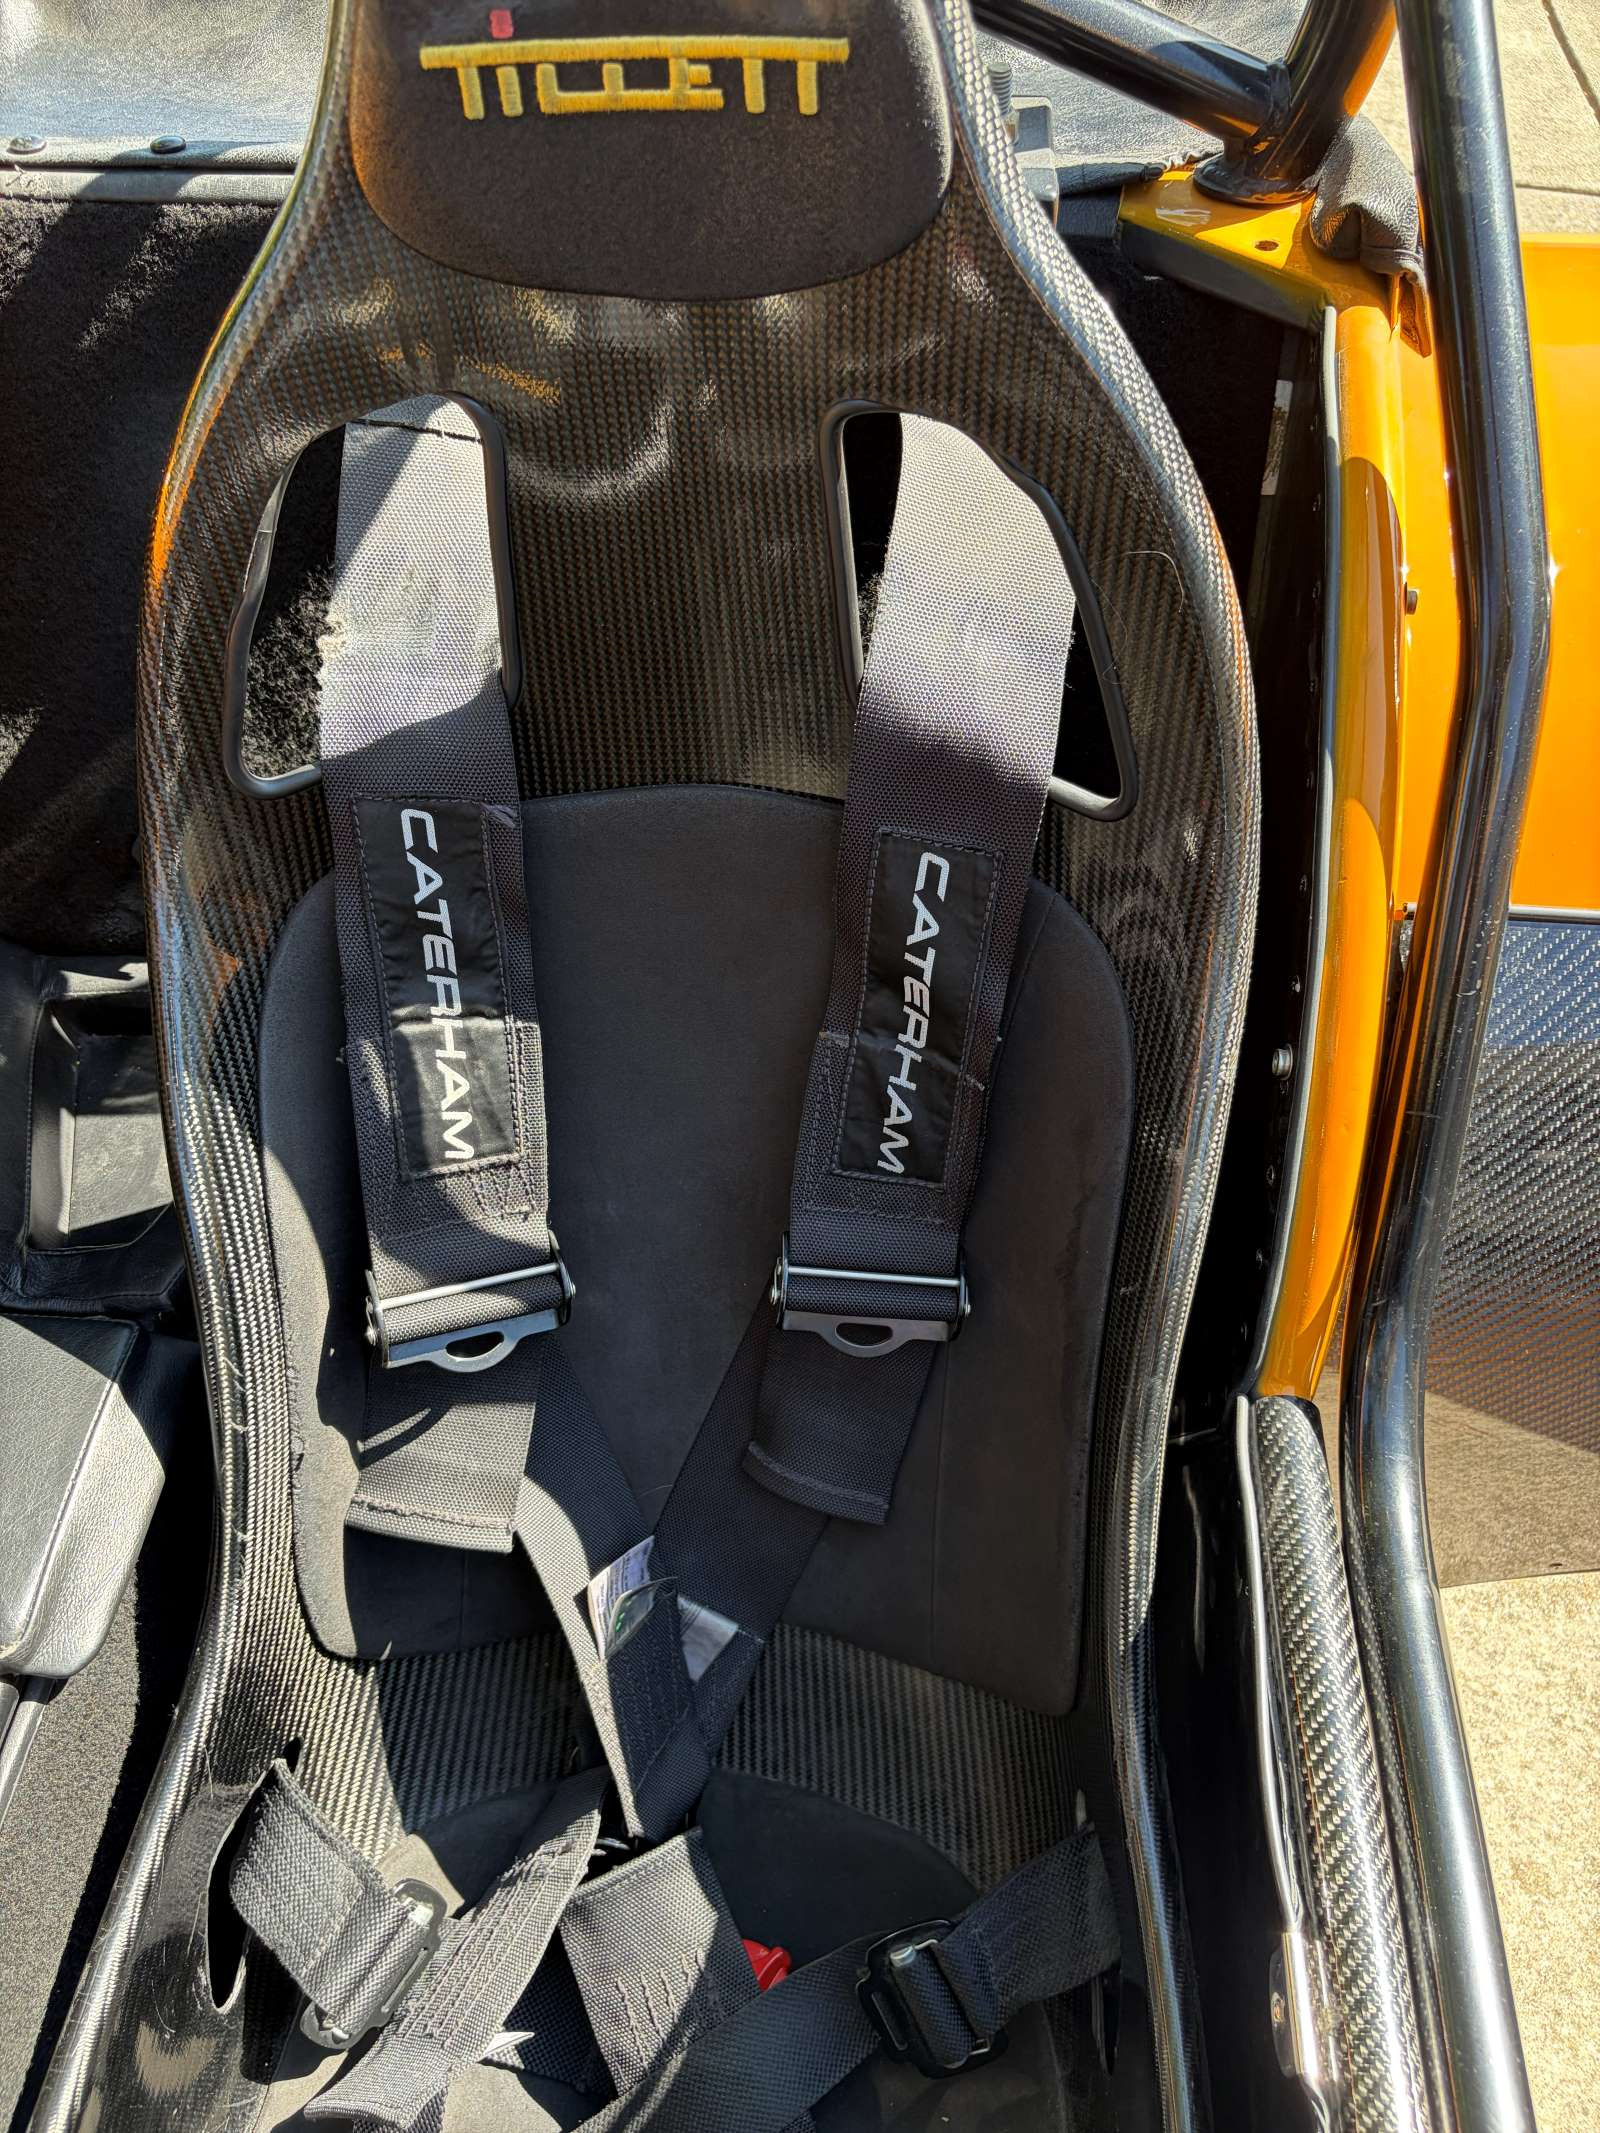
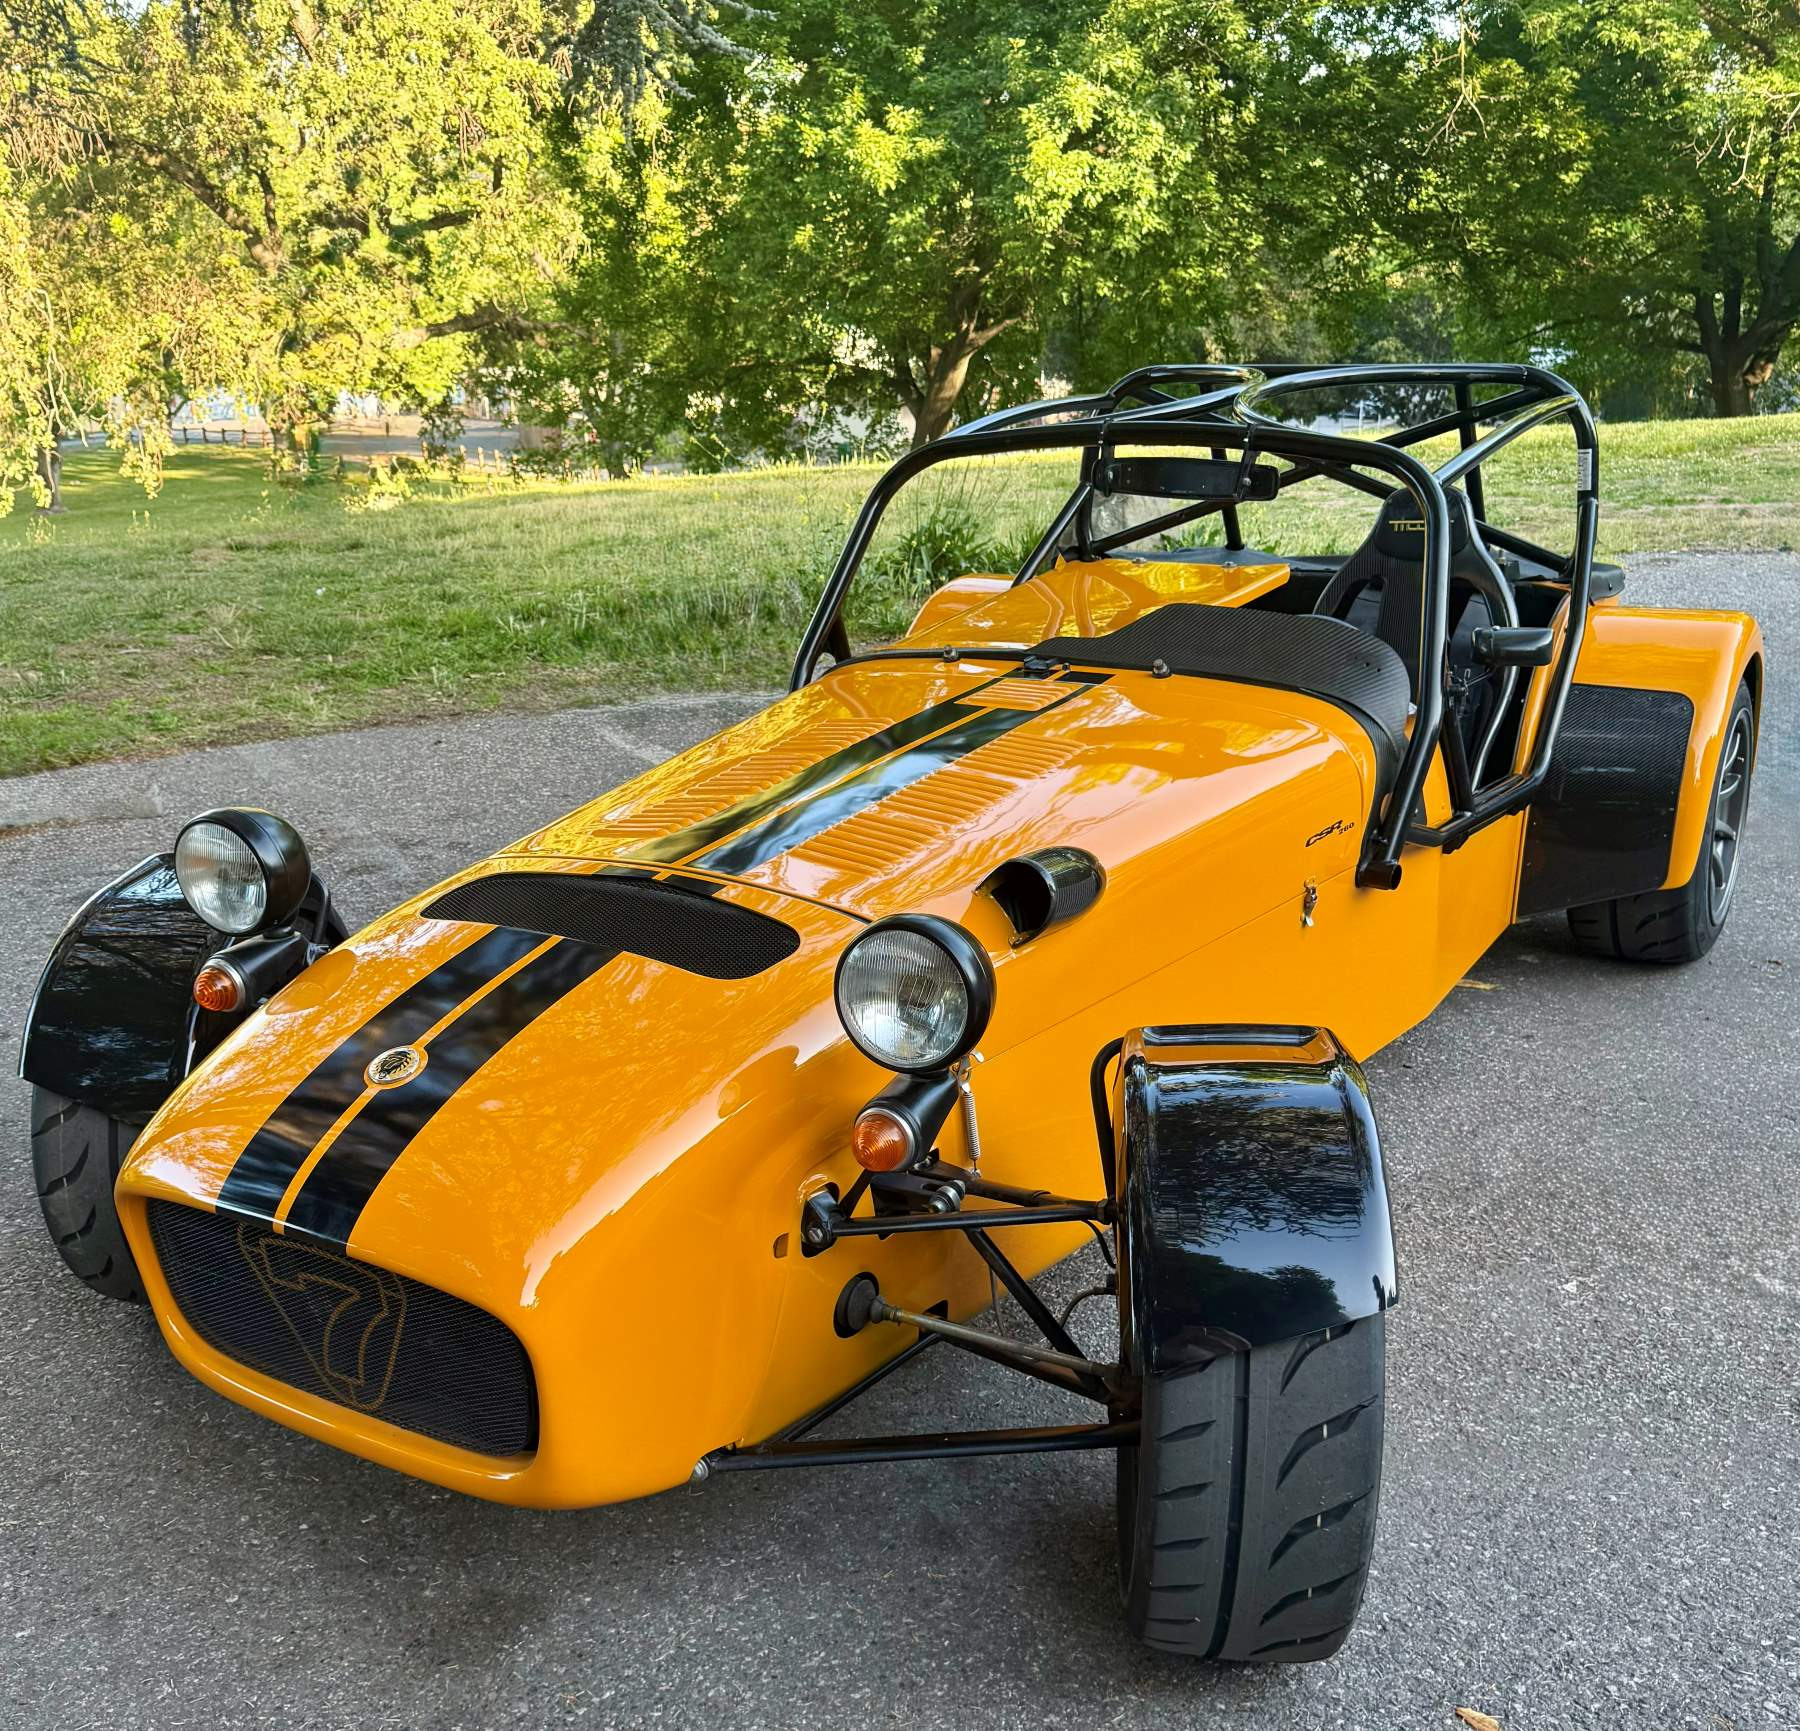
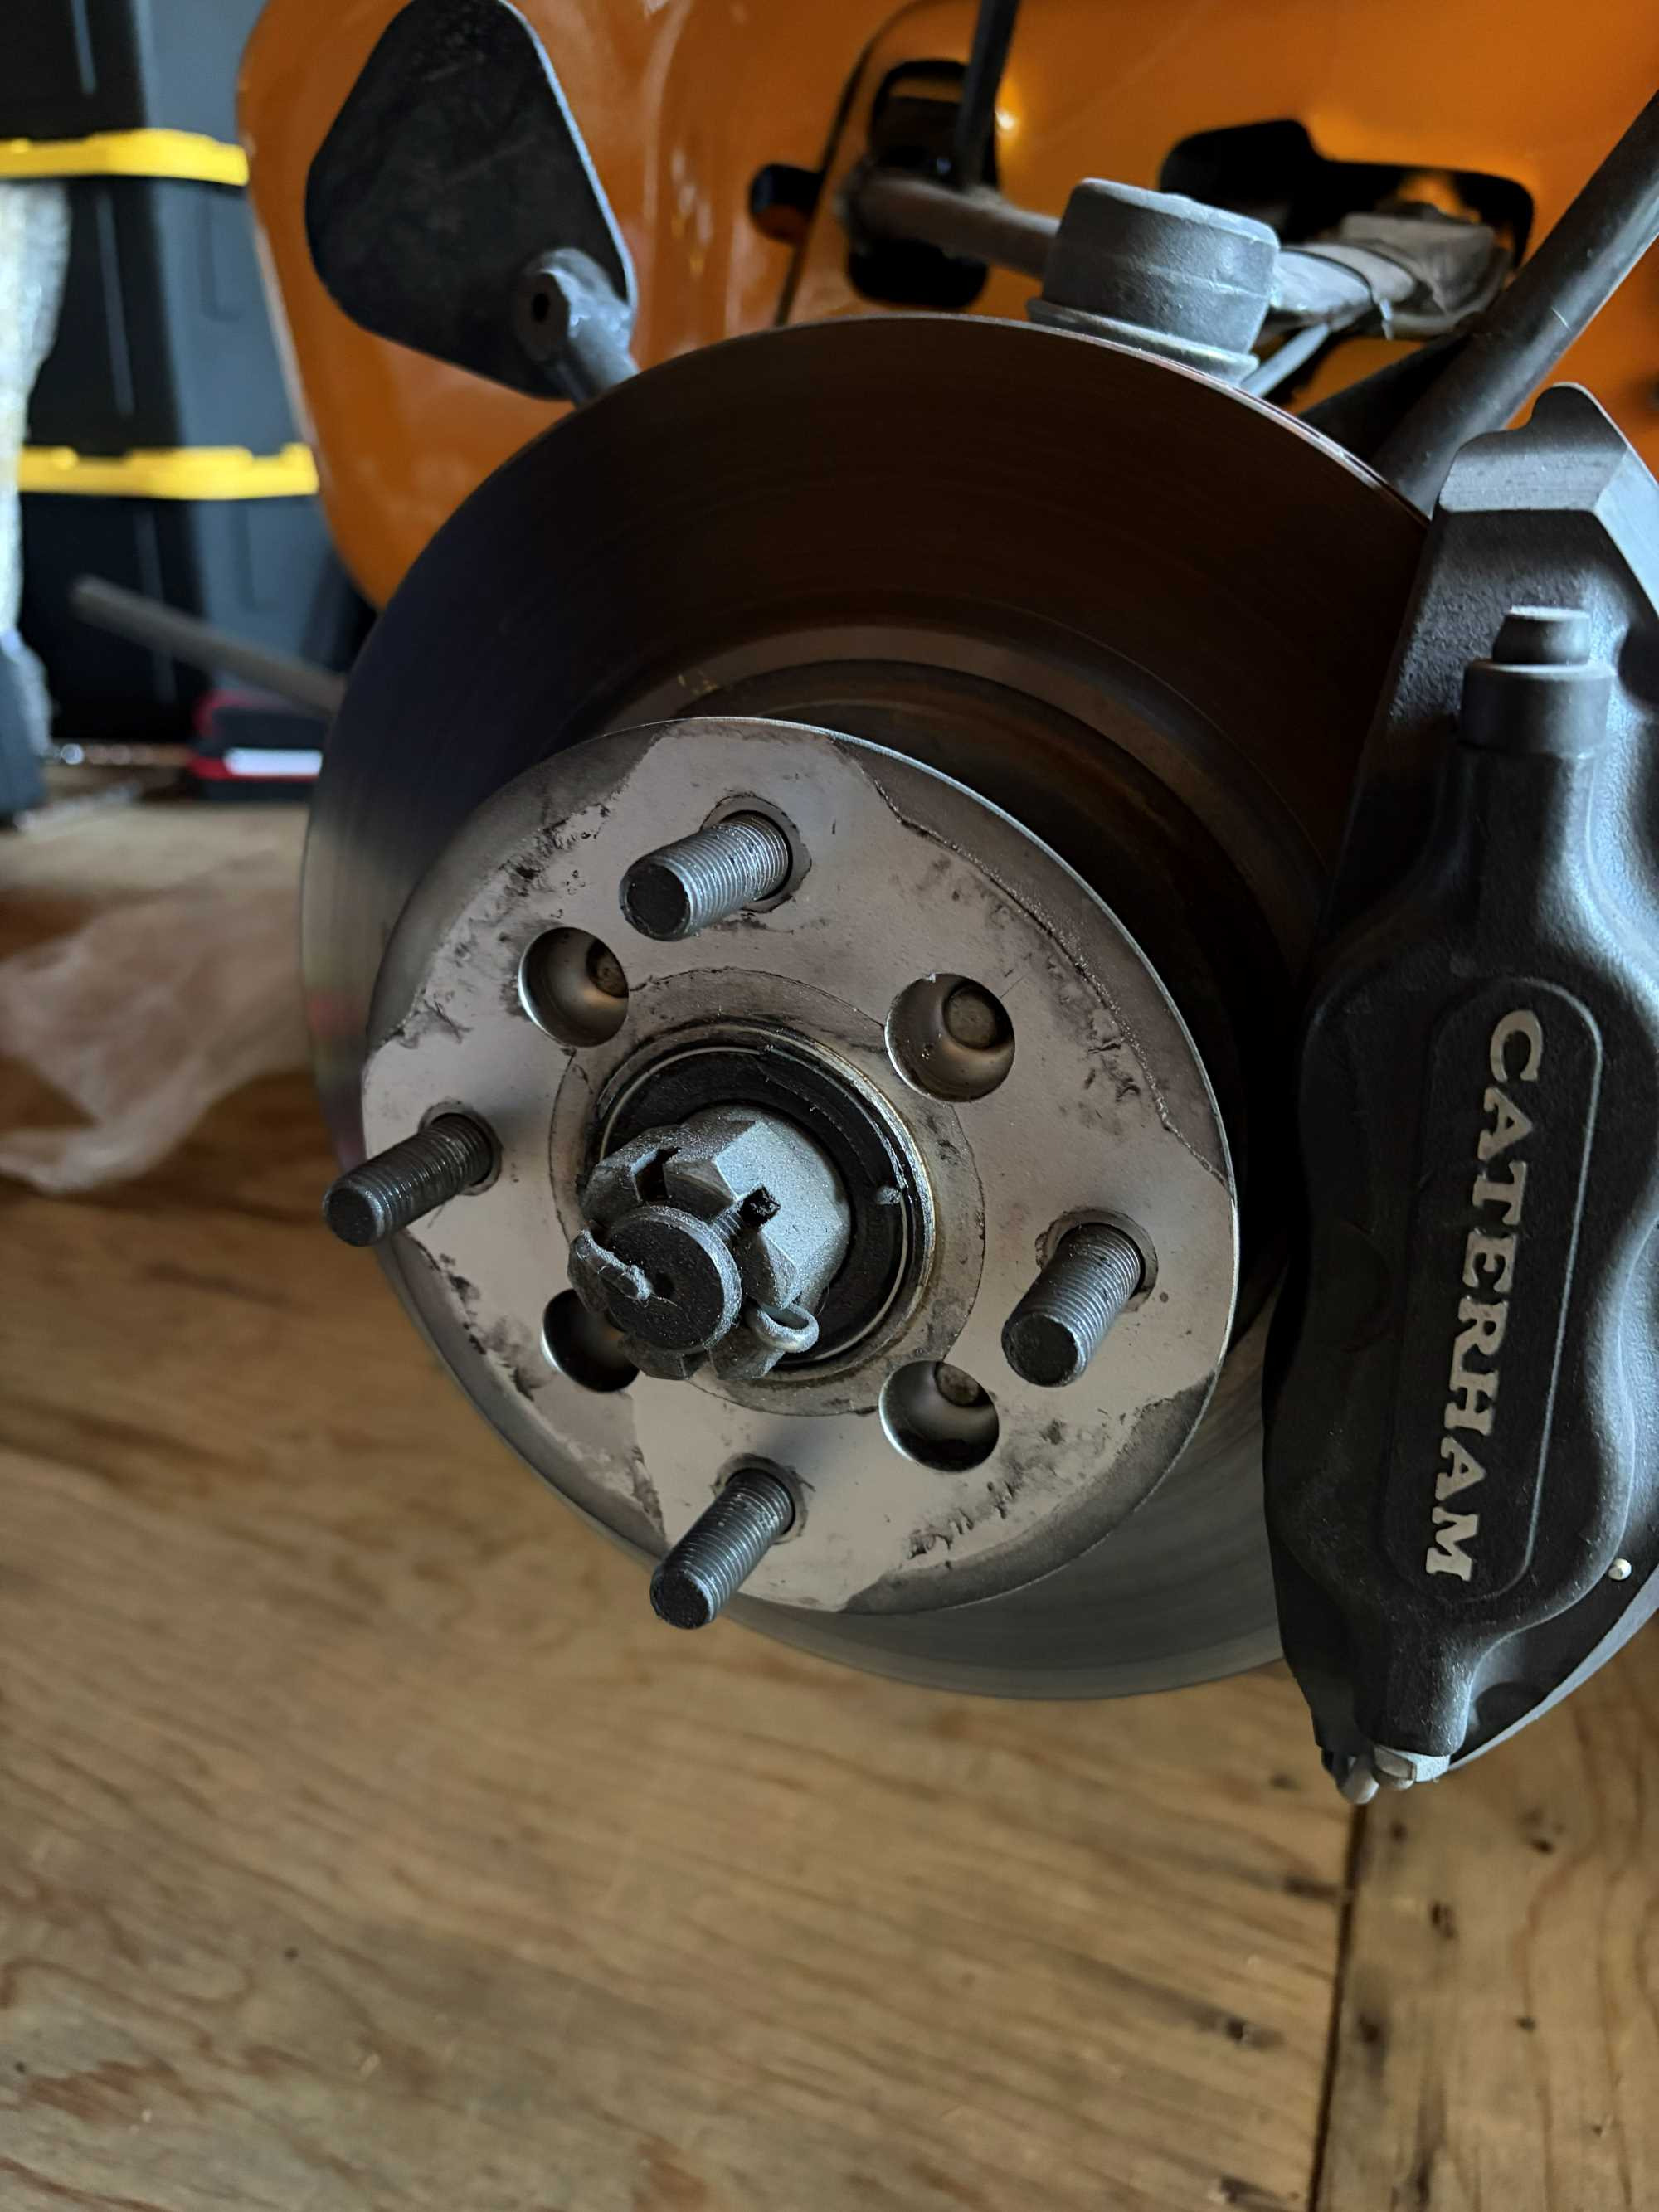
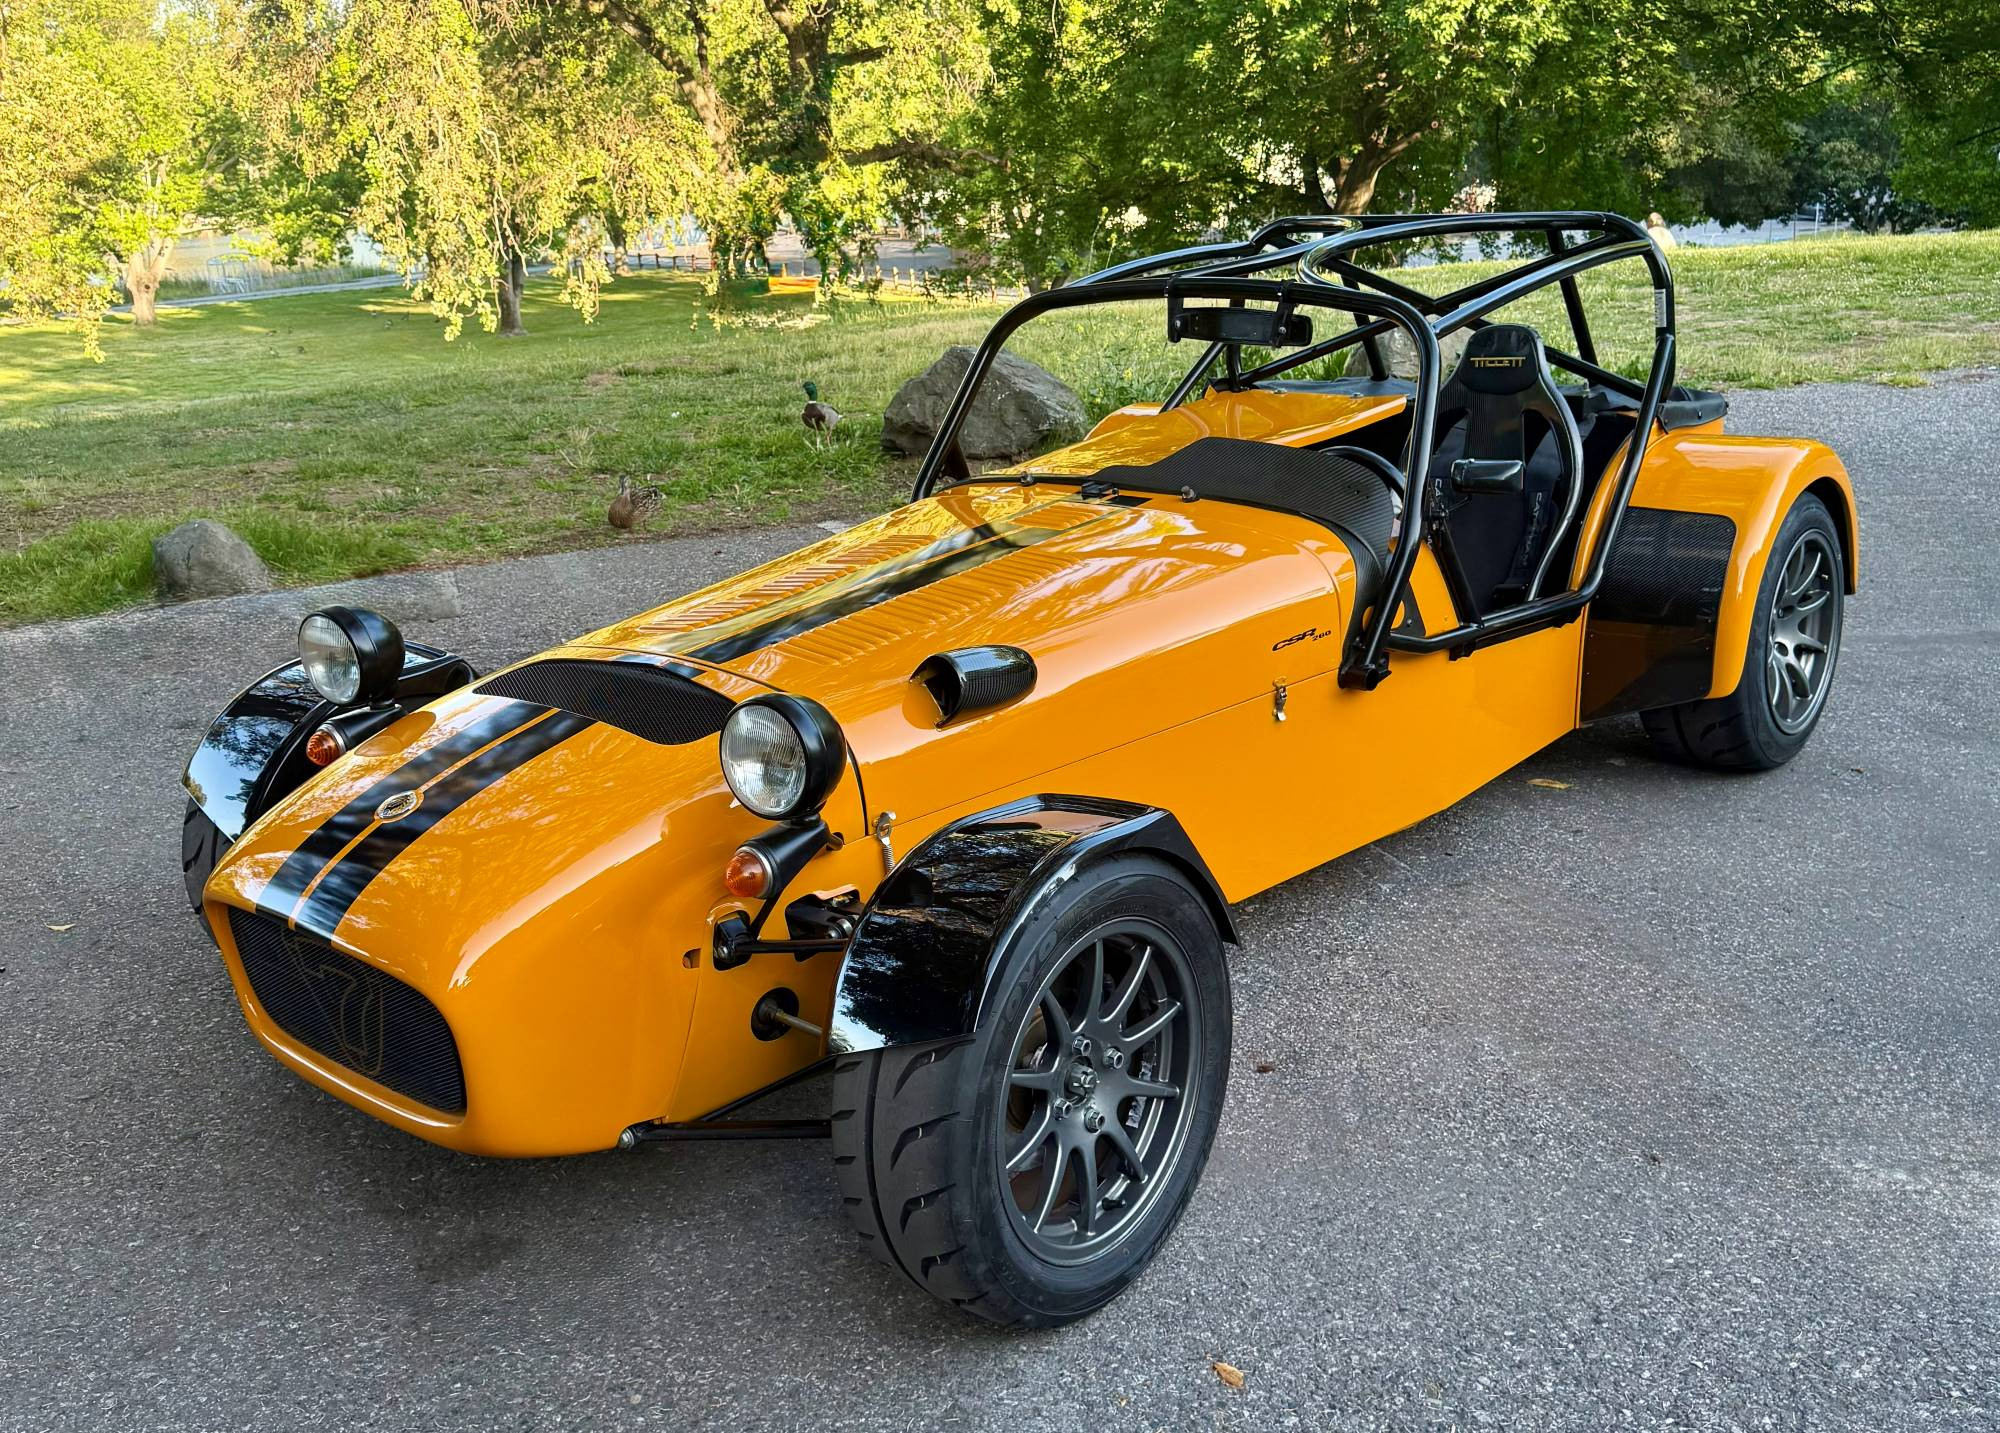
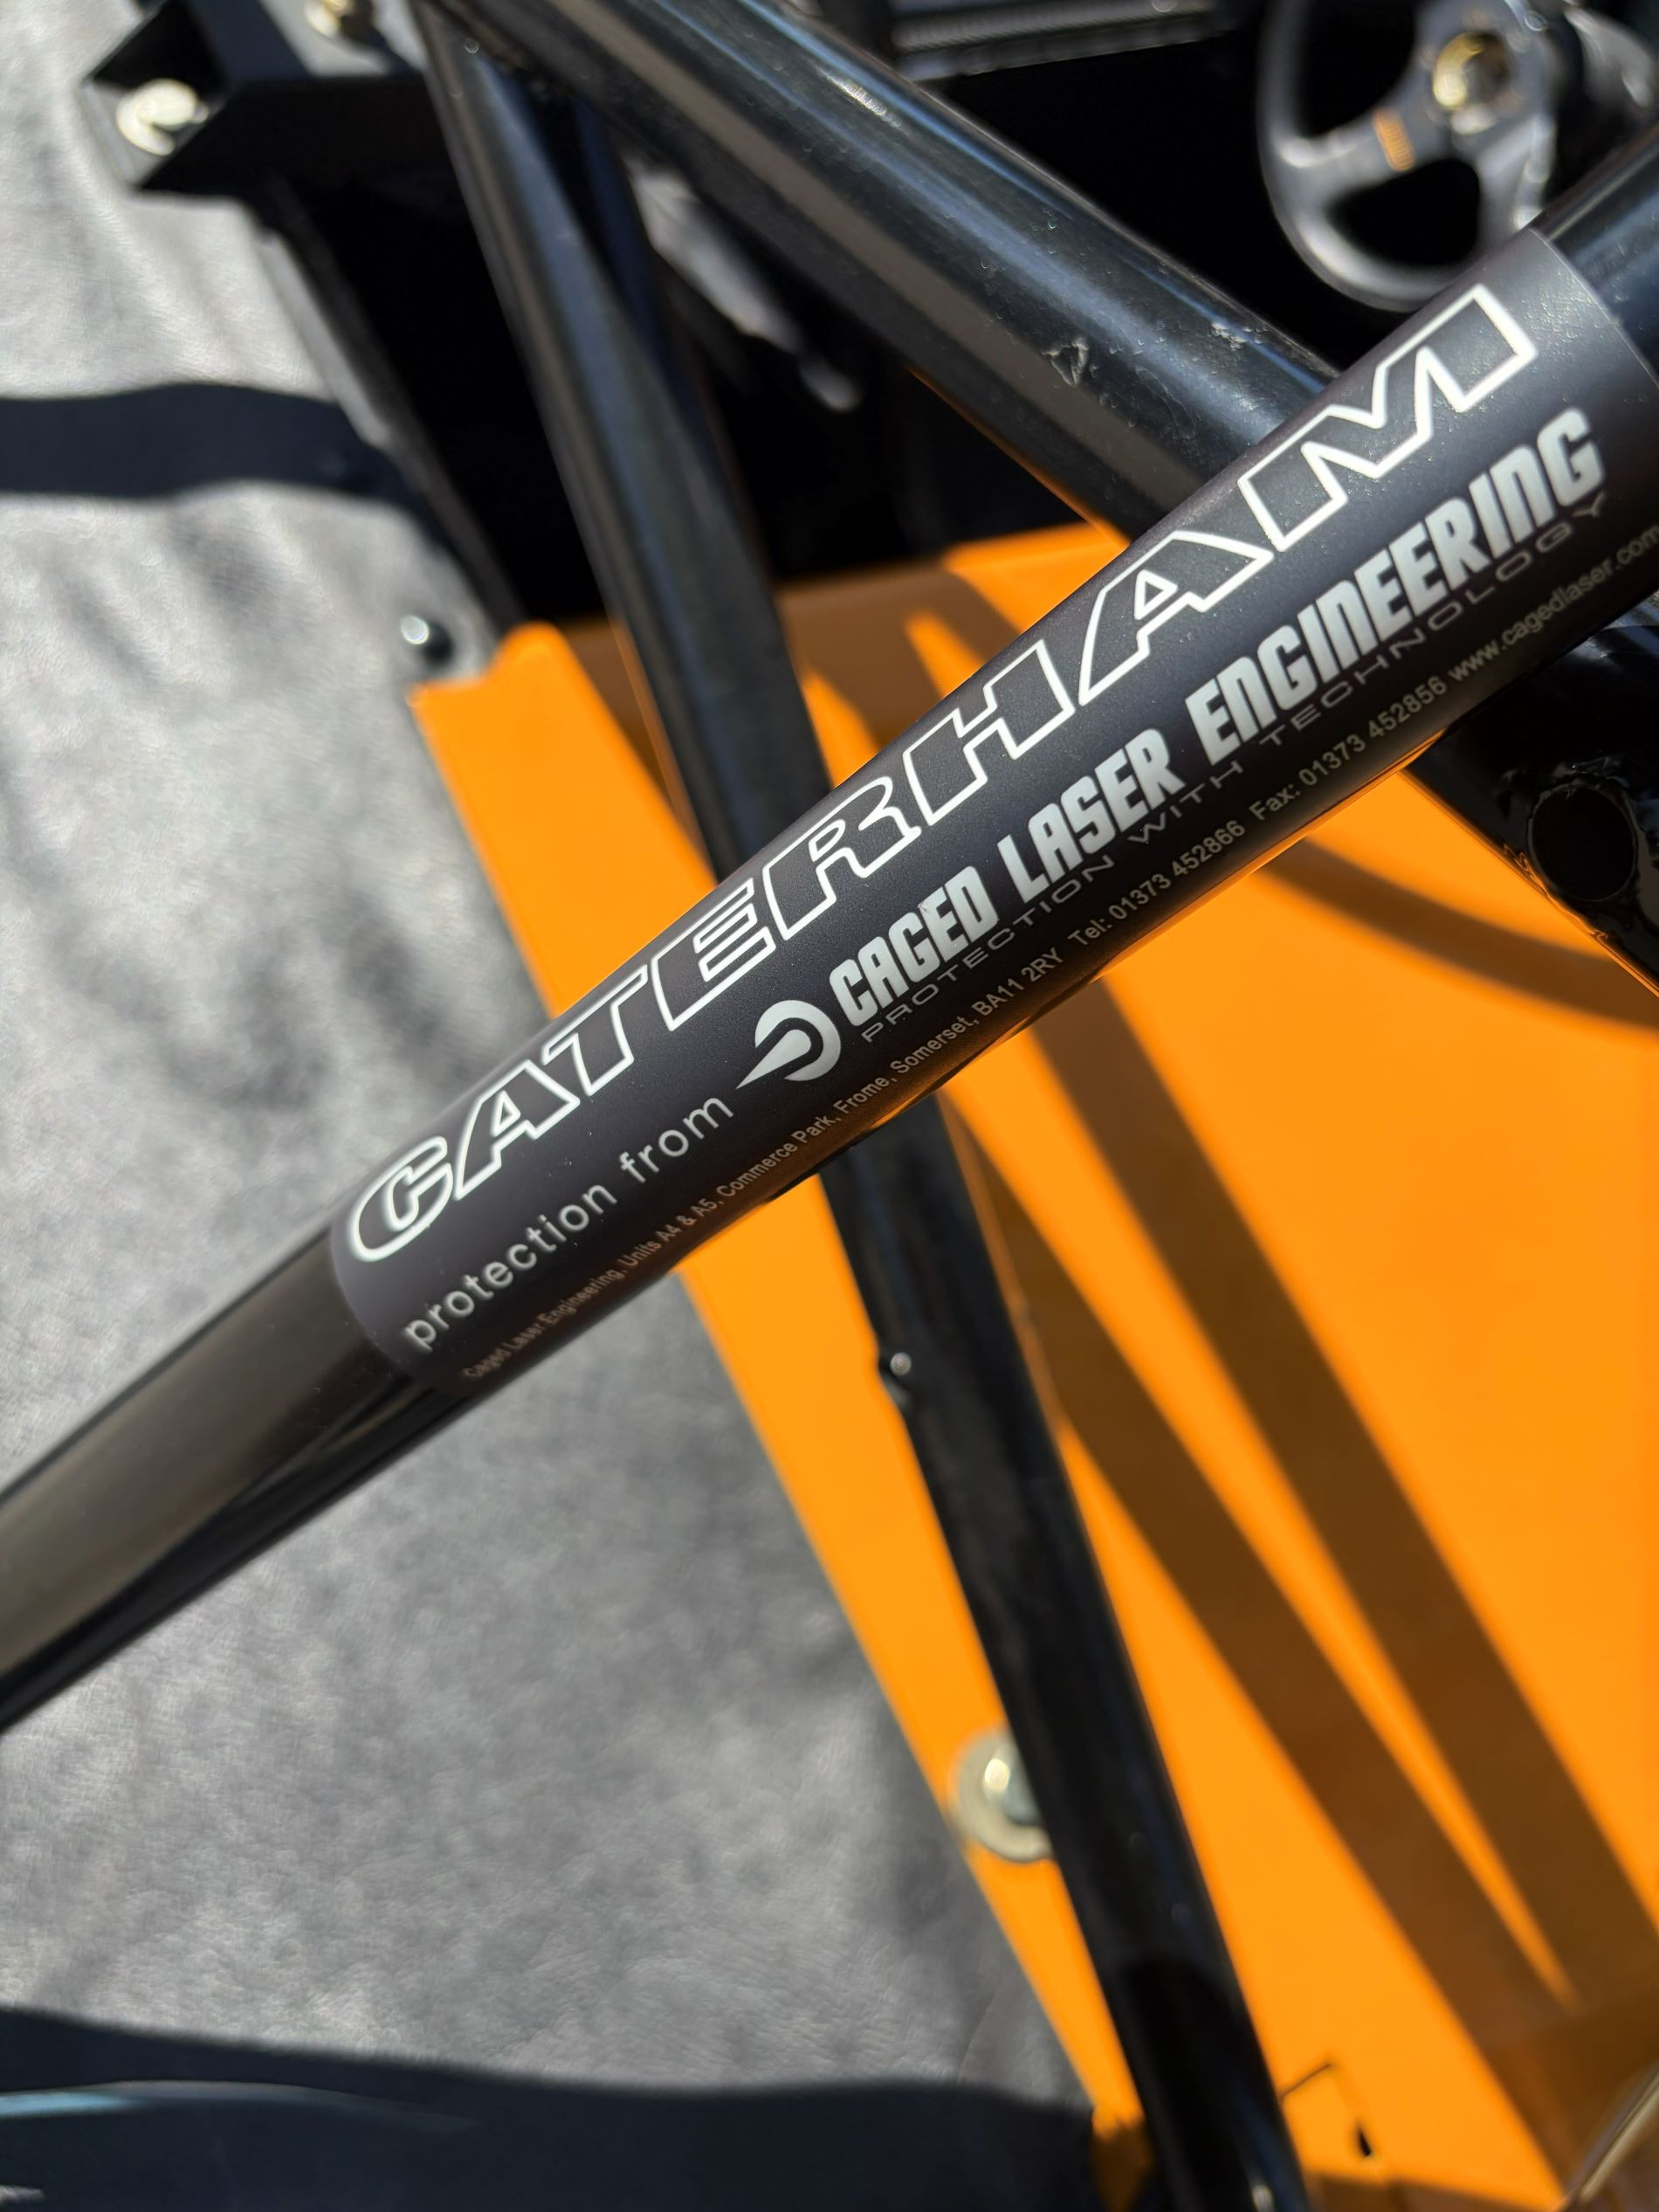
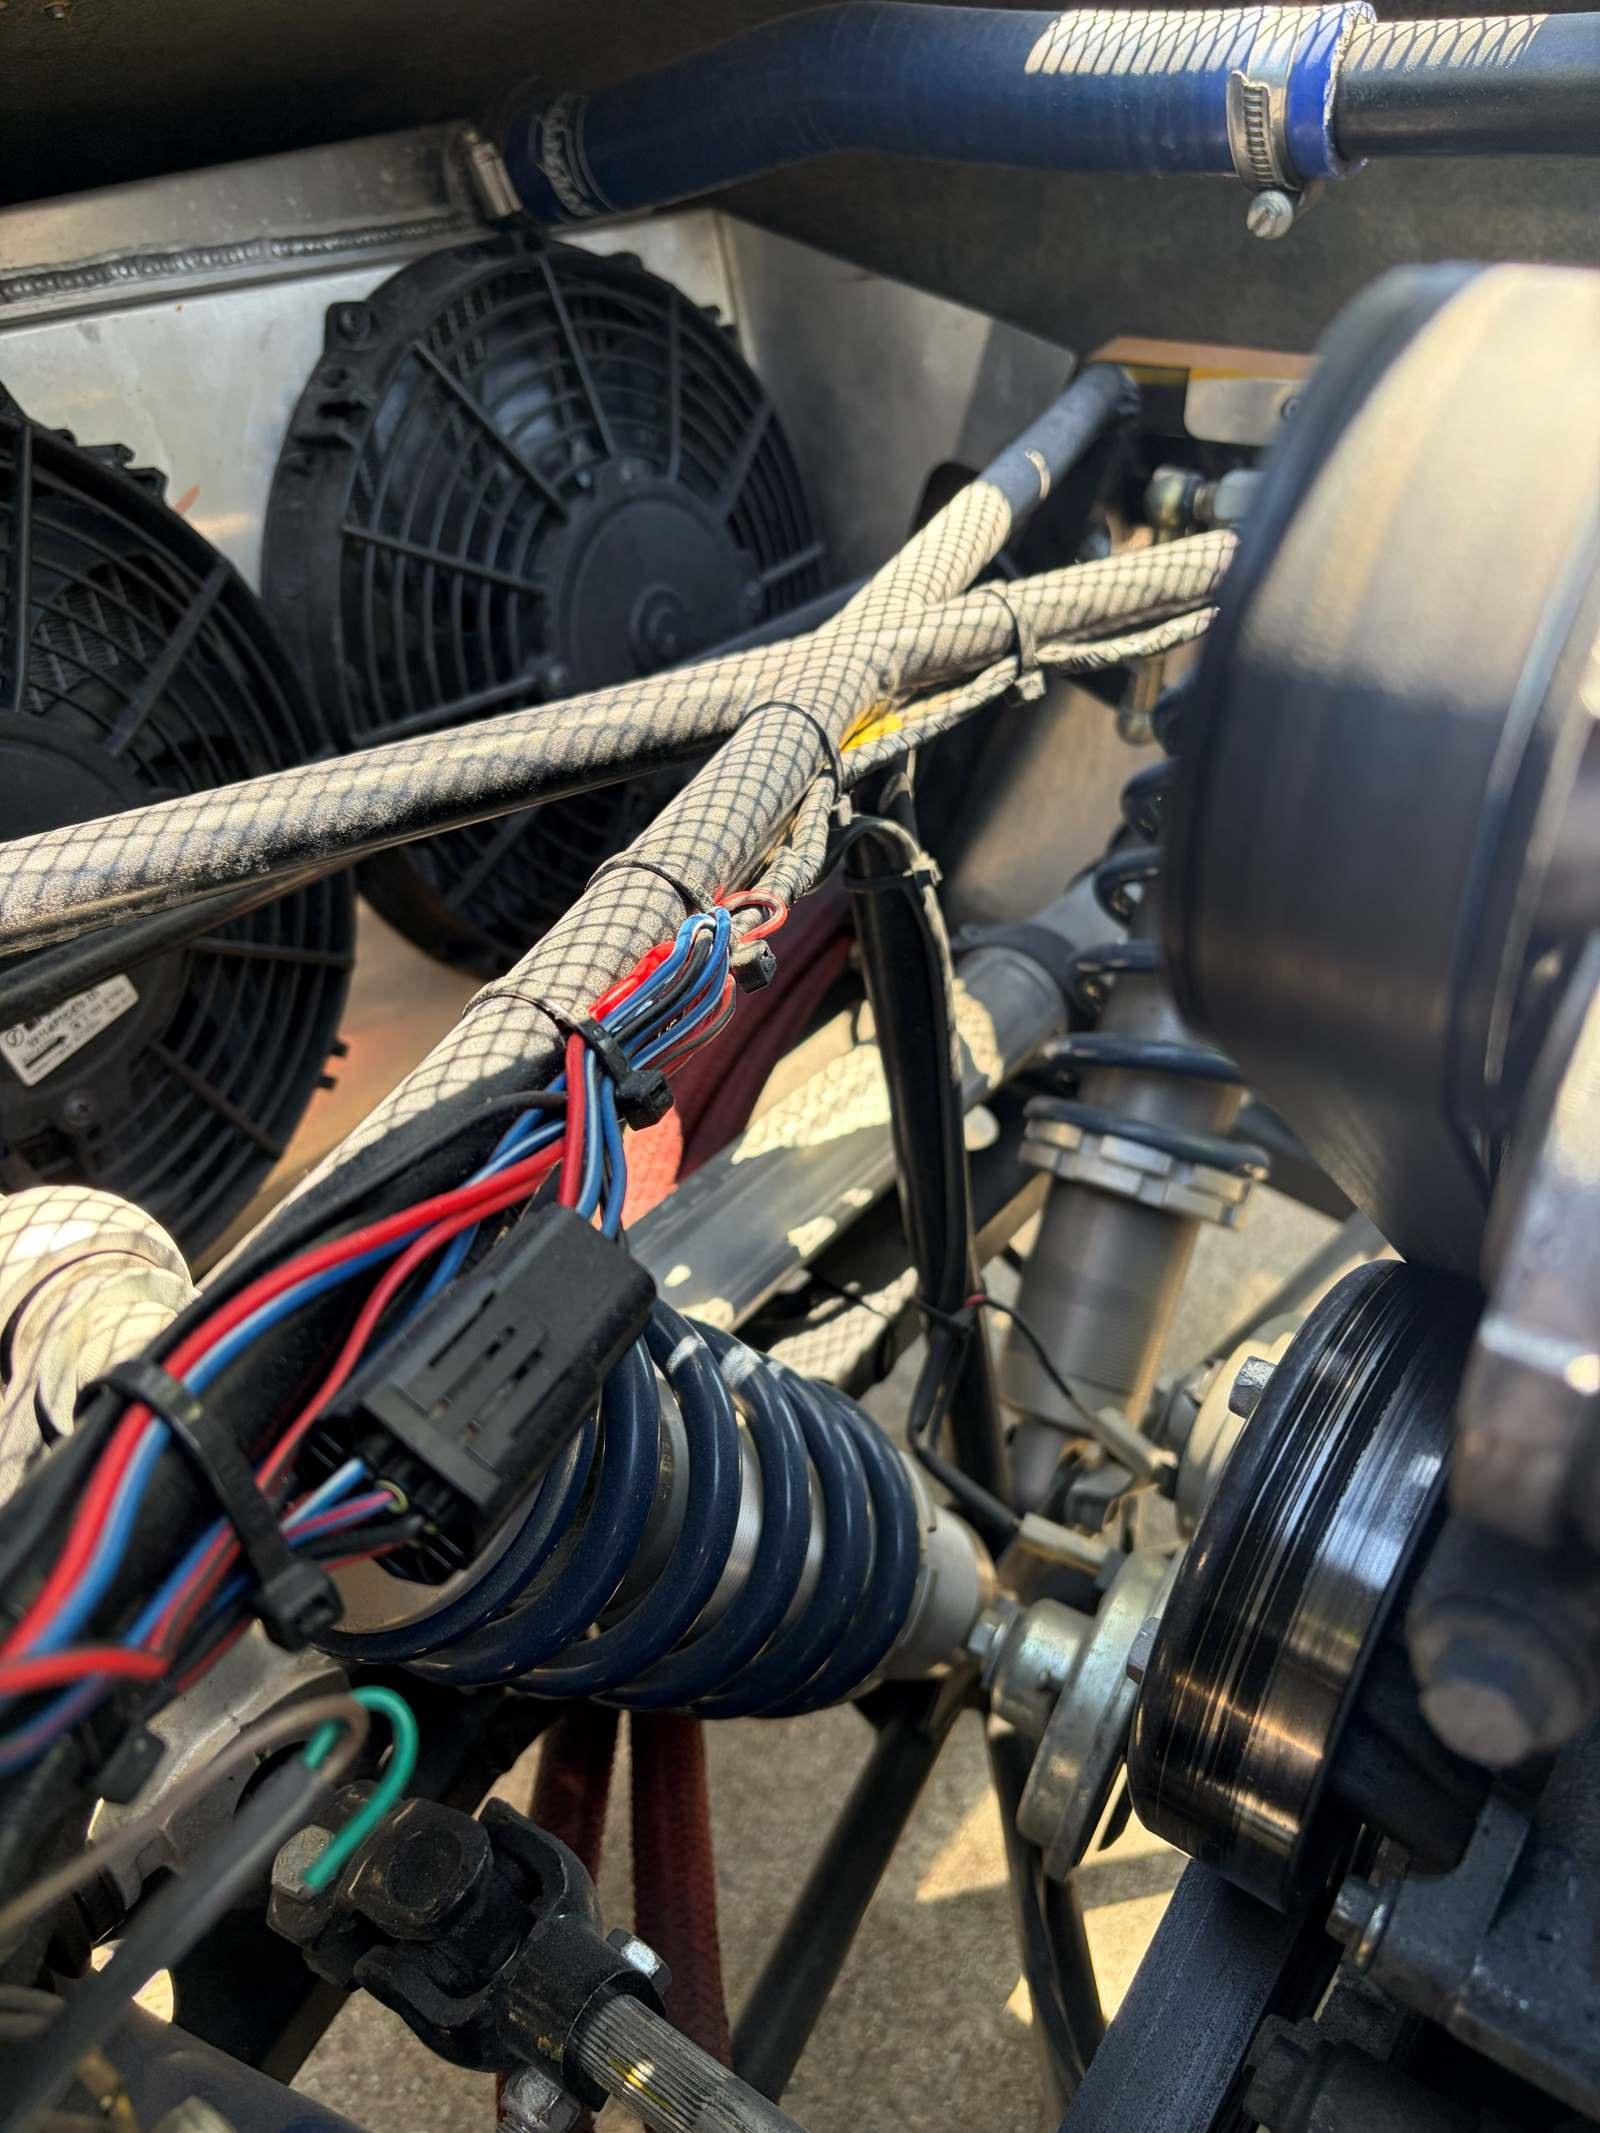
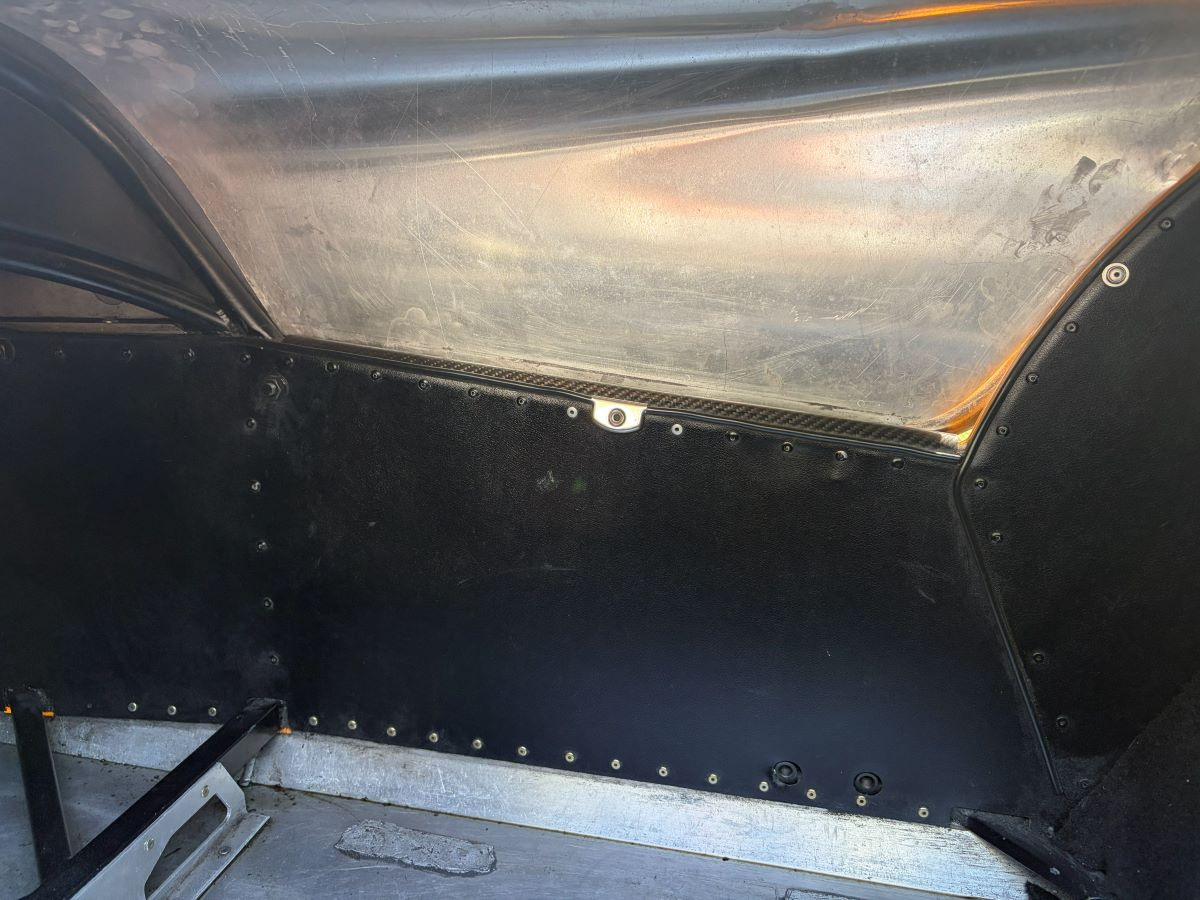
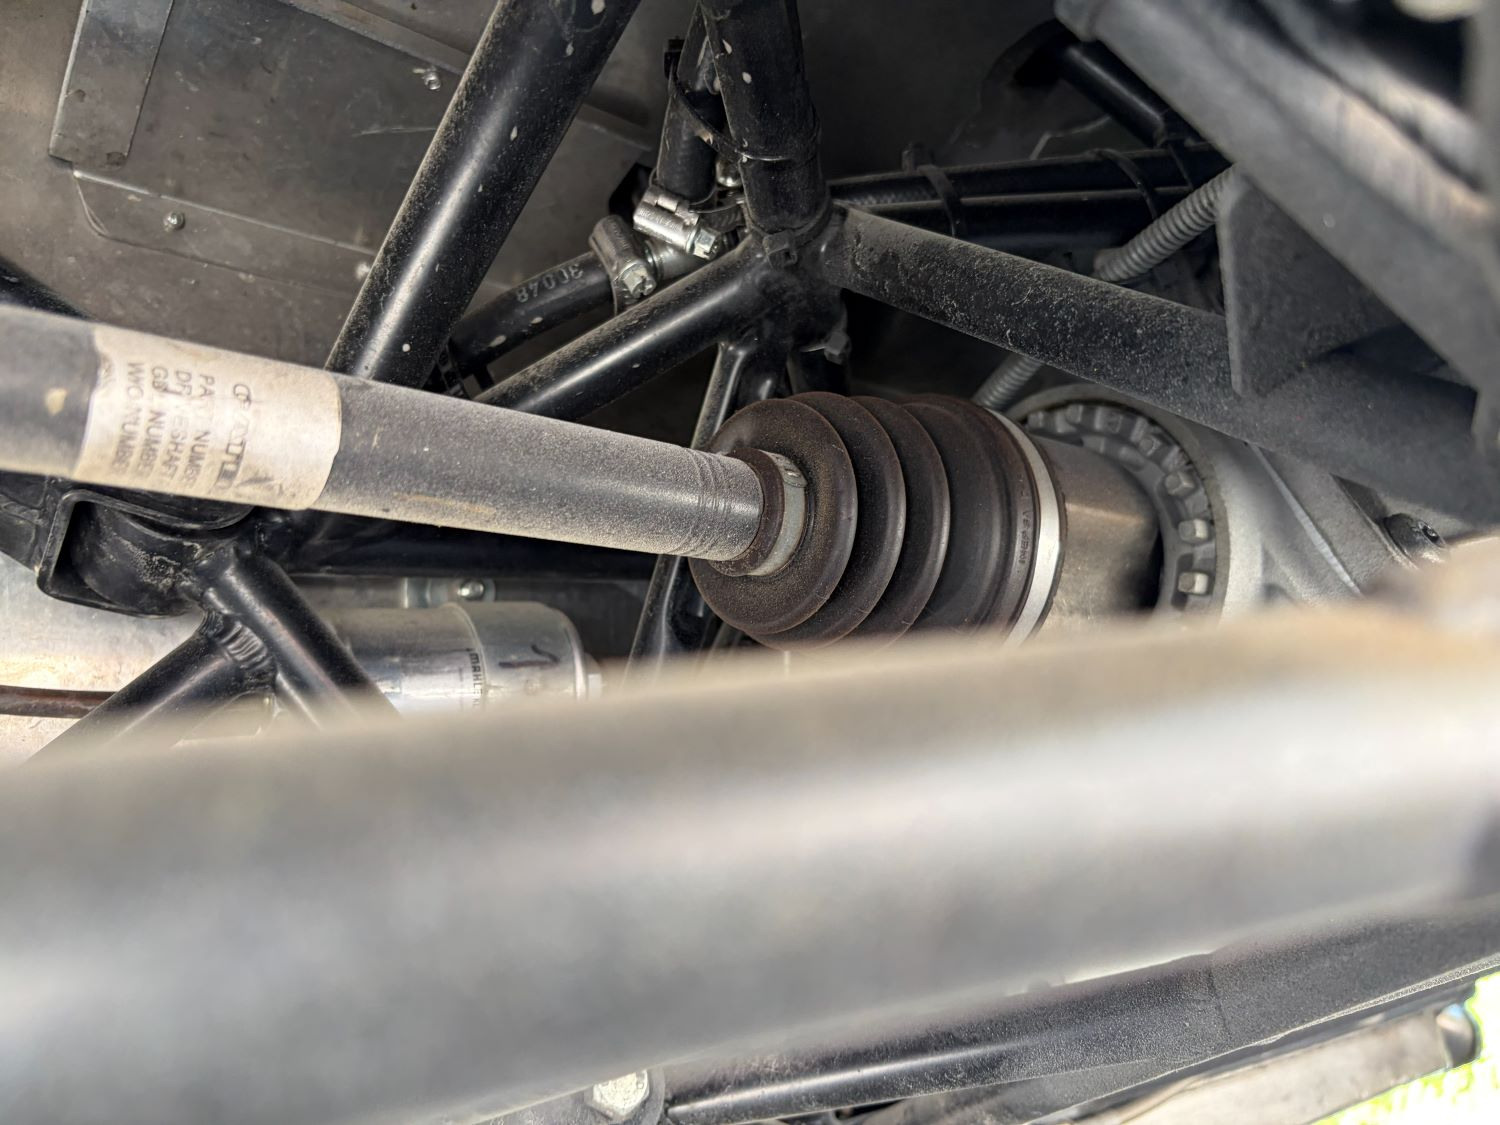
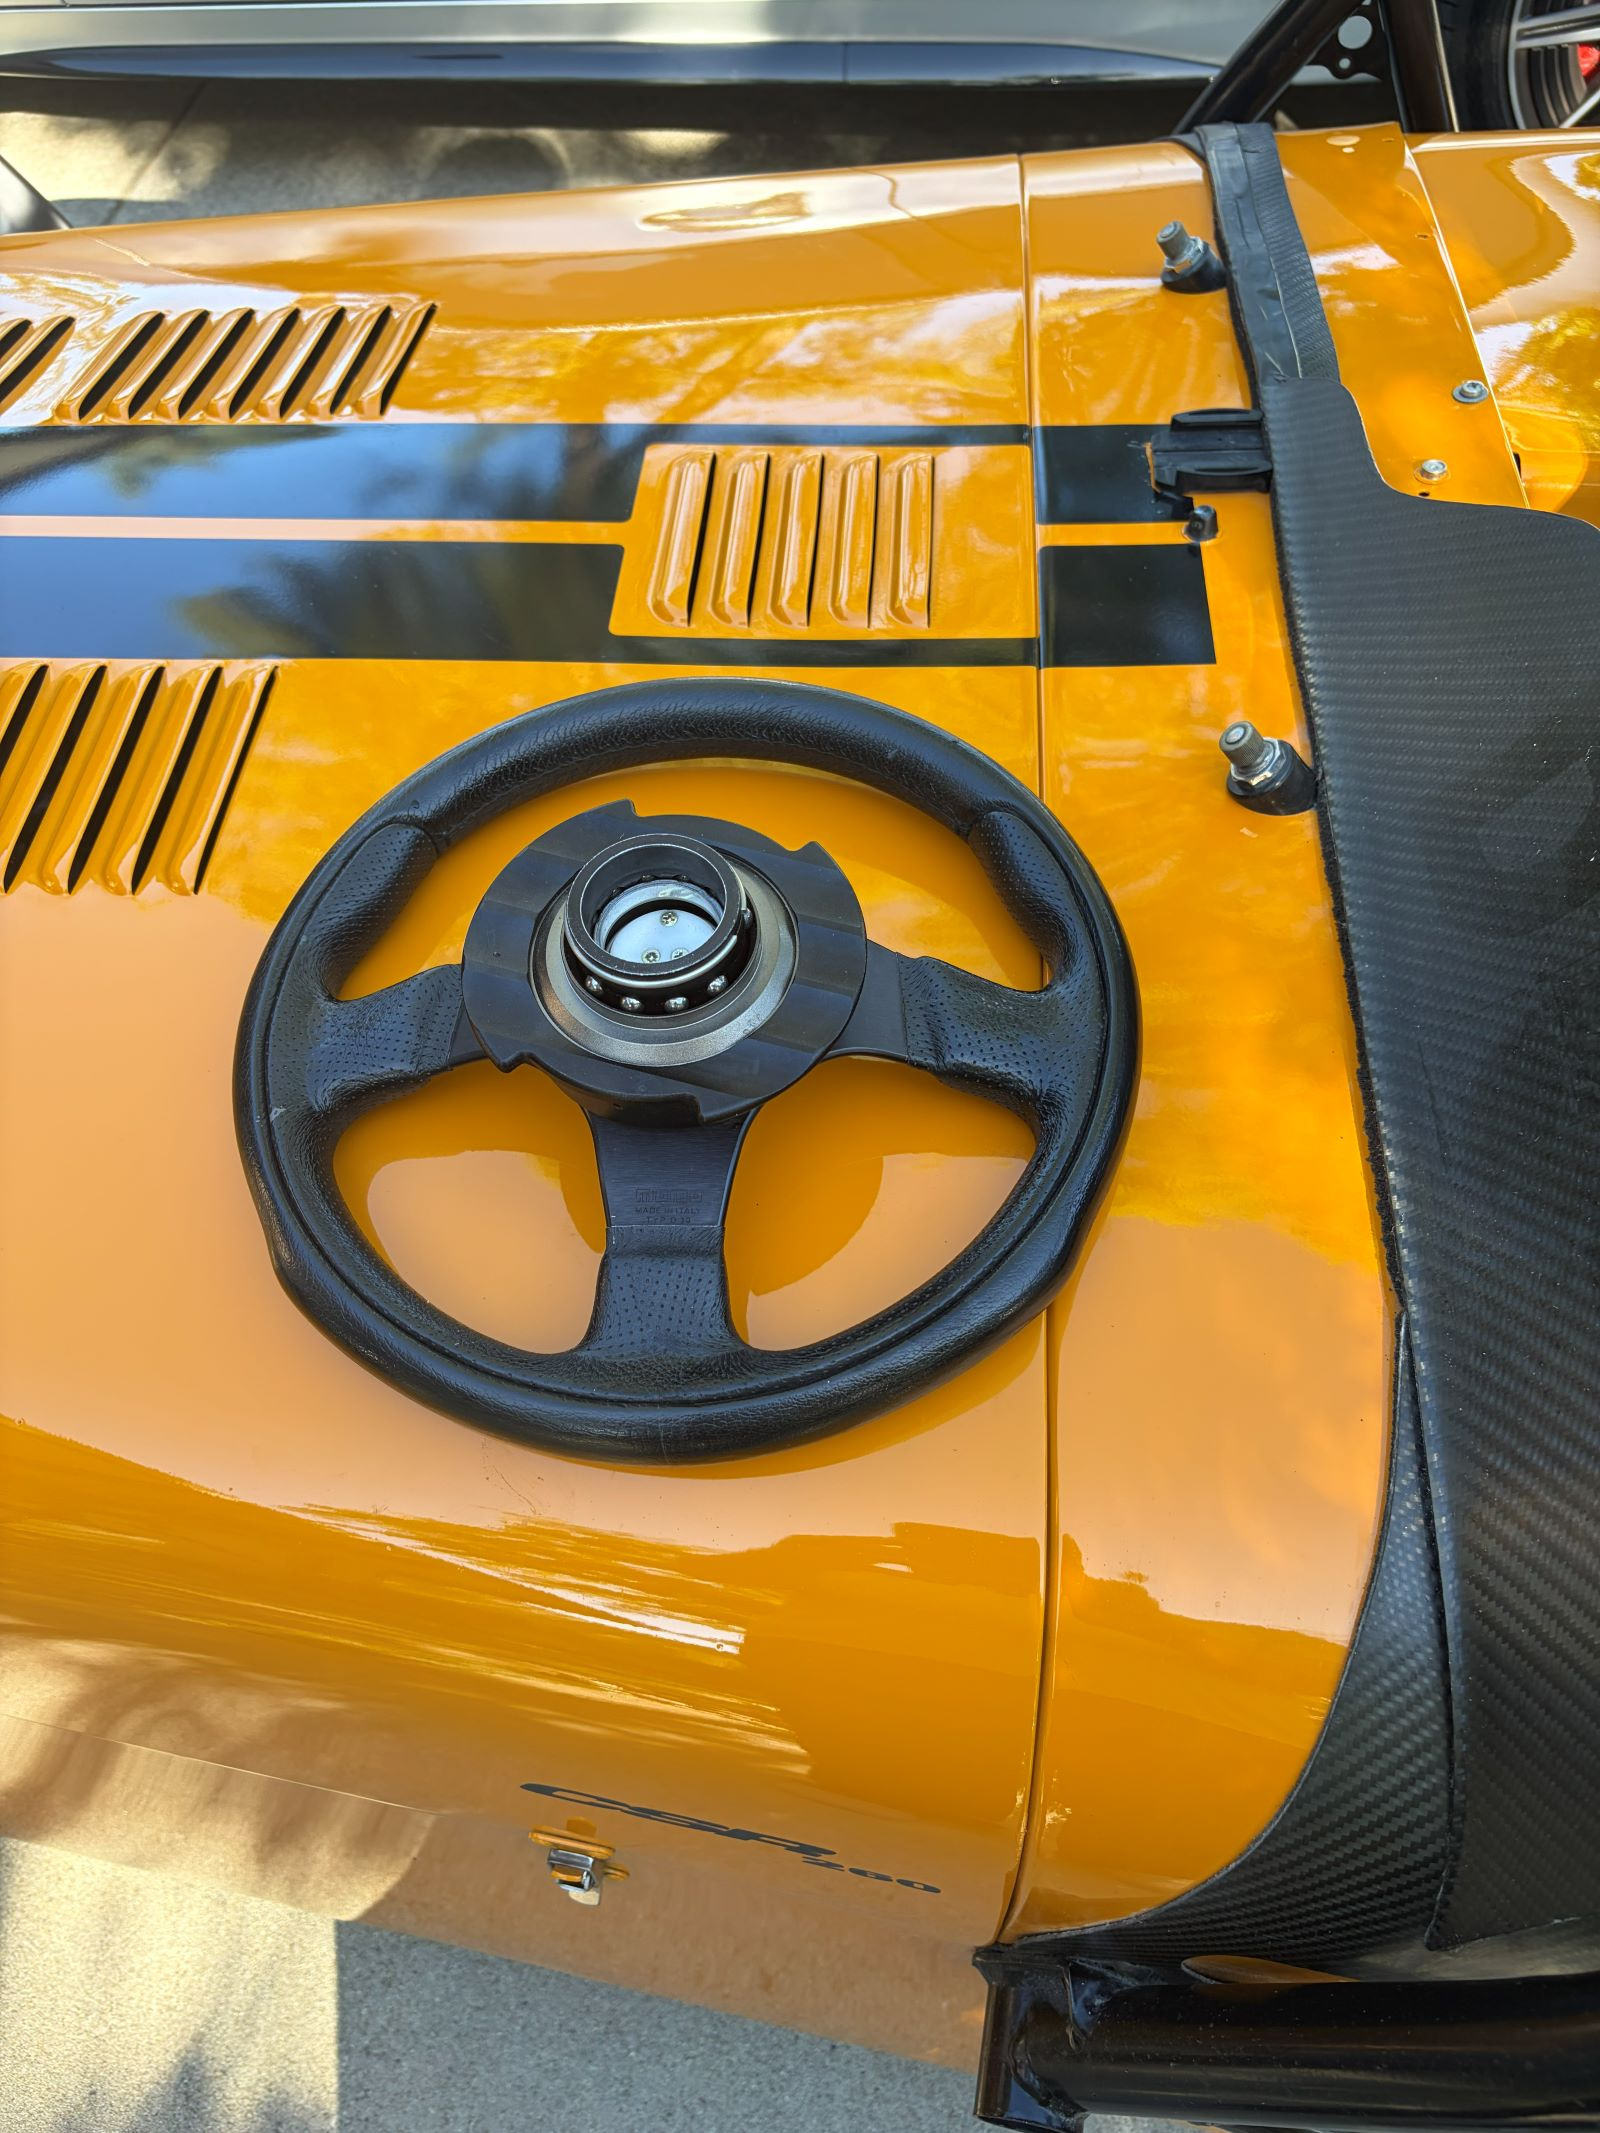
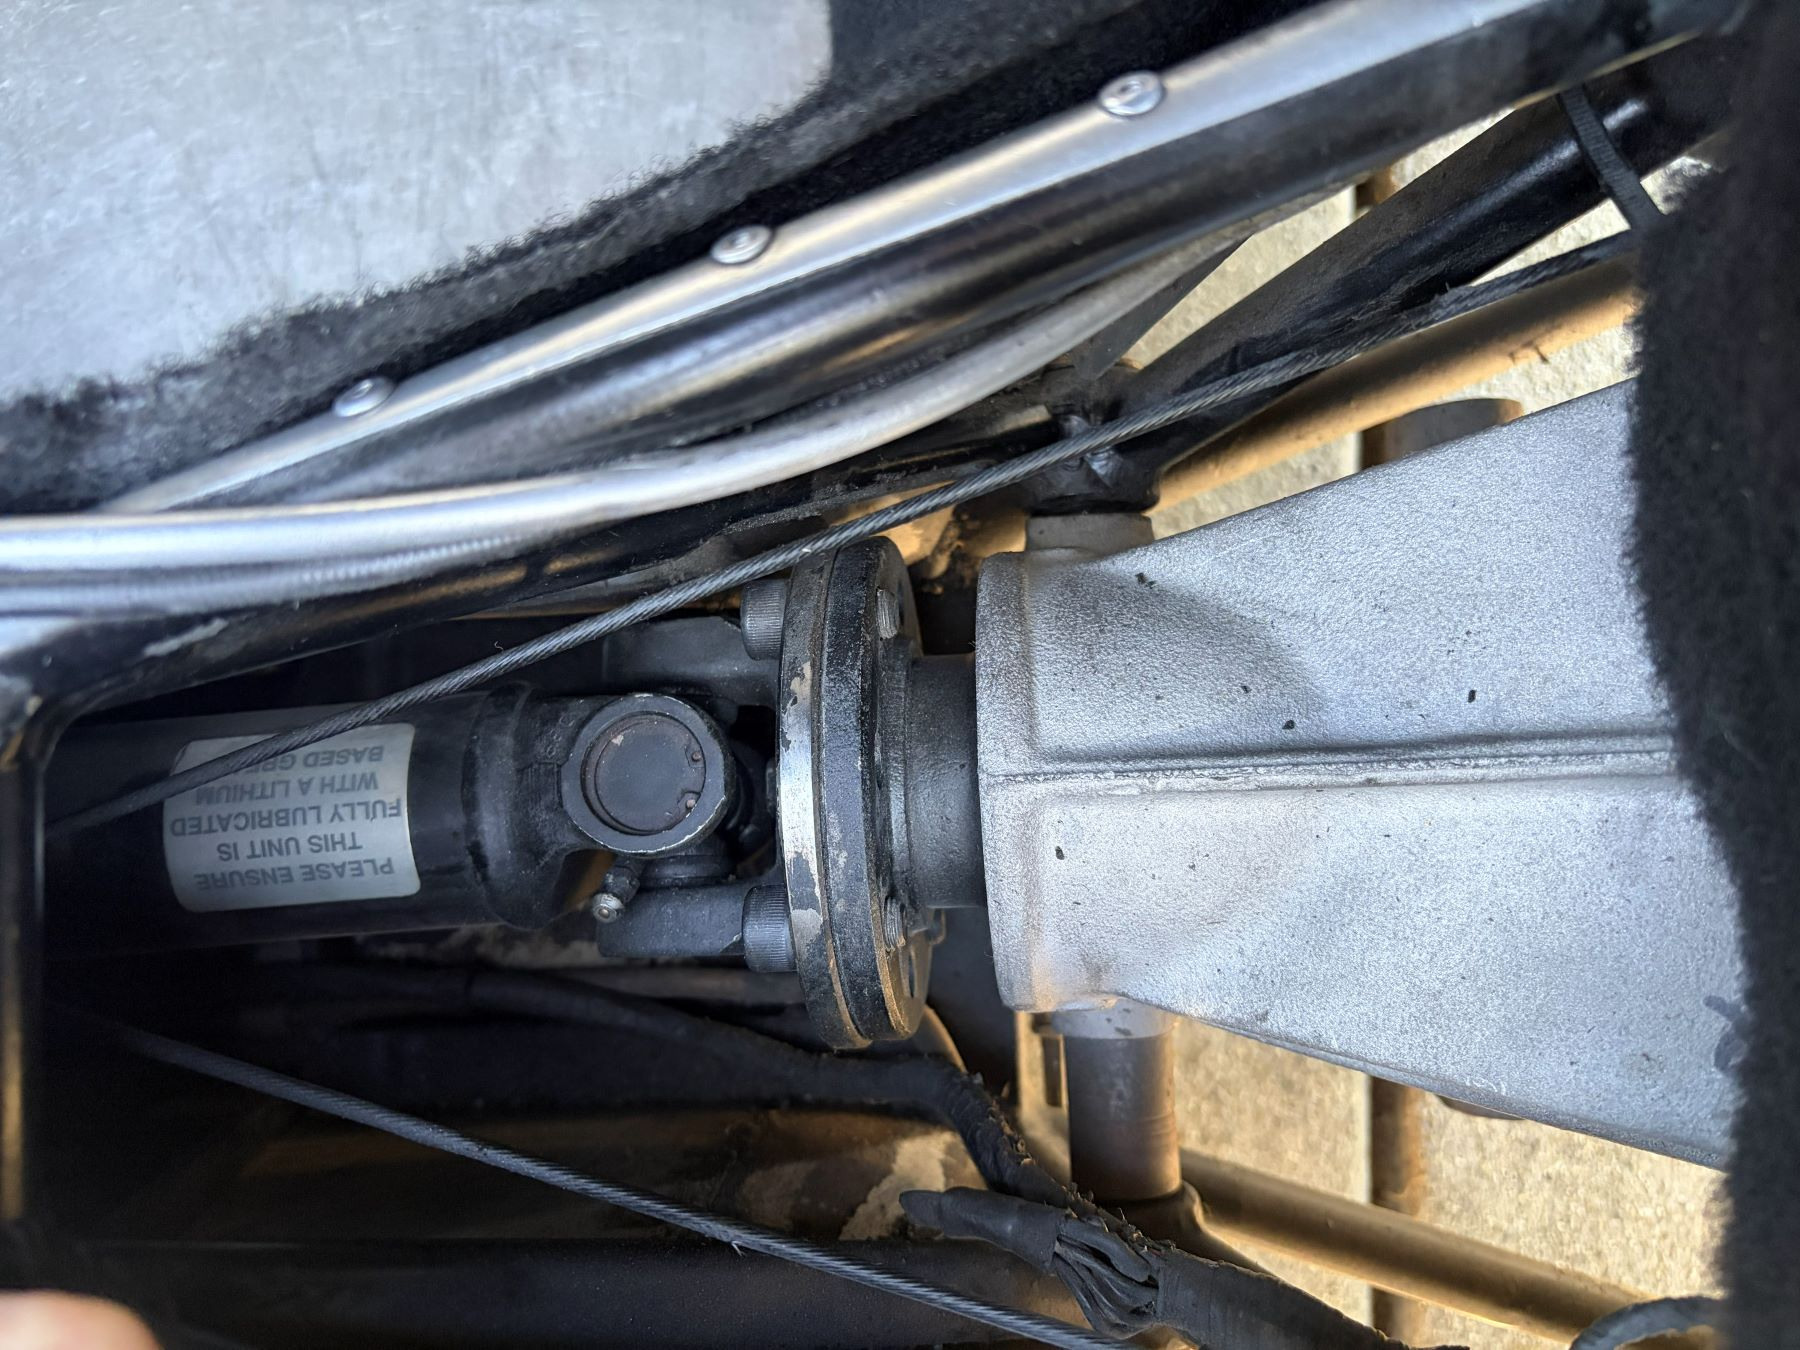
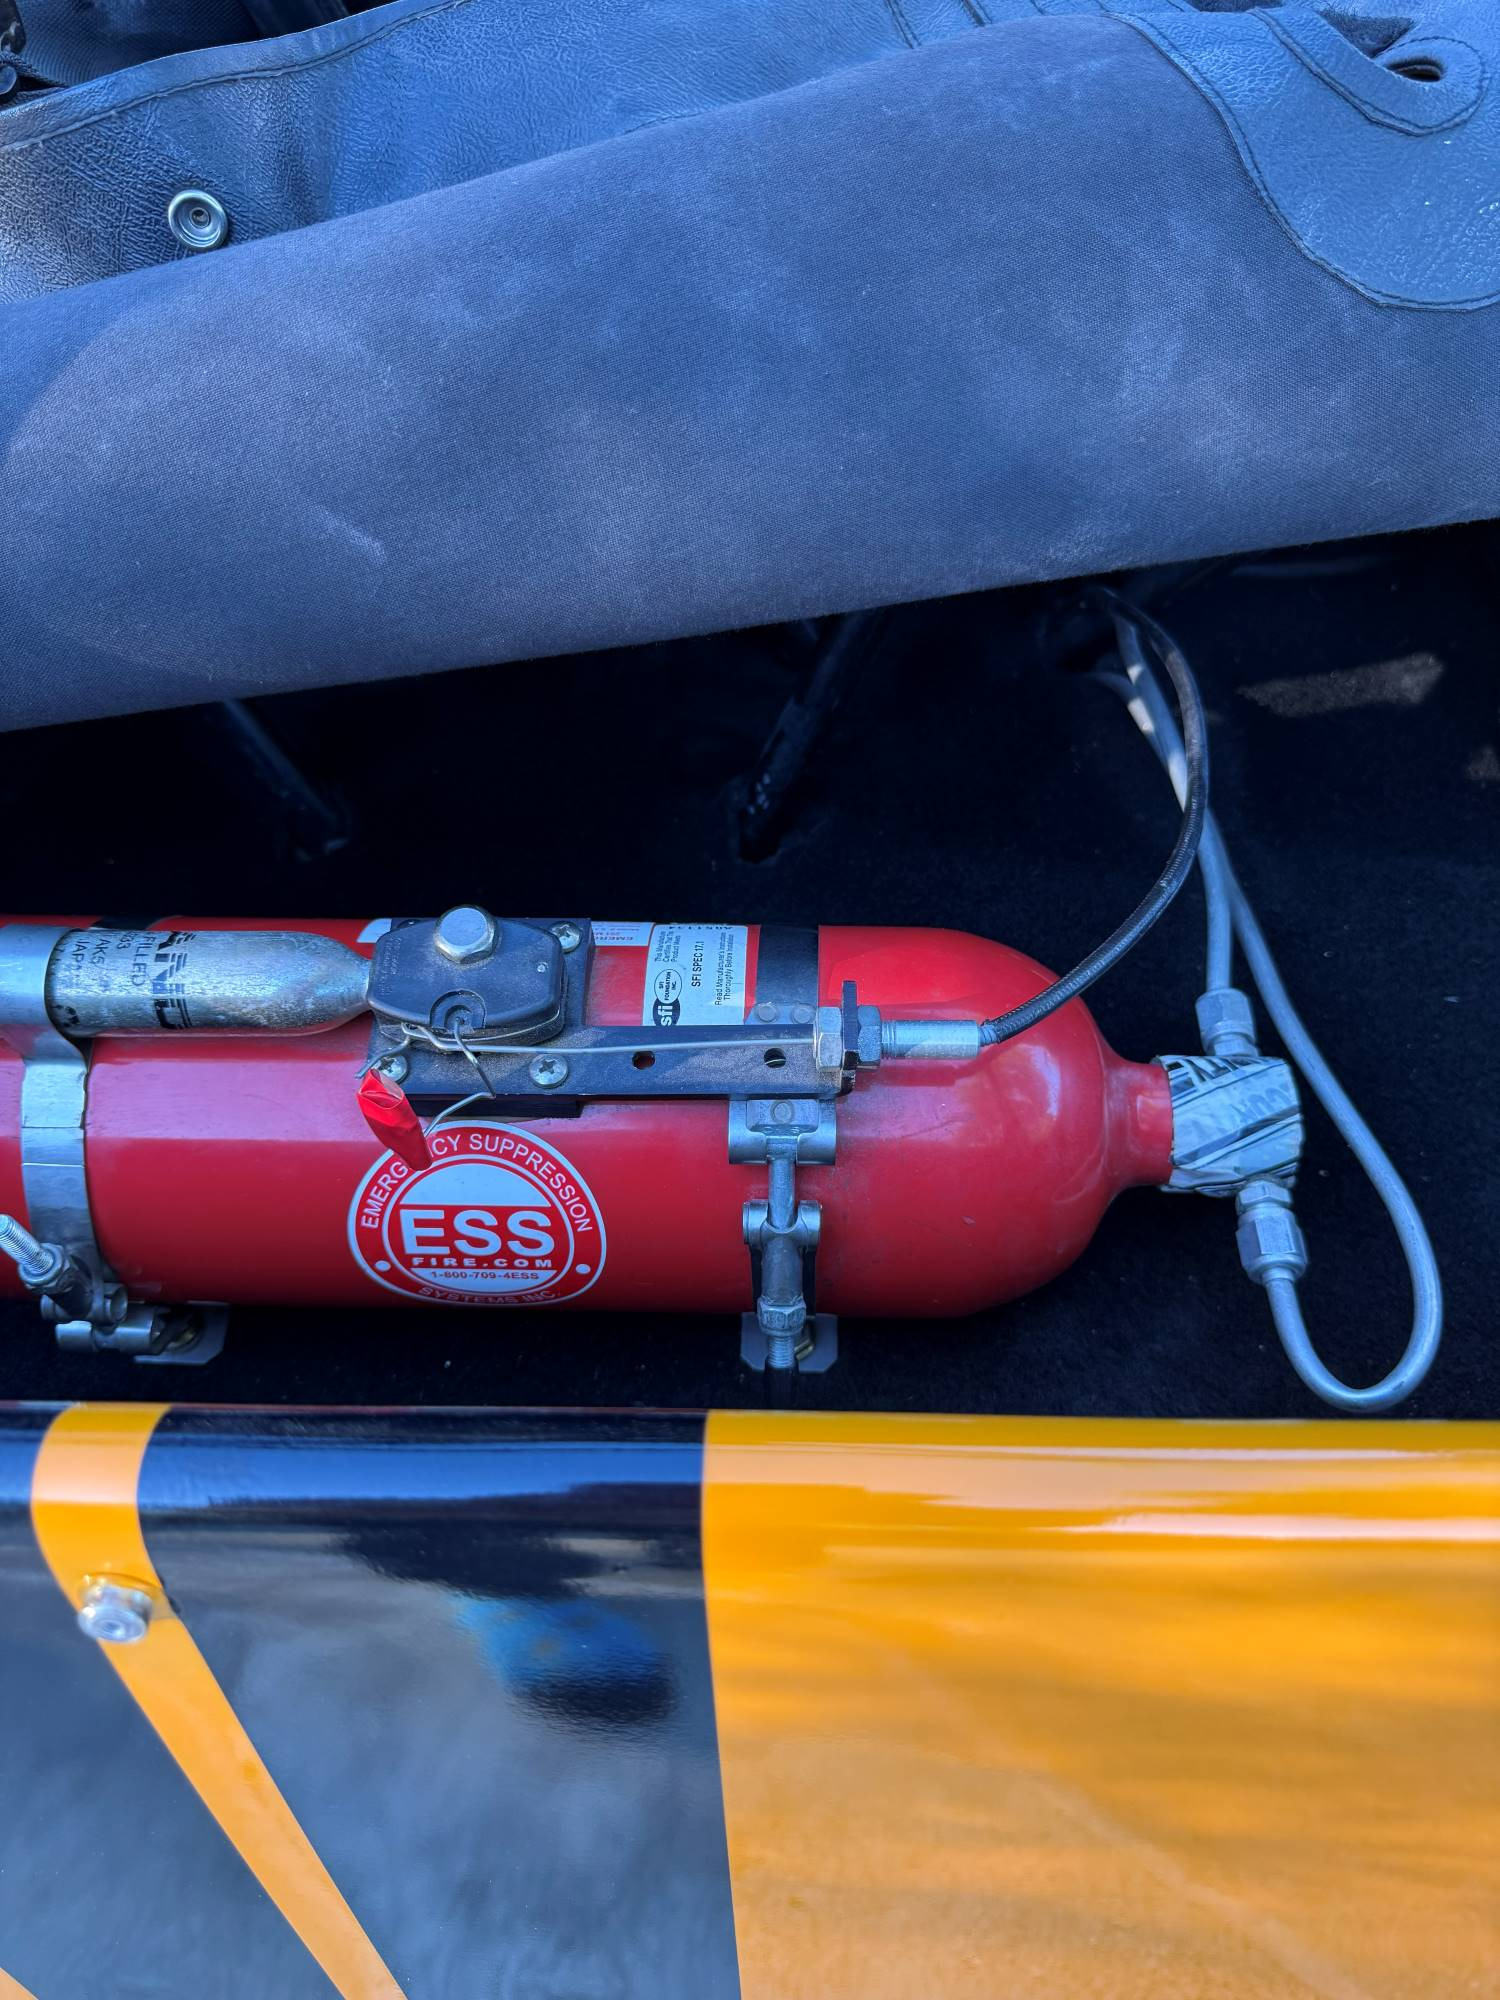
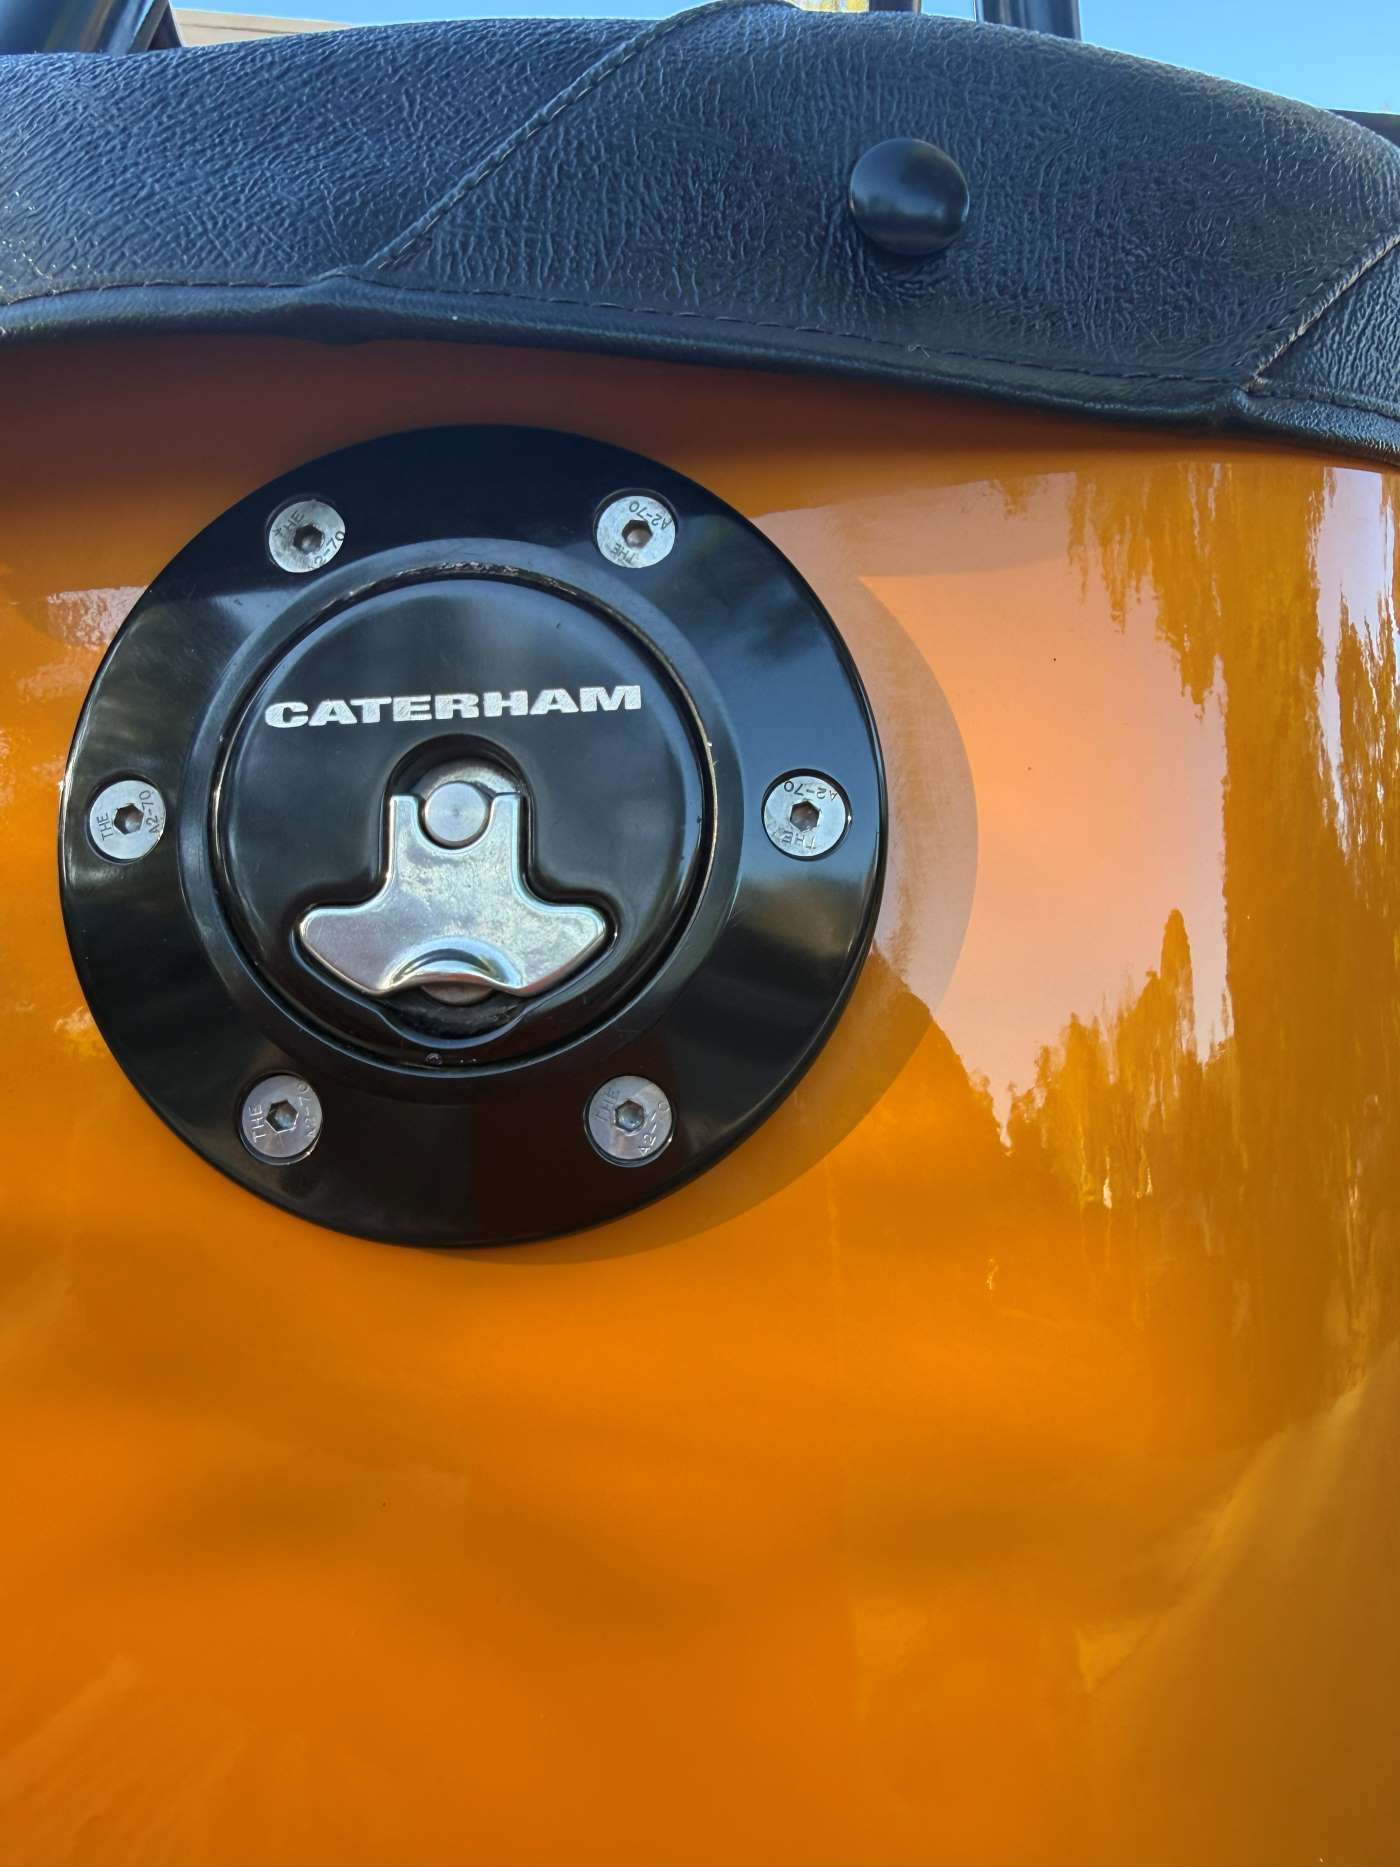
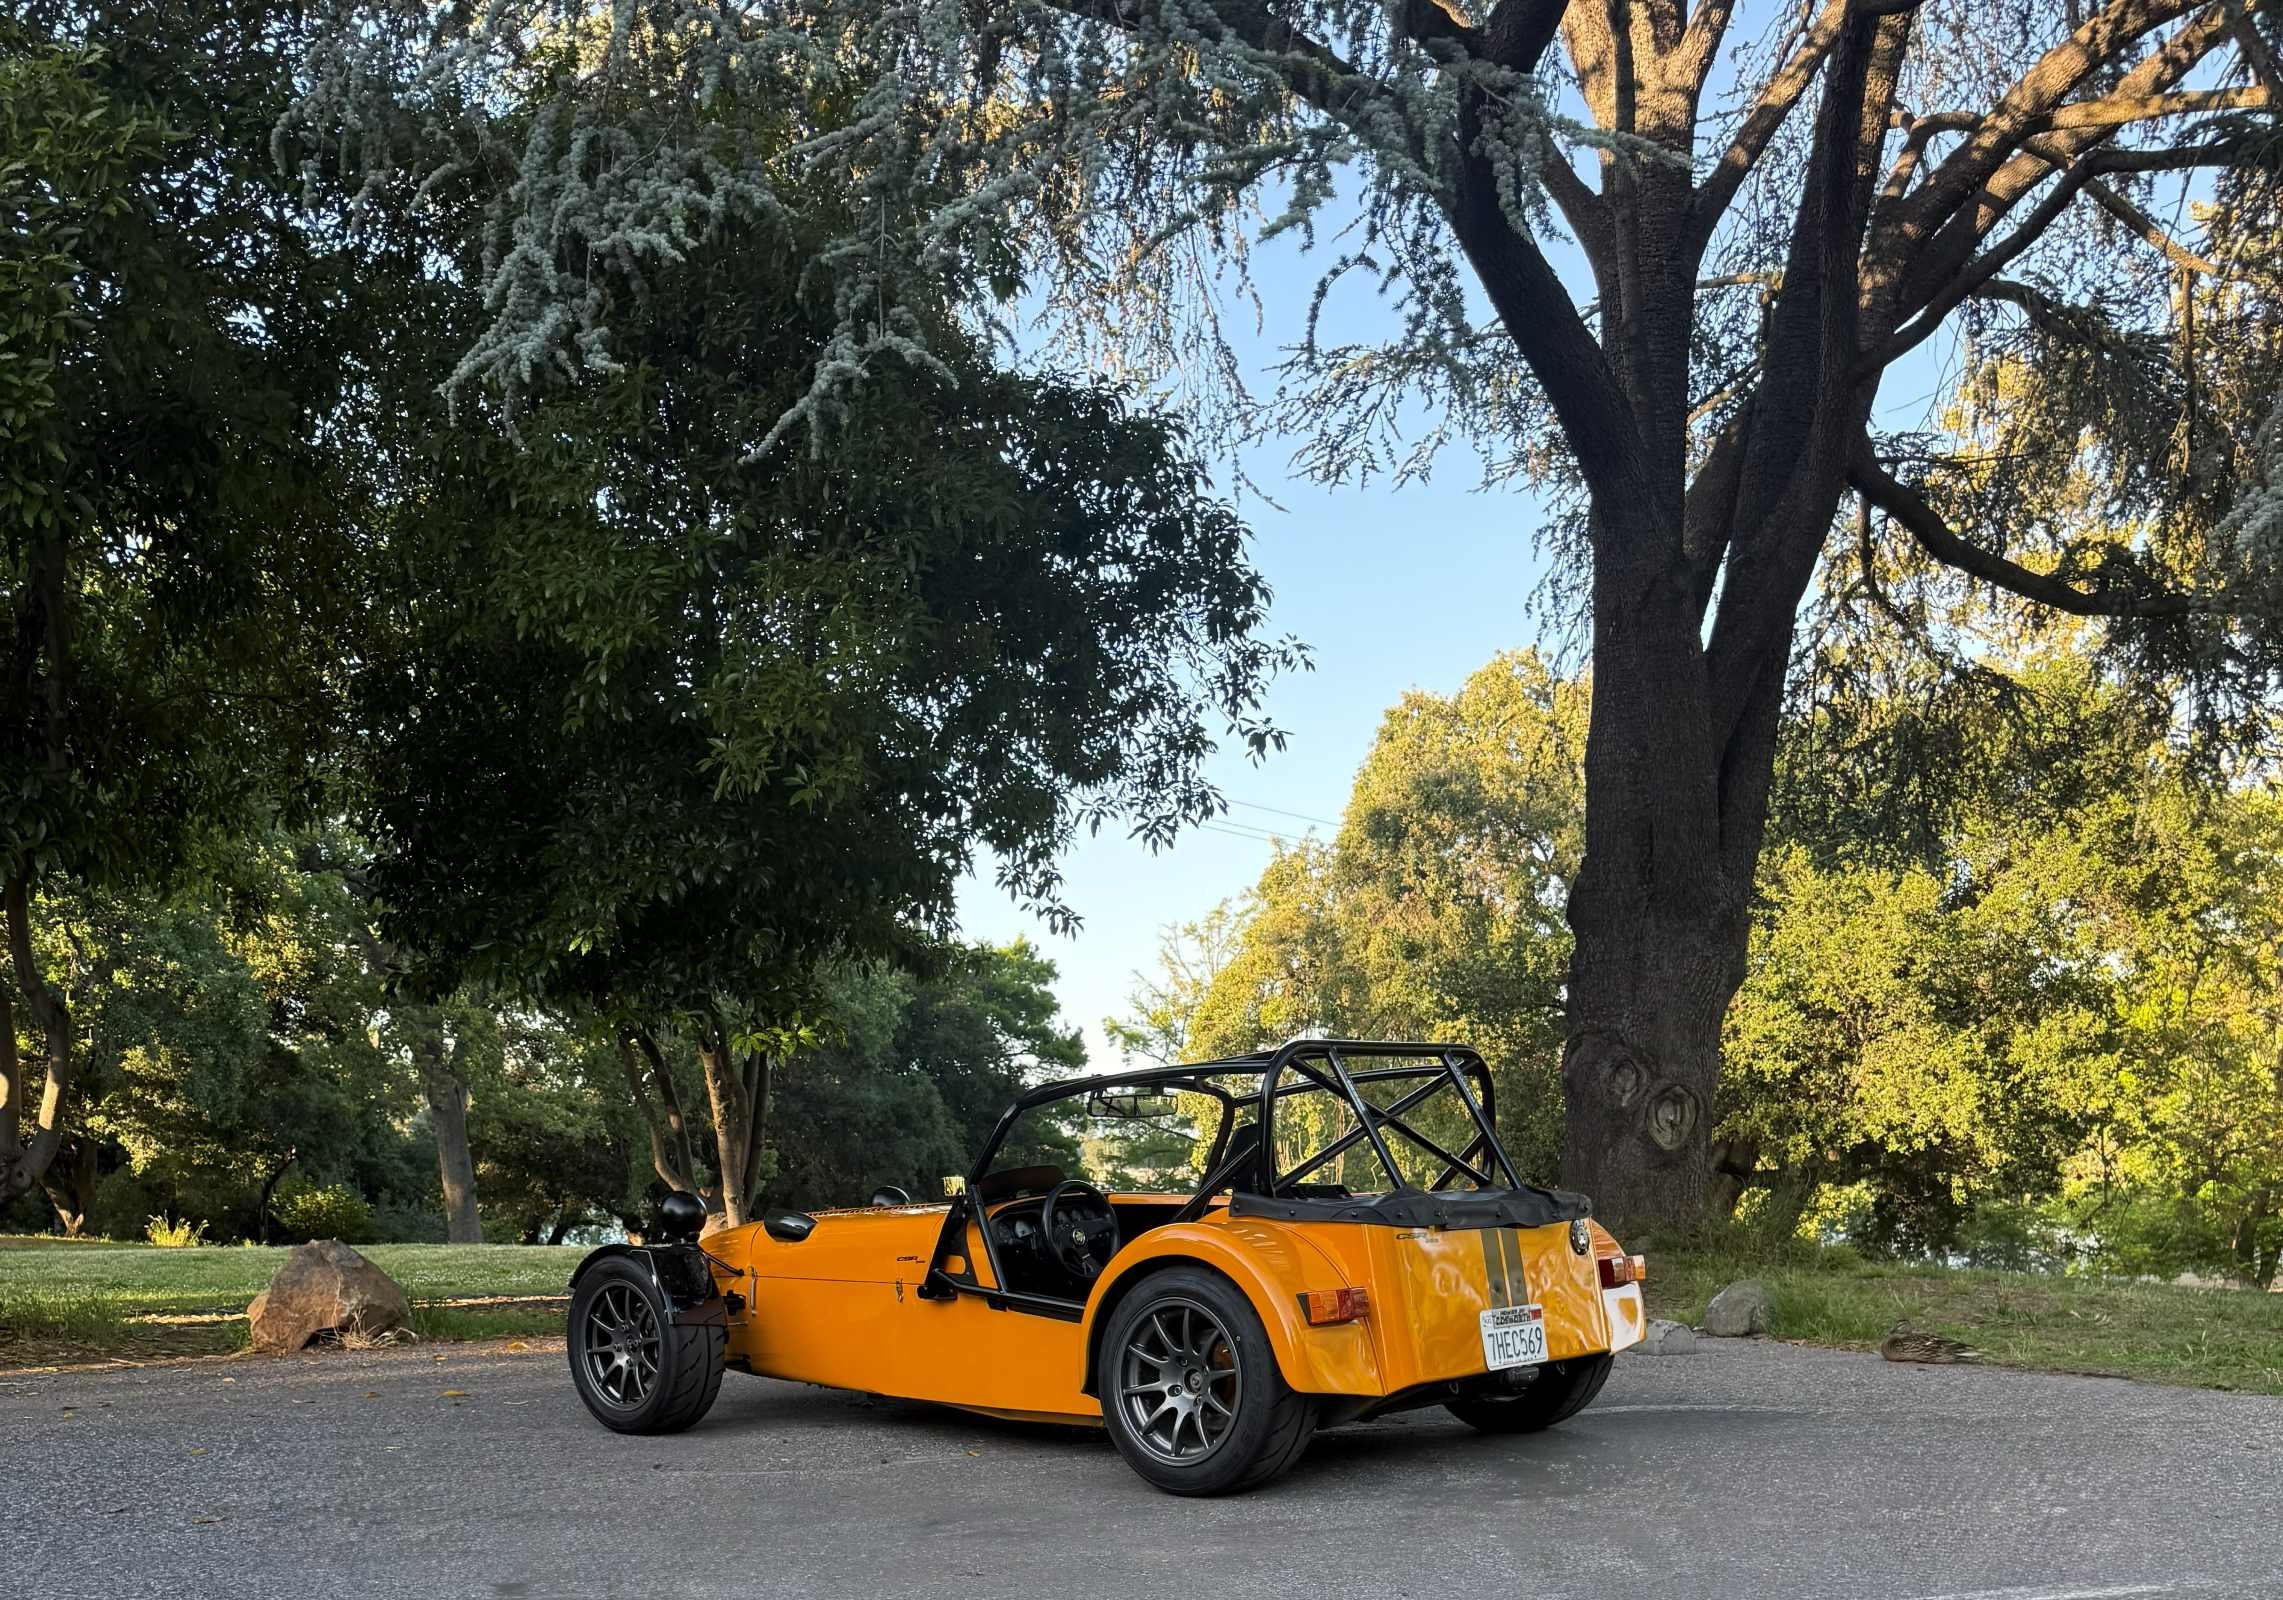
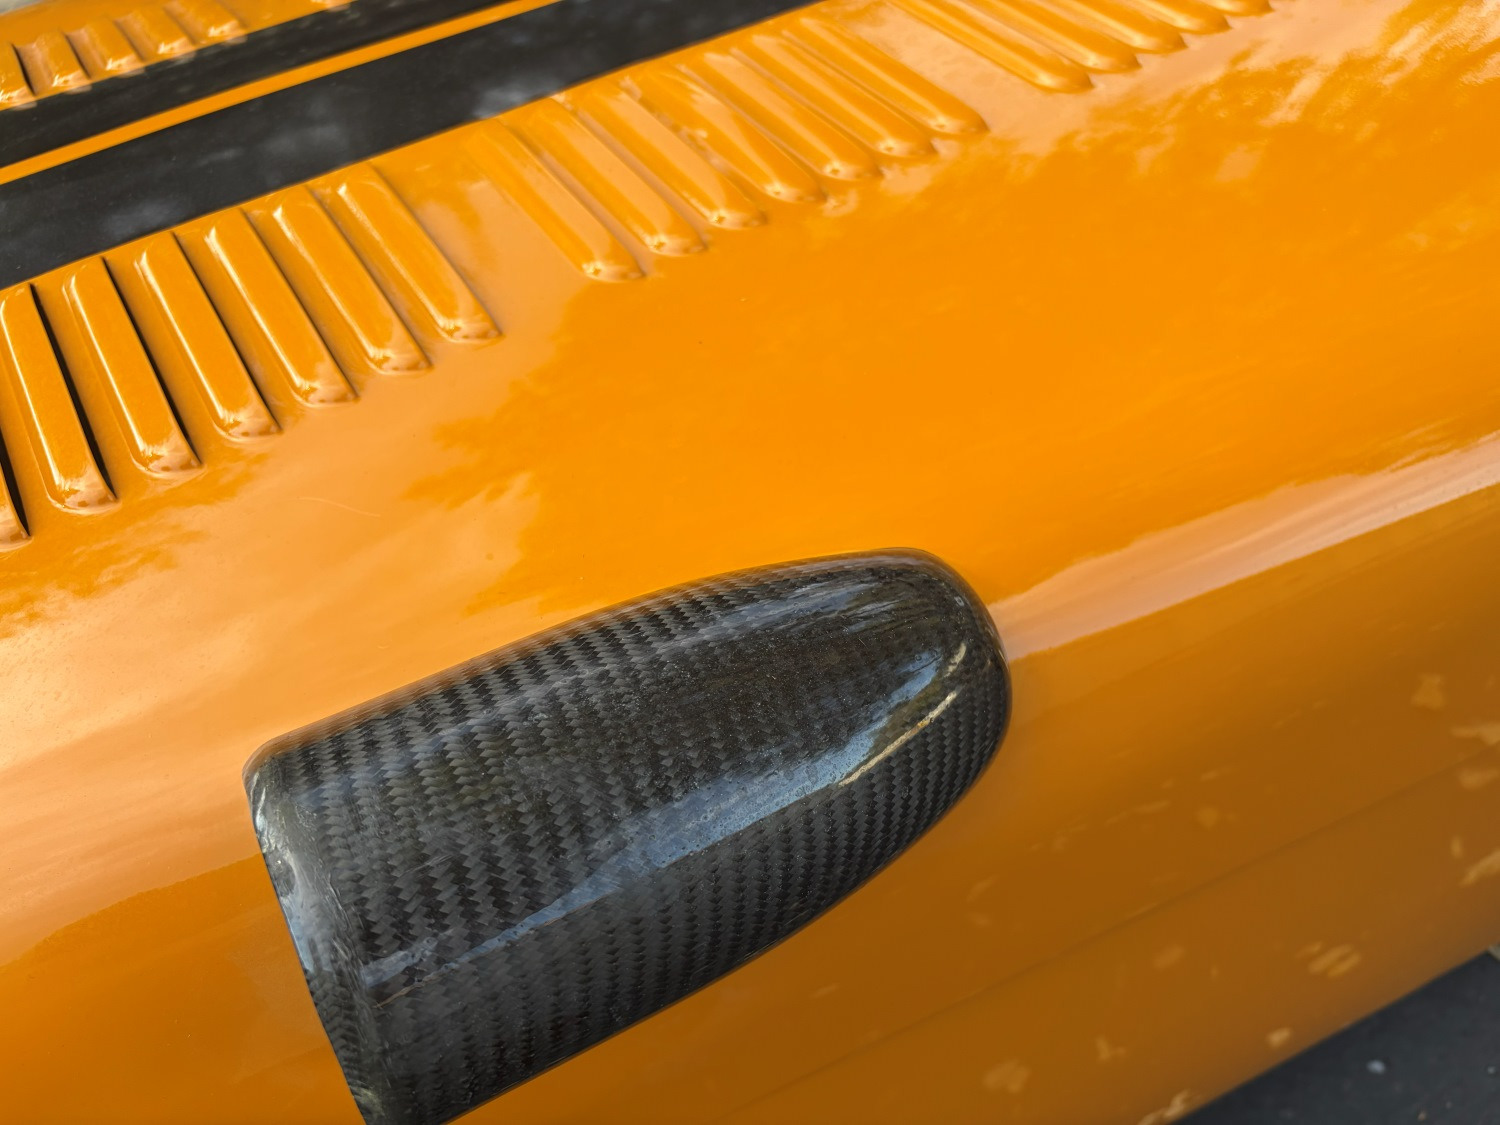
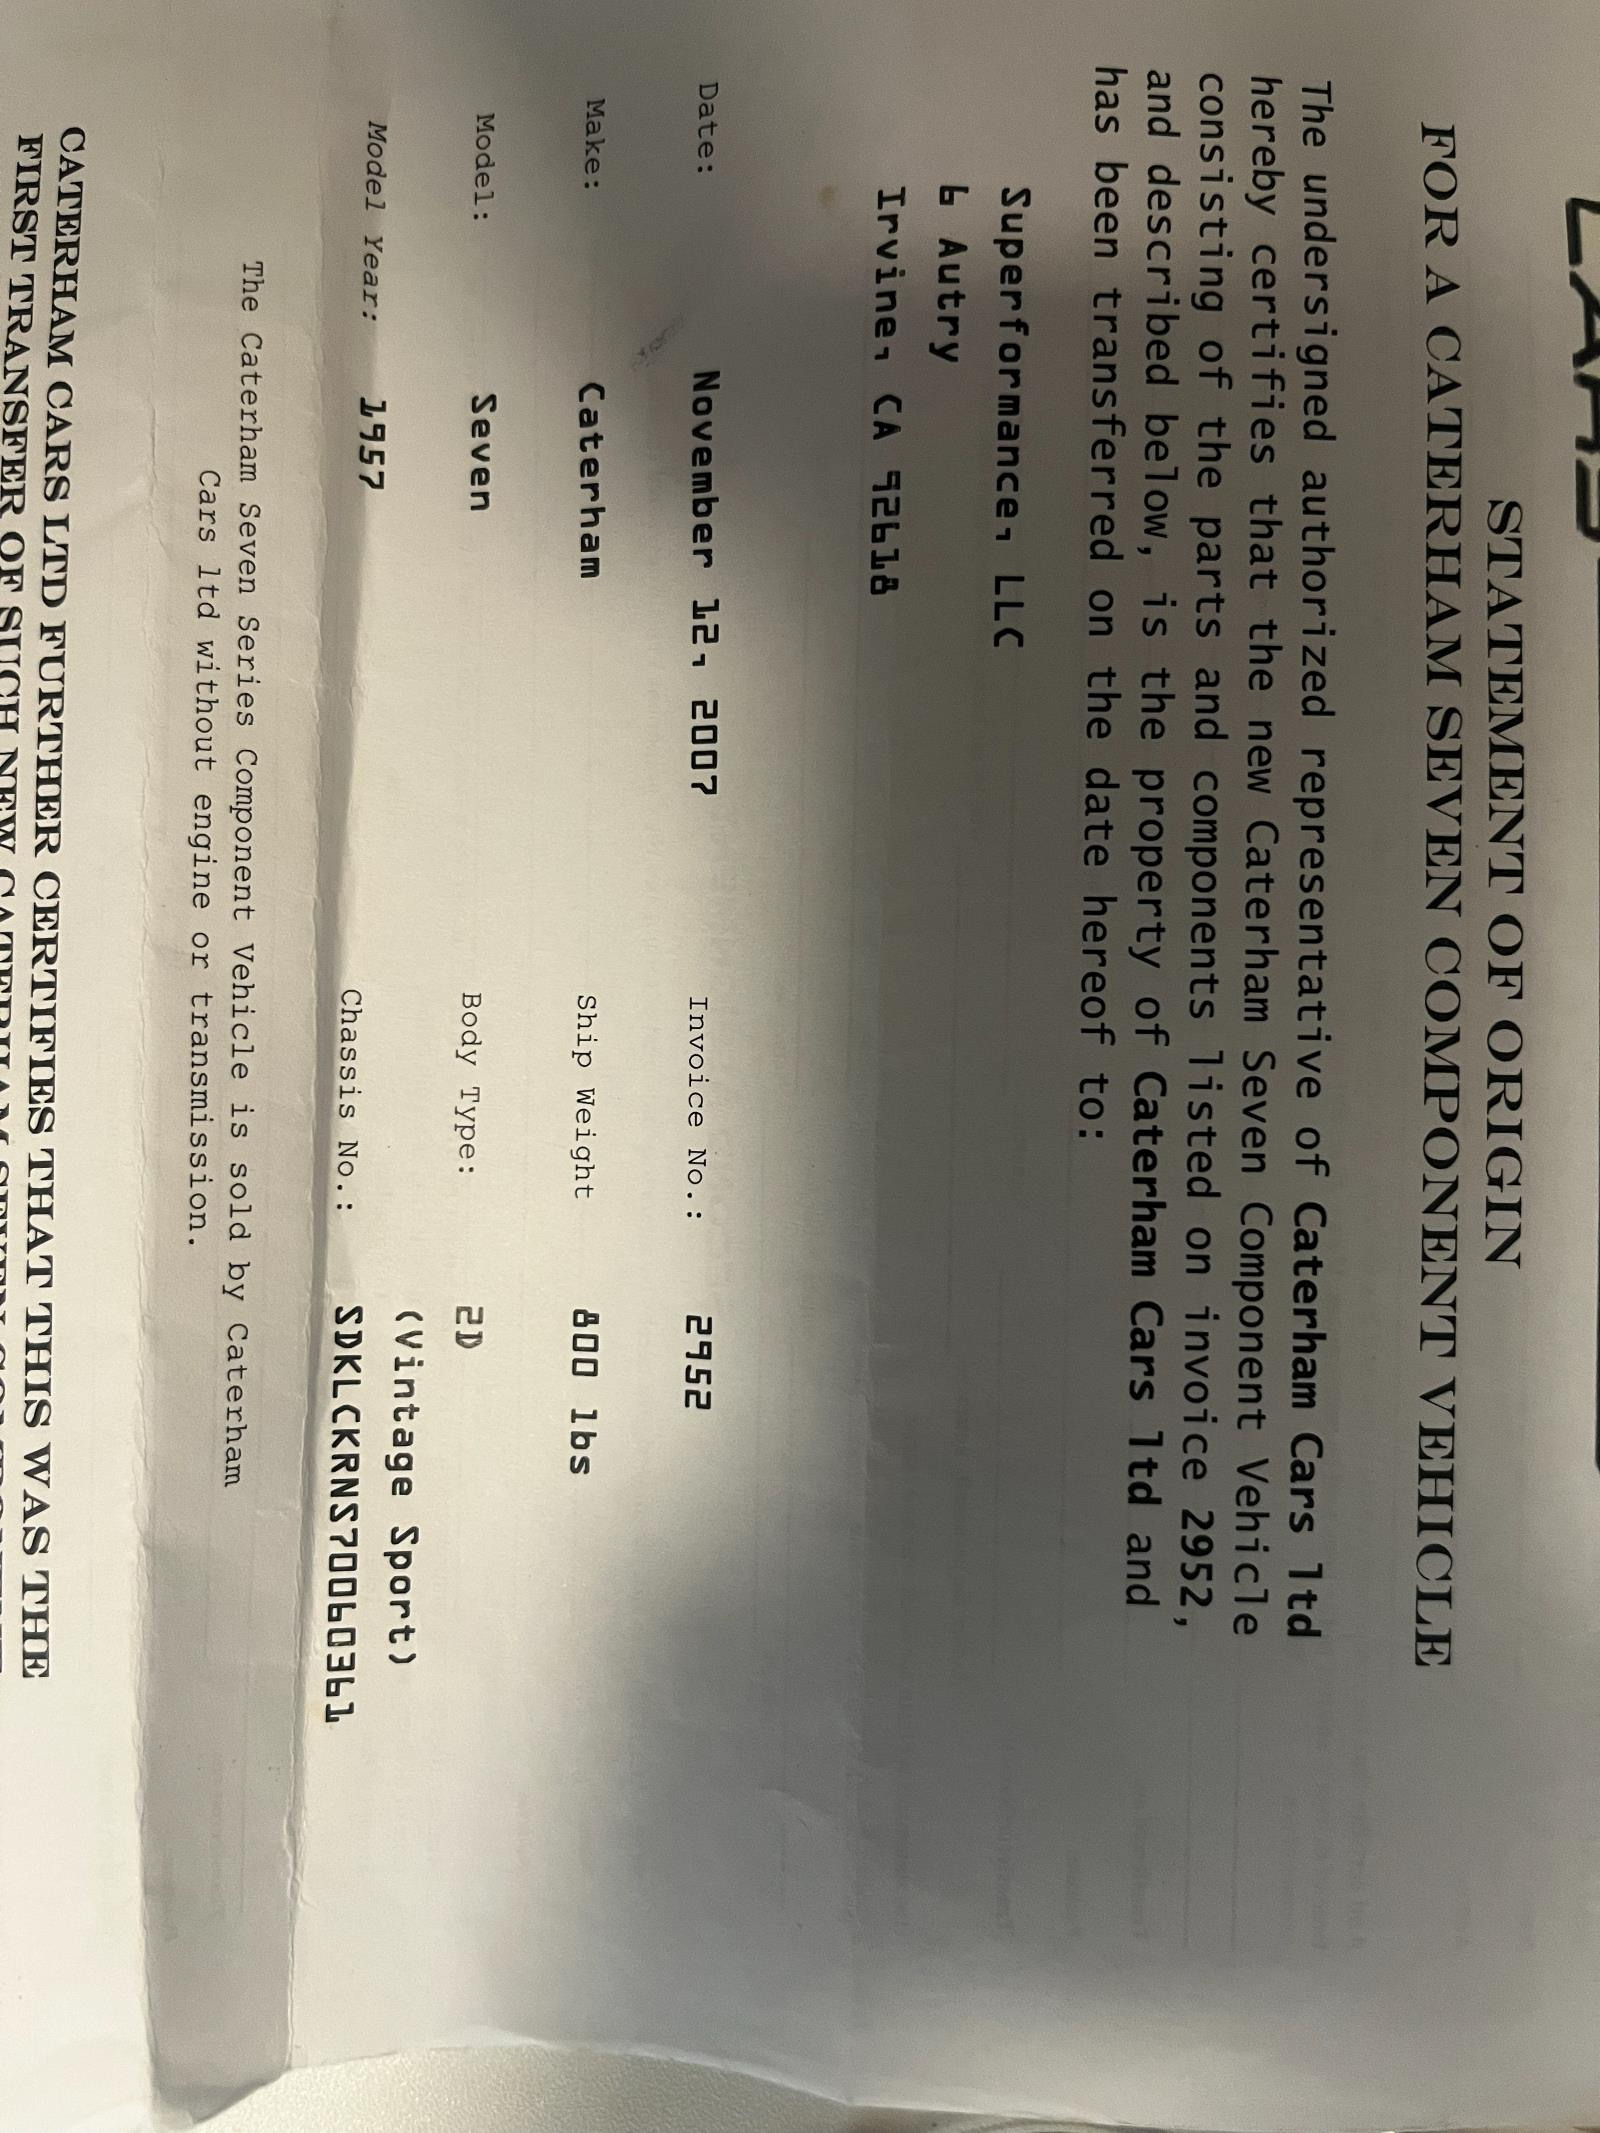
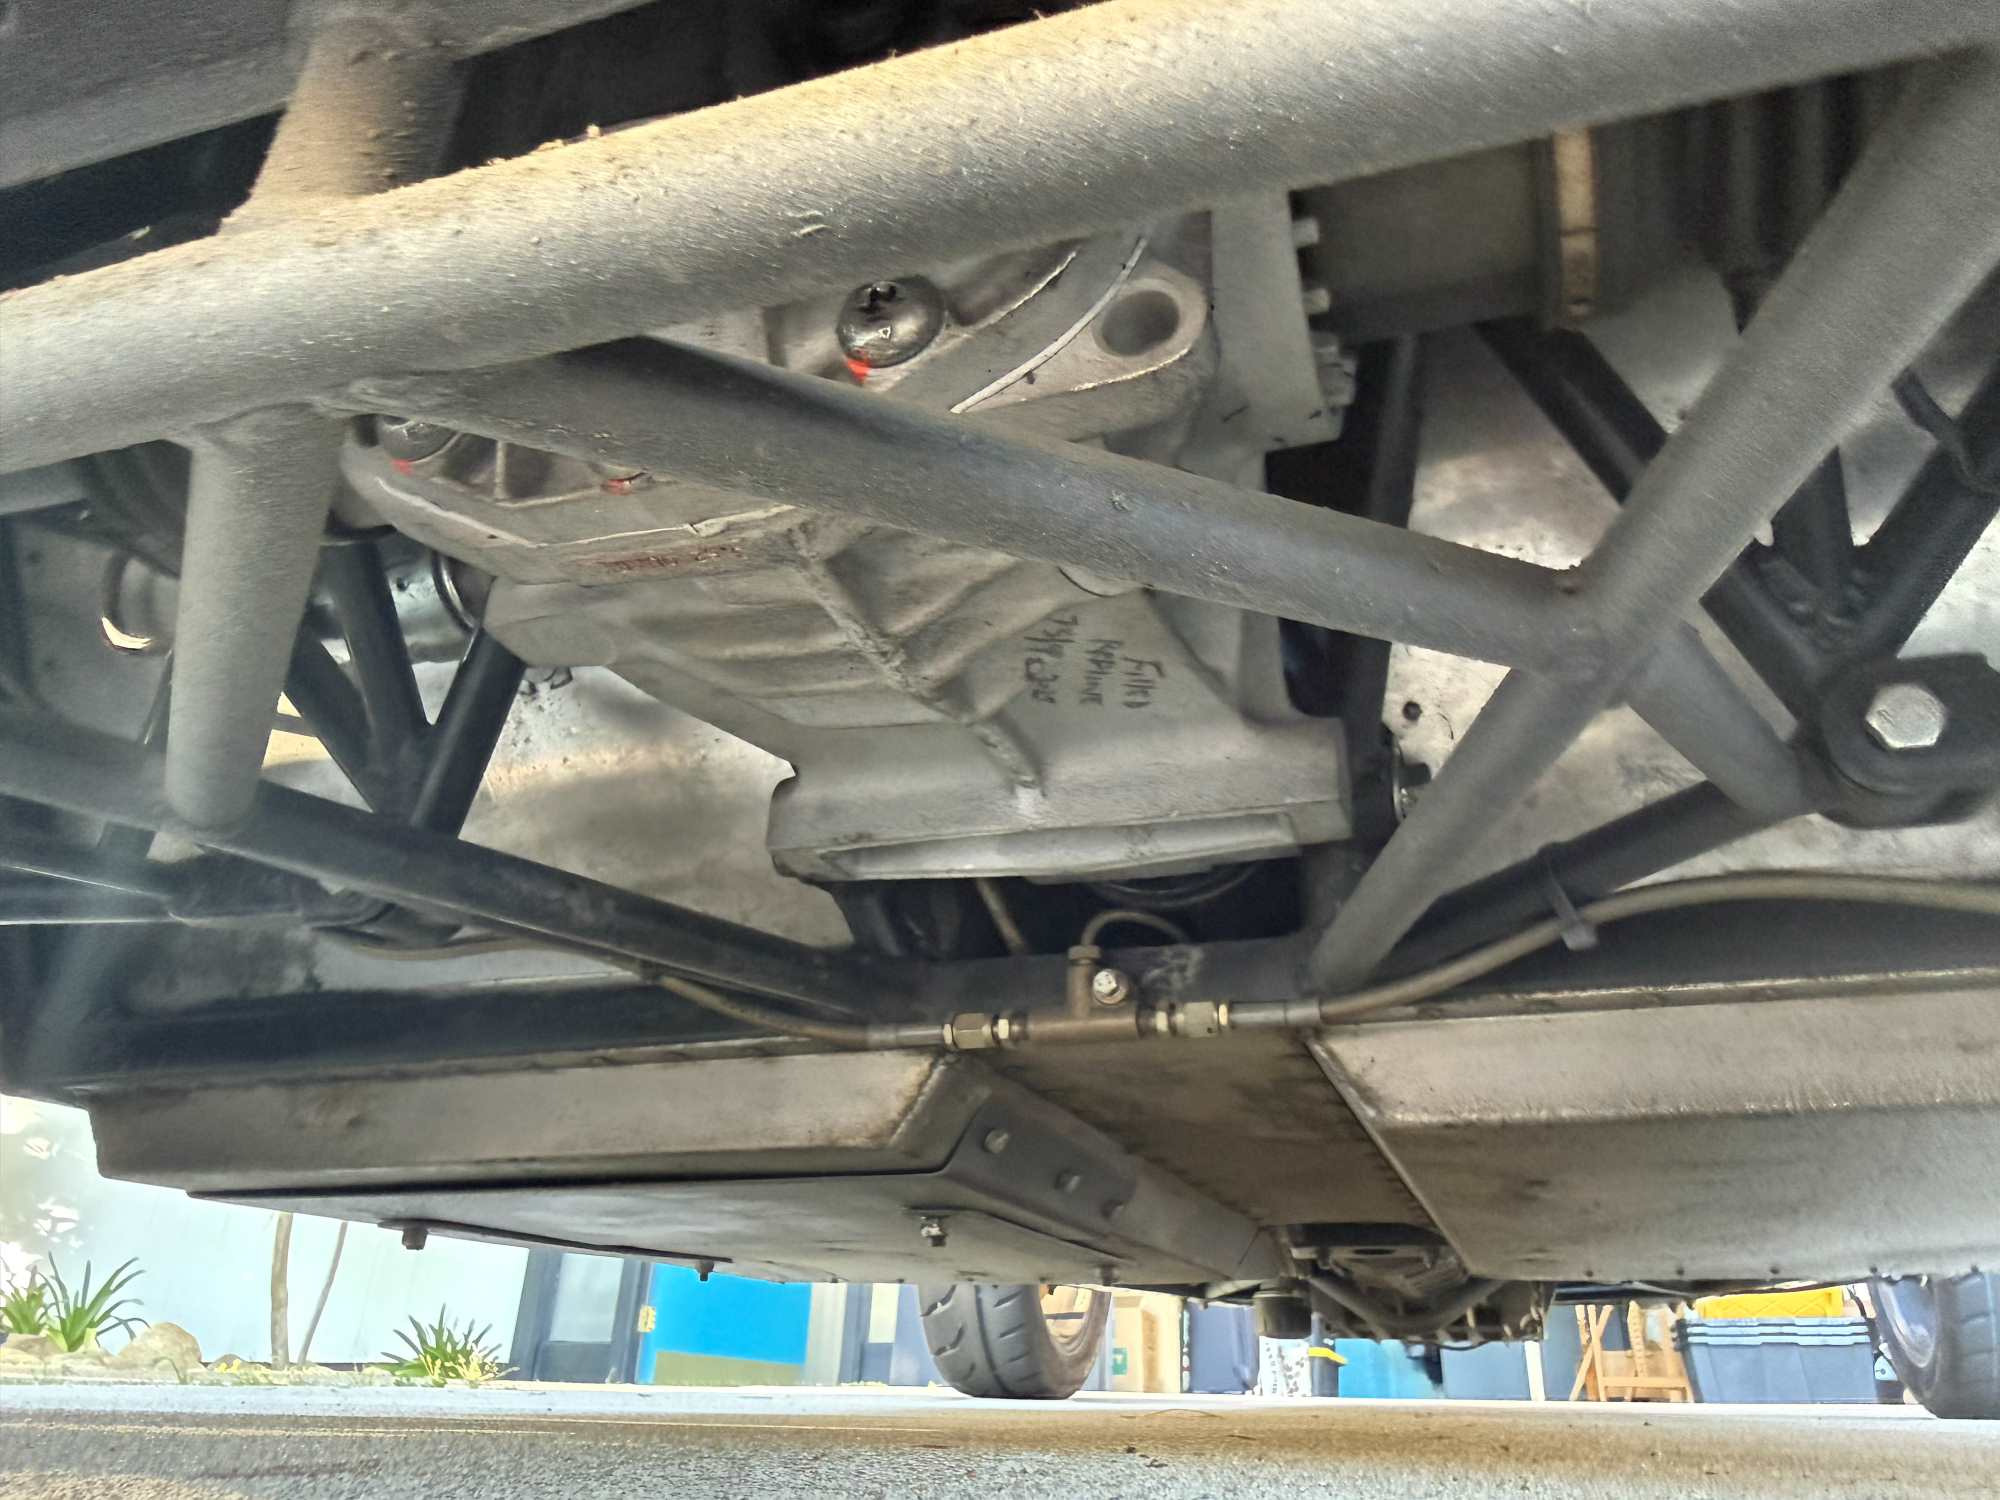
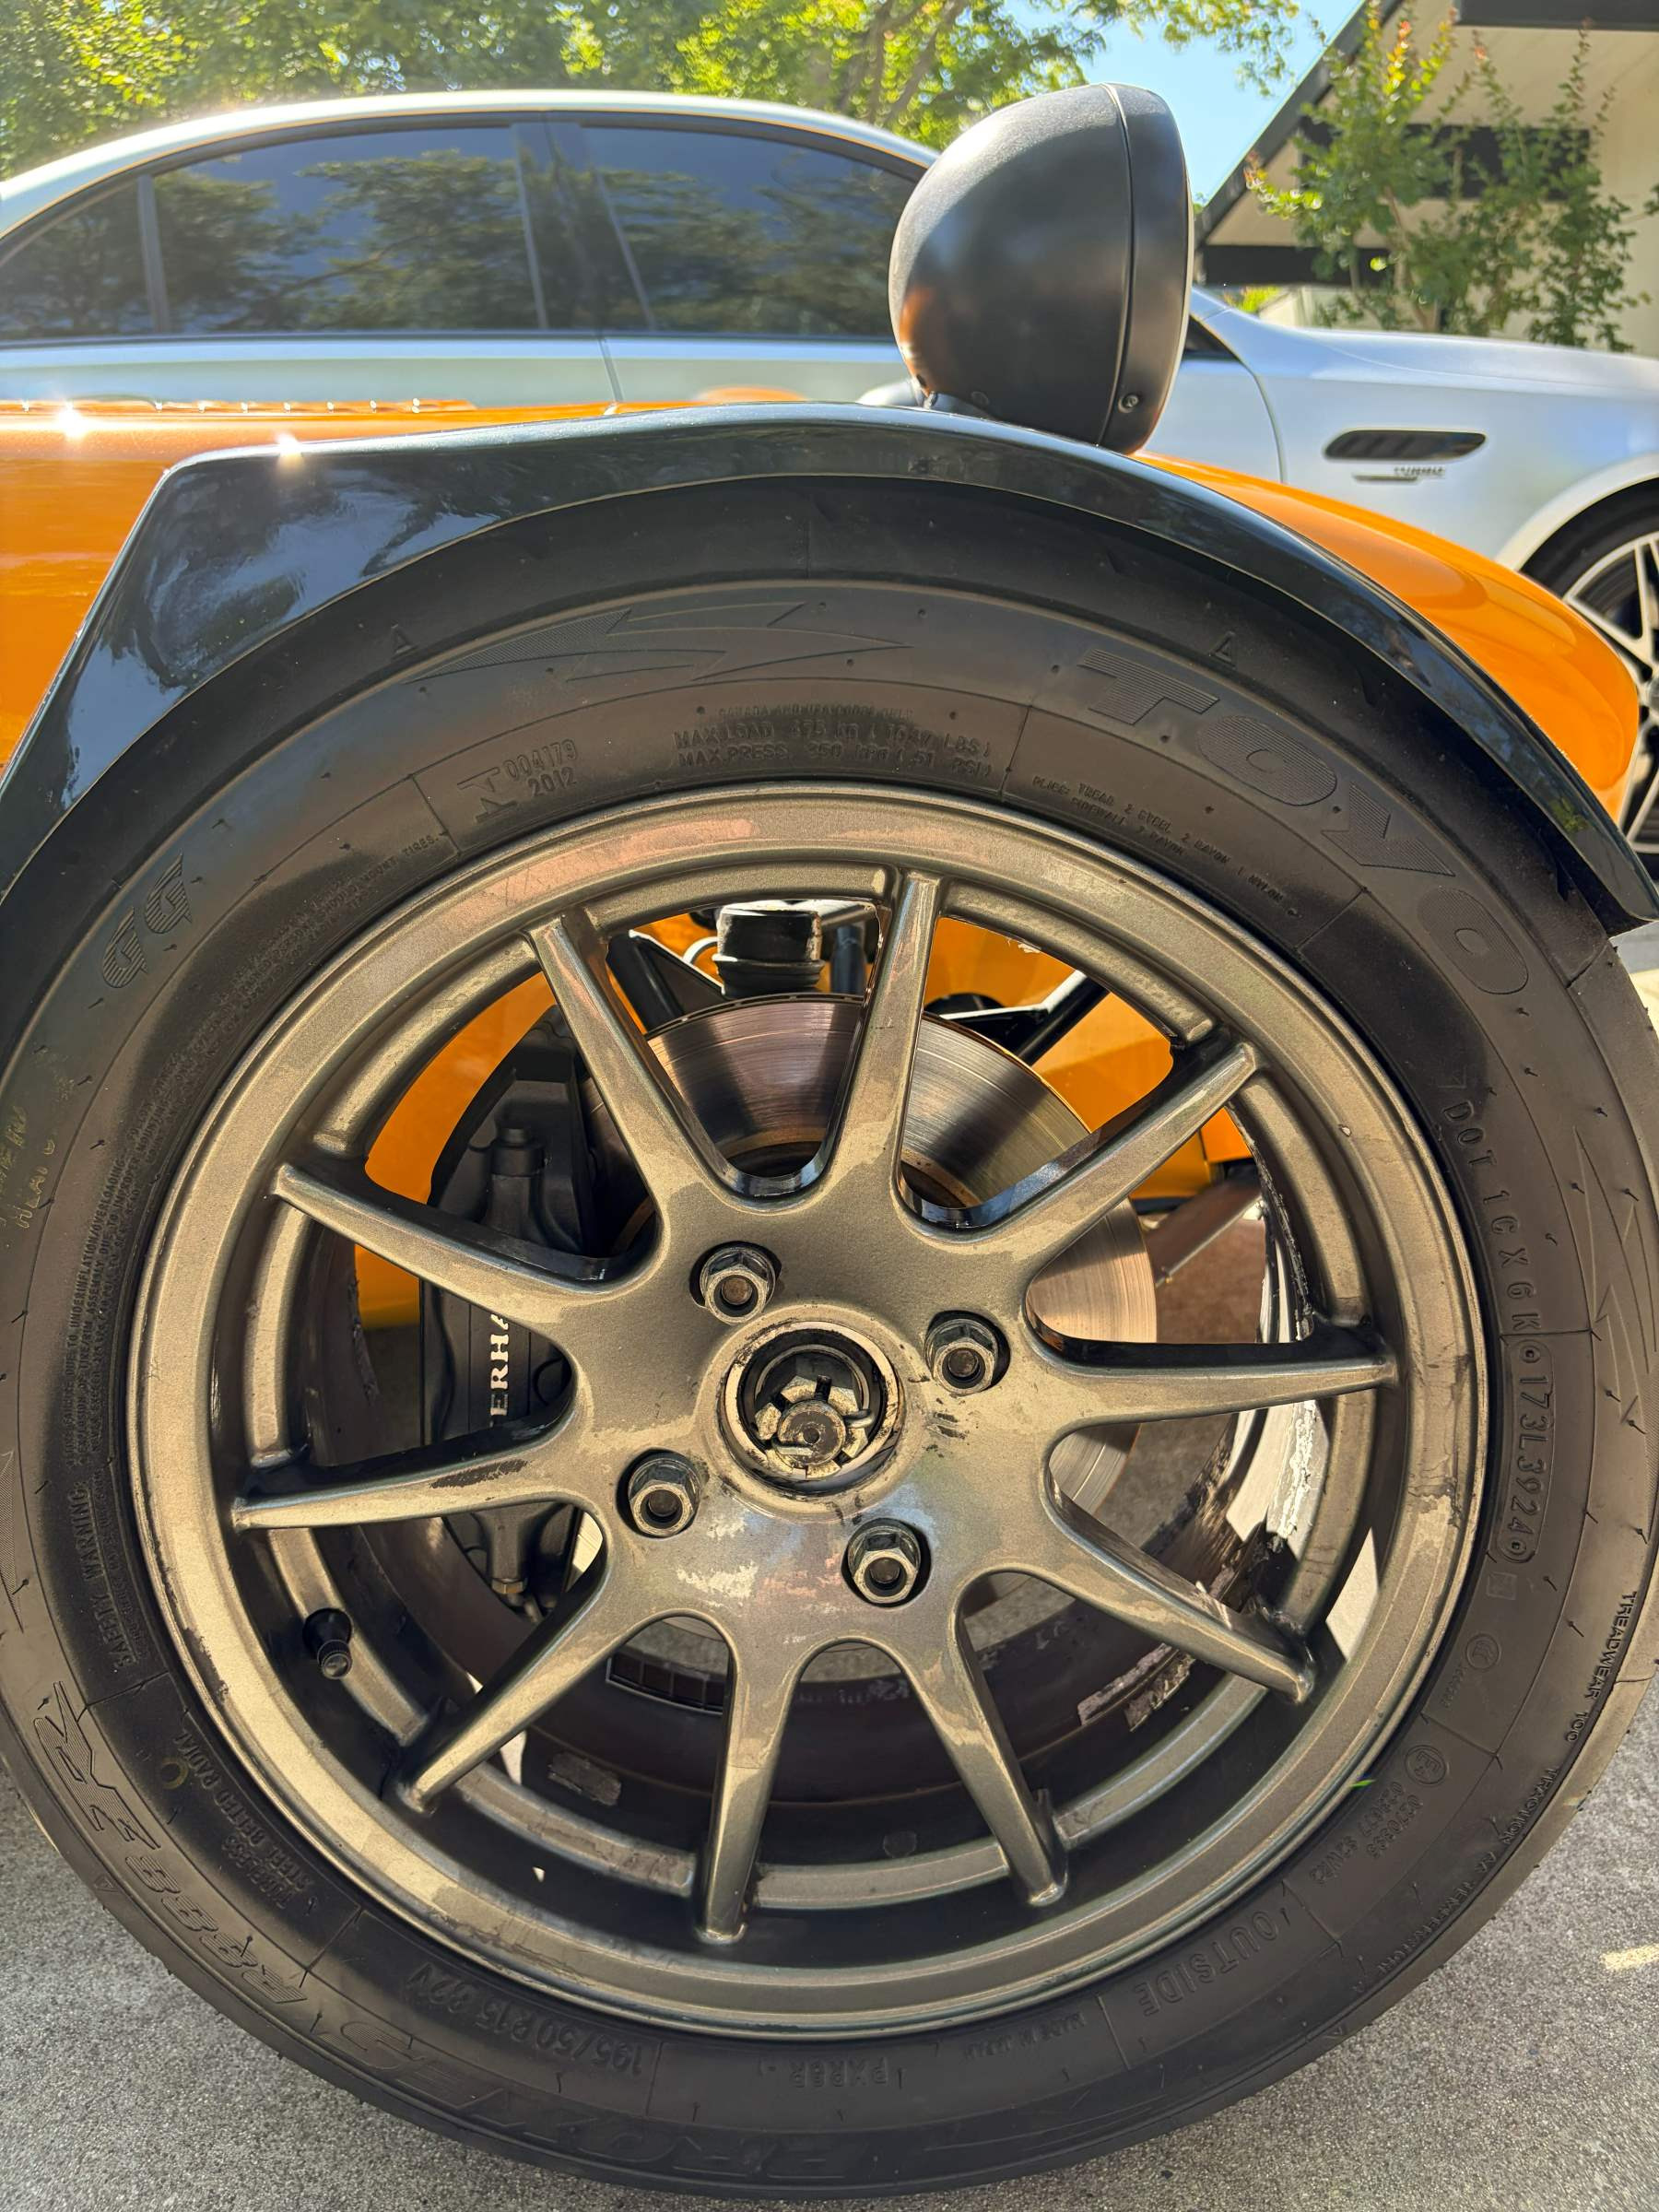
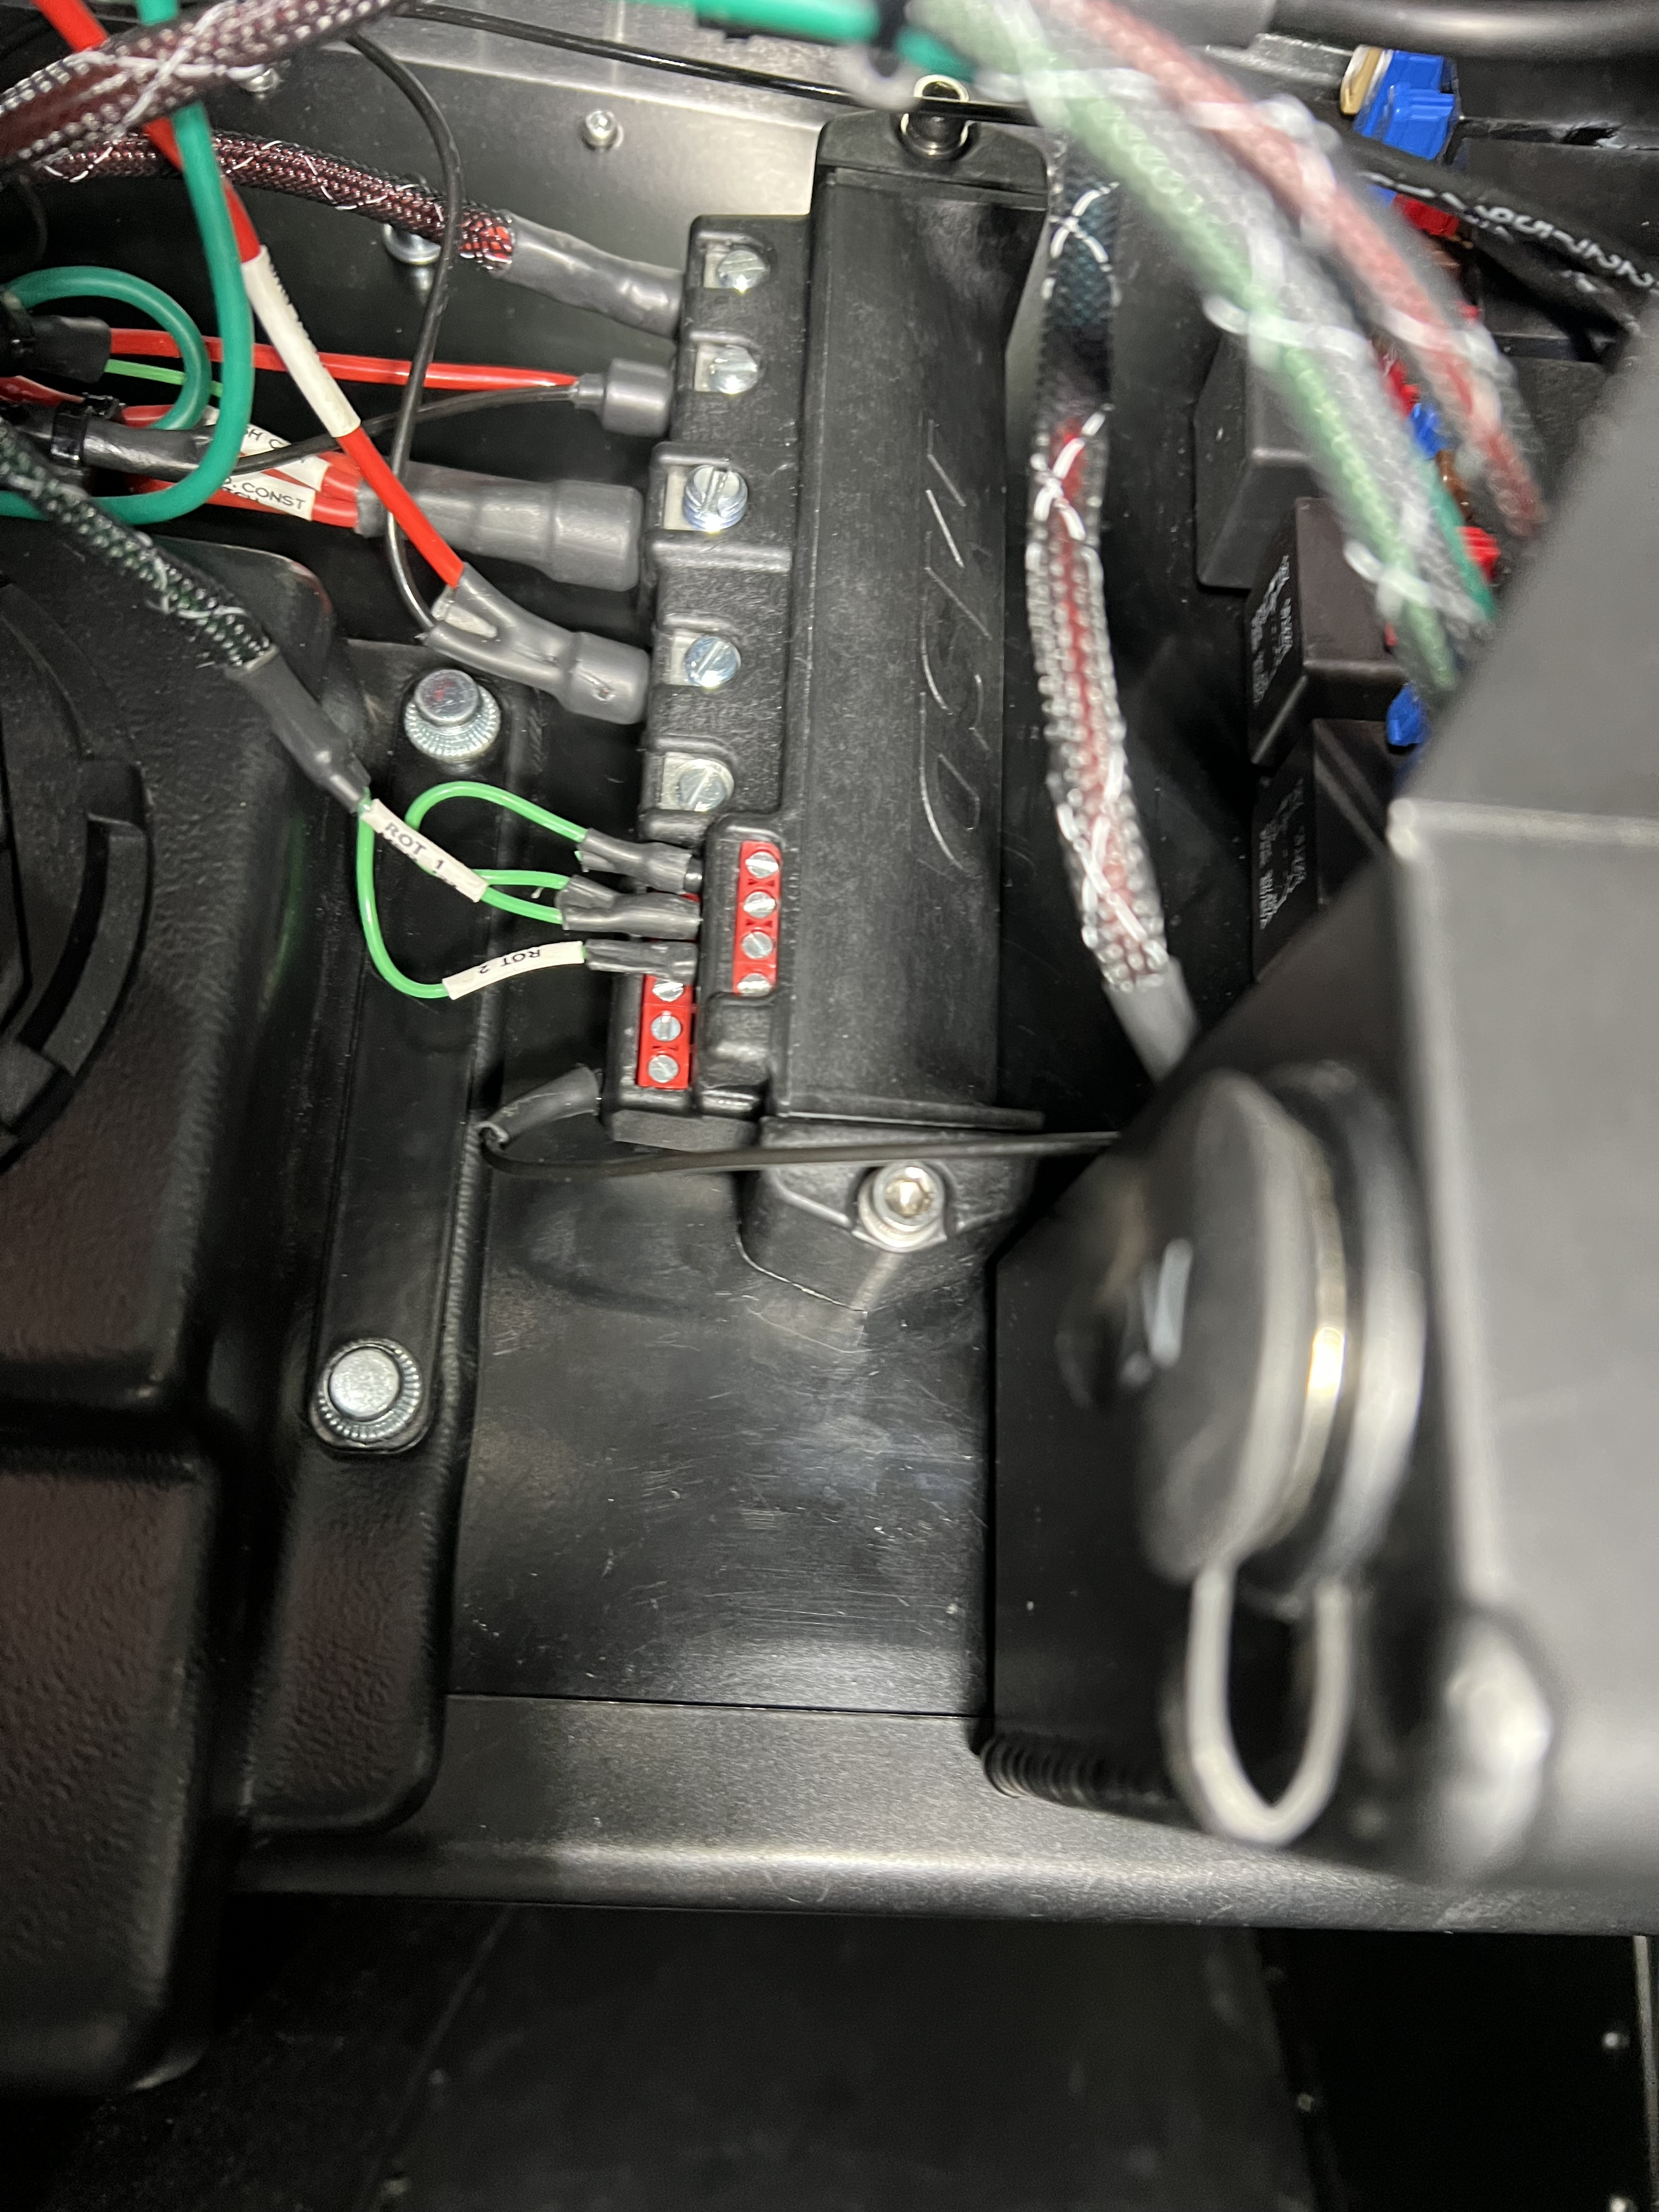
 THIS is not your typical Seven. The range-topper for over a decade, this specification commemorates 50 years of the Lotus/Caterham lineage (1957–2007). Finished in Ballistic Orange with black accents, this British icon is powered by the bespoke dry-sump Cosworth 2.3L Ford engine producing 260 hp, breathing through roller-barrel throttle bodies and a Westermann carbon ram-air intake. Power is delivered through Caterham’s own close-ratio 6-speed manual gearbox housed in a lightweight aluminum casing, paired with a 3.62 limited-slip differential. At just 1,395 lbs, performance is immediate and intense. The CSR 260 represents the most advanced evolution of the venerable Caterham platform, built around the upgraded CSR chassis—25% stiffer than standard—paired with fully independent double-wishbone rear suspension and pushrod inboard front suspension. The result is a Seven with markedly improved composure, grip, and stability, yet this upgraded version sacrifices none of the raw, analog driving experience. Legally registered in California in 2014 as an SPCNS with a 1957 Lotus designation, the car is permanently smog-exempt and retains its SB100 certification plaque in the engine bay. The car has current DMV tags and a clean title. Owned by the seller for 12 years, and with 7,300 miles on one of the last custom Cosworth crate engines to leave the line, the car presents in excellent condition following a mechanical refresh by Kampena Motors and a subsequent professional repaint in 2025. In December 2015, with chassis mileage at 4,985, the seller replaced the original engine with a brand-new Cosworth CSR260 crate engine of the same specification, as the original motor had several technical issues, incomplete service history, and had spent its life at 6,800 ft above sea level. The chassis has 12,200 miles since new, while the replacement engine has 7,300 miles and runs beautifully. The car has spent approximately two-thirds of its life canyon carving, blatting, and cruising, with the remaining third used on track. Key Highlights: • CSR chassis • Independent rear suspension (double-wishbone) • Pushrod inboard front suspension • Cosworth 2.3L dry-sump engine (260 hp) • Roller-barrel throttle bodies • Caterham close-ratio 6-speed manual gearbox (aluminum casing) • 3.62 limited-slip differential • Superlight roll cage, built-in fire suppression system, cutoff switch • Lowered floors, reinforced driver’s side, Tillet carbon/Kevlar seat, MOMO quick-release wheel, color-coded tonneau cover • AP brakes, uprated suspension, quick-ratio steering rack, dash-mounted shift-light sequencer • 15-inch alloys with new Toyo R888R tires all around Upgrades & Supporting Mods: • Westermann Motorsport carbon ram-air intake • Secondary oil cooler to better sustain track use • Reinforced rear diff mount/strut tower • Lightweight battery, reduced-drag lighting • New carbon rear protection panels Recent Service (2025, minimal use since): • New front brakes (calipers, discs, pads) • New half shaft • Differential refresh • Fuel lines replaced • Full service and brake flush • New Toyo tires front and rear Included with Sale: • Original order documentation & MSO • Clean Carfax • Extensive maintenance records • Full set of unused wheel bearings front and rear • Cat-delete pipe (standard exhaust with catalytic converter included) • Additional unused harnesses Not Equipped With: • Spare Tillet seat • Heater • Carpets (except transmission tunnel) One of the last Cosworth-powered CSRs, and arguably the most capable and complete Seven ever built. Engineered with true motorsport intent, this is an unapologetic and unforgettable enthusiast car—equally exhilarating on a country-road blat as it is on track. Worth repeating, even for those in the know: a 260 hp Caterham IS the therapy! And this one is ready for its next chapter. $53,000obo
-
- 6
-

-

-
Light from bright headlights immediately behind you will still reflect into your eyes. The extent that bothers someone or impacts their night vision for the road ahead is specific to the individual. Given the plethora of LED headlights and trucks/SUvs on the road, I find this issue more problematic today, and of course, it is compounded when the person travelling just a few car lengths behind doesn't realize their high beams are on. Been there/done that even with a day/night mirror fitted. As mentioned earlier, the convexity of this mirror is quite low. Much closer to a flat mirror than a traditional convex side mirror.
-
I have the blue tint on the little convex wedge mirrors I bought for the Cayman. I thought maybe the blue was the tear-off you get on so many products nowadays. Does not seem so. I did not know the blue was supposed to be a nighttime thing. Does not seem to be something you would need in a convex wedge mirror: The convex means the headlight will appear small and that the light intensity is spread-out. The wedge means that following cars not in the danger zone should not be in your field of view. The larger wedge mirrors I have on the F-150 have no blue coating and I certainly don't regret its absence. 7 relevance: The convex side mirrors I bought for the Birkin seem to be working well. The I-assume-stock Birkin windscreen mirror seemed a little low.* I noticed that the ball was higher on the mirror than central, so turning the mirror 180 degrees raised it nicely. *. I'm only about 5'9", but have shortish legs. I therefore sit tall in the saddle. The antithesis of Danny Kaye and Conan O'Brien.
-
Have drill, will travel. The carbon is very easy to modify, but the plastic socket around the ball has to be altered and no way to avoid nicking the ball a bit.
-
I've done touring through very hot areas and recommend a small, insulated hydration pack with straps like this one, which is thin enough to stow behind the seat and hangs from the headrest. Fill it up with mostly ice before you leave the hotel in the morning, and you'll have cool water later in the day when you need it. The bite tube makes easy to hydrate while driving, and the location keeps it out of the way. https://www.amazon.com/Hydrapak-HydraSleeve-Insulated-Shape-Shift-Low-Profile/dp/B0BRBR82BG
-
I'll be at Palmer on Saturday 5/16 driving my Caterham. Our little group will be driving a turbo-Exocet, a Van Dieman sports racer, a K-powered BRZ, and my Cat. Rides will be available in the Exocet and Caterham in case anyone wants to get a taste of the track. You just have to sign a waiver and have a helmet. Palmer is a fun track, hope to see some other Sevens there! MassTuning TrackFest (May 16, 2026)
-

Rear view mirror deserves replacing
theDreamer replied to Xhilr8n's topic in General Sevens Discussion
Well done you! Now do you make house calls? -
No personal experience but please spend time to watch this series at night or whenever, there are 3 of 4 episodes where the guys go into their experience and suggestions They have road tripped A LOT on their channel, doing cross country drives at least once a year with different missions in different compromised cars
-
 boomstick0 joined the community
 -
If you are worried about wire bulk. I took my first dive into wiring to add some auxiliary power in my 420. It was over kill but I used mil spec wiring. I was shocked at how thin the wires are. (And it is not cheap. But short runs shouldn’t be too bad ). a quick search showed the headlights draw up to 5amps which 22 gauge wire should handle. But if you go up to 20 gauge I think that’s rated up to 8.5amps. The wire is super thin and won’t bulk up with multiple runs. But it is stiffer than regular wire. but please do your research on sizing the wire correctly. not that you likely want to rewire the entire assembly https://www.milspecwiring.com/22AWG-Solid_c_400.html