All Activity
- Today
-
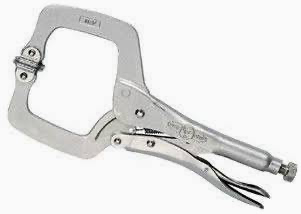
Oh wow that looks handy! That being said, my friend was just installing grommets on a tarp and couldn't use a hammer so he used a plier clamp with the normal tool and ... Seems pretty similar without buying a new tool* *assuming you've done any cabinet work recently and bought that style of clamp The FLIR gun does sound handy as the next step after an IR thermometer. I bought one with the laser pointer AND a contact probe so I could do two jobs with one tool. Very recommended when I was chasing cooling system gremlins.

-
Check for an alternator repair shop.
-
The one that came off is a Magneti Marelli 54022458 A127-55. I’ve located a few that might work but if anyone has already done the leg work and has a source or a part number I’d sure appreciate it. 1992 Supersprint with 1400 k-series https://www.classic-spares.com/product/rac057-lucas-a127-55-amp-alternator/ https://www.ebay.com/itm/173634751119
-
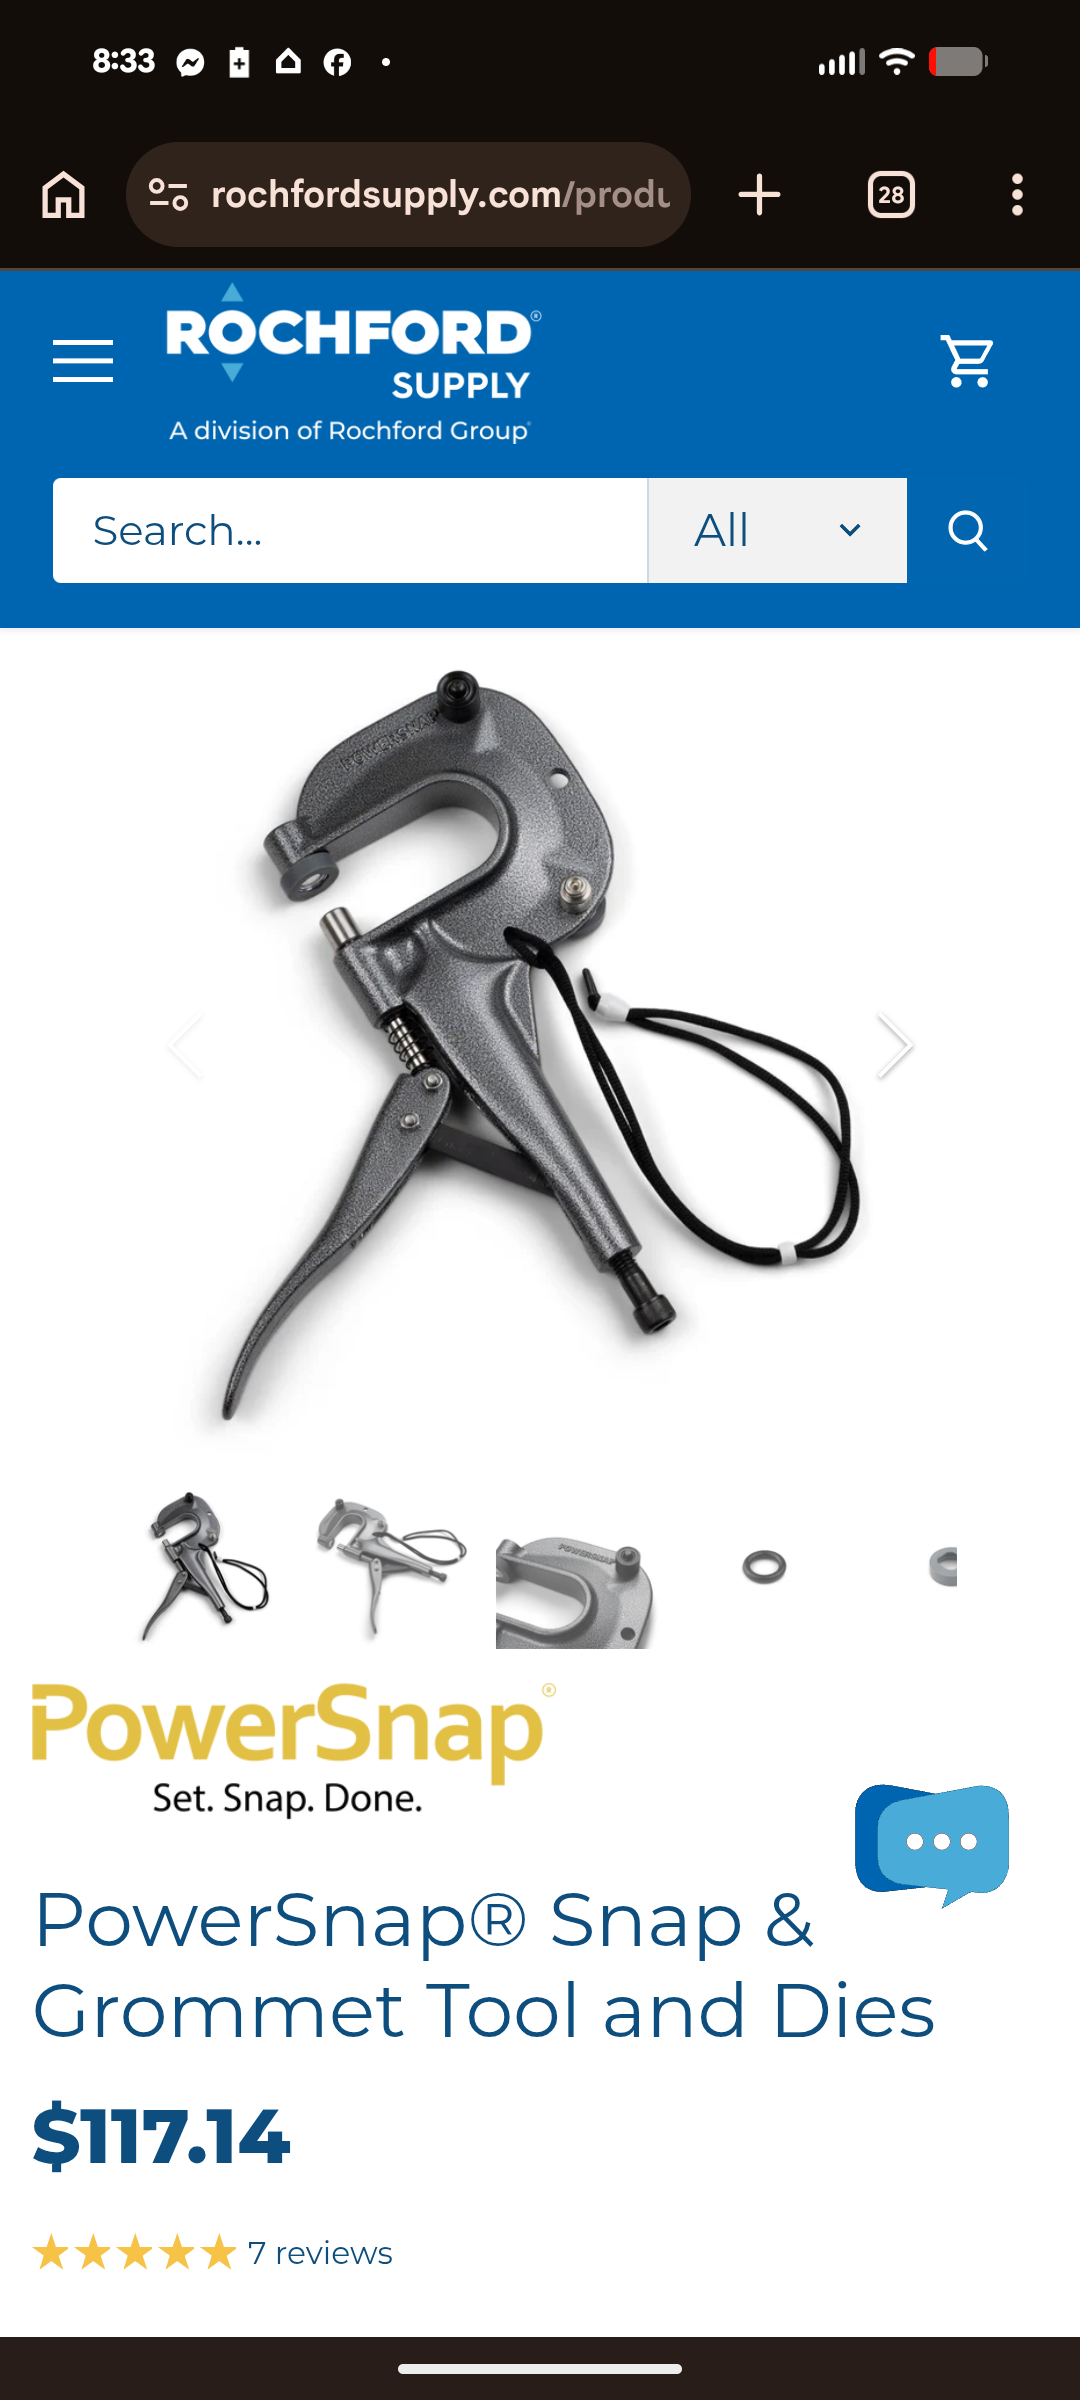
Not going funny but rather sincere. The tool for snaps was expensive but made any job on the Cat that required them a breeze Also Thermal infrared (Flir) gun is quite useful for car and home use.
- Yesterday
-
I was seeing if anyone had started some threads on cool handy tools (I'll do that soon) and found this instead. Sure is an oldie but it it's worth a bump!
-
I've often wondered about this route in abstract, as a Pectel T2 dying is going to (likely) be an extended amount of downtime locating a replacement. Not that it's happened to me, but it's on my mind. Of course, switching ECUs and having to re-tune from scratch would also be an extended downtime (for me, anyway), even if it was "plug and play" with a harness. Either way would seem to beat re-wiring the whole thing though! I try not to think about it too much.
-
Very nice. I have been considering one of those. Scott
-
You could reach out to https://www.stmotorsport.net/product-page/obd-diagnostic-connector-female-mbe-ecu-comms-motorsport-rally-race and ask about the MBE plug you need and if they could do a harness or partial harness and you could just wire it to Haltech (or other) standalone ECU plugs. You need the MBE ecu plug and a pinout list for the MBE. Haltech sell plug and pin kits for all of their current gen ECUs and all of the pinouts for the ECUs are available on their site. Depending on features you want, a Haltech 750 or 1500 might be enough. You would likely want to add a WB o2 and that will add some complexity to the install but make tuning at home and auto tuning with the Haltech a reality for you. Do a youtube search on Haltech autotune and you'll see what I mean. https://youtu.be/b_ly9YZodxw?si=3HahDUoV28-c9klw There are lots of resources for DIY tuning and wiring if you want to learn a new skill. There are active Haltech FB groups and lots of folks on those groups who run speed and wiring shops in North America that could help if you don't want to do it yourself. OR, like you say, just buy an unlocked MBE and it will save you much of the wiring hassle and you just need to find someone to tune it. You could likely find someone to provide you a good base map to start from. You might ask yourself as well what you'd gain and is it worth it. if you don't have drivability issues now it might not be worth the spend from a performance perspective. Scott
-

The Regular Summary of Classified Ads of Se7ens Found For Sale
JohnCh replied to Croc's topic in Cars For Sale
420R SV on BaT: https://bringatrailer.com/listing/2023-caterham-seven-420r/ -
I have a locked MBE ECU in my 2008 Sigma 150. The tune on the 150s was never great from caterham. I have two options I can order and unlock unit from the UK and try to find someone here to tune it in Canada or get it tuned remotely from the UK. The other option is to do something like a haltech and just create an adapter between the caterham harness and the haltech. I would prefer not to cut the existing wires in case of next owner wants to go back to the stock ECU for whatever reason down the road. Has anyone had anybody create an adapter? I might give it a go myself but I don't have patience for wiring. Doesn't even need to be haltech anything that is common in the North America market would suffice.
-
Piling onto this comment, another place where people go wrong -- including Caterham -- is the sensor mounting orientation. Sensor manufacturers recommend positioning it at least 10 degrees above horizontal to minimize the condensation pooling on the tip.
-
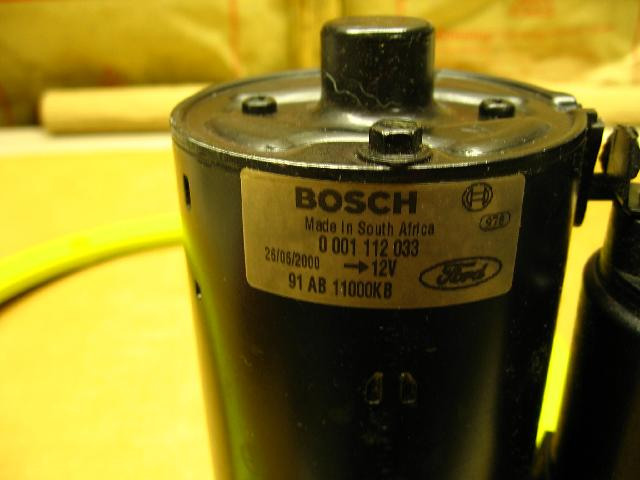
 Looks like the one in my green Birkin. More about that later. What I think are Bosch numbers in the USA are: Bosch Starter - New - SR7559N Bosch Starter - Remanufactured - SR7559X After success with getting a new starter in the (Birkinized) Caterham, today I install a starter in the green Birkin. These two starters are marketed as different brands with different part numbers. They appear to have been remanufactured in the same place in Mexico. More details after I get this second one in and tested.
 -
This is a common misconception about oxygen sensors and gauges. Oxygen sensors don't read AFR, they read Lambda. Lambda doesn't change with the type of fuel, and Lambda 1 is always stoichiometric regardless of fuel. The gauge converts the Lambda reading to AFR based on a user configurable setting which is a multiplier of stoich AFR * Lambda. By default this setting tends to be 14.7AFR = Lambda 1 for the gasoline scale we are used to. As a result, an engine idling with an AFR reading of 14.7 but running E85 doesn't actually have a 14.7:1 ratio in the exhaust, but instead 9.8:1 . The sensor is reading Lambda=1 (9.8:1 for E85), but the gauge has converted it to the gasoline scale. This of course changes if you modify the scale in your gauge. @Mudder The AEM X series gauges are good and reliable. Install the oxygen sensor behind the collector of your 4-1 header. It's also a good idea to wire the controller in such a way that it doesn't heat the sensor until the engine is running to prevent condensation from damaging the sensor.
-
 I just found another folder with photos of a Birkin starter. Not sure how I missed this before.
-
I may be using TPU for a tricky airbox to air hose connection in another car. I'll be interested to hear how things go for you.
-
 looping2w joined the community
 -
Thanks @JohnCh It’s nice to hear about PET. I work in the industry and actually tried developing a recycled PET filament about a decade ago. It didn’t gain much traction at the time, so it’s great to hear it’s being used now. It’s a good material and readily available. I’ve also been experimenting with high-durometer TPU in the engine bay. I’ll report back on how that goes.
-
I average just shy of 20mpg with regular cruising at 80 which puts my tach at 4100 rpm. More spirited drops from there a bit.
-
These cars have terrible aero. At over 100mph, mpg could drop pretty far...
-
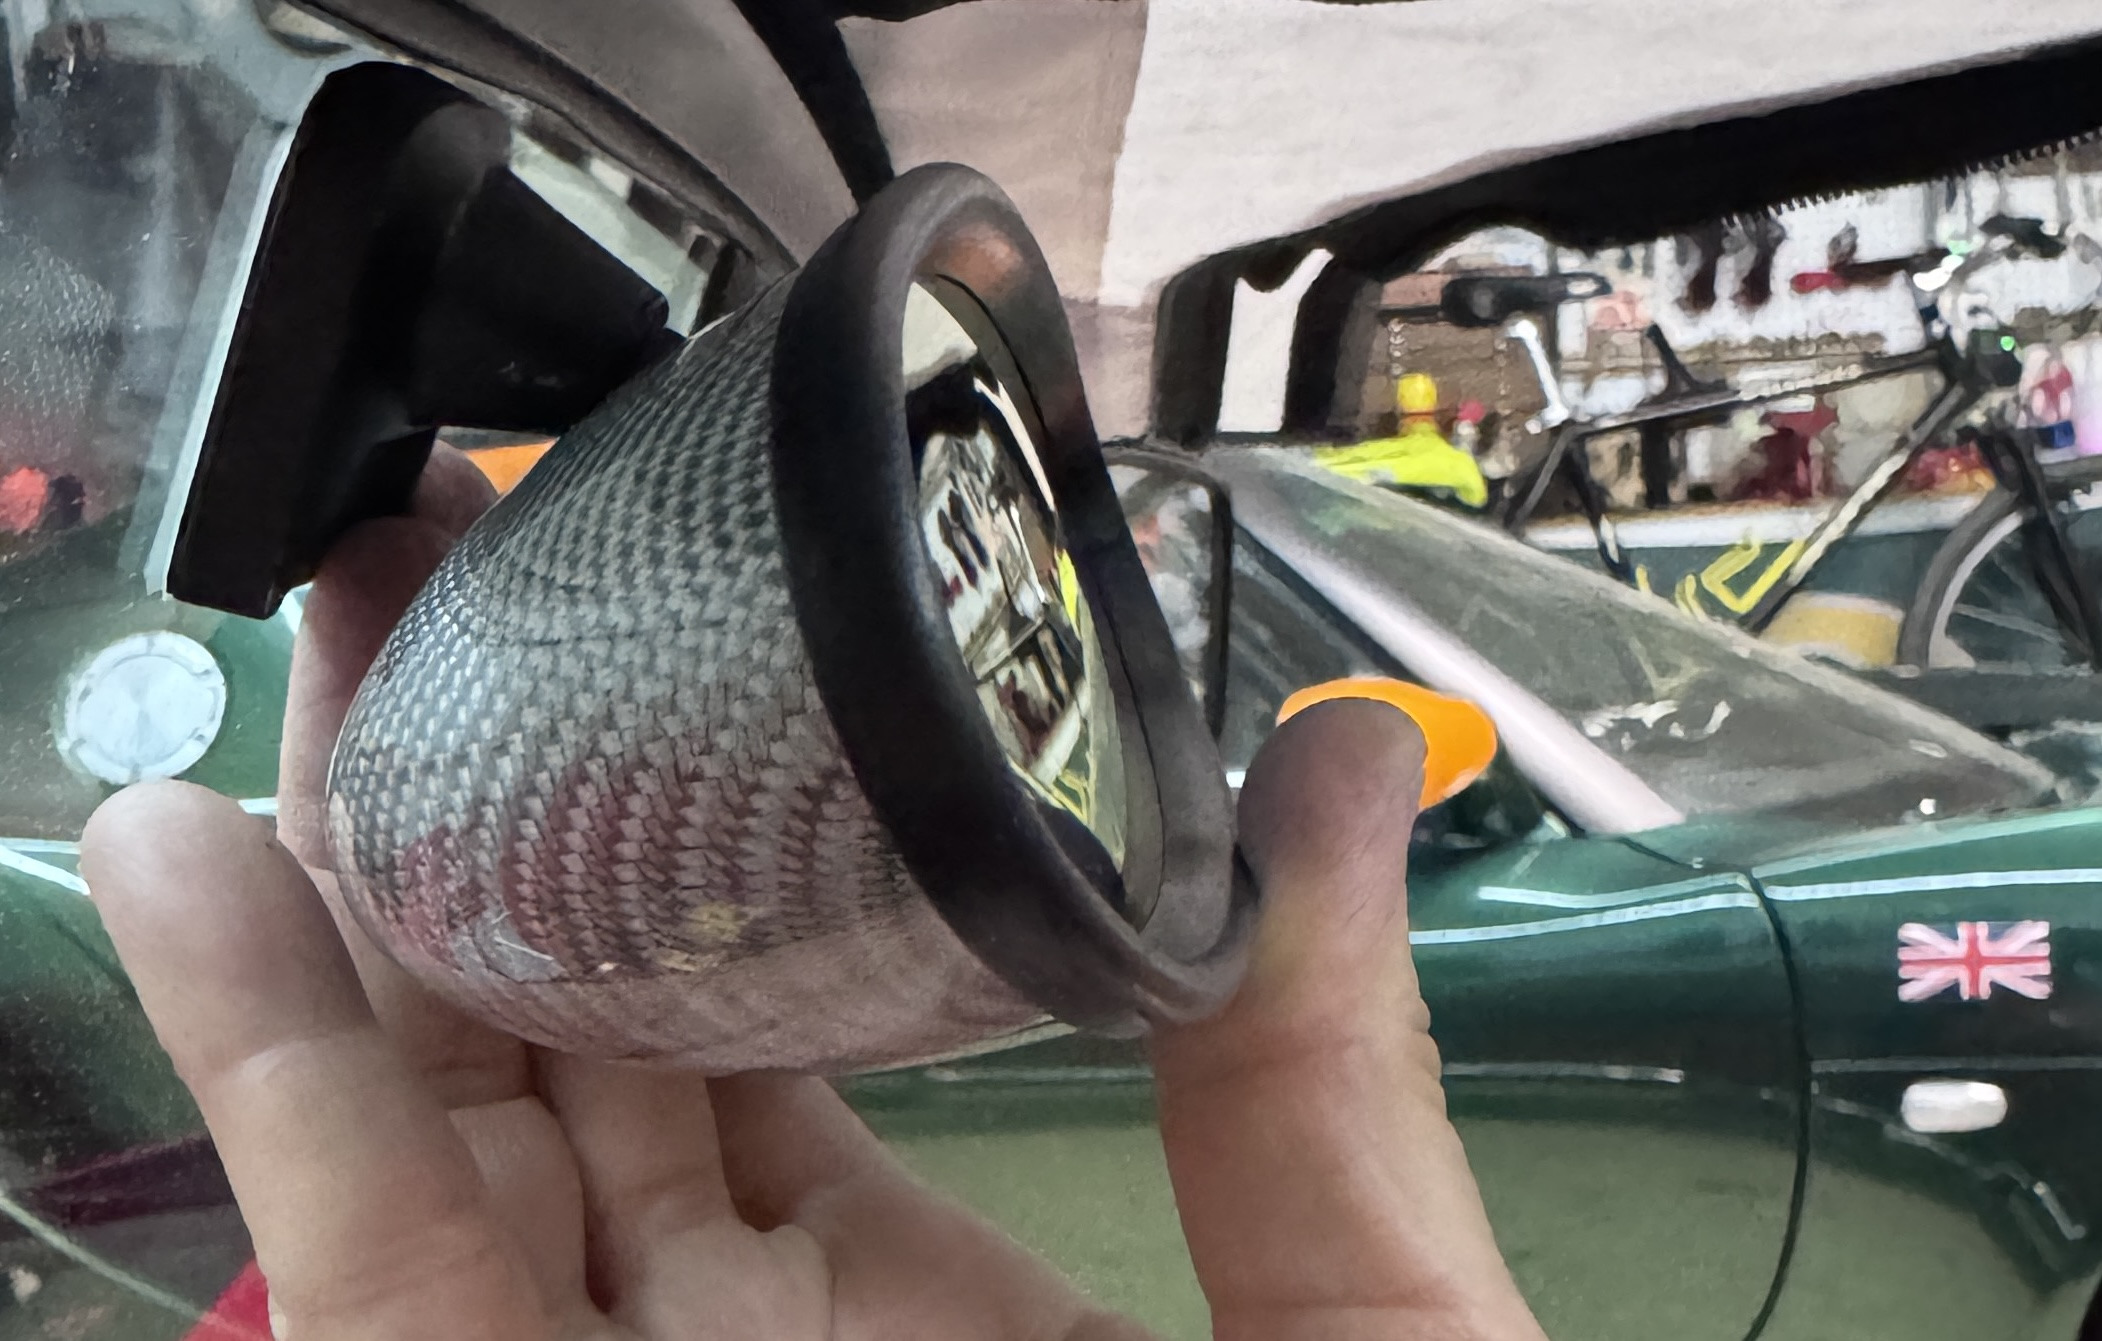
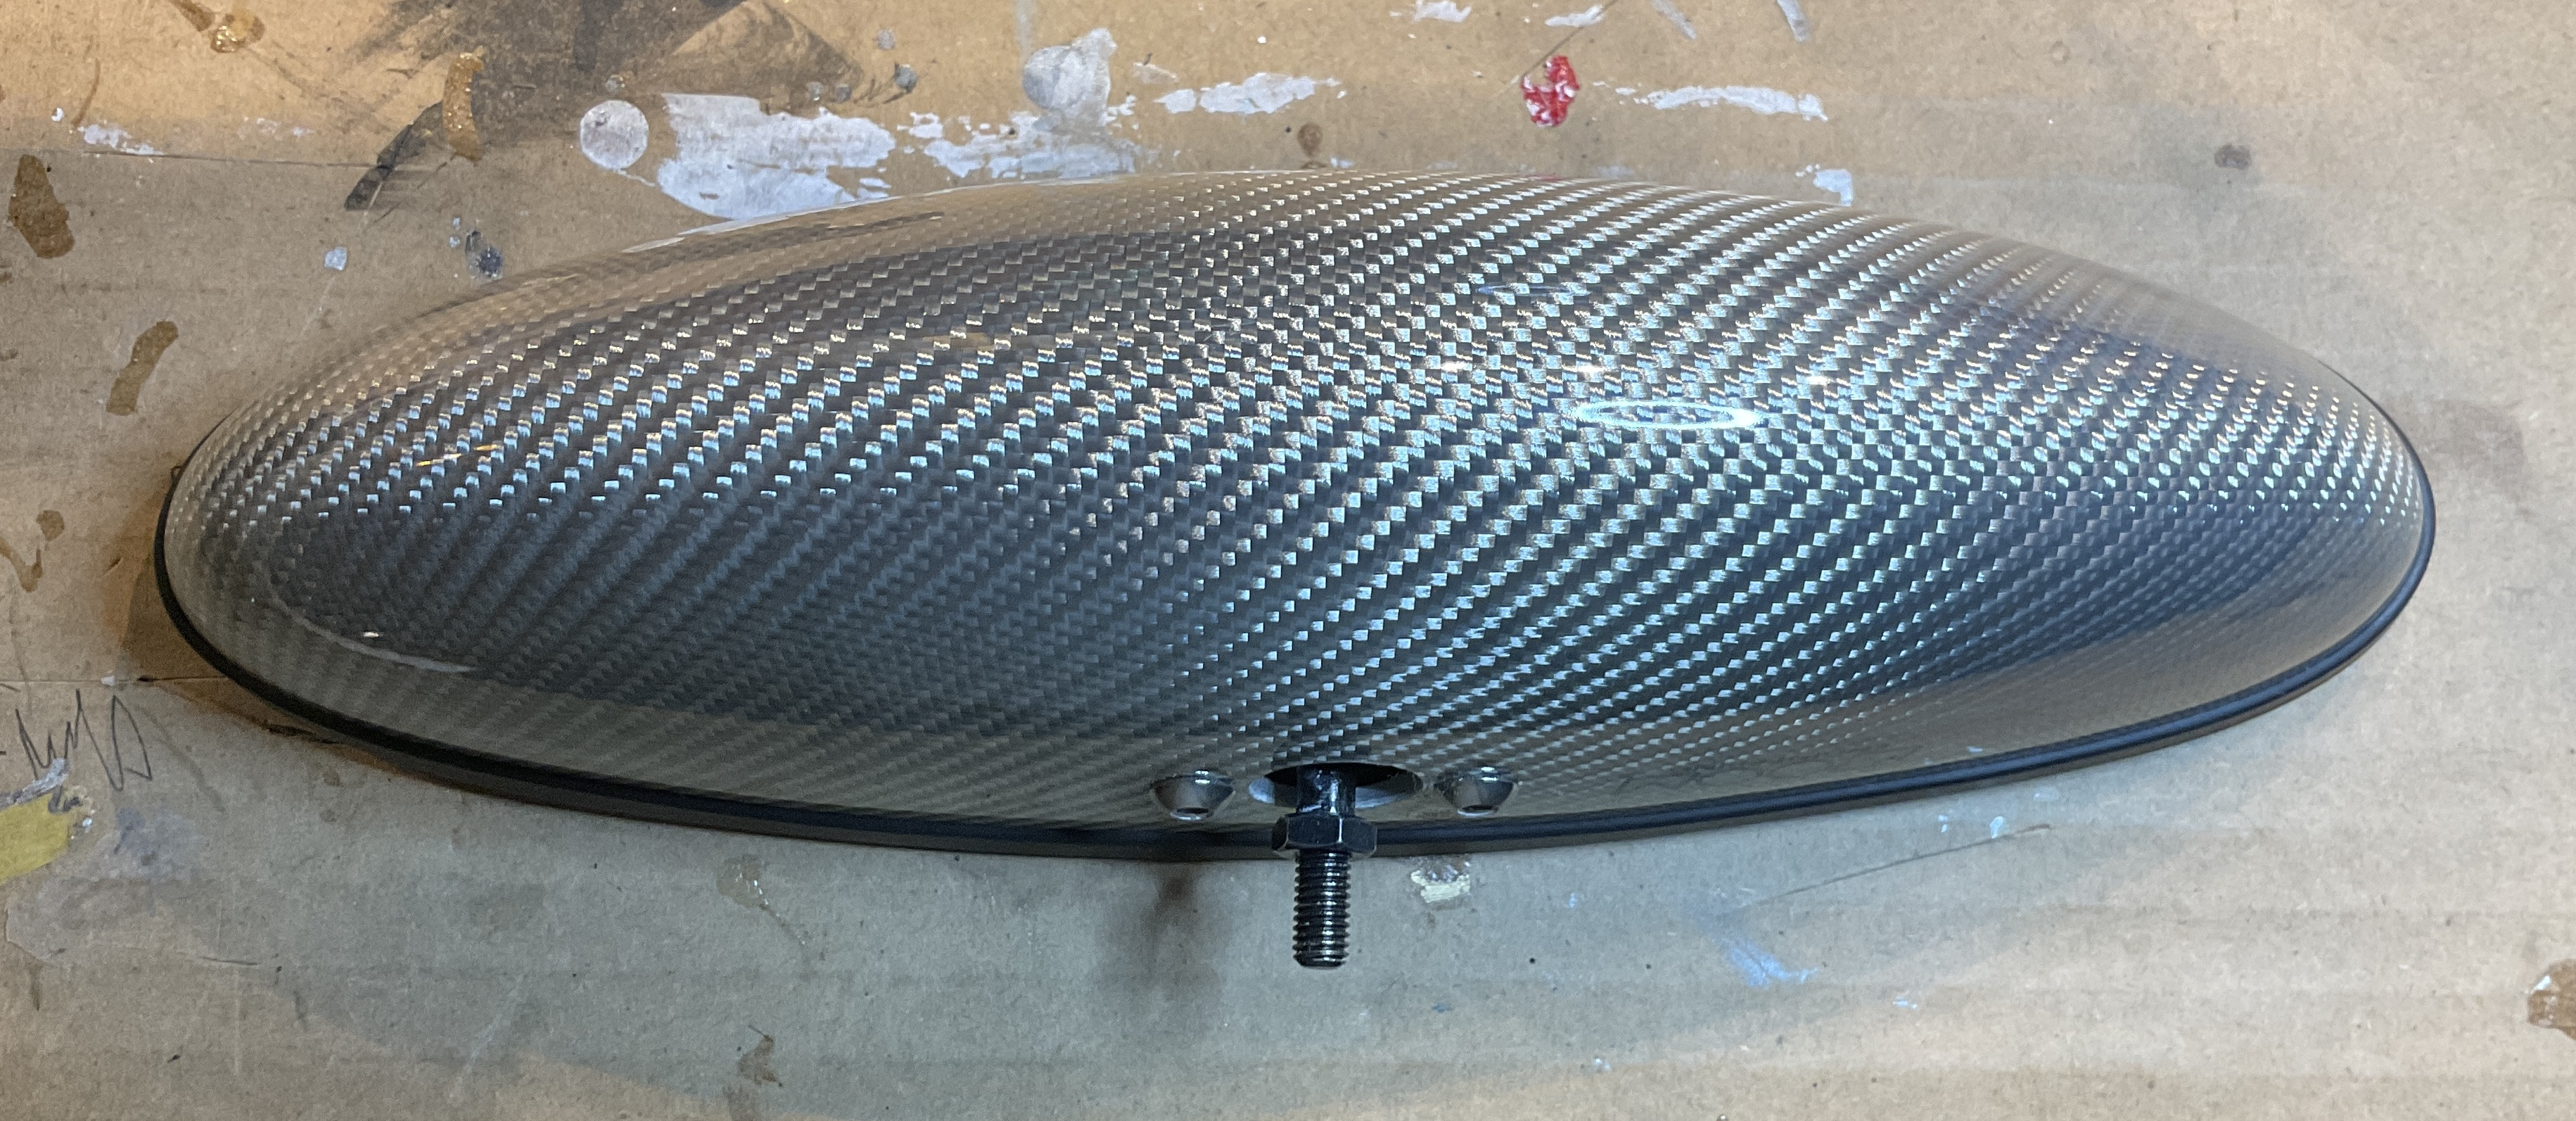
Received the silvery mirror today. Nice looking piece. A photo hard to capture the depth of the material. But, there no way the “universal” bracket can mount it, if I want to see what’s behind us, not flying along behind us. I’ve reached out to Kamispeed, not expected back yet. But have any of you circumvented this issue?
-
Still looking around. I have apparently stored them so well I can't find them.
-
On the Econoseal pins it's a bit different - and I got it wrong! I was doing a little digging into pins and seals - specifically why I had grey seals vs. stock yellow and whether this made a difference - quick answer on that is that colors do correspond to wire sizes, but they aren't that consistent and the important thing is to choose a seal that is "snug" on the wire. But in going down this rabbit hole, I found that on Econoseal, the rear wings are actually meant to grip the seal and not just the wire insulation. This is shown in BigCol's excellent post on Fitting Econoseal Connectors - scroll down for the picture and you'll see what I mean. I think my connectors are OK, but pinning them in the proper way ensures the seal gets pulled into and really plugs the connector. And now, my OCD exists in this world where my connector seals are not quite 100%
-
Very nice! For under bonnet items, check out PET-CF. Prints just as nicely as PETG-CF, but can handle very high heat.
- Last week
-
A good thing to keep in mind is that on most types of pins, the rear "wings" on the pin are intended to grip the wire insulation and serve to anchor the pin, while the front wings should grip just bare wire. This helps when looking at how much insulation you want to strip off, and how you want to position the wire in the pin when the pin's being held by the crimping tool.
-
Sorry to take so long to get back to you about your engine mounts, do you still have them? I'd like to buy them, they might not fit exactly as found but could well serve once modified.
-
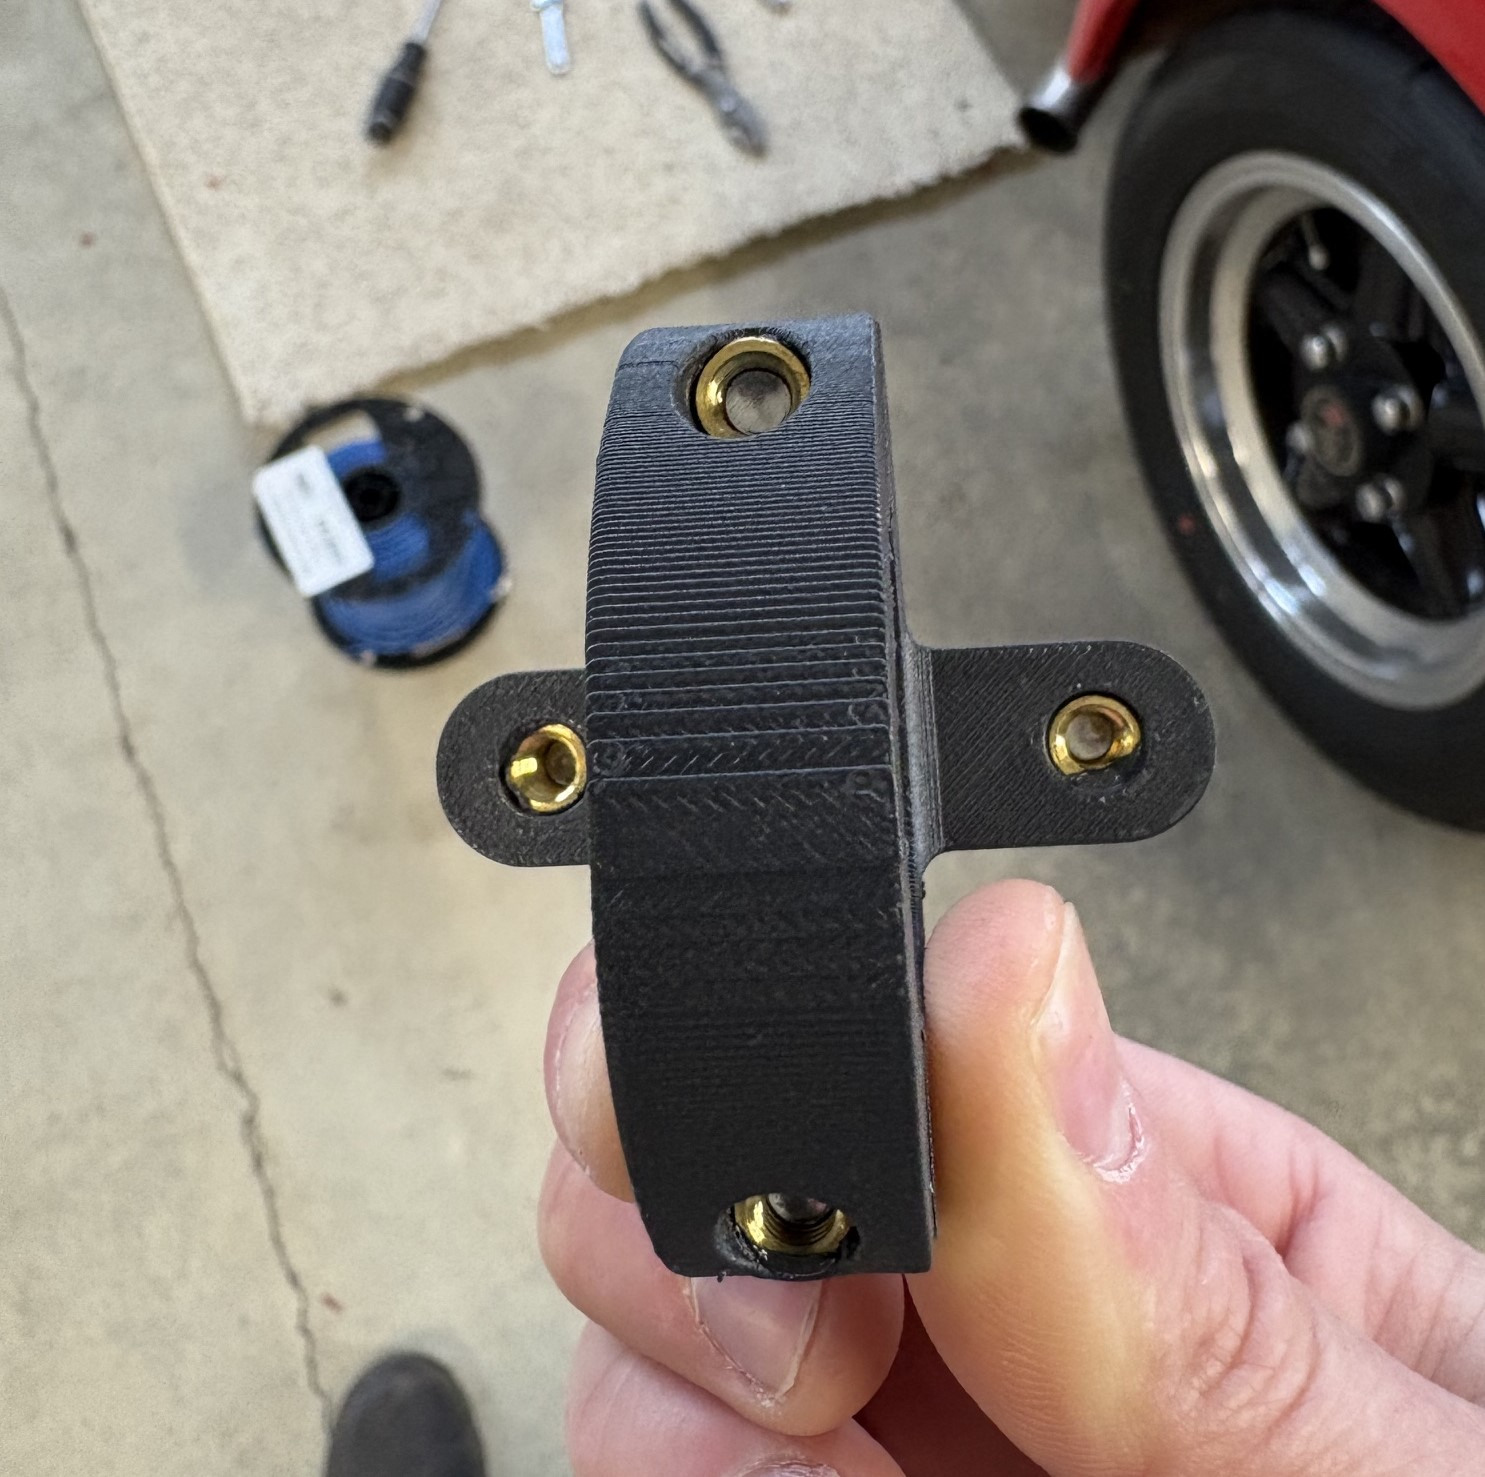
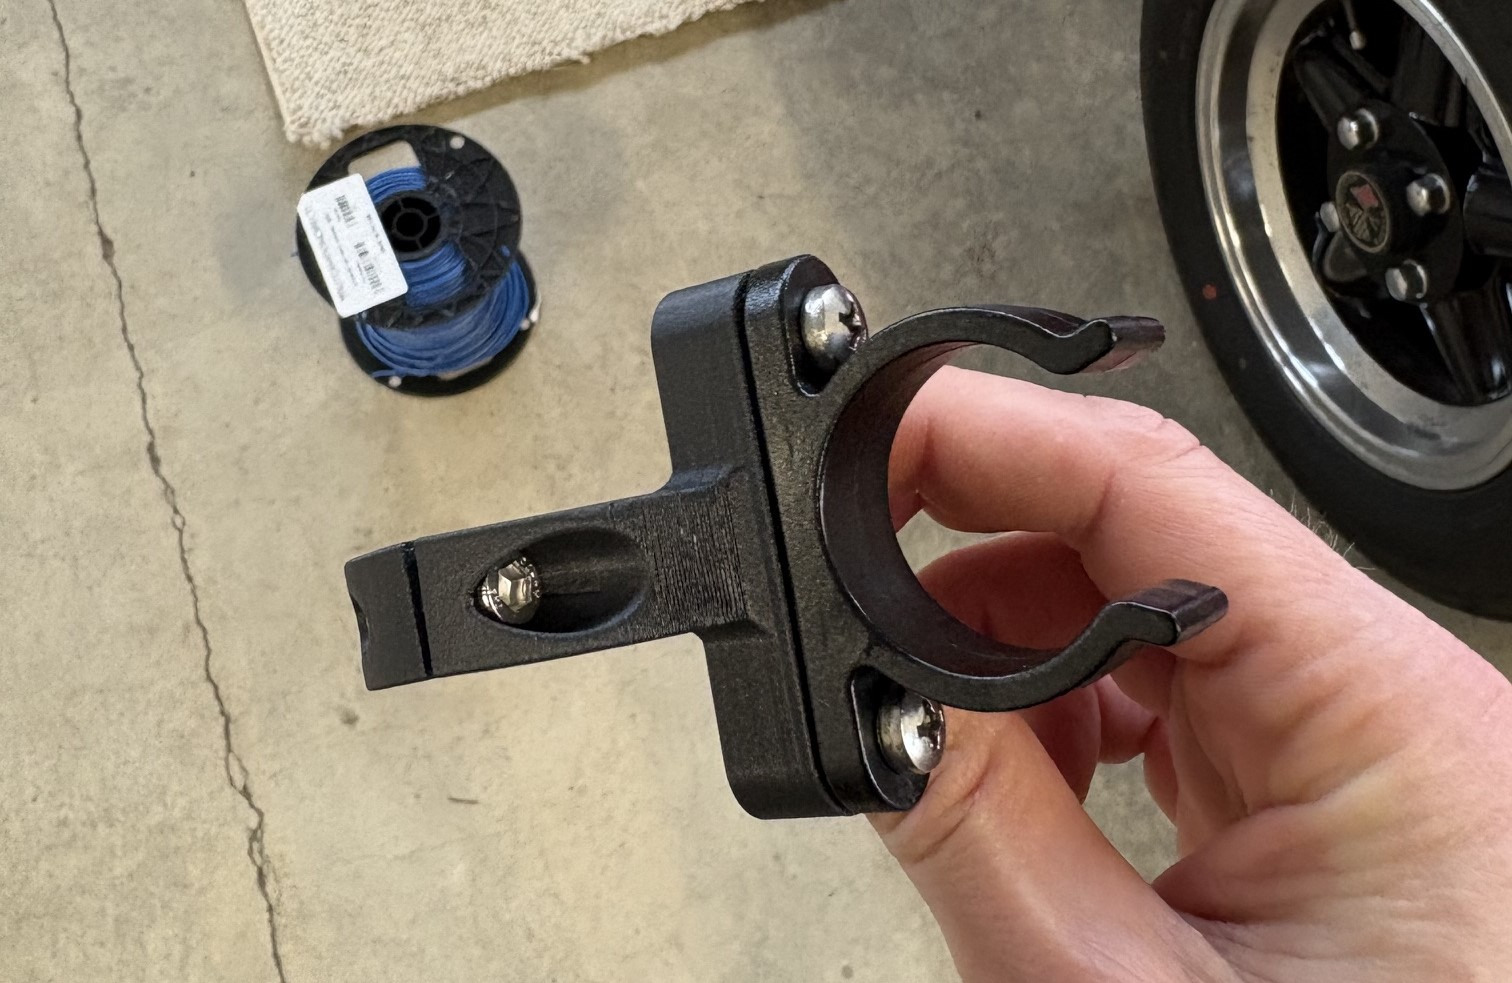
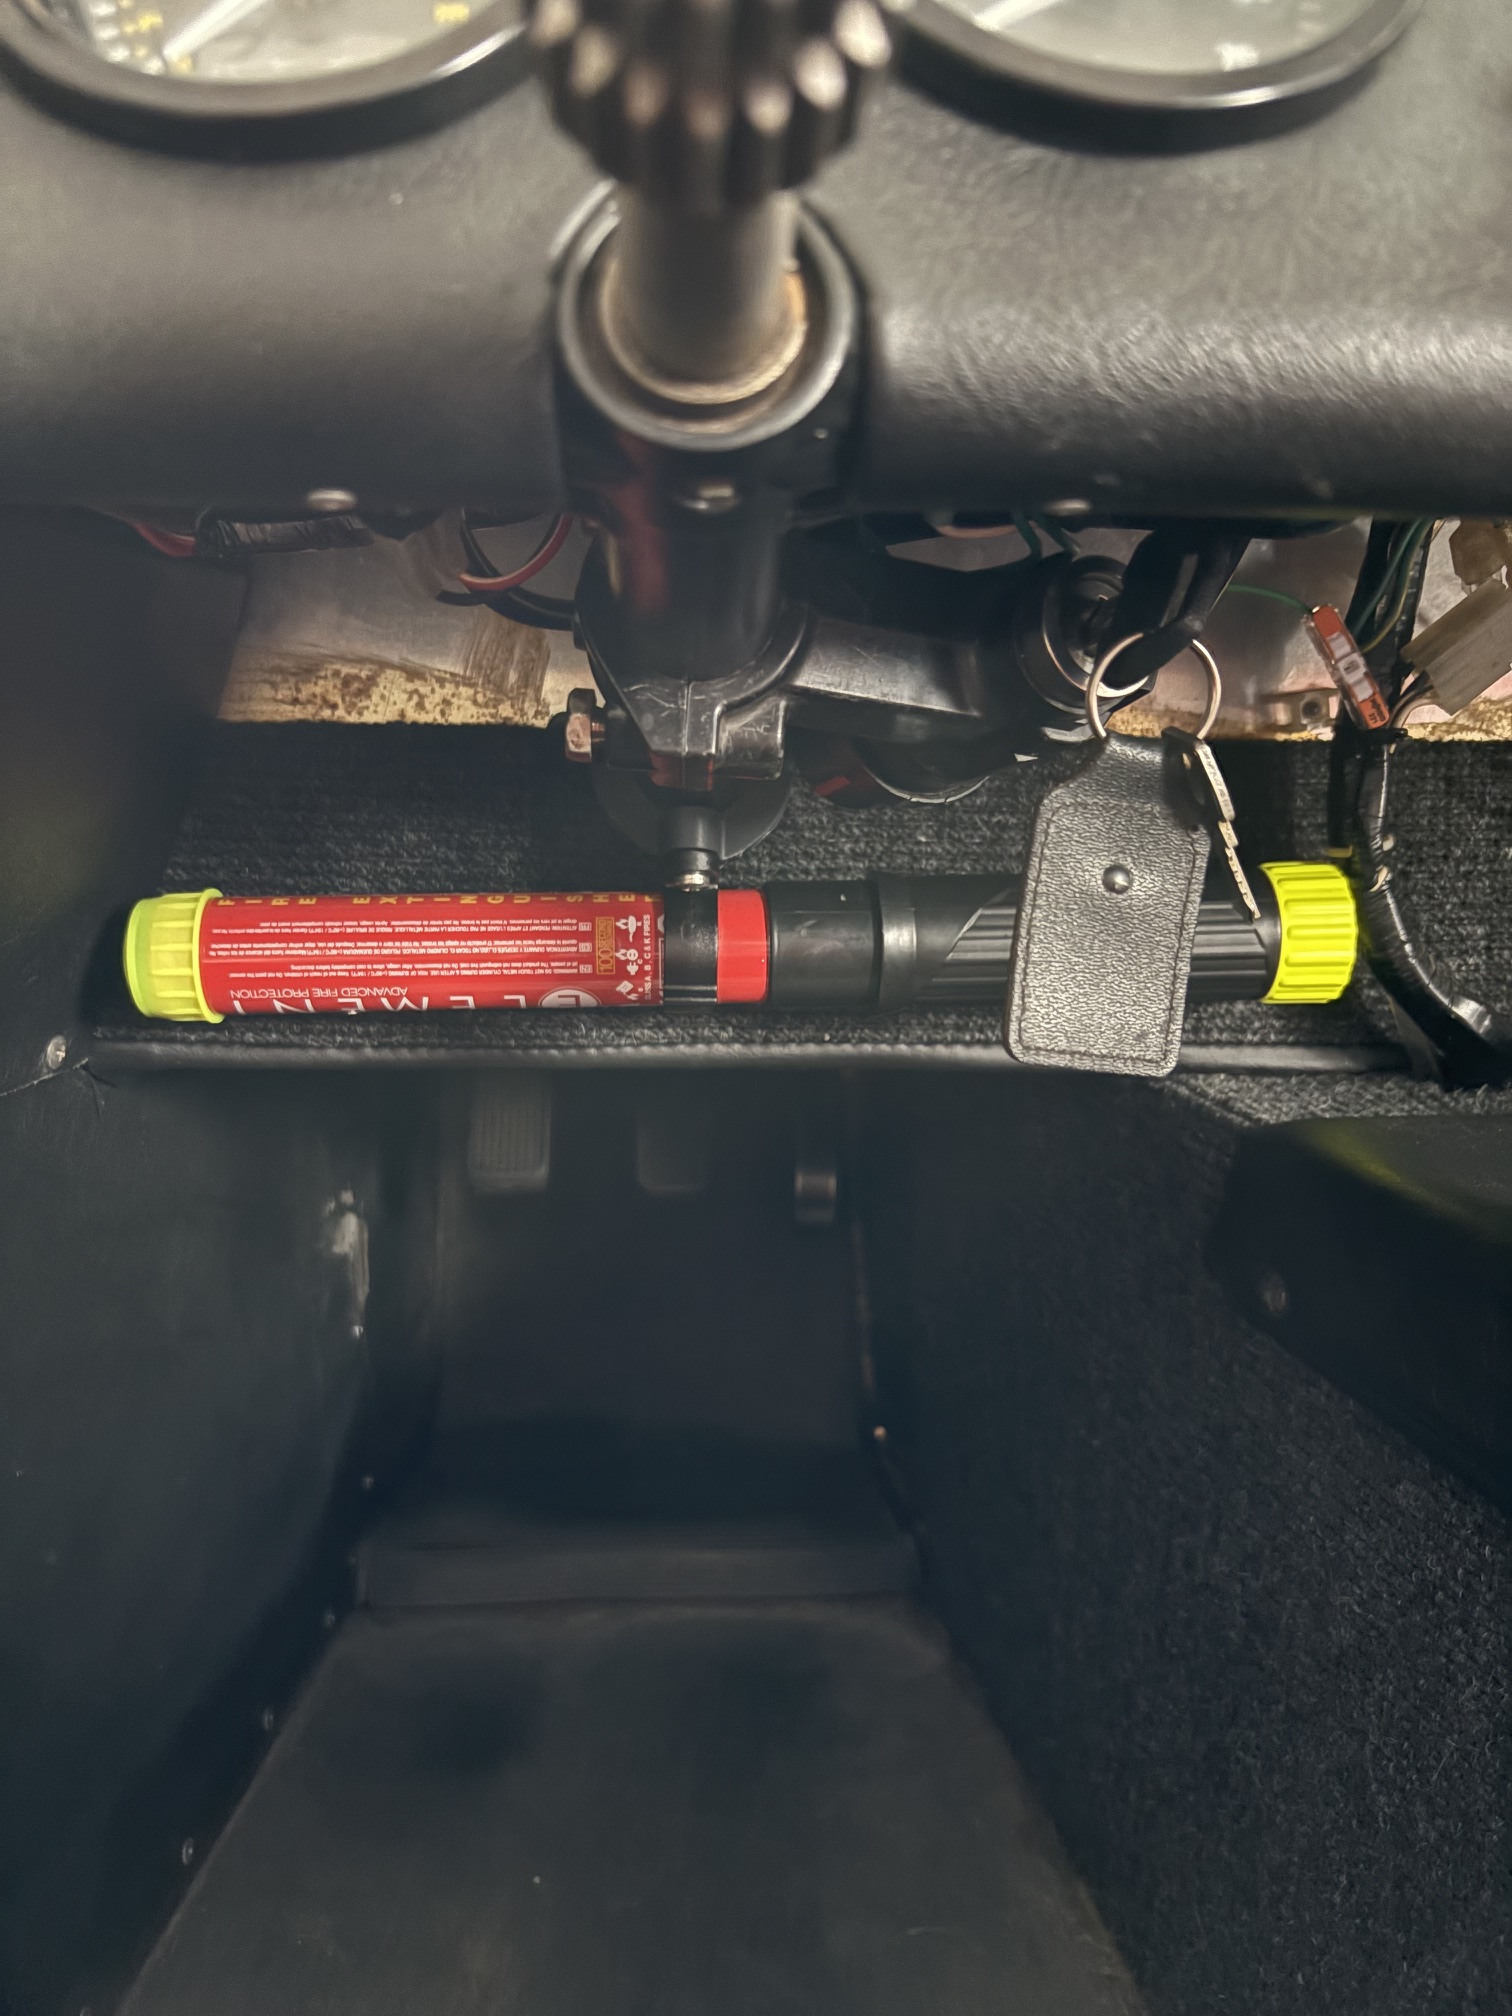
There is some good real estate under the steering column that I decided to put to good use. I used some brass heat-set inserts for threads. For everything outside the engine bay, I use PETG with carbon fiber. I highly recommend it. This area is a perfect fit for an Element Extinguisher. I realize these aren't as good as a bottle of novec 1230, but it will probably be sufficient for my needs.